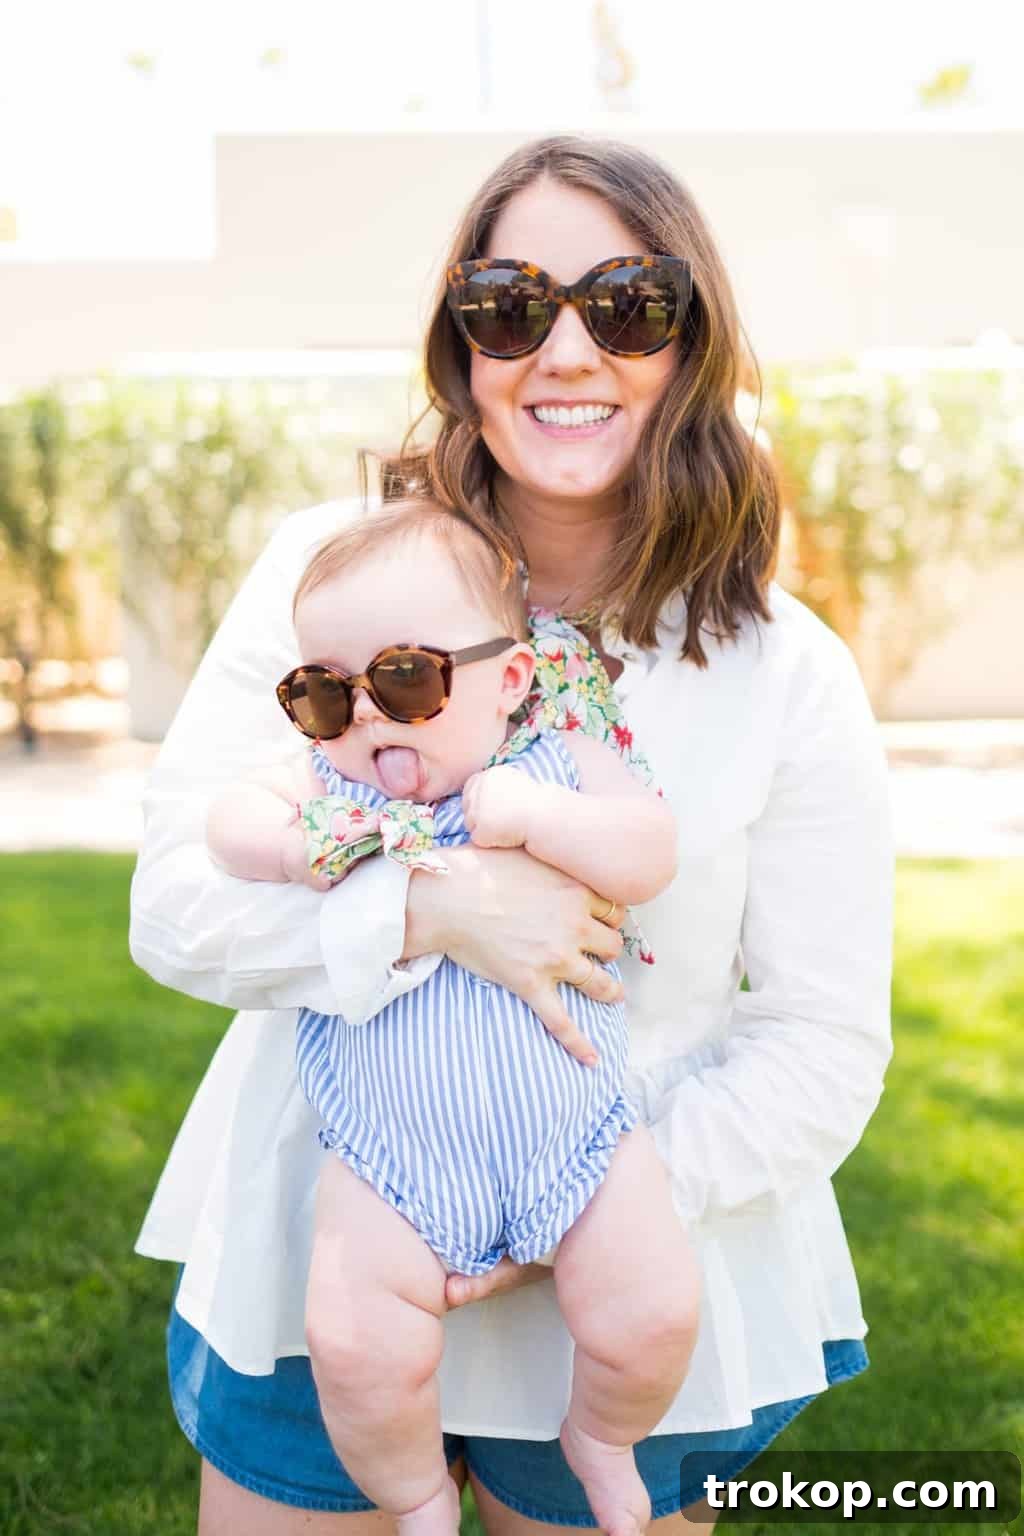
As parents, ensuring our children’s comfort and safety is always a top priority, especially when faced with scorching summer days or the discomfort of a fever. Little ones can quickly become overheated, leading to fussiness and distress. This comprehensive guide will walk you through creating ingenious DIY Cooling Neck Wraps, designed to provide instant relief and a touch of coolness for your baby or child.
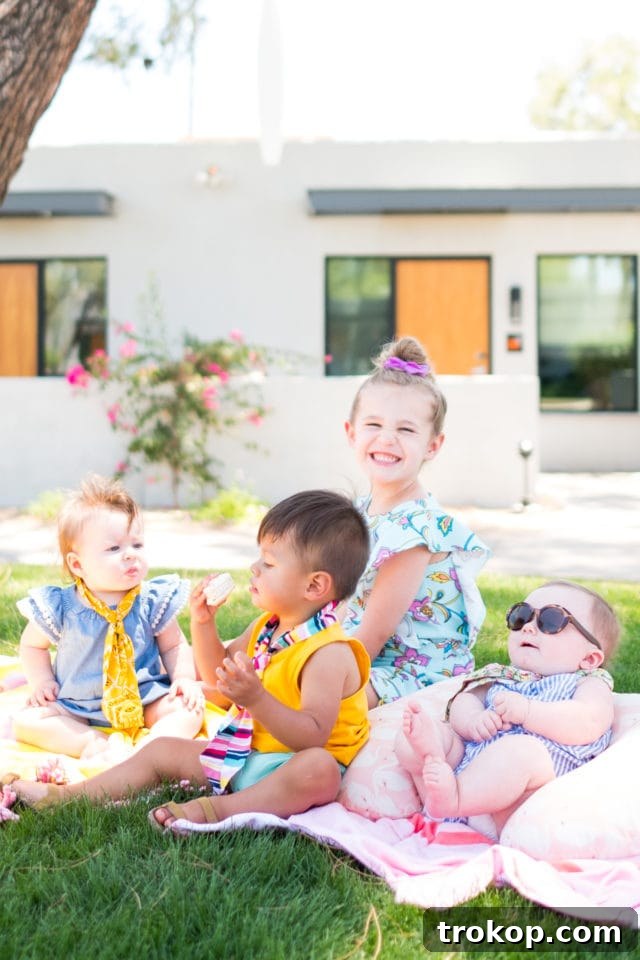
While often seen as a simple accessory, these cooling neck wraps are more of a clever hack than a complex DIY project, offering a practical and cost-effective solution to keep your precious ones cool, calm, and content. With just a few readily available materials and a sprinkle of creativity, you’ll be able to craft a vital accessory that delivers much-needed comfort in warm weather or whenever your child needs a soothing touch. These wraps are particularly useful for those living in hotter climates or when traveling to sunny destinations, ensuring your child stays comfortable no matter the temperature.
For example, living in Houston, our daughter Gwen used to get hot incredibly easily. We knew a trip to Scottsdale in mid-summer would be a real challenge for her if she didn’t have something actively cooling her down. The car seat situation, in particular, could turn into a screaming match of epic proportions when she was overheated! (For those extreme car seat heat woes, we also discovered the Noggle, which was a game-changer). While these cooling neck wraps solve the immediate problem of beating the heat, even when just staying in the shade, pairing them with essential baby sunglasses can offer complete protection and comfort.
Traditional neckerchiefs or scarves, while seemingly simple, pose a significant safety risk for babies and young children due to potential choking and breathing hazards from ties. This is why our DIY approach focuses on modifying pre-made cooling scarves with secure snaps, transforming them into perfectly safe and functional cooling neck wraps. Let’s embark on this rewarding journey to craft these essential cooling accessories for your little adventurers!
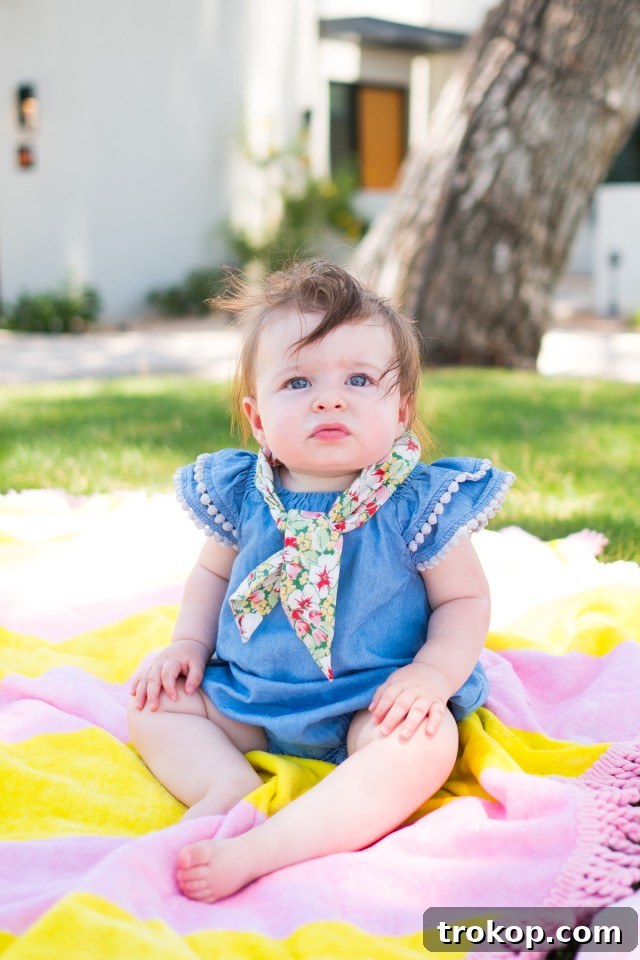
Table of Contents
Materials Needed to Make a DIY Cooling Neck Wrap for Kids
Gathering the right materials is the first step to creating these wonderfully effective cooling neck wraps. The key is selecting items that are both safe and efficient in providing relief. Here’s what you’ll need:
- Cooling scarves: These are the foundation of your project. Look for scarves specifically designed for cooling, often containing polymer crystals or beads that absorb water and provide a prolonged cooling effect through evaporation. We initially purchased these and these. It’s crucial to ensure that the cooling beads are securely sewn into the back portion of the scarf’s collar, away from any area a baby might chew on. This design feature ensures there won’t be anything unsafe if your little one happens to nibble on the ends of the scarf. Prioritize scarves made from soft, breathable, and child-safe fabrics.
- Snap button kit: This kit will allow you to add secure, baby-safe closures to your cooling scarves. A good kit typically includes the snaps themselves (often metal or plastic), and the necessary tools for attachment, such as an awl for piercing fabric and a setting tool. Opt for a kit with sturdy snaps that can withstand regular use and washing.
- Small hammer: A small hammer is essential for securely setting the snap buttons. Its compact size offers precision and control, making the attachment process smoother and more effective than a larger, heavier hammer.
How to Make a DIY Cooling Neck Wrap
The beauty of this project lies in its simplicity. To transform a standard cooling scarf into a baby-safe and kid-friendly cooling neck wrap, the primary modification involves adding snaps. This eliminates the need for ties, significantly reducing any safety risks.
- Prepare the Scarf: Lay your cooling scarf flat on a clean, hard surface.
- Position the Snaps: Determine the ideal placement for the snaps. You’ll want one closure on each end of the scarf. For babies and young children, ensure the scarf is not too tight around the neck, allowing for comfortable breathing and movement. A good rule of thumb is to measure around your child’s neck and add a couple of inches for ease and safety. The snap placement should allow for this comfortable fit when closed.
- Attach the Snaps: Follow the instructions provided with your snap button kit carefully. Typically, this involves using the awl to create small holes in the fabric where the snap components will be placed. Then, position the snap parts (the cap, socket, stud, and post) through the fabric and use the setting tool and a small hammer to firmly attach them. Ensure both sides of the snap (male and female components) are securely fastened on opposite ends of the scarf.
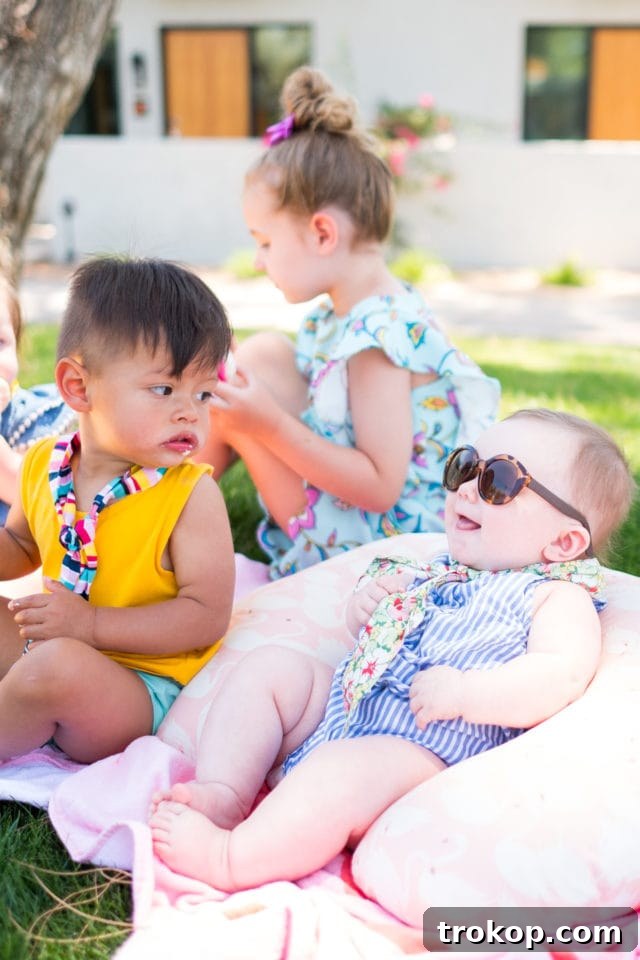
- Create the “Tied” Look (Optional but Recommended): Once the snaps are attached, you can add a decorative touch that mimics the appearance of a tied scarf, without the safety risk. Gently make a loose knot on the scarf where each closure is. Then, when the snaps are fastened together, the fabric will gather in a way that gives the charming illusion of a neatly tied bandana or neckerchief. This step adds aesthetic appeal while maintaining the primary safety feature of the snaps.
And just like that, you have a safe, effective, and stylish cooling neck wrap ready for your little one! These personalized cooling wraps also happen to make perfect gifts for kids or thoughtful personalized birthday gifts for girls, offering both practicality and a unique touch.

Why DIY Cooling Neck Wraps are Essential for Your Little Ones
Beyond simply providing a pleasant sensation, these cooling neck wraps serve several vital purposes for infants and children, making them an indispensable item for any parent.
Combatting Summer Heat & Preventing Overheating
Children, especially babies, are more susceptible to overheating than adults because their thermoregulation systems are not yet fully developed. High temperatures can lead to discomfort, dehydration, and even more serious heat-related illnesses. A cooling neck wrap offers targeted relief by cooling the core body temperature through the large blood vessels in the neck. This localized cooling helps to keep your child comfortable during outdoor play, car rides, stroller walks, or even just relaxing indoors on a hot day, significantly reducing the risk of heat-induced fussiness and discomfort.
Soothing Fever Symptoms Gently
When a child has a fever, one of the primary goals is to make them feel more comfortable. While not a substitute for medical advice, a cool compress on the forehead or neck is a long-standing method for providing symptomatic relief. These cooling neck wraps act as a gentle, consistent cool compress, helping to soothe a feverish child. The sustained coolness can help alleviate some of the discomfort associated with elevated body temperatures, allowing your child to rest more easily without the need for constantly reapplying a cold cloth.
Prioritizing Safety: The Snap Advantage
This is arguably the most crucial aspect of our DIY project. Traditional scarves or bandanas that tie around the neck pose a significant strangulation hazard for infants and toddlers. Any item that can tighten around a child’s neck is a serious safety concern. By replacing ties with secure snaps, we eliminate this risk entirely. The snaps provide a firm but releasable closure, ensuring the wrap stays in place without the danger of accidental tightening. This modification transforms a potentially hazardous item into a perfectly safe accessory, offering parents peace of mind.
Cost-Effectiveness and Personalization
Buying specialized cooling gear can sometimes be expensive. This DIY approach offers a cost-effective alternative, allowing you to create multiple wraps without breaking the bank. Furthermore, the ability to choose your own pre-made cooling scarves means you can select patterns, colors, and fabrics that appeal to your child or match their outfits, adding a touch of personalization that store-bought options might lack.
Choosing the Right Cooling Scarves for Optimal Comfort and Safety
The effectiveness and safety of your DIY cooling neck wrap largely depend on the quality and design of the cooling scarf you choose. Here’s what to consider when making your selection:
Understanding Cooling Technology
Most cooling scarves operate using super-absorbent polymer crystals or gel beads. When soaked in water, these materials absorb and hold a large volume of water, which then slowly evaporates. This evaporative cooling process draws heat away from the body, providing a prolonged cooling sensation. Ensure the scarf explicitly states it uses this technology for maximum effectiveness.
Fabric and Design Considerations
- Material: Look for scarves made from soft, breathable, and gentle fabrics against a child’s delicate skin. Cotton blends or microfiber materials are often good choices as they are comfortable and aid in the evaporative process.
- Bead Placement: As highlighted in the materials section, it is absolutely paramount that the cooling beads are sewn into a secure, enclosed pocket, specifically in the thicker, back portion of the collar area. This design prevents children from accessing or potentially ingesting the beads if they decide to chew on the scarf ends. Always double-check this safety feature before purchasing.
- Size: While we will adapt the length with snaps, consider the overall size and width of the scarf. A scarf that is too bulky might be uncomfortable for a baby, while one that’s too narrow might not provide sufficient cooling surface area.
Step-by-Step Guide: Crafting Your Safe Cooling Neck Wrap
Here’s a more detailed breakdown of the simple steps to assemble your custom, snap-closure cooling neck wrap:
1. Gather Your Materials
Ensure you have all the items listed above: cooling scarves, your snap button kit (with setting tools), and a small hammer. A sturdy, flat work surface is also helpful for attaching the snaps.
2. Prepare the Cooling Scarves
If your cooling scarves are new, consider pre-washing them according to their care instructions. This can help soften the fabric and ensure they are clean before use on your child. Lay the scarf flat and smooth out any wrinkles.
3. Determine Snap Placement for a Perfect Fit
This is a critical safety step. Carefully measure around your child’s neck, ensuring you leave at least 1-2 inches of slack for comfort and safety. You want the wrap to be snug enough to stay in place but loose enough to prevent any constriction. Mark the points on each end of the scarf where the snaps will be attached, aligning them so that when snapped, the scarf fits comfortably around your child’s neck.
4. Attach the Snap Buttons Securely
Refer to the specific instructions provided with your snap button kit. Typically, you will:
- Place the female (socket) part of the snap on one end of the scarf and the male (stud) part on the other.
- Use the awl to create a small, precise hole at each marked snap point.
- Insert the cap and post through the fabric, then place the corresponding snap part (socket or stud) on top.
- Use the setting tool from your kit and a small hammer to firmly crimp the snap components together. Apply firm, even pressure.
- Repeat for all snap components on both ends of the scarf.
If you’re new to snap installation, it’s a good idea to practice on a scrap piece of similar fabric first to get a feel for the tools.
5. Achieve the “Tied” Look Safely
For an aesthetically pleasing finish that mimics a traditional tied bandana without the hazard, tie a loose, decorative knot on each side of the scarf, just before the newly attached snap closures. When the two snapped ends are brought together, these knots will create the illusion of a beautifully tied scarf, enhancing its visual appeal while maintaining the secure, snap-fastened design.
6. Perform a Safety Check
Once all snaps are attached, tug on them firmly to ensure they are securely fastened to the fabric and won’t come loose easily. Test the fit on your child to confirm it is comfortable and safe, with no tightness around the neck. There should be enough room for at least two fingers to comfortably slide between the wrap and your child’s neck.
Using and Caring for Your DIY Cooling Neck Wrap
Proper activation, application, and care will ensure your cooling neck wraps provide maximum relief and last a long time.
Activating the Cooling Effect
To activate the cooling beads, simply soak the scarf in cool water for 5-10 minutes. The polymer crystals inside will absorb the water and swell, becoming plump and cool to the touch. Once swollen, gently pat the scarf dry with a towel to remove excess water, ensuring it’s damp but not dripping wet. Avoid using excessively cold or icy water, as this can shock the system; cool tap water is sufficient.
Proper Application and Fit
Place the activated cooling neck wrap comfortably around your child’s neck, fastening the snaps securely. As mentioned, ensure it’s snug enough to stay in place but loose enough for comfortable breathing. Regularly check on your child to make sure they are comfortable and the wrap is not bothering them. The cooling effect can last for several hours, depending on the ambient temperature and humidity. When the scarf starts to feel warm, simply re-soak it to reactivate the cooling properties.
Cleaning and Storage
To clean your cooling neck wrap, hand wash it in mild soap and cool water. Avoid using harsh detergents or bleach, as these can damage the polymer beads or fabric. Rinse thoroughly and hang it to air dry completely. It’s crucial to ensure the scarf is fully dry before storing to prevent mildew growth. Store them in a cool, dry place when not in use. With proper care, these DIY cooling wraps will be a summer staple for years to come.
Versatile Applications: Cooling Wraps for Every Age
While designed with little ones in mind, the concept of a safe and effective cooling neck wrap extends far beyond just babies, offering comfort to various age groups and activity levels.
For Toddlers and Older Children
As children grow, they remain susceptible to heat and can benefit immensely from these wraps. For toddlers and preschoolers, the snap-closure design is still crucial for safety, ensuring they can play freely without entanglement risks. For older children, especially those involved in outdoor sports, summer camps, or long trips, these wraps provide a welcome respite from the heat, helping them stay focused and energized. Simply adjust the snap placement to accommodate their larger neck size, or use larger scarves if needed.
Cooling Relief for Adults
The utility of these cooling neck wraps isn’t limited to children. Adults can also experience significant comfort from them, particularly during hot weather or strenuous activities. To make these for adults, you’ll typically need to size up the scarf by about 5 inches for extra room and a comfortable fit around an adult neck. They’re perfect for a wide range of uses:
- Outdoor Enthusiasts: Hikers, gardeners, campers, and beach-goers can use them to stay cool and prevent heat exhaustion.
- Athletes: Golfers, runners, cyclists, and tennis players will find them invaluable for managing body temperature during workouts or competitions in warm climates.
- Work Environments: Individuals working outdoors in construction, landscaping, or other demanding roles can benefit from continuous cooling relief.
- Everyday Comfort: Simply running errands or relaxing on a hot day becomes much more pleasant with a cooling wrap.
These also make perfect gifts for women who love the outdoors, or even thoughtful gifts for him, especially for activities like golfing or prolonged time outside.
A Thoughtful and Practical Gift Idea
Given their practical benefits and the personal touch of a DIY project, these cooling neck wraps make truly thoughtful gifts. Whether for a baby shower, a child’s birthday, or a friend who enjoys outdoor activities, a handmade cooling wrap demonstrates care and consideration. You can even personalize them further by selecting fabrics with their favorite colors or patterns, making them truly unique.
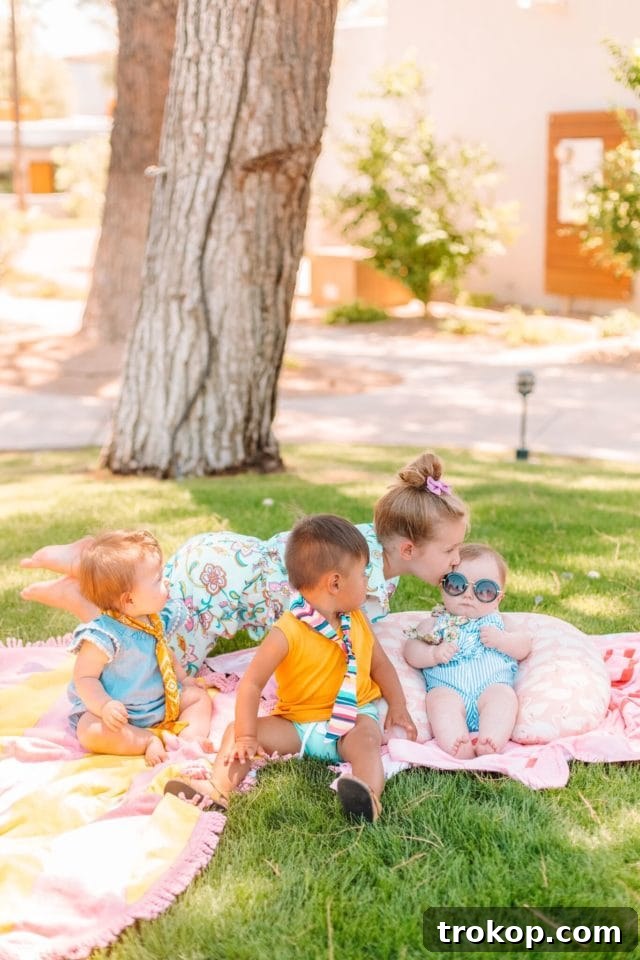
Creating these DIY Cooling Neck Wraps is a simple yet incredibly impactful way to ensure the comfort and safety of your loved ones, from babies to adults. They offer a practical solution to combat heat, soothe fevers, and provide a sense of calm, all while being a safe and personalized accessory. We fondly remember trying to wrangle all these cuties for a photo during our Scottsdale Andaz trip – quite the feat, but such good memories! We hope this guide empowers you to craft these essential cooling companions and embrace warmer days with confidence and comfort.
For more creative DIY ideas for kids and home, explore some of our other favorite projects below:
- Our DIY kids playroom with easy faux built-in storage.
- An Ikea Hack kids play table for endless fun.