
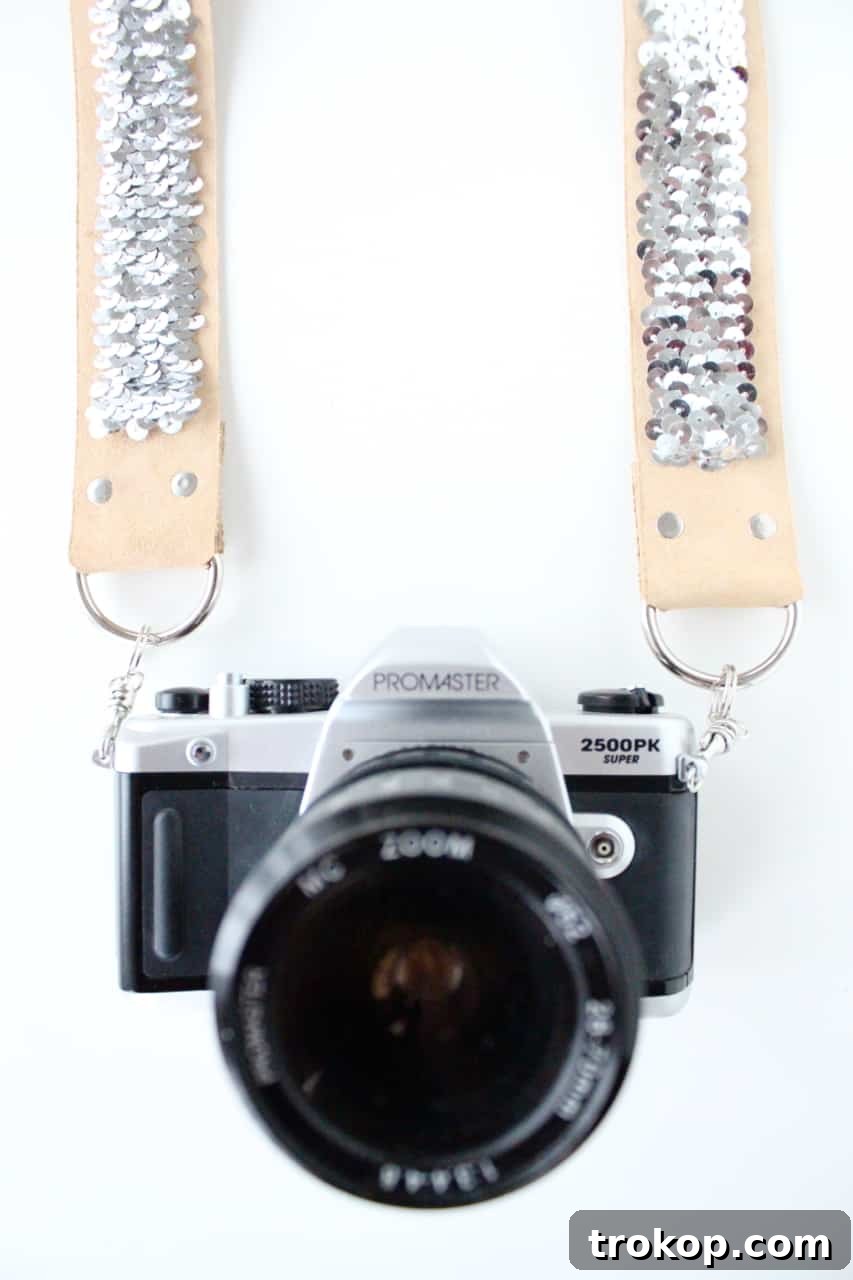
Transform your photography gear with a touch of sparkle! Discover how to craft your very own stunning DIY no-sew sequin camera strap. If you’ve been longing for a unique, eye-catching accessory for your camera without the hassle of sewing or a hefty price tag, you’ve come to the right place. This easy-to-follow tutorial will guide you through creating a stylish and durable camera strap that’s sure to turn heads. Say goodbye to plain, boring straps and hello to personalized glam!
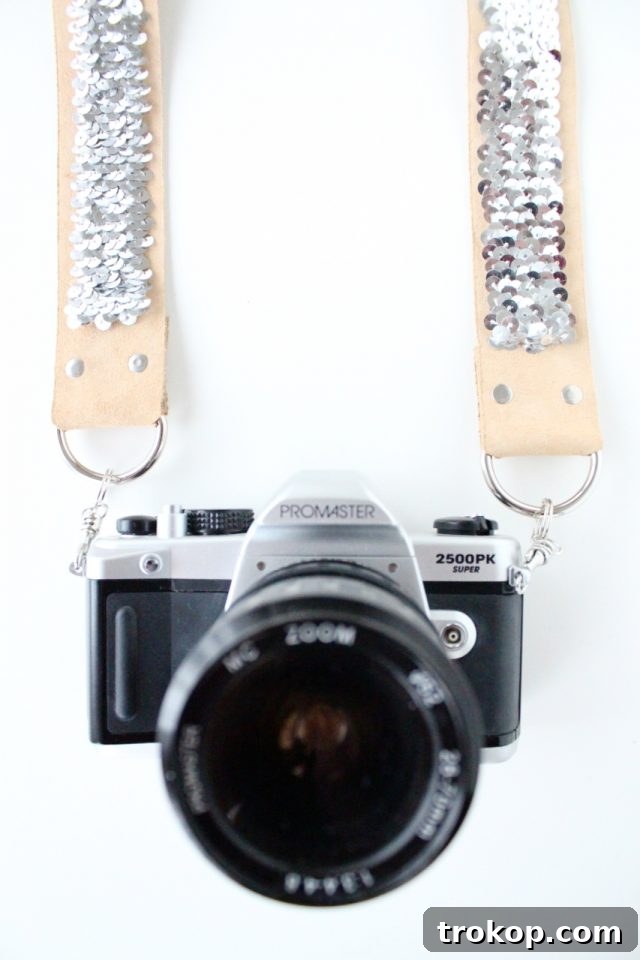
For ages, a particular sequined camera strap has been captivating my attention on Pinterest, sparking my creativity. While its charm was undeniable, its price tag often felt a little steep. That’s when the idea for a DIY version clicked into place. After a brief period of delightful procrastination – a common phase in many creative projects – I finally dove into bringing this vision to life. And now, I’m thrilled to share this fabulous, budget-friendly “no-sew” method with you!
This project isn’t just about saving money, though it certainly does; it costs a mere fraction of what a store-bought designer strap might. Beyond the incredible savings, this handmade sequin camera strap offers superior comfort, impressive durability, and, best of all, a straightforward creation process that anyone can master. It’s perfect for adding a personal touch to your photography setup or making a thoughtful gift for a fellow camera enthusiast.
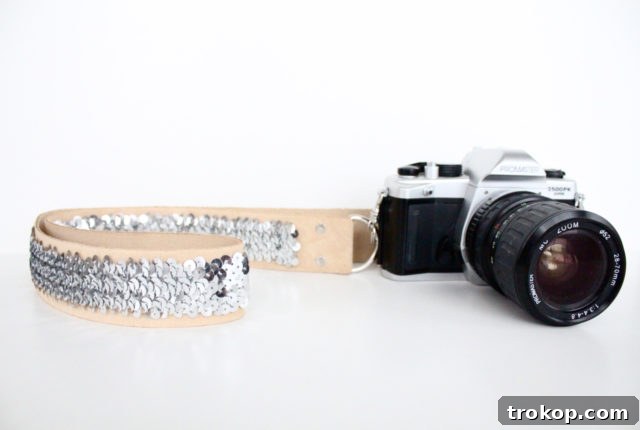
Table of Contents
Materials And Tools Needed To Make A DIY No Sew Sequin Camera Strap
Gathering your materials is the first exciting step in any DIY project. For this dazzling camera strap, you’ll need a few key items that are readily available at most craft stores or online. Opting for quality materials will ensure your strap is not only beautiful but also robust enough to safely carry your valuable camera.
- Soft Leather Strip: The foundation of your strap. I used a beige 42-inch length x 1 1/2-inch width suede strip, which I found for around $10 at my local Hobby Lobby craft store. Suede is excellent for its soft feel and flexibility, making it comfortable around your neck or shoulder. You can also easily find a variety of leather straps online in different colors and textures to match your personal style. Consider faux leather as a vegan alternative!
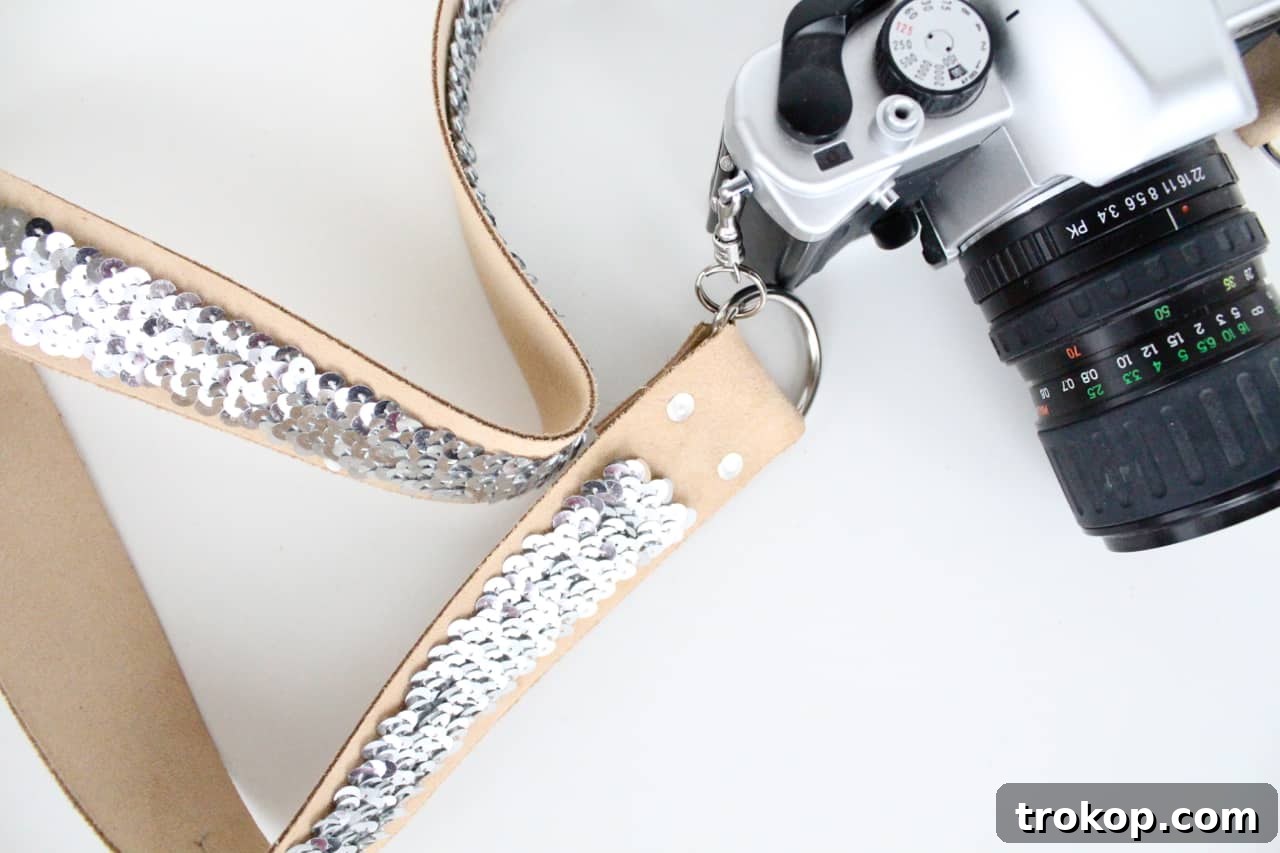
- Double-Cap Rivets: These are essential for securely attaching your D-rings without any sewing. I recommend 1/4-inch nickel rivets for a sleek, professional finish. Double-cap rivets provide a clean look on both sides of the leather, which is important for an accessory that will be seen from all angles.
- Sequin Ribbon/Trim: This is where the magic happens! Choose a sequin trim that complements your leather strip. There’s a vast array of options: reversible sequins, iridescent, matte, large, small, in every color imaginable. Select a trim that is slightly narrower than your leather strip (or the width you intend to cover) to leave a nice border.
- Rotary Punch: An indispensable tool for creating clean holes in leather for your rivets. A rotary punch allows you to select various hole sizes, ensuring a perfect fit for your chosen rivets. This beats trying to poke holes with an awl and ensures a professional finish.
- Tacky Glue: A strong, quick-drying adhesive is crucial for this no-sew project. Tacky glue is perfect because it bonds well to fabric and leather, dries clear, and provides a secure hold for your sequins and D-rings. Make sure to choose a brand known for its strong adhesion.
- 2 x D-rings: These metal rings are key connection points for your camera. Look for sturdy D-rings that can withstand the weight of your camera. You can often find them in packs at craft stores, sometimes labeled for bag making or hardware. Hobby Lobby offers various options.
- 2 x Swivel Hooks: These hooks will attach your camera to the D-rings on your strap. They are designed to swivel, preventing your strap from twisting. You can typically find them in the jewelry-making section of craft stores, or as part of a kit. For convenience, this pack online includes both swivel hooks and D-rings. Ensure they are strong enough to support your camera’s weight.
How To Make A DIY No Sew Sequin Camera Strap
Now that you have all your materials assembled, let’s dive into the step-by-step process of creating your dazzling camera strap. Remember, patience is key, especially when working with glue, to ensure a lasting and beautiful finish.
Step 1: Plan and Mark Your Sequin Placement
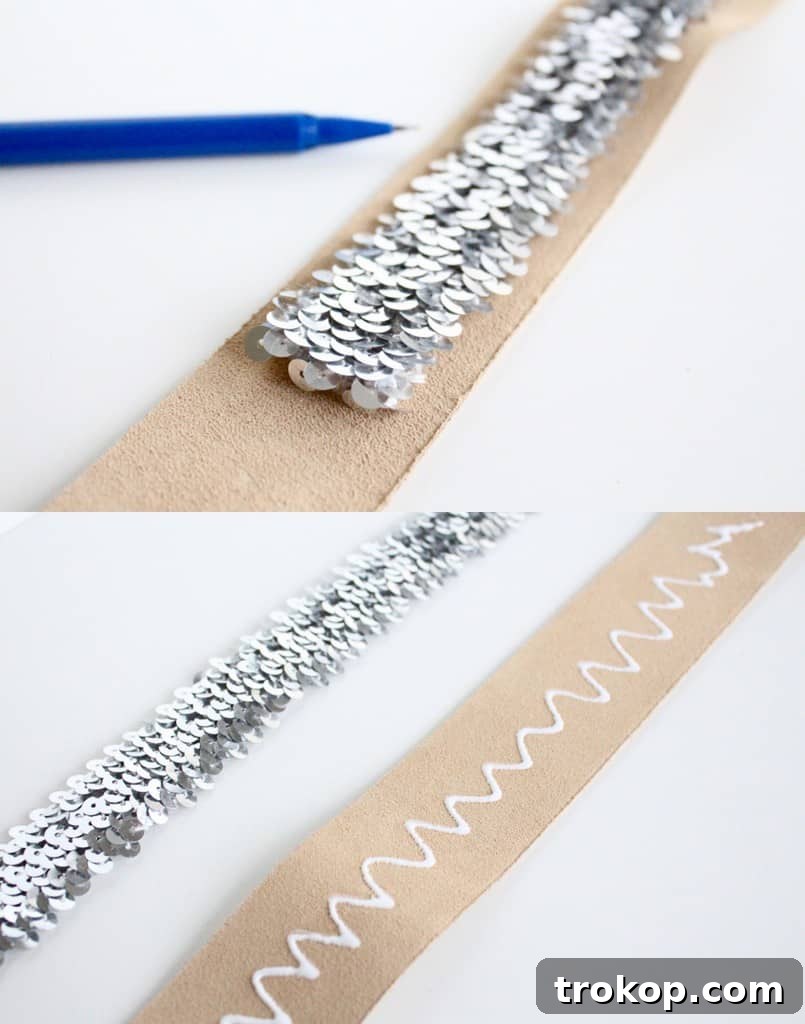
Before applying any adhesive, lay your leather strip flat. Carefully measure and mark where you want your sequin trim to be placed. I chose to center my sequins along the entire length of the strap, creating a continuous band of sparkle. Use a ruler and a fabric marker or a light pencil to draw faint guidelines. This planning stage ensures your sequins are perfectly aligned and your strap looks professional. Consider how much leather border you want on each side of the sequin trim.
Step 2: Apply Tacky Glue and Secure Sequins
Once your placement is marked, apply a thin, even line of tacky glue down the center of your leather strip, following your guidelines. Don’t apply too much glue, as it can seep through the sequins or make the strap stiff. Let the glue set for a few seconds until it becomes slightly tacky – this helps the sequins adhere better without sliding. Then, carefully place your sequin ribbon directly on top of the glue line, pressing down gently but firmly along its entire length. Work in small sections if your strap is very long to prevent the glue from drying too quickly.
Step 3: Finish Sequin Ends to Prevent Fraying
To ensure the longevity of your sequin trim and prevent any unsightly fraying over time, it’s crucial to properly secure the ends. At each end of your leather strip, tuck the raw edge of the sequin ribbon underneath itself by about half an inch. Apply a small dab of tacky glue to the underside of the tucked-in sequin end and press it firmly against the leather. This creates a clean, finished edge that will withstand daily use and look much more professional.
Step 4: Allow to Dry Under Weight
Once all your sequins are in place and their ends secured, the next vital step is to let everything dry completely. Place something of moderate weight, like a stack of books or a heavy cutting board, evenly along the entire length of the strap. This pressure ensures that the sequins bond flat and securely to the leather, preventing any bumps or curling as the glue dries. Allow at least 24 hours for the glue to fully cure, or follow the instructions on your specific tacky glue product. This step is critical for the durability of your design.
Step 5: Prepare and Attach D-Rings
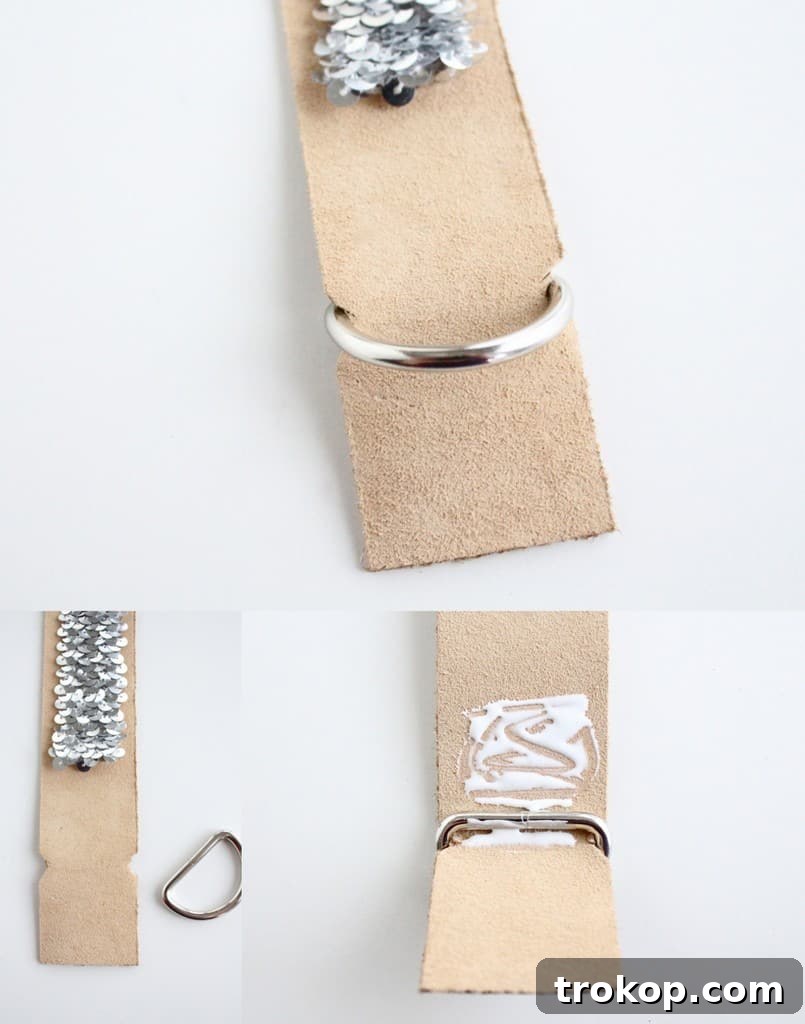
With your sequins firmly attached, it’s time to add the hardware that connects your strap to your camera. Measure and mark the exact points at each end of the leather strap where you want to place your D-rings. Ensure these points are symmetrical. If your D-rings are slightly wider than your leather strip, as mine were, you might need to make small triangular cuts on each side of the leather strap at the attachment points. This allows the D-ring to sit flush without bulging. Apply a generous amount of tacky glue to the inside of the folded leather where the D-ring will sit, then position the D-ring and press the leather flap over it.
Step 6: Dry the D-Ring Attachments
Just like with the sequins, it’s crucial to let the D-ring attachments dry under weight. This ensures a strong bond that will hold your camera safely. Place the weighted object directly over the areas where the D-rings are glued. Again, allow ample drying time, typically 24 hours, to ensure the glue has fully cured and the D-rings are securely fastened. This step is paramount for the safety and security of your camera.
Step 7: Reinforce with Rivets for Maximum Security
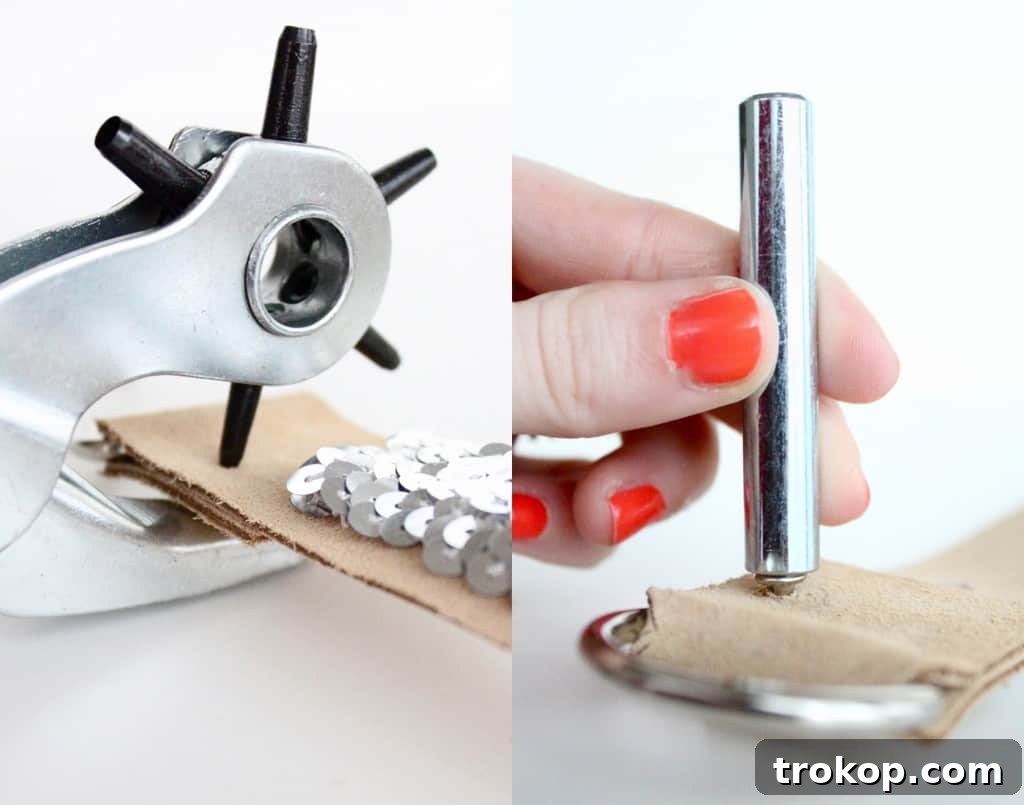
To guarantee that your D-rings are completely secure and to prevent any dreadful “camera fatalities” (we certainly don’t want that!), we will reinforce them with double-cap rivets. This step adds immense strength and a professional finish.
Using your rotary punch, select a hole size that matches the stem of your rivets. Punch one or two small holes through both layers of the leather strap where the D-ring is attached. Carefully insert the rivet stems through these holes. Place the rivet cap on top and use a rivet setter tool (often sold with rivets) and a hammer to firmly secure the two parts of the rivet together. Repeat this for all rivet placements on both sides of the strap. If you’re new to using rivets, don’t worry—they’re much simpler than they look! This excellent how-to video provides a clear demonstration of the process.
Step 8: Attach Swivel Hooks and Enjoy Your New Strap!
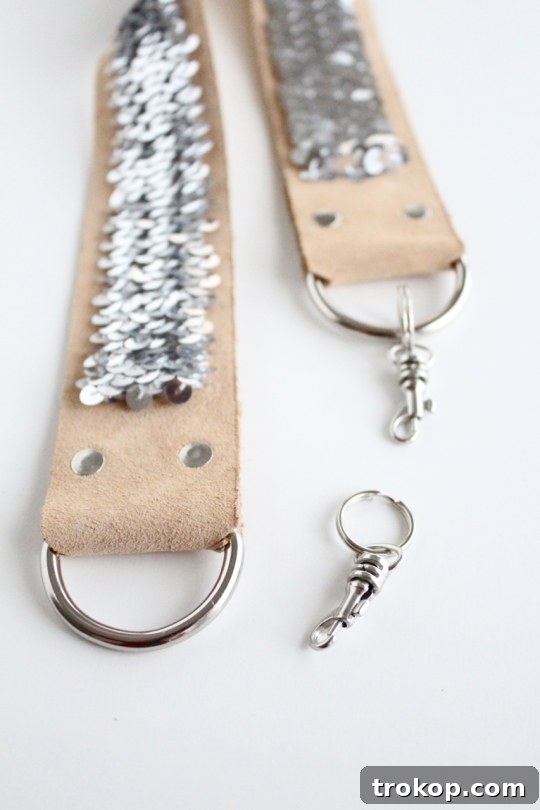
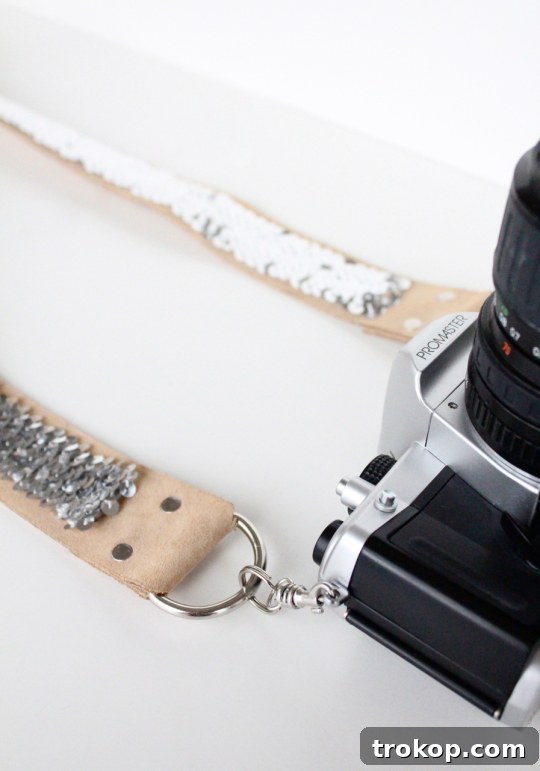
The final step is incredibly simple but brings the entire project together. Take your swivel hooks and twist them onto the D-rings at each end of your newly crafted camera strap, much like you would attach a keychain. Ensure they are fully closed and secure. Once both swivel hooks are in place, your DIY No-Sew Sequin Camera Strap is complete and ready for action! Attach it to your camera, and step out in style, knowing you’ve created a unique and functional piece of photography gear with your own hands.
Customization Tips and Care for Your Sequin Strap
Now that you’ve mastered the art of creating a no-sew sequin camera strap, you might be wondering how to make it even more uniquely yours or how to keep it looking fabulous for years to come.
Personalize Your Strap
- Color Combinations: Don’t limit yourself to beige leather and a single sequin color. Experiment with black leather and silver sequins for a classic look, or a vibrant leather with multi-colored reversible sequins for a playful vibe.
- Patterns: Instead of a single strip, consider applying multiple thin strips of sequin trim to create stripes or geometric patterns.
- Embellishments: Once the glue is fully dry, you could add small charms, stud details, or even paint a subtle design on the exposed leather portions with specialized leather paint.
- Different Materials: While leather offers durability, you could experiment with other strong, non-fraying fabric strips as your base, though you’ll need to test the glue and rivet effectiveness.
Care and Maintenance
To keep your sparkling camera strap in pristine condition:
- Spot Clean Only: For any dirt or smudges on the leather, gently wipe with a damp cloth and mild soap, then wipe dry immediately. Avoid submerging the strap in water.
- Sequins: Be gentle with the sequined areas. If a sequin comes loose, a tiny dab of fabric glue can usually reattach it. Avoid harsh chemicals or abrasive cleaners.
- Storage: When not in use, store your strap in a clean, dry place, away from direct sunlight or extreme temperatures, which can affect the glue and leather.
- Check Rivets: Periodically inspect the rivets and D-rings to ensure they remain tightly secured, especially if you carry heavy camera equipment.
This no-sew sequin camera strap is not just a functional item; it’s a statement piece, a reflection of your personality and creativity. Enjoy the compliments and the added flair it brings to your photography adventures!
More Photography DIY’s and Accessories
Loved crafting this no-sew camera strap? If you’re eager to embark on more creative projects for your photography passion or looking for unique, handmade gifts for your photographer friends, explore a few more of our favorite DIYs from the archives. Each project offers a chance to personalize your gear or display your beautiful captured moments in style:
- Gold DIY Camera Strap: Add another touch of luxury to your camera with this glamorous strap tutorial.
- DIY Canvas Art: Learn How To Make Your Own Canvas Print and turn your favorite photos into stunning wall decor.
- DIY Wooden Polaroid Gift Set: Create a charming and rustic gift set to showcase instant camera prints.
- Mini Mountain Photo Holders: Craft these adorable holders to display small prints or notes with a touch of nature-inspired design.
Whether you’re enhancing your own camera kit or crafting thoughtful presents, these DIY projects offer a fantastic way to blend creativity with your love for photography. Happy making!