
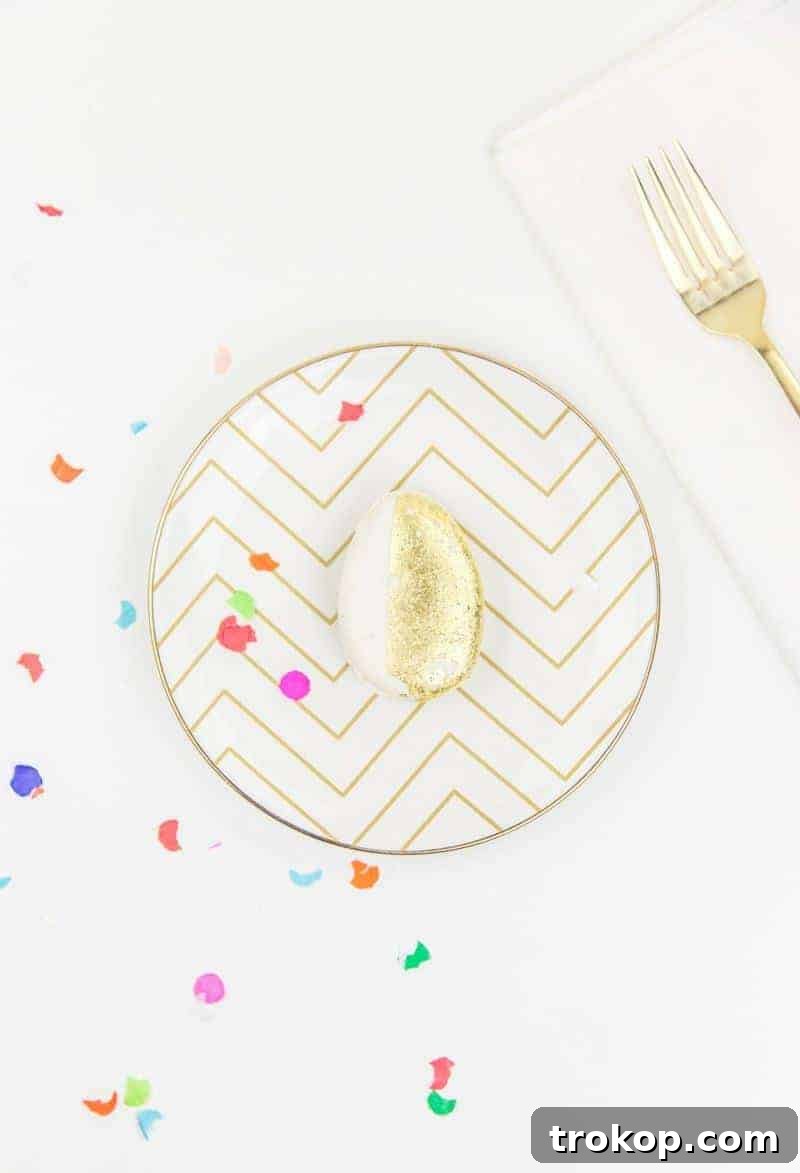
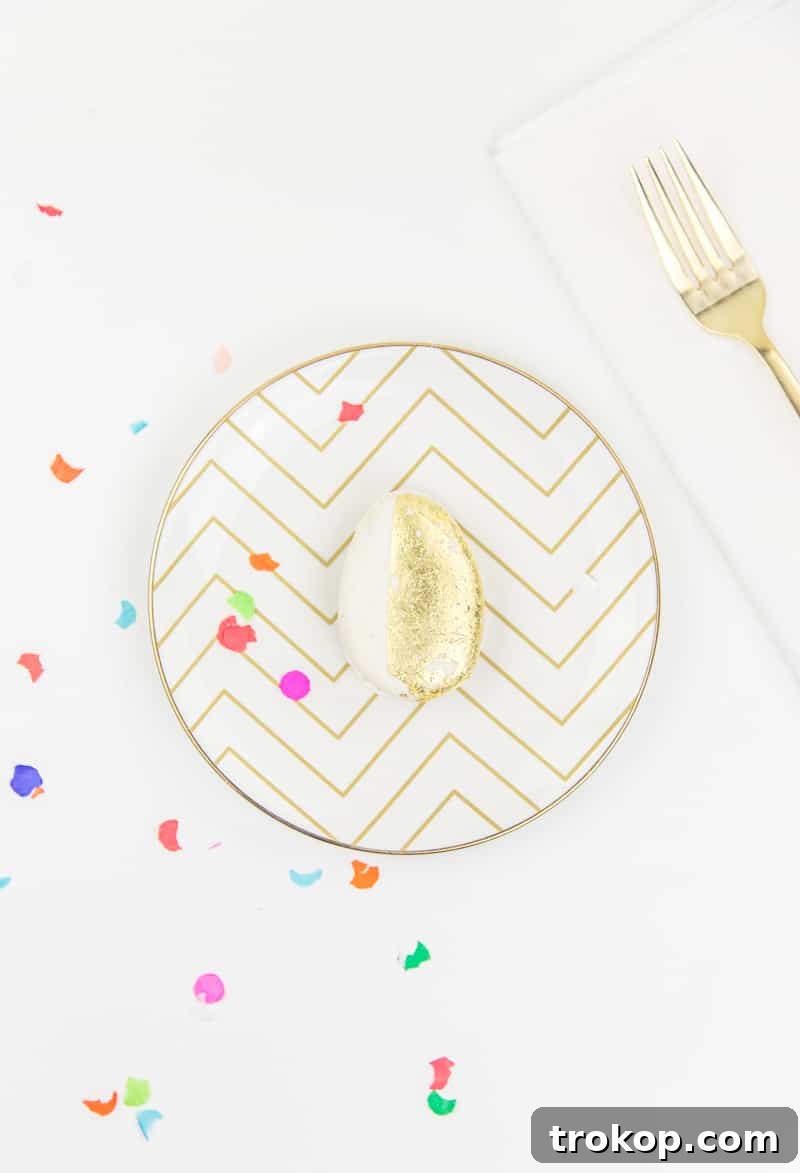
Elevate Your Easter Table: DIY Edible Golden Egg Place Settings for a Luxurious Celebration
Spring is in full bloom, bringing with it the promise of renewal, fresh beginnings, and the joyful anticipation of Easter. While the season often evokes images of soft pastels and delicate blooms, there comes a time when even the most devoted pastel enthusiast craves a little extra sparkle, a touch of unexpected glamour. After a whirlwind week, including a delightful mid-week escapade that made returning to the daily grind tougher than any Monday, I found myself yearning for that “umph” – a vibrant energy that transcends the usual. And what better way to infuse that spirit into our celebrations than with a dazzling, golden twist on a timeless Easter tradition?
Forget the predictable Easter baskets filled with plastic grass; this year, we’re transforming our holiday tables into a shimmering display of sophistication. Get ready to impress your guests with these exquisite DIY edible golden egg place settings! These aren’t just eggs; they’re conversation starters, delightful edible surprises, and the perfect focal point for a truly memorable Easter brunch or dinner.
The Irresistible Allure of Gold: A Fresh Take on Easter Decor
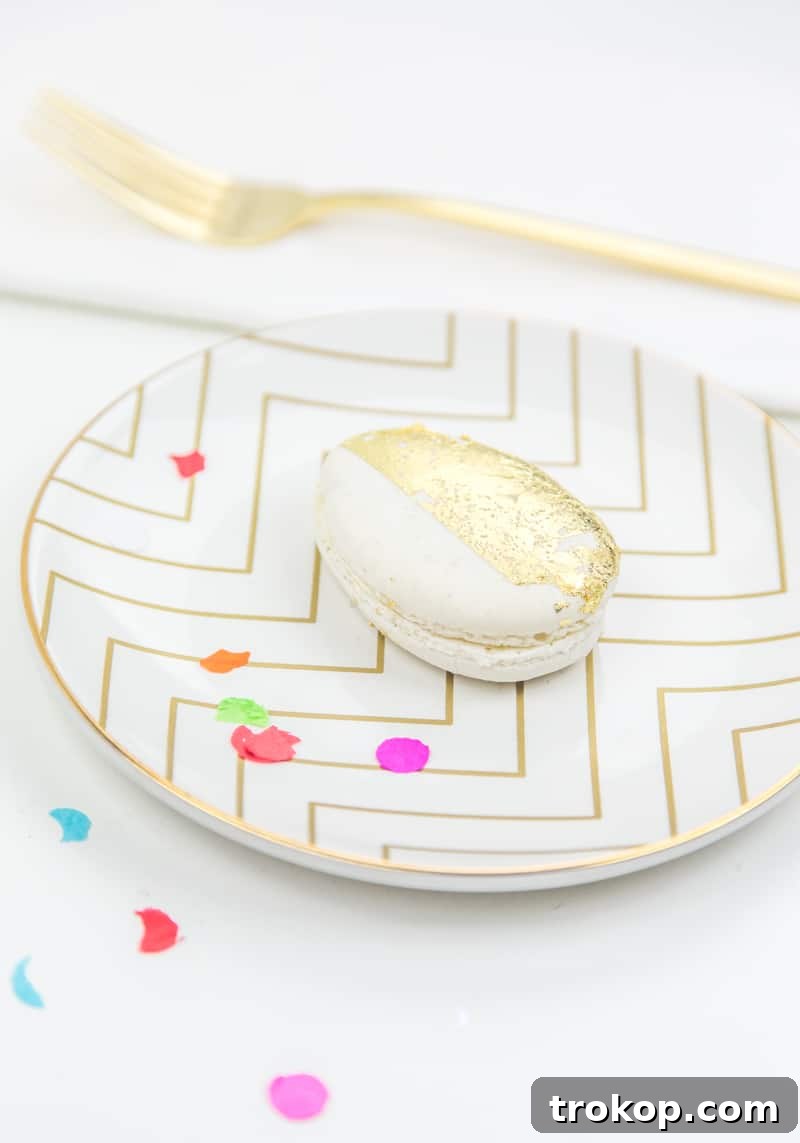
For too long, Easter decor has been synonymous with a sea of muted pinks, blues, yellows, and greens. While undeniably charming, there’s a certain magic that gold brings – an instant elevation, a timeless elegance that transforms the mundane into the magnificent. Gold signifies celebration, luxury, and a touch of the extraordinary, making it the perfect hue to usher in the festive spirit of Easter with a sophisticated flair.
Our goal isn’t just to decorate; it’s to create an experience. Imagine your guests arriving at a table where each setting is adorned with a lustrous, shimmering golden egg. This unexpected detail immediately signals a special occasion, inviting them to delight in the beauty and thoughtfulness of your hospitality. It’s about adding that sought-after “umph” that breaks away from the ordinary and leaves a lasting impression, transforming your Easter celebration into an affair to remember.
Crafting Your Own Golden Wonders: DIY Edible Golden Egg Place Settings
Creating these edible golden eggs is surprisingly simple, yet the result is utterly captivating. The beauty of this project lies in its blend of rustic charm with opulent elegance, offering a unique and personalized touch to your holiday gathering. Let’s dive into how you can bring this glittering vision to your own Easter celebration, step by carefully gilded step.
Why Choose Edible Gold? The Ultimate “Wow” Factor
Using edible gold isn’t just about aesthetics; it’s about the delightful surprise and unique indulgence it offers your guests. Unlike traditional dyed eggs, an edible golden egg provides a sensory experience that tantalizes both the eyes and the palate. It’s safe, luxurious, and adds an element of playful sophistication. Your guests will be fascinated, and perhaps even a little hesitant, to crack open their personal golden treasure, only to discover a perfectly cooked egg within, ready to be enjoyed as a gourmet appetizer or a chic addition to their plate. It’s a memorable detail that elevates the entire dining experience.
What You’ll Need: Gathering Your Golden Crafting Supplies
Before you begin your golden egg transformation, ensure you have all the necessary tools and ingredients at hand. Quality supplies will make the process smoother and the results more stunning.
- Hard-boiled eggs: Opt for large, smooth-shelled eggs for the best canvas. Ensure they are fully cooked and completely cooled before attempting to decorate. Room temperature eggs are ideal.
- Edible gold leaf sheets: These delicate, ultra-thin sheets provide the most authentic and luxurious golden finish. They come in small booklets and require gentle handling.
- Food-grade brush: A soft, clean, and dry brush is essential for handling gold leaf or applying edible gold paint. Choose one specifically for food use to avoid contamination.
- Edible adhesive (optional, for gold leaf): While gold leaf can often adhere to the natural surface of an egg, a tiny bit of edible glue or even a slightly damp (but not wet) brush can aid in adhesion, especially on very smooth surfaces.
- Edible gold paint or dust (alternative to gold leaf): If working with gold leaf seems too intricate, edible gold paint mixed with a little clear food-grade extract (like lemon or vanilla) or edible dust applied dry can also create a beautiful shimmering effect.
- Small dishes or shallow bowls: These are useful for holding the gold leaf sheets or for mixing edible paints, keeping your workspace organized.
- Bright confetti: For adding a vibrant, playful pop of color around your golden eggs, contrasting beautifully with the metallic sheen.
- Optional: Small candies or individual macarons: To complement your place settings and add another layer of sweetness and visual appeal, enhancing the overall festive theme.
Step-by-Step Guide to Golden Egg Perfection
Follow these simple steps to craft your own batch of dazzling, edible golden eggs. Patience and a gentle touch are key to achieving a professional-looking finish.
- Prepare Your Eggs: Begin with perfectly hard-boiled eggs that have completely cooled. It’s crucial that their surfaces are clean, dry, and free of any cracks. Any moisture or oil will prevent the gold leaf or paint from adhering properly.
- Set Up Your Workspace: Find a clean, draft-free area away from open windows or fans. Edible gold leaf is incredibly delicate and can fly away with the slightest breeze, making it difficult to work with. Lay down parchment paper for easy cleanup.
- Applying Edible Gold Leaf:
- Carefully open the gold leaf package. Using your food-grade brush (or clean, dry fingertips if you’re very gentle), delicately pick up a sheet of gold leaf. Avoid touching the leaf excessively with your fingers to prevent tearing or wrinkling.
- Gently press the gold leaf onto the surface of a hard-boiled egg. The natural texture and slight moisture of the egg will often help the leaf adhere naturally.
- Using your brush or a soft, dry cloth, gently smooth out the leaf, working in small sections. Don’t worry about achieving a perfectly seamless finish; a slightly crinkled, artisanal look adds to its unique charm and handmade appeal.
- Continue applying small pieces of gold leaf until the entire egg (or your desired portion, perhaps just the top or bottom half) is covered. Overlapping pieces are perfectly fine and contribute to the rich texture.
- Applying Edible Gold Paint/Dust (Alternative Method):
- If opting for edible gold dust, mix a small amount with just a few drops of clear, food-grade extract (such as vodka or lemon extract) to create a paint-like consistency. Add the liquid very slowly to avoid making it too thin.
- Using your food-grade brush, carefully paint the gold mixture onto the cooled hard-boiled eggs. Apply in thin, even coats, allowing each layer to dry slightly before adding another for deeper color.
- If using dry edible gold dust, you can gently brush it directly onto the egg for a subtle shimmery effect, or use a slightly damp brush to create a more concentrated color and metallic sheen.
- Drying and Finishing: Allow the golden eggs to dry completely. This is especially important for painted eggs to prevent smudging. Once dry, handle them gently to preserve their exquisite finish.
- Safety First: Always ensure you are using food-grade, edible gold products. These are specifically manufactured for consumption and are safe to use on food items. Double-check product labels for “edible” certification.
Beyond the Eggs: Integrating Golden Macarons into Your Decor
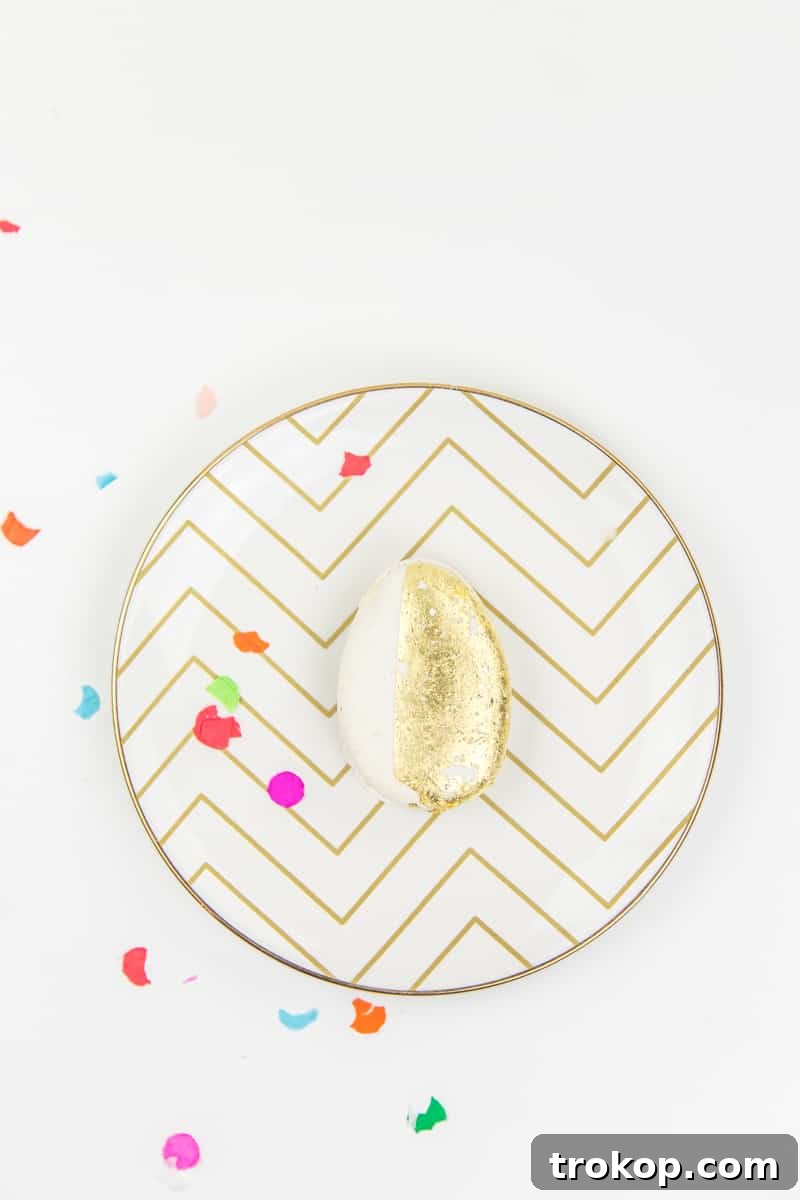
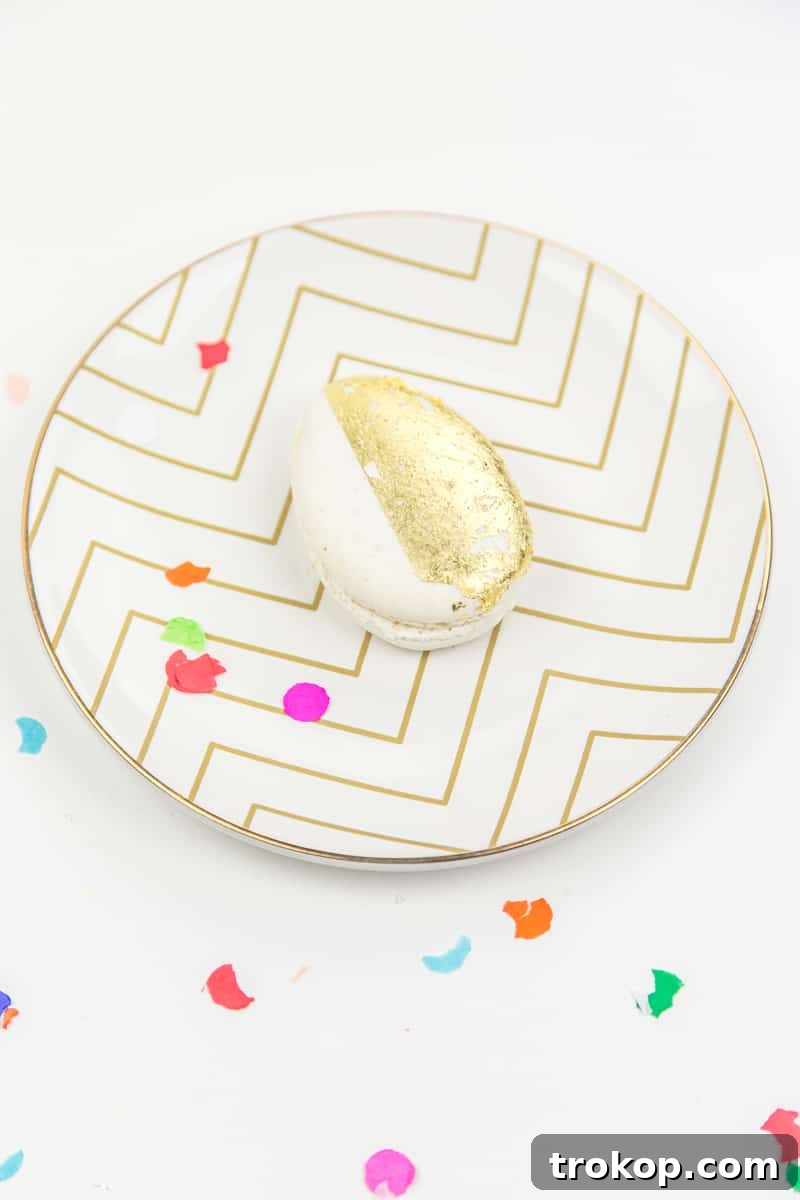
Why stop at golden eggs when you can amplify the luxury and sweetness? You might recall my previous DIY tutorial for creating stunning gold leaf macarons. These delicate, shimmering confections are the perfect complement to your golden eggs, adding another layer of edible elegance and French-inspired sophistication to your Easter spread. Imagine a small pyramid of these golden delights nestled beside each place setting, offering an irresistible sweet treat that doubles as a miniature work of art.
For those residing in Houston, you’re in luck! Our local favorite, Sweet, often offers special edition gold leaf macaron eggs, perfectly timed for Easter celebrations. It’s a fantastic way to support local businesses while still achieving that luxurious look if you’re short on time or prefer to leave the intricate baking to the experts. For everyone else, our comprehensive gold leaf macaron tutorial provides all the detailed steps and tips you need to craft these beauties from scratch. They’re easier to make than you think and provide a delightful, personalized touch that will truly impress your guests.
Designing Your “Sugar & Cloth Approved” Easter Table
With your golden eggs and macarons ready, it’s time to assemble your table setting. This is where your creativity truly shines, transforming individual elements into a cohesive and breathtaking tablescape that reflects your personal style and the festive spirit of Easter.
The Place Setting as a Statement Piece
Each individual place setting is an opportunity to make a grand statement. The golden egg, nestled gracefully on a crisp linen napkin, a delicate charger plate, or even a small, ornate dish, immediately becomes the undeniable focal point. It’s an invitation for guests to discover the thought and effort you’ve poured into their dining experience, promising a celebration filled with beauty and joy. Consider using elegant dishware that complements the lustrous gold – perhaps classic white porcelain for a clean, sophisticated look, or even dark, rich tones like navy or emerald for a dramatic, opulent contrast that makes the gold truly pop.
Adding a Pop of Color: The Confetti Touch
While gold provides the undeniable glam and elegance, a dash of bright confetti adds that vibrant burst of joy and playfulness essential for an Easter celebration. Sprinkle a small handful of colorful, festive confetti artfully around each golden egg. Choose hues that either subtly complement or boldly contrast with the gold – the possibilities are endless! Jewel tones like sapphire blue, ruby red, or deep amethyst can create a rich, opulent palette, while vibrant spring pastels (used sparingly) can still be incorporated for a touch of classic Easter charm without overwhelming the luxurious golden theme.
Beyond confetti, think about incorporating other small, thoughtful accents to personalize each setting:
- Personalized Name Tags: Tie small, elegantly handwritten name tags with a delicate satin ribbon around the base of each golden egg for an intimate and welcoming touch.
- Fresh Spring Flowers: A tiny sprig of fresh greenery, a single delicate bloom (like a miniature daffodil, tulip, or hyacinth), or a few fragrant herbs placed beside the egg can beautifully tie in the spring theme and add natural elegance.
- Metallic Accents: Consider incorporating gold-rimmed glassware, antique gold flatware, or even small gold votive candles to echo the golden theme seamlessly throughout the entire table design, creating a truly cohesive and luxurious atmosphere.
Creating a Cohesive Overall Table Aesthetic
Extend the golden theme and your chosen color palette throughout your entire table to create a truly immersive experience. A crisp white or cream tablecloth provides an elegant and timeless backdrop, allowing the golden elements to truly shine and take center stage. For a bolder, more dramatic look, consider a dark velvet or a richly jewel-toned tablecloth – these choices will make the gold pop with stunning intensity. A simple, yet impactful centerpiece – perhaps a vase of pristine white lilies, an arrangement of cascading greenery, or a bowl filled with more golden eggs illuminated by delicate fairy lights – will complete your “Sugar & Cloth approved” tablescape, making it a feast for the eyes as much as for the palate.
More Easter Inspirations and Celebrations
Easter is a wonderful time for creativity, connection, and culinary delights. While these golden eggs and macarons are a spectacular start, don’t hesitate to explore other DIY projects and creative ideas to personalize your holiday even further. From crafting unique floral arrangements for your mantel to baking themed desserts that tantalize taste buds, every handmade touch adds warmth, character, and a unique story to your celebration. The joy of creating something beautiful and personal for loved ones is a reward in itself, fostering a sense of accomplishment and shared happiness.
On a personal note, I’m thrilled to soon share details from our recent quick trip to New Orleans – a city brimming with vibrant culture, incredible food, and unique charm that never fails to spark inspiration. Thank you so much for all your wonderful recommendations; they made the trip truly special and have undoubtedly sparked new ideas for future projects and festive gatherings, proving that inspiration can be found everywhere, from a bustling city street to a tranquil spring garden!
Final Touches and Enjoying Your Masterpiece
Once your table is set and gleaming with golden splendor, take a moment to admire your handiwork. These DIY edible golden egg place settings are more than just decorations; they are tokens of hospitality, creativity, and the joy of shared moments. Encourage your guests to savor the surprise, crack open their golden treasure, and enjoy the delicious treat within. Your thoughtful touches, from the shimmering eggs to the vibrant confetti, will make this Easter celebration truly unforgettable, leaving a lasting impression of elegance and joy.
Embrace the elegance, celebrate the spring, and let your Easter table shine brighter than ever before with these dazzling golden creations! Happy Easter, and happy crafting!
Special thanks to Sweet for providing the exquisite macarons that inspired this golden vision.