
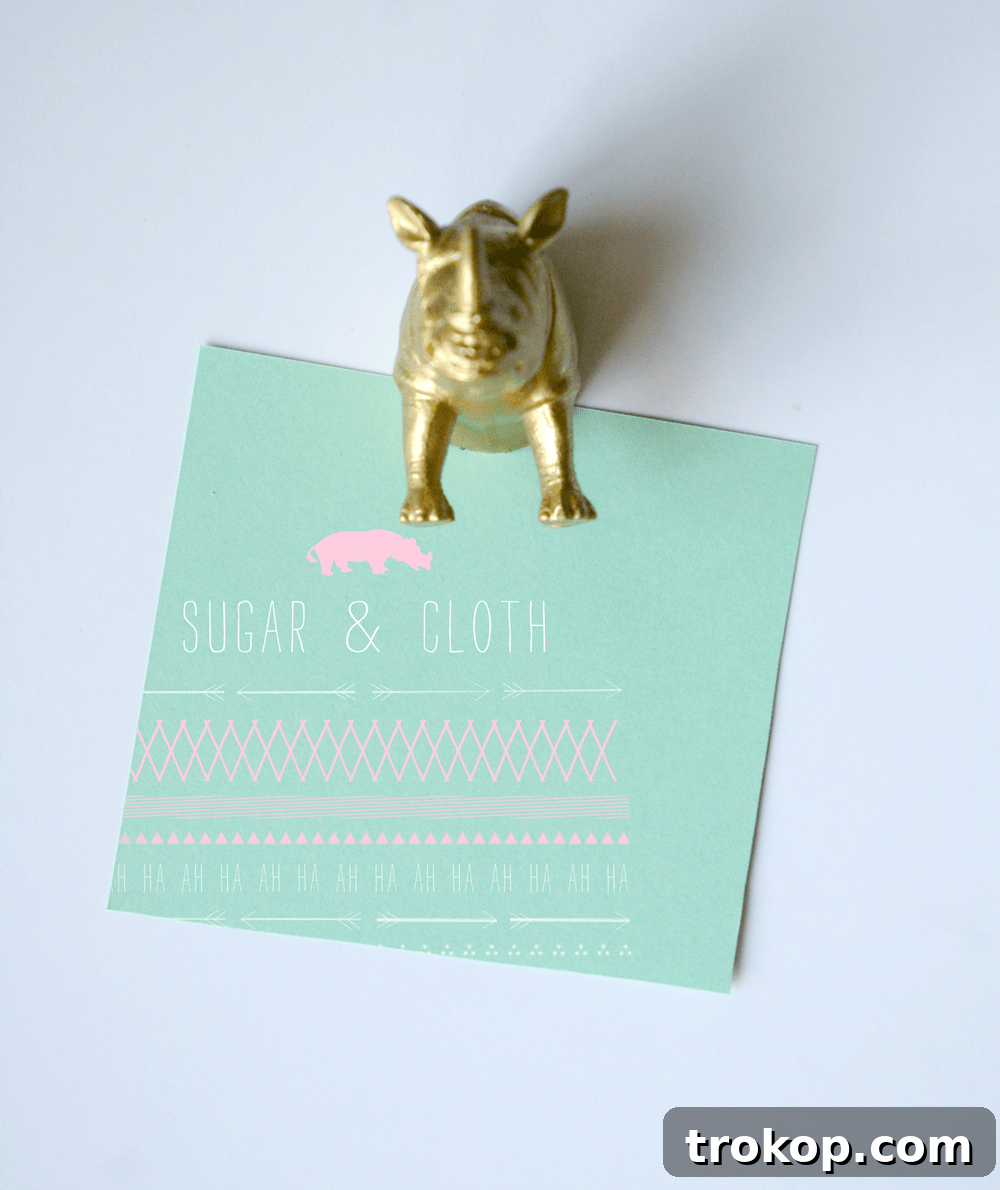
Transform ordinary plastic animals into extraordinary fridge or whiteboard decorations with this fun and easy DIY project! If you’ve been looking for a creative outlet that’s both charming and practical, then making your own DIY Party Animal Magnets is the perfect craft for you. Not only are they incredibly simple to create, but they also add a whimsical touch to any magnetic surface, making them fantastic for personalizing your space, organizing notes, or even as delightful handmade gifts.
Unleash Your Creativity: Why DIY Party Animal Magnets?
There’s something undeniably captivating about the miniature world of plastic animals. From realistic wildlife figures to playful farm creatures, these toys often spark a sense of nostalgia and wonder. My own fascination began after seeing a brilliant DIY project for animal candle holders from Hank + Hunt. Since then, I find myself drawn to them in craft stores and dollar bins, constantly envisioning new ways to give them a second life beyond the toy box. This enduring trend of incorporating animal figurines into home decor shows no signs of fading, and for good reason—they offer a unique blend of childlike charm and sophisticated whimsy.
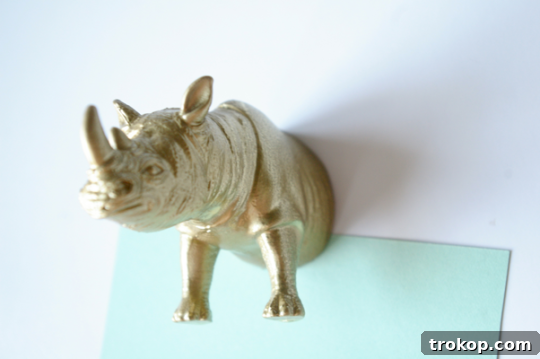
This project is born out of that newfound appreciation, taking those beloved plastic figures and turning them into practical and adorable magnets. Imagine a parade of brightly painted elephants, giraffes, or dinosaurs holding up your grocery list, a child’s artwork, or important reminders. These aren’t just any magnets; they’re conversation starters, unique decor elements, and a testament to your crafty spirit. They’re also surprisingly versatile. Beyond the kitchen fridge, they can brighten up a dull office whiteboard, secure important papers in a creative workspace, or even add a playful element to a child’s bedroom decor. Plus, making them yourself means you can customize every detail to match your personal style or a specific theme.
And here’s a funny, but important, side note for anyone planning this project: be careful how you phrase things on the phone. Announcing, “I’m cutting up animals!” can lead to some truly awkward pauses until you fully explain that you mean plastic ones for a DIY project. Trust me on this one!
What You’ll Need: Gathering Your Crafting Arsenal
One of the best aspects of this DIY project is how accessible the materials are. You likely have many of these items around your home already, or they can be easily sourced from a dollar store, craft shop, or online. Here’s a detailed look at everything required to bring your party animal magnets to life:
- Plastic Animals: These are the stars of your project! Look for a variety of sizes and types. Smaller, flatter animals often work best, but feel free to experiment with chunkier figures. We found ours for about $1 each at a local dollar store, making this a very budget-friendly craft. You can find diverse sets of plastic animals online if you’re looking for specific themes or larger quantities.
- Scissors: A sturdy pair of craft scissors will do the trick. The plastic used for most toy animals is surprisingly easy to cut, but a sharp pair will make the process smoother and safer. For tougher plastics, you might need heavy-duty scissors or even a small utility knife (adult supervision highly recommended).
- Super Glue: This strong adhesive is essential for securely attaching the magnets to your plastic animals. Ensure you have a fresh tube for maximum bonding power. Remember to work in a well-ventilated area and follow the manufacturer’s safety instructions. We recommend a reliable brand like Gorilla Super Glue.
- Plastic/Bottle Caps: These humble items serve a crucial purpose: providing a flat, stable surface for the magnet and acting as a filler inside the hollow animal. Collect bottle caps from soda, water, or milk jugs. Make sure they are clean and dry.
- Spray Paint: This is where you inject personality into your magnets! Choose colors that match your decor, favorite hues, or a party theme. Matte, glossy, or metallic finishes can all create different effects. Always use spray paint in a well-ventilated outdoor area or a designated spray booth, and wear appropriate protective gear like gloves and a mask. Rust-Oleum spray paint offers a wide range of colors and finishes.
- Magnet Circles: Self-adhesive magnet circles are the easiest to work with for this project. They come in various strengths, so pick ones strong enough to hold your plastic animal securely, especially if you plan to use larger figures. Adhesive round magnets are readily available.
- Optional: Newspaper or drop cloth for protecting your work surface, sandpaper (fine-grit) for smoothing rough edges if needed, clear sealant spray for added durability, glitter or other embellishments.
Step-by-Step Guide: Crafting Your Adorable Animal Magnets
Creating these DIY Party Animal Magnets is a straightforward process that yields impressive results. Follow these simple steps for a successful crafting session:
Step 1: The Art of the Cut
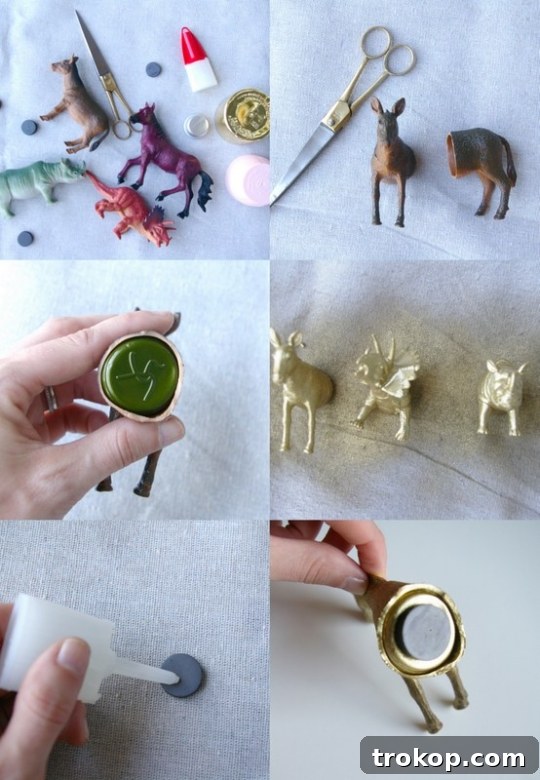
Carefully cut each plastic animal in half using your scissors. You’ll want to cut them horizontally, creating two distinct pieces – a front and a back. The goal is to create a flat, open end that can accommodate a bottle cap. Don’t be intimidated; the plastic is usually softer than you think, making it surprisingly easy to cut. Aim for a clean, even cut to ensure your magnet sits flush against the surface. For larger or tougher animals, you might need to make several small cuts or use a stronger cutting tool, always prioritizing safety.
Step 2: Securing the Base with Caps
Once your animal is cut, insert a plastic bottle cap into the open end. The cap serves two main purposes: it provides stability and a perfect flat surface for your magnet to adhere to, and it helps fill any hollow spaces within the animal. Push the cap in far enough so that it’s recessed slightly below the cut edge of the plastic animal. This is crucial for ensuring the magnet will be flush with the animal once glued, allowing your finished magnet to sit flat against your fridge or whiteboard. This step might require a bit of trial and error to find the perfect fit and depth, so be patient!
Step 3: A Splash of Color
Now for the fun part: spray painting! Place your animal halves on a protected surface (like newspaper or a drop cloth) in a well-ventilated area, preferably outdoors. Apply light, even coats of your chosen spray paint, holding the can about 6-8 inches away from the animals. Multiple thin coats are always better than one thick coat, as this prevents drips and ensures a smooth, professional finish. Allow each coat to dry completely according to the paint manufacturer’s instructions before applying the next. You can choose vibrant, contrasting colors or elegant metallics – let your imagination run wild!
Step 4: The Final Touch: Magnet Application
After the paint has thoroughly dried and cured (this can take a few hours or even overnight, depending on the paint), it’s time to attach the magnets. Apply a small dab of super glue to the center of the bottle cap you inserted earlier. Carefully press one of your magnet circles onto the glue, ensuring it’s centered and firmly adhered. Remember to push the magnet in just enough so it aligns perfectly with the back of the plastic animal. This attention to detail ensures your finished magnets sit flush against any magnetic surface without wobbling. Hold the magnet in place for a few seconds to allow the glue to set, then let it fully cure before using your new party animal magnets.
Pro Tips for Perfect Party Animal Magnets
To ensure your DIY Party Animal Magnets turn out perfectly and last for a long time, consider these additional tips:
- Alternative Fillers for Bottle Caps: If your plastic animals are too small or oddly shaped for standard bottle caps, don’t despair! You can use other materials to create a stable base for your magnets:
- Air Dry Clay: This is a fantastic option as it can be molded to fit any internal shape. Simply press a small amount of clay into the hollow part of the animal, flatten the surface, and allow it to dry completely before attaching your magnet.
- Thick Cardboard Cut-outs: Cut pieces of thick cardboard (from old packaging, for example) to fit snugly inside the animal. Stack several layers if needed to create enough depth, then glue them together and to the animal.
- Cork: Pieces of cork from wine bottles can also be cut and shaped to fit.
- Safety First: Always supervise children if they are involved in the crafting process, especially when using scissors and super glue. Work in a well-ventilated area when spray painting and consider wearing gloves and a mask.
- Pre-Painting Prep: Before painting, give your plastic animals a quick wash with soap and water to remove any dust or oils that might prevent the paint from adhering properly. Let them dry thoroughly.
- Enhance Durability: For magnets that will see a lot of handling, consider applying a clear sealant spray over the dried paint. This will protect the finish and make them more resistant to chips and scratches.
- Creative Embellishments: Take your magnets to the next level by adding glitter before the spray paint dries, or use small acrylic paints to add details like stripes, spots, or even tiny party hats!
Endless Possibilities: Customizing Your Magnets
The beauty of DIY lies in its potential for personalization. These party animal magnets offer a blank canvas for your creativity:
- Themed Collections: Create a safari theme with lions and zebras, a farm animal collection, or even a prehistoric party with dinosaurs.
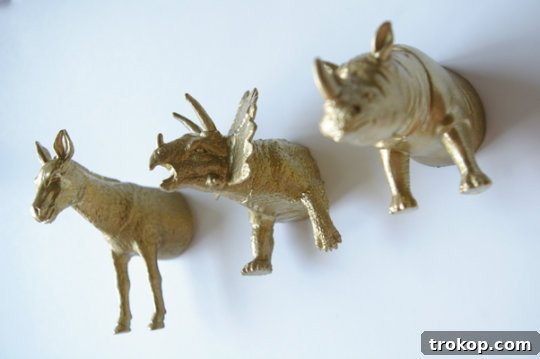
- Color Coordination: Paint them all in a single vibrant color for a minimalist yet striking look, or use a rainbow palette for a cheerful vibe. Metallic gold or silver can transform inexpensive plastic toys into elegant decor.
- Party Favors: Imagine sending guests home from a birthday party with a custom-made animal magnet! They are unique, memorable, and a much-loved alternative to traditional party bags.
- Stocking Stuffers: These make excellent, thoughtful stocking stuffers or small gifts for friends and family, especially for those who appreciate handmade items.
- Educational Tools: Use different animals to teach children about wildlife, classification, or colors, making learning fun and interactive on a magnetic board.
More DIY Inspiration: Beyond Magnets
If you’re now hooked on the charm of plastic animal crafts, the possibilities truly are endless! Once you start seeing these figurines as versatile crafting components, a world of creative projects opens up. For more DIY home decor ideas and crafty inspirations involving plastic animals, be sure to explore some of our other popular tutorials:
- DIY Animal Knobs: Perfect for dresser drawers or cabinet doors.
- DIY Animal Ear Cake Toppers: Add a wild touch to your baked goods.
- DIY Animal Memo Holder Gifts for Your Loved One: A thoughtful way to keep notes organized.
- Halloween Party Decor: DIY Animal Leg Ladle: A unique and spooky addition to your party spread.
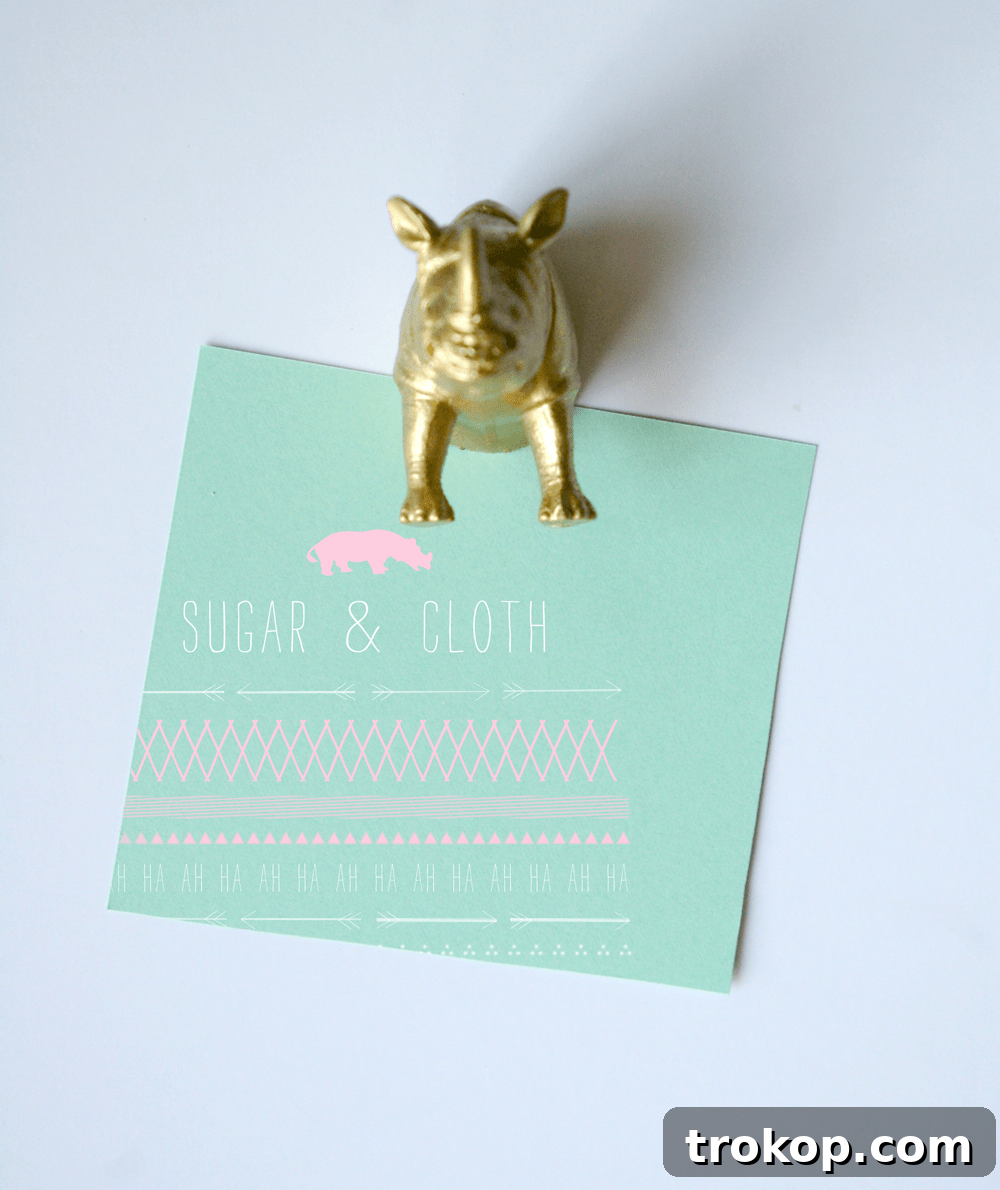
DIY Party Animal Magnets
Equipment
- Scissors
- Super glue
Materials
- Plastic animal figurine toys
- Plastic bottle caps
- Spray paint
- Round magnets
Instructions
-
Cut the plastic animals in half with scissors.
-
Insert the bottle caps into the open end of the animals. Be sure to push in the cap far enough for the magnet to be flush with the animal.
-
Spray paint them the color of your choice.
-
Super glue the magnet to the back.

We absolutely love seeing your handmade creations! Don’t forget to share your newly crafted DIY Party Animal Magnets with us on Instagram using the hashtag #sugarandclothloves. Your projects inspire us and the entire crafting community. If you’re on the hunt for more innovative interior design inspiration and delightful DIY ideas, you can find all of our home decor tutorials and projects right here. Happy crafting!