
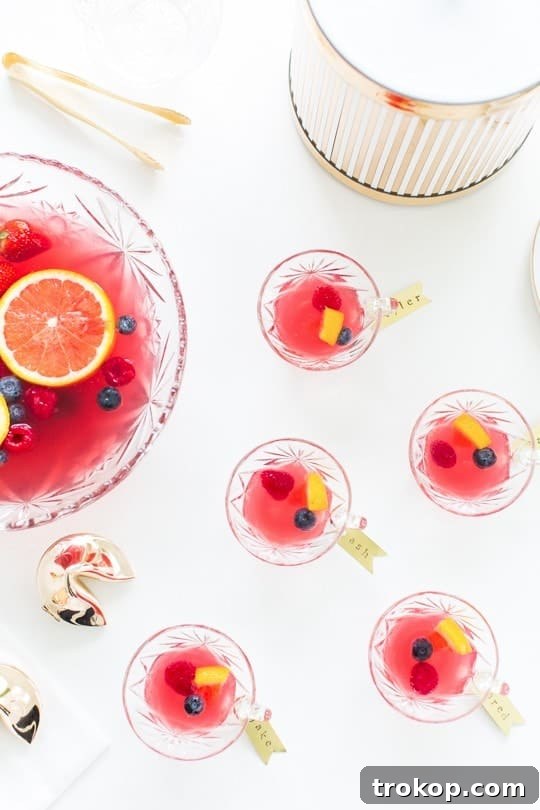
Elevate Your Celebrations: The Ultimate Mixed Berry Punch Recipe & DIY Brass Drink Tags
Planning an unforgettable gathering, whether it’s a sophisticated New Year’s Eve party, a vibrant summer soirée, or a cozy holiday get-together? Impress your guests with a dazzling presentation and thoughtful details that truly shine. This comprehensive guide combines an incredibly easy-to-make, large-batch Mixed Berry Punch recipe with a chic, personalized DIY Brass Drink Tag project. Together, these elements promise to add a touch of elegance and individual flair to any occasion, making your event feel exceptionally curated and memorable.
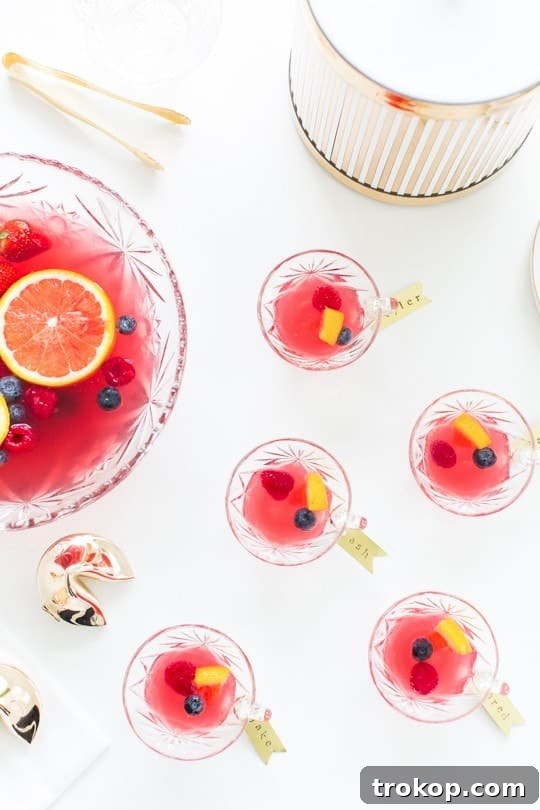
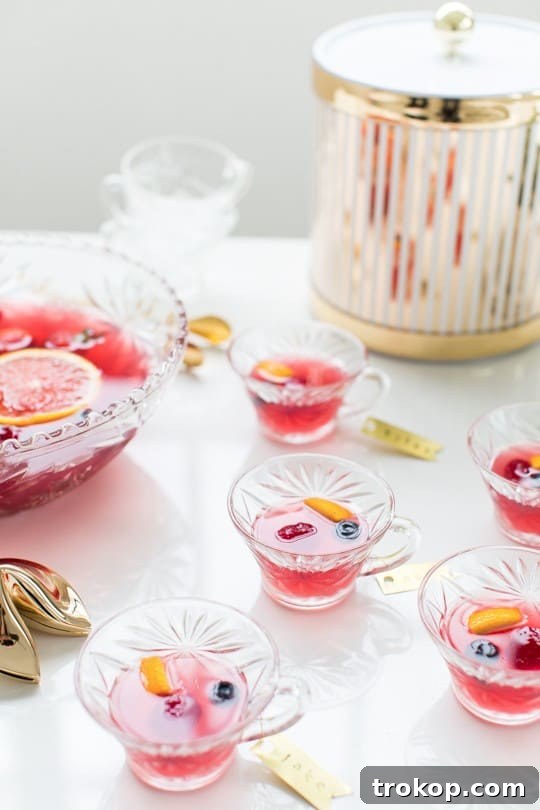
For those who pour their creative energy into making every detail count, this duo of delightful punch and custom drink identifiers is a game-changer. It’s not just about serving a drink; it’s about crafting an experience where every guest feels that you’ve considered their enjoyment and comfort. These handmade brass tags serve as a sophisticated touch, ensuring no glass gets mistaken and adding a unique, artisanal element that is sure to be admired by fellow DIY enthusiasts and casual party-goers alike.
The beauty of a well-made punch lies in its convenience. It allows hosts to mingle freely without being tethered to a cocktail shaker, while guests appreciate the ease of self-service. A refreshing, simple punch recipe is universally loved, offering a delightful sip that’s easy to grab and enjoy throughout the night. This particular Mixed Berry Punch, featuring a premium juice drink, is designed for speed and simplicity, taking mere moments to prepare. This makes it an ideal choice for welcoming early arrivals or ensuring quick, seamless refills as the party progresses, keeping the celebratory spirit flowing effortlessly.
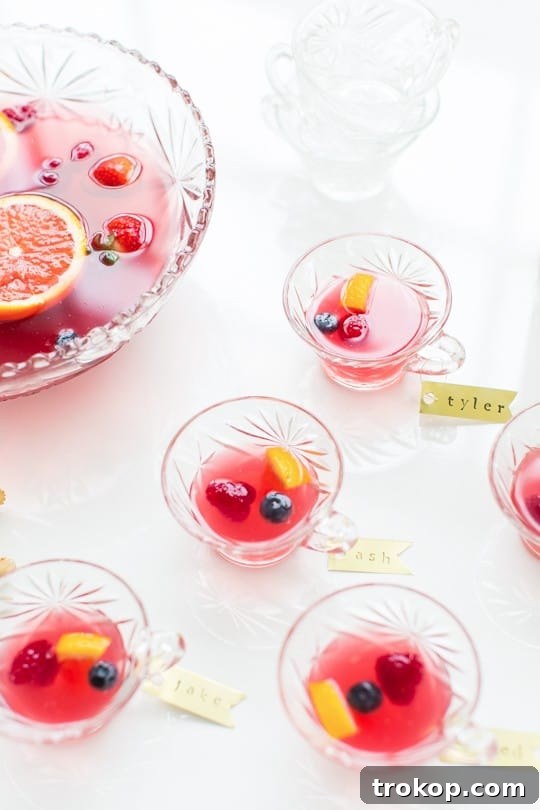
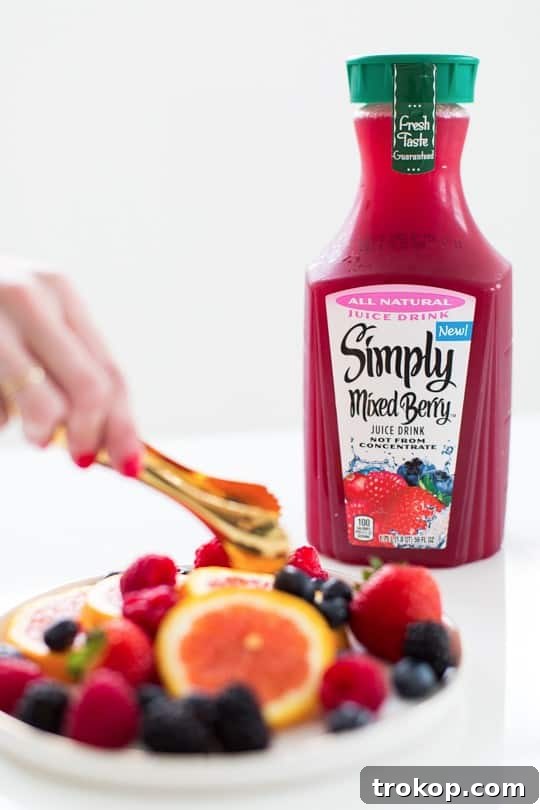
Table of Contents
Ingredients for a Luscious Mixed Berry Punch
Creating this delightful Mixed Berry Punch is wonderfully straightforward, requiring only a few key ingredients to achieve a harmonious blend of flavors. The brilliance of this recipe lies in its adaptability, allowing you to easily scale it up or down depending on the number of guests you’re expecting. Here’s what you’ll need to assemble your refreshing beverage:
- One part Simply Juice Drink Mixed Berry: This forms the foundational fruity base of your punch. The “Simply” brand is known for its commitment to using real fruit and simple ingredients, ensuring a high-quality, authentic berry flavor without artificial additives. This choice guarantees a vibrant, natural taste profile that elevates the entire punch.
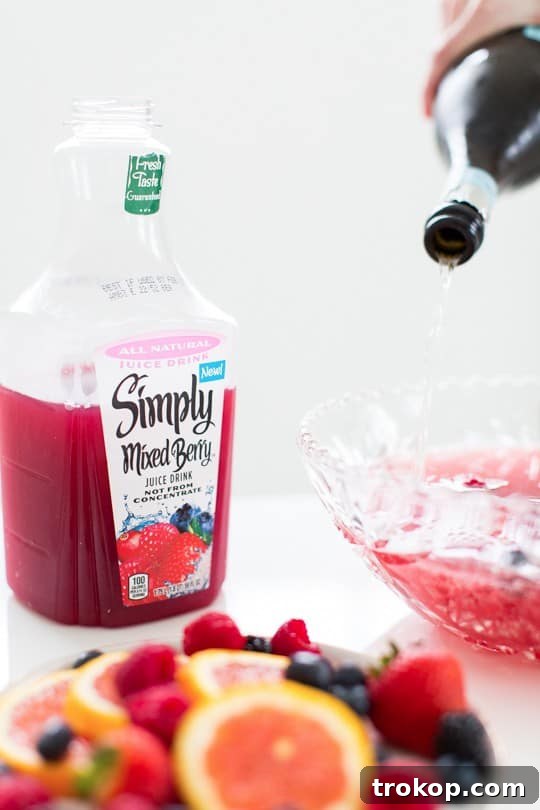
- Two parts Prosecco (or sparkling grape juice for a family-friendly option): The effervescence is crucial for a lively punch. Prosecco adds a crisp, celebratory sparkle and a subtle wine note, making it perfect for adult gatherings. For a non-alcoholic version, sparkling white grape juice offers a similar fizz and sweetness, ensuring everyone can enjoy a glass.
- A generous splash of simple syrup (to taste): Simple syrup, a mixture of equal parts sugar and water, is essential for balancing the tartness of the berries and the dryness of the Prosecco. Start with a small amount and adjust according to your preference and the sweetness of your chosen juice. You can also experiment with flavored simple syrups, such as raspberry or vanilla, for an added layer of complexity.
Crafting Your Perfect Mixed Berry Punch
The beauty of this Mixed Berry Punch recipe is its incredible flexibility. Instead of rigid exact quantities, we use a “parts” system, allowing you to effortlessly customize the batch size to perfectly match the scale of your party, whether you’re hosting an intimate gathering or a large celebration. This method simplifies preparation and minimizes waste.
Mixing Ratios for Optimal Flavor:
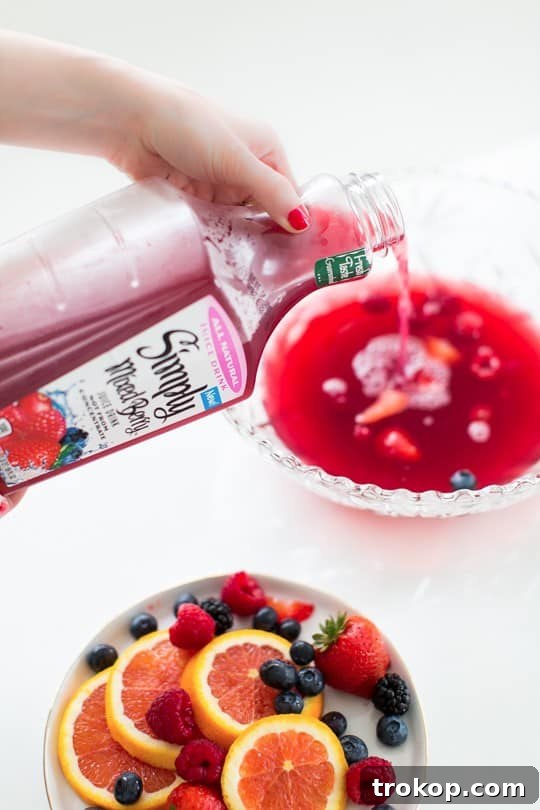
For a standard punch bowl, a highly recommended ratio that yielded a perfectly balanced and flavorful punch in our tests was combining a full bottle of Prosecco (or sparkling grape juice) with approximately half a bottle of the Simply Juice Drink Mixed Berry. This balance provides a wonderful depth of berry flavor without being overly sweet, complemented by the crispness of the sparkling wine. Remember, taste is subjective, so always feel free to adjust these ratios slightly to suit your personal preference. For example, if you prefer a sweeter punch, increase the simple syrup. If you like it tarter, add a bit more berry juice or a squeeze of fresh lemon.
Tips for Large Batches and Chilling:
- Preparation: For larger gatherings, consider making the juice and simple syrup mixture ahead of time and chilling it thoroughly in the refrigerator. Add the Prosecco or sparkling grape juice just before serving to preserve its effervescence.
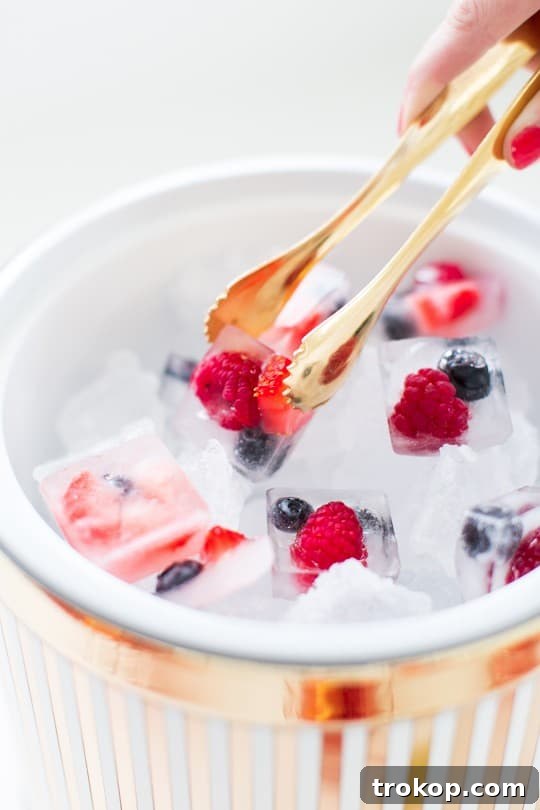
- Chilling: To keep your punch perfectly chilled without diluting it, freeze some of the Simply Mixed Berry Juice in ice cube trays or a decorative mold. These berry ice blocks will slowly melt, adding more flavor instead of watering down your delicious punch. Alternatively, a large block of ice made from plain water will melt slower than smaller cubes.
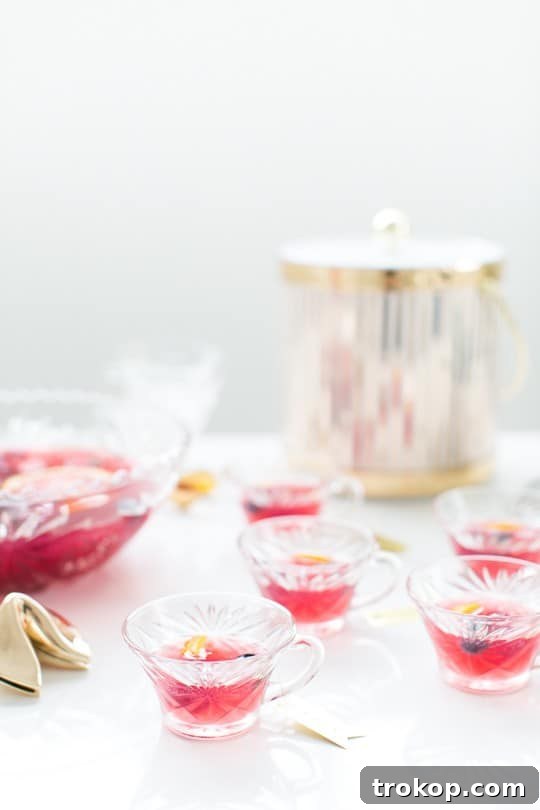
- Punch Bowl Selection: Choose a beautiful punch bowl that can accommodate your desired volume. Glass or crystal bowls enhance the visual appeal of the vibrant berry punch.
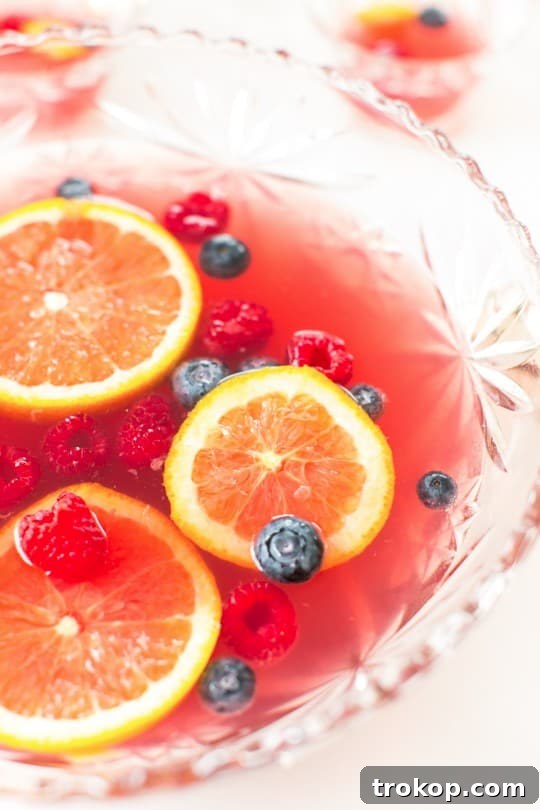
Exploring Flavor Variations:
While the Mixed Berry version is a perennial favorite, the entire range of Simply Juice Drink flavors offers fantastic alternatives for your punch. We highly recommend experimenting with Simply Tropical or Simply Fruit Punch for different flavor profiles. These varieties are just as delicious and equally made with simple, real fruit ingredients, ensuring a consistently high-quality taste experience. Consider creating multiple punch bowls, each with a different flavor, to offer your guests a delightful selection!
Garnishing for Impact:
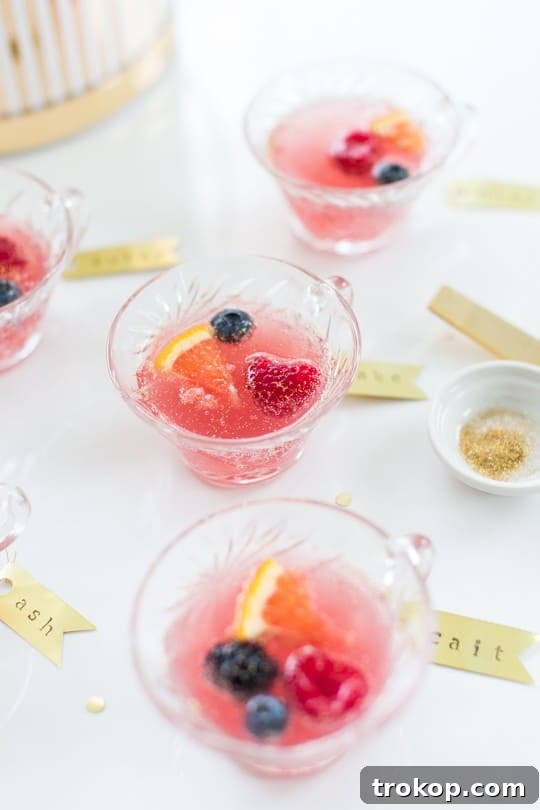
Visual appeal is key to a truly impressive punch. The vibrant red and purple hues of the Mixed Berry Punch naturally lend themselves to stunning garnishes. We love the idea of using fresh berries (strawberries, raspberries, blueberries, blackberries) to float in the bowl or skewer for individual glasses. For an extra touch of chill and flavor, we crafted frozen berry ice cubes. These not only keep the punch cold but also slowly release more berry goodness as they melt – a delightful “punch” of flavor, indeed!
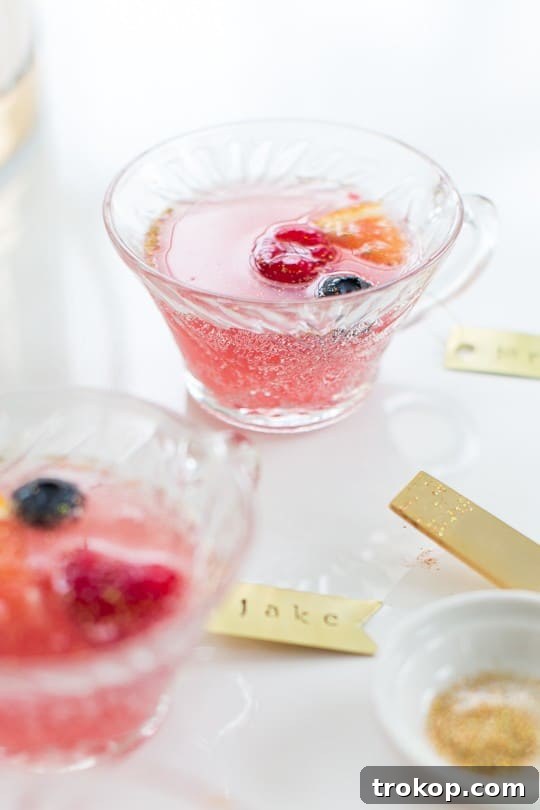
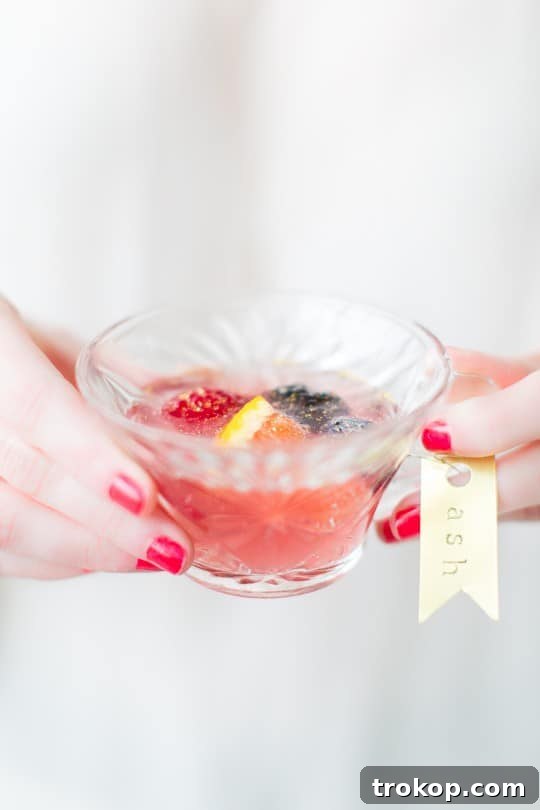
Essential Materials and Tools for DIY Brass Drink Tags
Adding a personalized touch to your party drinks with DIY brass tags is a simple yet impactful way to elevate your hosting game. These stylish markers not only prevent drink mix-ups but also serve as charming conversation starters. Here’s a detailed list of what you’ll need to create your own:
- One Brass metal sheet: The thickness of the brass sheet is crucial. Opt for a thin gauge that is easy to cut with scissors but sturdy enough to hold its shape. The quantity will depend on how many name tags you plan to create for your guests. Consider purchasing a small roll or several individual sheets.
- Heavy-duty hole punch: A standard paper hole punch may not be strong enough for brass. Look for a craft hole punch designed for metal or leather to ensure clean, precise holes.
- Sharp scissors or metal snips: For thinner brass sheets, strong craft scissors may suffice. For slightly thicker gauges, metal snips will provide cleaner cuts and require less effort.
- Mini letter stamp set: Choose a set with clear, easy-to-read fonts. These metal stamps will allow you to personalize each tag with names or initials.
- Washable ink stamp pad: Crucial for transferring the stamped letters onto the brass. A washable ink pad allows for easy clean-up and ensures that the tags can be wiped down and reused for various events. Black ink usually offers the best contrast and legibility on brass.
- Thin brass wire: This will be used to create the loops that attach the tags to the drinkware. Choose a flexible but sturdy gauge that can be easily manipulated with your fingers or small pliers.
- Fine-grit sandpaper (optional but recommended): Essential for smoothing any rough or sharp edges on the cut brass, ensuring the tags are safe and pleasant to handle.
- Small pliers (optional): Useful for twisting the brass wire loops securely and for fine-tuning the tag’s shape.
- Protective surface: A cutting mat or thick cardboard to protect your work surface when stamping.
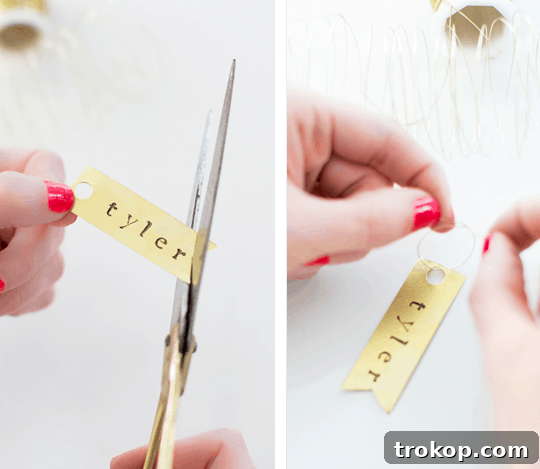
Step-by-Step Guide to Making DIY Brass Drink Tags
Creating these elegant brass drink tags is a straightforward and rewarding DIY project that adds a sophisticated, personal touch to your party decor. Follow these steps to craft your own custom drink identifiers:
Step 1: Prepare Your Brass Sheet and Stamp Names
Begin by cutting a small section of your brass metal sheet. The size should be appropriate for the length of the name or initial you plan to stamp. Using your mini letter stamp set and a washable ink pad, carefully stamp each guest’s name onto the brass. Take your time to ensure the letters are straight and evenly spaced. The washable ink is key here, allowing you to easily wipe away any mistakes and reuse the tags for future events, making them a sustainable party accessory.
Step 2: Cut and Shape the Tags
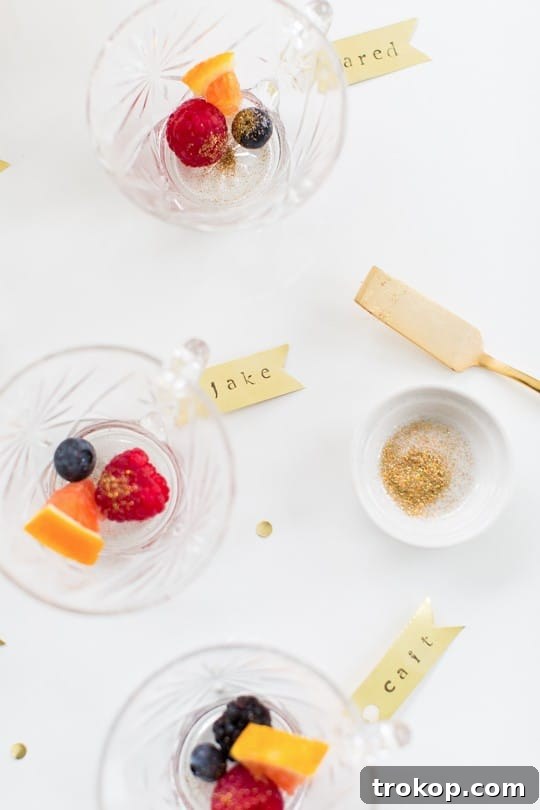
Once the ink is dry, use your sharp scissors or metal snips to cut out each name in a neat rectangular shape. For an added touch of interest and design, consider making a small V-shape cut at one end of the rectangle. This subtle detail elevates the tag’s aesthetic from simple to chic, giving it a more finished and designer look.
Step 3: Create the Attachment Loop
Next, use your heavy-duty hole punch to create a small, clean hole at the opposite end of the tag from your V-cut (or at either end if you opted for a simple rectangle). Then, take a short piece of thin brass wire and form it into a small loop. Insert one end of the wire through the punched hole. Twist the ends of the brass wire together securely with your fingers or a small pair of pliers. Ensure the loop is wide enough to comfortably fit around the rim of various types of drinkware, allowing guests to easily attach and remove their personalized tags.
Step 4: Refine the Edges (Optional but Recommended)
Brass, when cut, can sometimes have sharp or rough edges. For safety and a more polished finish, gently rub the edges of each tag with fine-grit sandpaper. This step smooths out any inconsistencies, making the tags pleasant and safe to handle for your guests. It’s a small detail that significantly enhances the overall quality and feel of your DIY project.
Once completed, these brass drink tags are not only practical but also serve as beautiful miniature keepsakes. Guests can easily twist their tags onto their cups, making identification effortless and adding an elegant sparkle to your beverage station.
Add Sparkle and Flair: Garnishes and Disco Dust for Your Mixed Berry Punch
Beyond the delicious taste and elegant drink tags, the presentation of your Mixed Berry Punch can truly elevate the party experience. Garnishes add visual appeal, enhance aromas, and provide an extra layer of enjoyment for your guests. While frozen fruit ice cubes are a fantastic way to chill and flavor your punch, there are many other creative avenues to explore.
Beyond Berries: Creative Garnishing Ideas:
- Citrus Slices: Thin slices of lemon, lime, or orange floating in the punch bowl or on the rim of individual glasses add a fresh, vibrant contrast and a zesty aroma.
- Herb Sprigs: A sprig of fresh mint, basil, or rosemary can introduce an unexpected aromatic complexity. Gently bruise the herbs before adding them to release their essential oils.
- Edible Flowers: For a truly sophisticated touch, float a few edible flowers like pansies, violas, or borage in the punch bowl. They add delicate beauty and an artistic flourish.
- Fruit Skewers: Thread a few berries or small fruit pieces onto decorative skewers for guests to add to their glasses. This makes for easy customization and a lovely presentation.
- Sugar Rims: Dip the rims of your serving glasses in simple syrup, then into colored sugar or fine granulated sugar for a festive, sparkling edge.
The Dazzle of Disco Dust:
For celebrations like New Year’s Eve, birthdays, or any event where you want to add a touch of playful glamor, consider offering edible disco dust as an optional garnish. A small dish of rainbow disco dust or shimmering gold disco dust can be provided alongside your punch. Guests can then sprinkle a tiny amount into their drinks for an instant, eye-catching sparkle, creating a truly festive and magical effect that photographs beautifully.
Important Note Regarding Disco Dust:
While disco dust (also known as luster dust) is widely used in confectionery for its dazzling visual effects on cakes, cookies, and other decorative items, it’s crucial to understand its classification. Many forms of disco dust are labeled “for decorative purposes only” and are not considered a food item by regulatory agencies. This is often because they contain non-toxic, food-grade ingredients but haven’t undergone the rigorous testing required to be classified as food for consumption in large quantities.
Therefore, if you choose to offer disco dust, please use it with discretion and in very small, purely decorative portions. It’s designed to add shimmer, not to be a primary ingredient. Always advise guests to use it sparingly. While some individuals may consume small amounts without issue (much like the childhood habit of chewing on crayons, as humorously noted), it’s important to be transparent and exercise caution to ensure everyone’s comfort and safety. For an entirely food-safe alternative, look for products specifically labeled as “edible glitter” or “food glitter” which are certified for consumption.
By combining this effortless Mixed Berry Punch recipe with custom DIY Brass Drink Tags and a choice of elegant garnishes, you’re not just serving refreshments; you’re crafting an immersive and personalized experience for your guests. These thoughtful details transform an ordinary gathering into an extraordinary celebration, leaving a lasting impression of style, creativity, and warm hospitality.