
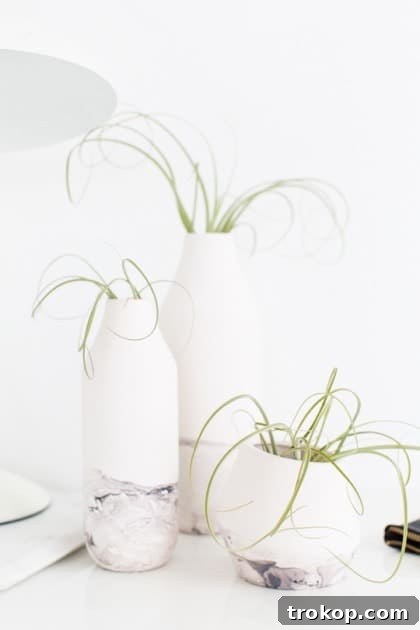
Transform ordinary, inexpensive vases into stunning, elegant decor pieces with this incredibly simple yet effective DIY Marble Dipped Vessels tutorial. You’ll be amazed to discover that this sophisticated, high-end look is achievable using nothing more than readily available nail polish – a true testament to budget-friendly creativity!
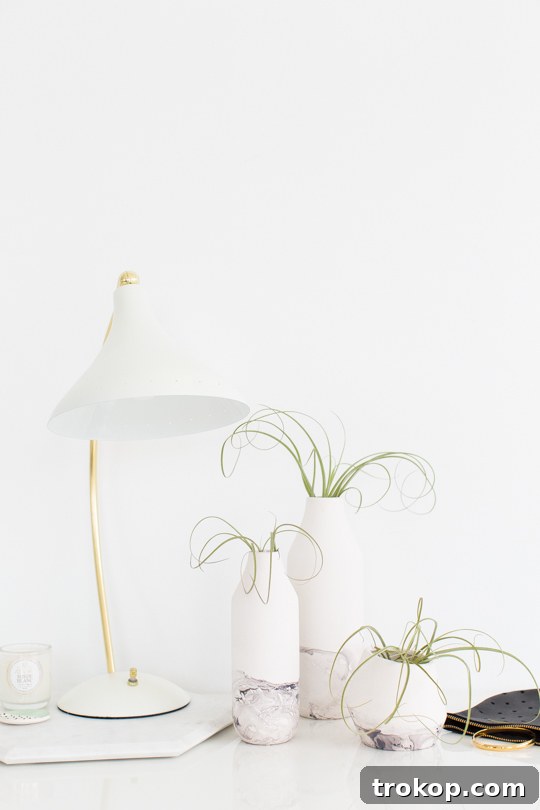
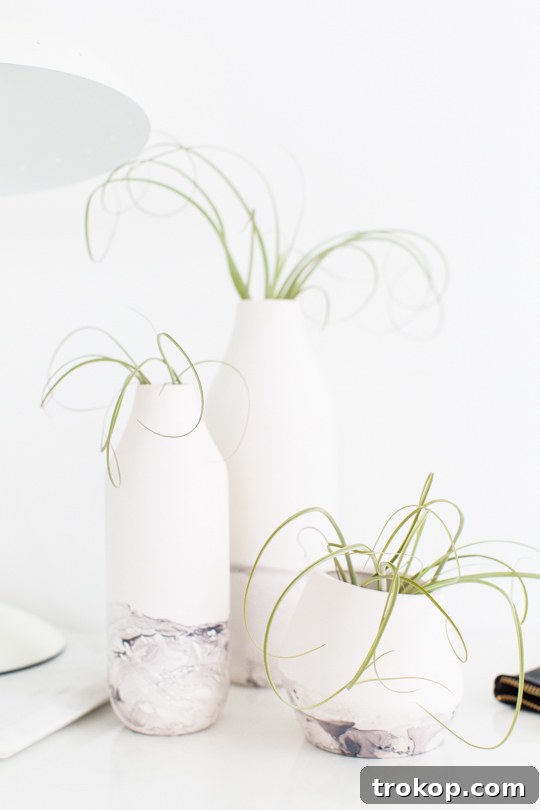
Marble, with its timeless appeal and inherent elegance, has always held a special place in home decor. For many, it runs a very close second only to all things gold on the list of interior design obsessions. Its classic veining and luxurious finish can instantly elevate any space, adding a touch of sophistication and grandeur. However, the sad reality is that genuine marble is often as expensive to acquire as gold itself. Its high cost can be a significant barrier for those looking to infuse their homes with its distinctive charm, making it seem like an unattainable luxury. Furthermore, working with authentic marble requires specialized tools and skills – it’s not exactly a material you can easily carve or manipulate yourself, no matter how much of a seasoned DIY enthusiast you might be.
This is where our innovative and budget-conscious approach comes in. Instead of longing for pricey marble slabs, we turn to a surprisingly effective alternative: nail polish! This accessible craft supply allows us to mimic the sophisticated look of natural marble with remarkable accuracy, without breaking the bank. This isn’t our first foray into using nail polish for DIY projects; we’ve previously leveraged its versatility for creative endeavors such as crafting clay DIY photo holders. The potential of this everyday item to create extraordinary decor is truly boundless.
For this specific project, we considered using marbled shelf liner paper, similar to how we approached our DIY Marble Plates. While effective for flat surfaces, our goal for these vessels was to achieve a seamless, fluid, and truly organic marbled pattern that wraps around the curves of a vase. This level of natural-looking integration is difficult to accomplish with adhesive paper. Therefore, we developed our own unique color recipe and technique using nail polishes to create an authentic faux marble finish that looks incredibly sleek and professional. While many similar projects often lean towards bright and neon colors, we believe there’s an undeniable elegance in blending traditional marble aesthetics with your existing decor. The muted, classic tones we’ve chosen ensure these pieces integrate beautifully into a wide range of interior styles, offering a sophisticated update without overwhelming the space.
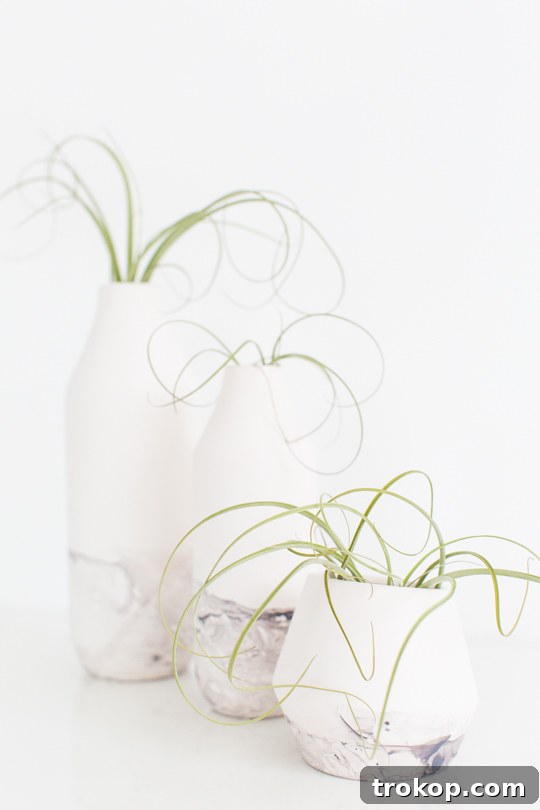
Table of Contents
- Materials and Tools Needed to Make DIY Marble Dipped Vase
- How to Make DIY Marble Dipped Vase
- Styling Your Marble Creations
- Frequently Asked Questions
- More DIY Home Decor Ideas
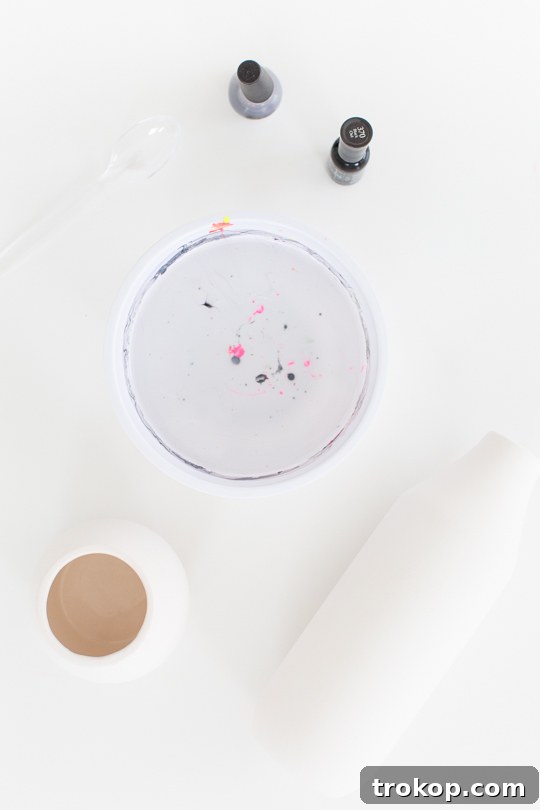
Materials and Tools Needed to Make DIY Marble Dipped Vase
Gathering your supplies is the first step towards creating your stunning marble-dipped vessels. The beauty of this project lies in its simplicity and the affordability of the materials. You likely have some of these items already, making it an even more accessible craft.
Gray and Black Nail Polish: You don’t need expensive brands here; the cheap, regular kind works perfectly and often yields fantastic results. Feel free to experiment with other color combinations if you want a different marble effect, perhaps white and gold, or navy and white.
White Ceramic Vessels: The key is a clean, smooth surface for the nail polish to adhere to. I personally used ceramic vases from Target which were unfortunately sold out, but you can find a similar vase here. I’m also quite fond of this ceramic vase set for a coordinated look. Any ceramic mug, bowl, or decorative plate can also be used.
Plastic Bowl: Choose a bowl that is deep enough to dip your vessels into and that you don’t mind getting stained. An old mixing bowl or a disposable container works great. (Don’t mind the pink in my images; it’s my all-purpose crafting bowl!)
Warm Water: The temperature of the water is crucial for the nail polish to spread correctly. Ensure it’s comfortably warm, but not boiling hot.
Plastic Fork or Utensil: This is essential for stirring the nail polish gently on the water’s surface to create the marble pattern. A wooden skewer or toothpick can also work.
Plastic Cups (for practice): Especially if this is your first time marbling, practicing on cheap disposable plastic cups will help you get a feel for the technique without risking your final vessels.
How to Make DIY Marble Dipped Vase
This entire marbling process is surprisingly simple, but it does require a bit of speed and precision to achieve that coveted seamless, organic marble look. The most important thing to remember is to work quickly; nail polish dries rapidly when exposed to air and water, and if it starts to dry too soon, it won’t adhere evenly to your vessel. This can result in undesirable textures like weird bubbles, clumpy spots, or uneven overlaps, which detract from the elegant marble effect. To ensure a smooth process and perfect results, we highly recommend doing a few practice dips on inexpensive plastic cups first. This will help you get a proper feel for the technique and timing.
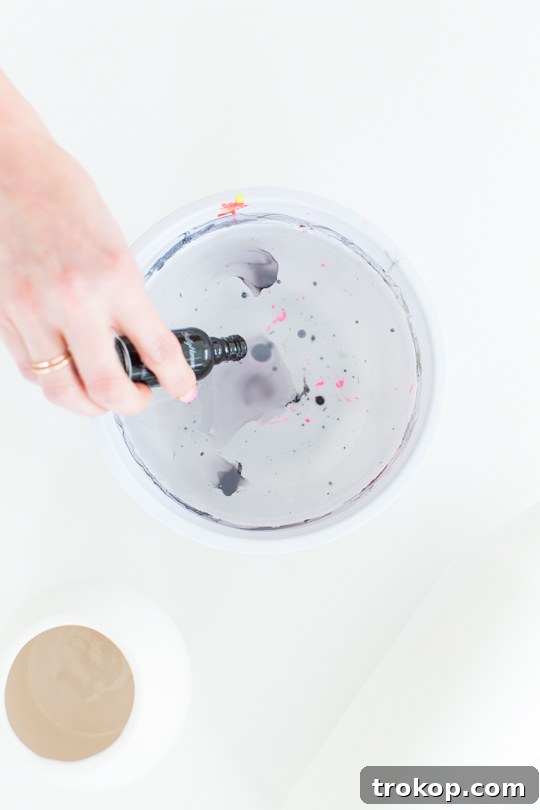
- Prepare Your Workspace and Water: Ensure your workspace is well-ventilated and protected with newspaper or an old towel. Fill your plastic bowl with comfortably warm water. The warmth helps the polish spread thinly on the surface.
- Create Your Color Blend: To achieve our specific marble effect, we used a ratio of 3 parts gray nail polish to 1 part black nail polish. This translates to approximately three drops of gray polish for every one drop of black. Carefully drip the nail polishes onto the surface of the warm water. Try to keep the drops relatively close to each other without letting them sink or spread too far too quickly.
- Swirl for the Marble Effect: Once the polish is on the water, quickly and gently stir it with the tip of a plastic utensil. Use a light, swirling motion to create the marble patterns you desire. Remember, speed is key here, as the polish will start to dry.
- Dip Your Vessel: Immediately after swirling the polish, take your ceramic vessel and dip it into the water at about a 45-degree angle. As you dip, gently twist your hand to allow the marbling film to wrap around the vase in a beautiful, organic swirl. Experiment with how much of the vessel you dip to create different looks—a partial dip for a subtle accent or a fuller dip for a bolder statement.
- Allow to Dry: Carefully remove the vessel from the water. To prevent drips and ensure an even dry, flip the vessel upside down and place it on a protected surface or a rack until it’s completely dry to the touch. This typically takes about 10-30 minutes, depending on the thickness of the polish layer and humidity.
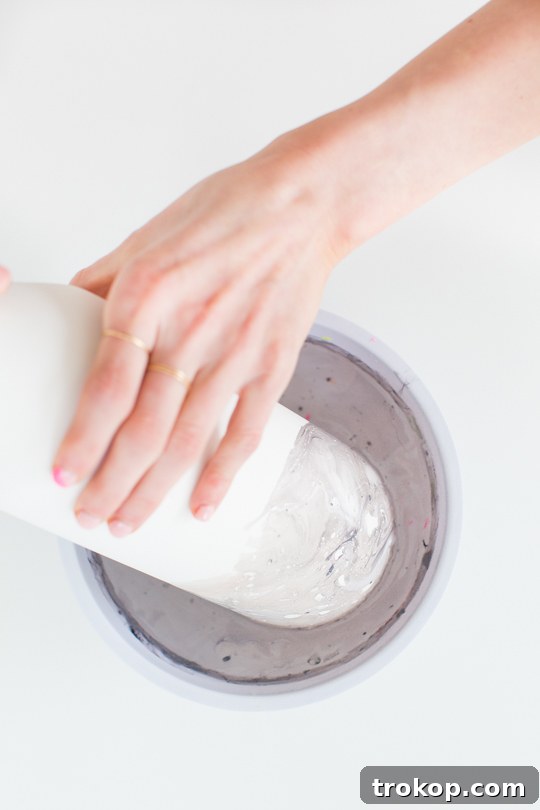
You’ll need to repeat this process for each vessel, one by one. After each dip, you might notice some dried or clumpy excess nail polish floating on the water’s surface. Before dipping the next item, simply swirl your plastic utensil around the bowl to gather and scoop out these undesirable bits. This ensures a fresh, clean polish film for your next marble design, preventing imperfections. With a little practice, you’ll master this technique and be able to produce beautifully unique marble-dipped pieces effortlessly.
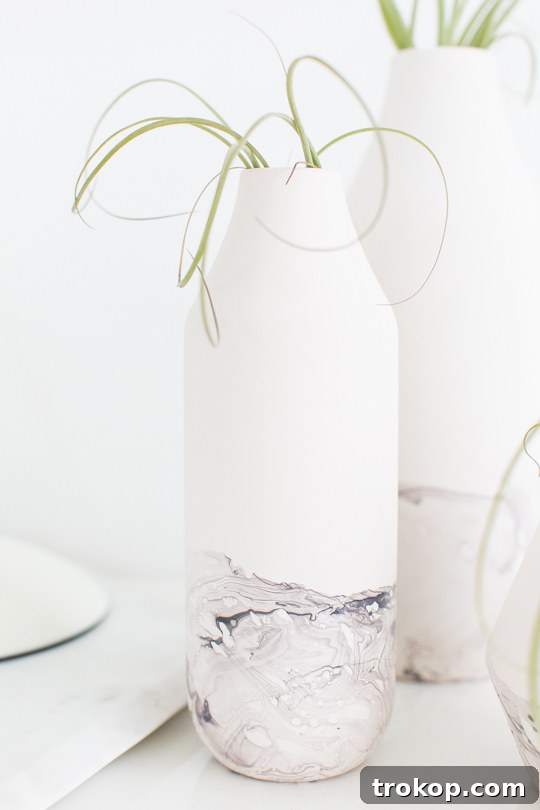
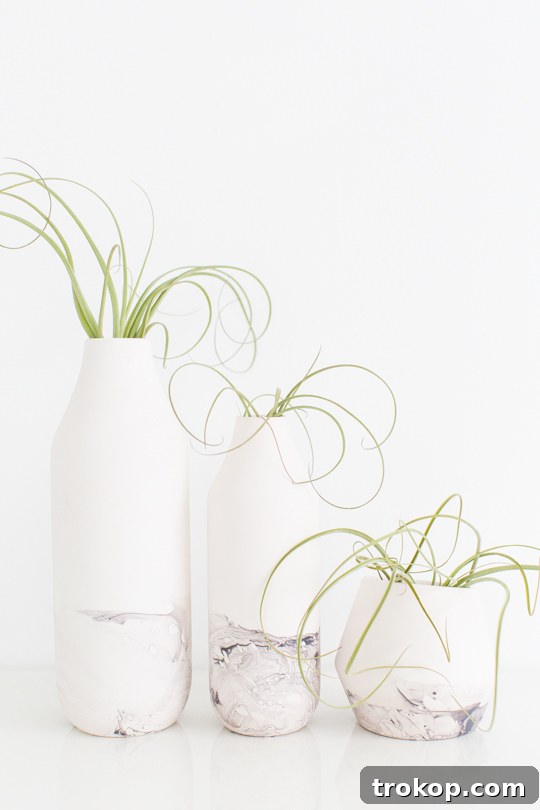
Once you see how simple and stunning this technique is, you might find yourself wanting to marble-dip everything in sight! It’s a common creative urge that strikes whenever you discover a new, enjoyable DIY method. If you’re anything like me, you’ll be tempted to give all your plain white ceramics a chic marble makeover. But perhaps it’s best to exercise a little restraint, lest you earn a reputation for being unable to stop at just one project! (I often joke that I need a shirt that says “#idontknowwhentostop” – though that could easily be misconstrued, now that I think about it…)
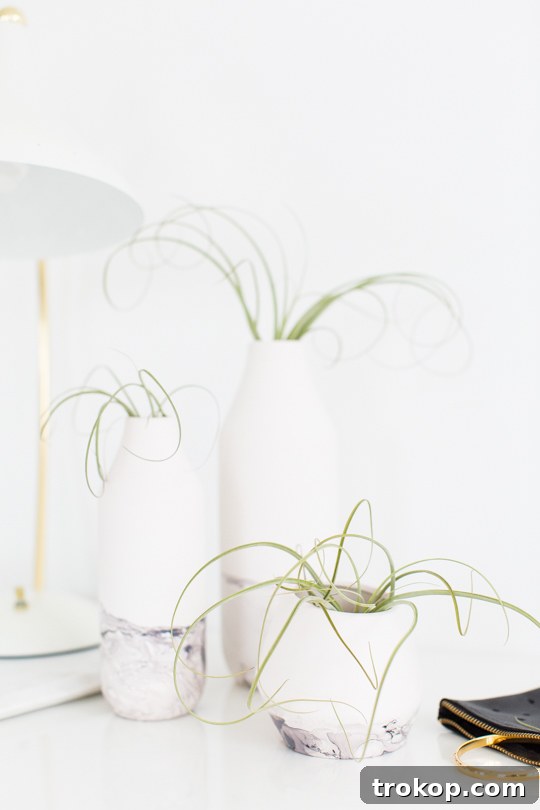
Styling Your Marble Creations
Now that you’ve created your elegant marble-dipped vessels, the fun really begins: styling them! These versatile pieces can effortlessly enhance various decor styles, from minimalist chic to modern eclectic. Here are some ideas to inspire your home styling:
- Minimalist Charm: Place a single marble vase with a delicate branch or a few fresh-cut flowers on a clean, uncluttered surface. The subtle pattern adds visual interest without overpowering the space.
- Modern Sophistication: Group vases of varying heights and shapes on a console table or bookshelf. Pair them with other geometric elements or metallic accents for a contemporary look. Consider incorporating a sleek Rejuvenation lamp nearby for ambient lighting that highlights their textures.
- Coffee Table Centerpiece: Arrange your marble vessels on a decorative tray alongside a good book, a scented candle, and perhaps a chic item like a CB2 marble hexagon serving board for a cohesive and inviting display.
- Dressing Table Elegance: Use smaller marble-dipped dishes or bowls to hold jewelry, such as a delicate Moorea Seal gold bangle, or other trinkets. A stylish accessory like a Moorea Seal punched pouch can complement the aesthetic.
- Botanical Beauty: These vases are perfect for showcasing your favorite flora. From a vibrant bouquet to simple greenery, the marble pattern provides a sophisticated backdrop, making your plants pop.
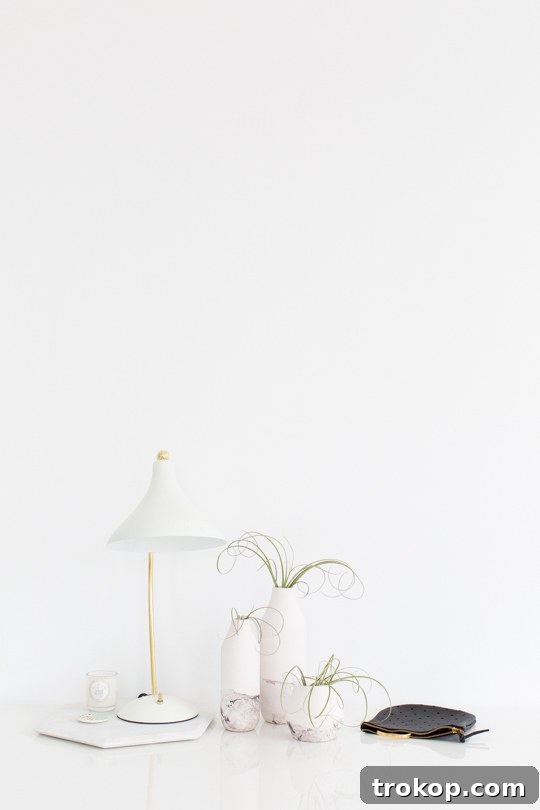
By thoughtfully placing your newly crafted marble vessels, you can create captivating vignettes that reflect your personal style and add a touch of handcrafted luxury to any room.
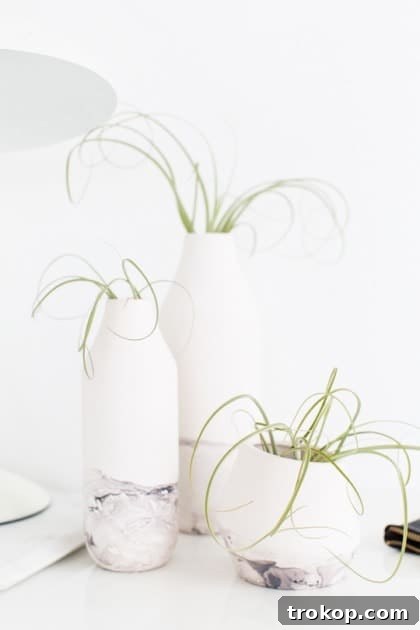
DIY Marble Dipped Vase
Make an inexpensive vase look way more elegant with this DIY Marble Dipped Vessels tutorial!
Active Time: 20 mins
Dry Time: 10 mins
Total Time: 30 mins
Course: DIY
Category: Home Decor
Equipment
- Plastic bowl
- Plastic fork or utensil (for stirring)
Materials
- 1 grey nail polish (or any color of your choice)
- 1 black nail polish (or any color of your choice)
- 1 white ceramic vessel
- 1 plastic cup (optional, if you want to practice first)
- Warm water
Instructions
- To get the right color consistency, use 3 parts of grey nail polish (about 3 drops of polish) to 1 part of black polish (1 drop).
- Quickly stir the nail polish mixture with the end of a plastic utensil, and dip in the vessel at about a 45-degree angle, making a twisting motion with your hand so that it swirls all around the vase.
- Let it set by flipping the vessel upside down until it’s dry to the touch. Remove any excess dried nail polish in between coats by swirling the plastic utensil around the bowl to scoop the bad part out.
Cost: $20
Keywords: diy marble dipped vase

Frequently Asked Questions
Can I use other types of paint for this project?
Nail polish is ideal for this specific technique because its chemical composition allows it to float and spread thinly on water, creating the unique marbled effect. Other types of paint, like acrylics or watercolors, behave differently in water and are unlikely to yield the same results. For best success, stick with nail polish.
What if my nail polish sinks?
If your nail polish sinks instead of floating, the water might be too cold or the polish might be too thick. Ensure your water is comfortably warm. If the polish is old or very thick, try adding a few drops of nail polish thinner (not remover) to it and shaking well before use. Working quickly also helps, as polish can start to harden and sink if left too long on the surface.
How do I clean my marble-dipped vessels?
These vessels are best suited for decorative purposes. If you plan to use them with water for fresh flowers, be gentle when cleaning. Hand wash with mild soap and cold water, avoiding harsh scrubbing or abrasive cleaners, which can chip or damage the nail polish finish. Air dry or pat gently.
Can I apply a sealant for durability?
For added durability and protection, especially if the items will be handled frequently, you can apply a clear, non-yellowing sealant spray. Look for a clear acrylic sealant that is suitable for ceramics and crafts. Always test on an inconspicuous area first to ensure it doesn’t react with the nail polish.
More DIY Home Decor Ideas
If you enjoyed crafting these marble-dipped vessels, you’re in for a treat! There are countless ways to infuse your home with personalized, handmade touches. Here are a few more of my favorite DIY vase and glassware projects to inspire your next creative endeavor:
- DIY Patterned Vase: Learn how to add simple yet striking patterns to plain vases using paint or stencils for a customized look.
- DIY Color Glazed Stacked Vases: Discover how to create unique, multi-tiered vases with beautiful color glazes, perfect for modern interiors.
- DIY Metallic Patterned Glassware: Elevate your everyday glassware with elegant metallic patterns, ideal for special occasions or adding sparkle to your bar cart.
- Easy Decor For Your Halloween Glassware: Get festive with simple decal techniques to transform ordinary glasses into spooky or charming Halloween decor.
- DIY Branch Clothing Rack: A unique and rustic way to display clothes or accessories, bringing natural elements into your wardrobe space.
- DIY Fancy Frill Balloons: Add a whimsical touch to parties or photoshoots with custom-frilled balloons that are sure to impress.
- DIY Acacia Wood Plant Stand: Craft a stylish and sturdy plant stand to showcase your favorite houseplants, enhancing your green decor.
- DIY Ikea TV Stand: How to Hack A Rattan Ikea TV Unit: Transform a basic Ikea unit into a trendy rattan-paneled TV stand for a high-end look on a budget.
- DIY Ombre Fry Stands + Parmesan Garlic Recipe: Combine crafting with cooking by making colorful ombre fry stands and pairing them with a delicious recipe.
- DIY Pegboard Headboard – DIY Home Decor Ideas: Create a functional and customizable pegboard headboard that adds both style and storage to your bedroom.
We absolutely love seeing your creative projects! Be sure to share your DIY Marble Dipped Vase creations with us on Instagram using the hashtag #sugarandclothloves. We’ll be following along to admire all your beautiful work!