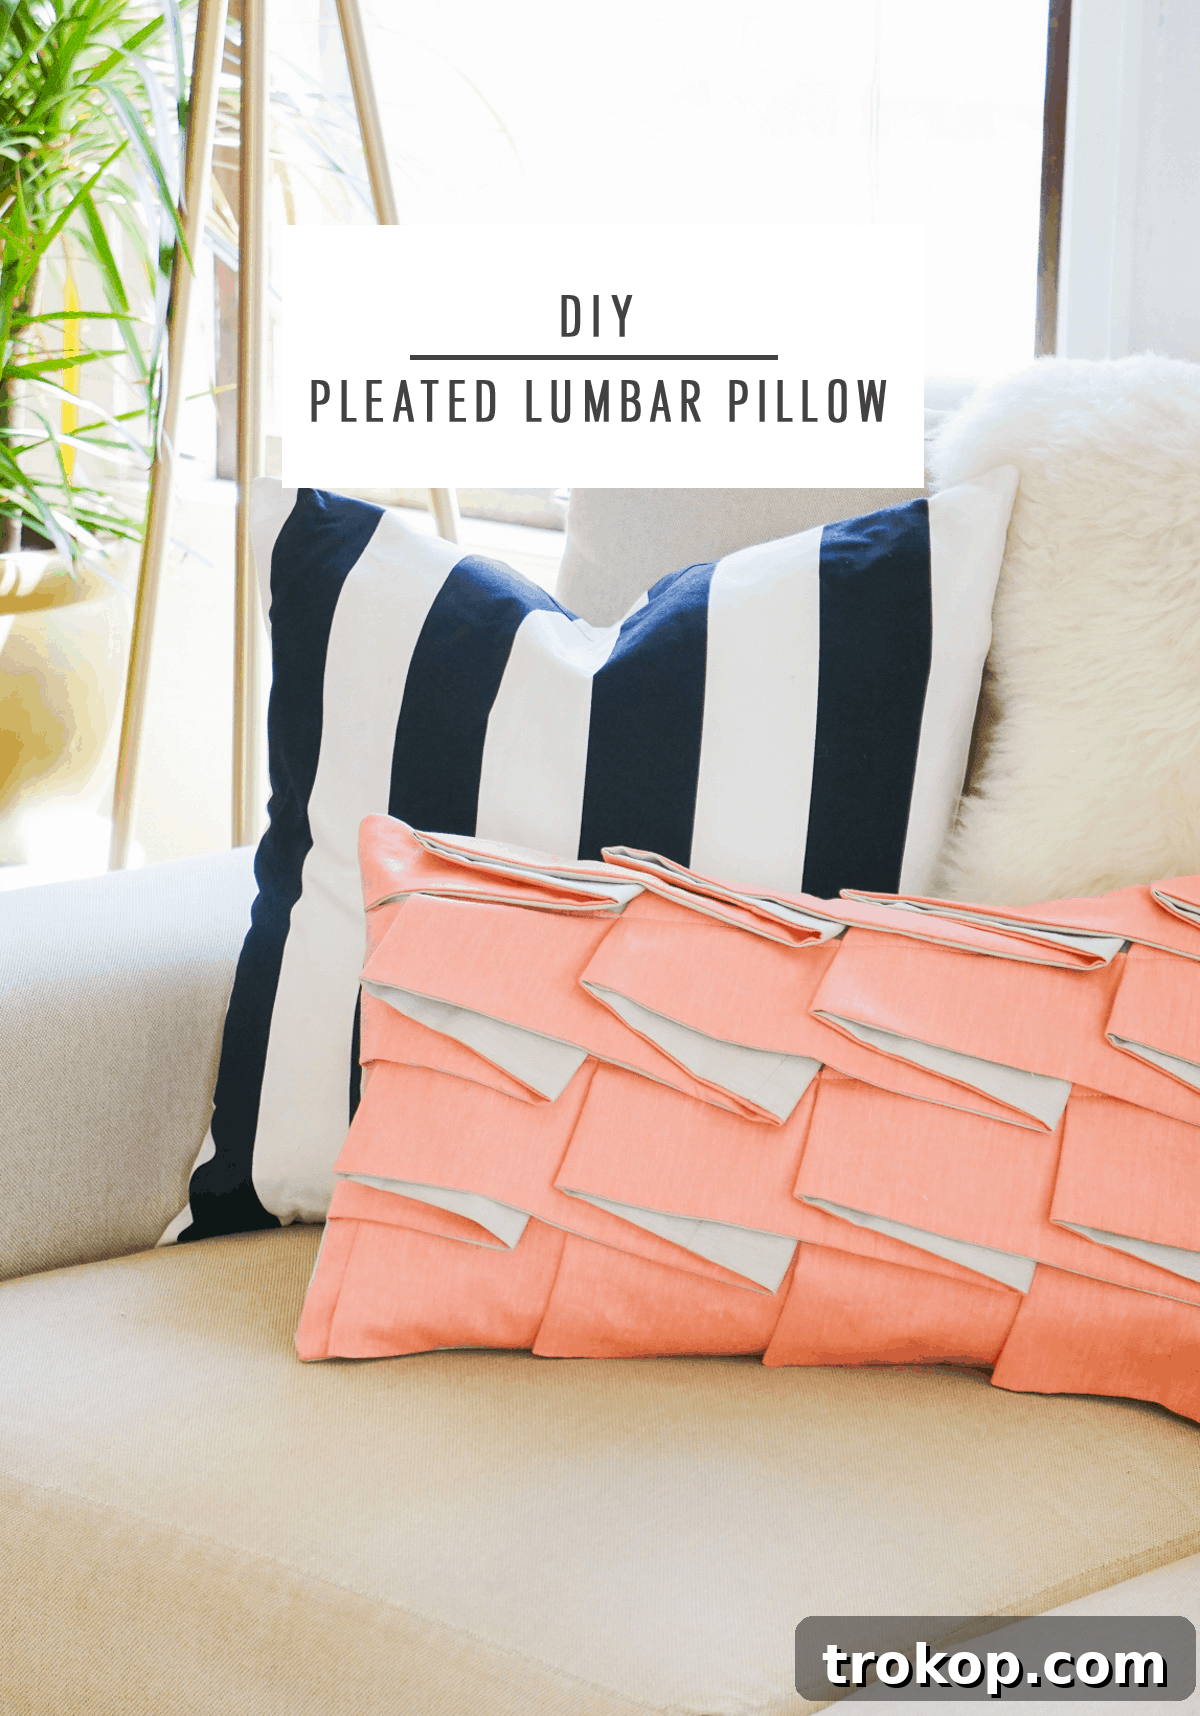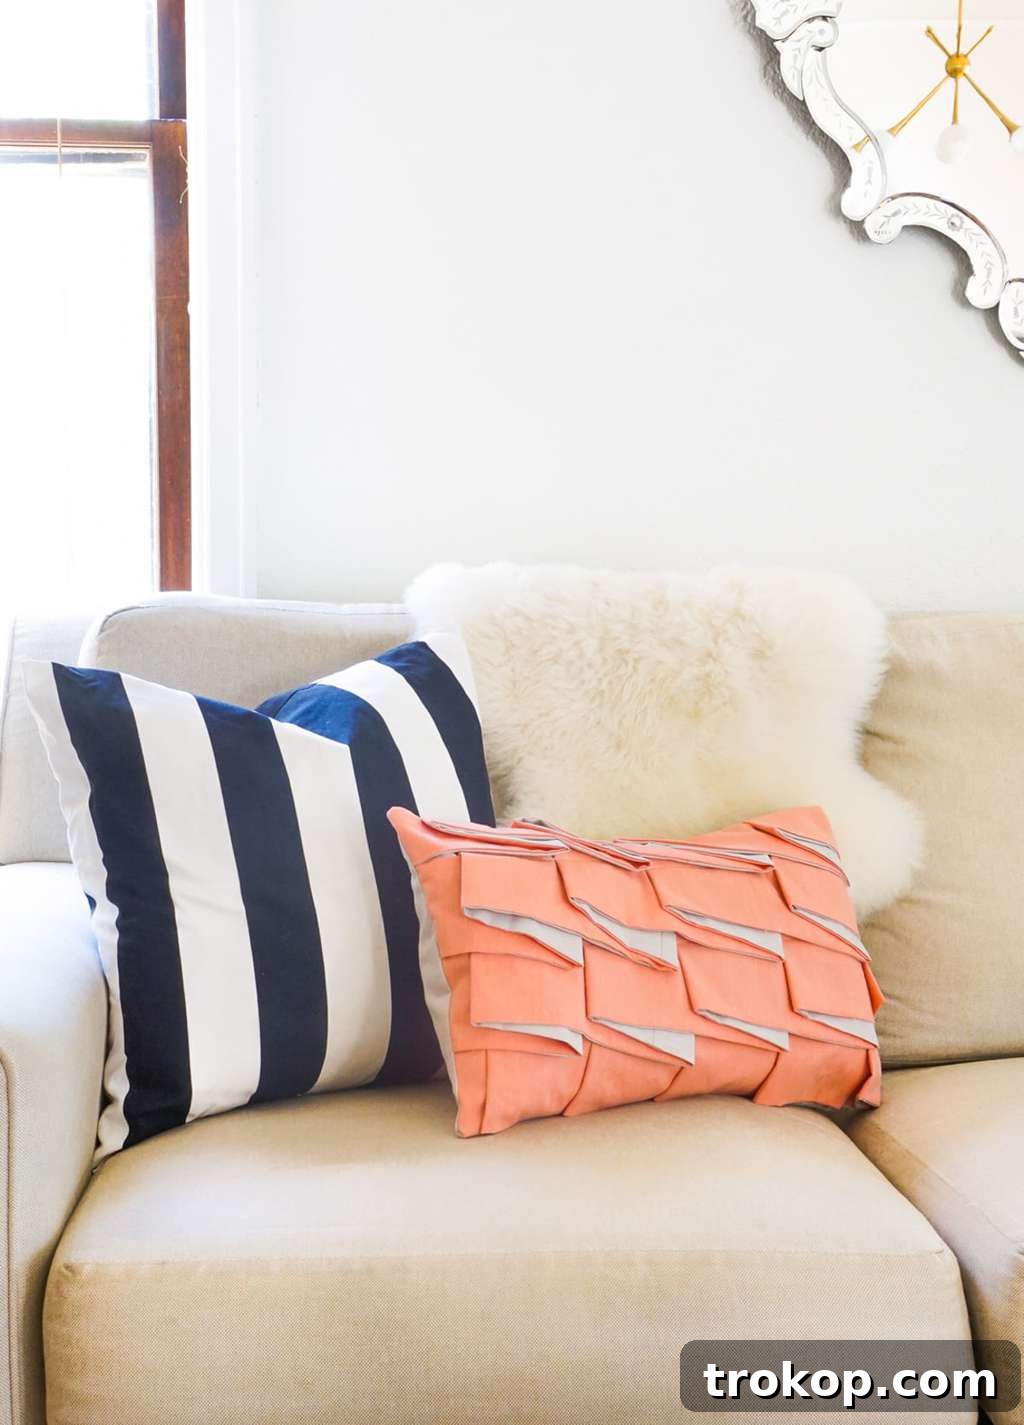
Welcome to a journey of transforming your home decor with a touch of DIY magic! If you’re yearning to infuse your living space with personality and style, look no further than the humble throw pillow. These versatile accents are the secret weapon of interior designers, offering an effortless and budget-friendly way to refresh any room. Forget about a complete overhaul; a few strategically placed pillows can dramatically alter the ambiance, adding color, texture, and a cozy invitation to relax. And when it comes to unique pieces that truly stand out, nothing beats the satisfaction of a handmade creation.
Today, we’re diving into an exciting project that combines fashion-forward design with the warmth of handcrafted decor: the DIY Structured Pleat Lumbar Pillow. This isn’t just any pillow; it’s a statement piece, inspired by the sophisticated lines seen on high-fashion runways. Imagine bringing that level of curated elegance right into your home, all while enjoying the creative process of sewing. This tutorial will guide you through creating a lumbar pillow adorned with elegant, structured pleats that promise to elevate your sofa, armchair, or bed with unparalleled charm and a bespoke feel. Get ready to add a truly unique and stylish element to your summer home refresh!
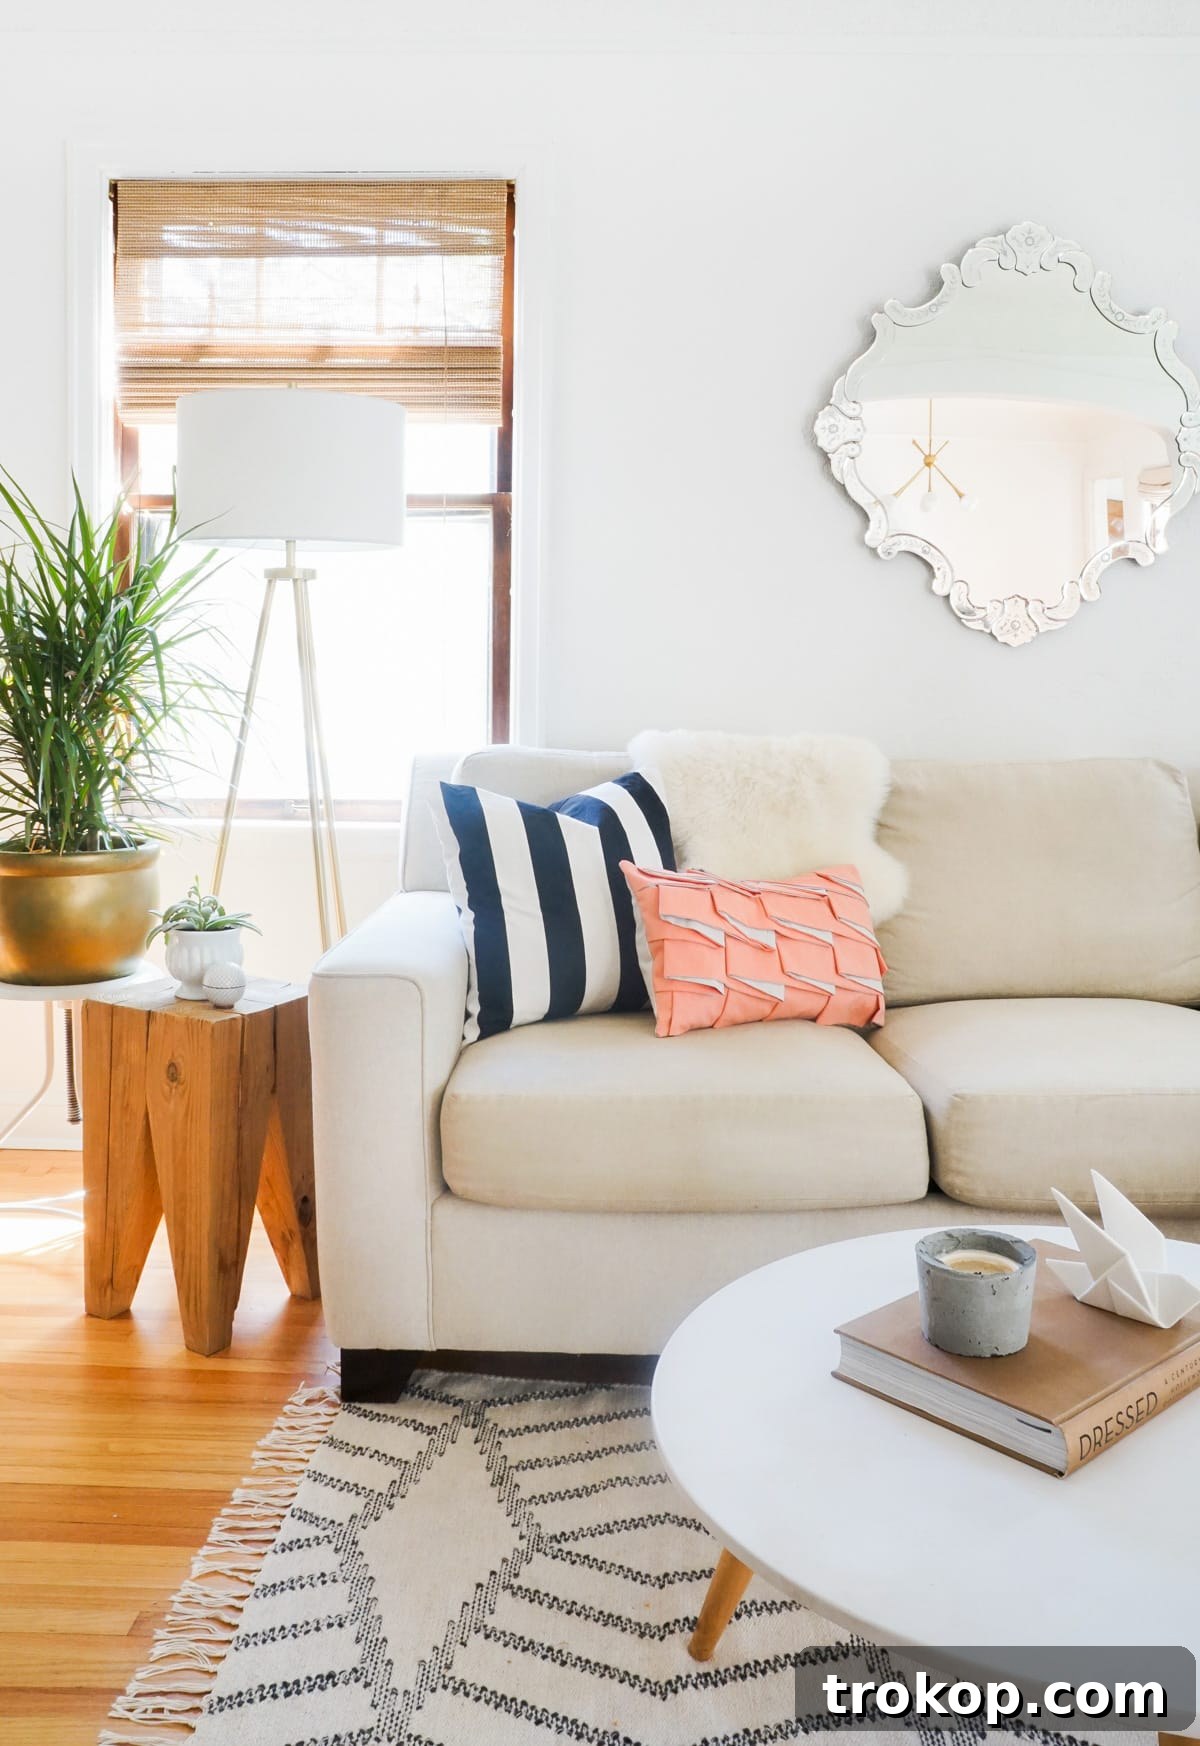
As the days grow longer and the world outside bursts into vibrant greens, there’s an undeniable urge to mirror that freshness within our homes. Here in Minneapolis, the arrival of warmer weather and the delightful sound of windows cracking open signal not just the end of winter coats but also the perfect opportunity for interior updates. Small changes can make a big impact, and few things offer such an immediate and gratifying transformation as updating your throw pillows.
Inspired by the exquisite textures and design elements showcased during Paris Fashion Week, I, Erin, embarked on creating this distinctive DIY Structured Pleat Lumbar Pillow. My goal was to translate runway elegance into everyday comfort, offering a playful yet sophisticated way to introduce fashion-inspired texture and compelling visual interest to our living room sofa. The structured pleats create a dynamic interplay of light and shadow, giving the pillow a sculptural quality that feels both modern and timeless. If you’re eager to infuse your space with a similar quick, stylish update for the sunny seasons ahead, read on. This guide provides all the intricate details to craft this truly unique and visually captivating pleated gem.
Embrace Comfort and Style: Why a Lumbar Pillow?
While standard square throw pillows hold a cherished place in home decor, a lumbar pillow brings a distinct set of advantages, both aesthetically and ergonomically. Their elongated, rectangular shape is specifically designed to provide excellent support for your lower back, making them a functional choice for sofas, armchairs, and even office chairs where comfort is paramount. Beyond their practical benefits, lumbar pillows are also powerful design tools. Their unique form allows for different styling possibilities compared to their square counterparts, creating visual diversity and a more layered look when paired with other pillows.
A lumbar pillow can act as a sophisticated anchor piece, drawing the eye and grounding your seating arrangement. Its horizontal orientation can make a sofa feel wider and more inviting, or provide a striking contrast against vertical lines in your decor. Furthermore, the ample surface area of a lumbar pillow provides a fantastic canvas for intricate details and patterns, like the structured pleats we’re about to create. This allows the design to truly shine, transforming a simple pillow into a focal point that speaks volumes about your personal style. It’s an ideal choice for adding a touch of tailored elegance and comfort to any corner of your home, merging functionality with high-end design appeal.
The Inspiration: Bringing Runway Fashion Home
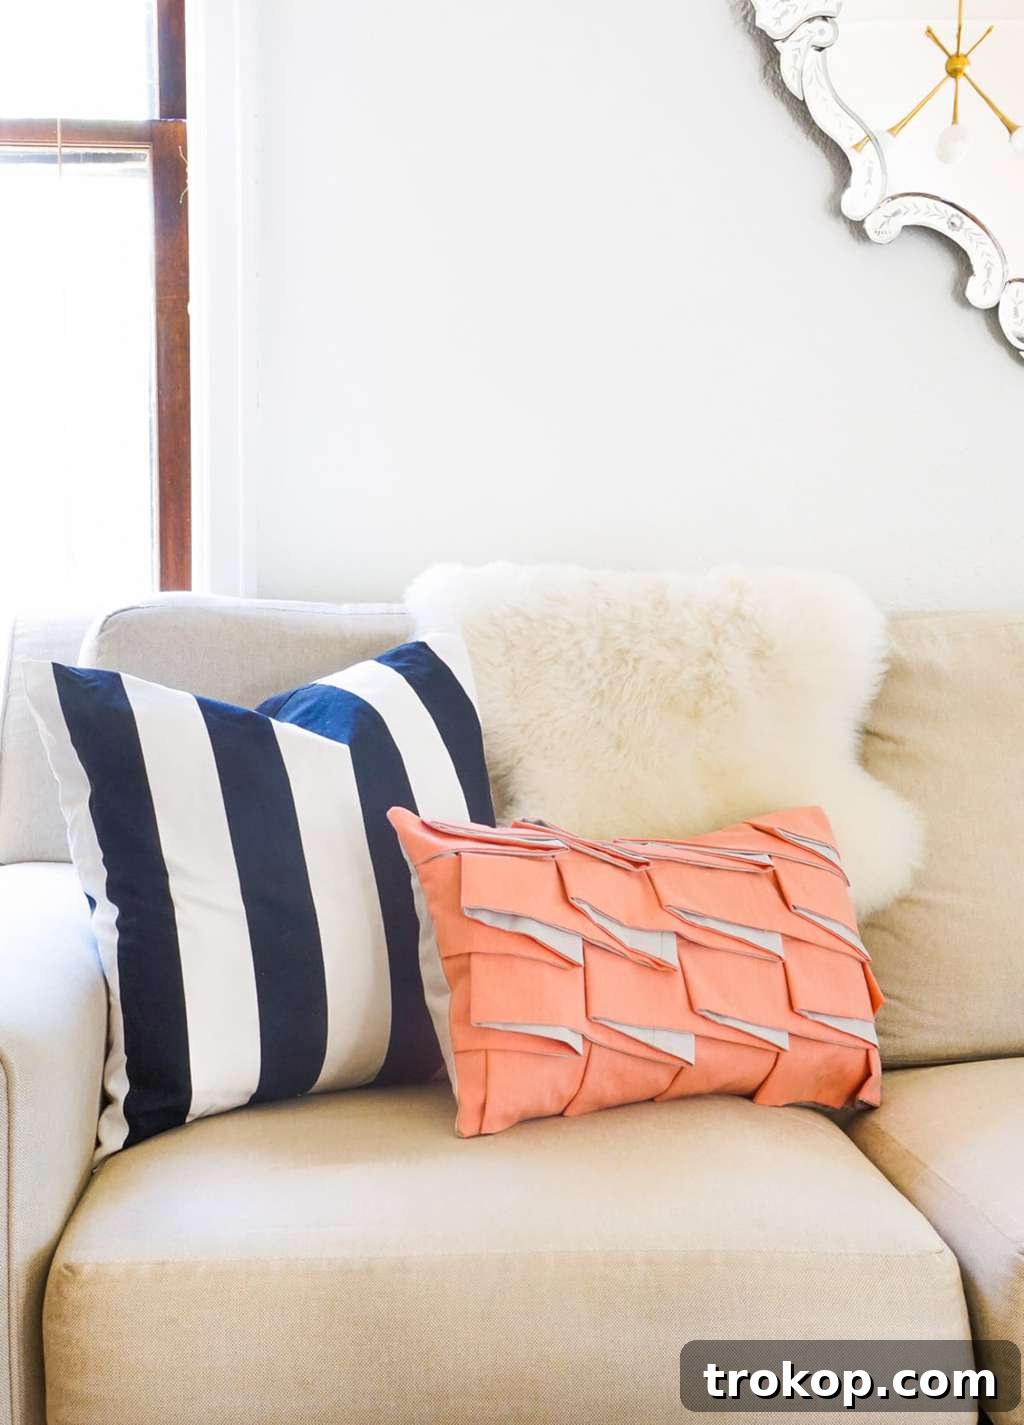
The journey of this DIY Structured Pleat Lumbar Pillow began on the captivating runways of Paris Fashion Week. Fashion is not just about clothing; it’s a powerful narrative of form, texture, and artistic expression, and these elements can seamlessly transition from haute couture to home decor. The structured pleats often seen in avant-garde garments and tailored pieces caught my eye, embodying a sense of refined elegance and architectural precision. There’s something inherently sophisticated about pleats – they add depth, movement, and a captivating play of light and shadow that simple flat fabric cannot achieve.
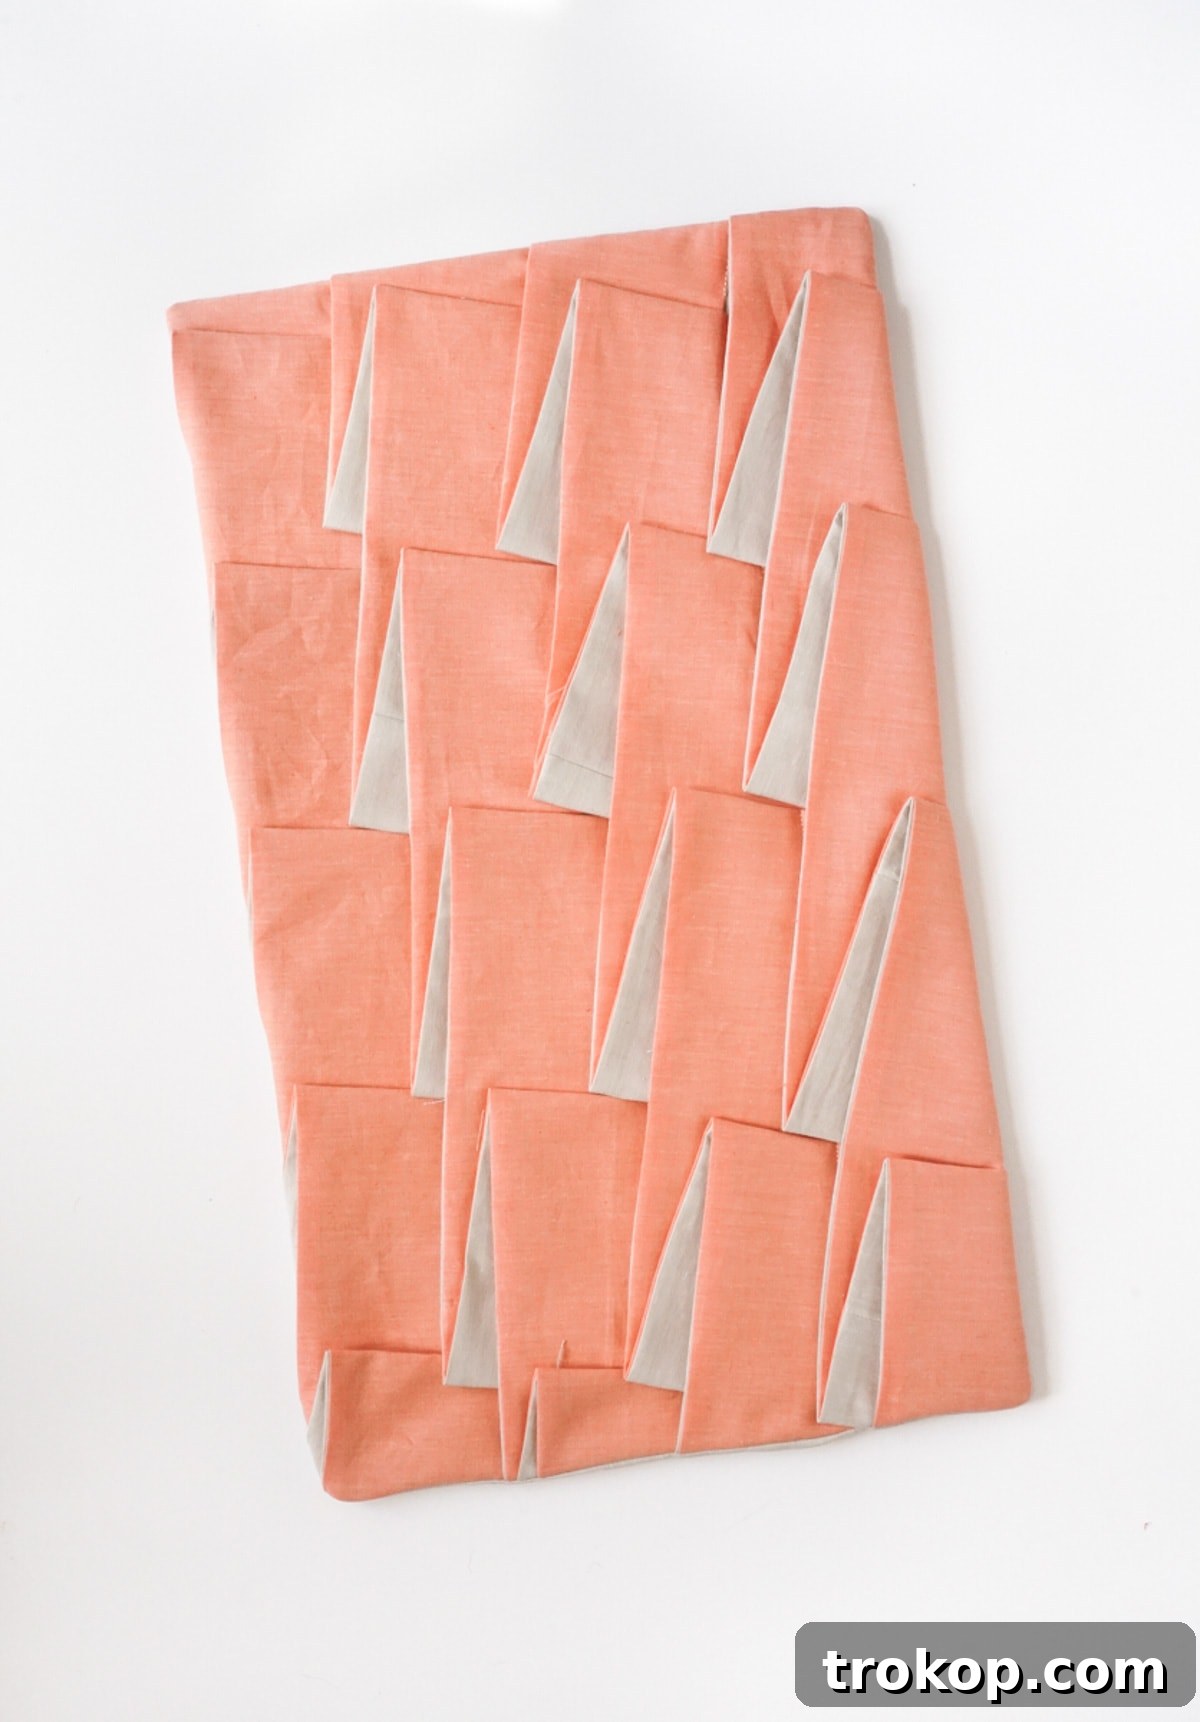
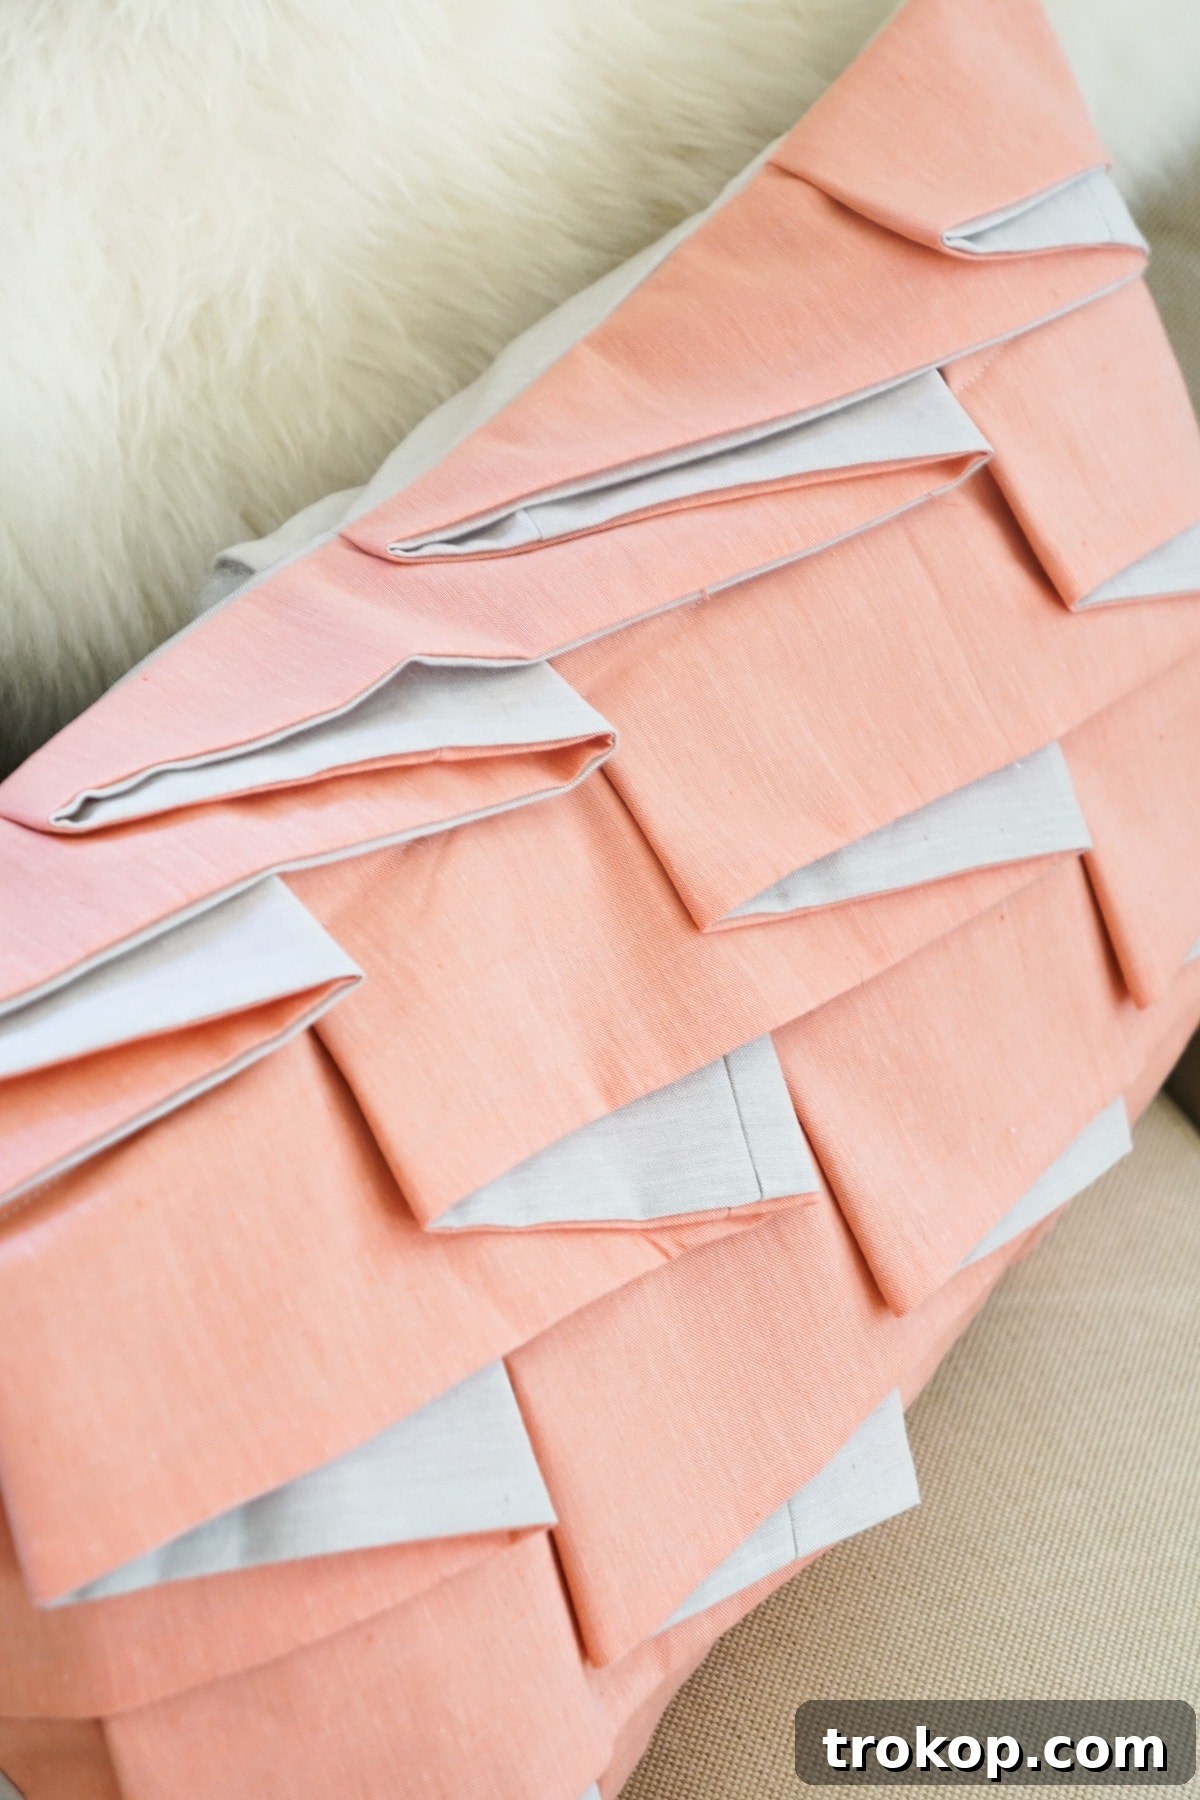
Translating this runway inspiration into a home decor piece allowed me to explore fabric manipulation in a way that feels both luxurious and approachable. The “structured” aspect of these pleats is key; they are not soft, flowing folds but rather crisp, defined lines that hold their shape, creating a bold, three-dimensional effect. This meticulous detailing adds a bespoke, high-end feel to the finished pillow, making it appear as though it stepped right out of a designer showroom. By choosing contrasting fabric colors, the pleats become even more pronounced, creating a striking visual rhythm across the pillow’s surface. This project is a testament to how global fashion trends can inspire unique, personalized touches that elevate the aesthetic of your everyday living spaces, allowing you to curate a home that reflects a keen eye for design.
Materials And Tools Needed To Make A DIY Structured Pleat Lumbar Pillow
Embarking on any sewing project requires the right set of tools and materials to ensure a smooth, enjoyable process and a professional-looking finish. For this elegant DIY Structured Pleat Lumbar Pillow, careful selection of your supplies is crucial, especially when it comes to fabric. Choosing the correct type of fabric will determine how well your pleats hold their structure and the overall durability and feel of your finished pillow. Below is a detailed list of what you’ll need, along with some insights into why each item is important.
- 2 colors of lightweight quilters cotton — non-stretch fabric of 1-3/4 yds each: The choice of quilters cotton is intentional. It’s a medium-weight, tightly woven fabric that is easy to work with and holds creases beautifully, which is essential for structured pleats. The “non-stretch” quality is vital to maintain the pillow’s shape and ensure the pleats remain crisp. Selecting two contrasting colors will highlight the pleated design, creating a striking visual effect. Opt for high-quality cotton to minimize fraying and ensure longevity.
- Sewing machine: A reliable sewing machine is indispensable for this project, allowing for precise, consistent stitches that are crucial for a polished finish. Any basic model capable of a straight stitch will suffice.
- Coordinating thread: Choose a high-quality polyester all-purpose thread that matches or closely complements your primary fabric color. Strong thread prevents stitches from breaking and ensures the pillow holds up over time.
- Scissors, pins, t-square:
- Fabric scissors: Sharp, dedicated fabric scissors are essential for clean, accurate cuts, preventing frayed edges and distorted shapes.
- Pins: Sewing pins are your best friend for temporarily holding fabric layers together, especially when forming pleats or aligning edges before sewing. Invest in a good quantity of sharp, fine pins.
- T-square or rotary cutter with mat and ruler: While a T-square is listed, a large acrylic ruler and rotary cutter with a self-healing mat would be even more efficient for cutting long, straight strips of fabric with precision, which is crucial for uniform pleats.
- Iron and ironing board: An iron is non-negotiable for creating crisp folds and flat seams, which are fundamental to achieving the “structured” look of this pillow. Pressing after each sewing step makes a significant difference in the final appearance.
- Pillow stuffing or pillow form: You have two options for filling your pillow:
- Pillow stuffing: Polyester fiberfill is a common choice, allowing you to customize the firmness. You’ll need a generous amount to make a plump pillow.
- Pillow form: A pre-made 12×20 inch (or similar lumbar size) pillow form offers a quick and easy filling solution, providing a consistent shape and firmness. Ensure your pillow cover dimensions are compatible with your chosen form.
Gathering these materials and tools before you begin will streamline your crafting process, allowing you to focus on the joy of creation and the satisfaction of bringing your unique vision to life.
How To Make A DIY Structured Pleat Lumbar Pillow: A Step-by-Step Guide
Creating your own DIY Structured Pleat Lumbar Pillow is a rewarding project that allows for creativity and precision. Follow these detailed steps to craft a beautiful, fashion-inspired accent for your home.
Step 1: Prepare Your Fabric Pieces
Begin by meticulously cutting your fabric. From your main fabric color (let’s call this Fabric A), you will need to cut three rectangular pieces for the basic pillow case. The front panel should measure 13 inches by 21 inches. For the back, you will cut two smaller rectangles, each measuring 13 inches by 12 inches. These two back pieces will overlap to create an envelope closure, making it easy to insert and remove your pillow form. The precision of these initial cuts is vital for a well-proportioned pillow.
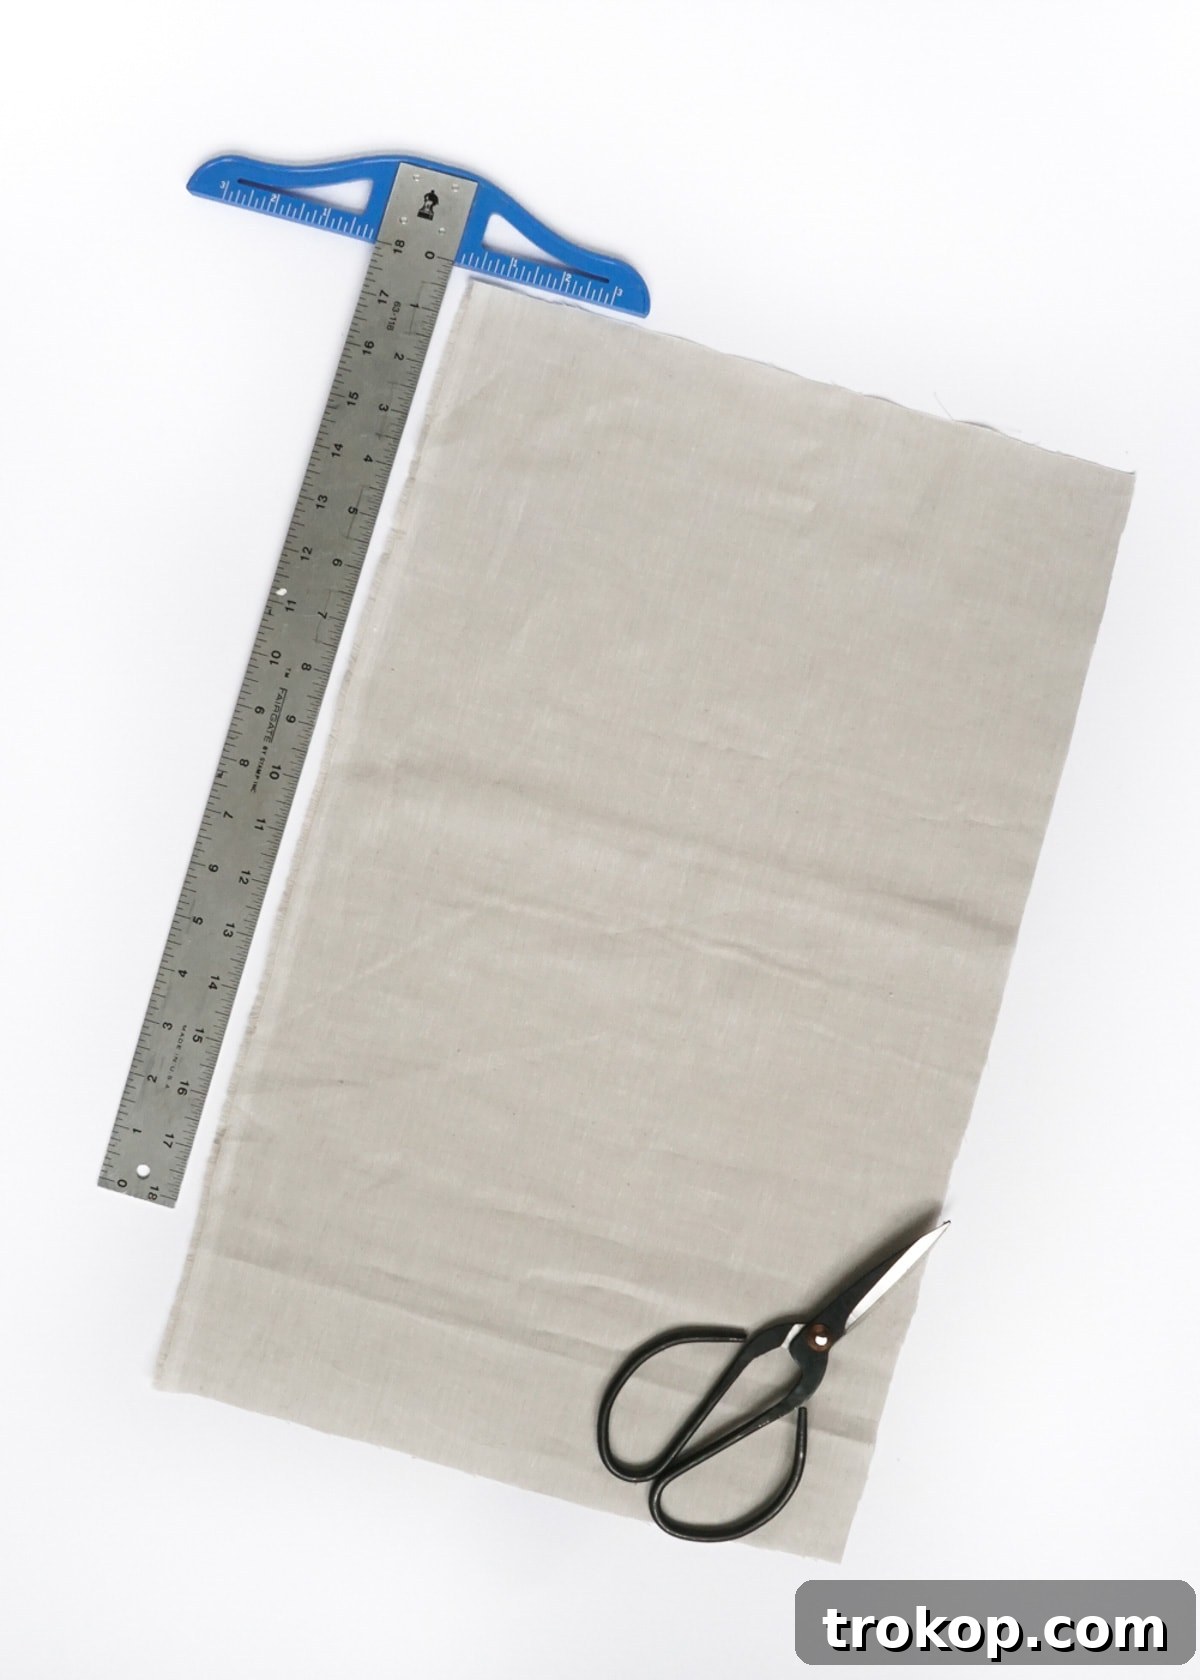
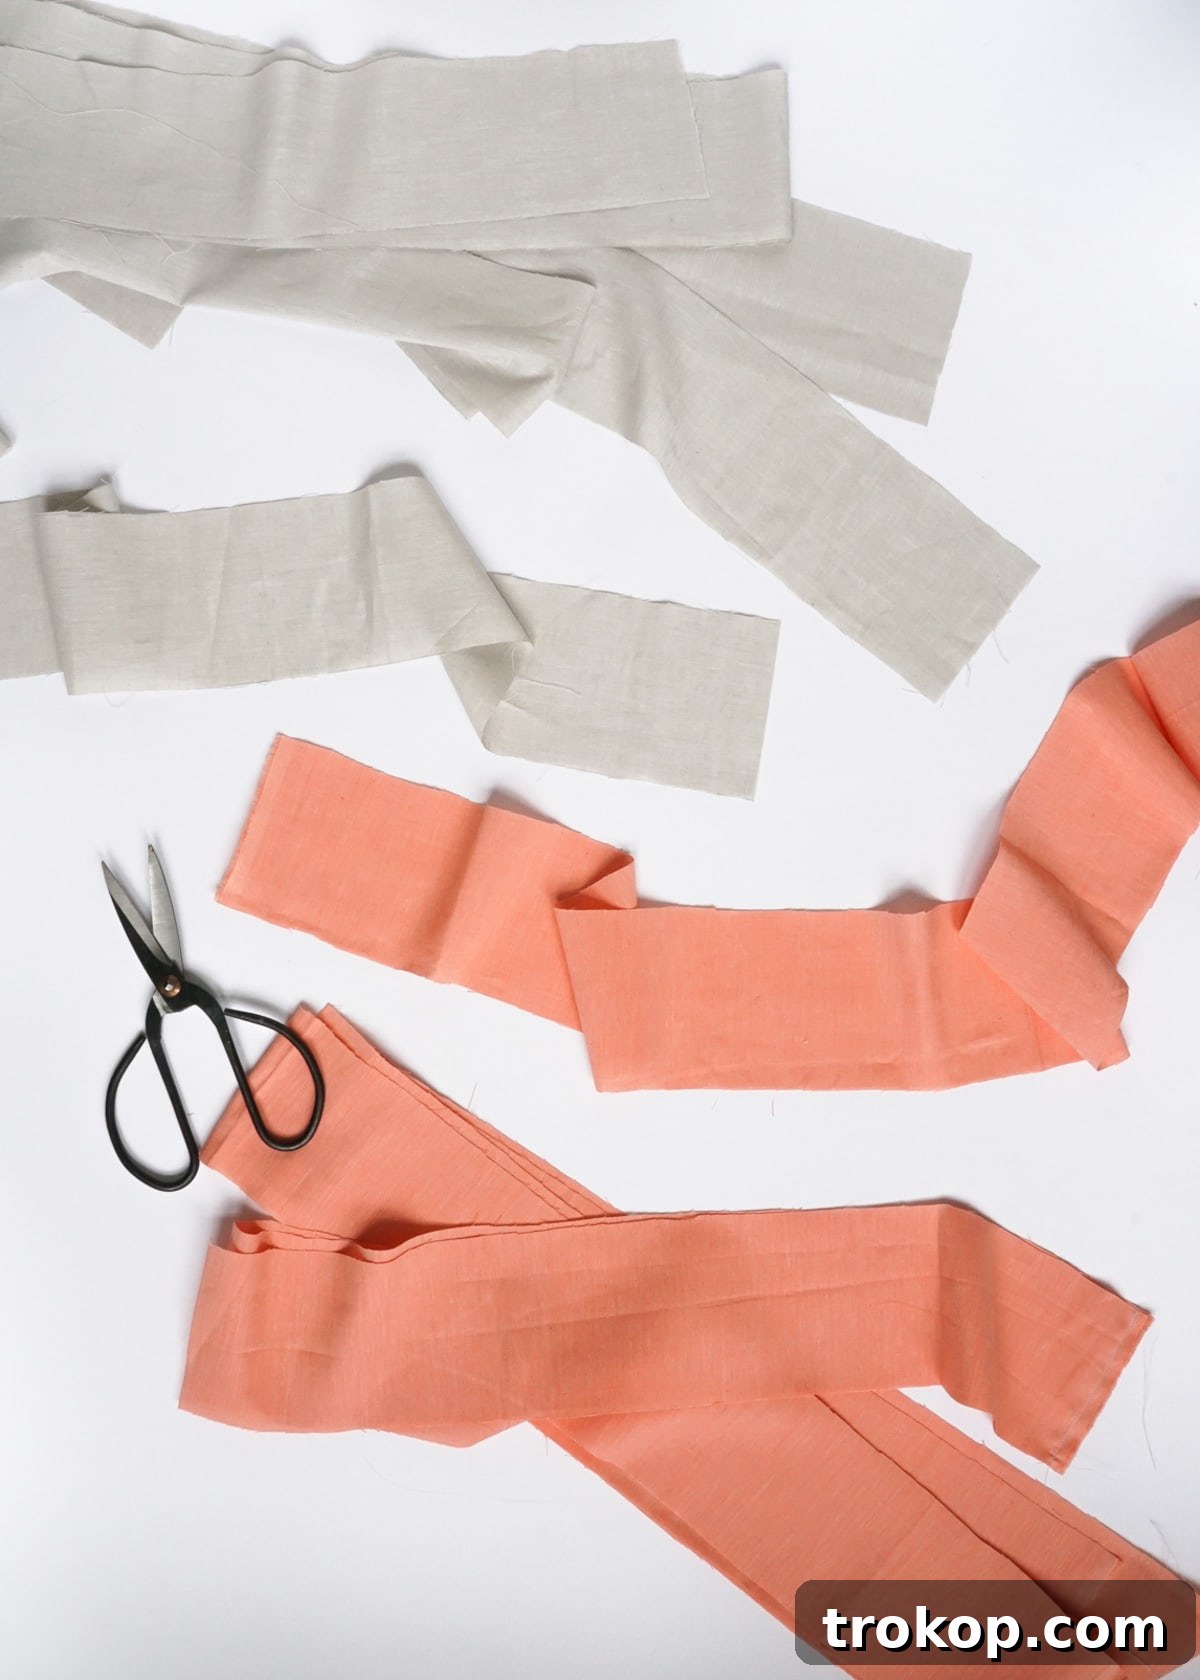
Next, prepare the fabric for your striking pleats. From each of your two chosen fabric colors (Fabric A and Fabric B), cut four long strips. Each strip should be exactly 64 inches long and 4 inches wide. Consistency in these measurements is critical for uniform and visually appealing pleats. Take your time with these cuts, using a ruler and fabric marker or a rotary cutter for the cleanest lines.
Step 2: Construct the Fabric “Ribbons”
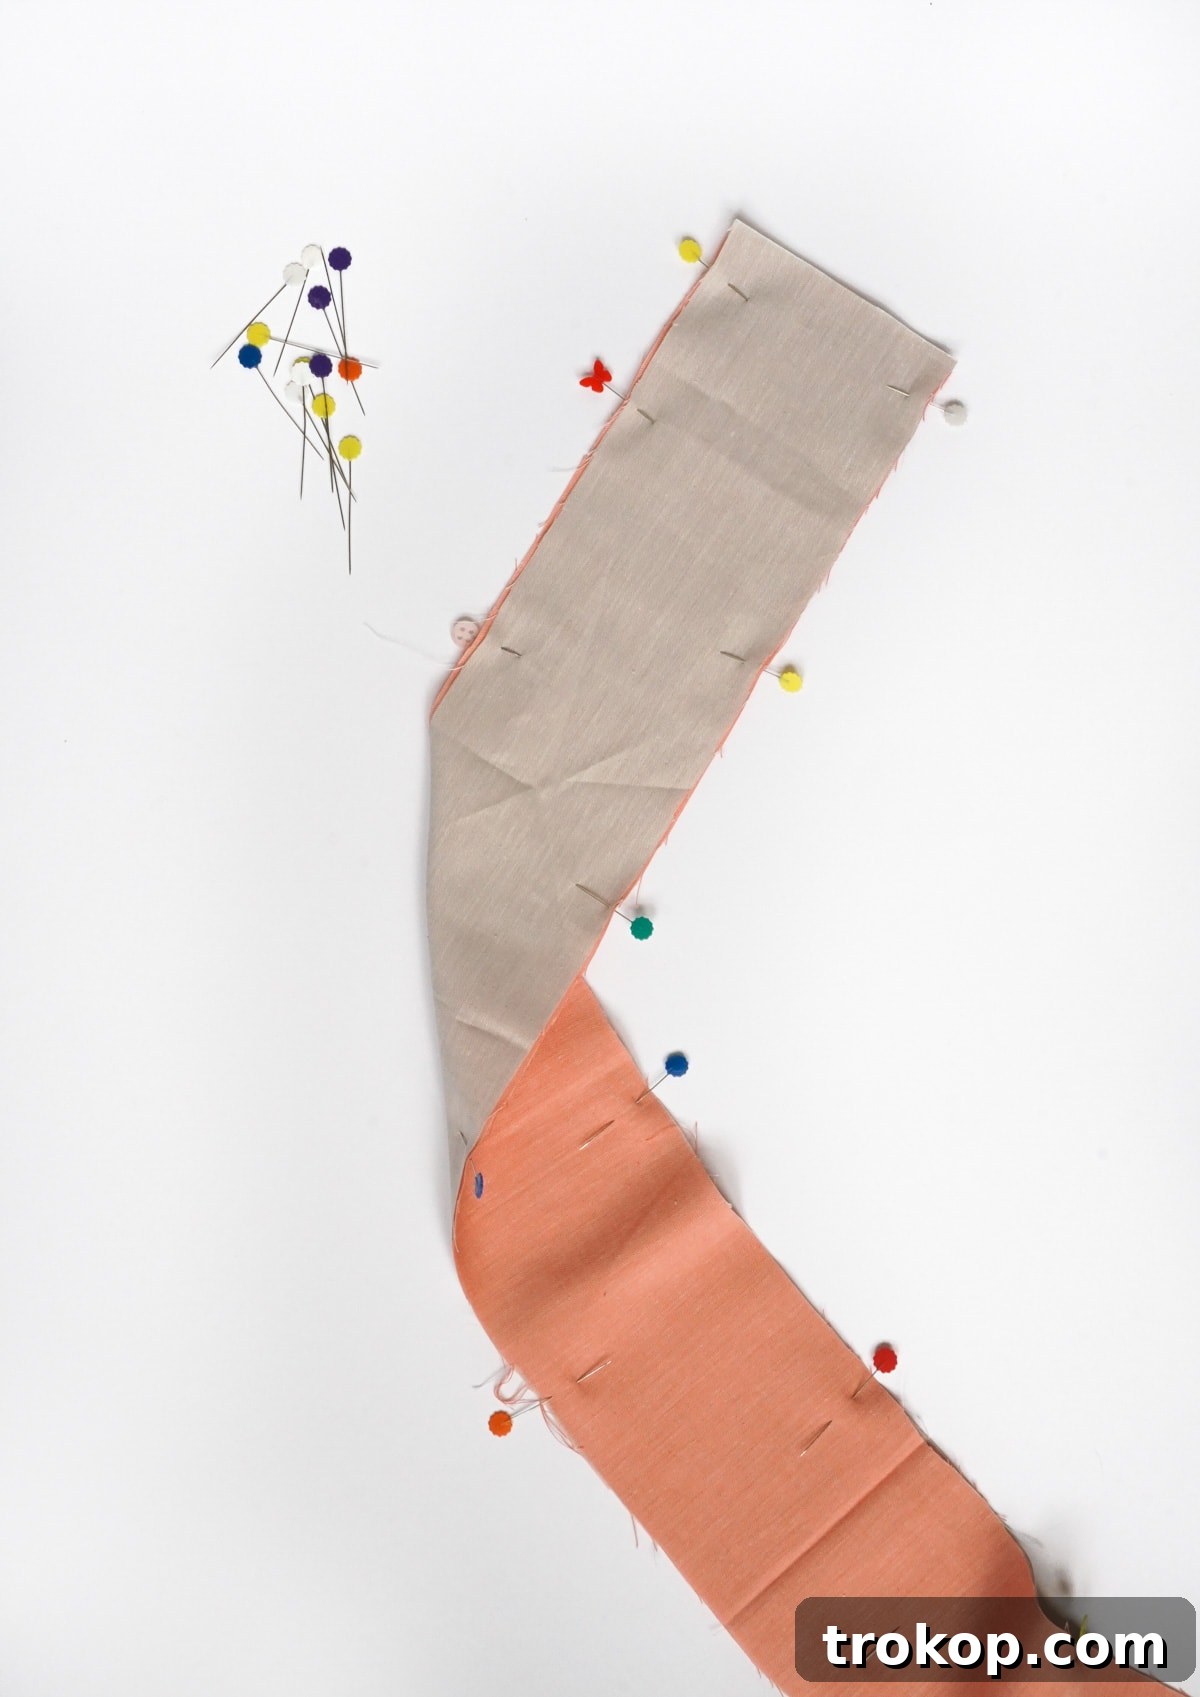
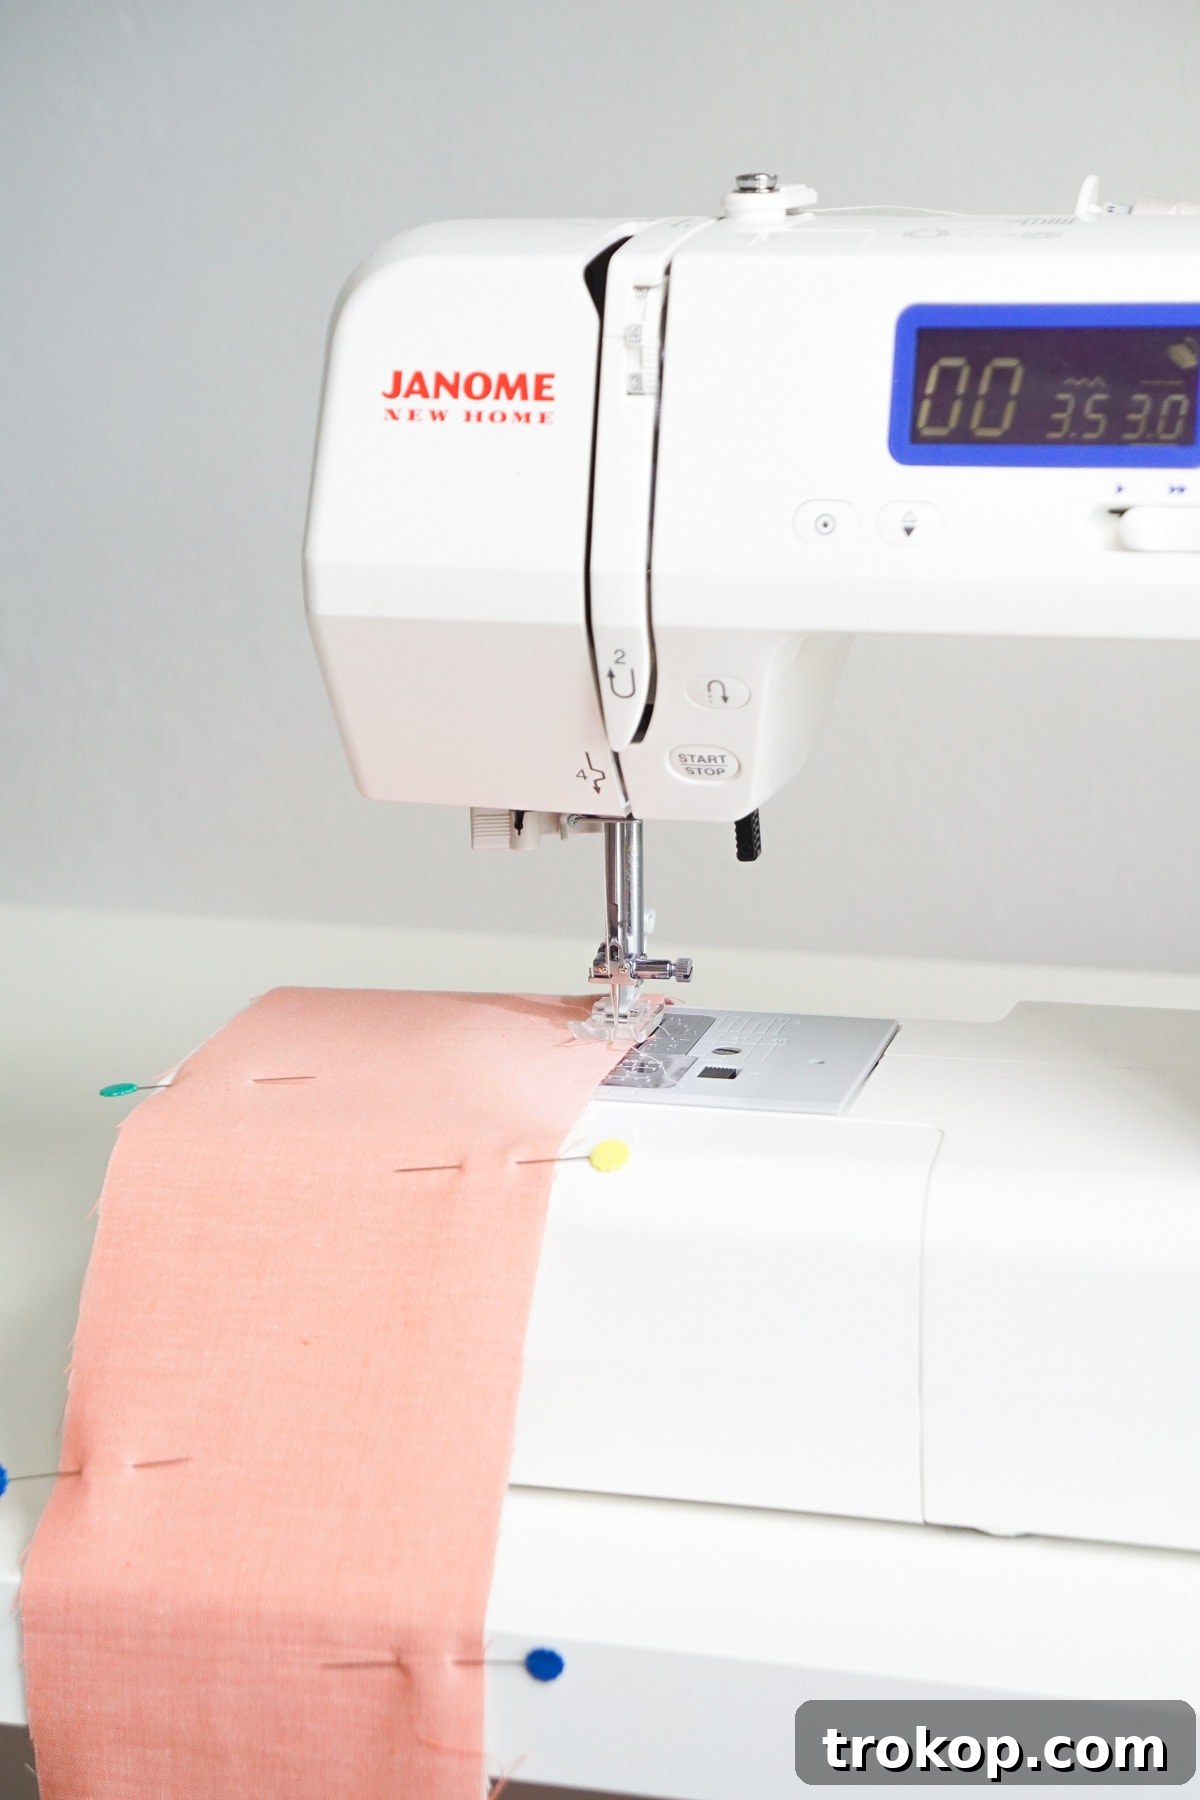
Now, let’s create the individual pleated elements. Take one 64″x4″ strip from Fabric A and one from Fabric B. Lay them together with their right sides facing each other. Carefully align all edges. Pin the long sides together to secure them. Using your sewing machine, stitch along both long sides with a precise 3/8-inch seam allowance. This seam allowance is crucial for creating the desired ribbon width once turned. Ensure your stitches are straight and even for a clean finish.
Step 3: Press and Prepare the “Ribbons”
Once you’ve sewn the long sides of your fabric strips, it’s time to turn them right side out. Use a point turner or a dull pencil to gently push out the corners and ensure crisp edges. After turning, head to your ironing board. Carefully iron each strip flat, pressing the seams open and ensuring the fabric lies perfectly flat to form neat, two-toned fabric “ribbons.” The heat of the iron will help set the seams and give your ribbons a professional, finished appearance. Repeat this process for all four sets of fabric strips, so you end up with four beautifully crafted fabric ribbons ready for pleating.
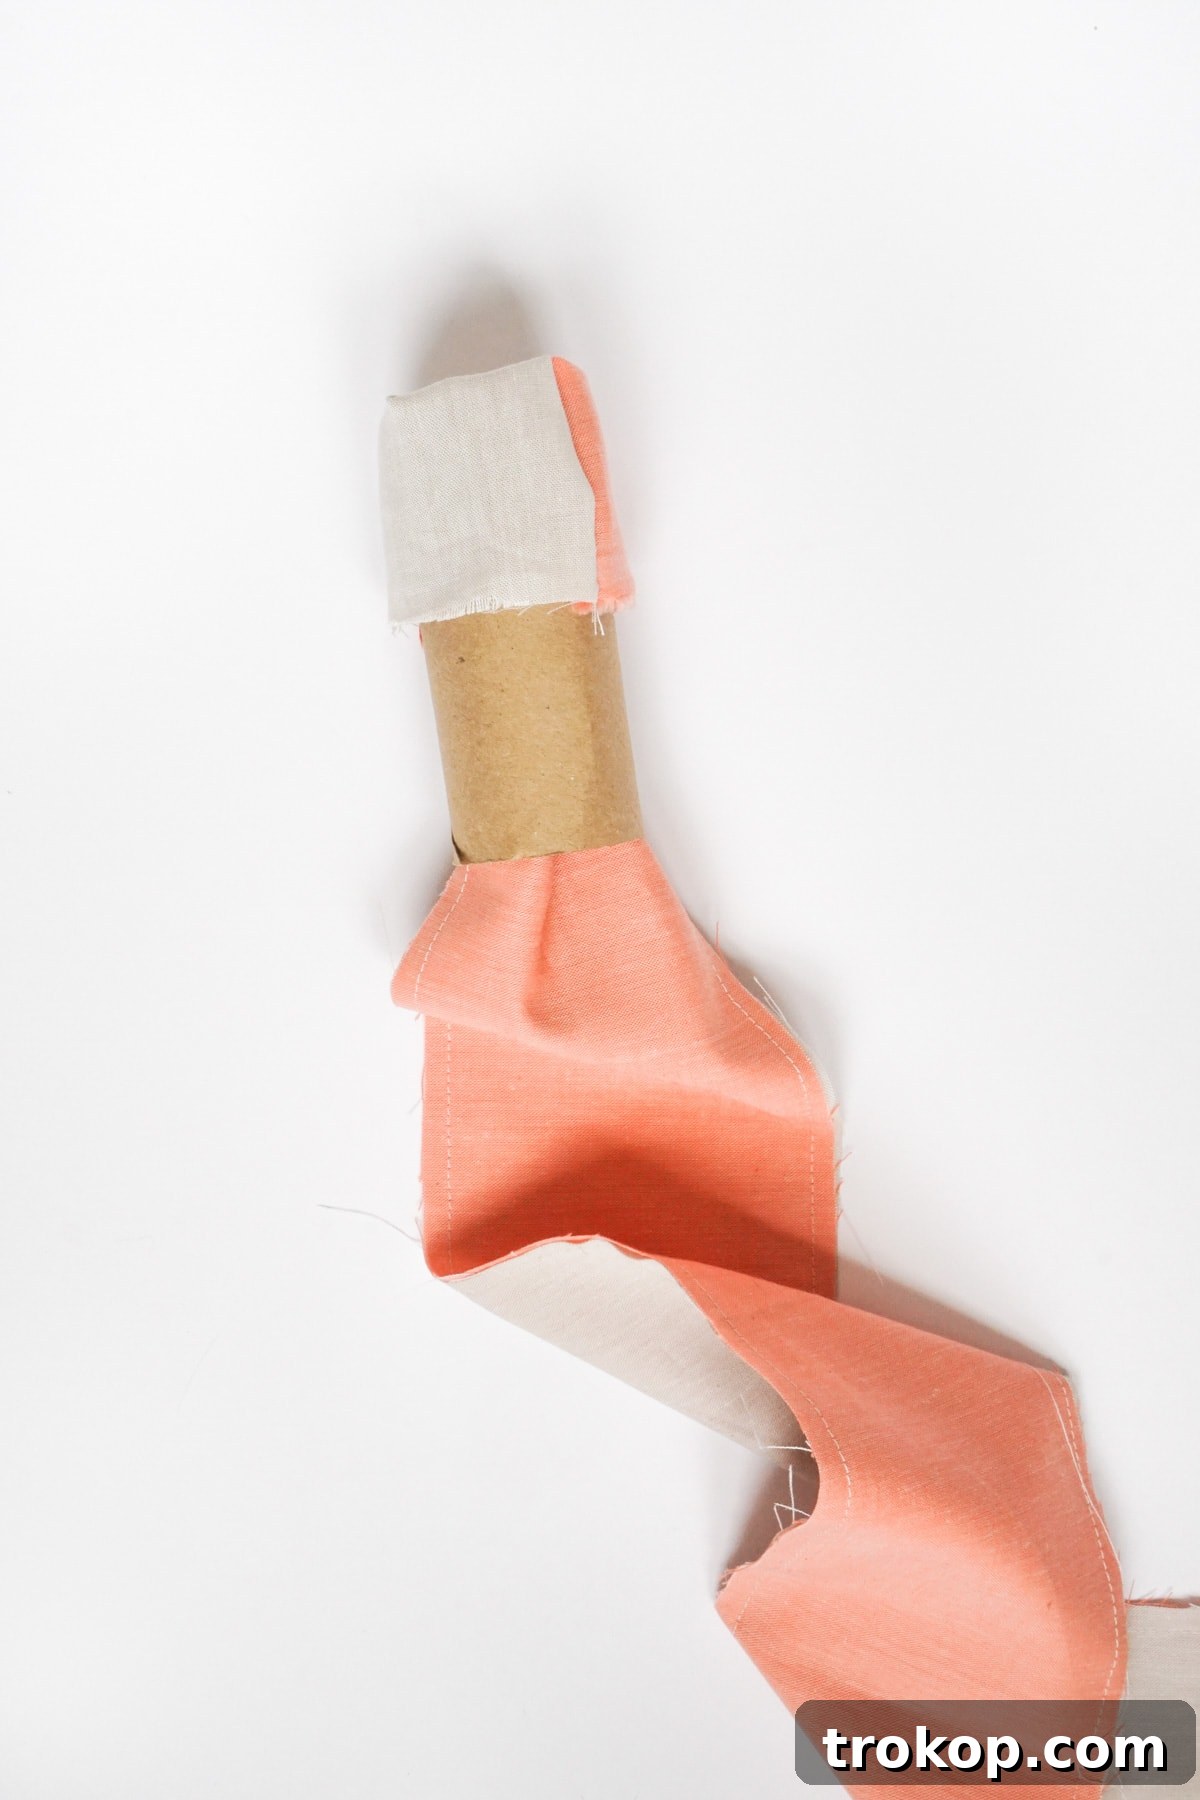
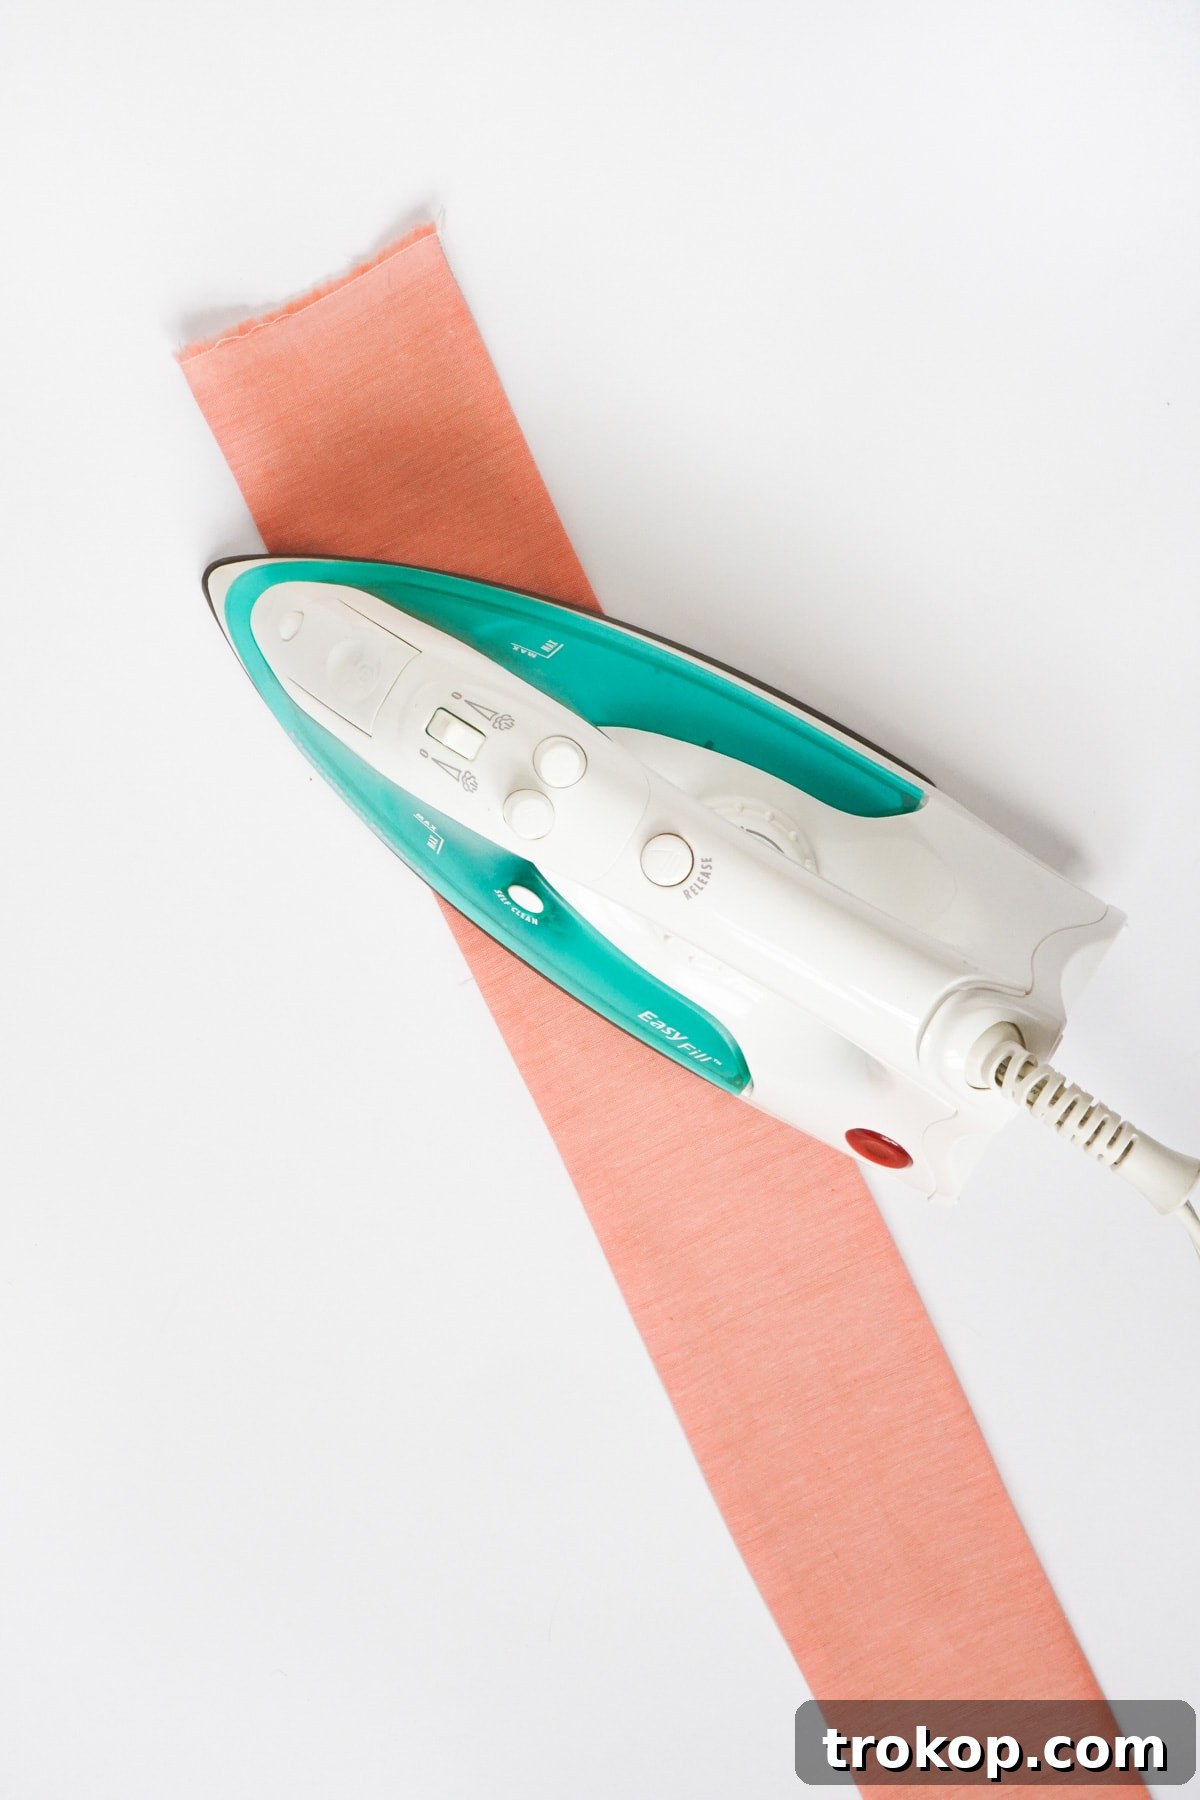
Step 4: Create the Pleated Design
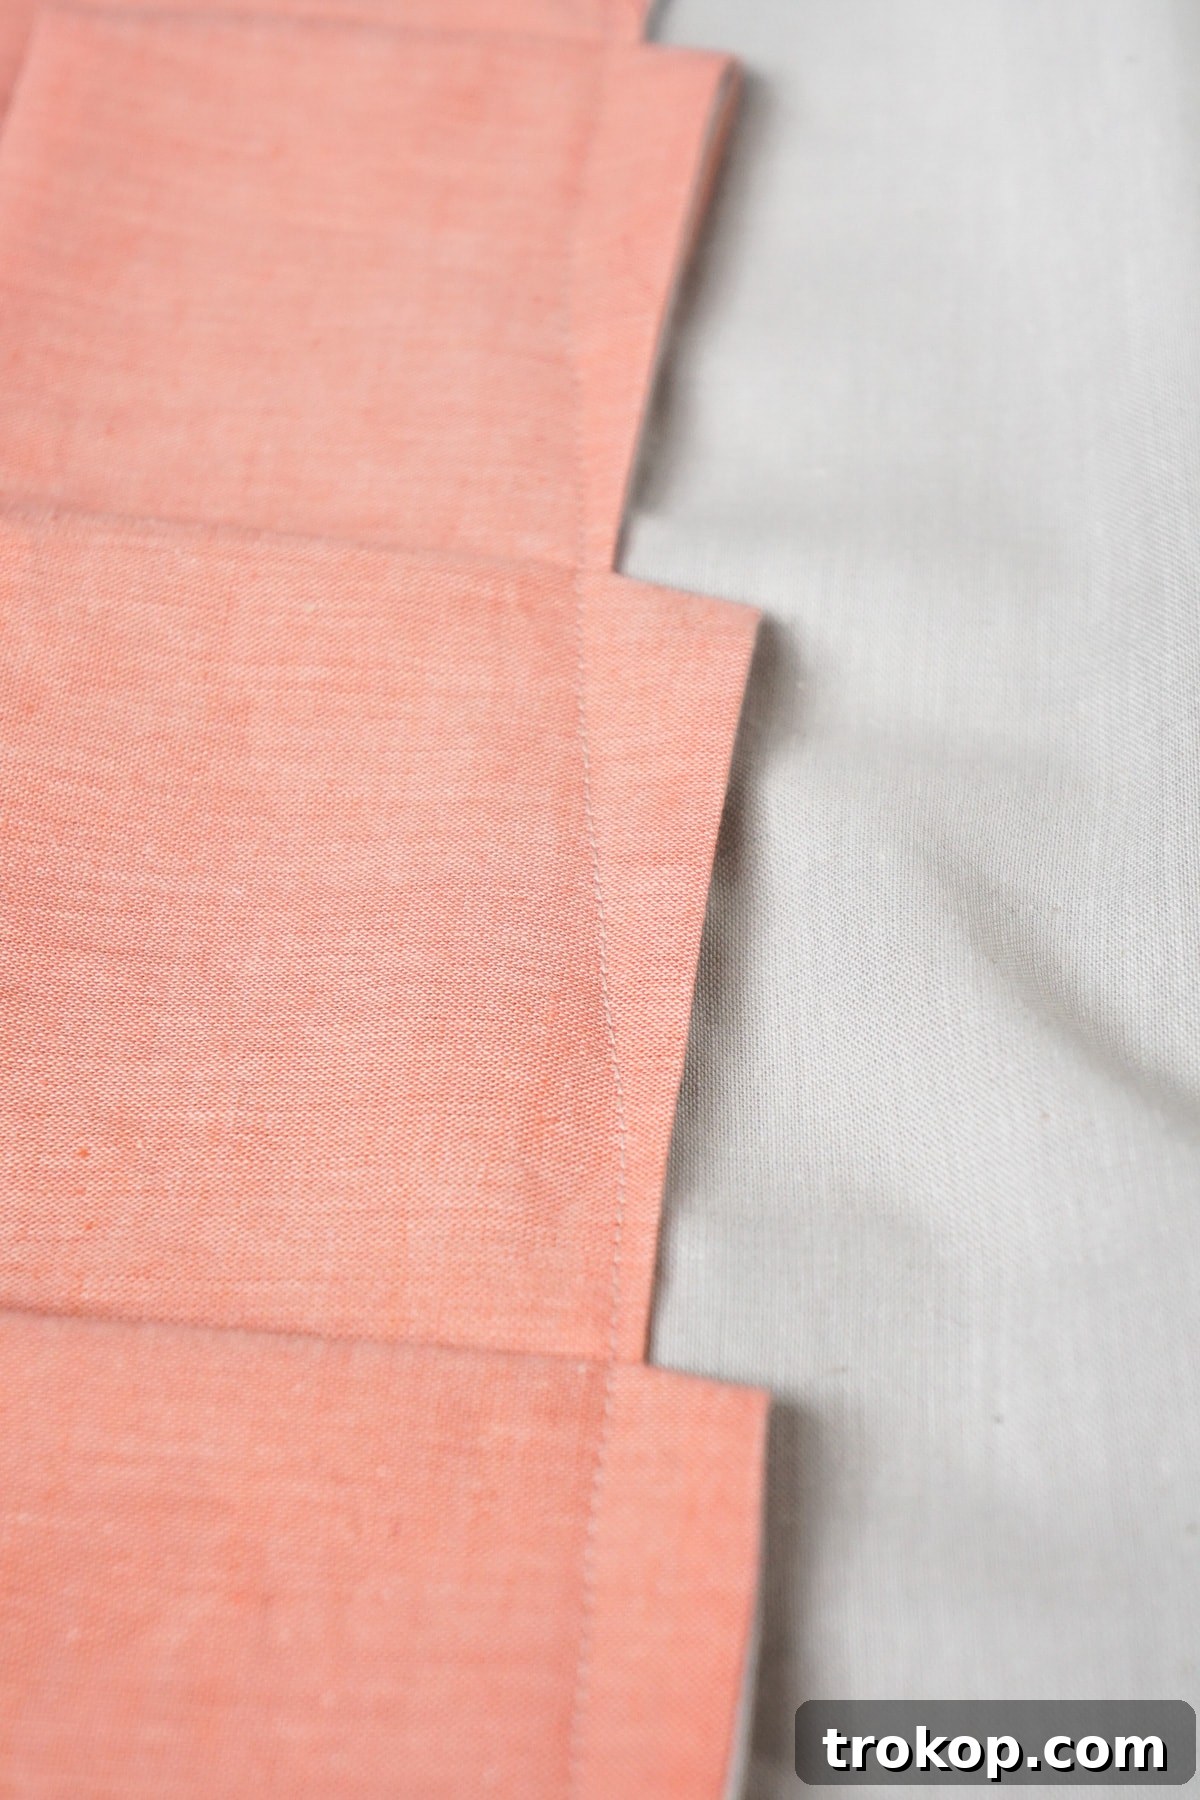
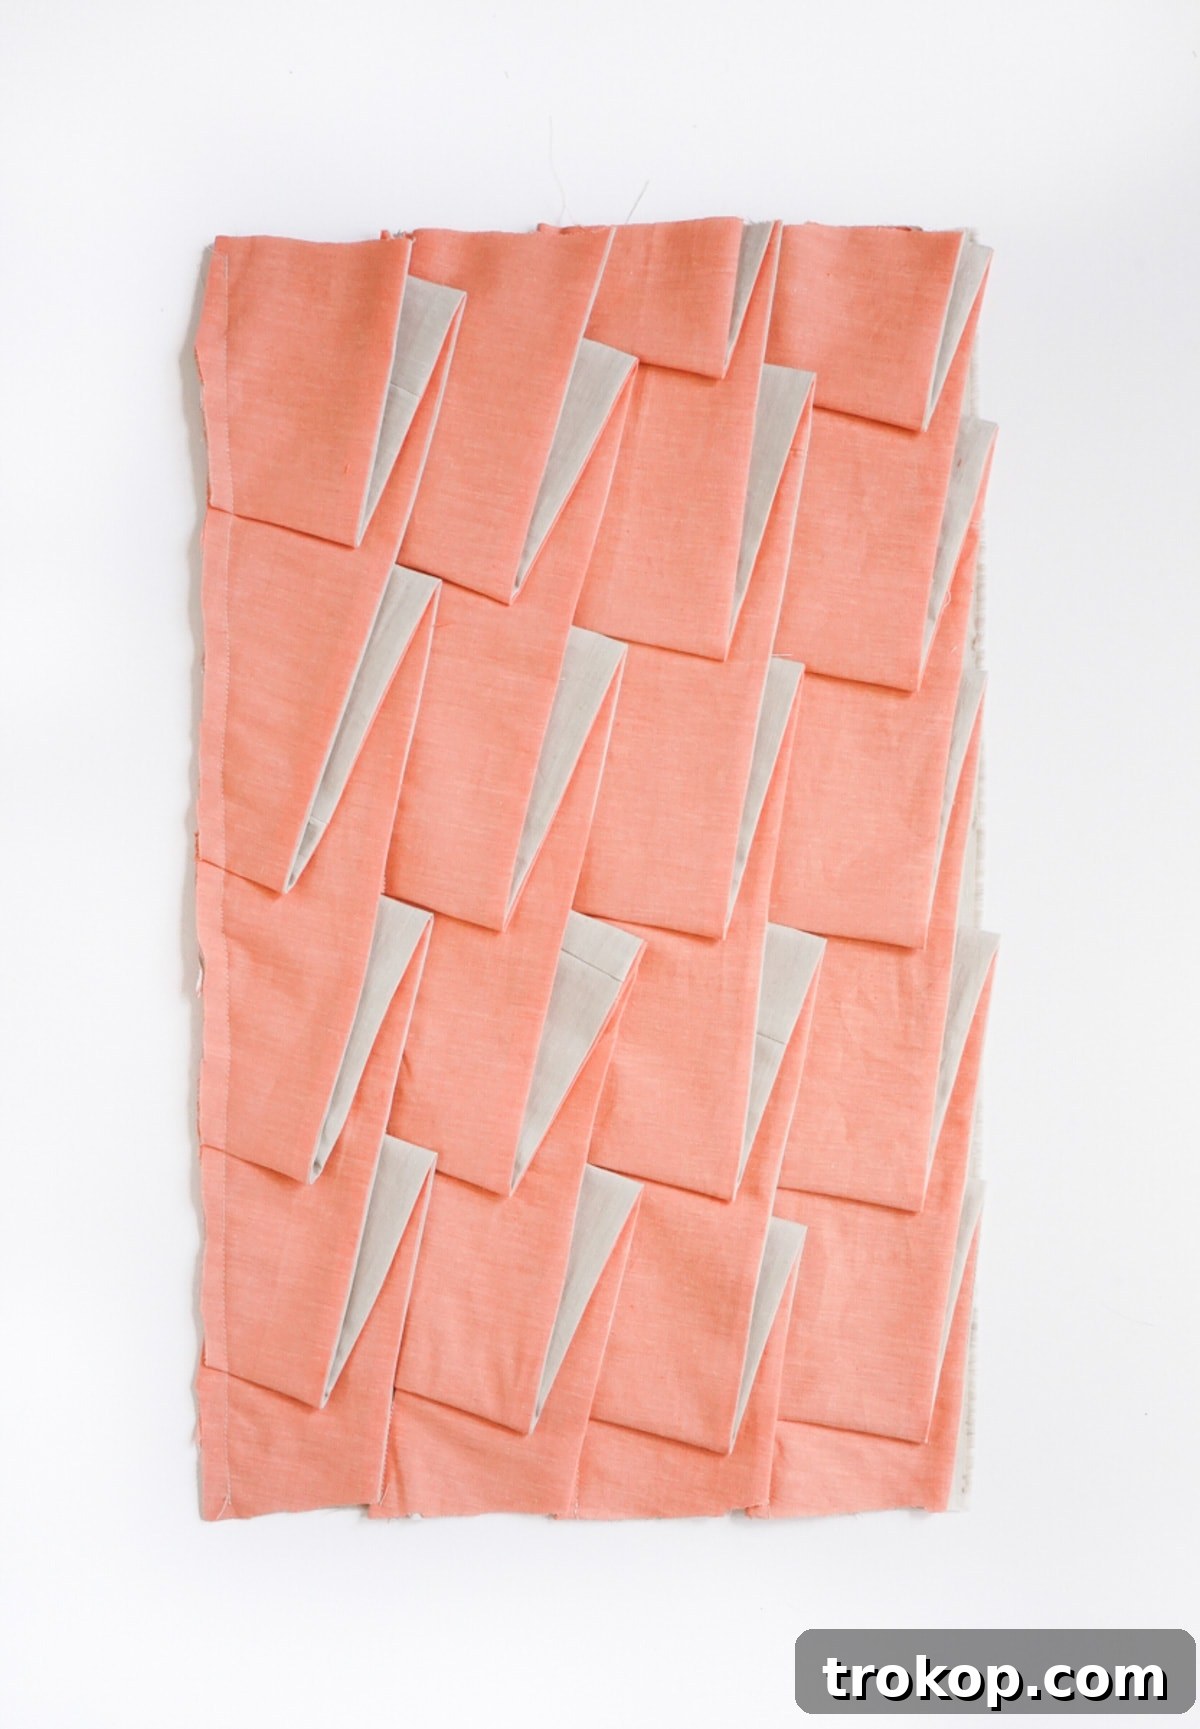
Now for the artistic part! Lay your 13″x21″ front pillow fabric rectangle face up on your work surface. Take one of your fabric “ribbons” and begin to arrange it in a horizontal zigzag pattern across the front panel. Start with the bottom row of your design, ensuring the ends of the ribbon extend beyond the raw edges of the pillow panel. Use pins generously to hold the ribbon in place, carefully forming the pleats as you go. The “structured” aspect comes from the defined folds you create. Once you are satisfied with the zigzag arrangement of the first ribbon, sew it into place with a running stitch across the top edge of the pleated ribbon, close to the fold. This stitch will secure the pleats and prevent them from unraveling. Work your way from the bottom of the pillow panel upwards, adding each ribbon, carefully forming its pleats, and securing it with a running stitch. Maintain even spacing and consistent pleat depths for a cohesive look. Trim any excess ribbon extending beyond the pillow panel edges once all ribbons are sewn in place.
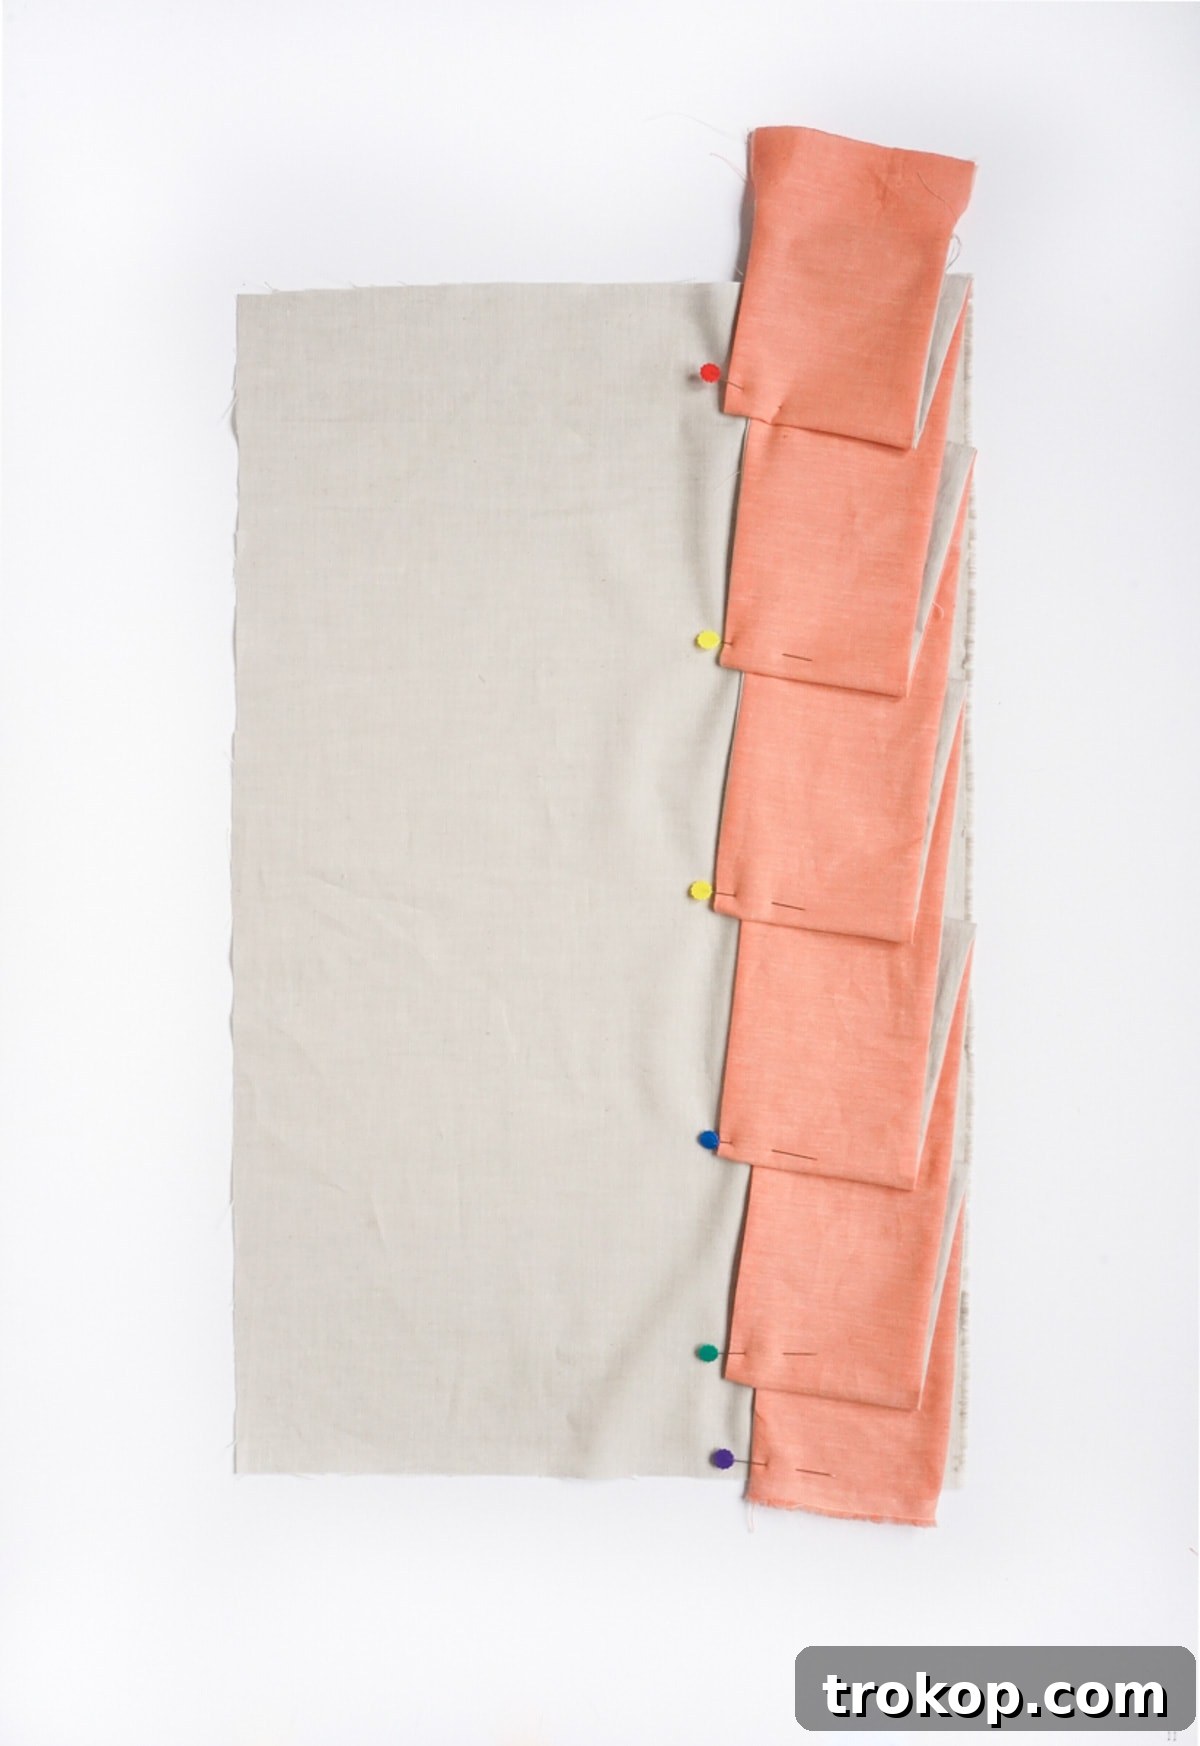
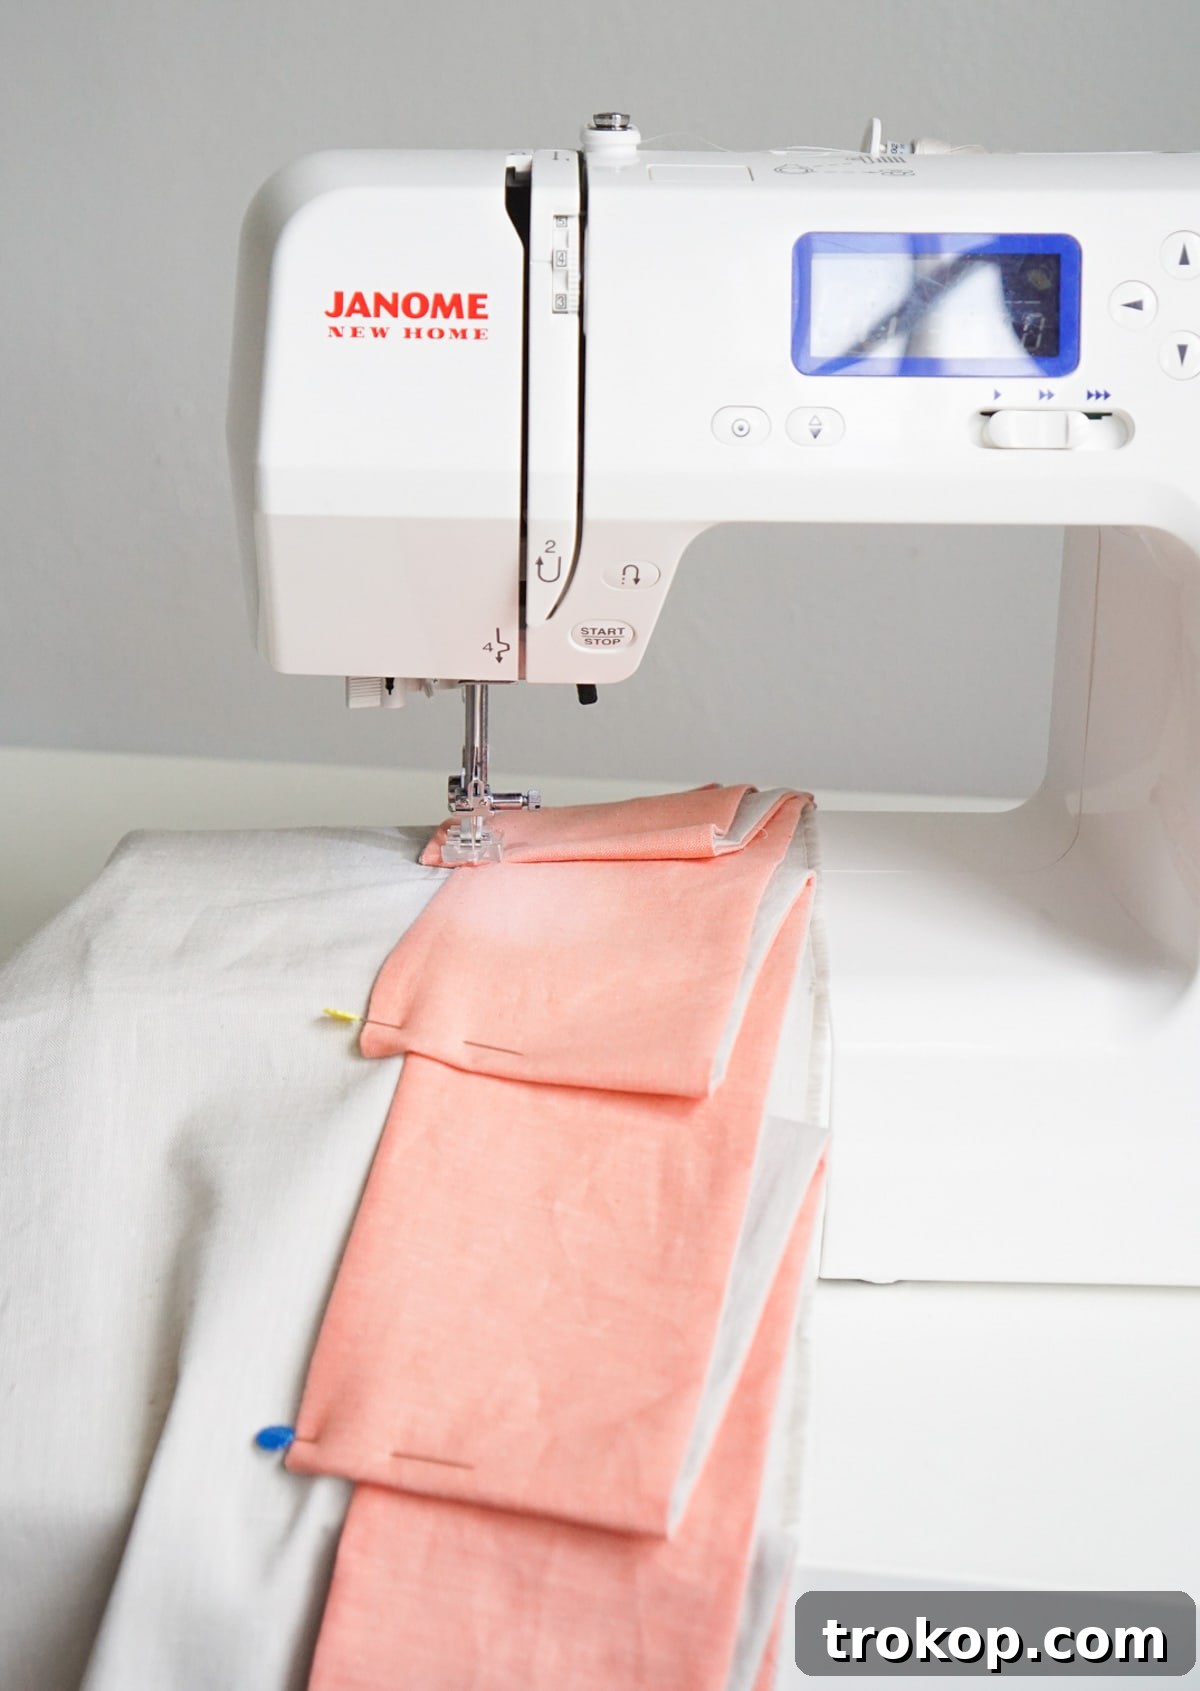
Step 5: Assemble the Pillow Case
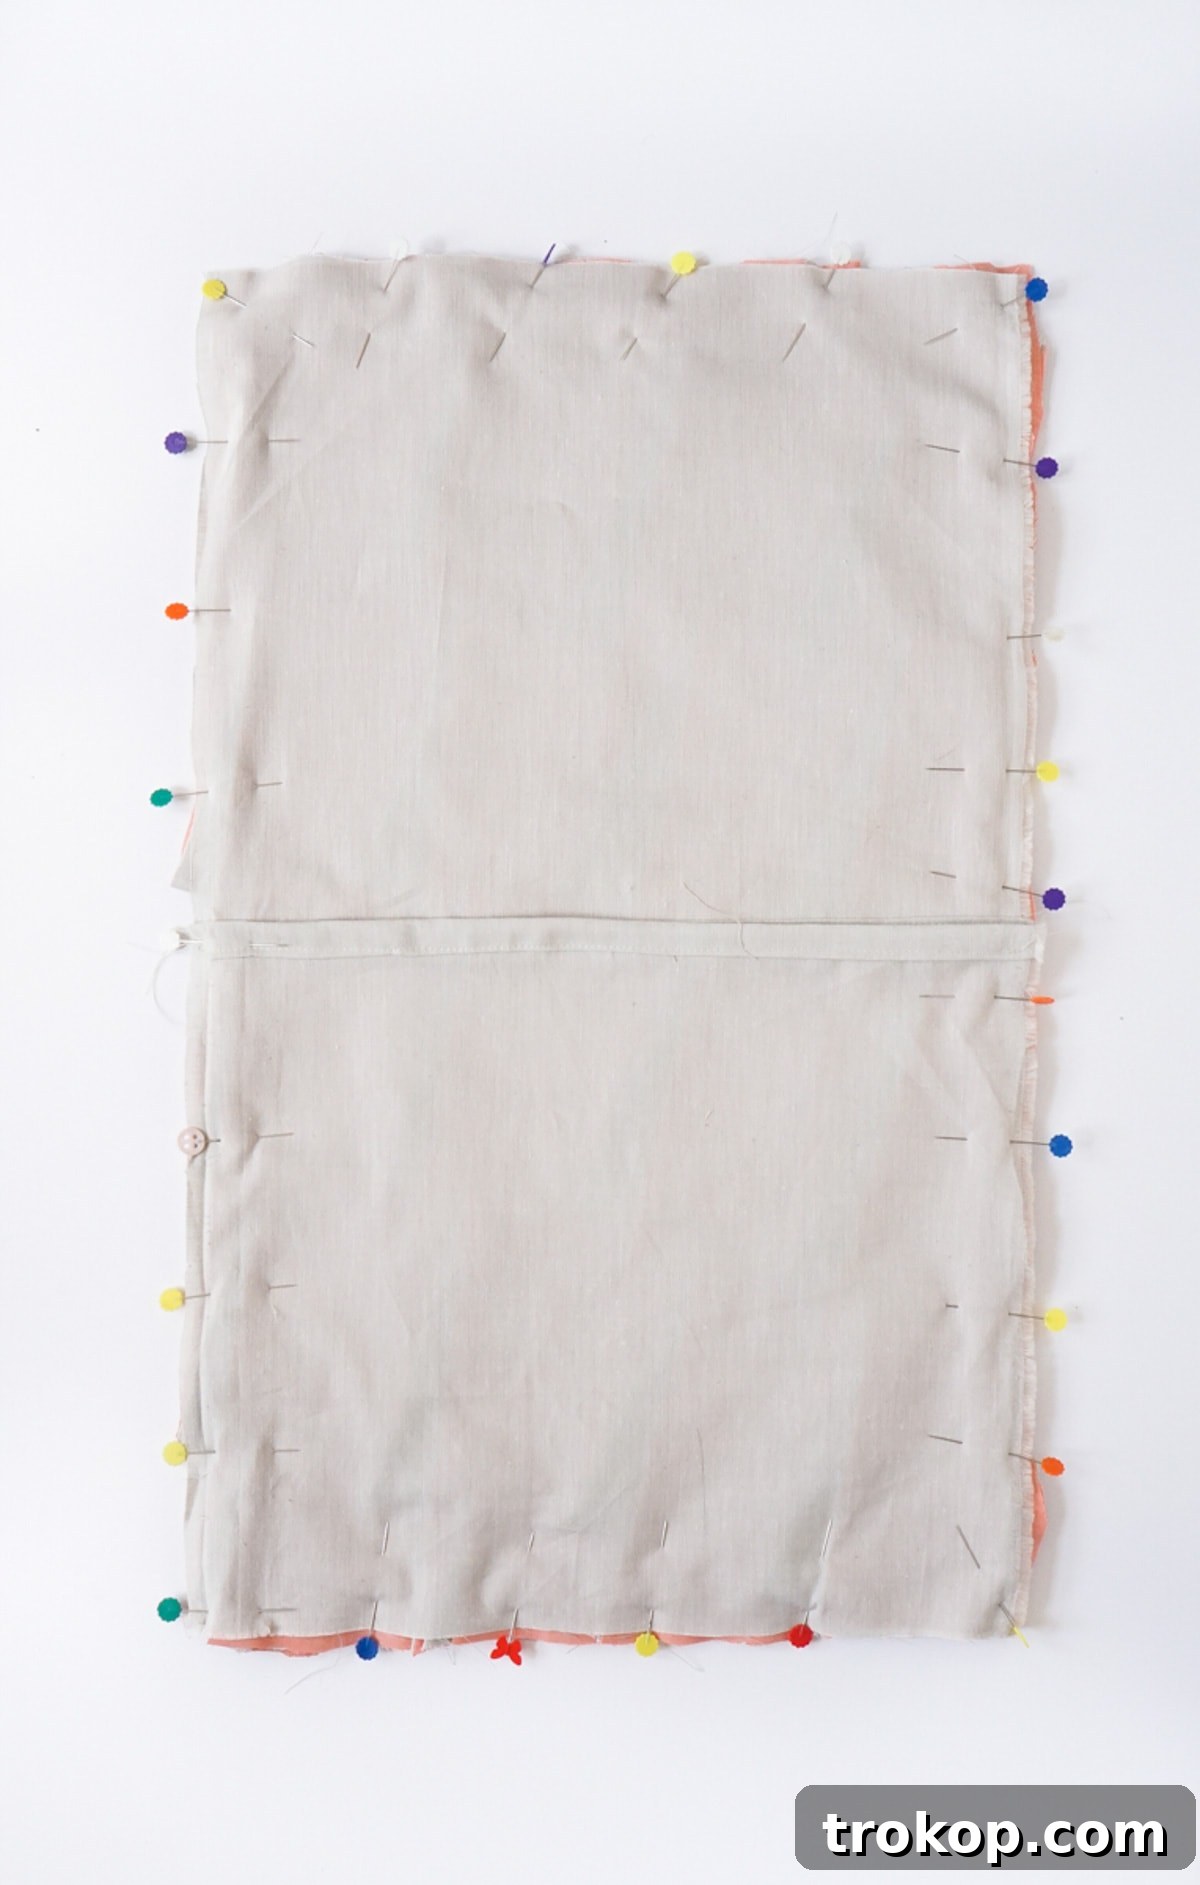
With your stunning pleated front panel complete, it’s time to assemble the pillow case. Place the front pillow piece, with all the pleated ribbons attached, face up on your work surface. Next, take your two smaller 13″x12″ backing pieces. Lay them face down on top of the front piece, ensuring their raw edges align with the front panel. The two back pieces should overlap by approximately 1/2 inch in the middle, creating an envelope opening. Pin all layers together securely around the entire perimeter of the pillow. Using a 1/2-inch seam allowance, sew all four sides together. Make sure to backstitch at the beginning and end of your seams for added durability, especially at the overlap point of the back panels.
Step 6: Finish and Stuff Your Pillow
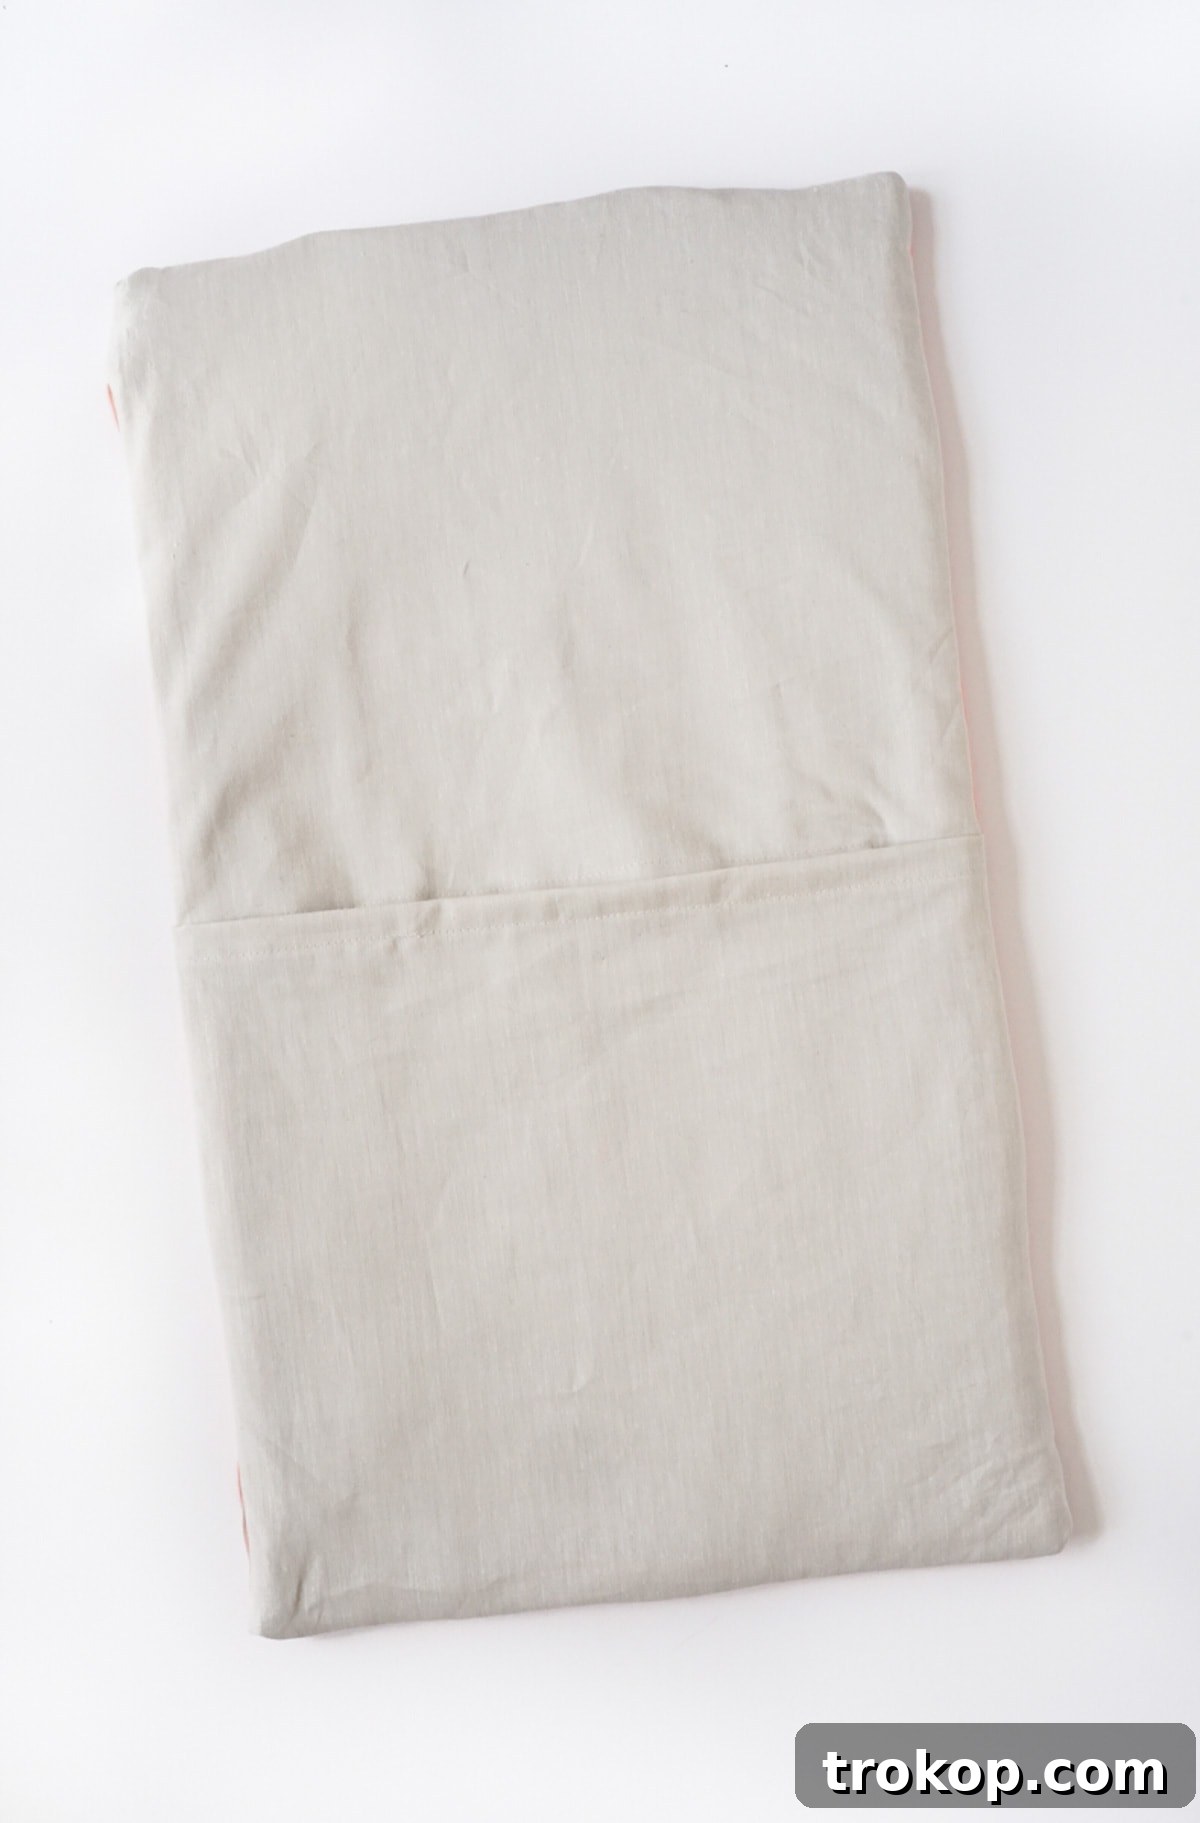
Once you’ve sewn the perimeter, carefully trim the corners close to the stitching to reduce bulk, being careful not to cut through your seam. Now, turn the entire pillow cover right side out through the envelope opening. Use a point turner or a blunt tool to gently push out the corners, ensuring they are sharp and well-defined. Head back to your ironing board one last time. For an extra flat and crisp look, iron the fabric “ribbons” down once more, reinforcing their structured appearance. Lastly, it’s time to bring your pillow to life! Carefully stuff the pillow cover with your chosen pillow stuffing or insert your pre-made pillow form. Fluff and arrange until your DIY Structured Pleat Lumbar Pillow is plump, inviting, and ready to adorn your living space.
Styling Your New Pleated Lumbar Pillow
Now that you’ve poured your creativity into crafting this stunning DIY Structured Pleat Lumbar Pillow, it’s time to showcase its unique charm! A lumbar pillow, especially one with such a distinctive design, can be a versatile accent in various settings. On your sofa, it can serve as a central focal point, drawing the eye and adding a layer of sophistication. Pair it with solid-colored square pillows to let its texture and contrasting colors truly shine, or mix it with pillows featuring subtle patterns that complement its hues without competing for attention. Consider placing it on an accent chair to create an inviting nook, making the chair feel more comfortable and visually appealing.
In the bedroom, a pleated lumbar pillow can add an unexpected touch of tailored elegance to your bedding ensemble. Layer it in front of larger sleeping pillows or as a standalone decorative piece on a beautifully made bed. Think about the existing color palette of your room; if your pillow features bold contrasting colors, it can introduce a vibrant pop. If you opted for more muted tones, it will add subtle texture and depth. Remember, the goal is to create a cohesive yet dynamic look. Don’t be afraid to experiment with different arrangements until you find the perfect spot where your handmade masterpiece truly belongs and enhances the overall aesthetic of your home.
Maintenance and Care for Your Handmade Pillow
To ensure your beautiful DIY Structured Pleat Lumbar Pillow remains a cherished part of your home decor for years to come, proper care is essential. Since you’ve used 100% lightweight quilters cotton, the pillow cover is generally easy to maintain. It is recommended to remove the pillow form or stuffing before washing the cover. Machine wash your pillow cover on a gentle cycle with cold water, using a mild detergent. Avoid harsh chemicals or bleach, as these can fade your fabric colors and weaken the fibers. For best results and to preserve the structured pleats, air dry the cover by laying it flat or hanging it to dry. If you need to iron out any wrinkles, use a warm iron, paying special attention to pressing the pleats back into their crisp, defined shape. This gentle care routine will help maintain the vibrancy of the colors and the integrity of the pleats, keeping your pillow looking fresh and new.
More Easy DIY Pillows To Try
Swapping throw pillows is an annual summer ritual at our house, providing an instant refresh without major redecorating. What changes do you make as we transition between seasons? If you’ve enjoyed crafting this pleated lumbar pillow, there’s a whole world of DIY pillow projects waiting to be explored. Handmade pillows offer endless possibilities for personalization and add a unique charm that store-bought items often lack. Dive into more creative endeavors with these exciting projects:
- DIY Shibori Throw Pillow: Explore ancient dyeing techniques for a unique, modern look.
- How To Make A DIY Knot Pillow: A playful and sculptural design that adds intrigue and coziness.
- DIY Fringe Pillow: Add a touch of bohemian flair and soft texture with handmade fringe.
- No Sew Envelope Pillows: Perfect for beginners or those looking for a super-quick update without a sewing machine.
Each project offers a unique way to express your style and enhance your home. Happy crafting!