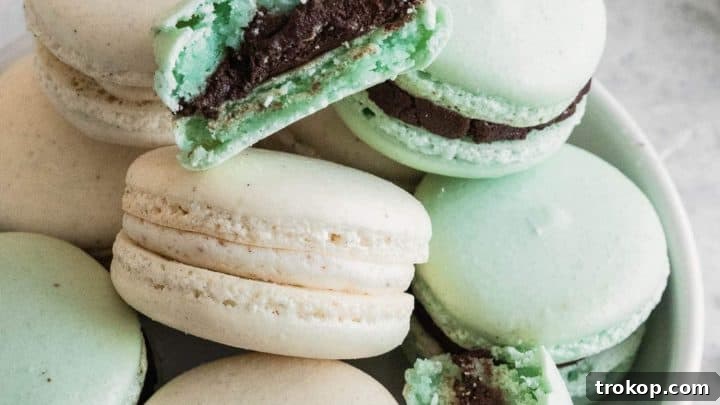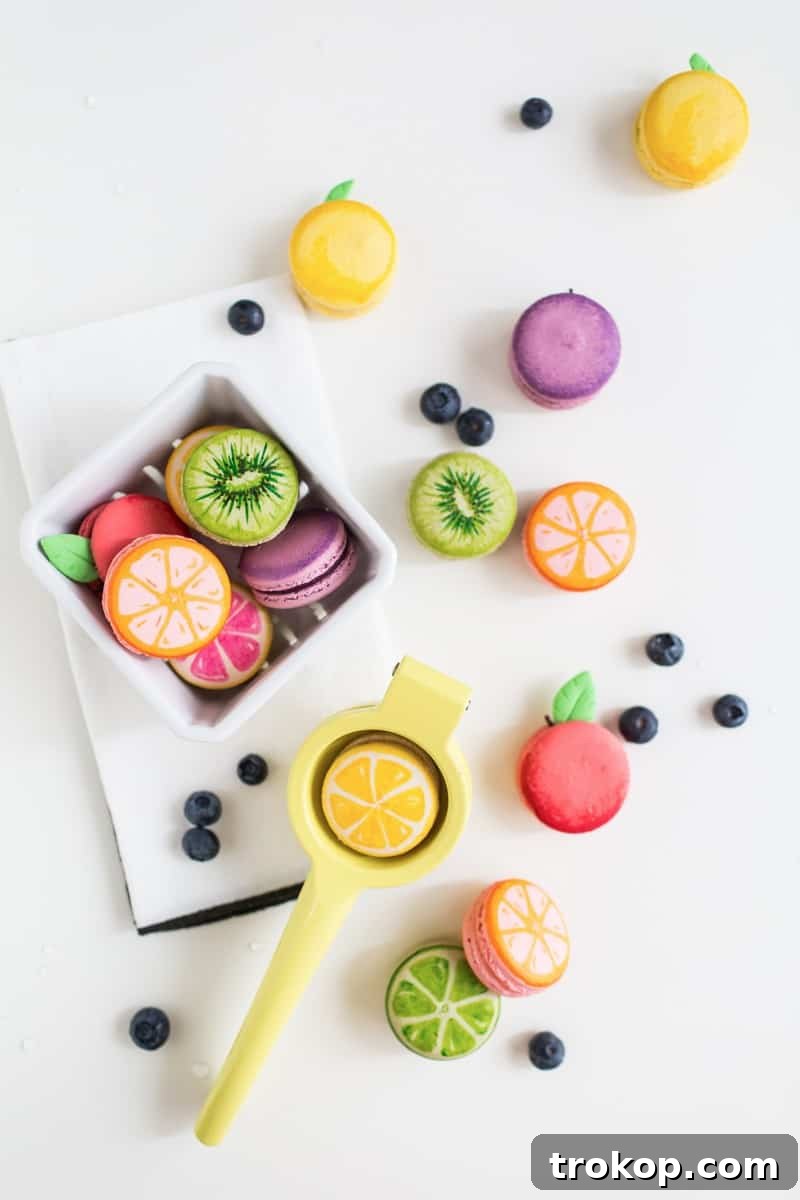
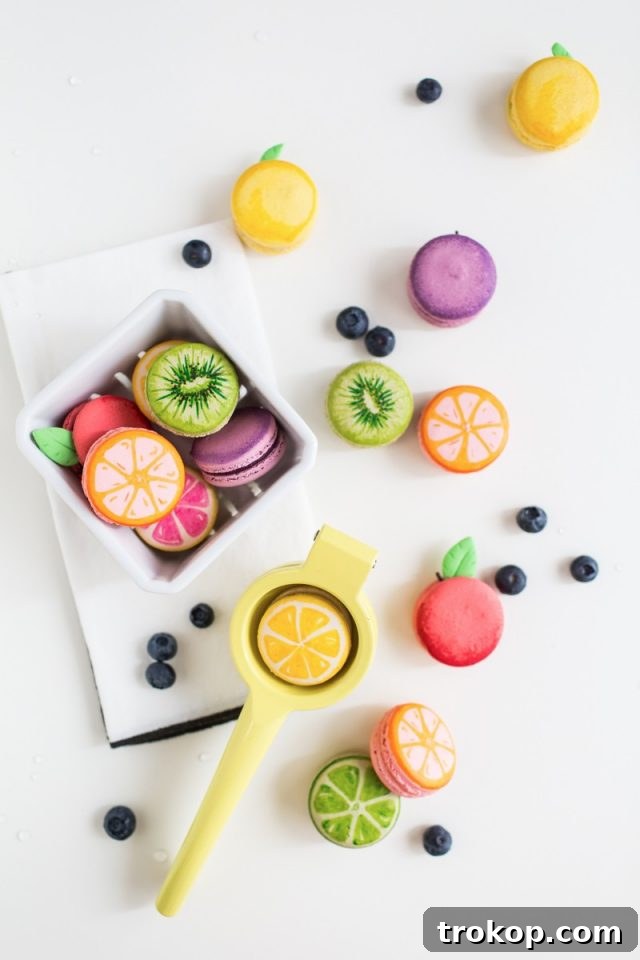
Unlock your creative potential and discover the delightful art of coloring on macarons to craft your very own DIY Fruit Macaron mini desserts. These charming and colorful treats are not just visually appealing; they are the perfect sweet indulgence for summer parties, intimate get-togethers, and sharing joyous moments with friends and family. Imagine vibrant, edible works of art that are as delicious as they are beautiful, sure to impress any guest. This guide will walk you through the simple steps to transform plain macarons into miniature fruit masterpieces, making dessert a truly memorable experience.
Just a few days ago, I was immersed in a different kind of edible art, creating DIY Gilded Popsicles. It seems my kitchen has become a canvas for sweet experimentation, and I couldn’t be happier about it! This time, my inspiration for these delectable DIY Fruit Macarons came with a little extra encouragement, sparked by a delightful Friday morning meeting with Bite Macarons, a local Houston gem renowned for their exquisite confections. I left that meeting with two dozen exquisitely colored macarons, their vibrant hues immediately igniting a spark of creativity within me.
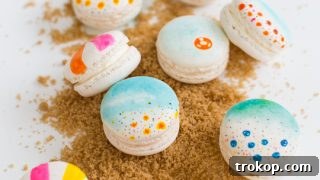
Once you grasp the fundamental techniques of macaron decorating, an entire world of edible artistry opens up. You can venture into illustrating various charming themes, from the whimsical DIY Beach Macarons to the elegant DIY Brunch Macarons. The beauty of macarons lies in their smooth, inviting surface, perfect for transforming into miniature canvases.
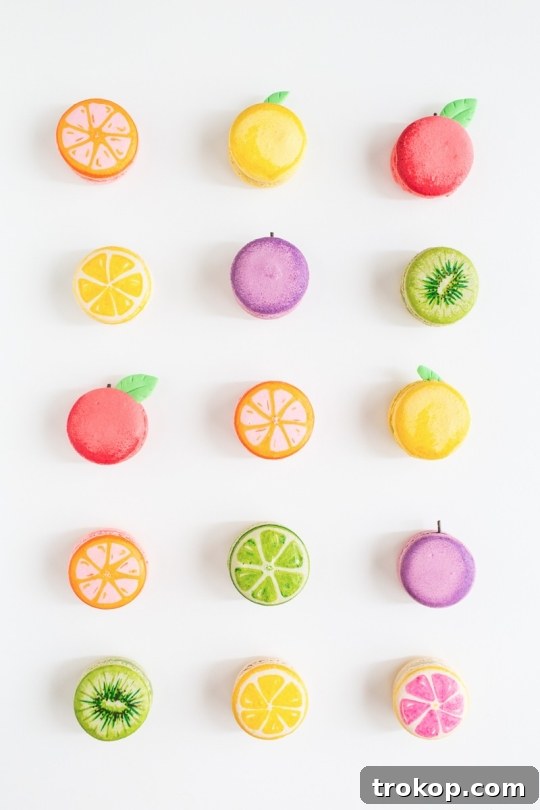
The Sweet Inspiration Behind Fruit Macarons
Observing the persistent popularity of the fruit trend, which continues to captivate the culinary and design worlds, and finding myself surrounded by the irresistible influence of beautiful macarons, I felt compelled to try my hand at some fruit-themed cookie artistry. It was a chance to finally put my college art background to good, delicious use, even if my academic art career wasn’t exactly groundbreaking. Thankfully, you don’t need an art degree to master this craft! There’s a wonderful invention called Amazon Prime that delivers pre-made royal icing and other decorating essentials right to your doorstep, making these DIY Fruit Macarons incredibly accessible to everyone.
With ease and creativity in mind, here’s how you can make fruit macarons that will not only serve as a delightful dessert but also breathe new life into your presentation ideas, whether it’s for a fruit basket, a dessert kabob, or even a cake topper. The possibilities for these charming little treats are truly endless!
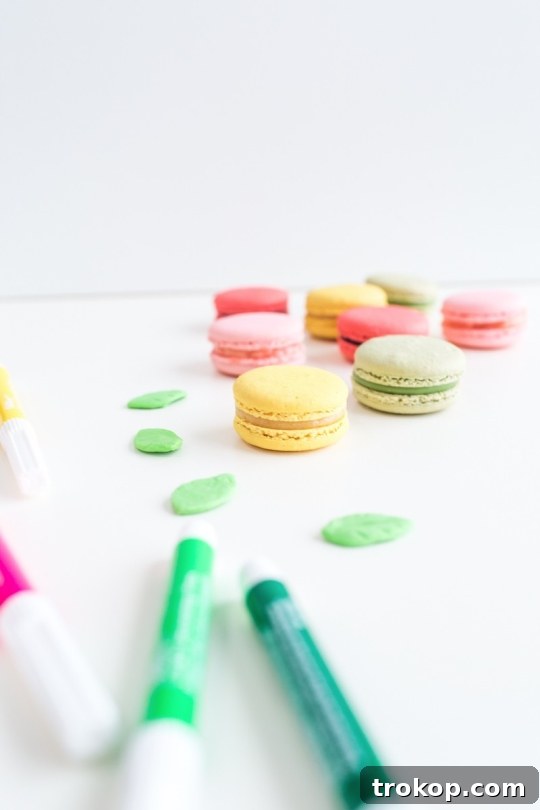
Table of Contents
Toggle
Ingredients and Tools Needed to DIY Fruit Macarons
Embarking on your macaron decorating adventure requires only a handful of readily available items. The beauty of this project is its flexibility – you can choose to bake your own macaron shells from scratch or opt for the convenience of store-bought ones. Either way, the decorating process remains wonderfully straightforward and enjoyable.
- Colored Macarons: While you can always whip up a batch using our easy macaron recipe, purchasing pre-made shells in various colors will save you considerable time and effort. Look for basic colors like green, pink, yellow, and white to serve as your fruit bases.
- Food-Grade Markers: These edible pens are your primary artistic tool. Ensure you have a good selection of colors, especially green, brown, yellow, and red, for drawing fruit details.
- Pre-made Royal Icing Leaves: These tiny, delicate edible leaves add a professional and realistic touch to your fruit designs, especially for apples and lemons. If you’re feeling ambitious, you can certainly make your own royal icing and pipe them, but store-bought ones are a fantastic shortcut.
- Chocolate Sprinkles: These will be ingeniously used as realistic stems for your apples and grapes, adding a subtle touch of texture and color contrast.
- Optional: Small paintbrush (clean and food-safe): For blending colors or applying edible dusts if you want to add more dimension.
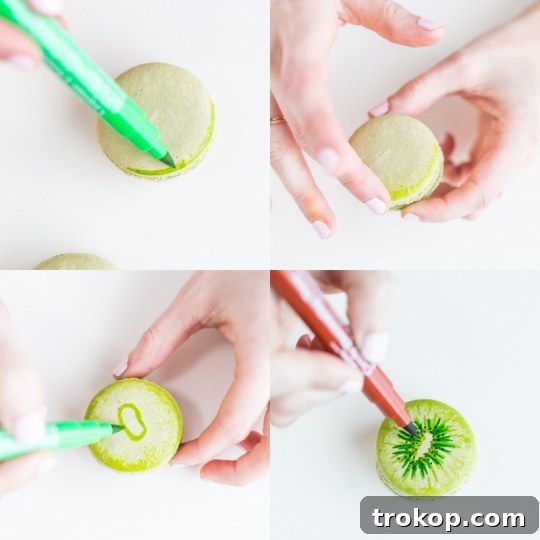
How To Draw On Macarons | How To Make DIY Fruit Macarons
The beauty of these fruit macarons lies in their delightful simplicity. Most fruit designs are surprisingly easy to recreate, making this a perfect project for bakers and crafters of all skill levels. While many designs are intuitive, let’s dive into the kiwi macaron first, as it’s perhaps the most intricate, providing a solid foundation for the other, simpler fruits.
Kiwi Macarons: A Detailed Walkthrough
Creating the signature look of a kiwi slice is a delightful process that involves a bit of blending and layering. Here’s how to achieve it:
- Outline the Edge: Pick a mint green macaron shell. Using a basic green food marker, carefully draw a thin line around the very edge of the top macaron shell. This creates the outer ring of the kiwi flesh.
- Blend Towards the Center: Immediately after drawing the line (before it has a chance to fully dry), gently smudge and blend it inwards towards the center of the cookie using your fingertip. This softens the line and creates a natural gradient effect, mimicking the slightly lighter color towards the kiwi’s core.
- Form the Inner Oval: With the same green marker, draw a small, elongated oval in the very center of the macaron. This will represent the lighter, firmer core of the kiwi.
- Add Sporadic Lines: From the edges of this central oval, draw thin, sporadic lines radiating outwards towards the blended outer ring. These lines don’t need to be perfectly straight or uniform; the natural imperfections will enhance the organic look of the kiwi.
- Layer with Darker Green: Take a darker green food marker. Repeat the process of drawing thin, sporadic lines, layering them over the lighter green lines. This adds depth and dimension to your kiwi design, making it appear more realistic.
- Dot with Brown for Seeds: Finally, use a brown food marker to create tiny dots scattered within the green lines, especially closer to the outer edge. These will be your kiwi seeds. Let all the drawn elements dry completely before handling extensively to prevent smudging.
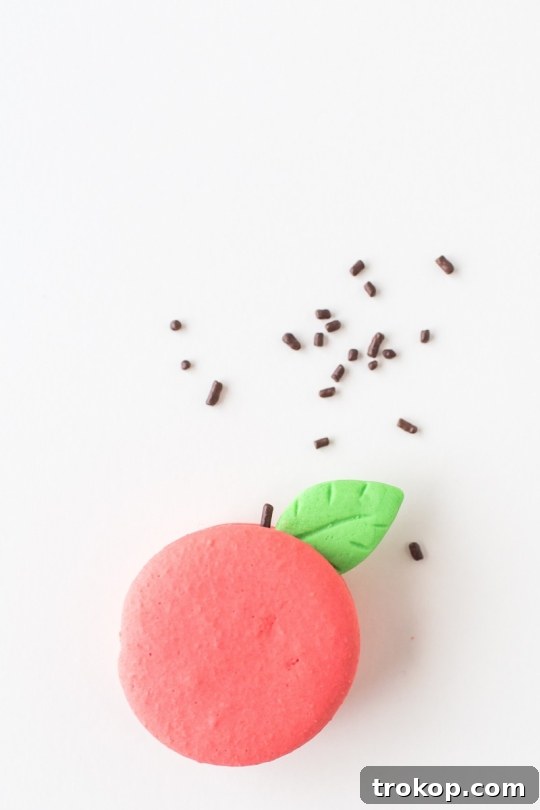
Crisp Apples And Juicy Grapes: Simple Designs
For the apples and grapes, simplicity is key, and the results are incredibly charming. The trick here is to use the macaron’s natural color to your advantage:
- Shading for Depth: For both apple (red or green macaron) and grape (purple or green macaron) designs, select a food marker that matches the color of your macaron shell. Gently shade around the edges of the top cookie. This subtle shading adds a touch of “umph” – a lovely sense of dimension and roundness that makes the fruit pop.
- Adding Stems: To create the stems, carefully insert a single chocolate sprinkle into the creamy filling of each macaron. Position it upright to mimic a tiny stem. This small detail makes a huge difference in bringing the fruit design to life.
- Apple Leaves: For apple macarons, take a small pre-made royal icing leaf and gently tuck it into the macaron’s filling next to the chocolate sprinkle stem. This gives your apple a fresh, natural look.
Zesty Lemons And Other Citrus Delights
Crafting a whole lemon macaron is equally straightforward, focusing on shape and subtle details:
- Lemon Outline: On a yellow or vanilla-colored macaron, use a yellow food marker to draw the iconic oval shape of a lemon, or simply emphasize the macaron’s roundness.
- Subtle Leaf Detail: To ensure the leaf for the whole lemon wasn’t overly dominant, I took a pre-made royal icing leaf and carefully broke it in half. I then used only one half, gently inserting it into the filling, giving the lemon a delicate, natural accent without overpowering the fruit itself.
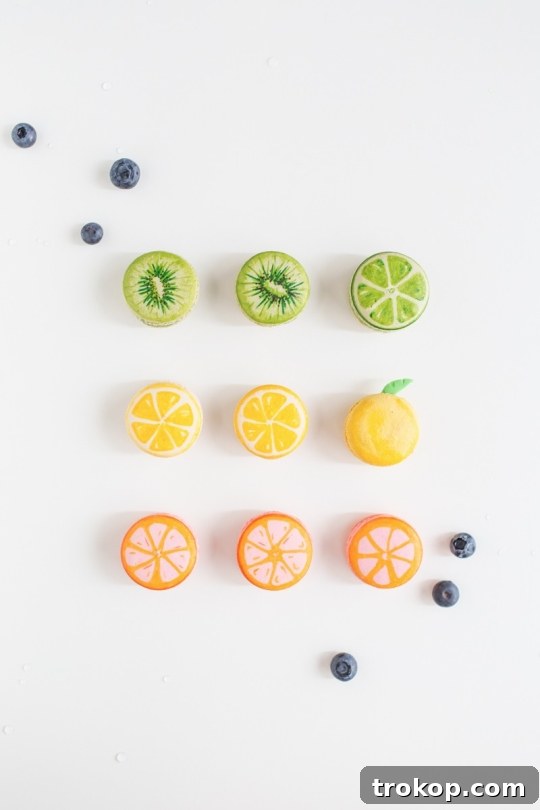
- Grapefruits and Oranges: For grapefruits, use a pink macaron and add subtle shading or a few curved lines for texture. For oranges, an orange macaron with a small green leaf and a tiny dot in the center works wonders. The key is to play with the existing macaron colors and add minimal, yet impactful, details.
Beyond the Basics: Other Fruit Ideas
Once you’re comfortable with these foundational techniques, feel free to unleash your imagination! The possibilities for fruit macarons are limitless:
- Strawberries: Use a red macaron, dot it with a black or brown marker for seeds, and add a small green royal icing calyx.
- Watermelons: On a light green macaron, draw a dark green curved rind and then add tiny black seeds inside with a black marker.
- Blueberries/Raspberries: Use blue or purple macarons and add subtle shading, or even tiny edible pearls for texture.
- Pineapples: On a yellow macaron, draw a cross-hatch pattern with a brown marker and top with a small green royal icing leaf crown.
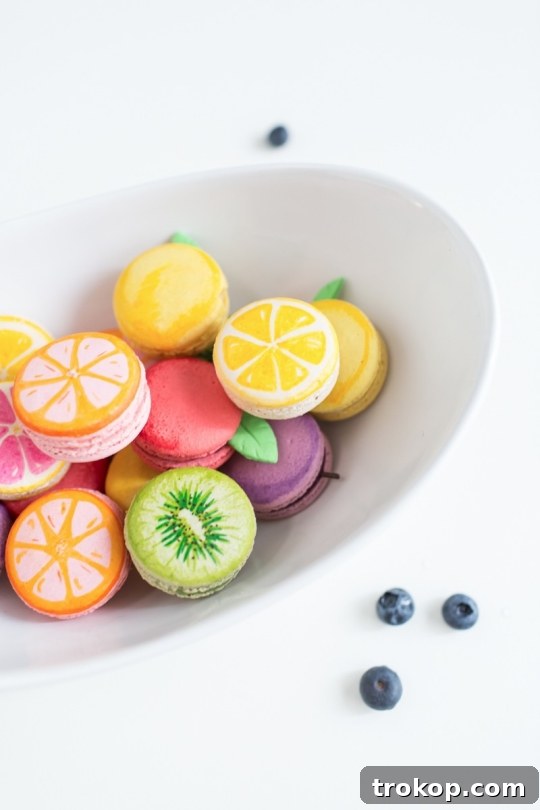
The rest of the designs truly boil down to basic geometric shapes and thoughtfully mixing your macaron and marker colors to achieve your desired look. Whether you’re crafting vibrant grapefruits from pink macarons or sunny lemons from vanilla shells, the process is incredibly satisfying. I truly adore how each and every one of them turned out, a testament to the simple joy of edible art!
Jared and I had a playful debate over whether our apple macarons leaned more towards looking like cherries. After careful consideration (and a taste test, of course!), we ultimately decided on the apple moniker, but it just goes to show how versatile and open to interpretation these designs can be.
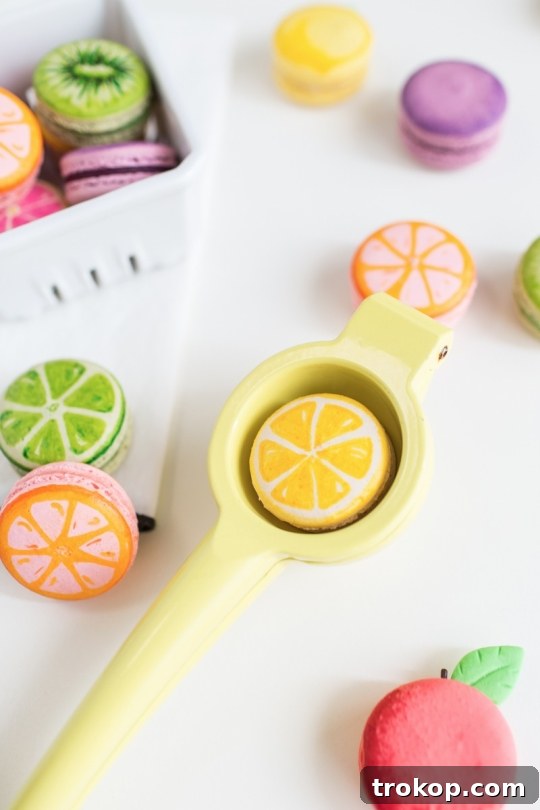
Mastering Macaron Storage
Proper storage is absolutely crucial for preserving the delicate texture and flavor of your macarons. These exquisite cookies are notoriously sensitive to humidity and air, and if not stored correctly, they can quickly become either unpleasantly gooey or overly crunchy, losing their signature “chew.”
For optimal freshness and to maintain their perfect texture, it’s always best practice to store your decorated macarons in an airtight container in the refrigerator. The cool, stable environment of the fridge helps prevent them from drying out or becoming sticky. Keep them chilled until just before you plan to serve them.
When it’s time to enjoy your beautiful creations, simply remove them from the refrigerator and allow them to come to room temperature for about 10-15 minutes. This brief period allows the filling to soften slightly and the shells to achieve their ideal melt-in-your-mouth consistency. Then, they’re ready to be savored!
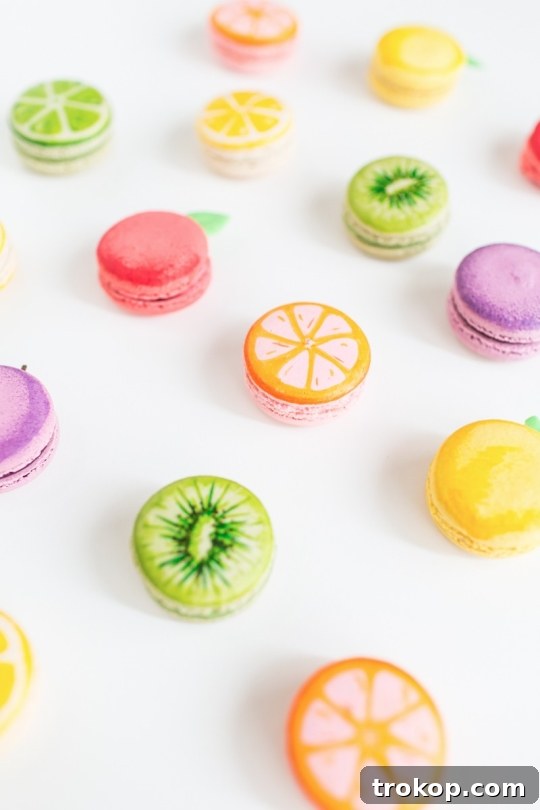
Maximizing Macaron Freshness: How Long Do Macarons Last?
With proper refrigeration and airtight storage, your homemade or decorated macarons will retain their delightful flavor and texture for up to a week. This makes them an excellent make-ahead dessert option for events and celebrations.
A quick note on fillings: if your macarons feature fillings made with dairy (like buttercream or ganache) or additional eggs, they might require a little extra care and perhaps a slightly shorter shelf life. Always use your best judgment and prioritize food safety. It’s always a good idea to consume them within 3-5 days if they have perishable fillings.
Beyond refrigeration, macarons can also be frozen! If you want to extend their life even further, place them in an airtight container with parchment paper separating layers and freeze for up to 1-2 months. Thaw them in the refrigerator overnight before bringing them to room temperature for serving.
Creative Ways to Share Your Fruit Macarons
Imagine the joy of packaging these adorable fruit macarons in pairs as charming guest favors for a wedding, shower, or birthday party, tied with a pretty ribbon and a small paper leaf personalized with guests’ names. Or, consider them as a truly clever and unique way to reinvent the traditional “fruit” basket, offering a sweet, unexpected twist that’s far more exciting than real fruit! Everyone often says certain treats are “too cute to eat,” but trust me, when it comes to these fruit macarons, people will absolutely devour them!
For those curious about whether the food markers alter the taste of the macarons, in my experience, they do not! Edible markers are designed to be tasteless, allowing the delicious flavors of your macaron shells and fillings to shine through completely untouched. So, you can decorate with confidence, knowing that your beautiful artistry won’t compromise the taste experience.
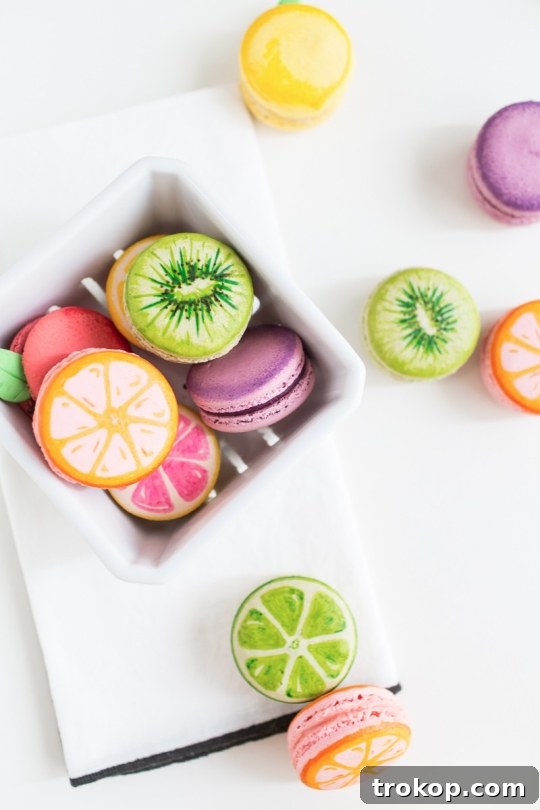
Explore More Macaron Art Projects
If you’ve enjoyed creating these fruit macarons and are eager to explore more colorful and creative macaron projects, you’re in luck! The world of macaron decorating is vast and full of delightful possibilities. Dive into some of my other favorite macaron art adventures below for more inspiration and step-by-step guides:
- How to paint on macarons
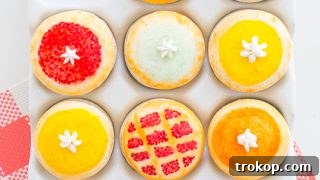
- Whimsical Pie Macarons
- Creative Veggie Kabob Macarons
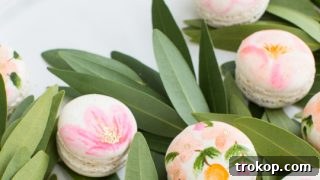
- Delicate Wildflower Macarons
- DIY Gilded Gemstone Popsicles (for more edible art inspiration!)
Join Our Sweet Community
We absolutely adore seeing your creative endeavors! Once you’ve crafted your own delightful DIY Fruit Macarons, please be sure to share them with us on Instagram. Don’t forget to use the hashtag #sugarandclothloves so we can easily find and admire all of your wonderful creations. We can’t wait to see the unique fruit designs you come up with!