Unlock Your Summer Style: Craft Your Own DIY Pom Pom Tassel Circle Bag!
Inject vibrant personality and artisanal charm into your summer wardrobe with this irresistible DIY Pom Pom Tassel Circle Bag project! Get ready to turn heads at the beach, by the pool, or on your next sunny adventure.
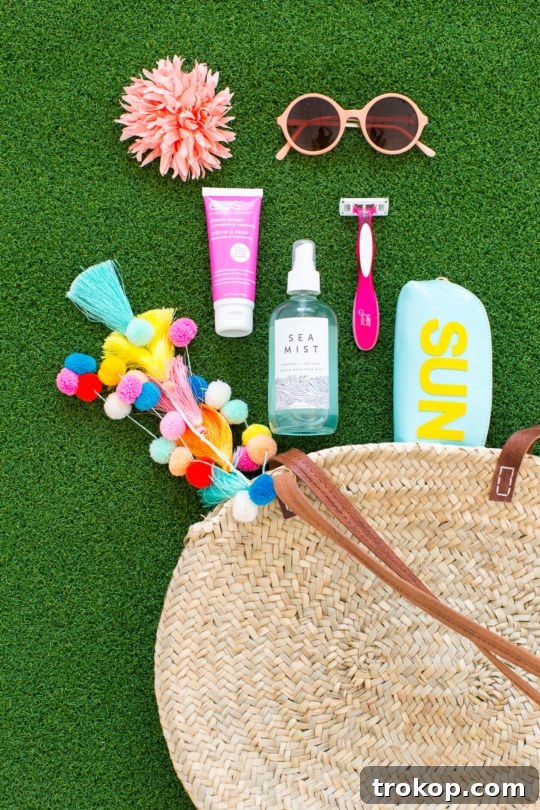
Is your go-to summer bag feeling a bit… understated? Perhaps it’s seen one too many sandy escapades and is yearning for a fresh look. Or maybe you’ve just acquired a fabulous new tote, but it’s missing that special touch – a dash of playful character that truly reflects your unique style!
Fret not, fellow fashionistas and beach enthusiasts! We’re here to guide you through a delightful crafting journey that will transform any ordinary beach bag into an extraordinary, eye-catching masterpiece. With just a splash of creativity and a handful of accessible supplies, you can elevate your beach bag from basic to utterly breathtaking (or at the very least, breathtakingly charming) using the magical allure of colorful pom poms and chic tassels!
These fluffy, textural, and undeniably fun embellishments are the quintessential way to infuse a vibrant pop of color, engaging texture, and whimsical charm into your favorite summer accessory. But the appeal of this DIY project extends beyond just aesthetics. Not only are pom poms and tassels surprisingly simple to create – seriously, even crafting novices will quickly master these techniques – but they also offer an incredibly budget-friendly avenue to personalize your beach tote, ensuring it stands out from every other bag on the boardwalk or poolside.
Imagine the satisfaction of carrying a bag that you’ve personally adorned, a conversation starter that screams “summer fun!” This project isn’t just about making an accessory; it’s about expressing your personality, embracing vibrant hues, and adding a handmade touch to your seasonal style. So, gather your favorite yarns, sharpen your scissors, and let a wave of beachy inspiration wash over you. It’s time to unleash your inner DIY maven and craft the ultimate beach bag statement piece that truly sparkles with your individual flair!
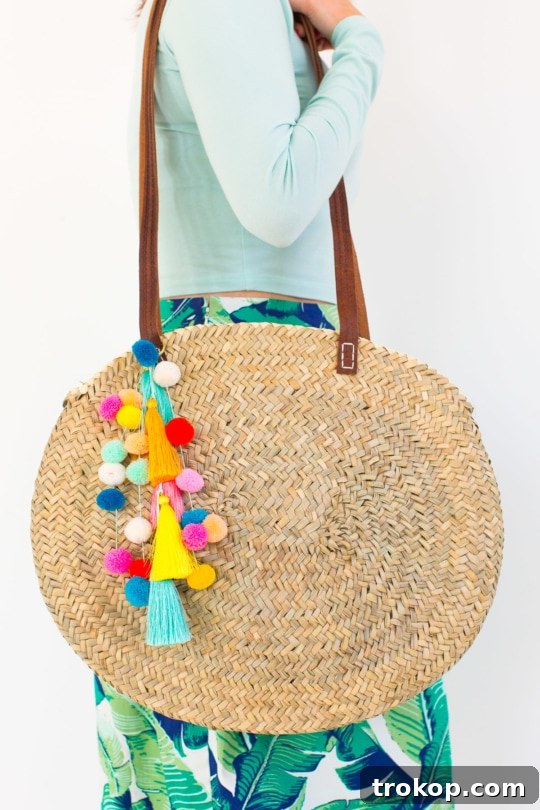
Table of Contents
Why Personalize Your Beach Bag?
In a world of mass-produced accessories, a personalized beach bag stands out as a true reflection of your individuality. Beyond just aesthetics, there are numerous compelling reasons to embark on this delightful DIY journey:
- Express Your Style: Choose colors, textures, and designs that perfectly match your summer aesthetic, whether it’s bohemian chic, vibrant tropical, or minimalist elegance.
- Cost-Effective Customization: Achieve a high-end, designer look without the hefty price tag. Crafting your own embellishments is significantly more affordable than purchasing a pre-decorated bag.
- Unique Statement Piece: Guarantee that your bag is one-of-a-kind. You won’t spot another like it, making it a unique conversation starter wherever you go.
- Sustainable Crafting: Repurpose an older bag or upcycle existing materials, contributing to a more sustainable fashion approach.
- Creative Outlet: Engage in a relaxing and rewarding creative activity. There’s immense satisfaction in making something beautiful with your own hands.
- Perfect Gift Idea: A handmade, personalized beach bag makes for a thoughtful and cherished gift for friends, family, or bridal party members.
Selecting The Perfect Bag For Your DIY Project
While this tutorial focuses on a stylish circle bag, the beauty of this DIY lies in its versatility. Almost any beach bag can be transformed with pom poms and tassels! When choosing your base bag, consider the following:
- Material: Woven materials like straw, rattan, jute, or canvas provide an excellent surface for attaching embellishments. Their texture offers a beautiful contrast to the soft pom poms and flowing tassels.
- Shape and Size: A circular bag offers a distinctive silhouette that’s perfect for showcasing your handmade additions. However, a classic tote, a spacious market bag, or even a smaller cross-body bag can be equally stunning. Consider how the embellishments will drape and whether they complement the bag’s overall design.
- Color: A neutral-colored bag (natural straw, white, beige, black) provides a fantastic canvas for colorful pom poms and tassels to truly pop. Alternatively, a boldly colored bag can be enhanced with complementary or contrasting shades for a maximalist look.
- Handle Type: Bags with sturdy handles or rings make it easier to attach keyrings or directly tie strands of embellishments.
Don’t be afraid to experiment! The goal is to create a bag that you adore and that perfectly complements your summer adventures.
Materials and Tools Needed
Before diving into the creative process, ensure you have all your supplies neatly organized. High-quality materials will ensure your beautiful embellishments last through many sunny seasons!
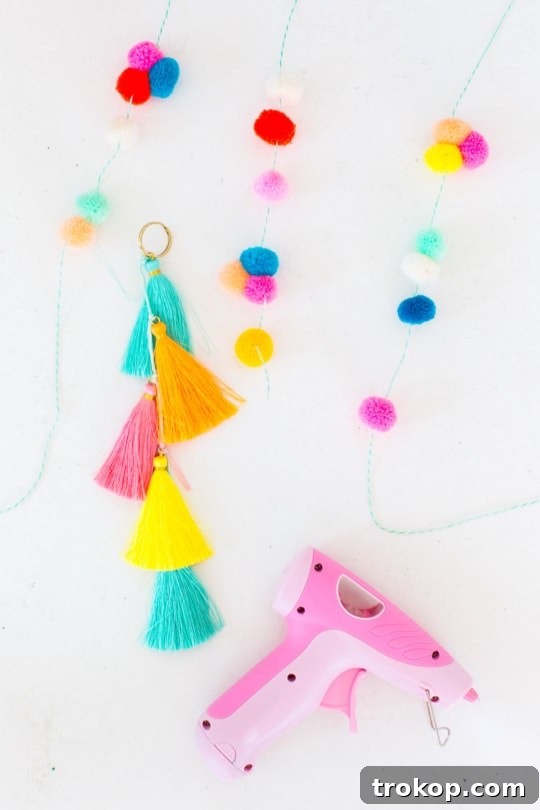
- Colorful Tassels: Pre-made tassels are a time-saver, but you can also easily DIY your own with yarn for custom colors and sizes.
- Colorful Mini Pom Poms: Look for various sizes and shades to create depth and interest. Fabric stores or craft suppliers often have a wide selection.
- Moroccan Woven Bag or Similar: We highly recommend a woven base like a Moroccan market bag. Alternatively, consider this similar rattan wicker bag or a charming straw circle bag.
- Twine or Strong Thread: Opt for a durable twine or embroidery floss that can withstand the weight of the pom poms and tassels. The color can either blend in or create a subtle design element.
- Embroidery Needle: Choose one with an eye large enough to accommodate your twine or thread. This will make threading your pom poms much easier.
- Cording Trim: A decorative cording trim adds another layer of texture and strength for your tassel strand.
- Sharp Scissors: Essential for cleanly cutting twine, trim, and any excess threads.
- Gold Keyring or Clip-on Version: A keyring serves as the central anchor for all your pom pom and tassel strands. A clip-on version offers more flexibility if you wish to easily detach the embellishments. Consider this clip-on alternative.
- Hot Glue Gun and Glue Sticks: This will be your secret weapon for securely attaching loose pom poms and reinforcing knots. Always exercise caution when using a hot glue gun.
How to Make a DIY Pom Pom Tassel Circle Bag
This step-by-step guide will help you craft a stunning accessory with ease. Take your time, enjoy the process, and let your creativity shine!
Step 1: Plan Your Layout
Before you begin any threading or gluing, lay out your chosen pom poms and tassels directly onto your bag. This crucial planning stage allows you to visualize the final design. Experiment with different arrangements to determine where each strand should hang to create varying heights and a balanced aesthetic. Consider color distribution and how different textures will play together. This foresight will save you time and potential re-work later.
Step 2: Prepare Your Pom Pom Strands
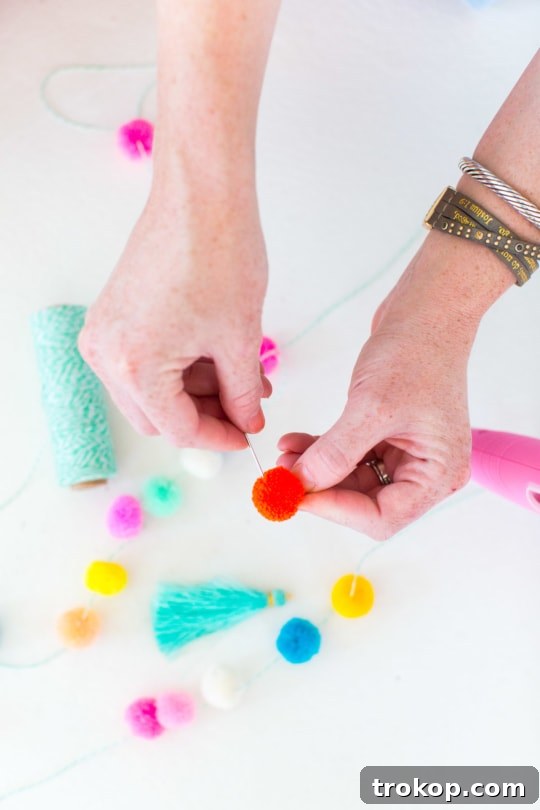
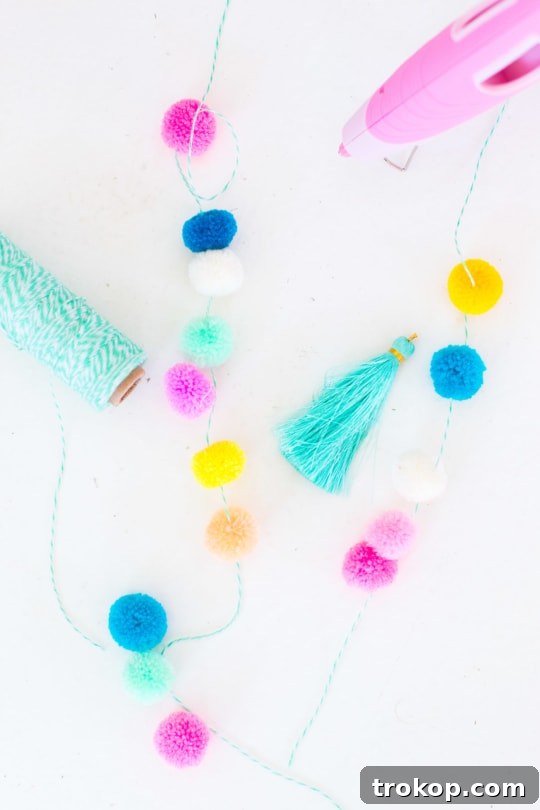
Once your design is mapped out, it’s time to create the pom pom garlands. For each pom pom strand you plan to make, cut three pieces of twine. The length should be generous, allowing for knots and adjustments. Remember, it’s always better to have twine that’s a little too long than too short.
Thread your embroidery needle with one piece of twine. Carefully begin threading the pom poms onto the twine to form your garland. Aim for a consistent spacing, or vary it for a more organic look. Repeat this process for all three strands. As you thread, remember to leave a small handful of pom poms unthreaded – these will be used for hot gluing in clusters later to add fullness and cover knots.
Step 3: Reinforce Pom Pom Strands
Once a pom pom strand is completed to your desired length, tie a tight, secure knot at the bottom, directly beneath the last pom pom. This knot is essential for reinforcing the thread and preventing the pom poms from slipping off over time. For extra security, you can dab a tiny bit of hot glue onto the knot. Remember those extra unthreaded pom poms? You’ll use these to hot glue onto the strand in strategic groups, particularly at the top and bottom of the finished strand, to give it a more complete and voluminous appearance. This technique helps hide any visible twine and creates a seamless look.
Step 4: Craft Your Tassel Strand
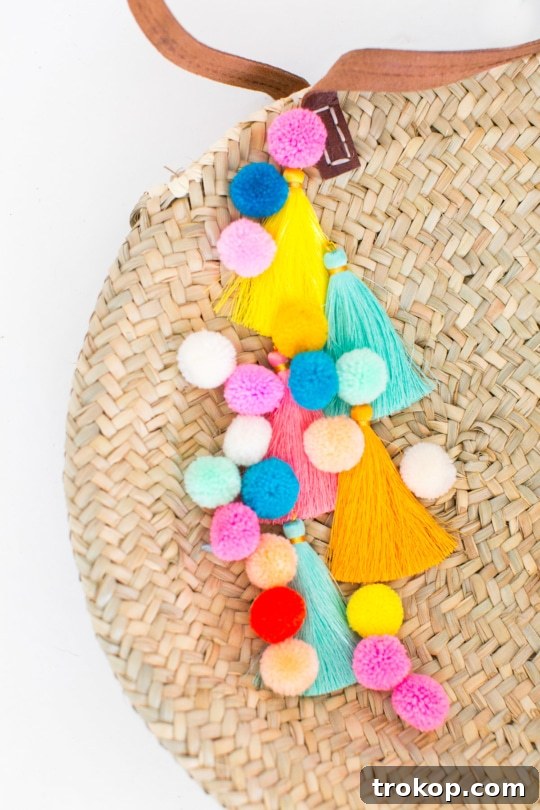
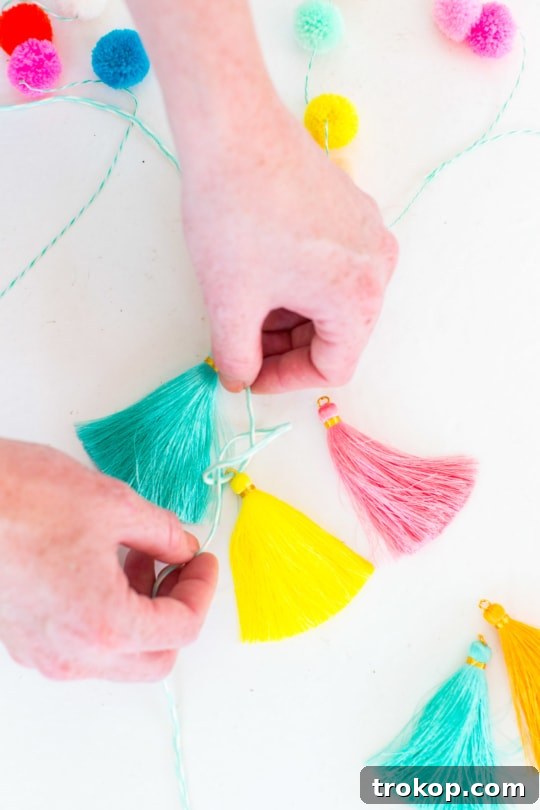
Now, let’s create the striking tassel strand. Cut a long piece of your cording trim – this will be the backbone of your tassel arrangement. Begin knotting your chosen tassels onto this trim, one by one. The key here is to position them close enough so that they slightly overlap, creating a lush and full cascade of color and texture. Ensure each knot is firm to prevent the tassels from shifting.
Step 5: Secure the Tassel Strand to the Keyring
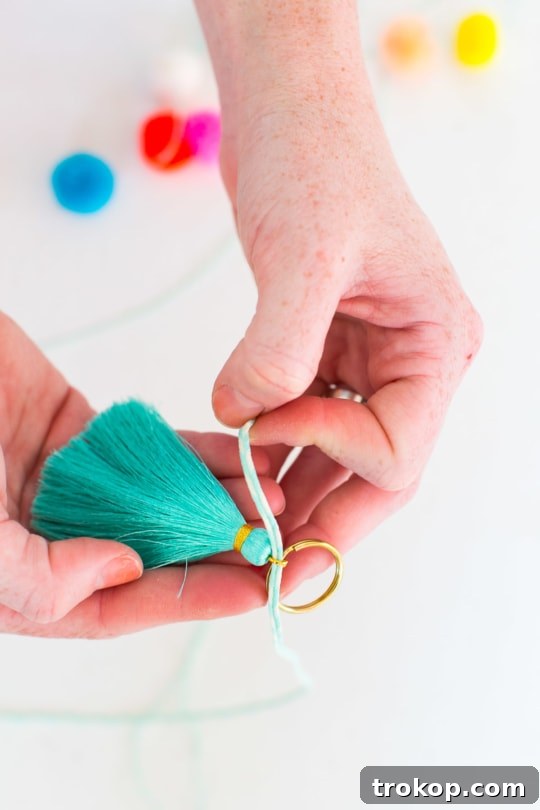
Take the jump ring at the top of your first tassel and twist it through your gold keyring. This provides the initial anchor. For added reinforcement and to ensure your tassel strand stays securely attached, tie a strong knot with the top end of the cord trim directly onto the gold keyring. You can also use a small dab of hot glue to secure this knot permanently.
Step 6: Add Final Touches to Strands
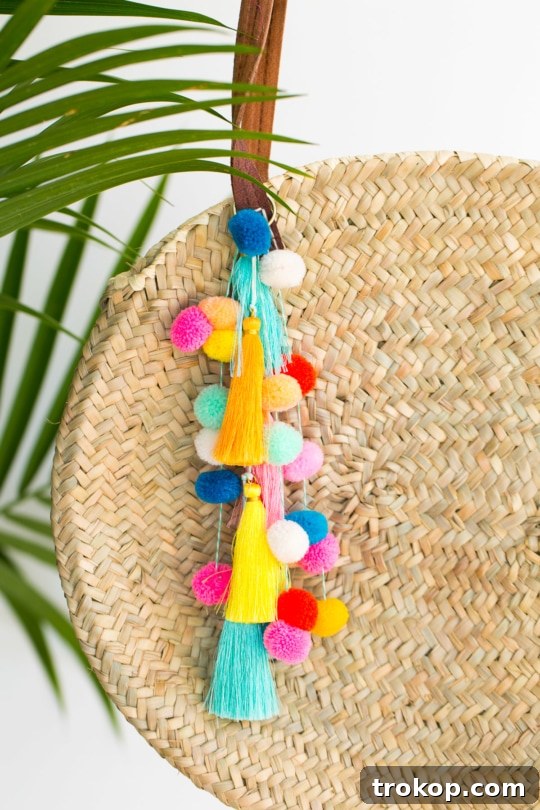
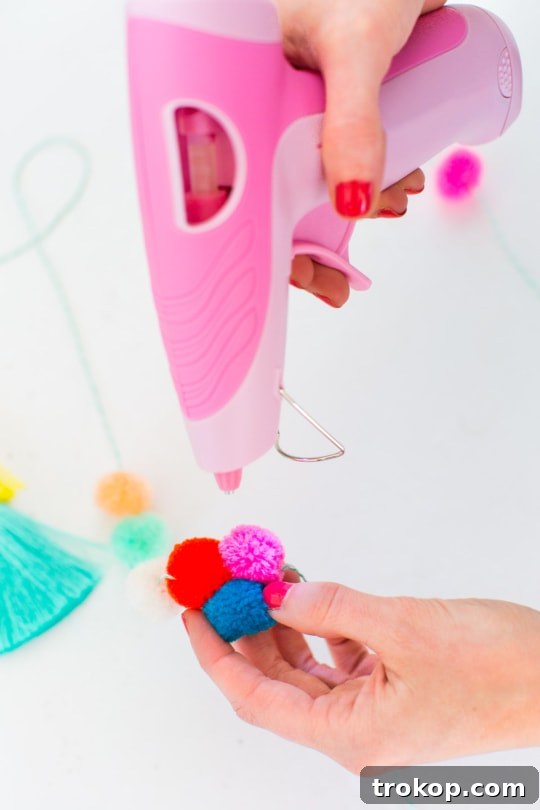
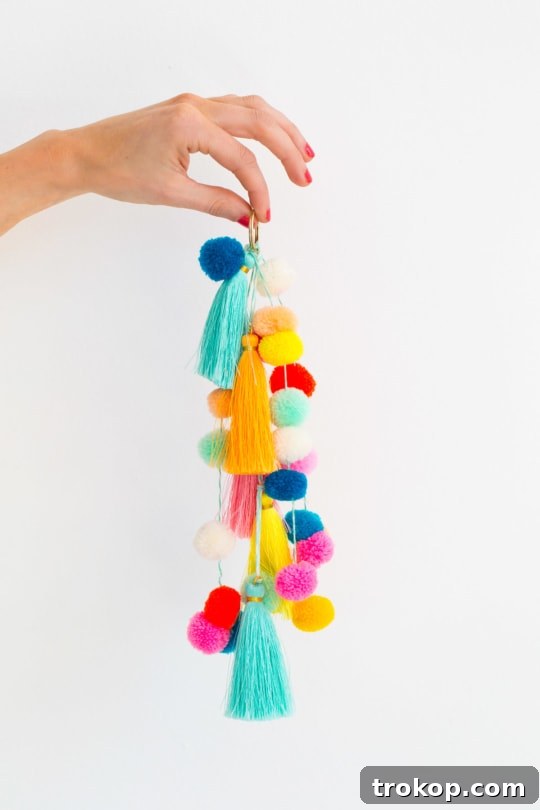
Recall those extra loose pom poms you set aside? Now is the time to utilize them! Using your hot glue gun, carefully attach these pom poms onto your finished strands in small clusters, wherever you feel additional fullness, color, or knot coverage is needed. This step allows for a customized look, ensuring no gaps and adding a professional, polished finish to your embellishments. By now, you should have four distinct and beautifully crafted strands: three pom pom garlands and one tassel garland.
Step 7: Assemble All Strands to the Keyring
With all your individual strands complete, it’s time for the final assembly. One by one, take each of your pom pom strands and firmly knot them onto the gold keyring. Distribute them evenly around the keyring to maintain balance. Once all strands are securely attached and you’re happy with their arrangement, carefully hot glue a pom pom over each knot near the keyring. This clever trick conceals the knots, giving your entire embellishment a clean, finished, and professional look. You can apply the same technique to hide the knot at the very bottom of your tassel strand, if desired.
Step 8: Attach to Your Bag and Flaunt It!
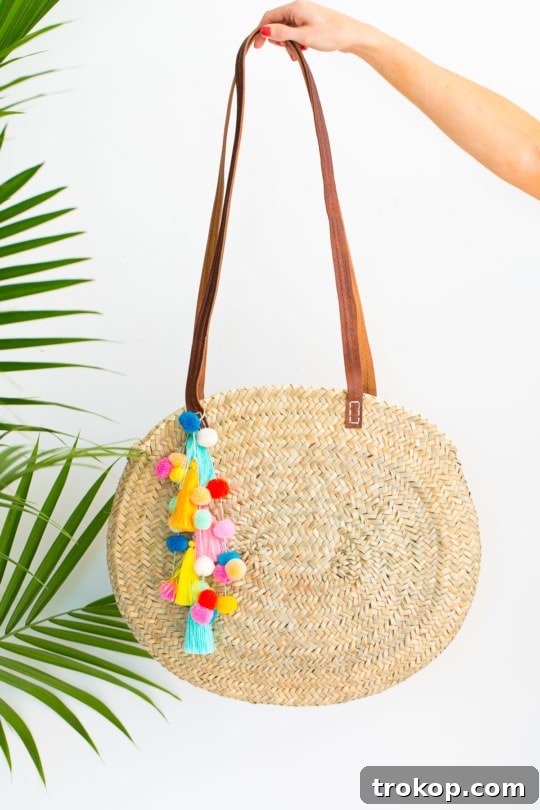
The moment of truth! Simply string your fully assembled keyring onto the handle or a convenient loop of your chosen bag. Ensure it’s securely attached. And just like that, you’re all set to unveil your stunning, personalized DIY Pom Pom Tassel Circle Bag! Step out with confidence, knowing you’re carrying a unique piece of art crafted by your own hands.
Styling Your New Creation
Your new DIY Pom Pom Tassel Circle Bag is more than just a beach accessory – it’s a versatile statement piece that can elevate a variety of summer looks! Here are a few ideas to get you started:
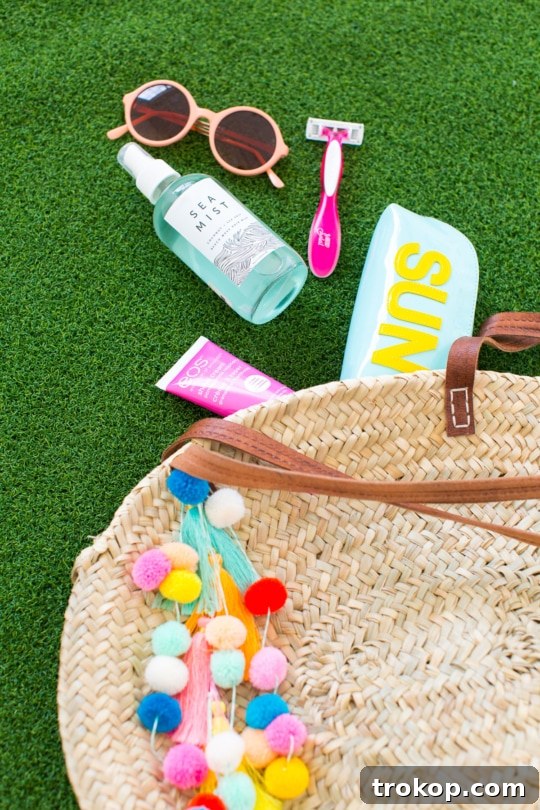
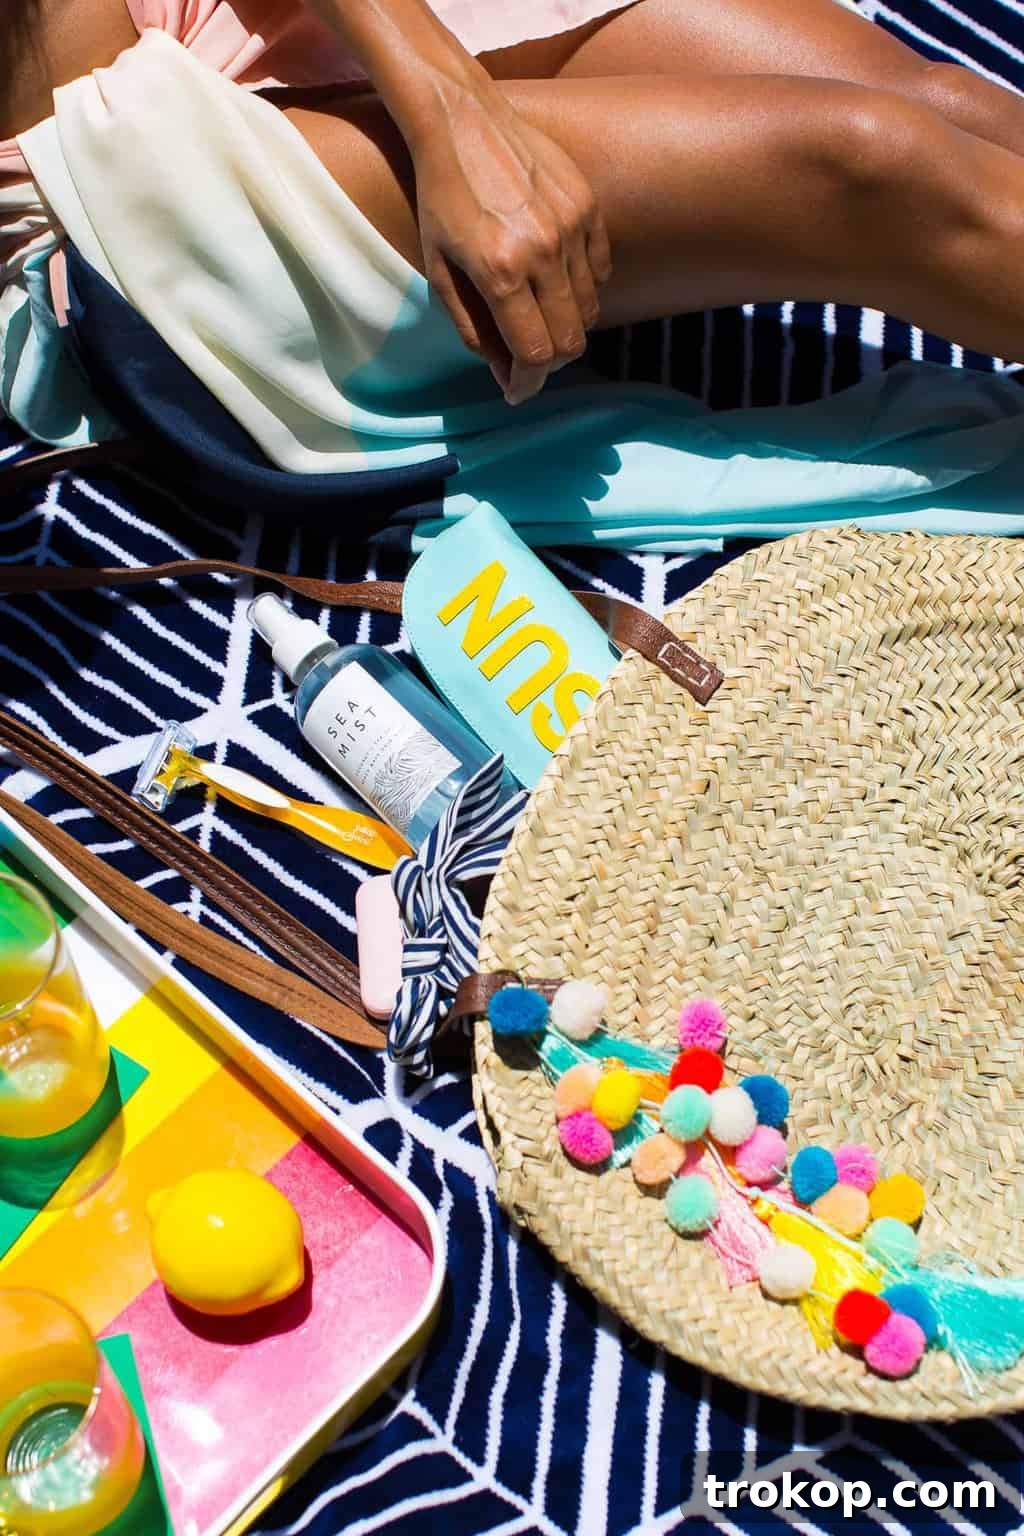
- Beach Day Chic: Pair it with your favorite swimsuit, a breezy linen cover-up, and oversized sunglasses for the ultimate relaxed yet stylish beach ensemble.
- Boho Market Vibe: Take it to the farmer’s market or a casual brunch. It complements flowy maxi dresses, denim shorts, and comfortable sandals beautifully.
- Festival Ready: The playful nature of the pom poms and tassels makes this bag perfect for summer festivals. Combine it with a peasant top, distressed jeans, and ankle boots.
- Casual Evening Out: Believe it or not, this bag can also work for a relaxed evening. Think white jeans, a simple camisole, and wedges for a dinner on the patio.
Don’t forget to curate the perfect soundtrack for your summer adventures! This colorful bag would go perfectly with our Spotify summer playlist, perhaps while you’re also rocking a DIY retro floral floppy hat for ultimate poolside cool. Just saying!
Care Tips for Your DIY Bag
To ensure your beautiful handmade bag lasts through many summers, a little care goes a long way:
- Spot Clean Only: For spills or dirt on the pom poms and tassels, gently spot clean with a damp cloth and mild soap. Avoid submerging them in water, as this can cause the colors to bleed or the shapes to distort.
- Gentle Handling: While designed to be durable, avoid excessive tugging or rough handling of the embellishments.
- Storage: When not in use, store your bag in a cool, dry place, ideally in a dust bag to protect it from dust and direct sunlight, which can fade colors over time.
- Reshape Tassels: If tassels become a bit unruly, you can gently comb them with your fingers or a wide-tooth comb to restore their shape.
More Tassel DIY’s To Try
If you’ve discovered a newfound passion for the charming world of tassels and pom poms through this project, you’re in luck! There’s a whole universe of fluffy and fun DIYs waiting for you to explore. These versatile embellishments aren’t just for bags; they can transform home decor, personal accessories, and more. Dive into some of our other favorite DIY projects below and keep that creative energy flowing – stay on the bright side with these vibrant crafts!
- Pom Pom Wall Hang: Add a whimsical touch to any room with a textured, colorful wall art piece crafted from fluffy pom poms.
- Door Handle Tassels: Give your interior doors a unique accent by creating custom tassels to drape from their handles, infusing a pop of color and softness.
- Fluffy DIY Pom Pom Bin: Transform ordinary storage bins into playful and stylish organizers with a border of delightful pom poms.
- DIY Pom Pom Scarf: Elevate a simple scarf into a fashion statement by adding a fringe of colorful pom poms, perfect for adding flair to any outfit.
- DIY Tassel Throw Pillows: Instantly update your living space by adding chic tassels to the corners of your throw pillows for a touch of bohemian elegance.
Keep an eye out for even more fun posts coming up, and in the meantime, happy crafting!