
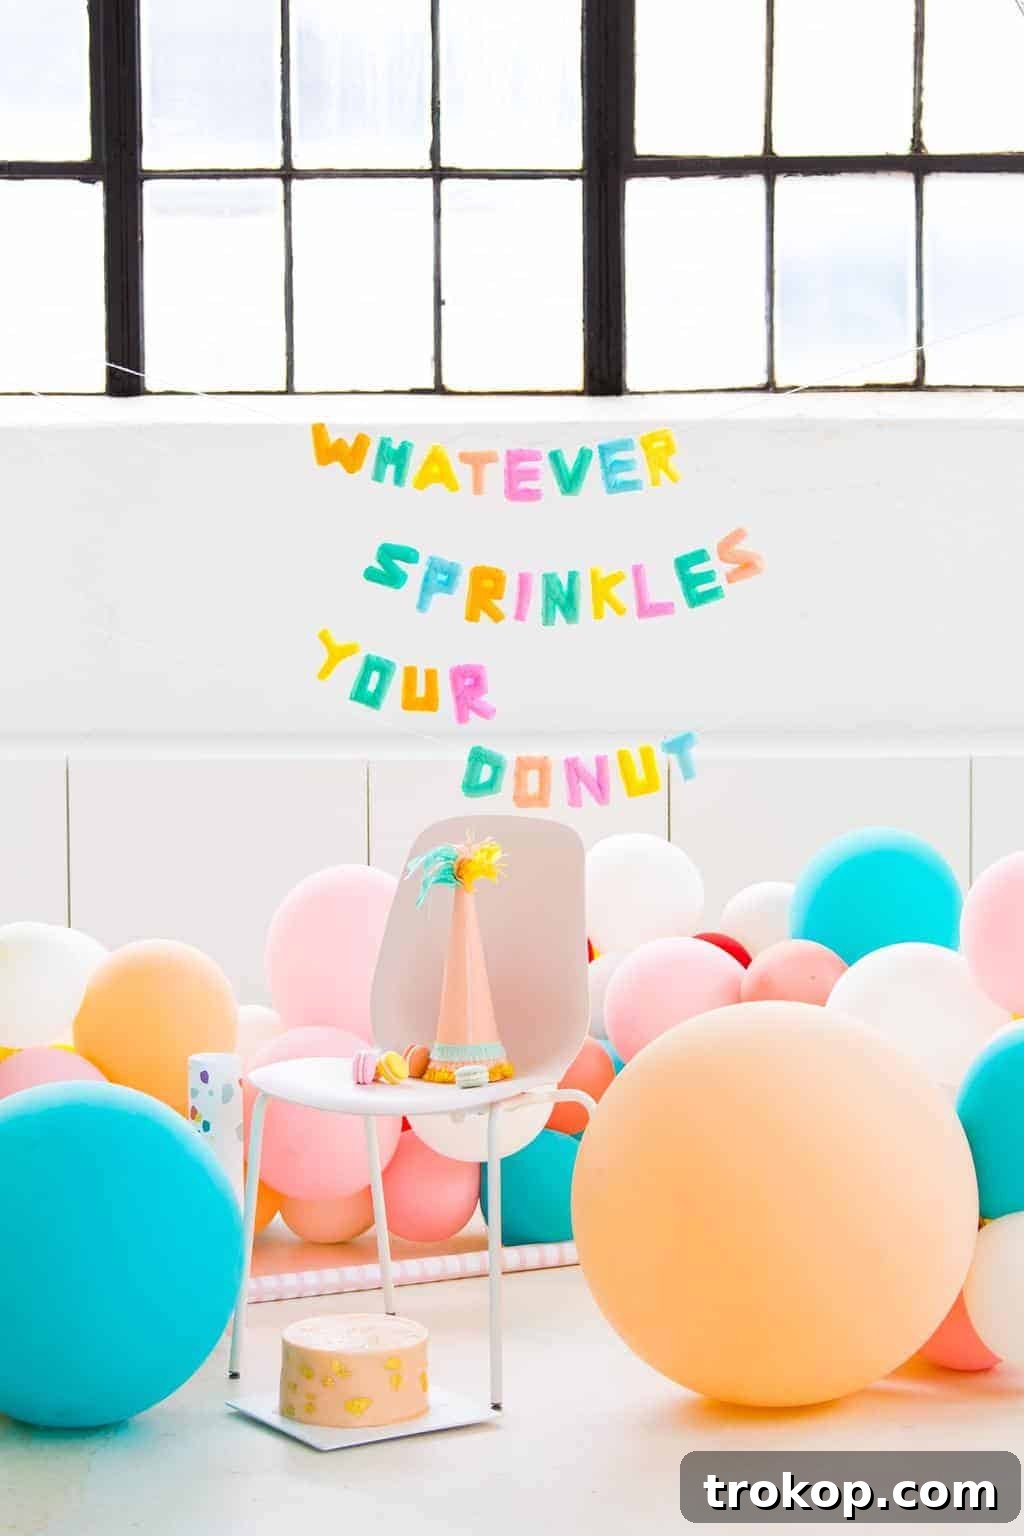
Tired of expensive party decorations that deflate before the celebration even begins? Imagine a world where your custom letter balloons stay perfectly inflated, vibrant, and picture-ready for days, weeks, or even years! This isn’t a fantasy—it’s the magic of our DIY Faux Balloon Letter Banner. This incredibly versatile project allows you to personalize your party decor with unique messages and themes, all without the dreaded deflation dilemma. Say goodbye to the fleeting joy of traditional balloons and hello to everlasting charm with this creative craft!
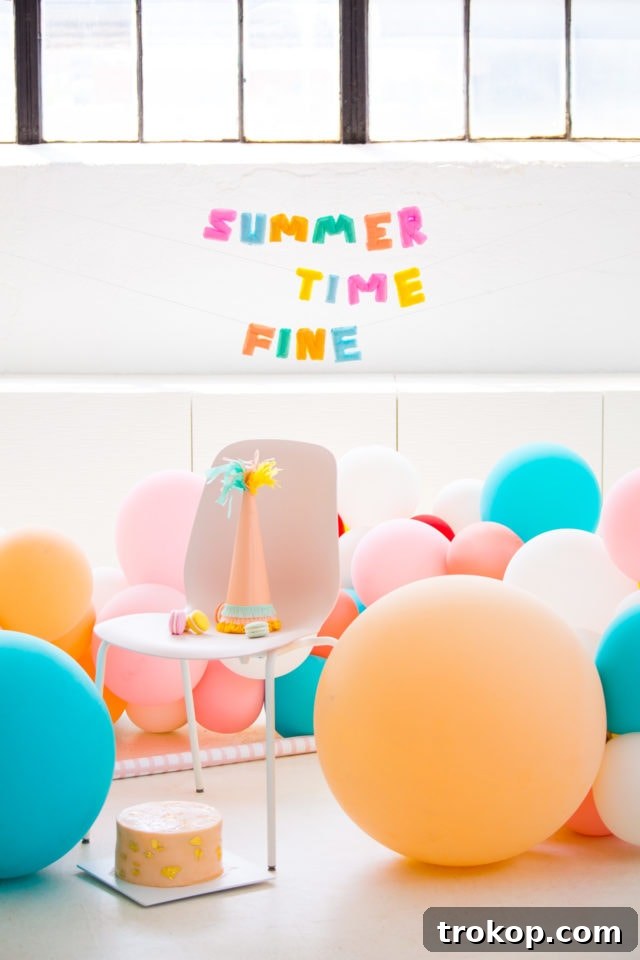
We understand the current obsession with captivating balloon decoration ideas. From elaborate balloon arches to whimsical garlands, balloons add an undeniable sense of joy and festivity to any event. (A prime example of our love for balloon installations can be seen here in our epic summer pool party). The only thing that could possibly improve mountains of colorful balloons is if they could defy gravity and stay inflated indefinitely. While we haven’t quite cracked the code for eternally buoyant round balloons, we are thrilled to share a permanent solution for your expensive, short-lived letter balloon woes: DIY Faux Balloon Letters.
Let’s be candid: this project is incredibly simple in concept, but it does require a bit of time and patience. However, the immense satisfaction of creating a stunning, reusable decoration that lasts forever makes every moment worthwhile. Think of it as an investment in countless future celebrations! These faux balloon letters are perfect for festive party decor or as an eye-catching balloon centerpiece. It’s a win-win, offering both beauty and longevity. Can you guess what unexpected material forms the core of these remarkable, non-deflating letters? The secret lies in everyday craft supplies, transformed into something truly special.
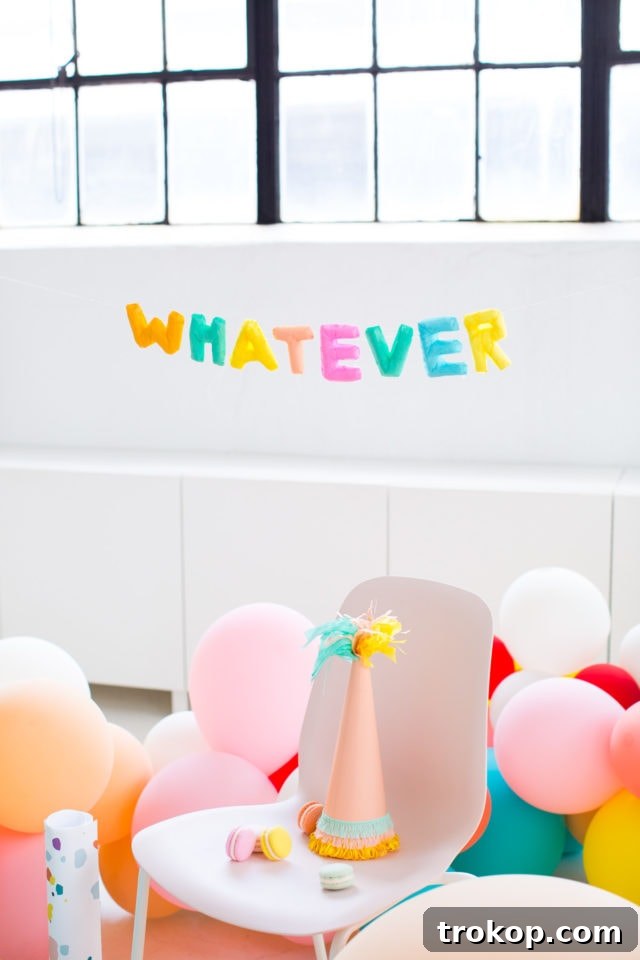
Easy DIY Balloon Decoration Ideas for Every Occasion
The quest for party decorations that endure is a universal one. There’s nothing more frustrating than spending hours meticulously crafting or arranging decor, only for it to lose its luster in a matter of hours. This is especially true for helium balloons, which have a notorious habit of deflating prematurely, leaving your meticulously planned party looking a little… saggy. That’s why these easy-to-follow instructions for crafting durable, super easy party balloons are an absolute game-changer for any event planner or DIY enthusiast.
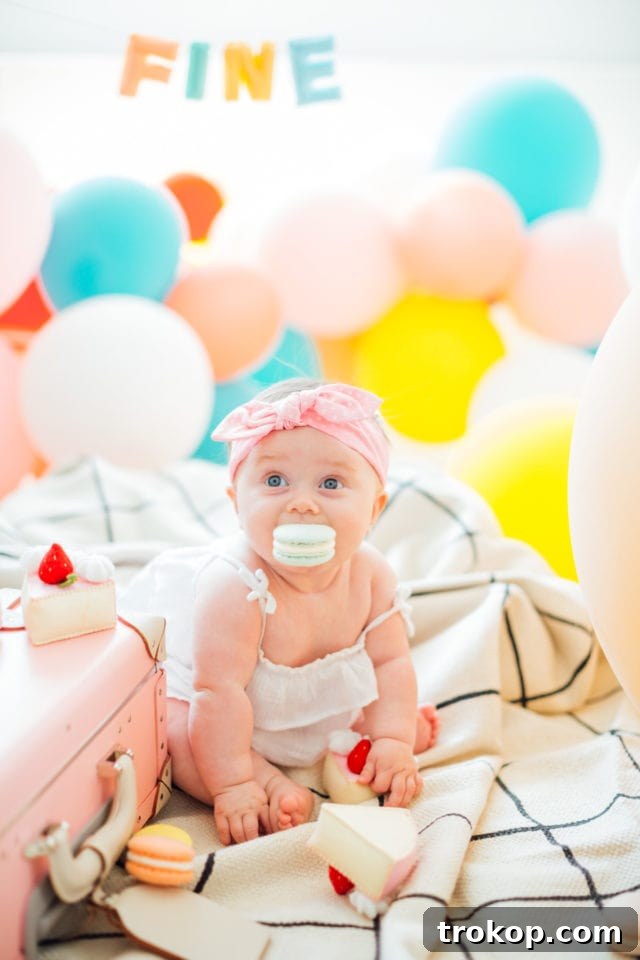
These faux balloon letters are incredibly versatile, making them suitable for a wide array of celebrations. Envision a whimsical baby shower balloon installation, a vibrant backdrop for birthday parties, elegant general party decor, or even sophisticated wedding accents. Their non-deflating nature ensures your message or theme remains perfectly presented throughout the event, and beyond.
One of the most appealing aspects of this DIY project is the freedom it offers for customization. Unlike traditional mylar letter balloons, which often come in a limited palette of metallic gold or silver, our faux balloon method allows you to create your own custom colors. Imagine crafting crisp white balloons for a winter wonderland theme, vibrant rainbow balloons for a playful children’s party, or elegant pastel shades for a romantic bridal shower. The possibilities are truly endless, limited only by your imagination and the availability of tissue paper! You can perfectly match your decor, create ombre effects, or even use patterned tissue paper for a truly unique look.
As enthusiasts of all things festive, we adore a good balloon arch (like the one featured in our bridal shower post) and are always seeking innovative party ideas. There’s an undeniable charm and playful spirit that balloon decorations bring to any gathering. And frankly, a “balloons party” – a celebration where balloons are the star attraction – is a personal dream of ours. With these faux balloon letters, you can create a truly immersive and long-lasting balloon-themed environment that will impress guests and save you money in the long run.
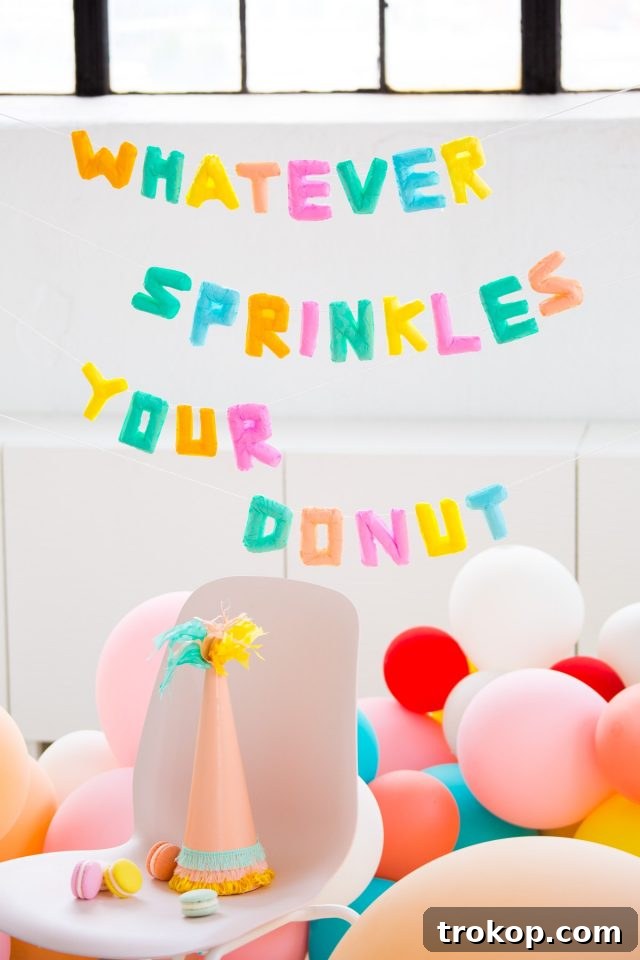
Gather Your Supplies: Materials Needed to Make a Faux DIY Balloon Garland
Before embarking on this delightful crafting journey, ensure you have all the necessary materials at hand. Quality supplies will make the process smoother and yield a more professional-looking finished product. Here’s what you’ll need:
- **Colorful Tissue Paper:** Choose a variety of colors to match your party theme or create a vibrant rainbow effect. The more colors, the more options you’ll have for customization. Opt for thicker tissue paper if you want a more opaque finish or plan on layering for unique color blends.
- **Sharp Scissors:** A good pair of scissors is essential for precise cutting, especially when shaping your letter outlines and trimming excess tissue paper for a neat finish.
- **Hot Glue Gun:** This will be your primary tool for assembling the cotton framework and adhering the tissue paper. A reliable glue gun with a fine tip can help with precision.
- **Plenty of Hot Glue Sticks:** You will use a surprisingly large amount of glue sticks for this project, especially if you’re creating a long phrase. Stock up to avoid interruptions!
- **Cotton Pad Squares:** These soft, absorbent squares are the secret ingredient that gives our faux balloons their puffy, dimensional look. They are readily available in drugstores or beauty supply sections.
- **Durable String or Twine:** For assembling your individual letters into a cohesive garland or banner. Choose a string that is strong enough to hold the weight of your finished letters and complements your color scheme. Fishing line can also work if you prefer a ‘floating’ look.
How to Make a Faux DIY Balloon Garland: Step-by-Step Instructions
Creating your non-deflating faux balloon letter banner is a rewarding process. Follow these detailed steps to craft each letter and assemble your stunning garland:
Step 1: Constructing the Cotton Base
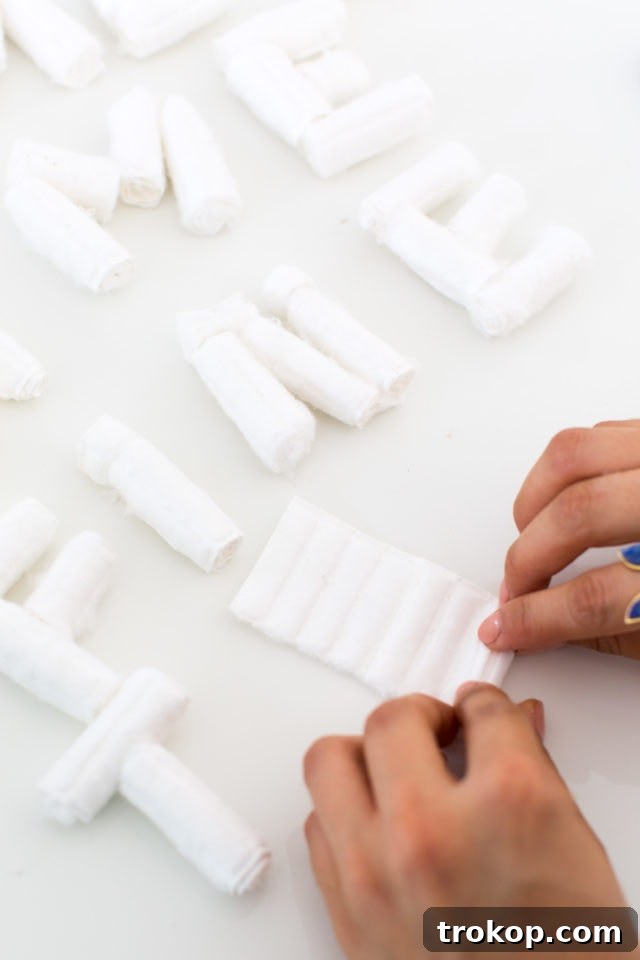
To begin each individual letter balloon decoration, take two cotton pads and glue them together. Overlap a small piece of each square to create a single, elongated cotton rectangle. This will form the basic building block for your letter’s structure.
Step 2: Rolling the Cotton Cylinders
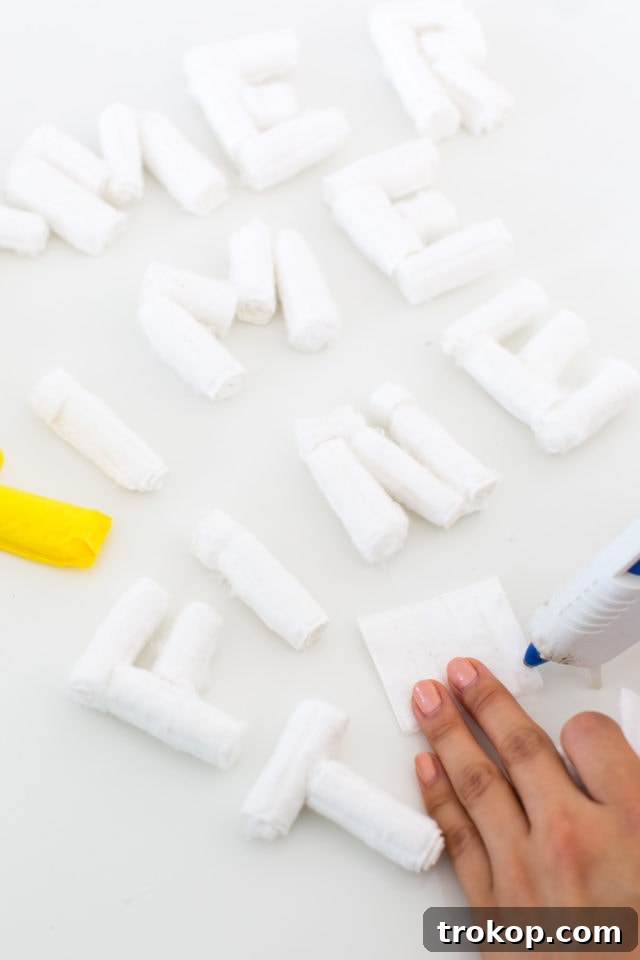
Once you have your long cotton rectangle, carefully roll the cotton piece into a tight cylinder. The tighter you roll it, the smoother and more defined your letter segments will be. Secure the end of the cylinder firmly with hot glue to prevent it from unraveling.
Step 3: Creating Sufficient Cotton Segments
Repeat the first two steps to create a sufficient number of cotton cylinders. The quantity will depend on the length and complexity of the letters you plan to spell out. The inherent softness and slight compressibility of the cotton is precisely what will give your finished letters that characteristic “faux balloon” puffy aesthetic.
Step 4: Shaping Your Letters
Now comes the creative part! Begin to build each letter individually using your cotton cylinders. Arrange and shape the cylinders to meticulously resemble the iconic form of mylar letter balloons. This step requires a keen eye and some patience, as you may need to cut some cotton pieces to various lengths and angles to achieve accurate letter shapes, especially for intricate letters like ‘S’ or ‘B’.
Step 5: Adhering the Letter Framework
Once you are satisfied with the arrangement and shape of all the cotton pieces for a single letter, carefully adhere them together using your hot glue gun. Apply glue generously but neatly to ensure a strong and lasting bond that maintains the letter’s form.
Step 6: Preparing for Tissue Paper Wrapping
With the sturdy framework of your letters complete, it’s time to add their vibrant “skin.” Select your desired colors of tissue paper. Cut out large squares—or irregular shapes, if needed—that are comfortably ample enough to completely wrap around each cotton letter framework. This ensures you have enough material to stretch and manipulate for a smooth finish.
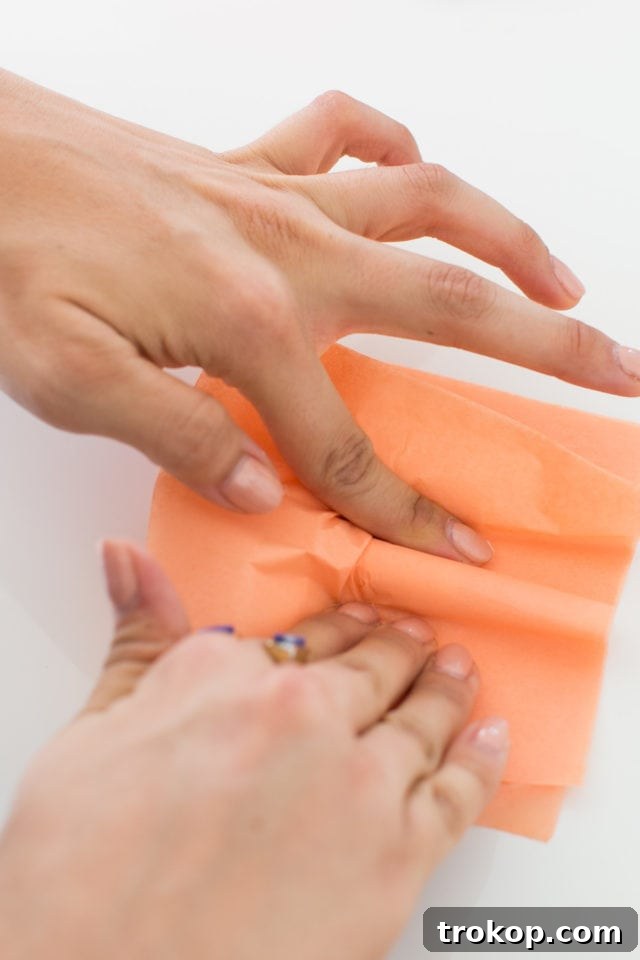
Step 7: Initial Tissue Paper Application
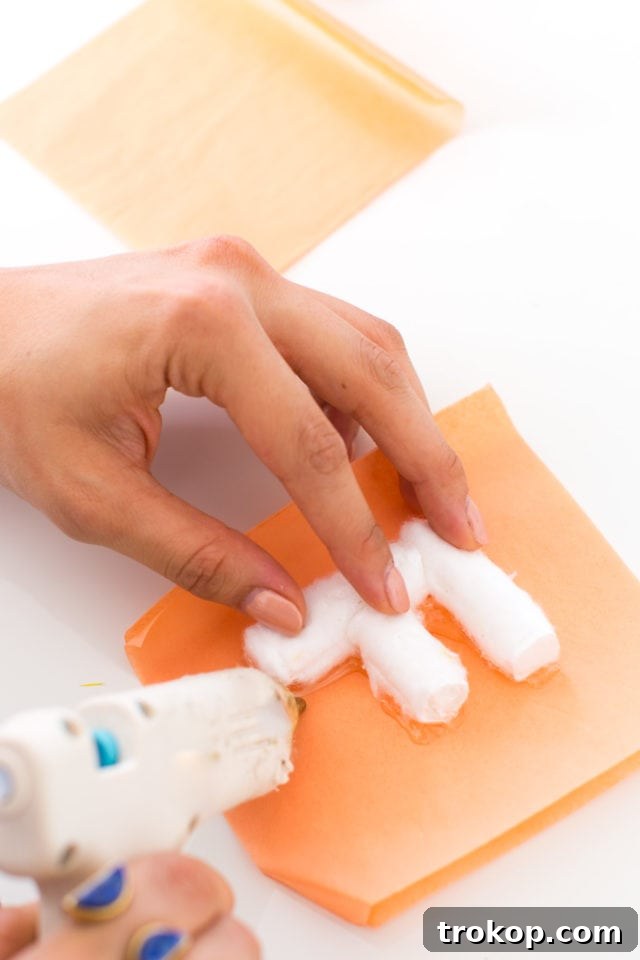
Lay one of your prepared tissue paper squares flat. Carefully position your cotton letter framework onto the tissue paper and secure it by applying a line of hot glue along one side of the letter, pressing it firmly onto the tissue paper.
Step 8: Outlining with Glue for a Puffed Effect
Next, you will strategically apply hot glue around the perimeter of your letter, essentially “outlining” it. Work in manageable sections, starting from the middle of the letter and carefully working your way outwards. This method allows for better control and a smoother finish.
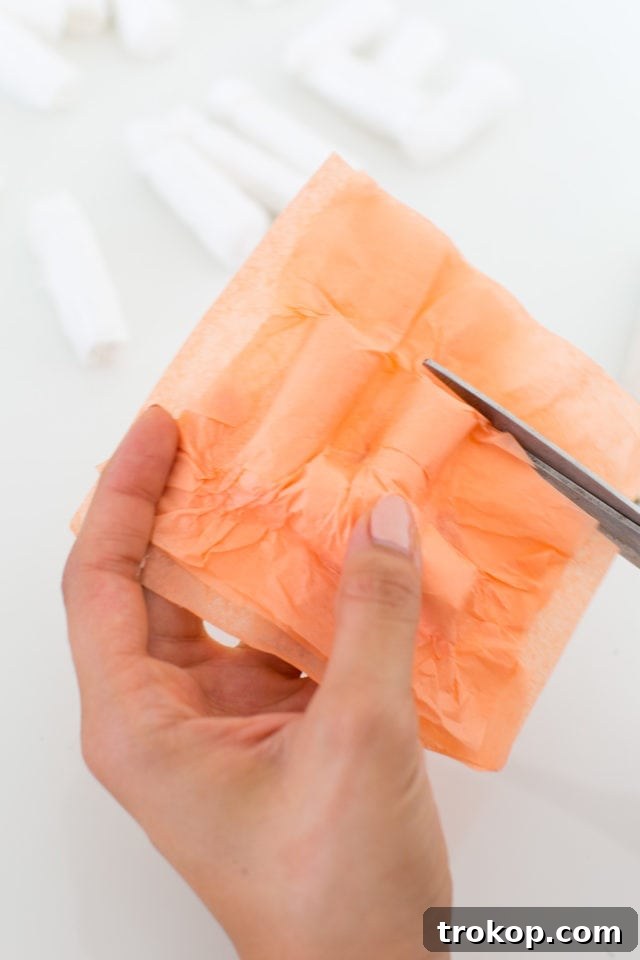
Step 9: Wrapping for the “Faux Balloon” Look
Begin gluing the tissue paper square to the top surface of the letter. As you outline with glue, carefully adhere each piece of tissue paper. Crucially, gently pull and stretch the tissue paper as you go. This slight tension will help you achieve the desired “faux balloon” effect, making the letter appear as if it’s filled with air or helium. Depending on the thinness of your chosen tissue paper, you may find it beneficial to apply a second layer to ensure full opacity and a consistent finish.
Step 10: Final Trimming
Once all your letters are fully glued and covered with tissue paper, carefully trim around each one. Cut as close to the edge of the letter as possible, being mindful not to cut into the cotton framework itself. This precision will give your faux balloons a clean, crisp, and professional appearance.
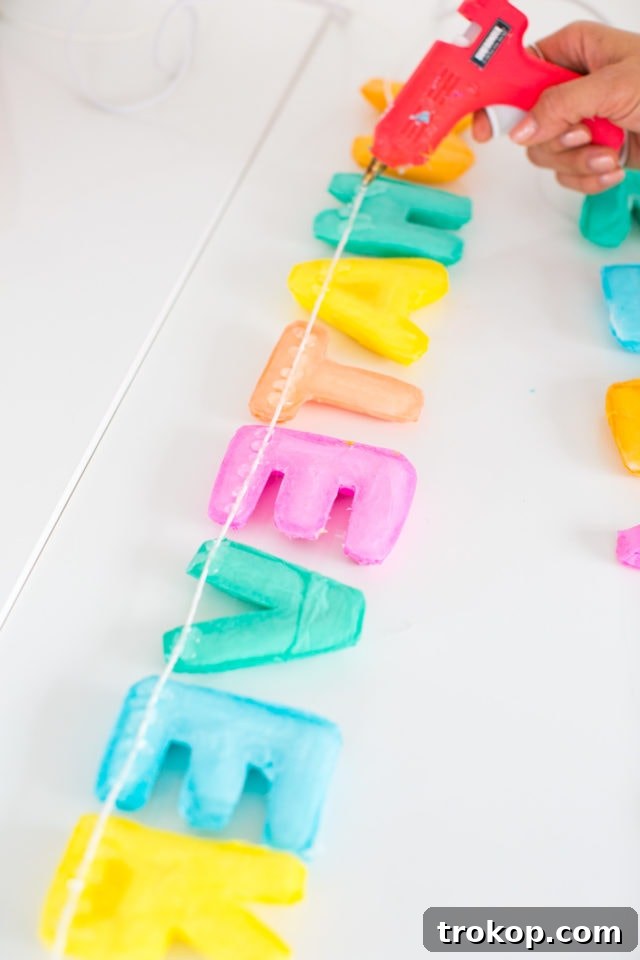
Easy Balloon Decoration Ideas + Tips | Making Balloons into a Garland
Once your individual faux balloon letters are complete, the next exciting step is to transform them into a beautiful, personalized garland. This process is straightforward and allows for creative arrangement:
Step 1: Lay Out Your Letters
With all of your letters crafted for your desired phrase or message, lay them face down on a clean, flat surface, such as a large table or the floor. Arrange them in the exact order and with the preferred spacing that you envision for your finished garland. Take your time with this step, adjusting until the aesthetic is just right.
Step 2: Adhering the String
Once you’ve finalized the arrangement and spacing, take your chosen string or twine. Apply a line of hot glue across the back of each letter where you want the string to attach. Quickly and carefully press the string onto the hot glue, ensuring it adheres securely to each letter. You can glue the string to the very top edge of the letters for a “hanging” look, or slightly lower if you want a different visual effect.
Step 3: Enjoy Your Everlasting Garland!
Allow the hot glue to dry completely for a few minutes. Once set, your faux balloon garland is ready to be hung and admired! It’s a durable, eye-catching decoration worthy of any celebration, and it will remain perfectly “inflated” for as long as you wish.
So, what do you think? While this isn’t a five-minute craft, the minimal effort compared to the maximum, everlasting impact makes it incredibly worthwhile. These faux balloon letters are super simple to construct and will literally last forever, becoming a cherished piece of party decor you can reuse for years to come. Beyond garlands, consider recreating this concept into a fun letter balloon bouquet for a school event, or even attaching individual faux balloons to favor bags for kids to take home as a memorable, non-perishable souvenir.
Our passion for balloon decorations runs deep! We’ll never tire of the charm of a good confetti balloon, the grandeur of a balloon arch, or the soft elegance of a tulle-covered balloon for decorating an ice cream or cake table. These faux balloon letters add another fantastic dimension to the world of celebratory decor, combining the whimsical appeal of balloons with the practicality of lasting craftsmanship. They seamlessly integrate with other balloon decoration ideas, elevating your party styling to new, sustainable heights.
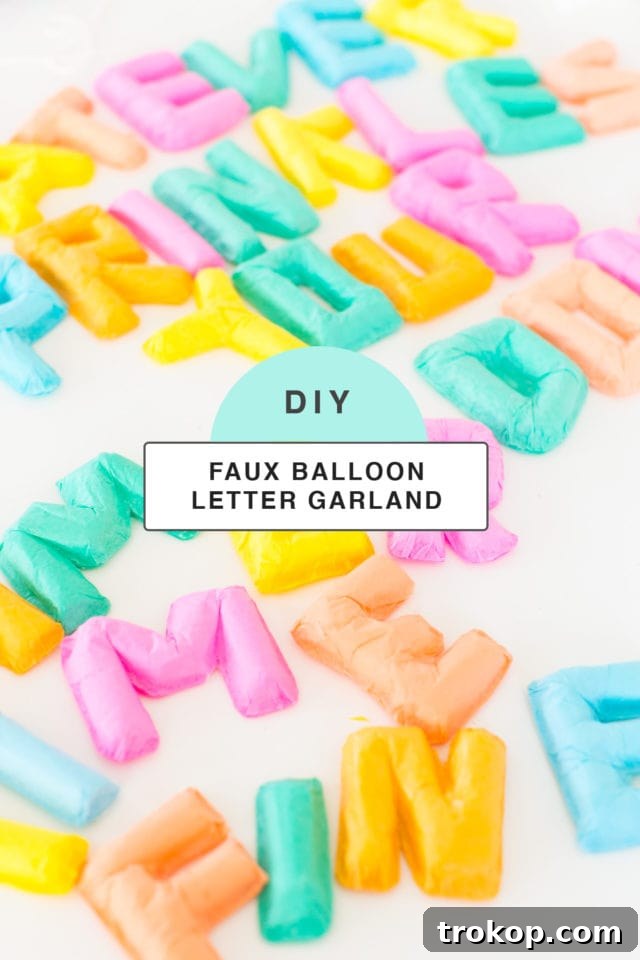
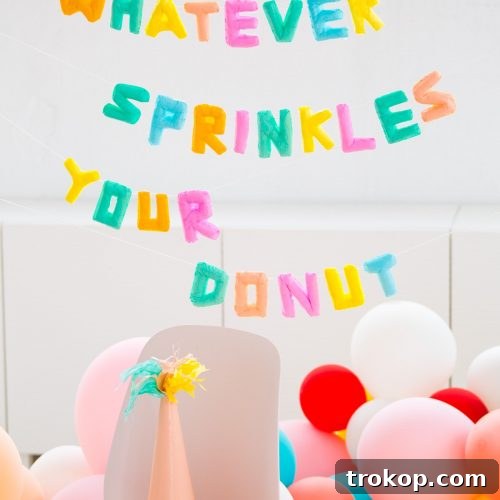
Faux Balloon DIY Letter Banner
1 hr 30 mins
DIY
Party
Equipment
-
Hot glue gun and glue sticks
-
Scissors
Materials
- Colorful tissue paper
- Cotton pad squares
- String
Instructions
-
To make each letter, first glue two cotton pads together by overlapping a small piece of each square to create one long cotton rectangle.
-
Once you have the long cotton rectangle, roll the cotton into a cylinder as tight as possible and hot glue the end shut.
-
Repeat the first two steps to create enough cotton cylinders to build your letters. The softness of the cotton will give the letters the “faux balloon” look.
-
Now, start building each letter individually. Take the cotton cylinders and shape each letter to resemble mylar letter balloons as closely as you can. This may take some time, as some pieces need to be cut to different sizes.
-
Once all your pieces are laid out for each letter, adhere them with hot glue.
-
With the framework for your letters finished, wrap them in tissue paper of your desired colors. Cut large squares to comfortably wrap each letter.
-
First, glue down your letter on one square of tissue paper.
-
Next, place hot glue around your letter as if you’re outlining it. Do this in parts, starting from the middle of the letter and working your way outwards.
-
Glue a square of tissue paper to the top of the letter, adhering each piece as you outline with glue. Be sure to pull the tissue paper tightly to achieve the “faux balloon” look, as if the letter were filled with helium. You may need to cover your letters twice depending on the thickness of your tissue paper.
-
Once your letters are all glued and covered, cut around each one as close to the edge as you can, without cutting too far into the letters!
How to make the balloons into a garland:
-
Now that all the letters are finished for your desired phrase, turn them into a cute garland by placing them face down on the table in the order and spacing you’d like.
-
Once the spacing is as you’d like, freely apply hot glue over the string to adhere it to the letters.
-
After the hot glue dries for a few minutes, you’ll have a faux balloon garland worthy of any celebration!

More Easy Balloon Ideas
The Spring Bridal Shower We Hosted!
No one ever said balloons couldn’t be sophisticated enough for a bridal shower!…
DIY Balloon Friendsgiving Table Centerpiece (+ A Cocktail Recipe Too!)
The perfect fall color combination for creating a Thanksgiving table centerpiece!
DIY Balloon Christmas Tree
A majorly epic DIY balloon Christmas tree!
DIY Balloon Garland Cake Topper + Tips for Painting Frosting
A super simple DIY balloon garland cake topper!