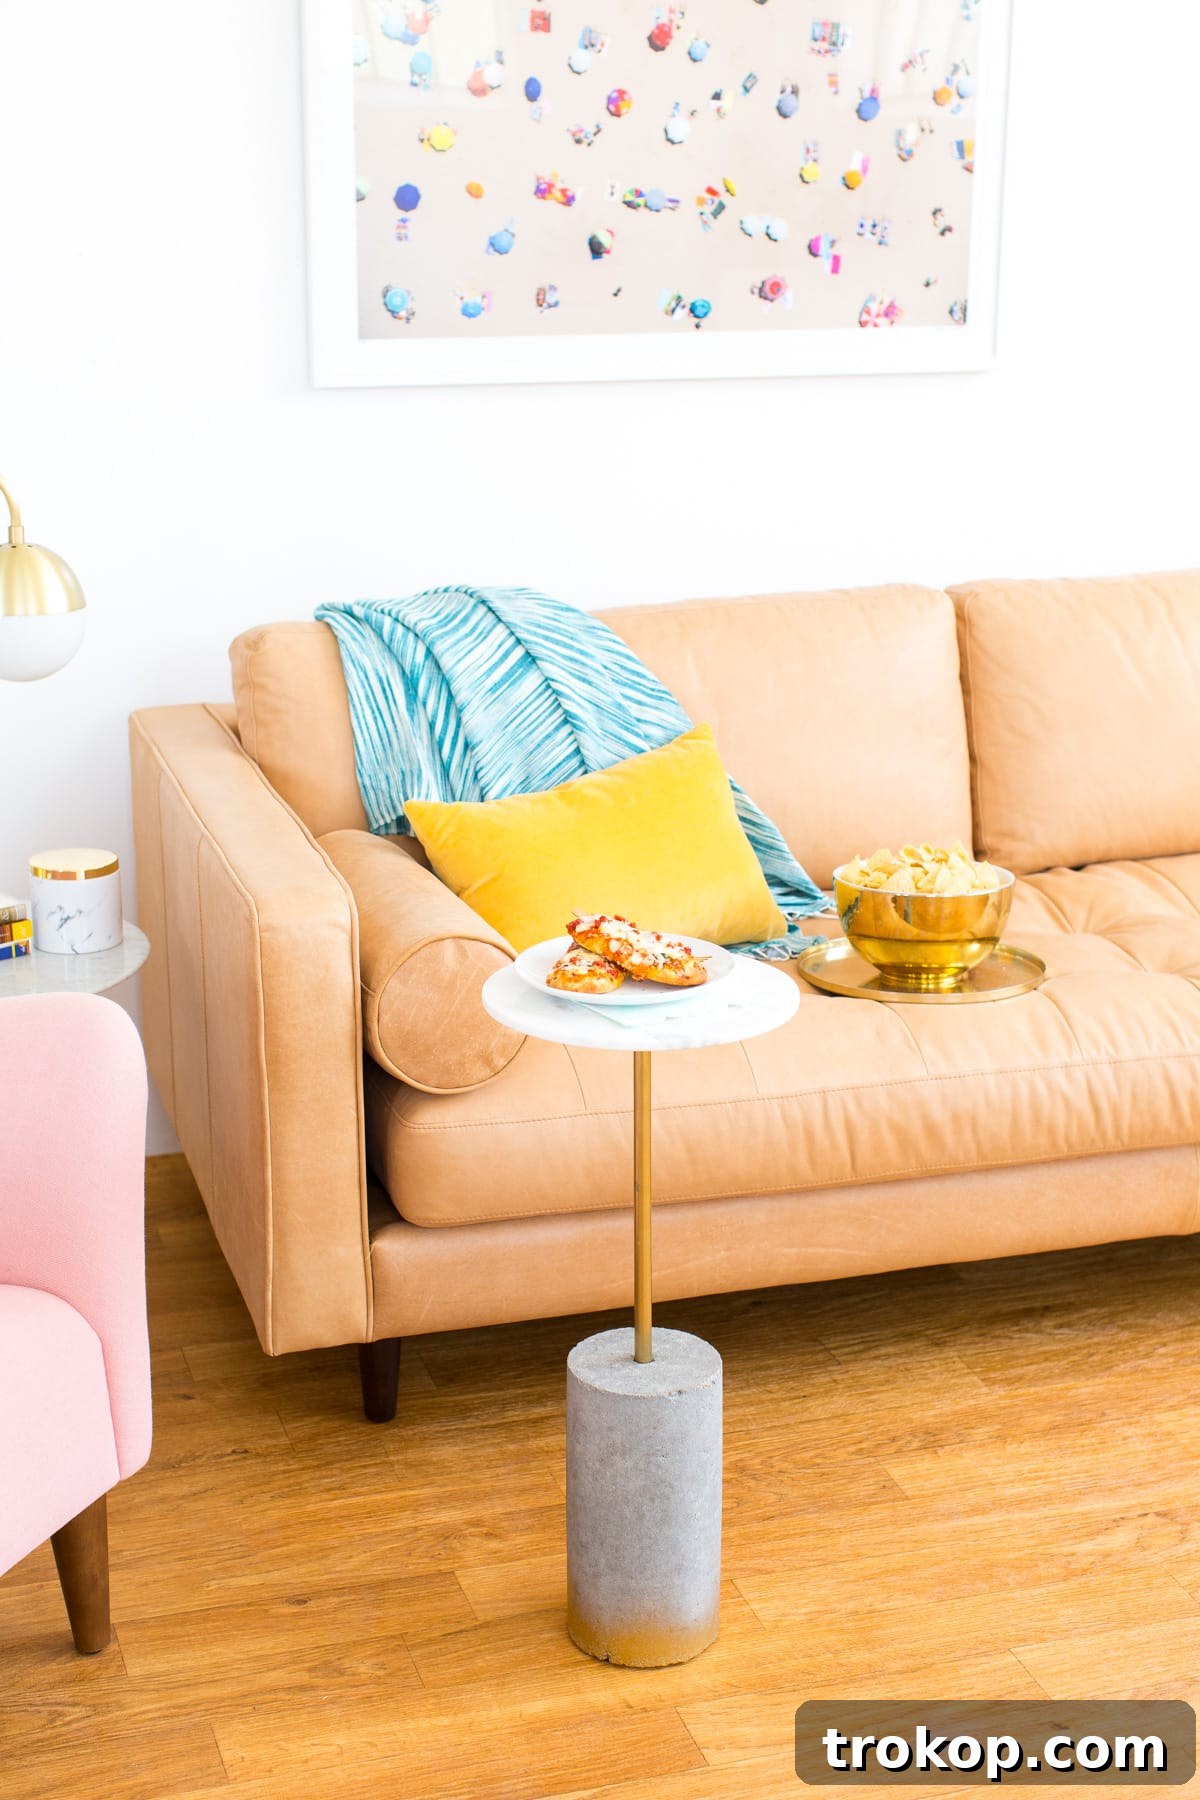
Are you searching for that perfect piece of furniture that seamlessly blends functionality with modern aesthetics? Look no further than the versatile DIY C-Table! This clever design is a true game-changer for any living space, offering a convenient surface for everything from your morning coffee to a delightful movie night snack. Forget bulky side tables that eat up precious floor space; our DIY C-Table slides effortlessly over your sofa or armchair, bringing convenience right to your fingertips. Whether you’re a seasoned DIY enthusiast or just starting your crafting journey, this project is designed to be incredibly easy to tackle, promising a stunning result that looks far more expensive than it actually is. Imagine a sleek marble top paired with elegant gold accents – a luxurious touch that elevates any room. This guide will walk you through creating your very own custom C-table, transforming your lounging experience and adding a chic, practical element to your home decor.
The Genius of the C-Table: Why This Design Stands Out
You might be wondering about the name “C-Table,” and yes, it’s often inspired by its distinctive shape, designed to slide neatly under a sofa or chair. While our elegant marble and gold version might not perfectly form a literal “C,” its design offers the same unparalleled convenience. We grappled with various names – “DIY Sofa Table,” “Snacking Table,” “TV Dinner Table” – but the essence remains: this is an ingenious solution for modern living. It’s not just a table; it’s a personal butler for your couch, a sophisticated plant stand, or a compact workspace for your laptop. This unique design ensures that your essentials are always within easy reach, eliminating the awkward leaning and stretching that often accompanies relaxing on the sofa. For those who appreciate both form and function, the C-table is an indispensable addition to any cozy nook or bustling living room.
I’ve long dreamt of bringing this particular DIY marble and gold C-table to life, meticulously researching materials and deliberating over every detail to ensure it embodies both durability and refined style. When the opportunity arose to create something special for a movie night, celebrating how DIGIORNO Artisan Style Melts enhance any occasion, it was the perfect moment to finally unveil this project. Whether you call it a C-table or a DIY sofa table, its charm and utility are undeniable. These tables are ideal for intimate, two-person gatherings and make movie night snacking an absolute delight. As self-proclaimed movie date-night aficionados, my partner and I wasted no time putting our new C-table, along with a delicious pizza, to the ultimate test!

Materials and Tools Needed to Make an Easy DIY Sofa Table
I absolutely adore DIY projects that are straightforward and don’t involve complex woodworking, extensive sanding, or drilling intricate pilot holes. Simplicity is key to a rewarding crafting experience, and this project truly delivers. While this C-table isn’t a massive piece of furniture, its compact size makes it perfect for small apartments, cozy corners, or simply ensuring you always have a convenient surface for your drink or snack right by your side. It’s the ultimate small space solution, proving that great design doesn’t require grand dimensions.
My passion for combining comfort with convenience extends beyond this project. I’ve previously crafted a DIY TV tray table with a charming reclaimed wood aesthetic, and even repurposed a marble cutting board with hairpin legs to create another chic DIY accent table. For those who prefer a unique twist on the traditional coffee table, I’ve also ventured into making a DIY floor table. While these are different takes, they showcase how versatile and rewarding DIY furniture can be. You could even adapt some of these ideas to create a narrow console table or a full-sized sofa table for behind your couch. However, for a truly innovative and space-saving solution, our C-table design is hard to beat.
Here’s what you’ll need for this modern twist on an easy DIY sofa table:
- 1 x 6x6x12 inch cored cement cylinder: This forms the sturdy base of your table.
- 1 x 3/8 inch galvanized pipe, 26 inches in length, with screw threads on one end: We sourced ours from a local hardware store that can cut it to your desired height, perfectly matching your sofa.
- 1 x 3/8 inch floor flange: This connects the pipe to the tabletop.
- Liquid nails: For a strong, secure bond between components.
- Gold spray paint (optional): To add a touch of glamour and customize your table’s aesthetic.
- Adhesive felt pads for the bottom: To protect your floors and allow for easy movement of the table.
- 1 x Marble round serving board: This will serve as your elegant and durable tabletop.
- Fine sandpaper: For smoothing the concrete cylinder.
How to Make a C-Table: A Step-by-Step Guide
Crafting your own marble and gold C-table is a rewarding process that doesn’t require advanced skills. Follow these simple steps to build a functional and stylish addition to your home:
Step 1: Dry Fit Your Components
Before you commit to painting or gluing, it’s essential to perform a dry fit. Assemble the galvanized pipe and the floor flange, ensuring that all surfaces are clean. Carefully insert the assembled pipe into the cored cement cylinder. This step allows you to confirm that all pieces fit together correctly and, most importantly, that the overall height of the table is ideal for sliding over your specific sofa or armchair. Adjust the pipe length if necessary at this stage before moving forward.
Step 2: Prepare for Painting
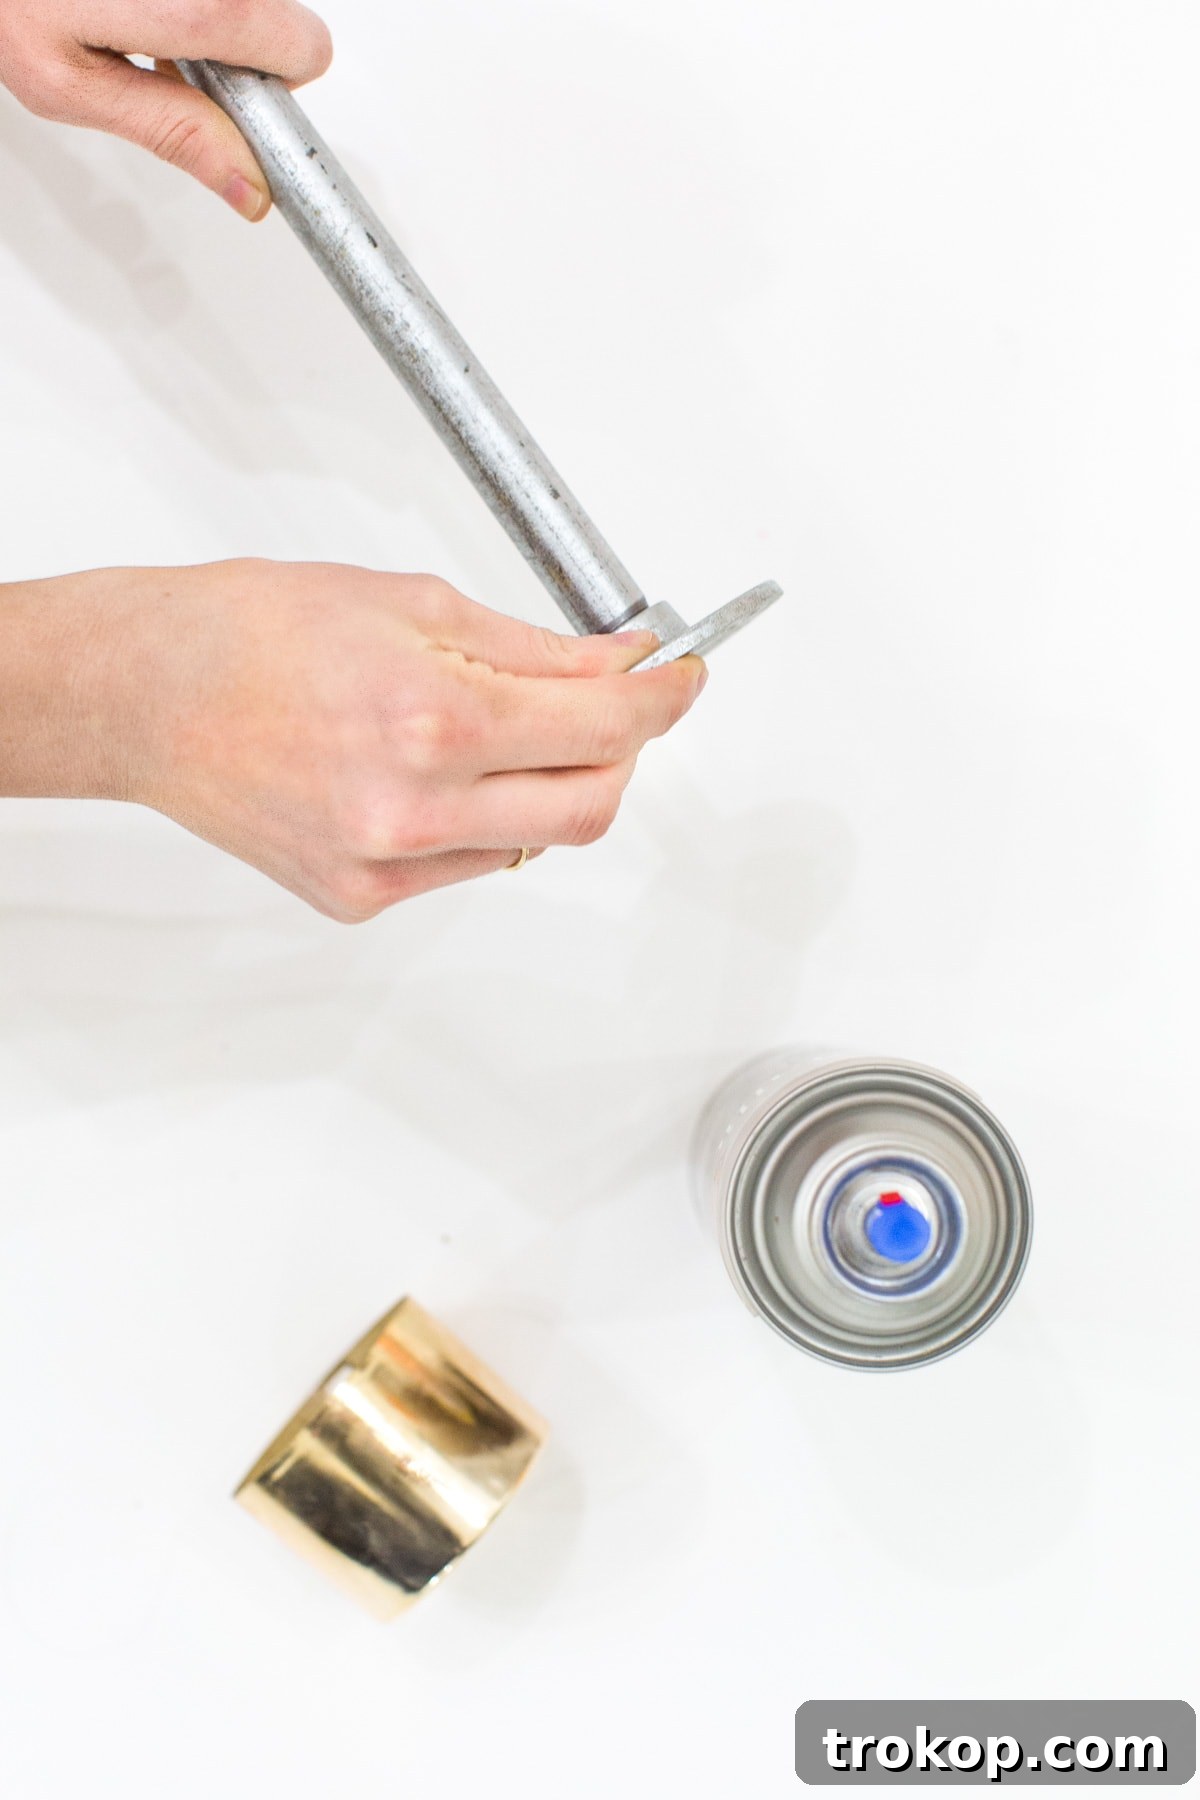
Once you’re satisfied with the fit, disassemble the pipe and remove it from the cylinder. To facilitate even spray painting, place the pipe upside down so that it stands securely on the floor flange. This orientation provides a stable base and allows for easy, consistent application of your metallic gold spray paint. Ensure you are in a well-ventilated area and protect surrounding surfaces from overspray.
Step 3: Smooth the Concrete Cylinder
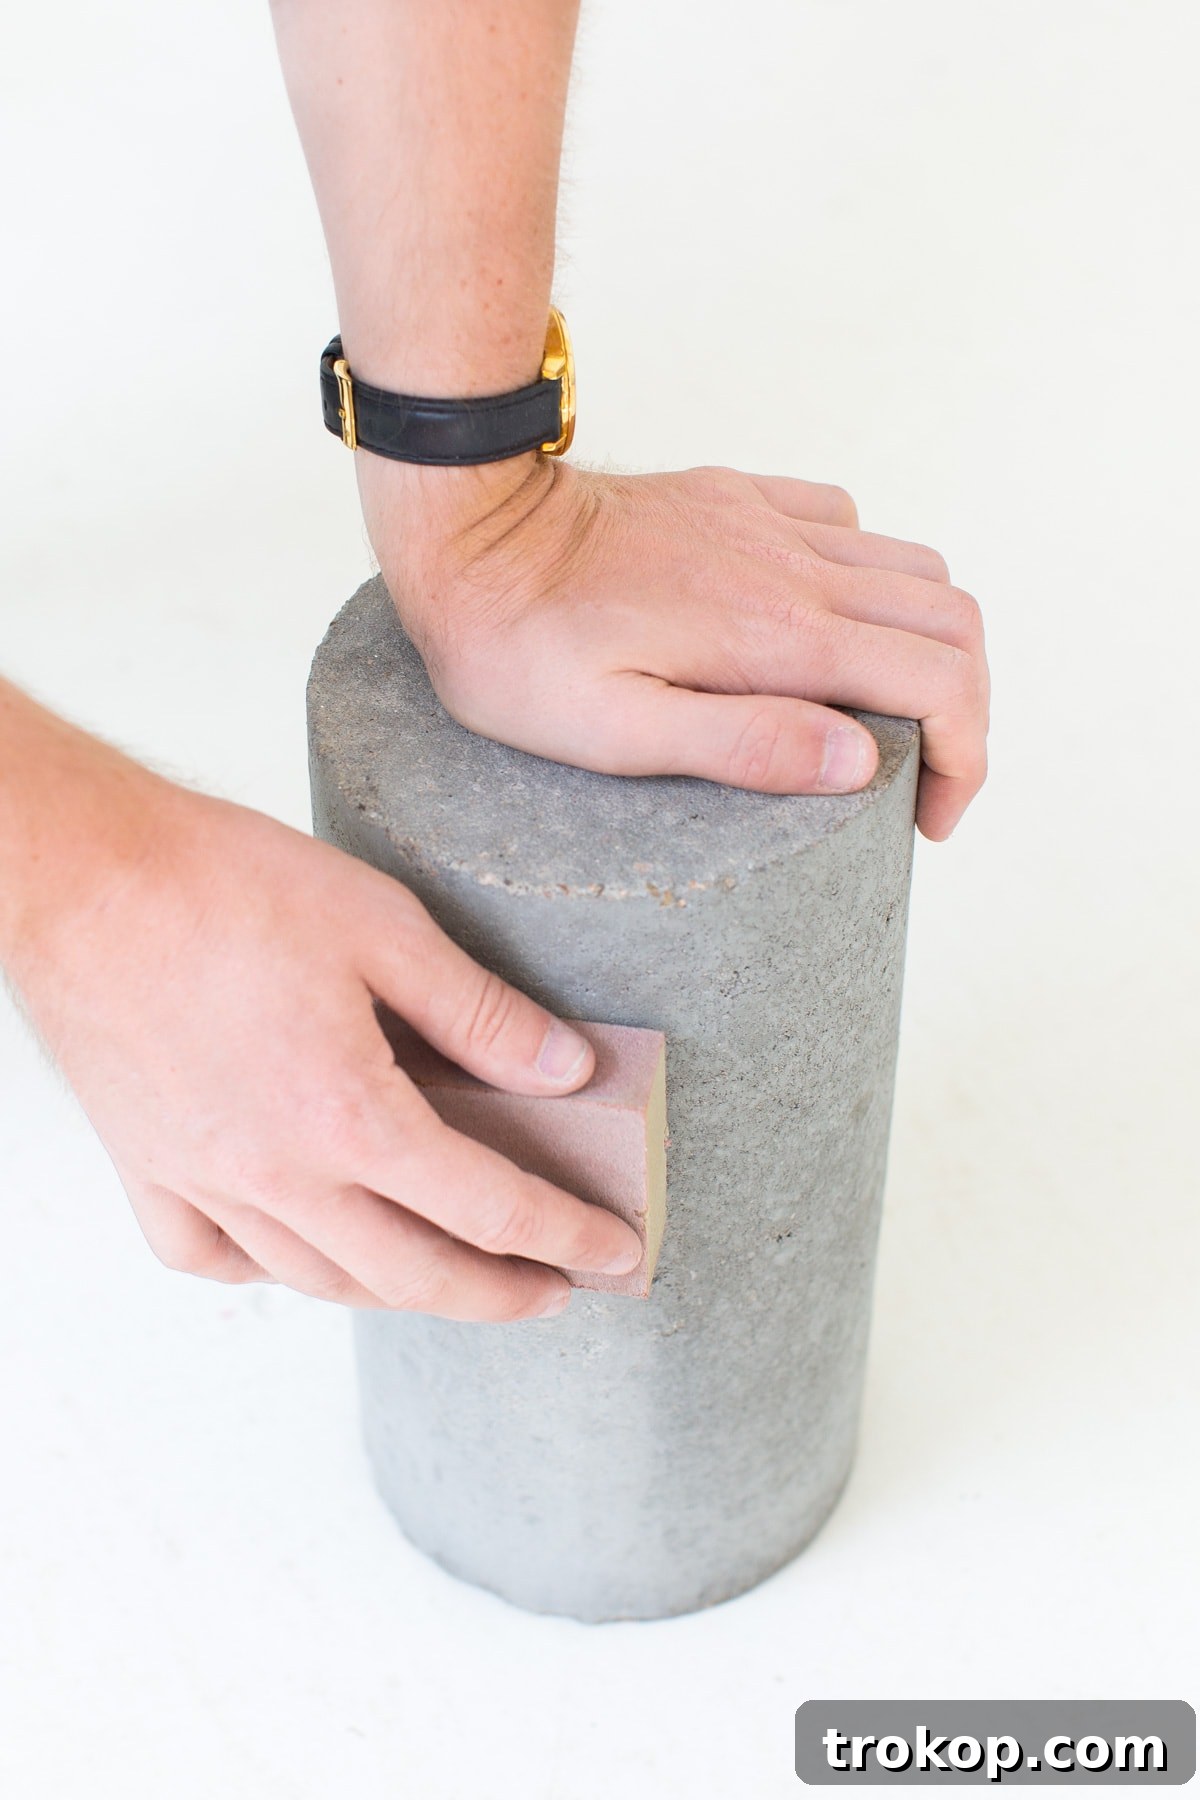
While your gold-painted pipe is drying, turn your attention to the raw cement cylinder. Use fine sandpaper to gently sand down the sides. This process will create a smoother, more refined finish, enhancing the overall aesthetic of your table. For an exceptionally polished look, you might consider using an electric sander with fine-grit sandpaper.
Step 4: Add an Optional Ombre Effect (and Felt Pads)
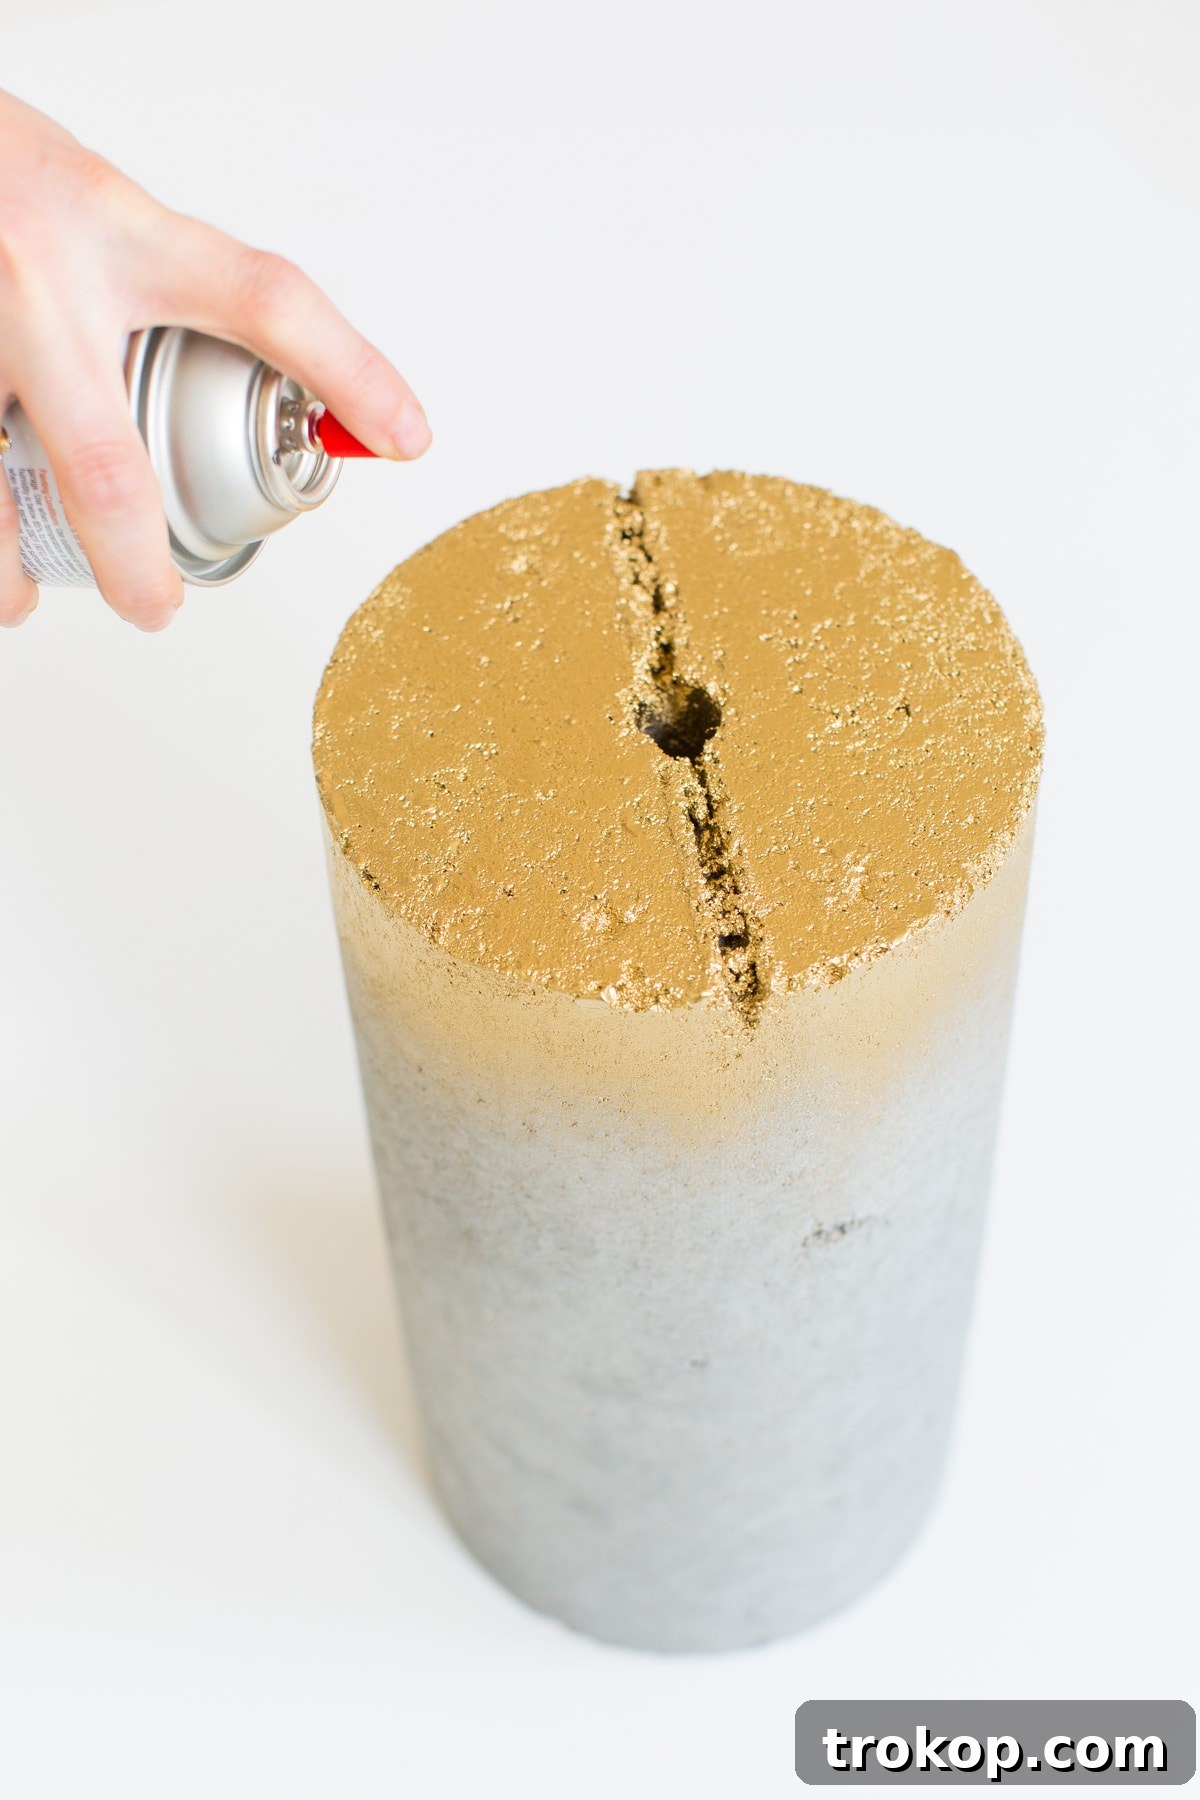
For an extra touch of glamour, consider creating a metallic gold ombre effect on your concrete cylinder. To achieve this, flip the concrete cylinder upside down. Lightly spray paint the edges with your metallic gold paint, holding the can about 12-15 inches away to create a subtle fade. Allow this layer to dry completely. Once dry, prepare the adhesive felt pads. Cut one of the large square felt pads down by about an inch on all sides. This ensures it fits discreetly on the bottom of the cylinder, remaining unseen while allowing the table to glide smoothly across your floors without scratching them.
Step 5: Secure the Pole into the Base
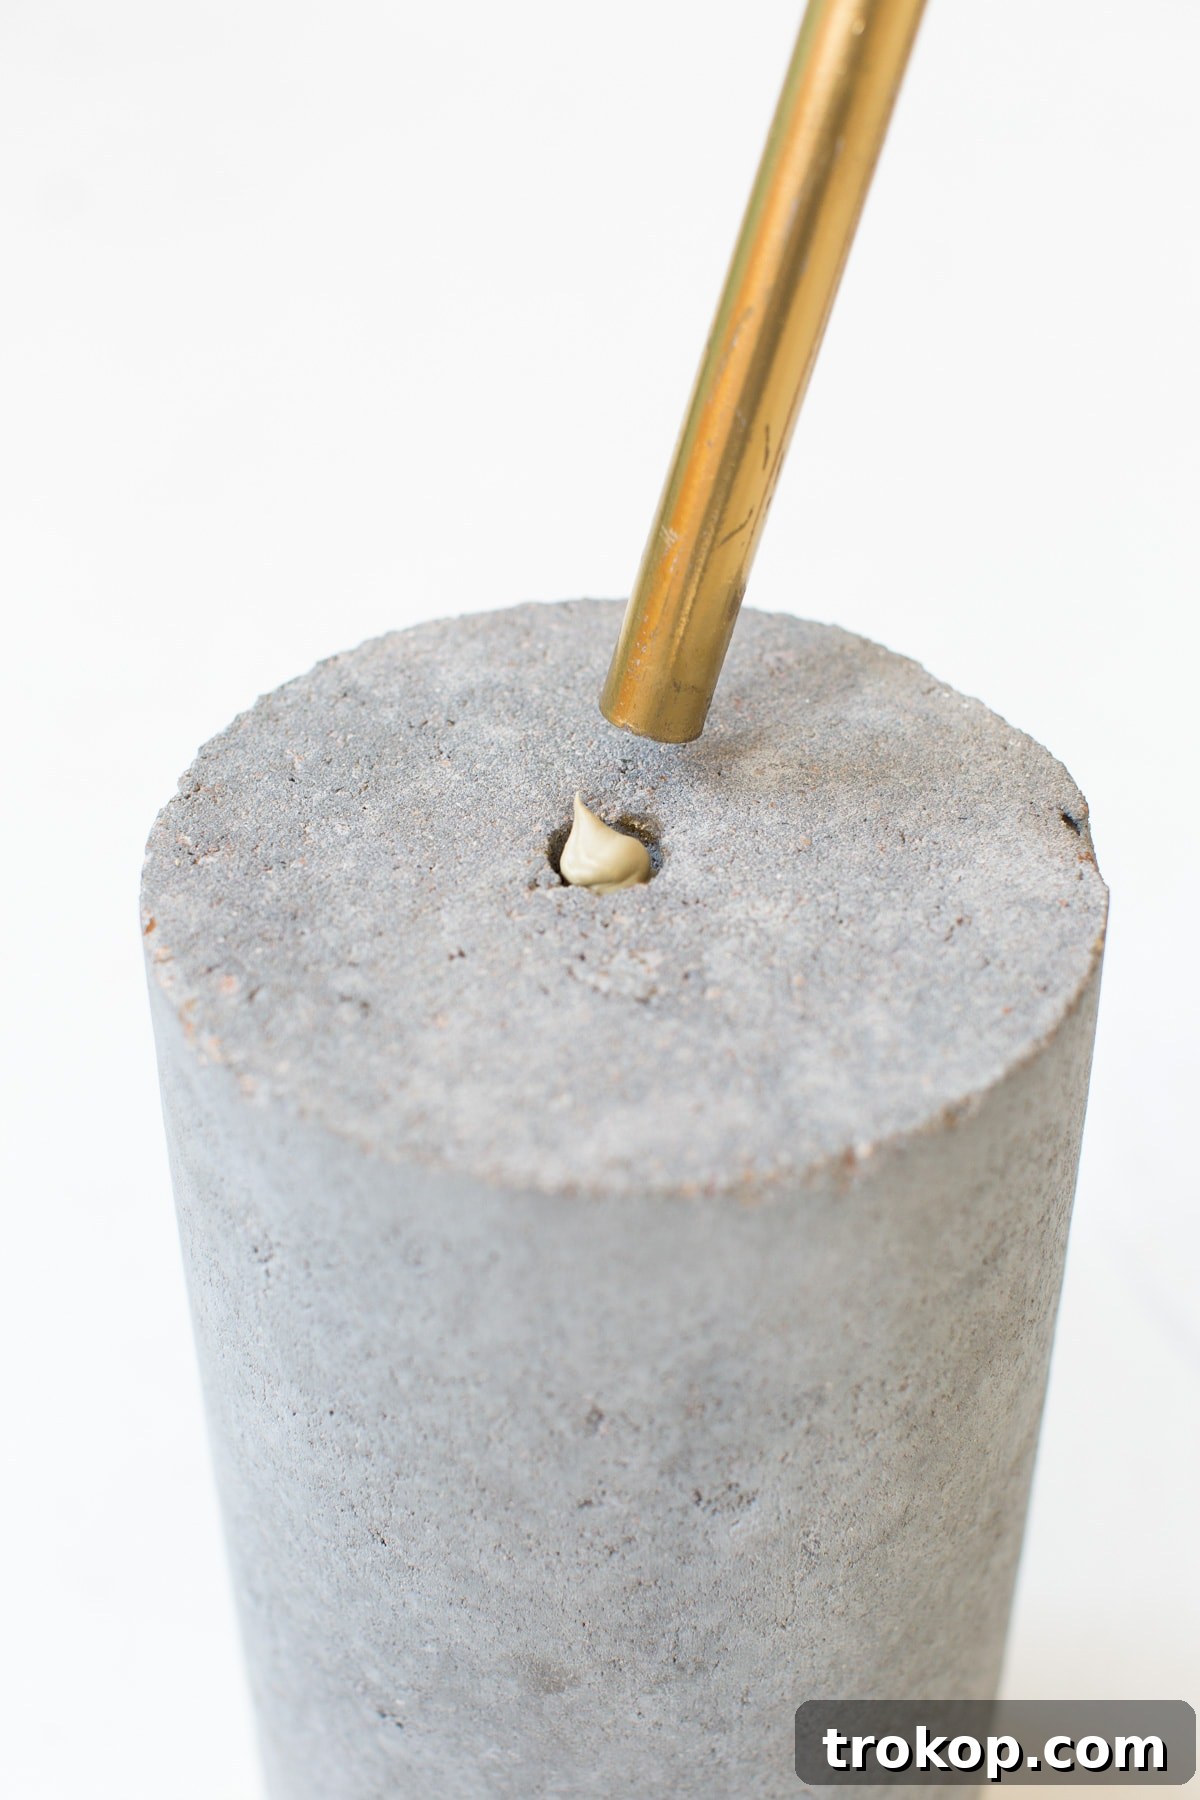
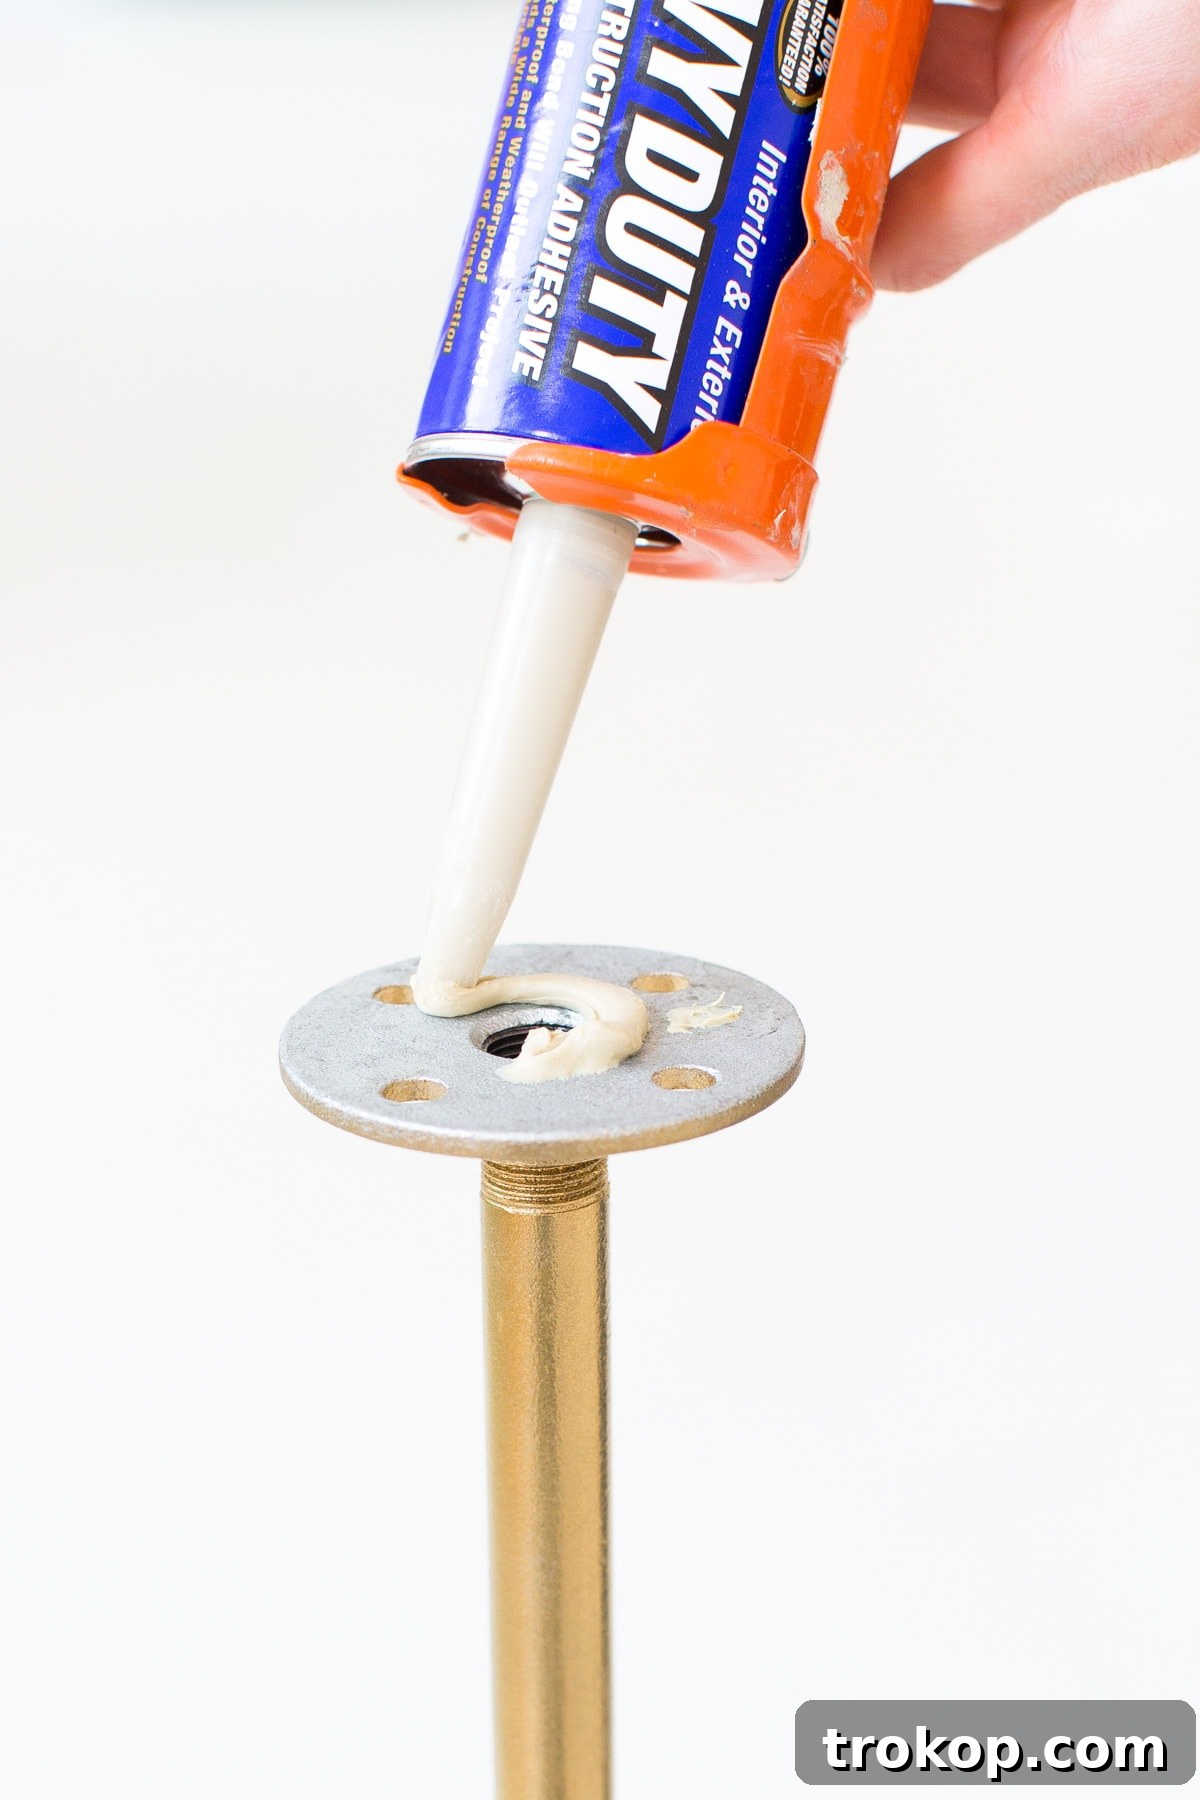
Now it’s time to bring all the elements together with a strong adhesive. Squeeze a generous amount of liquid nails into the cored hole of the cement cylinder. Allow the adhesive to stand for approximately 5 minutes until it becomes slightly tacky. This tackiness will provide a better grip. Then, carefully insert the metallic gold-painted pipe into the hole, twisting slightly as you push it down to ensure good contact with the adhesive. Make sure the pipe is straight and centered.
Step 6: Attach the Marble Tabletop
With the pipe securely in place, apply liquid nails to the flat surface of the floor flange at the top of the pipe. Carefully center your round marble serving board on top of the flange and press down firmly. Ensure the marble top is perfectly aligned before the adhesive sets. Once assembled, it is crucial to allow all the pieces to dry and set completely for at least 48 hours. This curing period ensures maximum strength and stability, preventing any wobbling or detachment during use.

Elevate Your Home Entertainment: Date Night Snack Ideas
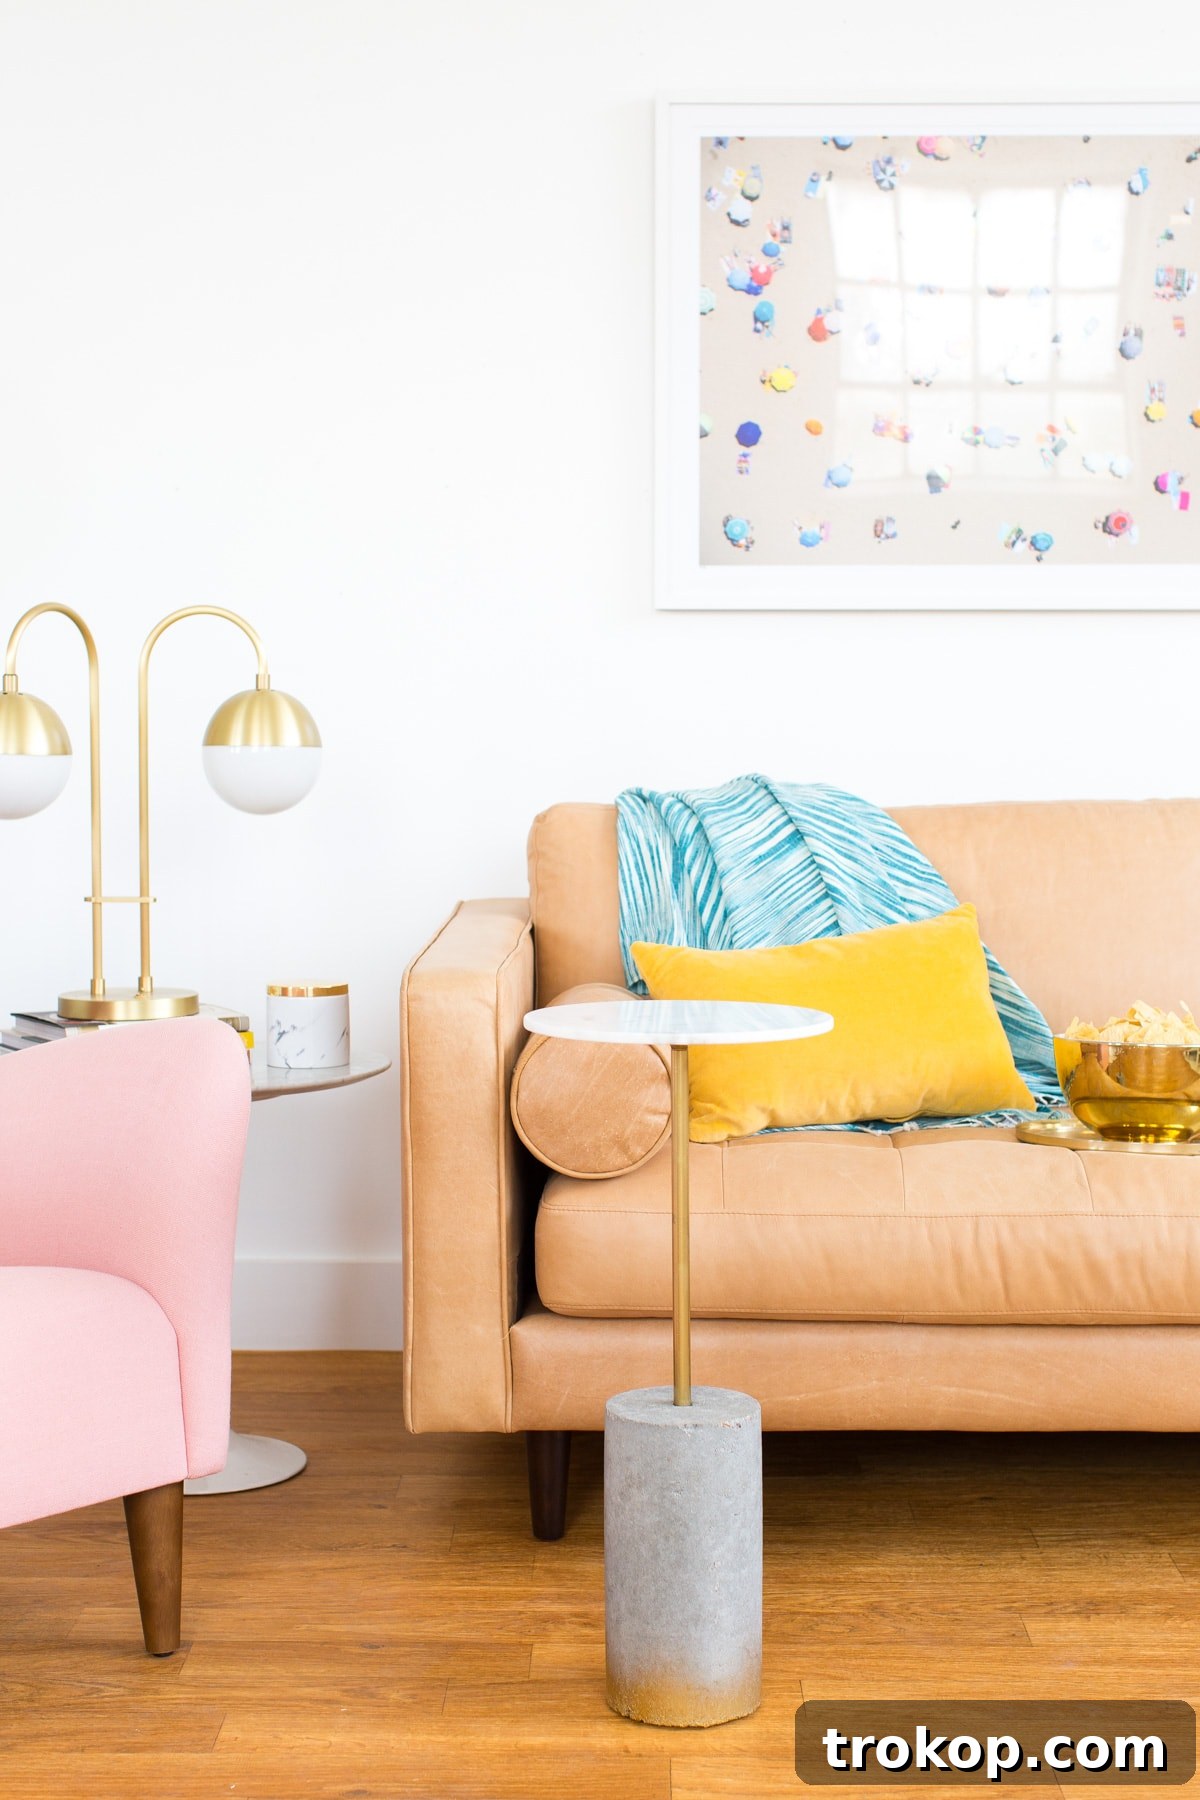
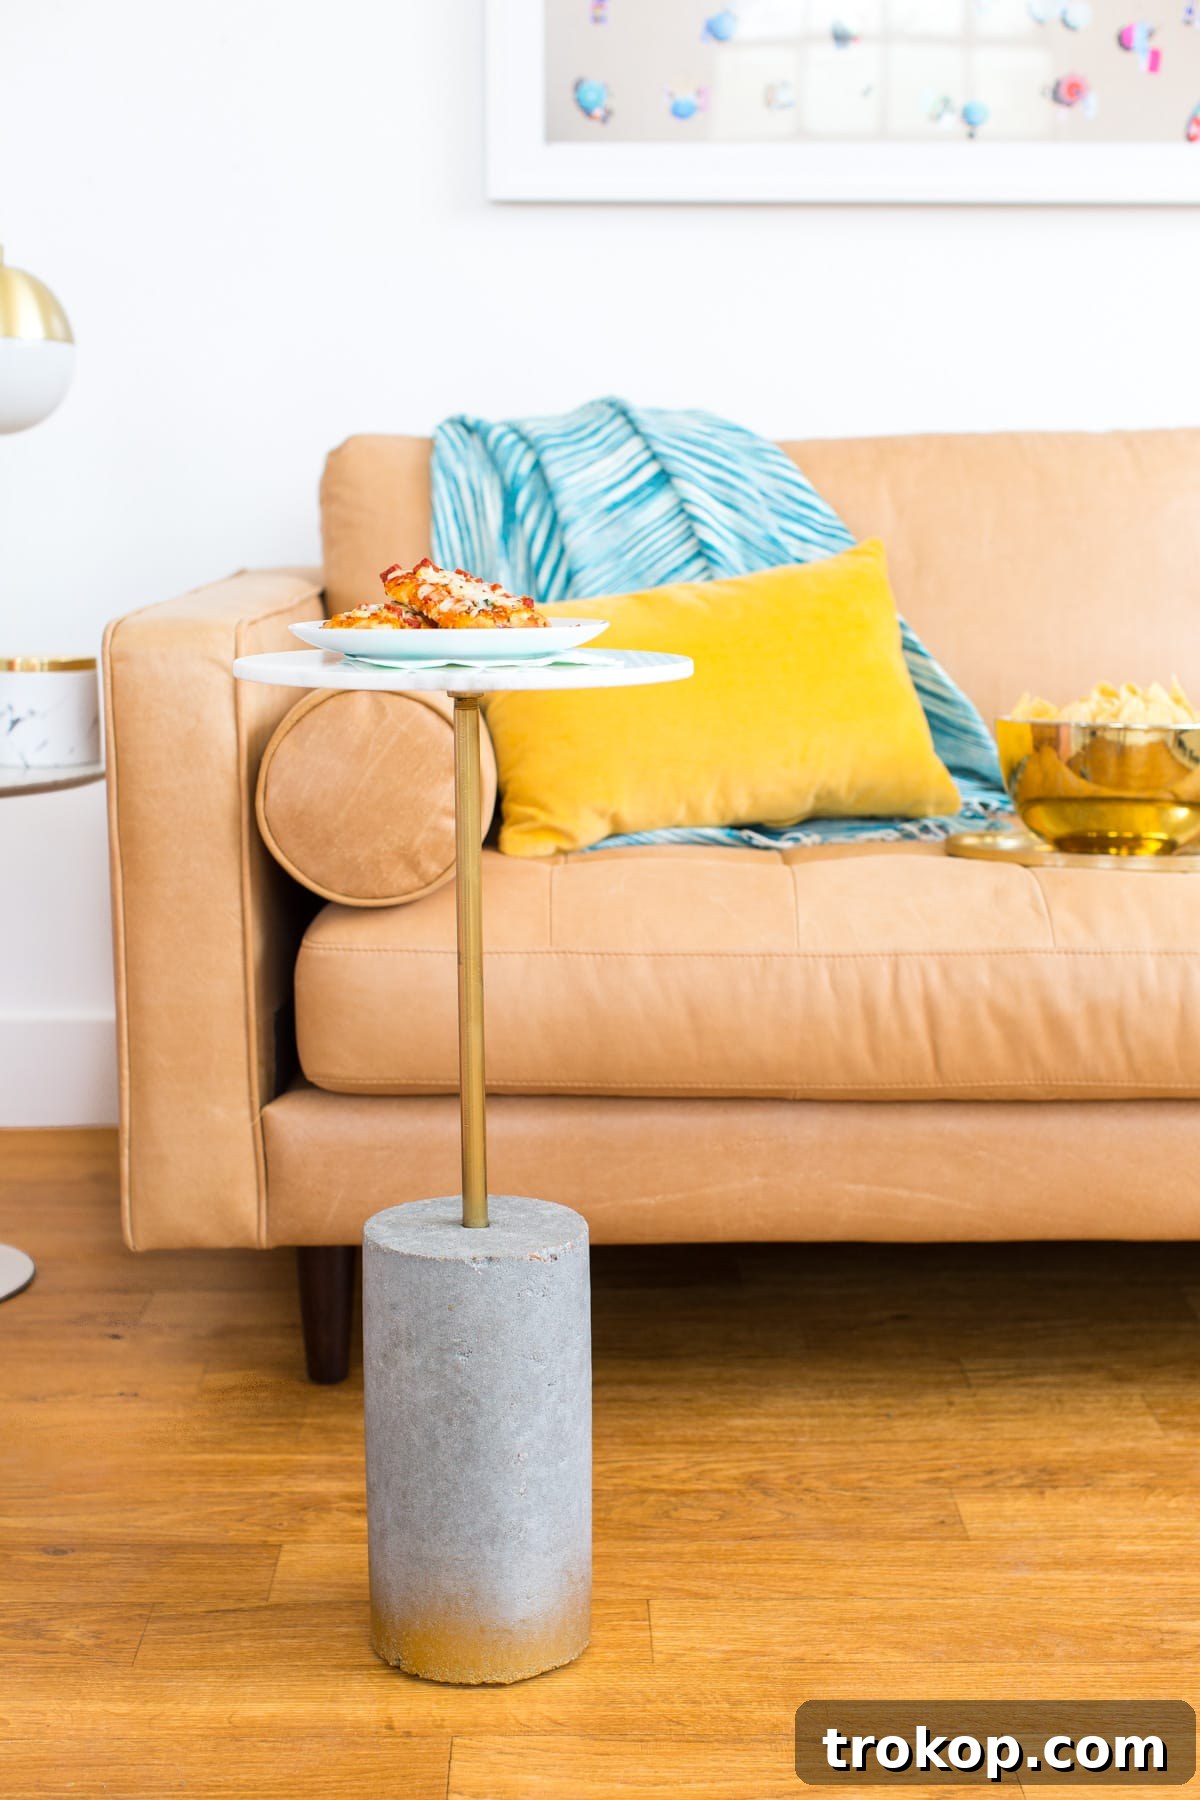
With your stunning new C-table ready, all that’s left is to choose your favorite television series and gather some delectable snacks! Since we’re enthusiasts of all things delicious – from savory cheddar popcorn to crispy tortilla chips and, of course, a fantastic pizza – we decided to indulge in all three. Why limit yourself when you can create the ultimate snack spread?
The new DIGIORNO Artisan Style Melts are perfect for this occasion. Designed to be enjoyed as a gourmet snack, they emerge fresh-baked from your oven (or microwave) in just minutes. Each melt is generously topped with fine cheeses, rich sauce made from vine-ripened tomatoes, and premium meats and vegetables, offering a sophisticated and satisfying treat. And, naturally, a delightful pile of colorful macarons, perfectly complemented by our cute new sofa and a stylish pink chair, always adds to the festive ambiance. It’s all about creating those perfect, comfortable, and delicious moments at home.

What are your go-to movie night snacks and favorite binge-watching shows? I’m always eager to discover new recommendations and think I need to compile another list of our top picks. Share your favorites so we can all stay updated on the coolest new things to watch!
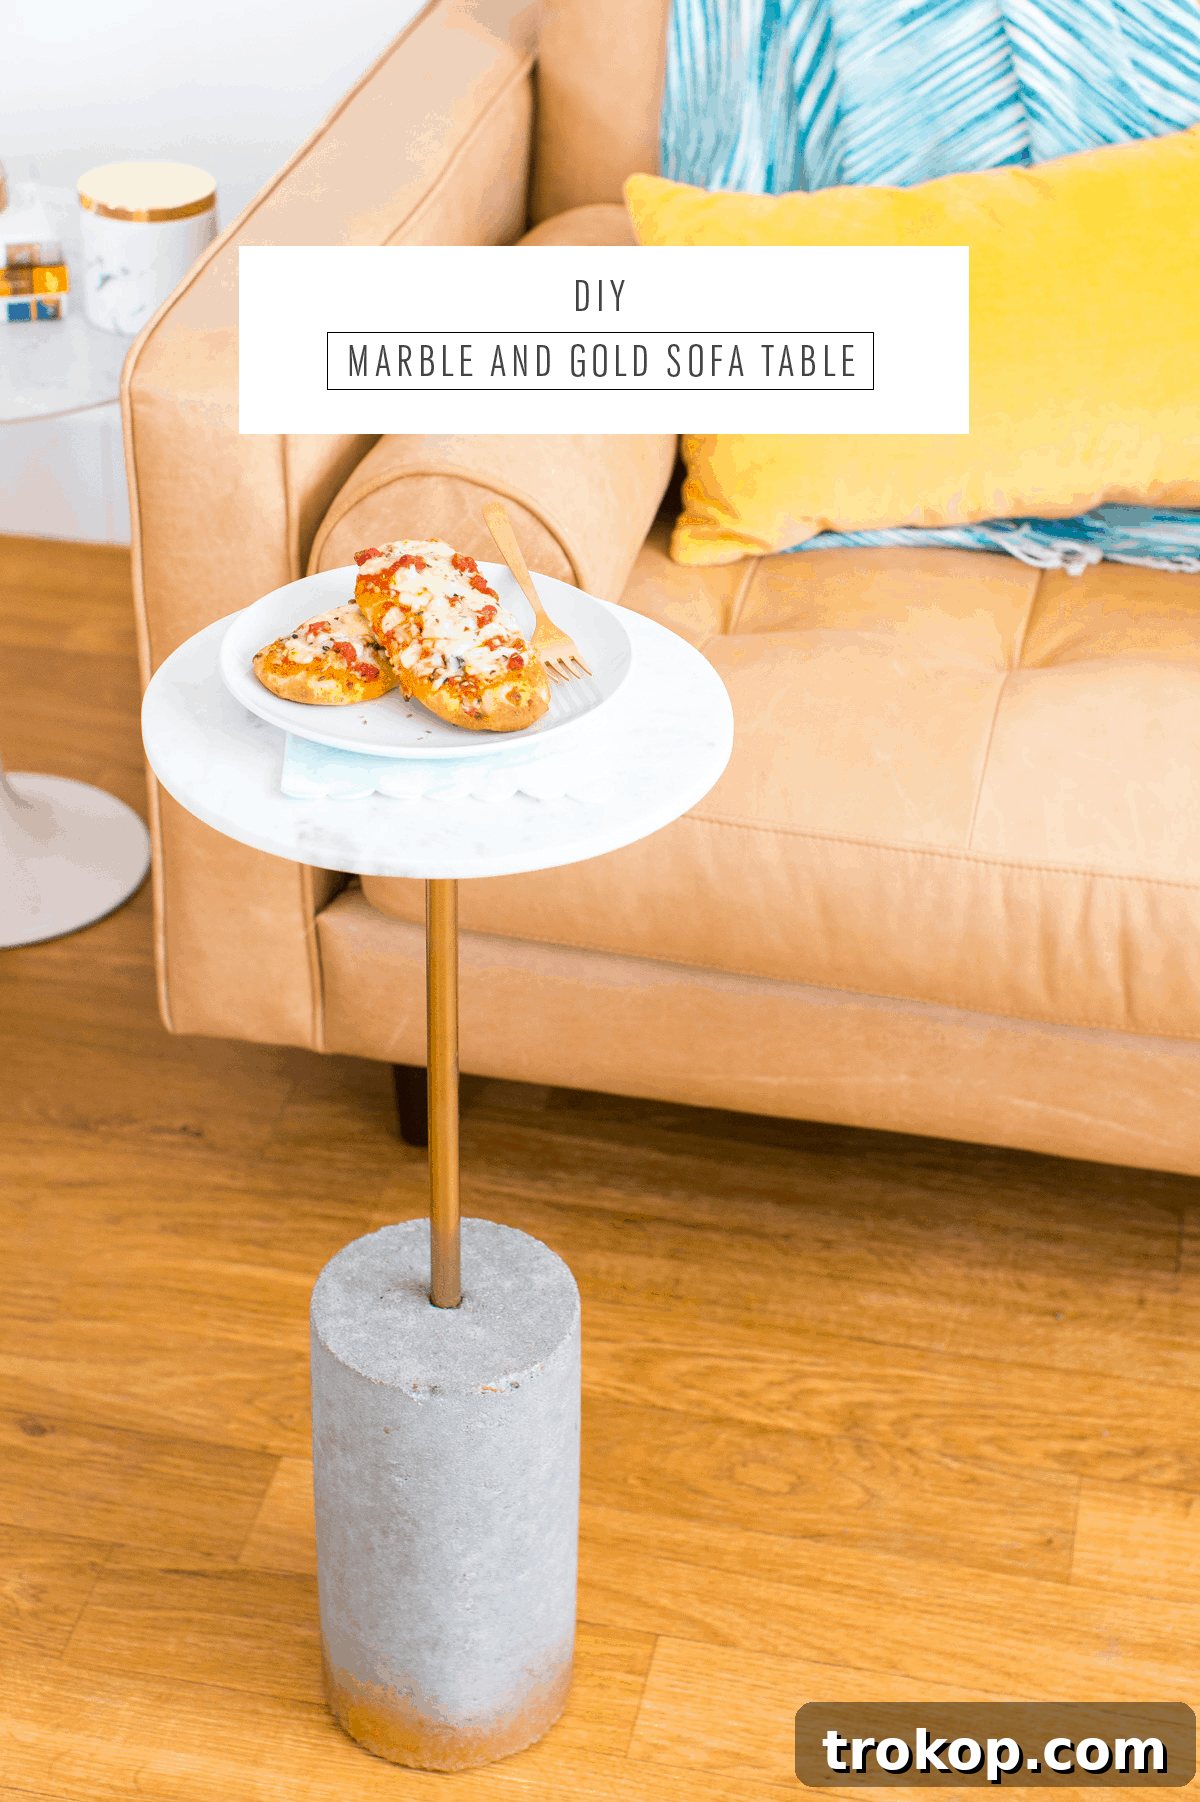
Your New Favorite Sofa Companion

Easy DIY Sofa Table: How to Make a C-Table
This is a play off of a DIY sofa table that’s super easy to make! Use it as a side table for your living room or even as a simple plant stand!
Equipment
-
Sandpaper
Materials
- 1 6x6x12 cored cement cylinder
- 1 3/8 inch galvanized pipe 26 inches in length with screw threads on one end
- 1 3/8 inchfloor flange
- Liquid nails
- Gold spray paint(optional)
- Adhesive felt pads for the bottom
- Marble round serving board to use as the table top
- Fine sandpaper
Instructions
-
Before painting or gluing anything, assemble the pieces of the pipe and floor flange (making sure the surface is clean), and place into the cylinder to make sure everything fits and is the right height for your sofa.
-
Remove the pipe and place it upside down so that it stands up on the floor flange to be able to spray paint it metallic gold.
-
While that’s drying sand down the side of the raw cement cylinder for a smoother, cleaner look.
-
If you want it to look polished, you can use an electric sander with fine sand paper.
-
You can also create the metallic gold ombre look for a glam style table like we did. To recreate this by flipping the concrete cylinder upside down and lightly spray painting the edges with metallic gold paint from about 12-15 inches away and let dry.
-
Cut one of the large square, felt pads down an inch on all sides to make it fit with the edges unseen on the bottom of the cylinder to make moving the table around easier.
-
Now all that’s left is gluing the pieces together! First, squeeze liquid nails in the hole in the cylinder and let stand to become tacky for about 5 minutes, then insert the metallic gold painted pole.