
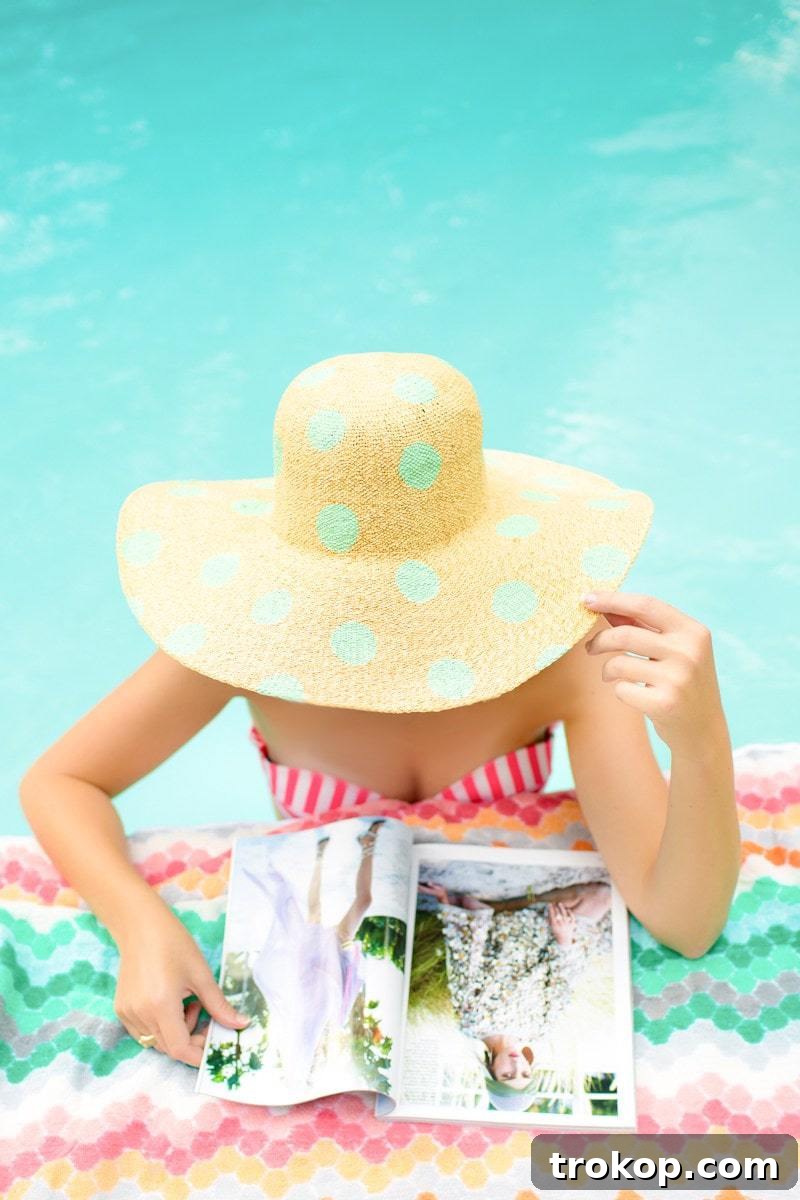
Craft Your Own Polka Dot Floppy Hat: The Ultimate Summer Accessory DIY
Step into summer with unparalleled style! This comprehensive guide shows you how to easily create your very own polka dot floppy hat. More than just a fashionable accessory, it’s your perfect companion for sunny days, offering excellent shade, a charming way to hide those unruly bedhead moments, and an indispensable item for your next beach getaway or poolside retreat. Personalize your look and make a statement with this fun, simple, and stylish DIY project!
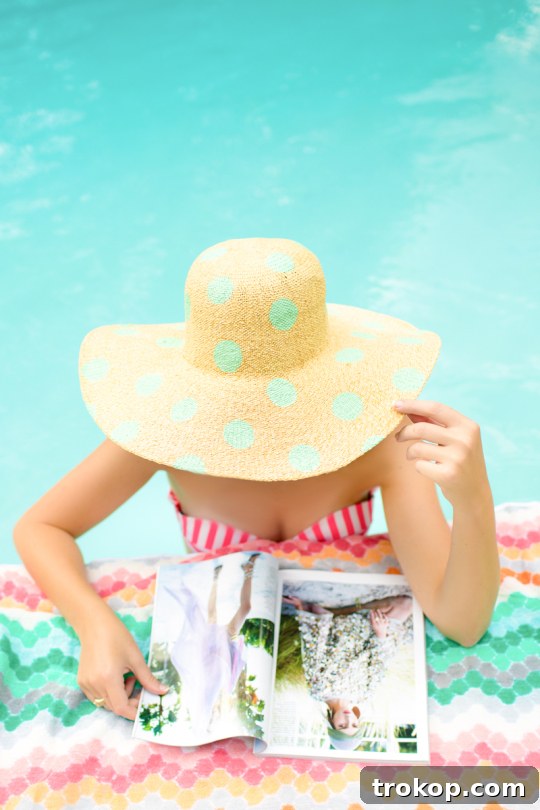
Embrace Summer with a Personalized Polka Dot Floppy Hat
Floppy hats have always been my secret weapon during the sweltering summer months, especially here in Houston where the humidity is a relentless adversary. My hair, bless its cotton socks, tends to develop what I affectionately call “wings” – not the angelic kind, mind you, but rather a spectacular explosion of frizz. In such conditions, a stylish, oversized floppy hat isn’t just an accessory; it’s a strategic disguise, a fashion-forward shield against the elements, and a lifesaver for those days when bedhead reigns supreme.
This realization sparked an idea: why settle for a plain floppy hat when I could infuse it with my own unique aesthetic? Thus, the DIY polka dot floppy hat was born! It’s an incredibly simple project that yields a high-impact fashion statement, allowing you to customize a humble hat into a personalized piece of art that truly reflects your style.
Looking to create a cohesive summer ensemble? This polka dot floppy hat pairs wonderfully with other handmade accessories. Consider matching it with our DIY No-Sew Polka Dot Infinity Scarf to add a touch of Texas-standard scarf spirit, or complement it with our vibrant DIY Pom Pom Tassel Circle Pool Bag for a complete, poolside-ready look. These pieces together create a playful and chic vibe that’s perfect for any summer adventure.
Interestingly, I discovered that my dear friend Kelly and I had both embarked on similar painted floppy hat projects around the same time. While her creation showcased her signature donut fashion, which is undeniably hard to compete with (who doesn’t love donuts?!), my heart melts for a touch of pink. So, I waited a little before sharing my polka dot version, confident in its own unique charm.
All this to say: the next time you spot me enjoying brunch, comfortably sporting an oversized polka dot floppy hat indoors, please don’t judge. It’s not just a hat; it’s a meticulously crafted piece of my summer survival kit, a testament to personal style, and a celebration of DIY creativity. And who says fashion can’t be functional and fun, even when escaping a bad hair day?
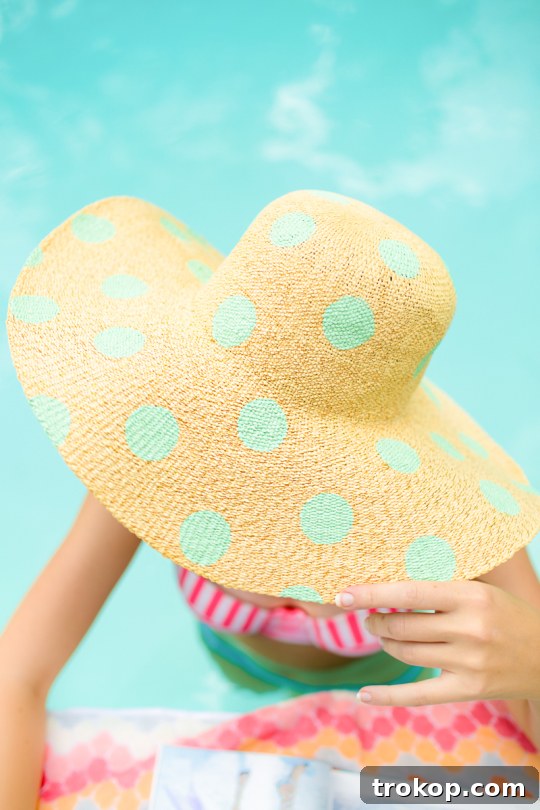
Materials and Tools Needed to Make Your Own DIY Polka Dot Floppy Hat
Creating your custom polka dot floppy hat is incredibly straightforward, requiring just a few key items. Gathering these materials beforehand will ensure a smooth and enjoyable crafting experience. Here’s what you’ll need:
- Foam Pouncer: A 1-inch foam pouncer is ideal for creating bold, dramatic polka dots, as demonstrated in this tutorial. However, feel free to experiment with different sizes to achieve your desired aesthetic – smaller pouncers for subtle dots, or a mix of sizes for a whimsical effect.
- All-Purpose Craft Paint: Select a high-quality all-purpose craft paint in your favorite color. Acrylic craft paints are often a great choice as they are versatile, readily available, and typically offer good coverage. For best results, consider paints that are known for their durability and water resistance once dry, especially if your hat will be exposed to the elements.
- Plain Floppy Hat: Start with a simple, unadorned floppy hat. The original hat used for this project had a band that was easily removed, leaving a clean canvas. If your preferred hat is currently unavailable, this alternative floppy hat is an excellent substitute. Look for hats made from materials like straw, paper braid, or cotton, as these tend to absorb paint well and provide a good surface for crafting.
- Paper Plate or Paint Palette: For dispensing your paint.
- Paper Towels or Wet Cloth: For quick clean-ups and blotting excess paint.
- Protective Surface: Newspaper or a drop cloth to protect your workspace.
Choosing the right materials is key to achieving a professional and long-lasting finish. Opting for good quality craft paint ensures your polka dots remain vibrant and resist fading, even after extended use in the sun. Similarly, a sturdy floppy hat will provide a durable base for your creative transformation. With these items in hand, you’re ready to embark on your DIY journey!

How to Make a DIY Polka Dot Floppy Hat: Step-by-Step Guide for a Chic Summer Look
Ready to transform your plain hat into a stylish statement piece? Follow these simple steps to create a beautiful polka dot floppy hat that’s uniquely yours. This process is designed to be easy and enjoyable, even for novice crafters.
Step 1: Preparing for Your First Polka Dot Impression
Begin by pouring a small amount of your chosen all-purpose craft paint onto a paper plate or a designated paint palette. This prevents you from contaminating the entire bottle of paint and allows for easier dipping. Take your foam pouncer and gently dip it into the paint, ensuring the flat surface is evenly coated. You want enough paint to create a solid dot, but not so much that it’s dripping or overly saturated. Test the pouncer on a scrap piece of paper or cardboard first to get a feel for the paint consistency and the amount of pressure needed.
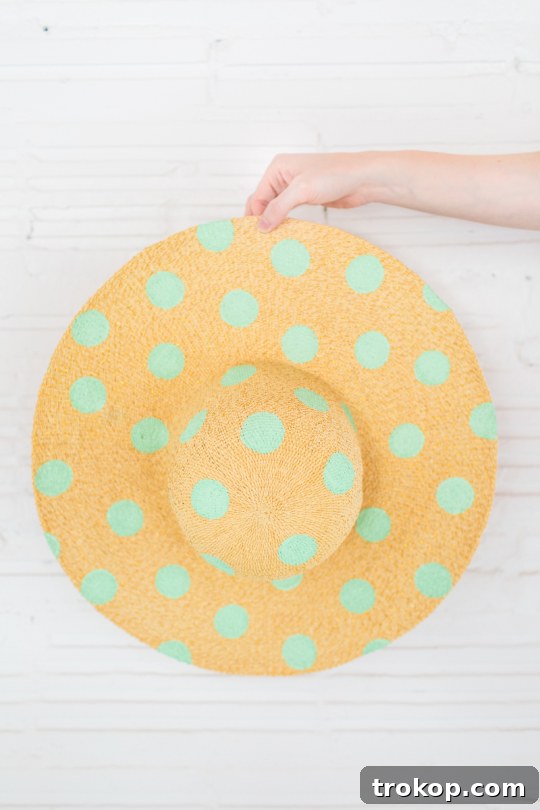
Once you’re comfortable, position your hat on a flat, protected surface. Starting from the top of the hat, firmly press the foam pouncer down to make your first polka dot. As you do this, it’s crucial to hold the inside flap of the hat tight with your free hand. This provides a stable surface for painting and prevents the hat material from shifting or bunching, ensuring a crisp, clean dot. The initial dots will set the tone for your pattern, so take your time and aim for a consistent impression.
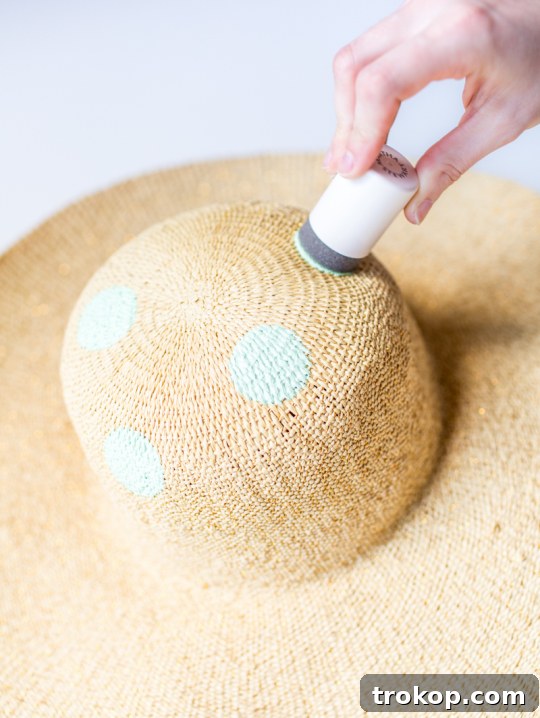
Step 2: Creating Your Unique Polka Dot Pattern
With your first dot in place, slowly work your way down the side of the hat and onto the brim, creating a pattern of sporadically spaced dots. The beauty of this DIY project lies in its flexibility; there’s no need for perfect precision or a rigid pattern. Embrace a more organic, hand-painted look by varying the distances between your dots. This casual approach adds charm and ensures that each hat is truly one-of-a-kind. Some dots can be closer, some further apart, mimicking a natural, whimsical spread.
For the best results, ensure your pouncer always has a good amount of paint. A well-loaded pouncer will create vibrant, opaque dots. If you notice your dots are becoming lighter or patchy, simply re-dip your pouncer into the paint. Don’t worry if a dot isn’t perfect on the first try; you can always go back and make small touch-ups with the pouncer, or even a smaller brush, after the initial dots have been applied. Pay attention to the edges of the hat and the underside of the brim if you want the pattern to be visible from all angles. Continue this process around the entire hat until you are satisfied with the coverage and design. Remember to keep the inside of the hat taut as you work, especially on the brim, to avoid smudges or uneven application.
Step 3: The Drying Process and Final Touches
Once you’ve completed your polka dot design, the most important step is to allow the paint to dry completely. This is crucial for the durability and longevity of your hat’s new look. The drying time can vary depending on the type of paint used, the thickness of the application, and environmental factors like humidity. Generally, it’s best to allow at least an hour for surface drying, but for a full cure, especially for water resistance, I recommend letting it sit for 24-48 hours in a well-ventilated area. Avoid touching or manipulating the hat during this period to prevent smudging or cracking the paint.
After your hat is thoroughly dry, inspect your work. You might find areas that need a little extra paint for opacity or spots where a small touch-up could enhance the overall appearance. Once you are completely happy with your creation, your DIY polka dot floppy hat is ready to wear! It’s now a stylish, personalized accessory perfect for adding a playful touch to any summer outfit.
Tips for Perfect Polka Dots & Ensuring Your Hat Lasts
To ensure your polka dot floppy hat remains a cherished accessory for many summers to come, consider these additional tips:
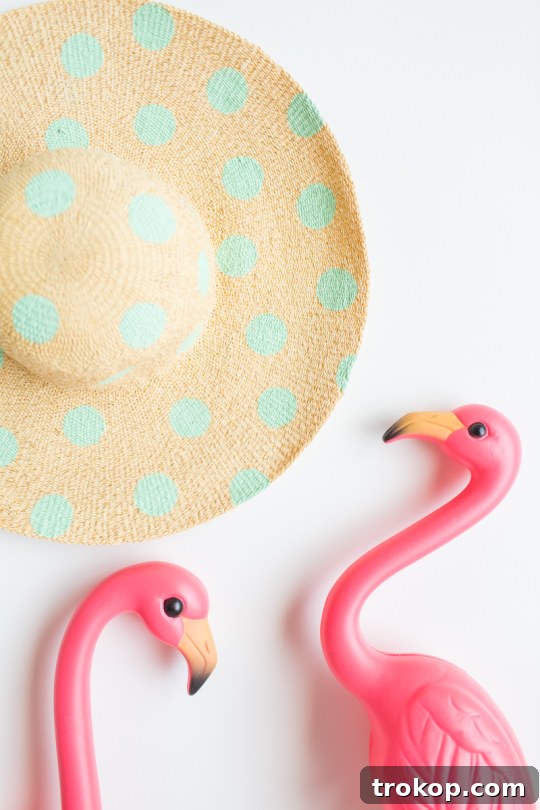
- Paint Quality Matters: The Martha Stewart craft paints, for example, are known for being all-purpose and incredibly durable. Once fully dried and cured, they hold up exceptionally well against water. Even with an accidental splash or a brief dip in the pool, the painted dots retain their crispness and vibrant color. Investing in good quality paint ensures your hard work pays off with a long-lasting finish.
- Pre-Wash Your Hat (if fabric): If your floppy hat is made of a washable fabric, consider pre-washing it according to its care instructions before painting. This removes any sizing or treatments that might interfere with paint adhesion, ensuring a better, more permanent bond. Always allow it to dry completely before you begin painting.
- Even Pressure: When applying the dots, try to use consistent pressure on your foam pouncer. This helps create uniform circles. If you want a more varied, distressed, or hand-drawn look, you can intentionally vary the pressure.
- Practice First: If you’re new to painting on fabric or a textured surface like straw, it can be helpful to practice on a hidden part of the hat or a similar scrap material first. This allows you to get a feel for how the paint interacts with the material and the pouncer.
- Curing Time is Key: While the paint might feel dry to the touch in an hour or two, many craft paints require a full “cure” time (often 24-72 hours, sometimes longer for fabric paints that need heat setting) to achieve maximum durability and water resistance. Check your specific paint’s instructions for best practices.
- Storage: Store your floppy hat in a way that preserves its shape and protects the painted design. Avoid crushing it or stacking heavy items on top. A hat box or hanging it on a hook are great options.
- Cleaning Your Hat: For light cleaning, gently wipe the painted areas with a damp cloth. Avoid harsh scrubbing or machine washing, as this can damage the paint and the hat material. Always spot clean carefully.
By following these simple guidelines, your DIY polka dot floppy hat won’t just be a pretty face; it will be a durable, stylish companion ready for all your summer adventures, from leisurely poolside afternoons to lively summer parties. This summer hat is truly perfect for your next summer pool party!

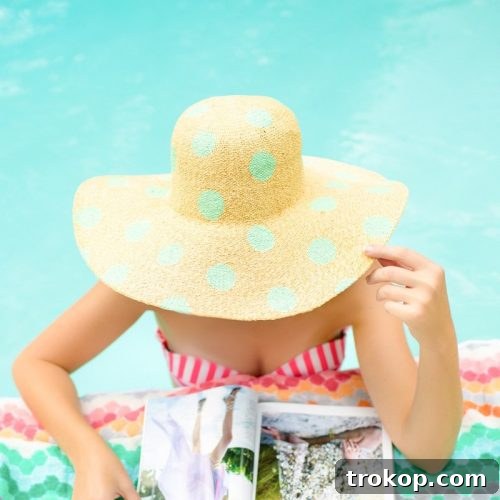
Doesn’t my friend Caitlin look absolutely adorable modeling this hat? You know you’ve found a truly wonderful friend when they readily lend their impeccable modeling skills for internet features at a moment’s notice. And as an added bonus, she also happens to craft incredibly delicious desserts! It’s friends like these who make life (and DIY projects) so much sweeter.
Creative Variations & Styling Your Polka Dot Floppy Hat
The beauty of DIY lies in endless customization! While classic polka dots are timeless, don’t hesitate to put your own spin on this project:
- Color Combinations: Instead of just one paint color, try two or three contrasting or complementary colors for your dots. Gradient dots, where colors blend, could also create a unique effect.
- Pattern Play: Why stop at polka dots? Experiment with stripes, abstract splatters, or even small hand-painted motifs like tiny stars, hearts, or initials. Stencils can open up a world of possibilities for more intricate designs.
- Add Embellishments: Once the paint is dry, you can further personalize your hat by gluing on small pom-poms around the brim, adding a decorative ribbon, or attaching fabric flowers.
- Brim Focus: You could choose to only paint the underside of the brim for a peek-a-boo effect, or just the top for a more understated look.
Beyond its creation, styling your polka dot floppy hat is where the fun truly begins. This versatile accessory is perfect for a multitude of occasions:
- Beach & Poolside Glamour: This is its natural habitat! Pair it with your favorite swimsuit, a flowy cover-up, and oversized sunglasses for ultimate beach chic. The wide brim offers crucial sun protection while adding a dash of playful elegance.
- Brunch & Outdoor Cafes: As mentioned, don’t be shy about rocking your hat indoors (or semi-indoors!). It adds a touch of bohemian charm to a casual brunch outfit, like a sundress or linen trousers with a light top.
- Summer Festivals & Picnics: Stand out in a crowd with your unique hat. It’s practical for keeping the sun out of your eyes and stylish enough to complement any festival or picnic attire.
- Everyday Errands: Elevate your casual everyday look. A simple t-shirt and shorts can be instantly transformed into a thoughtful ensemble with the addition of your personalized floppy hat. And yes, it’s still the perfect solution for those hurried mornings when your hair just isn’t cooperating!
Remember, your DIY polka dot floppy hat is more than just sun protection; it’s an extension of your personality, a conversation starter, and a tangible result of your creativity. Wear it with confidence and let your unique style shine!
DIY Polka Dot Floppy Hat
Rating: 5 out of 5 stars (based on 1 vote)
Print Instructions
With this easy tutorial, you can make your own polka dot floppy hat in no time! A perfect personalized accessory for summer.
30 mins
1 hr
1 hr 30 mins
DIY
Style & Beauty
Equipment
-
Foam pouncer I used a 1-inch pouncer for dramatic polka dots but you can use any size.
Materials
- All purpose craft paint
- Plain floppy hat I used this one and removed the band. It’s currently sold out but this is a great alternative.
Instructions
-
Dip the foam pouncer into the all-purpose craft paint and then make your first dot starting on the top of the hat. Be sure to hold the inside flap tight with your hand.
-
Then, slowly make your way down the side of the hat to the brim spacing your dots sporadically. The more paint you have on the brush the better. But you can also make touch-ups with the brush after you make the initial dots.
-
Let it dry completely, and you’re all set!

We absolutely love seeing your creative endeavors! Don’t forget to share your newly crafted DIY polka dot floppy hat with us on Instagram using the hashtag #sugarandclothloves. Your creations inspire our community, and we can’t wait to see the unique styles you bring to life! For even more creative ideas, including home decor tutorials and styling tips, you can find all our inspiring content right here on our website!
More DIY Fashion and Craft Inspiration for Your Next Project
If you enjoyed transforming your floppy hat, you’ll love these other easy fashion hacks and creative DIY projects. Dive into more fun and personalize your wardrobe and accessories with these inspiring tutorials:
Customizable Retro DIY Sunglasses Case
Protect your shades in style with a personalized vintage-inspired sunglasses case.
Continue Reading
How to Make a Patterned DIY No Sew Neckerchief
Add a pop of color and pattern to any outfit with this simple no-sew neckerchief tutorial.
Continue Reading
DIY Pom Pom Slippers
Craft your own comfy and adorable pom-pom slippers for lounging in style.
Continue Reading
DIY Abstract Embroidered Sweater
Transform a plain sweater into a wearable art piece with abstract embroidery.
Continue Reading
Statement DIY Pom Pom Scarf
Create a bold and playful accessory with this statement pom-pom scarf tutorial.
Continue Reading
Polka Dot DIY No Sew Infinity Scarf
Quickly craft a fashionable polka dot infinity scarf without needing to sew.
Continue Reading