
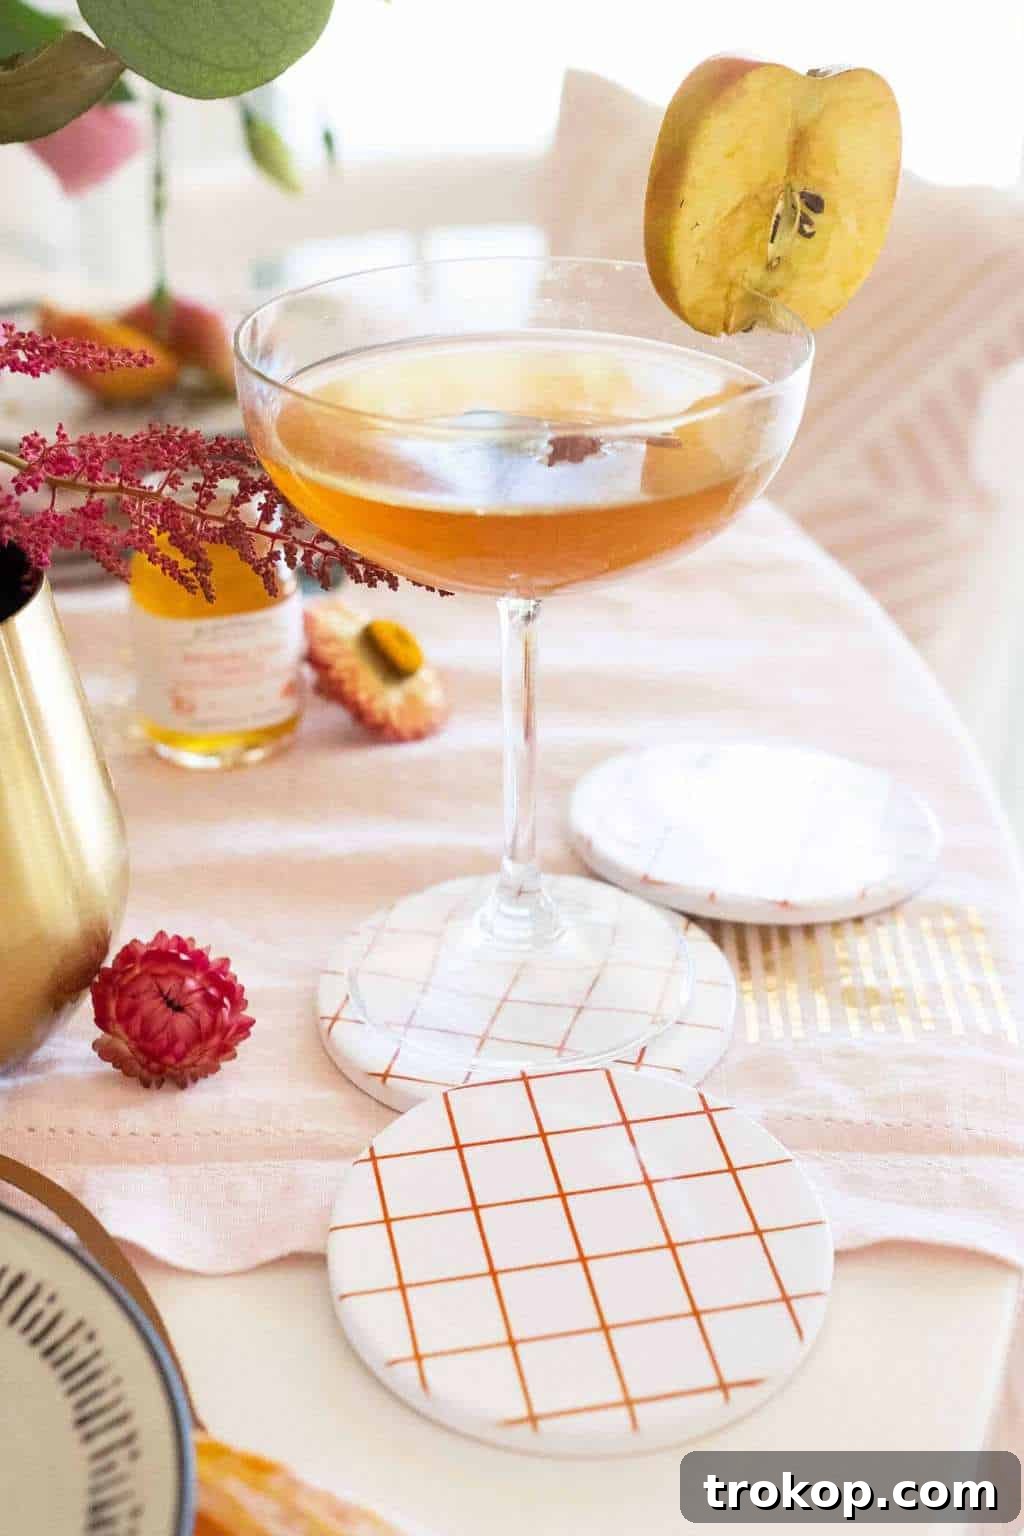
Transform your home decor and gift-giving with a truly unique and durable DIY project! Forget the ordinary candles; imagine crafting a set of stunning, professional-looking coasters that perfectly match any style. While countless coaster tutorials exist, this guide delves into a revolutionary method that stands out: using Cricut Infusible Ink. Prepare to create coasters that look so polished, guests will think you bought them from a high-end boutique.
Infusible Ink isn’t just another crafting trend; it’s a game-changer for personalized home accessories. Unlike vinyl or heat transfer vinyl (HTV) which sit on top of your material, Infusible Ink literally becomes one with the blank, resulting in vibrant, seamless, and incredibly durable designs that won’t peel, flake, or crack. If you’ve ever struggled with DIY coasters that quickly show wear and tear, this technique is your solution for lasting beauty and functionality.
These beautiful coasters were originally conceived as a captivating element within a broader fall table decor theme, seamlessly complementing a handmade table runner and stylish DIY placemats. Now, you can bring that same level of sophisticated craftsmanship into your own home, or create thoughtful, personalized gifts that truly impress.

Table of Contents
Understanding Cricut Infusible Ink Technology: A Game Changer for DIY
Before diving into the “how-to,” let’s demystify Cricut Infusible Ink. This innovative system differs significantly from traditional heat transfer vinyl (HTV) or iron-on materials. While HTV adheres to the surface of your base material, Infusible Ink technology involves a chemical process where the ink itself becomes one with the compatible blank material. Think of it as professional-grade sublimation, made accessible for home crafters.
When heat is applied, the Infusible Ink transforms from a solid sheet into a gas, which then infuses into the pores of your Cricut-compatible blank (like coasters, t-shirts, or tote bags). As the material cools, the ink solidifies, permanently bonding with the base. This results in incredibly vibrant, smooth transfers that are truly integrated into the material. The finished design feels completely smooth to the touch, with no texture or raised areas, providing a seamless, professional aesthetic that is washable, peel-proof, and fade-resistant. This deep infusion is what gives your DIY coasters their unparalleled durability and high-quality appearance, making them superior to projects relying on adhesives or surface coatings.
Why Infusible Ink is the Ultimate Choice for Your DIY Coasters
When it comes to creating custom coasters, the market is flooded with various DIY methods. However, Cricut Infusible Ink offers several distinct advantages that elevate your projects from homemade to professional-grade:
- Unmatched Durability: Unlike painted or vinyl-adhered coasters that can chip, peel, or fade with use and washing, Infusible Ink designs are permanent. The ink is infused into the coaster material, making it resistant to heat, moisture, and repeated cleaning. Your designs will stay vibrant and intact for years to come, truly making them household staples.
- Seamless, Professional Finish: The greatest visual benefit of Infusible Ink is its smooth, embedded finish. There’s no textured layer or raised edges, which means your coasters feel as good as they look. This seamless quality is incredibly difficult to achieve with other DIY methods and directly contributes to that coveted “store-bought” aesthetic.
- Vibrant & Long-Lasting Colors: Infusible Ink produces exceptionally rich, vivid colors that truly pop. Because the ink is deeply integrated, these colors won’t dull or fade over time, even with exposure to spills and sunlight. This ensures your custom designs remain eye-catching and impactful.
- Easy Maintenance: Cleaning Infusible Ink coasters is a breeze. Since the design is part of the coaster itself, you don’t have to worry about special care instructions or damaging the artwork. A simple wipe with a damp cloth is usually all it takes to keep them looking pristine.
- Integrated Cork Backing: Cricut Infusible Ink compatible coaster blanks often come with a built-in cork backing. This thoughtful design element provides essential protection for your furniture, eliminating the need for separate felt pads that can notoriously peel off, shift, or deteriorate over time. The soft cork bottom ensures your surfaces remain scratch-free, adding another layer of professional functionality to your DIY creation.
Choosing Infusible Ink for your DIY coasters means investing in quality, longevity, and a truly impressive end product. It’s the perfect method for crafting beautiful pieces that withstand the test of time and everyday use.
Step-by-Step Guide: Crafting Your Own Infusible Ink Coasters
Ready to bring your coaster visions to life? Follow this comprehensive guide to create stunning, personalized coasters using Cricut Infusible Ink. This process is rewarding and yields professional results every time.
Gathering Your Essential Supplies
Before you begin, ensure you have all the necessary tools and materials on hand. Having everything ready will make the crafting process smooth and enjoyable:
- Cricut Infusible Ink Compatible Coasters: Available in square or round shapes, these are specifically designed to work with Infusible Ink. Look for Cricut brand blanks to ensure compatibility and optimal results.
- Cricut Infusible Ink Transfer Sheets: Choose your desired colors and patterns. For a professional finish, consider exploring the wide range of solid colors, gradient effects, or intricate patterns available.
- Cricut Maker or Explore Family Machine: This cutting machine is essential for precisely cutting your Infusible Ink designs.
- Cricut Fine-Point Blade: This comes standard with your Cricut machine and is perfect for cutting Infusible Ink sheets.
- Standard Cardstock (Laser Inkjet or Scrapbook Paper): This is used as a protective layer under your coaster during the heat press process, preventing any ink from bleeding onto your mat. Avoid using cardstock with any special coatings or textures.
- Cricut EasyPress 2 or EasyPress 3: A heat press is crucial for achieving the correct temperature and even pressure required for successful infusion. The EasyPress is specifically calibrated for Cricut materials.
- Cricut MediumGrip Mat: This mat provides the ideal adhesion for Infusible Ink sheets during the cutting process.
- Butcher Paper: A piece of butcher paper is included in every Infusible Ink transfer sheet package. It acts as a barrier to protect your heat press and project from accidental ink transfer.
- Heat-Resistant Mat: A Cricut EasyPress Mat is highly recommended to protect your work surface from extreme heat.
Preparing Your Design in Cricut Design Space
The design phase is where your creativity truly shines. Take your time to create a design you’ll love:
- Connect Your Machine & Blade: Power on your Cricut Maker and connect it to your computer. Ensure your fine-point blade is correctly installed in Clamp B of your machine.
- Design Your Coaster in Design Space: Open Cricut Design Space. You can upload existing designs (like a grid pattern designed in Photoshop, which you can download below), create a new one from scratch using Design Space’s vast library of shapes, images, and fonts, or even use Infusible Ink pens to hand-draw directly onto laser paper for a unique look.
- Mirror Your Design: This is a CRITICAL step for Infusible Ink projects. Always remember to “Mirror” your design in Design Space before cutting. If you don’t mirror, your design will be reversed on your coaster.
- Download Custom Pattern (Optional): If you’re using a specific pattern like the custom grid print, ensure it’s correctly sized for your coasters (typically 3.5 inches for standard square coasters).
- Finalize Design & Initiate Cut: Once your design is perfected and mirrored, click “Make It” in the top right corner of Design Space to send your project to the cutting machine.
Cutting Your Infusible Ink Sheets
Precision in cutting ensures a clean transfer:
- Select Material Settings: In Design Space, choose “Infusible Ink Transfer Sheet” as your material setting. This ensures your Cricut machine applies the correct pressure for a clean cut. For a fall-inspired aesthetic, consider using colors like burnt orange or deep reds from an animal print pack for a unique golden grid effect, as was done for the original project.
- Prepare Your Mat: Place your Infusible Ink sheet onto a Cricut MediumGrip mat, colored side facing up. Smooth it down firmly to ensure it adheres well and prevents shifting during cutting.
- Load & Cut: Load the mat into your Cricut Maker by pressing the double-sided arrow button. Once loaded, press the flashing “Go” button to start the cutting process.
- Weed Excess Material: After your machine finishes cutting, unload the mat. Carefully remove the excess Infusible Ink sheet from around your design. This process, known as “weeding,” can be done by gently bending the sheet to reveal cut lines and peeling away the negative space. You’ll be left with only the grid print (or your chosen design) on the clear liner.
- Prepare Multiple Designs: Remember, the downloadable design is typically for one coaster. If you’re making a set of four, you’ll need to cut four separate designs.
The Infusion Process: Heating with Cricut EasyPress 2
This is where the magic happens! Proper heat and time are crucial for a successful infusion:
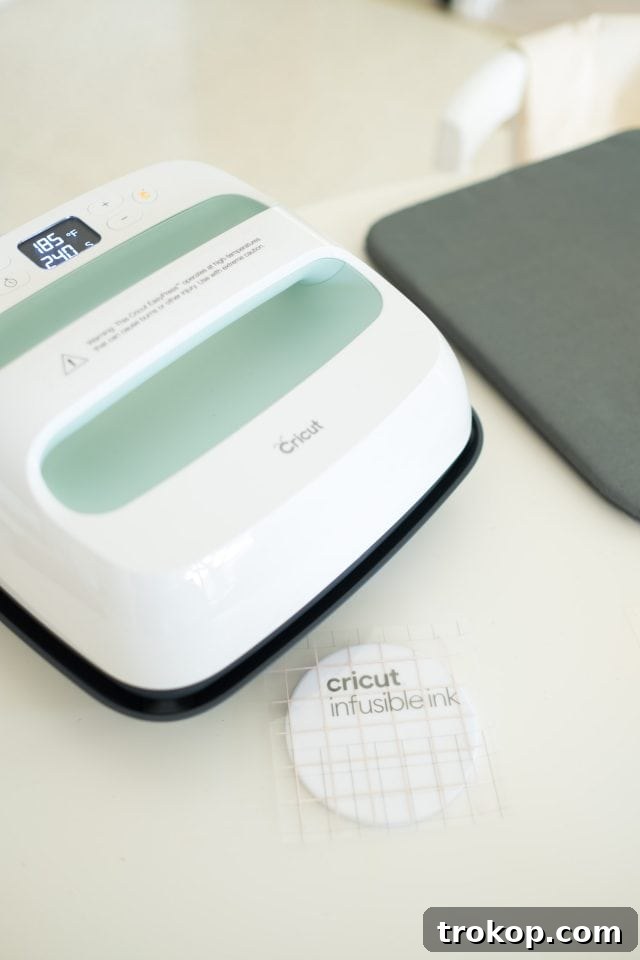
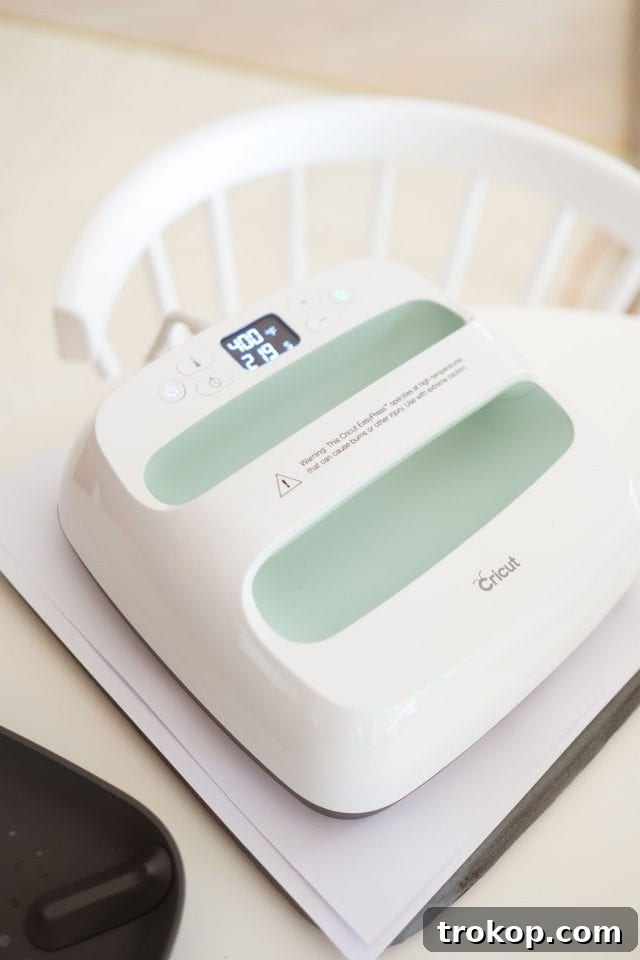
- Preheat Your EasyPress: Turn on your Cricut EasyPress 2 (or 3) and set the temperature to 400°F (205°C) and the timer to 240 seconds. Wait for the Cricut symbol to turn green, indicating it has reached the target temperature.
- Layer Your Materials: On your heat-resistant mat, lay down a piece of standard cardstock. This acts as a barrier to protect your mat from any potential ink bleed-through.
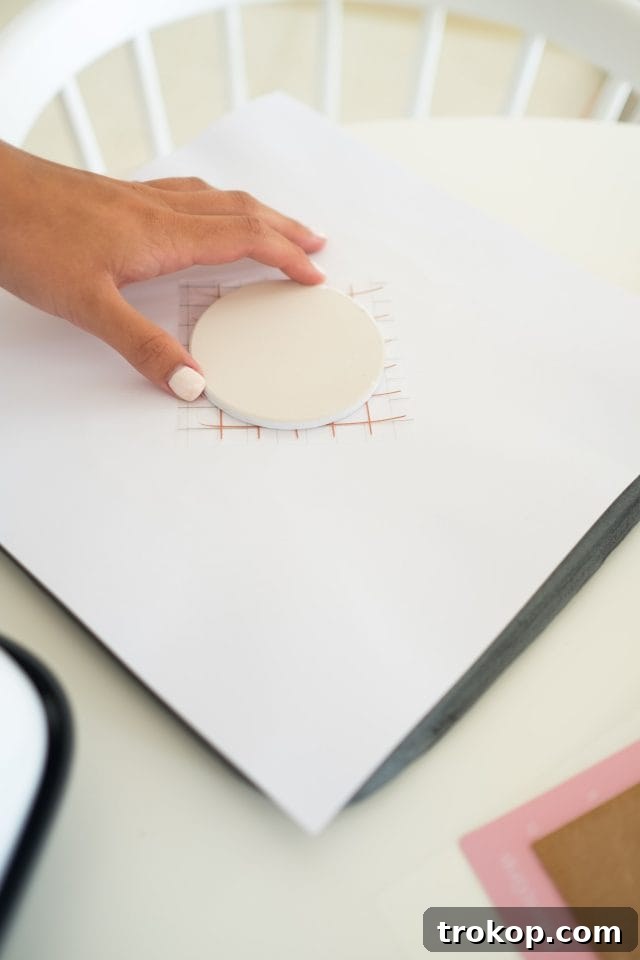
- Position Your Coaster & Design: Place your Infusible Ink design, design-side down (liner side up), onto the porcelain side of your coaster. Make sure the design is perfectly centered. Then, place the coaster (with the design facing down) onto the cardstock on your heat-resistant mat.
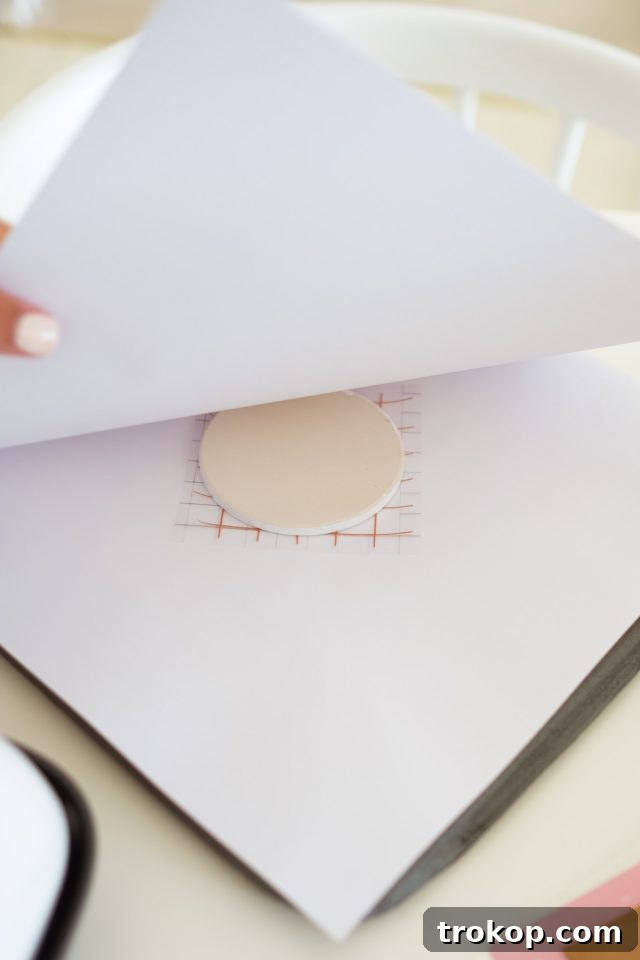
- Add Butcher Paper: Place a fresh piece of butcher paper (included with Infusible Ink sheets) over the cork back of the coaster. This provides an additional layer of protection, preventing the Infusible Ink from transferring to your EasyPress platen. **Important:** Always use a new piece of butcher paper for each coaster or project to avoid ghosting or color transfer.
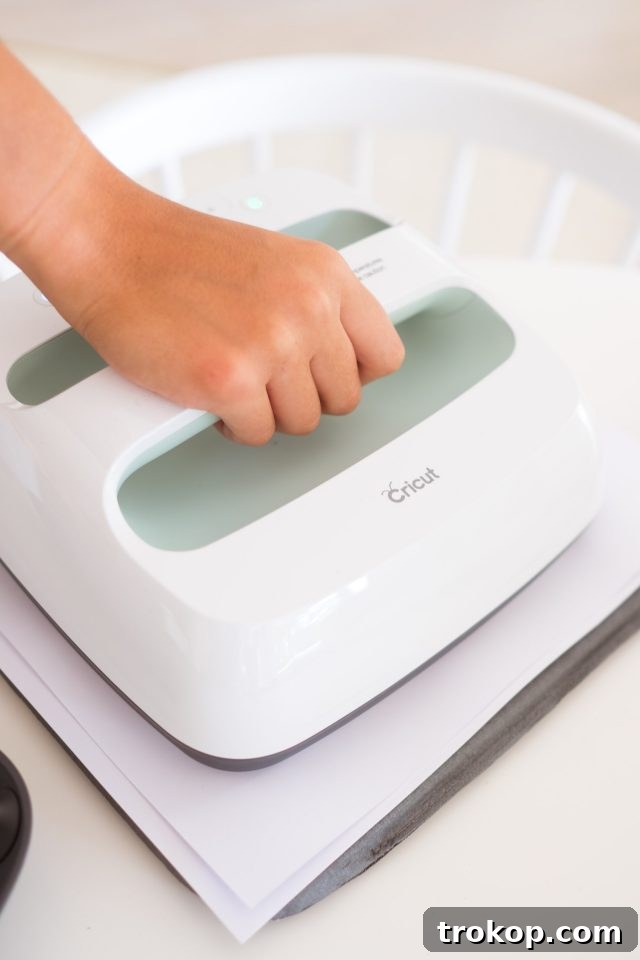
- Apply Heat: Carefully place your preheated EasyPress directly onto the butcher paper-covered coaster. Allow it to rest for the full 240 seconds without applying any additional pressure. The weight of the EasyPress itself is sufficient.
Revealing Your Masterpiece and Finishing Touches
The moment of truth! Always exercise caution with hot materials:
- Cool Down: Once the timer runs out, carefully lift your EasyPress and set it aside. The coaster will be EXTREMELY HOT. Allow it to cool completely to room temperature before handling. This cooling period is essential for the ink to fully set and prevent smudging or ghosting.
- Peel & Reveal: Once the coaster is cool to the touch, gently peel off the butcher paper, then the clear liner with your Infusible Ink transfer sheet. Your vibrant, infused design will be revealed!
- Repeat for a Full Set: Repeat steps 11-17 for each remaining coaster to complete your custom set. Enjoy the satisfying process of creating beautiful, durable coasters that will impress everyone.
Tips and Tricks for Perfect Infusible Ink Coasters
To further enhance your crafting experience and ensure flawless results, keep these expert tips in mind:
- Experiment with Infusible Ink Pens: For a truly personalized touch, consider using Cricut Infusible Ink pens. You can hand-draw or write your own unique designs onto laser copy paper, then transfer them using the EasyPress. This is a fantastic way to create custom illustrations, personalized messages, or intricate patterns that truly reflect your style, offering a fun alternative to pre-printed transfer sheets.
- Design for Round and Square Coasters: When designing, remember to tailor your patterns to the shape of your coasters. Geometric designs work beautifully on square coasters, while circular patterns or monograms are ideal for round ones.
- Keep it Clean: Before applying your design, ensure your coaster surface is completely free of dust, fibers, or fingerprints. Even small particles can interfere with the ink transfer and result in imperfections. Use a lint roller or clean cloth for a quick wipe.
- Avoid Reuse of Butcher Paper: As mentioned in the steps, always use a fresh piece of butcher paper for each individual press. Reusing butcher paper can lead to “ghosting,” where residual ink from a previous transfer subtly reappears on your new project.
- “Cold Peel” is Key: Unlike some heat transfer materials, Infusible Ink typically benefits from a “cold peel.” This means waiting until the coaster has completely cooled before peeling off the transfer sheet. Peeling while hot can sometimes cause the design to be less sharp or even pull some ink away.
- Storage of Infusible Ink Sheets: Store your Infusible Ink transfer sheets in a cool, dry place, ideally in their original packaging or a sealed bag to protect them from light and humidity, which can affect their quality.

Caring for Your Handmade Infusible Ink Coasters
One of the most remarkable benefits of using Cricut Infusible Ink for your coasters is their exceptional durability and ease of care. Because the ink is permanently infused into the base material, the designs are inherently resistant to the wear and tear that often plagues other DIY coaster types. You won’t have to worry about fading, peeling, or cracking, even with regular use.
If your beautiful new coasters do happen to get a little dirty from drink spills or everyday dust, cleaning them is incredibly simple. Forget about harsh chemical cleaners or abrasive scrubbing pads that could damage a delicate surface. All you need is a soft, damp cloth and a gentle cleaning solution. A mixture of equal parts white vinegar and water is an excellent, natural, and effective sanitizer that will clean your coasters without compromising their vibrant designs or structural integrity. Simply wipe down the surface, and if necessary, give them a quick rinse with plain water and air dry. This minimal maintenance ensures your Infusible Ink coasters remain a pristine and functional part of your home decor for many years to come.
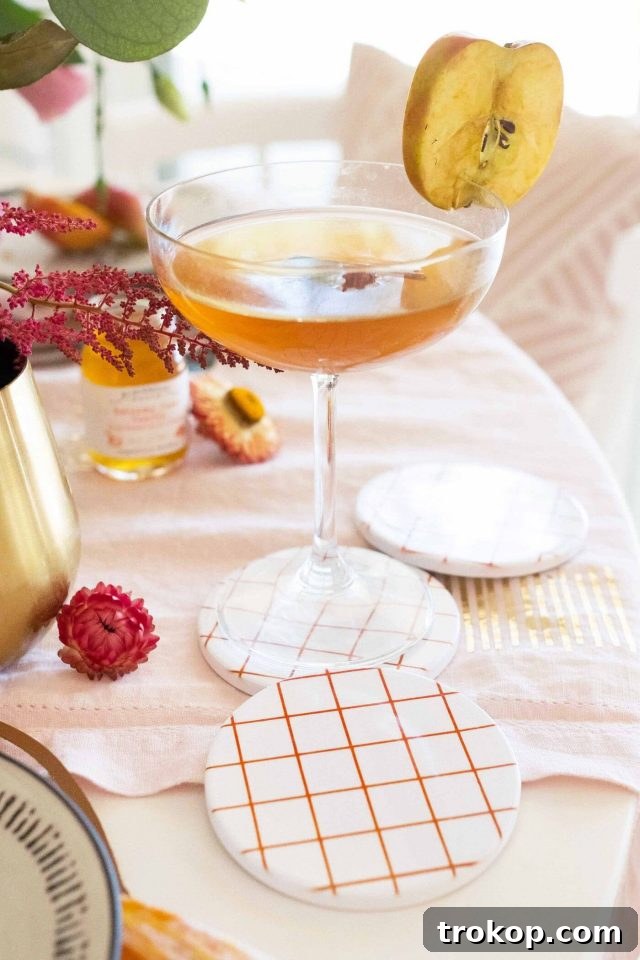
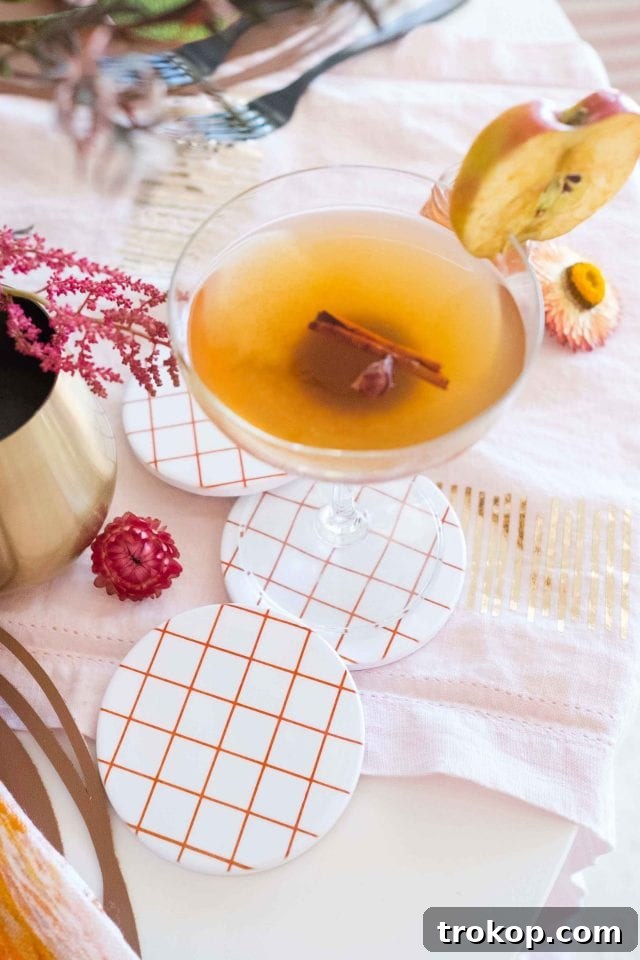
Crafting custom coasters with Cricut Infusible Ink is a rewarding project that combines artistic expression with practical home decor. The resulting coasters are not only beautiful and personalized but also exceptionally durable and easy to maintain, truly setting them apart from other DIY options. Whether you’re enhancing your own living space or creating thoughtful, handmade gifts, this method promises a professional finish that will be admired for years. So gather your materials, ignite your creativity, and start infusing some magic into your next crafting adventure!
This post is sponsored by Cricut. Sugar & Cloth has chosen to donate 5% of all sponsored campaigns to charity, which you can read more about right here.