
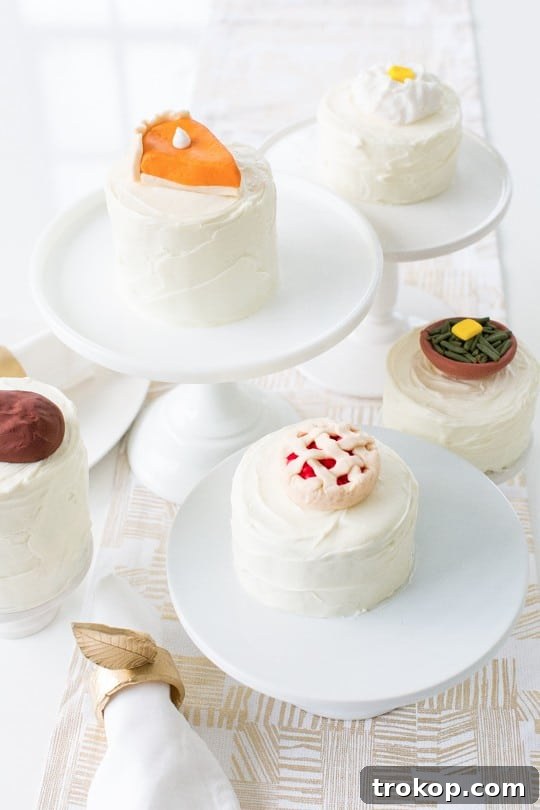
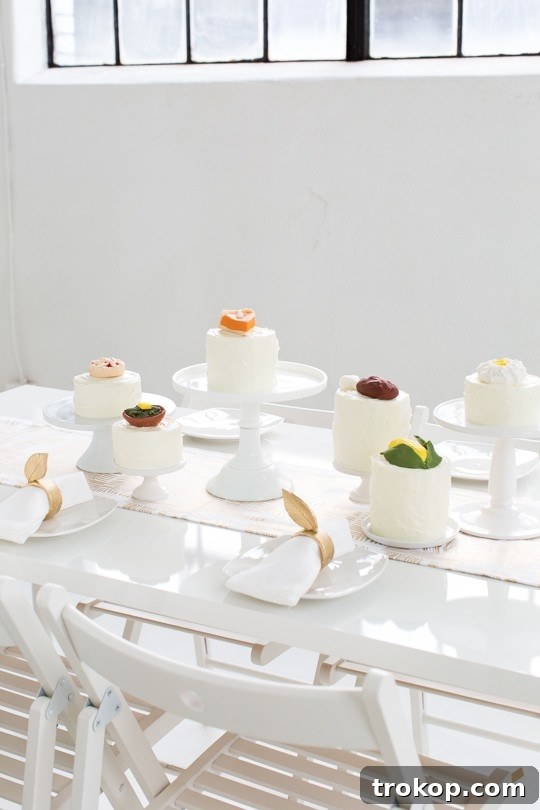
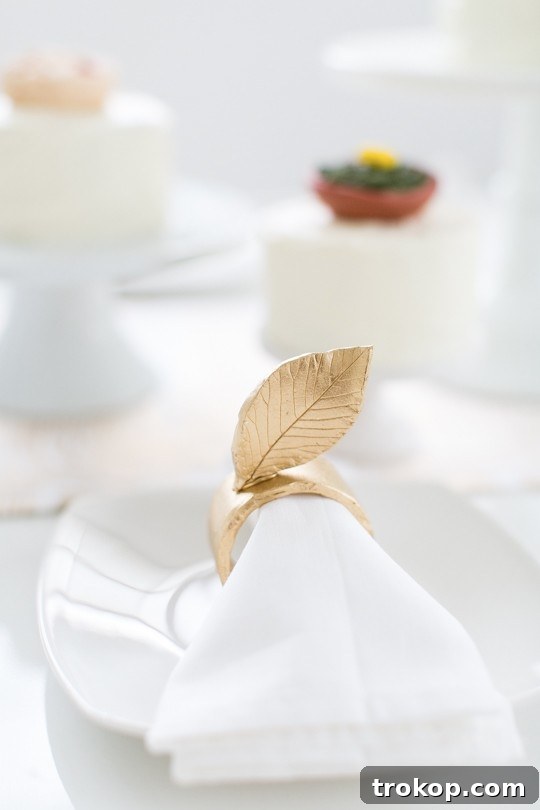
Transform your holiday table into a dazzling display with these exquisite Gold Leaf DIY Napkin Rings. More than just a way to hold your napkins, these modern, handcrafted pieces double as elegant place cards, adding a personalized and sophisticated touch to your Thanksgiving dinner or any special occasion. Forget generic decor; embrace the charm of bespoke artistry that will leave your guests utterly impressed.
There’s something truly magical about bringing a personal, handmade touch to your holiday celebrations. As someone deeply passionate about creative DIY projects, I’ve long admired the exceptional talent of Alana Jones Mann. Our creative journey began when I first met her at a blog conference. Her business card, a miniature slice of cake crafted from a makeup sponge, was an instant testament to her unique and imaginative spirit. From that moment, I knew I had found a kindred spirit in the world of innovative crafts.
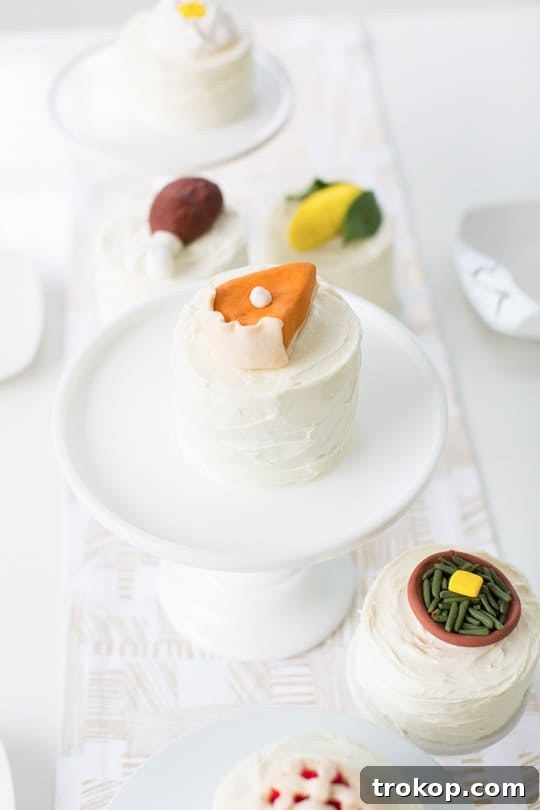
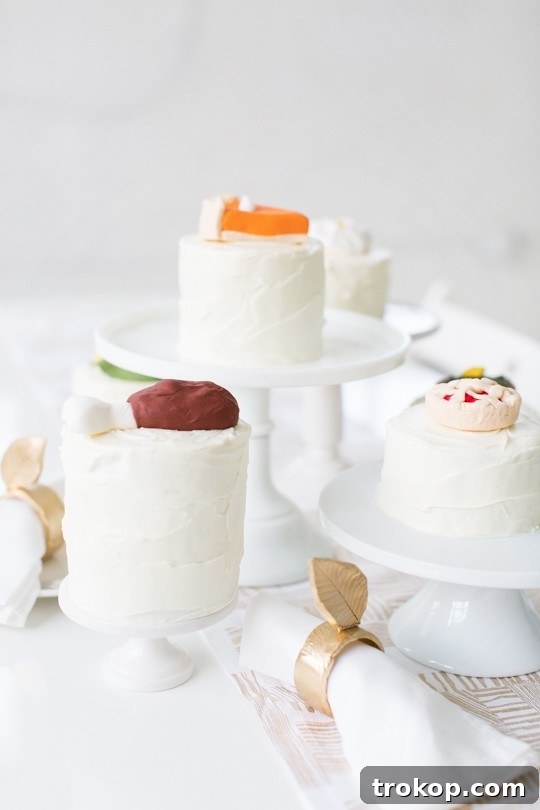
Almost a year later, my dream of collaborating with Alana came true. I had envisioned a captivating Thanksgiving tabletop theme, and knowing her prowess as the queen of charming cupcake toppers, I knew she was the perfect partner. The result of our combined efforts exceeded all expectations, creating a tablescape that truly blew my mind! To complement Alana’s incredible edible Thanksgiving dinner cake toppers, I designed these sophisticated Gold Leaf DIY Napkin Rings, adding an extra layer of handcrafted elegance to our festive spread.
Speaking of the luxurious touch of gold leaf, don’t miss our DIY gold leaf photo backdrop tutorial. It’s an absolute showstopper that will undoubtedly ‘wow’ your guests and provide a glamorous setting for memorable holiday photos at your Thanksgiving party.
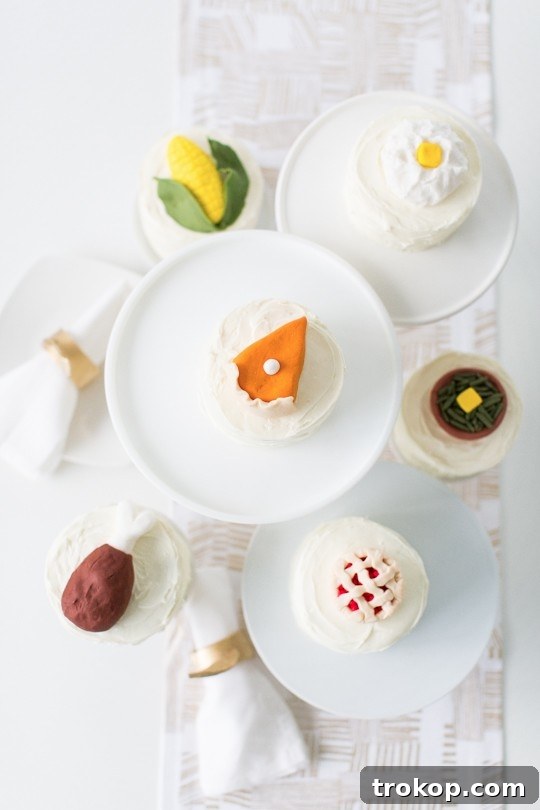
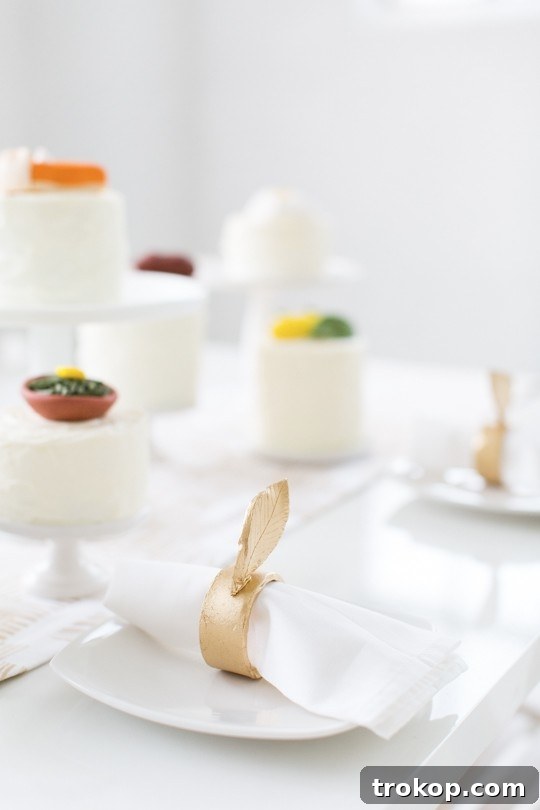
Table of Contents
Materials and Tools Needed to Make Gold Leaf DIY Napkin Rings
Crafting these stunning gold leaf napkin rings is a rewarding and relatively simple process, even for beginner crafters. The beauty of this project lies in its accessibility and the sophisticated results achievable with just a few key items. Here’s what you’ll need to gather:
- Air-dry clay: We absolutely love working with air-dry clay because it’s incredibly user-friendly. No need for a kiln or a heat source, making it perfect for at-home projects. Its versatility allows for so many creative applications, from decorative items to functional pieces. It dries to a sturdy finish, ideal for objects like napkin rings that need to maintain their shape.
- Metallic gold spray paint: This is what gives our napkin rings their opulent “gold leaf” effect. Choose a high-quality metallic spray paint for a smooth, even, and truly radiant finish. Alternatively, you could use gold craft paint and a brush for a more hand-painted look, but spray paint offers superior coverage and a seamless metallic sheen.
- Fresh leaf: The star of our design! Select a fresh leaf with a beautiful, distinct shape and clear veins. Avoid dry or brittle leaves, as they will crumble when pressed. A maple, oak, or even a rose leaf works wonderfully to create a natural, organic imprint.
- Rolling pin: Essential for flattening the clay evenly. If you don’t have a traditional rolling pin on hand, don’t worry! Any smooth, cylindrical object can work in a pinch. We’ve successfully used caulk tubes from a studio construction project, demonstrating that everyday items can be repurposed creatively.
- X-Acto knife or straight edge: For precise cutting of the clay shapes. An X-Acto knife provides excellent control for intricate details, while a straight edge can help ensure clean, even strips for the ring bases.
- Super glue: To securely attach the leaf-shaped clay pieces to the rings. A strong adhesive ensures your napkin rings are durable and last for many holidays to come.
Thanksgiving Tabletop Idea | How To Make Gold Leaf DIY Napkin Rings
Creating these bespoke napkin rings is an enjoyable and straightforward process that adds a unique charm to your Thanksgiving dinner. Follow these simple steps to craft your own:
- Roll Out the Clay: Begin by taking a portion of your air-dry clay. On a clean, flat surface, use your rolling pin (or caulk tube, as we did!) to roll the clay out evenly. Aim for a thickness of about a quarter of an inch. Consistency is key here for sturdy and uniform napkin rings.
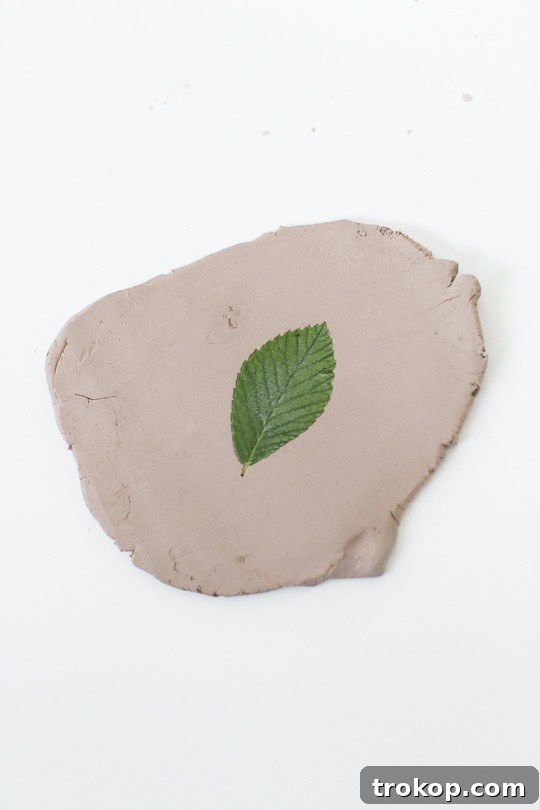
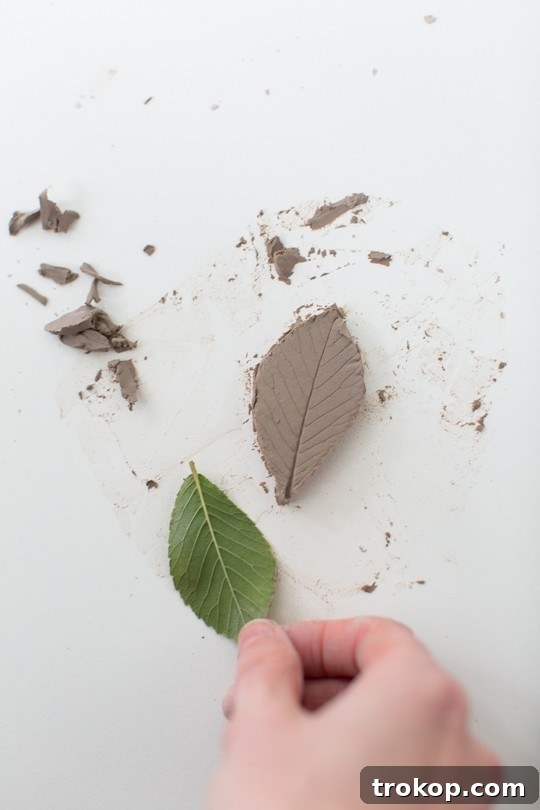
- Imprint the Leaf Shape: Carefully place a fresh leaf onto the rolled-out clay. With gentle, even pressure, roll your rolling pin over the top of the leaf. This action will press the intricate details of the leaf, including its veins and contours, deep into the clay, creating a beautiful, natural impression. Remember, a fresh leaf is crucial; old, dry leaves will simply flake and break under the pressure, ruining your impression.
- Cut Out the Leaf Shape: Once the impression is made, carefully remove the fresh leaf. Using an X-Acto knife or a sharp, straight edge, meticulously cut around the imprinted leaf shape. Take your time to ensure clean, precise edges, which will contribute to the professional look of your finished napkin ring.
- Allow to Dry: Gently peel the freshly cut clay leaf shape away from your work surface. Place it on a clean, dry surface, ideally on parchment paper or a non-stick mat, and allow it to dry completely. Air-dry clay can take anywhere from 24 to 72 hours to fully harden, depending on humidity and thickness. Ensure it’s rock-solid before proceeding to the next steps to prevent breakage.
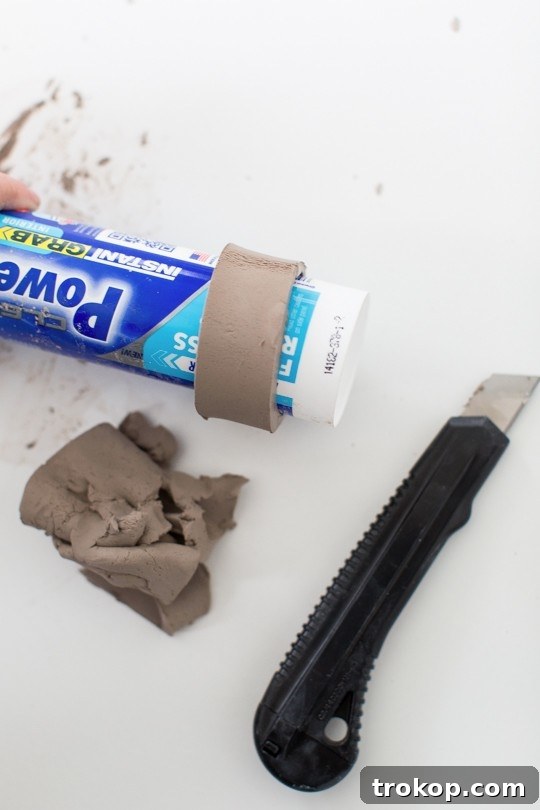
- Form the Ring Base: Now, for the ring portion. Cut a strip of air-dry clay, approximately one inch wide, and slightly thicker than your leaf cut-outs. This will ensure a robust base for your napkin ring. Carefully wrap this clay strip around a rolling pin or a similar cylindrical object (such as our trusty caulk tubes!) to form a perfect circular shape. This object will act as a mold, maintaining the roundness as the clay dries. Adjust the length of the strip to create a ring that will comfortably fit around your napkins. Overlap the ends slightly and smooth them together to form a seamless circle.
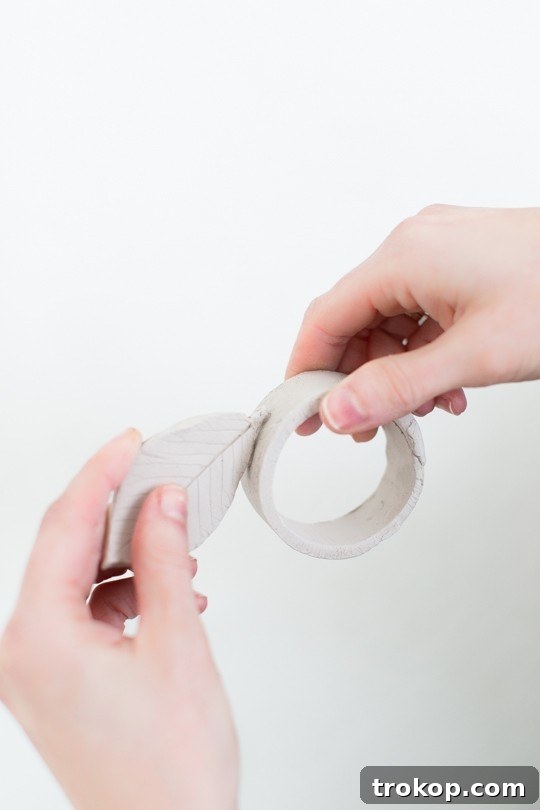
- Dry and Assemble: Allow the clay ring base to dry completely on its mold. Once both the leaf and the ring pieces are thoroughly dry and hardened, carefully remove the ring from its mold. Use super glue to firmly attach the clay leaf shape to the top of your clay ring. Hold the pieces together for a few moments to ensure a strong bond.
- Paint with Metallic Gold: Once the glue has set, it’s time for the glamorous transformation! In a well-ventilated area, spray or hand-paint your assembled napkin rings with metallic gold paint. Apply several thin, even coats, allowing each coat to dry according to the paint manufacturer’s instructions, to achieve a rich, consistent gold finish. This step is where the “gold leaf” magic truly comes alive, giving your handmade pieces an expensive, high-end look.
For added durability and versatility, especially if you plan to use these DIY Napkin Rings repeatedly or as erasable place cards for guests’ names, consider coating them with a layer of high-gloss Mod Podge. This protective sealant will make the surface more resilient to wear and tear, and easier to wipe clean, allowing you to personalize them with a dry-erase marker for each new gathering. This extra step ensures your beautiful creations remain a cherished part of your holiday decor for years to come.
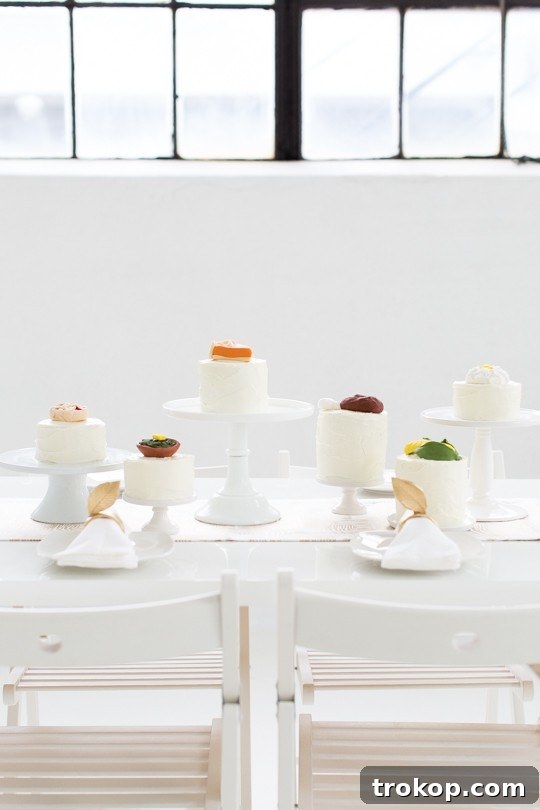
DIY Cake Toppers | Edible Thanksgiving Dinner Toppers
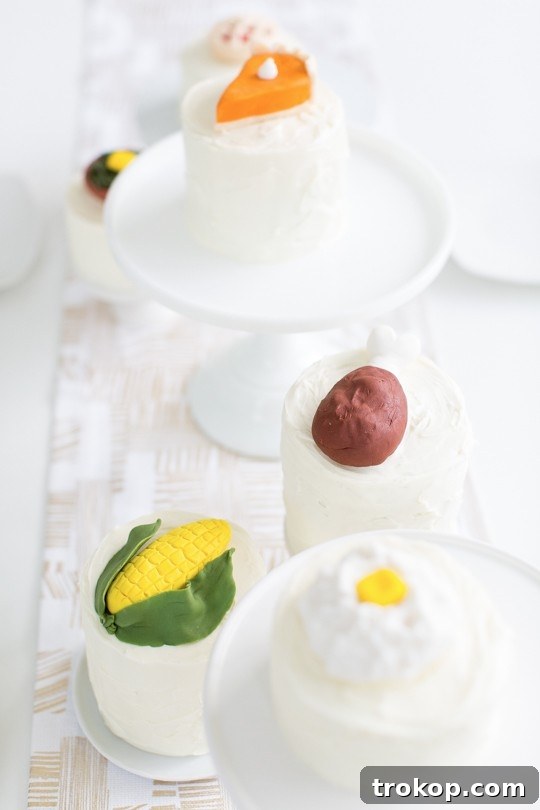
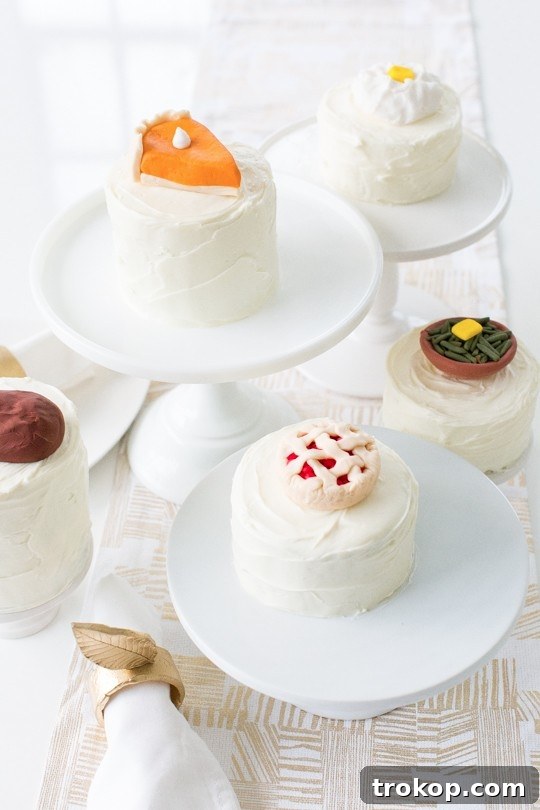
As mentioned, these Gold Leaf Napkin Rings were designed to perfectly complement Alana Jones Mann’s edible Thanksgiving dinner cake toppers. These whimsical and delightful toppers are a testament to Alana’s incredible creativity and a fantastic way to elevate your holiday dessert table. For the complete step-by-step guide and all the inspiration you need to make these charming edible creations, be sure to check out Alana’s blog for the full tutorial. They are truly a treat for both the eyes and the palate!
Sources for Our Thanksgiving Tabletop Idea
Curious about where we found the other beautiful elements that brought our Thanksgiving tabletop to life? Here’s a rundown of the key components that contributed to this festive and elegant setting:
- Styling: Our entire Thanksgiving tabletop, from concept to execution, was artfully styled by Sugar & Cloth, ensuring a cohesive and visually stunning presentation.
- Cake Toppers: The charming and delectable edible cake toppers were created by Alana Jones Mann, adding a whimsical and personal touch to our desserts.
- Table Runner: The foundation of our table decor, the stylish table runner, was a delightful find from Oh Joy! at Target, providing a vibrant and chic base.
- Cake Stands: Our array of beautiful cake stands, which added varying heights and visual interest to our dessert display, were sourced from World Market, Macy’s, and Minted. For even more inspiration, you can explore our curated list of favorite cool, chic, and functional cake stands to find the perfect pieces for your own gatherings.
More Thanksgiving Ideas
If you’re brimming with creative energy and looking for more ways to enhance your Thanksgiving celebrations, we’ve got you covered! Explore these additional festive ideas to make your holiday even more special:
- Thanksgiving Table Decor Idea + Sparkling Pumpkin Cider Recipe: Discover elegant table setting inspirations and a delicious, bubbly cider recipe to warm your guests’ hearts.
- 10 Disposable Thanksgiving Tabletop Items: Learn how to create a beautiful table without the cleanup hassle, with these stylish disposable options.
- DIY Thanksgiving Turkey Macarons: Delight your guests with adorable and delicious turkey-shaped macarons, a fun and festive dessert project.
- Thanksgiving Punch – An Easy Pumpkin Punch Recipe: Mix up a crowd-pleasing pumpkin punch that’s both easy to make and full of holiday flavor.
DIY Thanksgiving Napkin Rings Project Overview
Here are easy napkin ring ideas for a festive Thanksgiving holiday dinner! Add a touch of handmade elegance and personal charm to your table with these beautiful gold leaf accents.
Equipment
- Rolling pin
- X-Acto knife or straight edge
- Super glue
Materials
- Air dry clay
- Metallic gold spray paint
- Fresh leaf
Instructions
- To get started making the napkin rings, roll out a piece of air-dry clay that’s about a quarter of an inch thick.
- Place a fresh leaf on the clay and use a rolling pin over the top to press the shape into the clay. Old leaves will just flake under the pressure of the pin.
- Use an X-Acto knife to cut the leaf shape out.
- Peel the fresh leaf away from the clay and let it dry completely.
- For the ring, use the X-Acto knife to cut about a one-inch wide strip of clay that’s a bit thicker than the leaf and roll it around a rolling pin. You could just use a similar object to a rolling pin if you don’t have one. We used caulk tubes from the studio construction to hold the round shape.
- Once both clay pieces are completely dry, glue them together with super glue.
- Then, spray or paint them metallic gold.
Keywords: diy thanksgiving napkin rings, gold leaf napkin rings, handmade table decor

We absolutely adore seeing your creative endeavors come to life! Don’t forget to share your beautifully crafted DIY napkin holders with us on Instagram using the hashtag #sugarandclothloves. We’re always thrilled to witness all your inspiring creations and celebrate your unique style! If you’re seeking more interior design inspiration and delightful home decor projects, you can find a plethora of our tutorials and ideas right here, ready to ignite your next crafting adventure.
DIY Polymer Clay Projects
DIY Clay Rose Marbled Incense Holder
Continue Reading
How To Make Easy Clay Sculptures For Decor
Continue Reading
Clay Photo Holder – How To Make Mini Mountain Photo Holders
Continue Reading
Speckled DIY Clay Keychain
Continue Reading
DIY Mini Face Planters
Continue Reading
DIY Minimal Beaded Blanket Holder
Continue Reading