
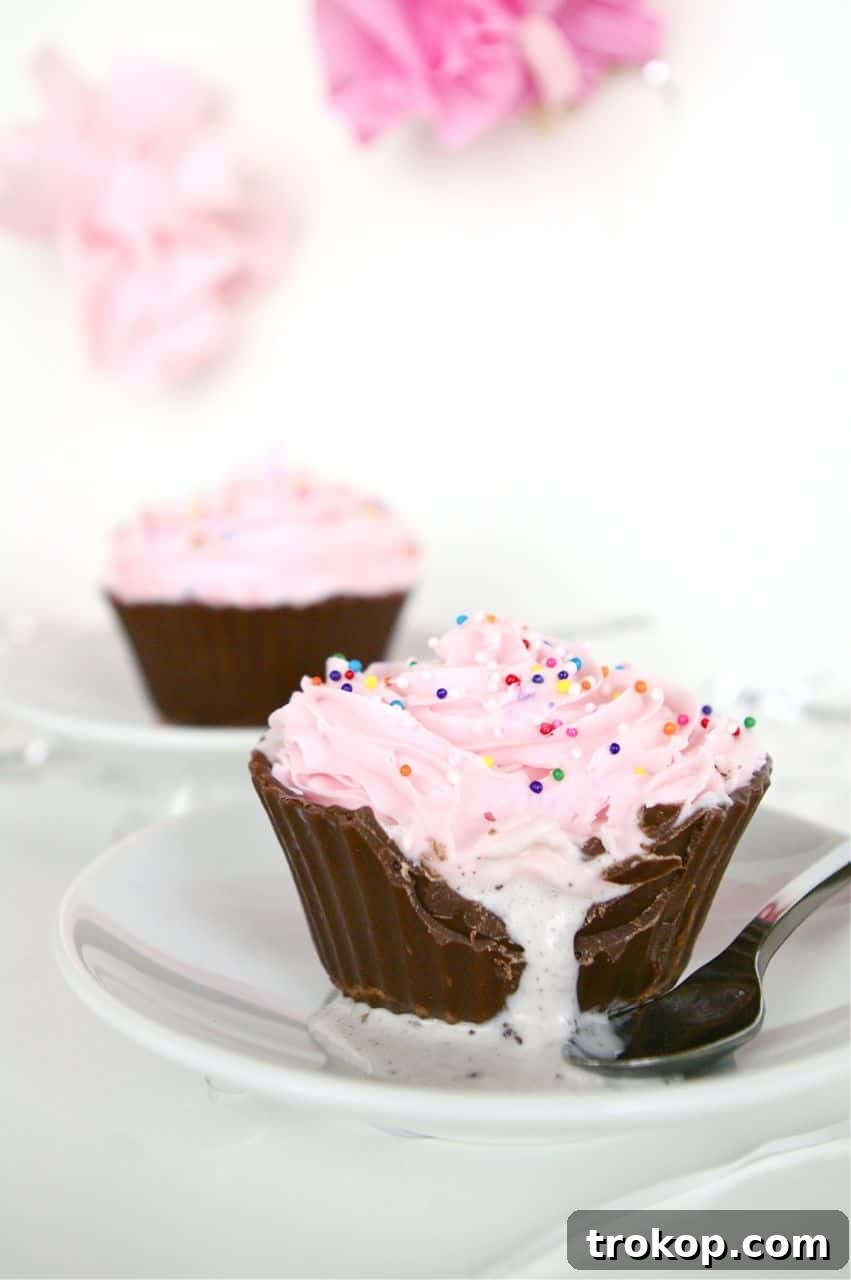
Get ready to unleash your inner pastry chef with one of our absolute favorite dessert recipes! These delightful DIY Ice Cream Cupcakes with Chocolate Liners are not only incredibly easy to assemble but also promise a truly enchanting experience for your taste buds. Imagine combining the creamy bliss of ice cream with the rich indulgence of a chocolate shell, all wrapped up in a charming cupcake form. It’s a dessert dream come true!
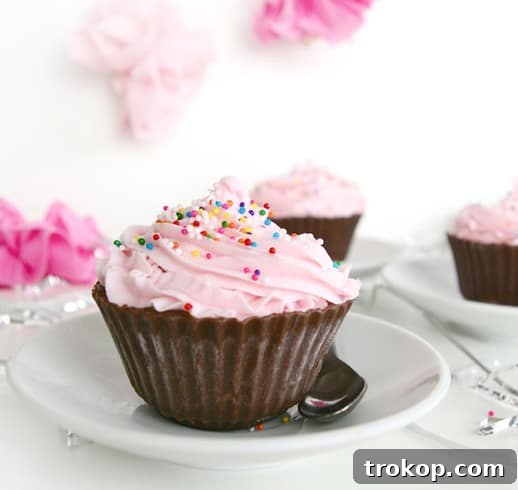
While summer might be winding down in some parts of the world, for many of us, especially those in warmer climates like Houston or desert regions, ice cream season is practically year-round! These individual ice cream treats are perfect for any occasion, whether it’s a late summer barbecue, a cozy autumn gathering, or even a festive holiday celebration. There’s no wrong time to enjoy the magic of these chocolate-cupped ice cream creations.
You might think such an elegant dessert requires advanced culinary skills, but the beauty of these ice cream cupcakes lies in their surprising simplicity. The steps are straightforward, making them accessible for home bakers of all experience levels. And the reward? Guests will be utterly charmed, their faces lighting up with every bite, perhaps even twirling with a delightful sugar rush!
For those mindful of healthier alternatives, this recipe is wonderfully adaptable. Feel free to swap in your favorite lower-sugar ice creams, use dark chocolate with a higher cocoa content, or even opt for dairy-free options. The core concept remains the same: a stunning, delicious, and fun dessert that everyone will adore. Let’s dive into creating these irresistible treats!
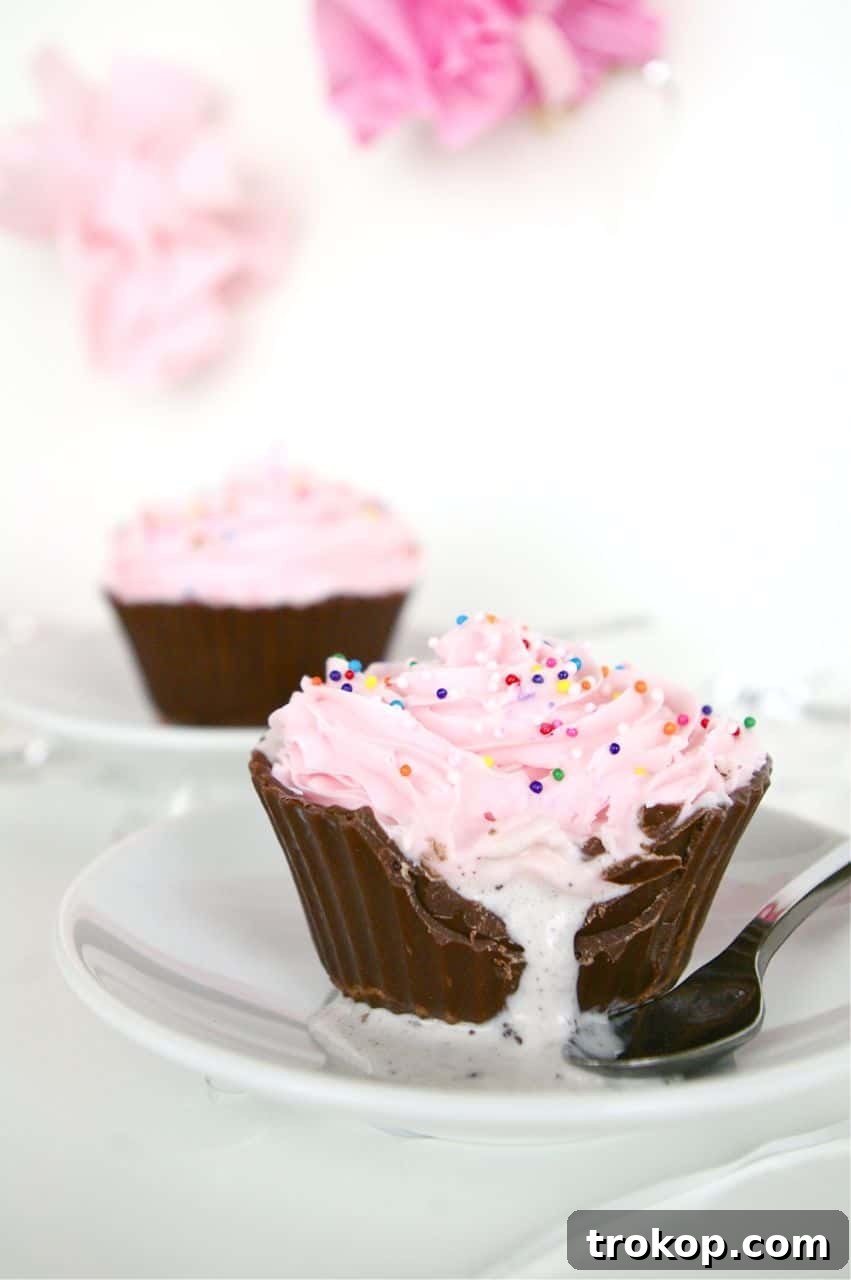
Table of Contents
Essential Ingredients and Materials for DIY Ice Cream Cupcakes with Chocolate Liners
To create 12 exquisite Ice Cream Cupcakes with Chocolate Liners, gather the following simple items:
- Silicone cupcake molds: These are crucial for easily shaping and releasing your chocolate liners without breakage.
- Quality Chocolate for melting: Choose your favorite – dark, milk, or white chocolate chips, baking bars, or even chocolate melts. The better the quality, the smoother your liners will be.
- Icing or Frosting of your choice: This is where you can add a personal touch! Opt for buttercream, whipped cream, ganache, or a simple glaze.
- Your Favorite Ice Cream: The star of the show! Pick a flavor that you absolutely love. For an extra homemade touch, consider trying our easy no-churn three-ingredient ice cream recipe.
- Spray oil (e.g., coconut oil spray or vegetable oil spray): A light coating ensures your chocolate shells release cleanly from the molds.
- Sprinkles or other decorative toppings: To add a festive and colorful flourish! Think jimmies, nonpareils, chocolate shavings, or chopped nuts.
Step-by-Step Guide: How to Craft Ice Cream Cupcakes with Chocolate Liners
Follow these simple instructions to create your stunning ice cream cupcakes:
Step 1: Prepare the Silicone Molds
Begin by lightly coating the insides of your silicone cupcake molds with a thin layer of spray oil. This essential step helps prevent the chocolate from sticking, ensuring a smooth release later on. Make sure to get into all the nooks and crannies for best results.
Step 2: Create the First Chocolate Layer
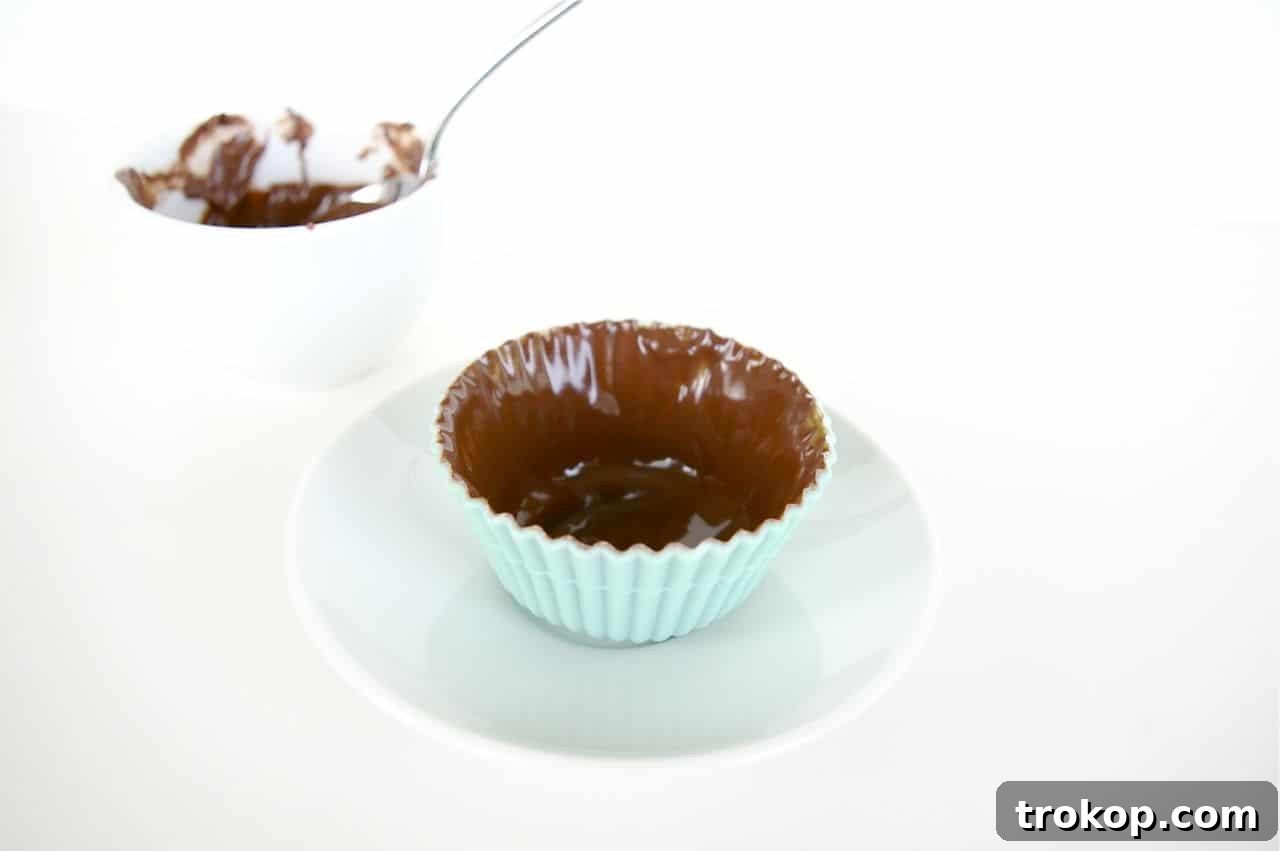
Next, carefully melt your chosen chocolate. You can do this using a double boiler for even melting or by microwaving in short intervals, stirring frequently, until smooth. Once melted, spoon a thin, even layer of chocolate over the inside of each prepared silicone mold. Use the back of a spoon or a small pastry brush to spread it up the sides, forming an even cup. Allow these to cool completely for approximately 30 minutes at room temperature, or even quicker in the refrigerator, until the chocolate is firm to the touch.
Step 3: Apply the Second Chocolate Layer for Strength
Once the first layer is set, apply a second, slightly thicker coat of melted chocolate over the first. This extra layer is crucial for adding strength and durability to your chocolate liners, making them less prone to breaking when you remove them. Let this second coat cool and harden completely for about an hour. Patience is key here to ensure robust shells.
Step 4: Gently Release the Chocolate Liners
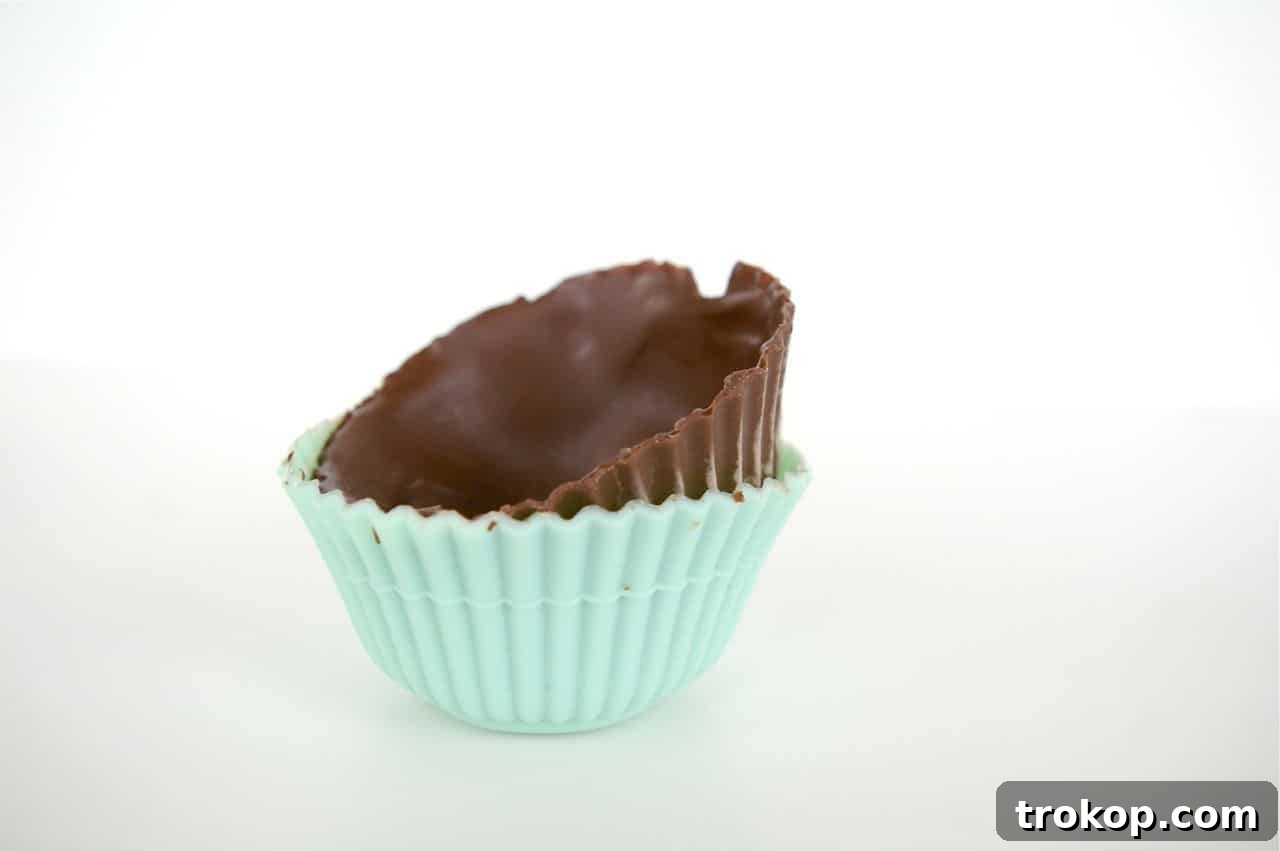
Releasing the hardened chocolate liners from the molds requires a delicate touch. Start by gently pulling the silicone back from the very rim, working your way around the entire edge of the chocolate cup. Once the top edge begins to detach, the rest of the chocolate cup usually pops out quite easily. Remember, the thicker your chocolate layers, the sturdier and easier they will be to handle during this step. Don’t fret if a few minor chips occur around the top edge; these imperfections will be completely hidden once you add your icing and toppings!
Step 5: Fill with Ice Cream and Chill
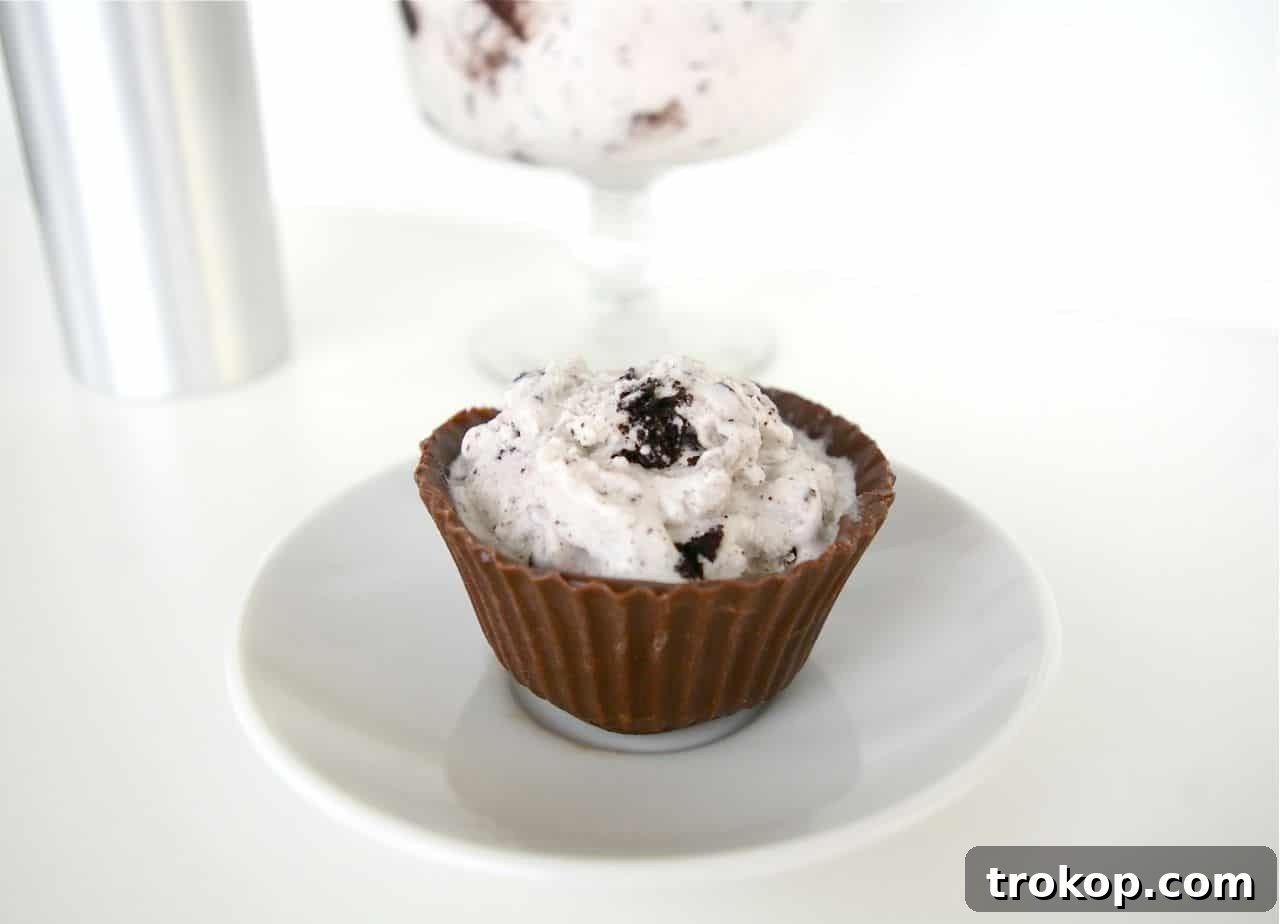
Now for the fun part! To finish assembling your delightful cupcakes, scoop your favorite ice cream into each individual chocolate liner. Fill them generously, but leave a little room at the top for frosting. Once filled, place the ice cream-filled chocolate liners back into the freezer. Let them sit there for at least 30 minutes, or longer, to ensure the ice cream is firm and well-chilled before the final decoration stage. This prevents melting when you add the frosting.
Step 6: Frost and Decorate!
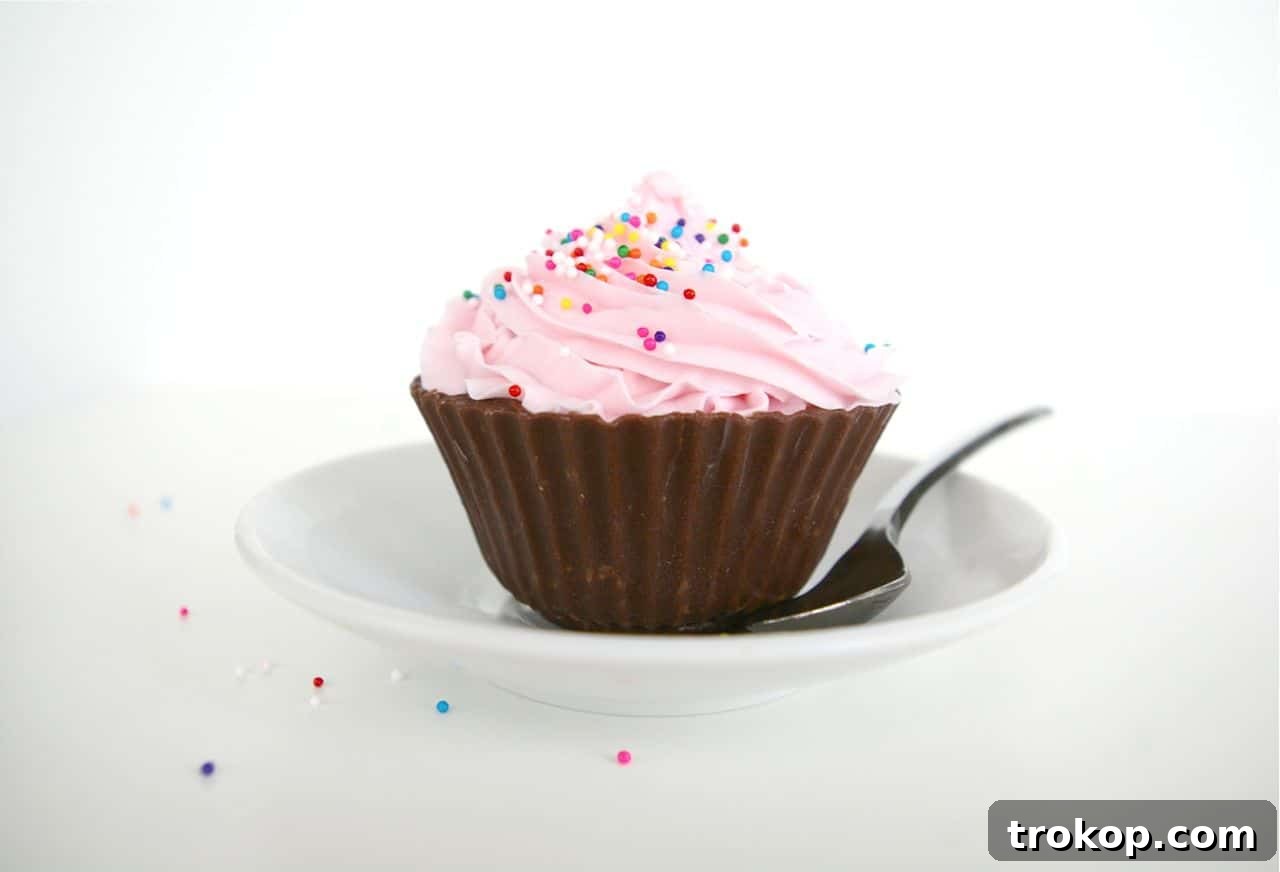
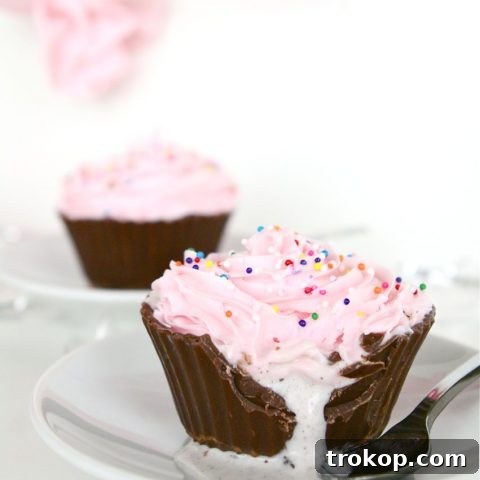
Once your ice cream-filled chocolate cups are perfectly chilled and firm, it’s time to add the crowning glory! Pipe or spread your chosen frosting on top of each ice cream cupcake. Get creative with your frosting techniques – a simple swirl, a dollop, or an elaborate design. Finish with a generous sprinkle of your favorite decorative toppings. Whether it’s colorful sprinkles, chocolate shavings, or even a fun truffle monster cake topper for kids, the possibilities are endless. And just like that, you’re all set to serve these magnificent desserts!

Prepare to amaze your guests at your next gathering with these incredibly delicious and surprisingly simple DIY Ice Cream Cupcakes with Chocolate Liners. With just a few basic ingredients and a little bit of cooling time, you can have these stunning cupcakes ready to impress in no time at all. Their unique presentation and combination of textures make them a memorable treat.
For an extra touch of elegance, consider presenting these beauties using some of our favorite dessert display ideas. A beautifully arranged platter or tiered stand can elevate these already impressive cupcakes into a true showstopper. So go ahead, treat yourself, your family, and your friends to one (or two, or three!) of these delightful frozen desserts. They are the perfect way to celebrate any moment, keeping the joy of sweet indulgence alive no matter the season!
Discover More Irresistible Ice Cream Recipe Ideas
Is ice cream your ultimate dessert obsession? You’re in luck! If you’ve enjoyed making these ice cream cupcakes, explore more fantastic ice cream recipes to satisfy your cravings:
- Homemade Macaron Ice Cream Recipe
- Easy 3-Ingredient No-Churn Ice Cream Recipe
- 3-Ingredient Strawberry Ice Cream Bon Bons Recipe
- No-Churn Creamy Pineapple Coconut Ice Cream
- Caramel Apple Crumble Ice Cream Recipe
Print Recipe
Ice Cream Cupcakes With Chocolate Liners Recipe
Equipment
- Silicone cupcake molds
Ingredients
- 32 oz chocolate
- 24 oz icing
- 1 ½ qt ice cream
- 1 tbsp spray oil
- 1 cup sprinkles
Instructions
-
Lightly coat the insides of the silicone cupcake molds with spray oil.
-
Next, melt the chocolate and spread a thin layer over the inside of each mold.
Let them cool completely for about 30 minutes.
-
Coat them with another layer of chocolate.
Let the second coat cool for an hour.
-
Release the chocolate from the molds.
Releasing the chocolate from the molds is a little tricky. Start by gently pulling the silicone back from the very rim all the way around the mold.
Once the top is released, the bottom sort of pops out.
The thicker the chocolate, the easier it is to take them out.
Don’t worry if the top chips; you’ll never notice once you add the icing.
-
To finish your cupcakes, scoop your favorite ice cream into each chocolate liner, and then let them sit in the freezer for a bit.
-
Once they’re nice and chilled, top them with frosting and sprinkles, and you’re all set!
Nutrition

We absolutely love seeing your culinary creations! Don’t forget to share your beautifully crafted ice cream cupcakes with us on Instagram using the hashtag #sugarandclothloves. Your innovative twists and stunning presentations always inspire us!
Looking for more quick, easy, and delicious recipes to try? You can explore our extensive collection of sweet and savory delights right here. And if you need some quick bites to complement your desserts or serve as appetizers, we’ve got you covered. Happy baking and creating!