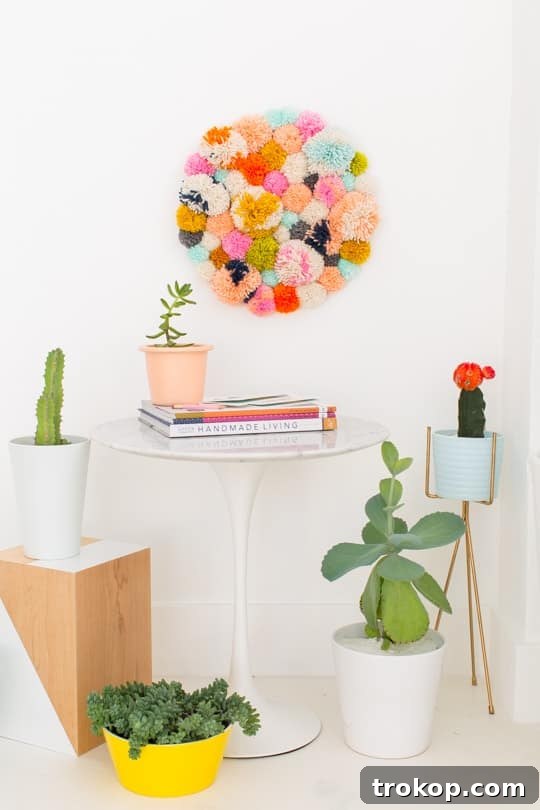
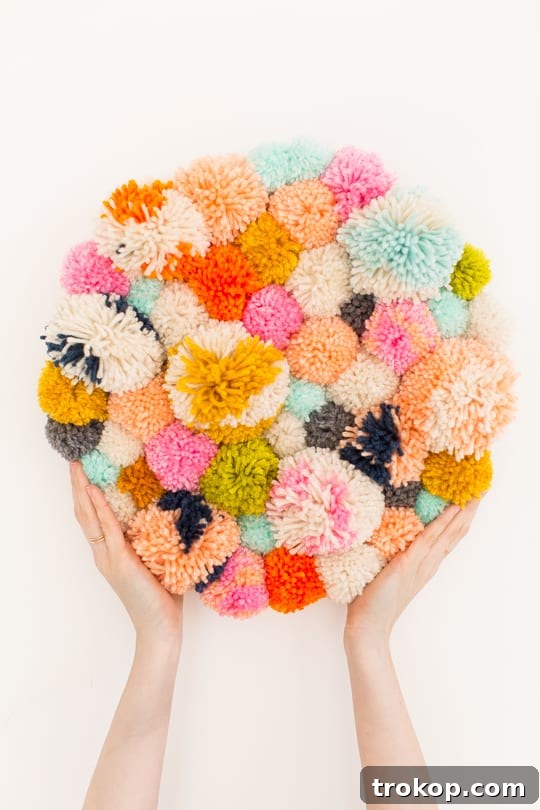
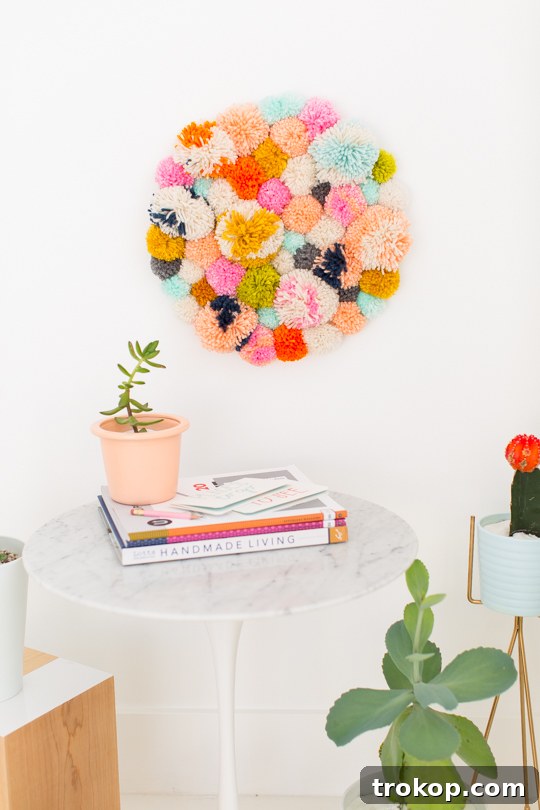
Transform your living space into a haven of charm and personality with a captivating DIY Pom Pom Wall Hanging! This delightful craft project offers an incredibly simple yet effective way to infuse any room with vibrant color, inviting texture, and a touch of handcrafted warmth. Whether you’re a seasoned crafter or a complete beginner looking for a rewarding weekend activity, this tutorial is designed to guide you effortlessly through creating a stunning piece of wall art that truly reflects your unique style.
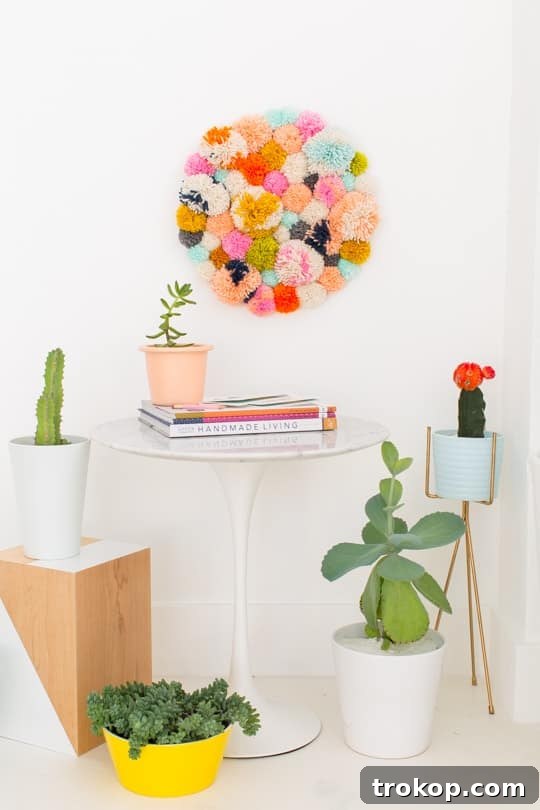
Say goodbye to generic wall decor and hello to a personalized masterpiece. This DIY pom pom wall hanging project stands out for its accessibility and incredible impact. Forget the painstaking process of creating hundreds of pom poms from scratch – our guide smartly utilizes pre-made ones, allowing you to dive straight into the most exciting phase: bringing your artistic vision to life. This method significantly cuts down on crafting time, making it an ideal choice for anyone seeking immediate gratification from their creative endeavors.
The beauty of this project lies in its remarkable versatility. Do you lean towards a minimalist aesthetic, envisioning a few strategically placed pom poms to create a subtle yet sophisticated focal point? Or perhaps you dream of a maximalist explosion of colors and textures, transforming your wall into a dynamic statement piece? Whatever your preference, this craft empowers you to unleash your creativity, experiment with different arrangements, and tailor a one-of-a-kind decoration that perfectly complements your home’s ambiance.
Many of us admire the intricate beauty of woven wall hangings that have graced interior design trends, but the reality of their price tags can often be a deterrent. This DIY pom pom project offers a brilliant, budget-friendly alternative that doesn’t compromise on style or charm. You can achieve a similar bohemian, cozy, or modern aesthetic at a fraction of the cost, making stylish home decor accessible to everyone. It’s about smart crafting, not spending a fortune.
In just a few straightforward steps, you’ll witness readily available materials transform into a captivating piece of art. The joy of creating something beautiful with your own hands, especially a piece that adds so much character to your home, is truly unparalleled. So, gather your chosen pre-made pom poms, round up a few basic household items, and prepare for a rewarding crafting session. Get ready to design and display a delightful, eye-catching wall hanging that beautifully expresses your unique personality and flair!
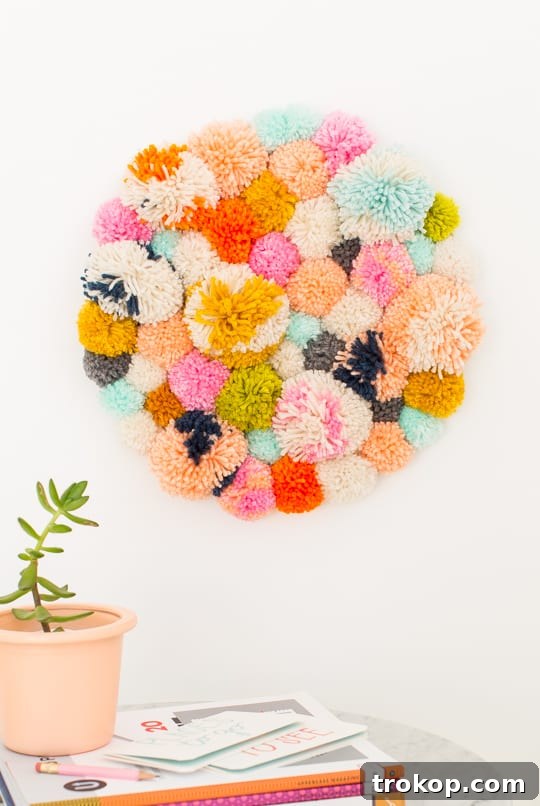
Essential Materials for Your Pom Pom Wall Art
Before embarking on your crafting adventure, ensure you have all the necessary components ready. The beauty of this project lies in its simplicity, requiring only a handful of easily accessible items. Here’s a detailed look at what you’ll need:
- Yarn Pom Poms: This is the star of your wall hanging! While the tutorial streamlines the process by using pre-made pom poms, giving you instant gratification, you always have the option to make your own with a pom pom maker for a truly custom touch. Consider a variety of colors, sizes, and even yarn textures to add depth and visual interest to your design. Think about the overall aesthetic you want to achieve – soft pastels for a serene nursery, bold brights for a playful living room, or earthy tones for a bohemian vibe.
- Wood Round: This forms the sturdy base for your pom pom arrangement. A round shape provides a classic, balanced foundation, but don’t limit yourself! You could also use a square, rectangular, or even an irregularly shaped piece of wood or a thick cardboard cut-out for a different look. Ensure it’s smooth and clean before you begin. The size of your wood round will dictate the overall scale of your finished wall hanging.
- Picture Hanger: Essential for displaying your completed artwork. Choose a hanger appropriate for the weight of your wood round and the anticipated weight of the pom poms. A simple sawtooth hanger or a D-ring hanger typically works well and can be easily attached to the back of the wood.
- Hot Glue Gun and Glue Sticks: Your trusty tool for securing the pom poms firmly in place. A hot glue gun provides quick adhesion, allowing you to work efficiently. Make sure you have plenty of glue sticks on hand, especially if you plan a dense pom pom arrangement. Always exercise caution when using a hot glue gun to avoid burns.
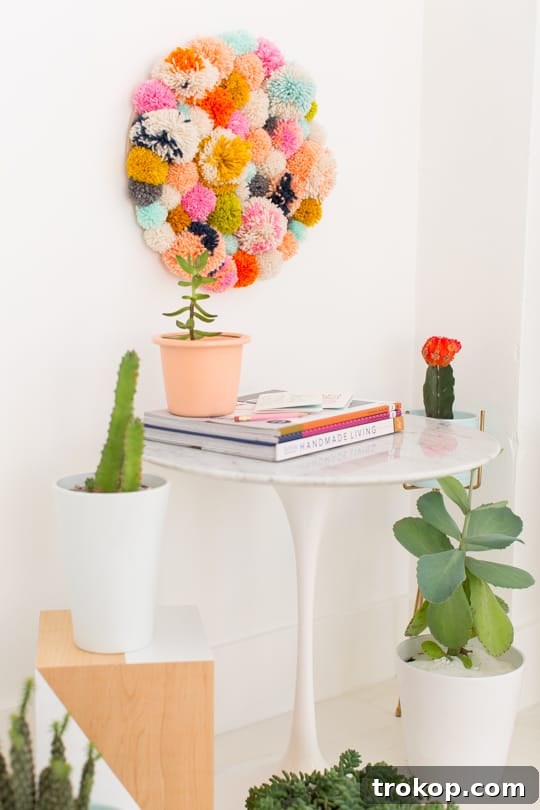
Crafting Your Colorful Pom Pom Wall Hanging: A Step-by-Step Guide
Creating your pom pom wall art is a straightforward and enjoyable process. Follow these simple steps to bring your vision to life, transforming basic materials into a delightful piece of home decor.
Step 1: Preparing Your Base – Attaching the Picture Hanger
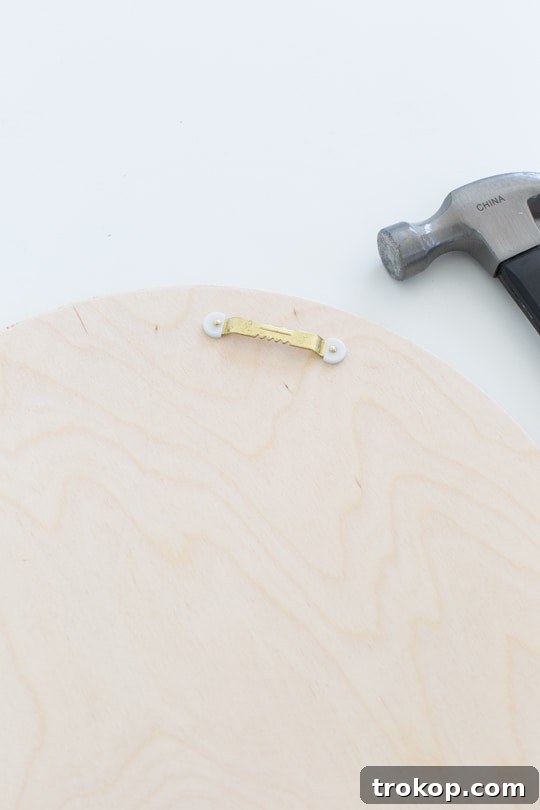
Begin by securely attaching the picture hanger to the back of your wood round. Carefully follow the manufacturer’s instructions provided with your specific hanger to ensure it’s mounted correctly and can safely support your finished piece. Position the hanger towards the top center of your wood round, ensuring that when hung, your art will be level and balanced.
It’s quite common for the nails or screws of a picture hanger to extend slightly beyond the thickness of the wood, especially with thinner pieces. Don’t let this concern you! Once all your fluffy pom poms are glued onto the front, these protruding parts will be completely concealed and will pose no aesthetic or safety issue. The pom poms will effectively create a soft, protective buffer, making any minor imperfections on the back invisible.
Step 2: Designing Your Vision – Planning the Layout
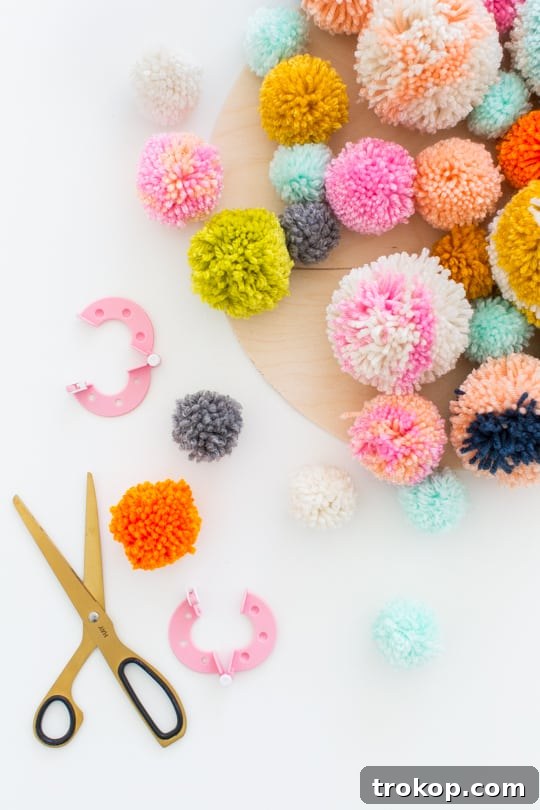
This is arguably the most crucial step, allowing you to unleash your creativity before making anything permanent. Lay out all your pom poms on a flat surface, or even directly on the wood round, without applying any glue. Experiment with different arrangements, considering various aspects:
- Spacing: Do you want a densely packed look, or a more sparse arrangement with visible wood gaps?
- Color Combinations: Play with gradients, alternating patterns, or random bursts of color. How do different shades interact? Do they create harmony or a striking contrast?
- Patterns: Can you create spirals, concentric circles, a wave, or a geometric shape using your pom poms?
- Texture: If you have different sized or textured pom poms, how can you arrange them to add dimension? Place larger ones first, then fill gaps with smaller ones.
Take pictures of a few different layouts you like. Step back and observe which design best captures the feel you’re aiming for. This planning phase is vital because once those pom poms are hot-glued down, they are quite permanent! A little foresight here will save you from potential regret later and ensure you love your finished piece.
Step 3: Bringing it to Life – Attaching Your Pom Poms
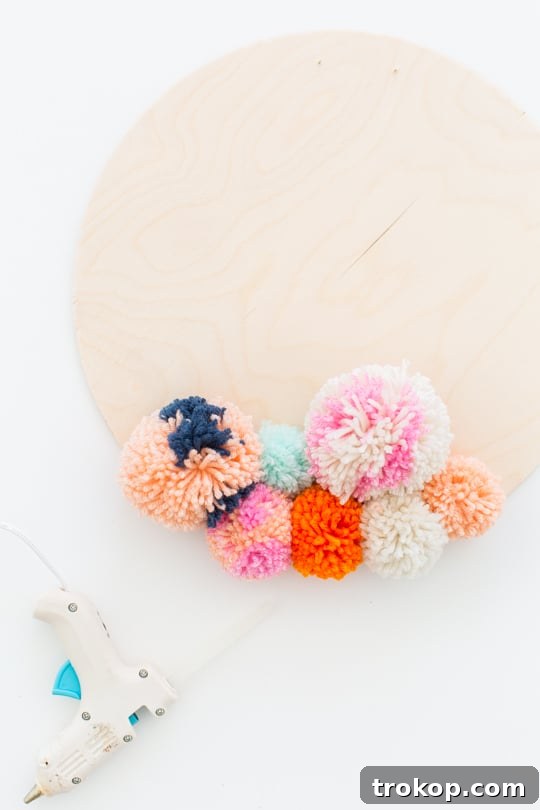
Now for the most satisfying part – seeing your design come together! With your hot glue gun warmed up and your design plan in mind, carefully pick up one pom pom at a time. Apply a generous dollop of hot glue directly onto the wood round where you intend to place the pom pom. Alternatively, you can apply a blob of glue to the center underside of the pom pom itself. The key is to apply enough glue to ensure a secure bond without it oozing out excessively.
Quickly but precisely press the pom pom onto the glued spot on the wood round, holding it firmly for a few seconds to allow the glue to set. Work systematically, following your planned layout. If you’re going for a dense look, gently push pom poms close together to minimize gaps. For a more organic feel, allow for slight variations in spacing. Repeat this process until your entire wood round is covered to your satisfaction, or until you’ve completed your chosen pattern.
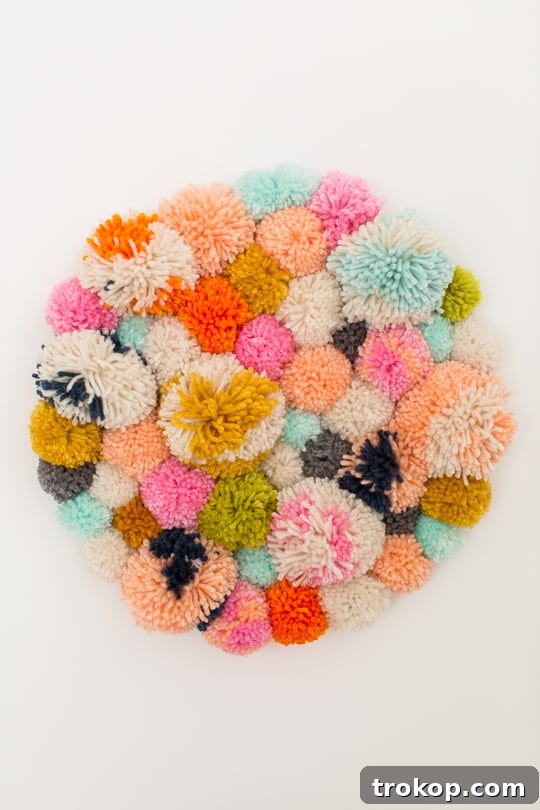
Once all your pom poms are securely attached and the glue has fully dried, your delightful pom pom wall hanging is complete! All that’s left is to find the perfect spot in your home. Use the attached picture hanger to display your beautiful, handcrafted creation proudly. Step back and admire the vibrant, textured addition you’ve brought into your space.
Elevate Your Design: Advanced Tips and Creative Notes
While the basic steps are simple, there are numerous ways to customize your pom pom wall hanging and ensure it stands out. Here are some pro tips and creative ideas to inspire you:
- Experiment with Diverse Yarn Textures: Don’t limit yourself to uniform pom poms. Incorporating a variety of yarn textures can add incredible depth and sensory appeal to your piece. Imagine combining soft, fluffy chenille pom poms with chunky wool or smoother acrylic varieties. This mix creates a tactile artwork that begs to be touched, adding significant visual interest and a sophisticated, layered look.
- Master Your Color Palette: The choice of colors can dramatically alter the mood and impact of your wall hanging. You can choose a palette that seamlessly blends with your existing décor, opting for harmonious shades that create a cohesive and calming atmosphere. Alternatively, be bold and create a vibrant statement piece with contrasting colors that pop and draw the eye. Consider using a monochromatic scheme for understated elegance, or a rainbow spectrum for playful energy. Remember, if in doubt, neutral colors like creams, greys, and muted earth tones are always a safe and stylish bet, offering versatility and timeless appeal.
- Break Free from the Round: While a wood round offers a classic foundation, feel free to explore other shapes for your base. A square or rectangular wooden piece can lend a more modern or structured feel. You could even use an abstract, irregularly cut piece of wood for an avant-garde look, or create smaller, unique shapes to form a dynamic cluster on your wall. The base shape can truly define the overall personality of your artwork.
- Create a Thematic Collection: Why stop at one? Consider making multiple wall hangings in various sizes, shapes, and color combinations. These can be grouped together on a single wall to create a striking gallery effect, or strategically placed throughout different rooms in your home to establish a cohesive design theme. A collection allows you to experiment more freely with different styles and hues.
- Seasonal Decorating: Your pom pom wall hanging isn’t just for everyday decor. Think about creating seasonal versions! Use autumnal colors for fall, festive reds and greens for the holidays, or bright pastels for spring. This allows you to easily refresh your home’s look with the changing seasons without a major overhaul.
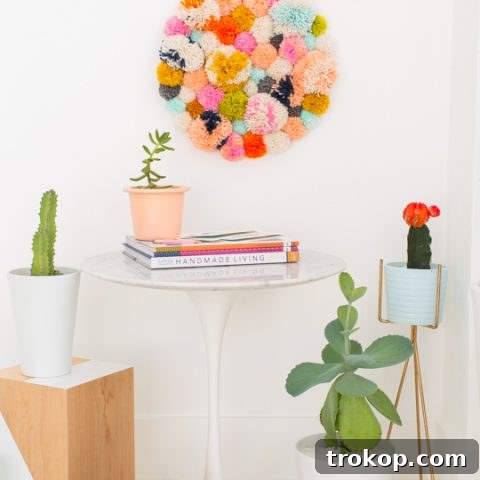
- Placement Power: Consider where your wall hanging will live. A large, vibrant piece can be a focal point in a living room, while smaller, softer-toned hangings are perfect for a nursery or bedroom. Entryways can benefit from a welcoming pop of color, and even home offices can feel more inspiring with a touch of handmade art.
- Care and Maintenance: Pom pom wall hangings are generally low maintenance. If they accumulate dust, a light dusting with a soft cloth or a gentle pass with a lint roller should suffice to keep them looking fresh and fluffy. Avoid harsh cleaning agents or excessive moisture.
Discover More Fun Pom Pom Projects to Try
Inspired by the versatility and charm of pom poms? The crafting possibilities are endless! Once you’ve mastered your wall hanging, why not explore other creative ways to incorporate these fluffy embellishments into your life and home? Here are a few more delightful pom pom projects to spark your imagination:
- DIY Pom Pom Christmas Tree Idea
- Colorful DIY Fabric Wall Hanging
- DIY Pom Pom Tassel for Bags
- DIY Pom Pom Leather Luggage Tags
- Craft pom pom garlands for parties or everyday room decor.
- Embellish throw pillows or blankets with colorful pom poms.
- Create charming pom pom keychains or bag charms.
DIY Pom Pom Wall Art: Quick Reference Guide
Project Summary
Learn how to make a charming and colorful pom pom wall hanging for your home!
Print Instructions
Project Details
Active Time: 30 mins
Total Time: 30 mins
Course: DIY Home Decor
Equipment
- Hot glue gun and glue sticks
Materials
- Wood round
- Picture hanger
- Yarn pom poms (can be pre-made or made with a pom pom maker)
Instructions
- Attach the picture hanger to the back of the wooden round according to manufacturer’s instructions. Don’t worry if nails protrude slightly; they will be covered by pom poms.
- Plan the layout of your pom poms on the wood round. Experiment with different arrangements, colors, and patterns before gluing, as hot glue creates a permanent bond.
- Apply a generous amount of hot glue to the wood in your desired area, then quickly press a pom pom onto the glue. Repeat this process until your wood round is covered according to your design.
Notes
- Consider using neutral colors or an alternative shape for your wooden base (e.g., square, rectangle) for varied aesthetic outcomes.
- Experiment with different pom pom sizes and yarn textures for added visual interest.
Estimated Cost: $30
Keywords: DIY pom pom wall hanging, easy craft, home decor, colorful wall art