
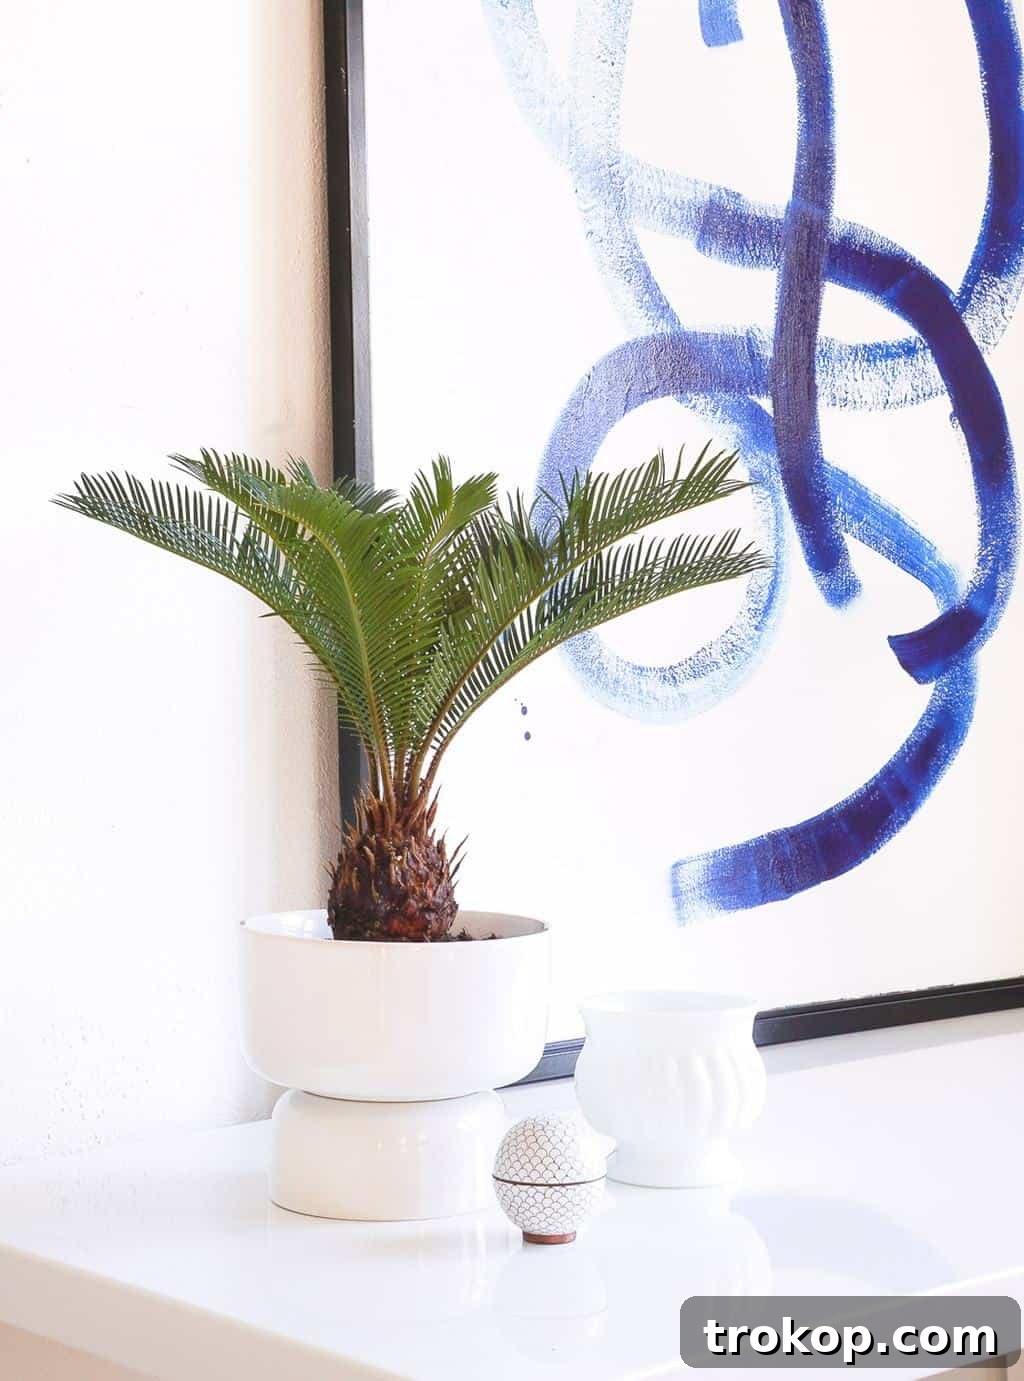
Craft Your Own Iconic Style: The DIY Mid Century Modern Planter Tutorial
Are you searching for a unique way to infuse timeless design into your living space without breaking the bank? Look no further! We are thrilled to share an incredibly easy, budget-friendly tutorial for creating your very own DIY Mid Century Modern Planter. These stylish, sculptural pieces are more than just homes for your plants; they are artistic statements that promise to elevate any room with a touch of vintage flair and minimalist elegance.
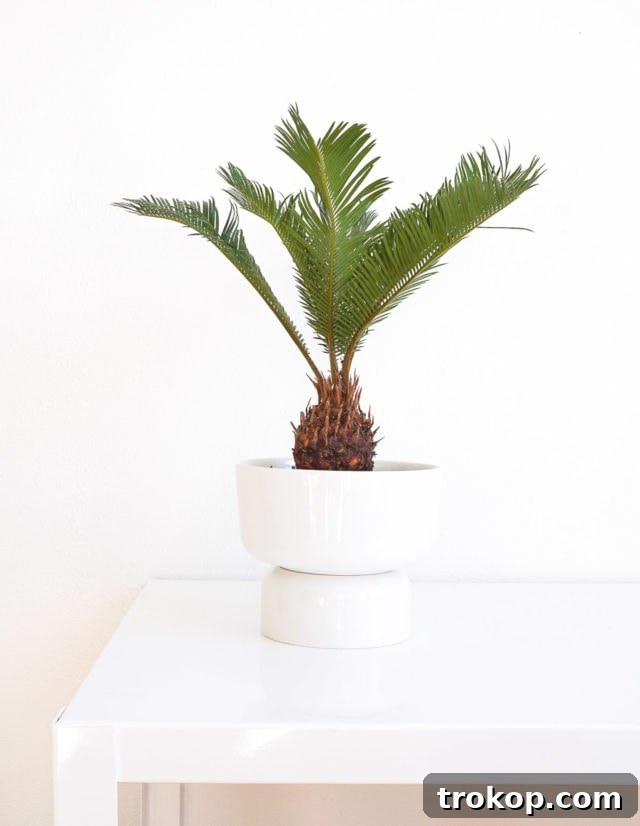
As the seasons change and cooler weather encourages more time indoors, our homes become our sanctuaries. Bringing in vibrant greenery is a wonderful way to combat the dreariness of winter and infuse life into your interiors. Like many plant enthusiasts, I, Erin, am constantly on the hunt for cool, distinctive planters to house my growing collection. There’s something truly uplifting about surrounding yourself with nature, and a stylish planter only enhances that connection.
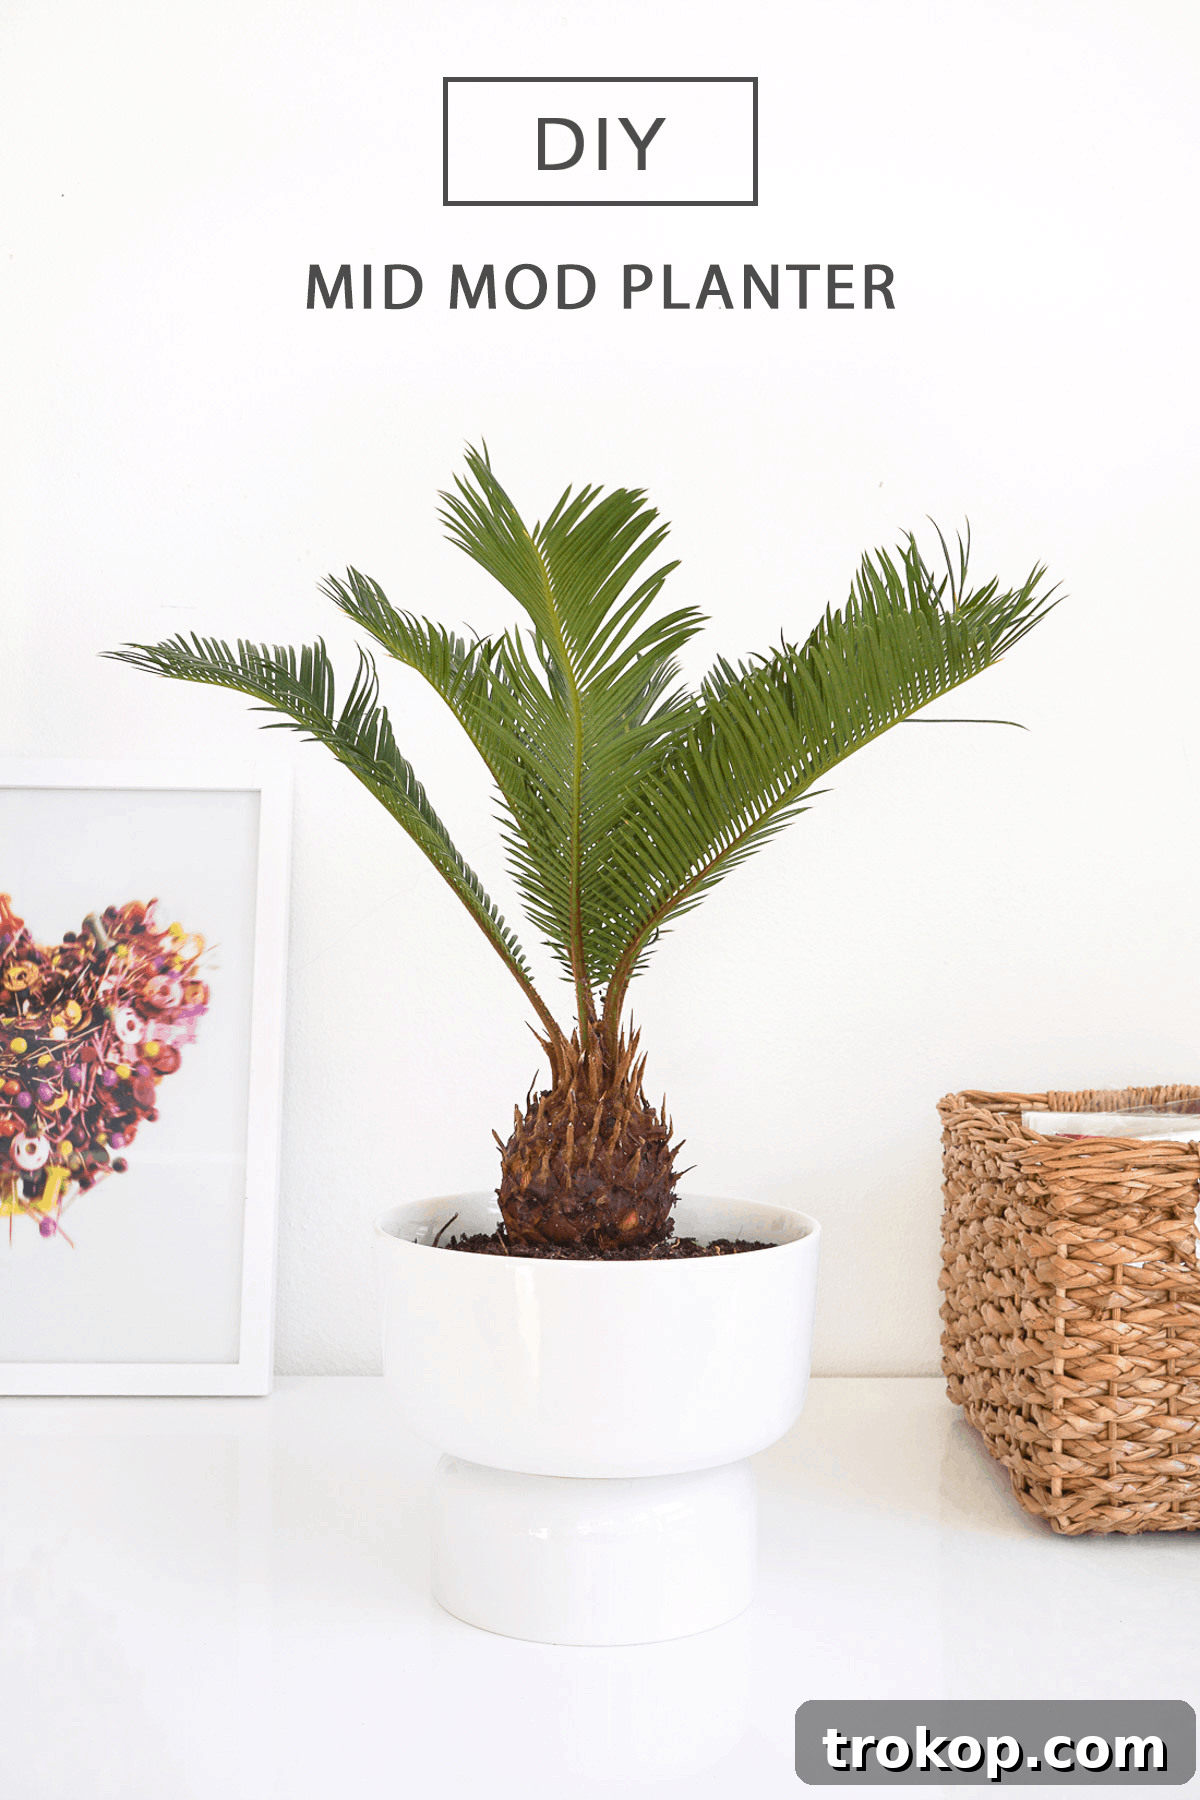
The spark for this particular DIY Mid Century Modern Planter project ignited from observing a beautifully curated Scandinavian home. Tucked subtly into a corner of their living room was an unexpectedly cool, sculptural vessel holding a plant. Its minimalist form and undeniable mid-century goodness immediately captured my imagination. I knew right then and there that this aesthetic would be the perfect, elegant solution for my currently “homeless” mini palm plant, giving it a worthy pedestal.
Can you guess the secret to its simple yet striking construction? It might just be as straightforward as two stacked bowls. Yet, despite its humble origins, this design adds an immense amount of style and sophistication to any space, proving that impactful decor doesn’t always require an expensive price tag or complex craftsmanship.
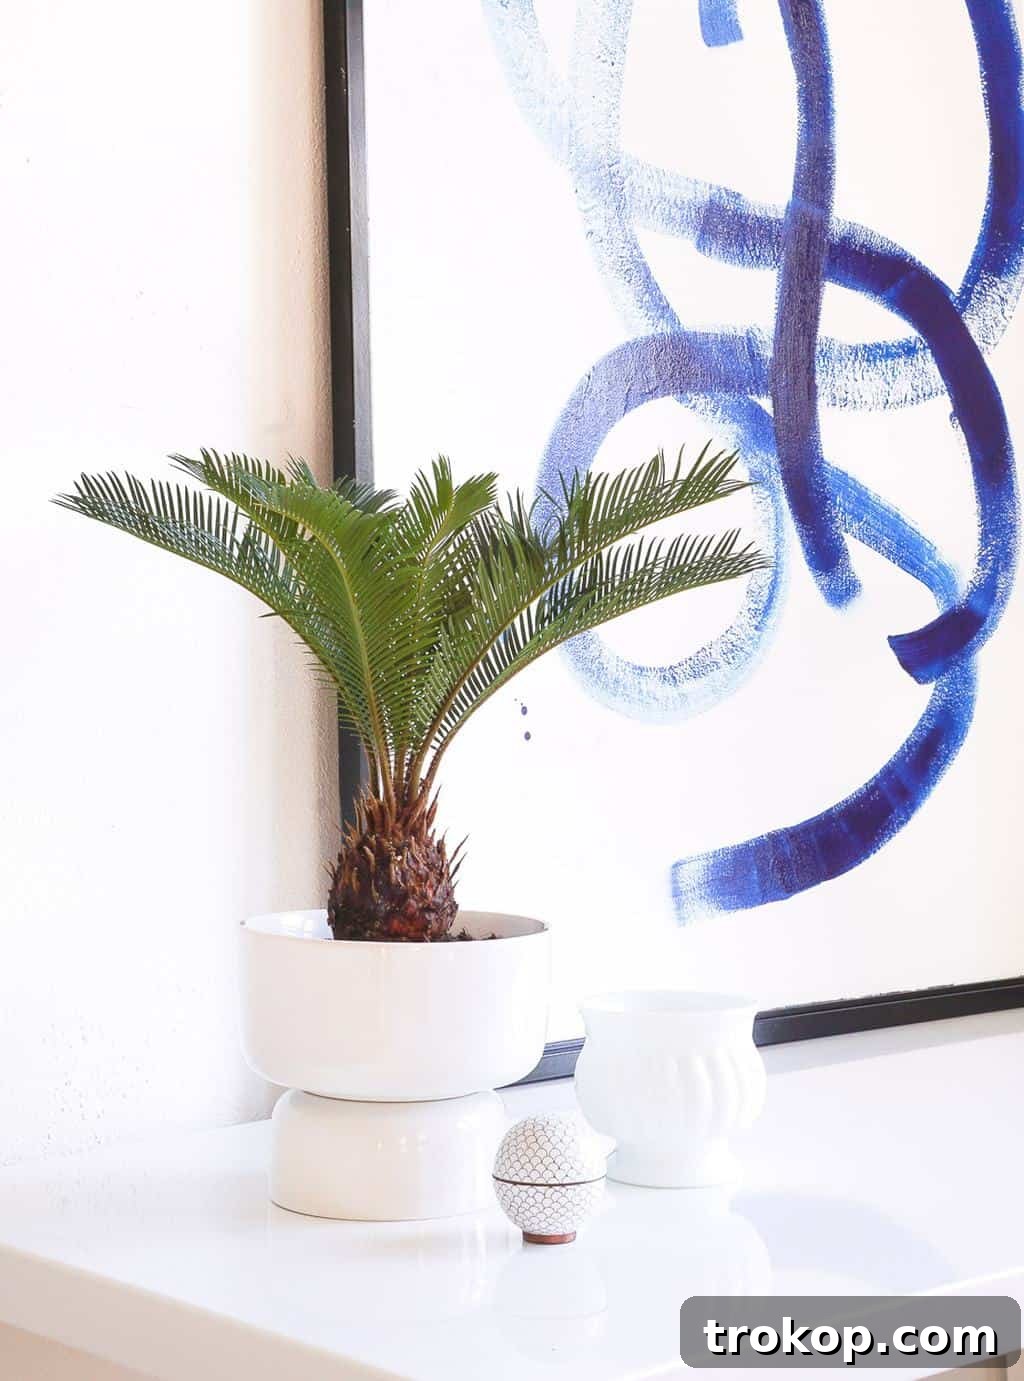
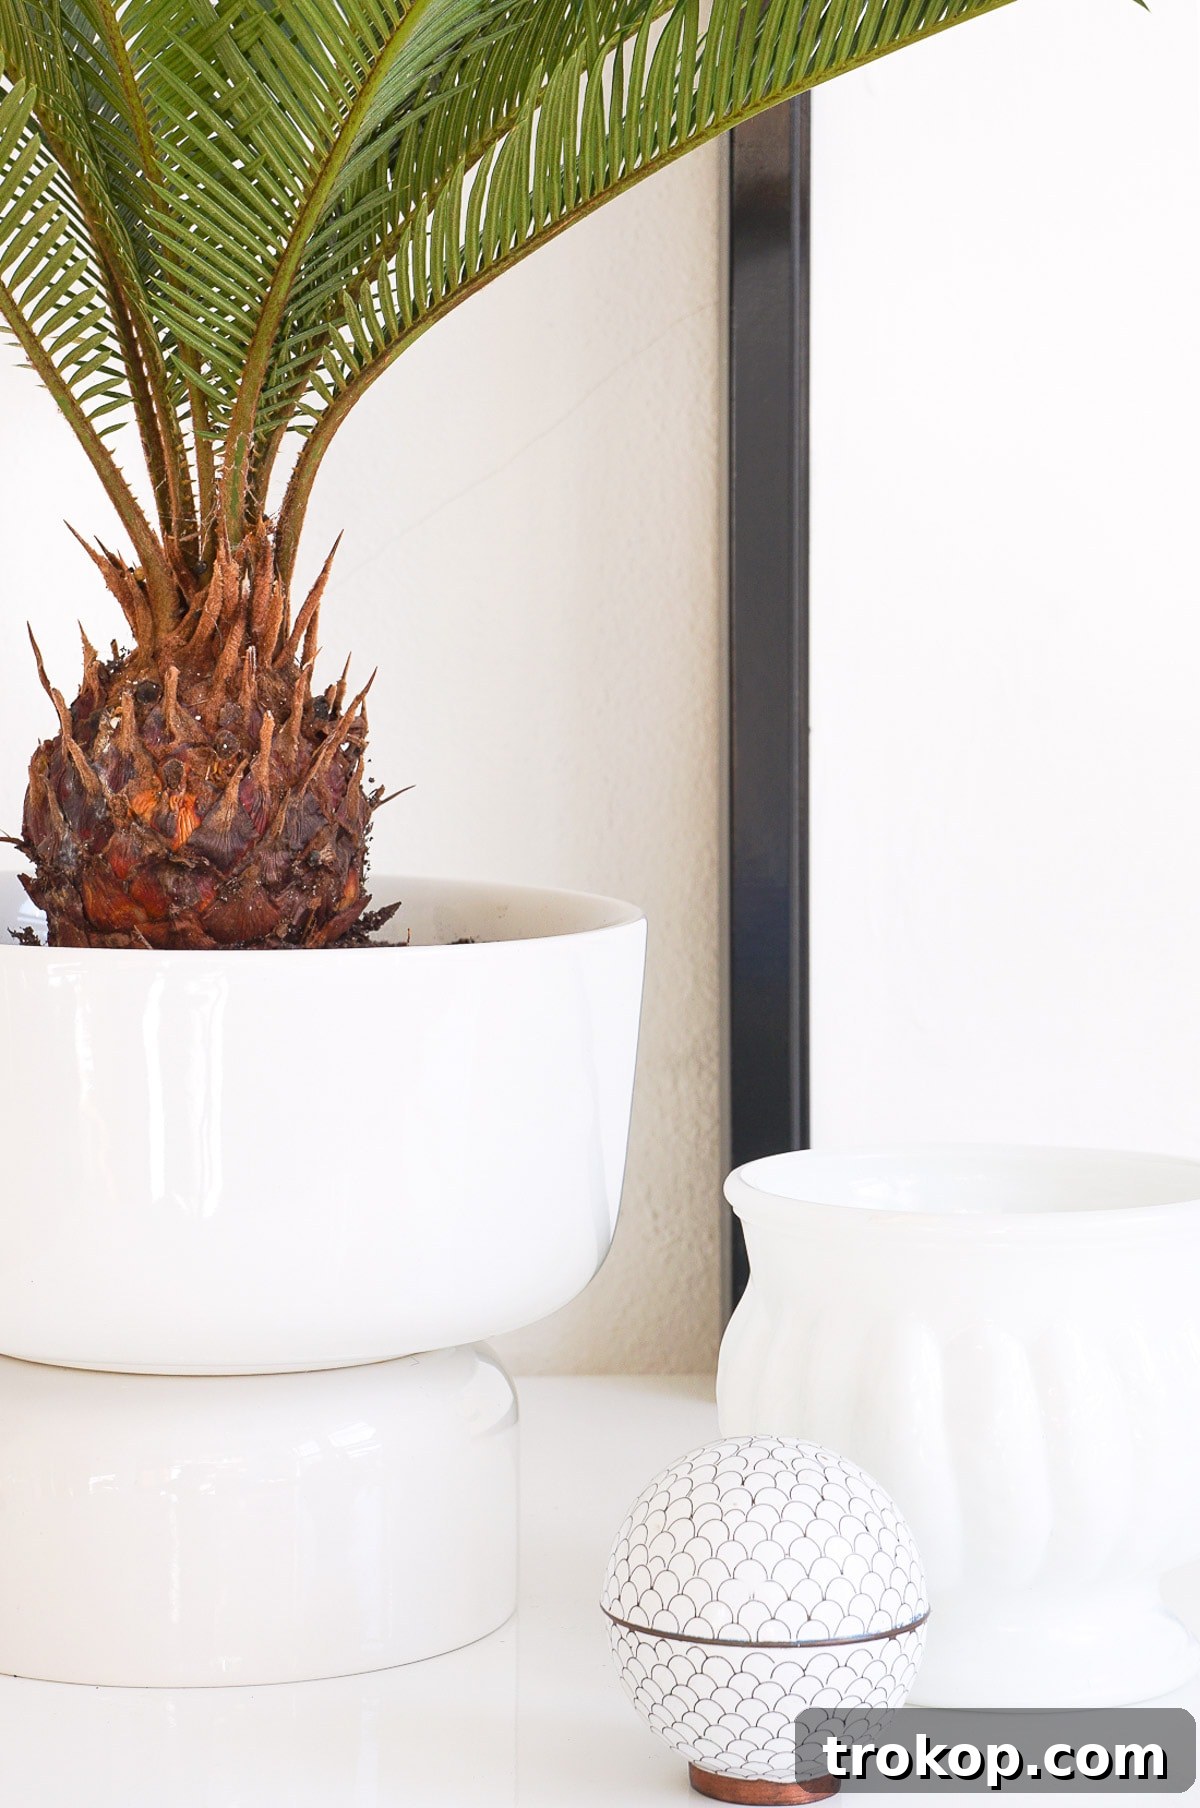
Before you dive into crafting your own stunning Mid Century Modern planter, here’s a brief overview of what we’ll cover:
Why Mid Century Modern? Embracing Timeless Design
Mid Century Modern (MCM) design, emerging from the mid-20th century (roughly 1945-1969), continues to captivate designers and homeowners alike with its enduring appeal. Characterized by clean lines, organic shapes, minimal ornamentation, and a strong emphasis on functionality, MCM pieces effortlessly blend into various decor styles while making a distinct statement. This design movement sought to bring modernism into American homes, focusing on practical yet aesthetically pleasing furniture and decor that was accessible to the average family. Our DIY planter perfectly encapsulates these principles.
The beauty of MCM lies in its simplicity and versatility. It’s about form following function, using natural and manufactured materials in innovative ways, and often incorporating biomorphic shapes that mimic nature. This stacked-bowl planter, with its sleek profile and elevated stance, pays homage to the iconic mid-century plant stands and planters that became synonymous with stylish indoor gardening during that era. By crafting this piece, you’re not just making a planter; you’re recreating a small piece of design history that will add sophisticated charm to your modern interior.
Materials And Tools Needed To Make A DIY Mid Century Modern Planter
Gathering your supplies is the first exciting step in any DIY adventure. For this project, you’ll be pleased to find that the materials are readily available and incredibly affordable, often found at your local home goods store or even a thrift shop. Here’s what you’ll need to create your chic Mid Century Modern planter:
- Large Bowl: This will form the base and main body of your planter. Look for a bowl with a clean, simple design that aligns with the minimalist MCM aesthetic. Ceramic or sturdy plastic bowls work best. Consider its diameter and depth relative to the plant you intend to house.
- Small Bowl: The smaller bowl will serve as the “stand” element, elevating the larger bowl. It should have a slightly smaller diameter than the large bowl’s base to allow for a stable connection point. Again, a simple, unadorned design is key.
- Dampened Cloth (with water): Essential for preparing the surfaces for optimal adhesive bonding, especially if you’re using moisture-activated glues like Gorilla Glue.
- Industrial Strength Glue: A high-quality, waterproof adhesive is crucial for the longevity and stability of your planter. Brands like Gorilla Glue are excellent choices because they create a strong, durable bond that can withstand moisture and the weight of a plant and soil. Ensure it’s suitable for bonding ceramic, plastic, or whatever material your bowls are made from.
- Small Rocks or Pebbles: If your plant requires proper drainage to prevent root rot, a layer of small rocks at the bottom of the planter is highly recommended. These create a reservoir for excess water, keeping the roots from sitting in soggy soil.
- Your Chosen Plant: Select a plant that complements the size of your large bowl and thrives in indoor conditions. Mini palm plants, snake plants, ZZ plants, or even a small fern can look fantastic in this style of planter.
- Extra Potting Soil: You’ll likely need additional soil to properly pot your plant in its new home, ensuring it has adequate nutrients and space to grow.
When selecting your bowls, consider the overall aesthetic you’re aiming for. White ceramic bowls offer a crisp, minimalist look, while colored bowls can add a vibrant pop to your decor. The key is to ensure they are stable when stacked and have a smooth, clean surface for the glue to adhere to effectively.
How To Make A DIY Mid Century Modern Planter
Now that you have all your materials, let’s get started on bringing your stylish Mid Century Modern planter to life. This process is remarkably simple, requiring minimal fuss for maximum impact.
Step 1: Prepare the Bonding Surface
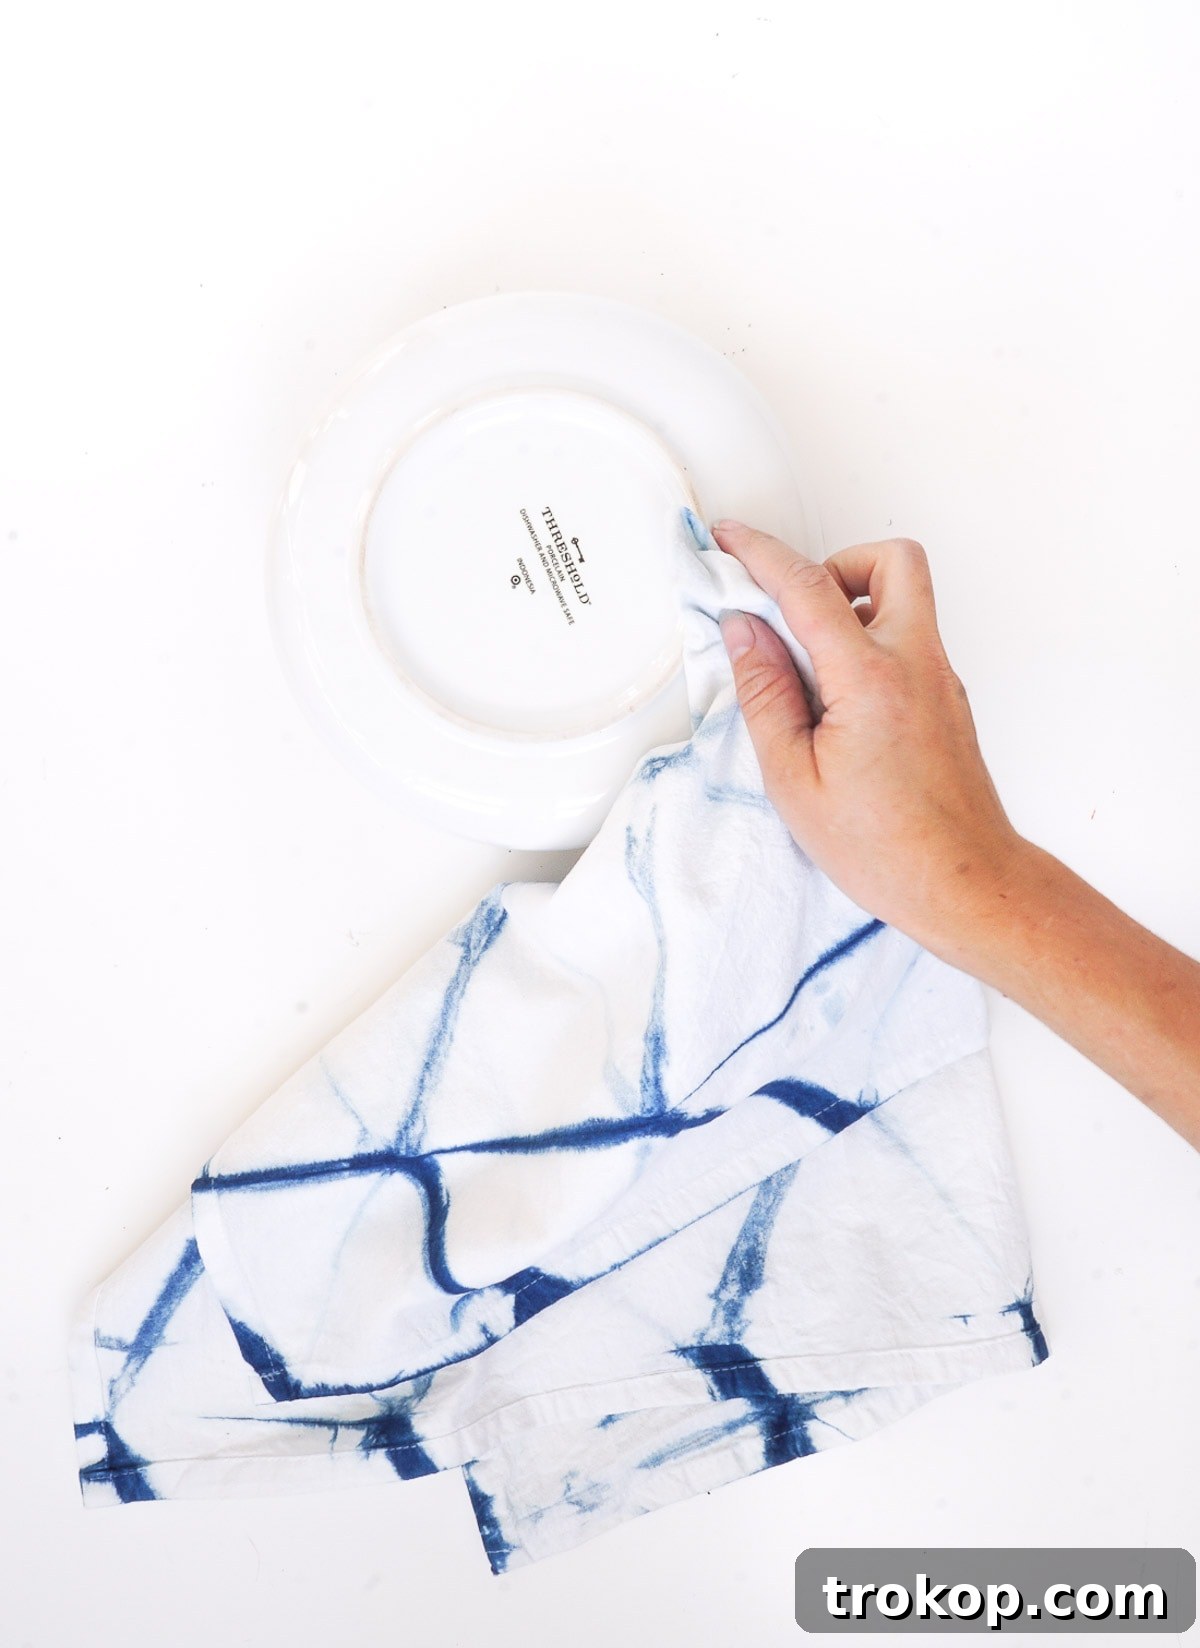
The first crucial step for a strong bond is preparation. Take your dampened cloth and lightly wet the inside rim on the underside of your larger bowl. This isn’t about soaking it, but rather creating a slightly moist surface. Adhesives like Gorilla Glue, which are moisture-activated, bond significantly better and cure stronger when the surfaces are slightly damp. This ensures a durable connection that will stand the test of time, even with the weight of soil and water.
Step 2: Apply the Industrial Strength Adhesive
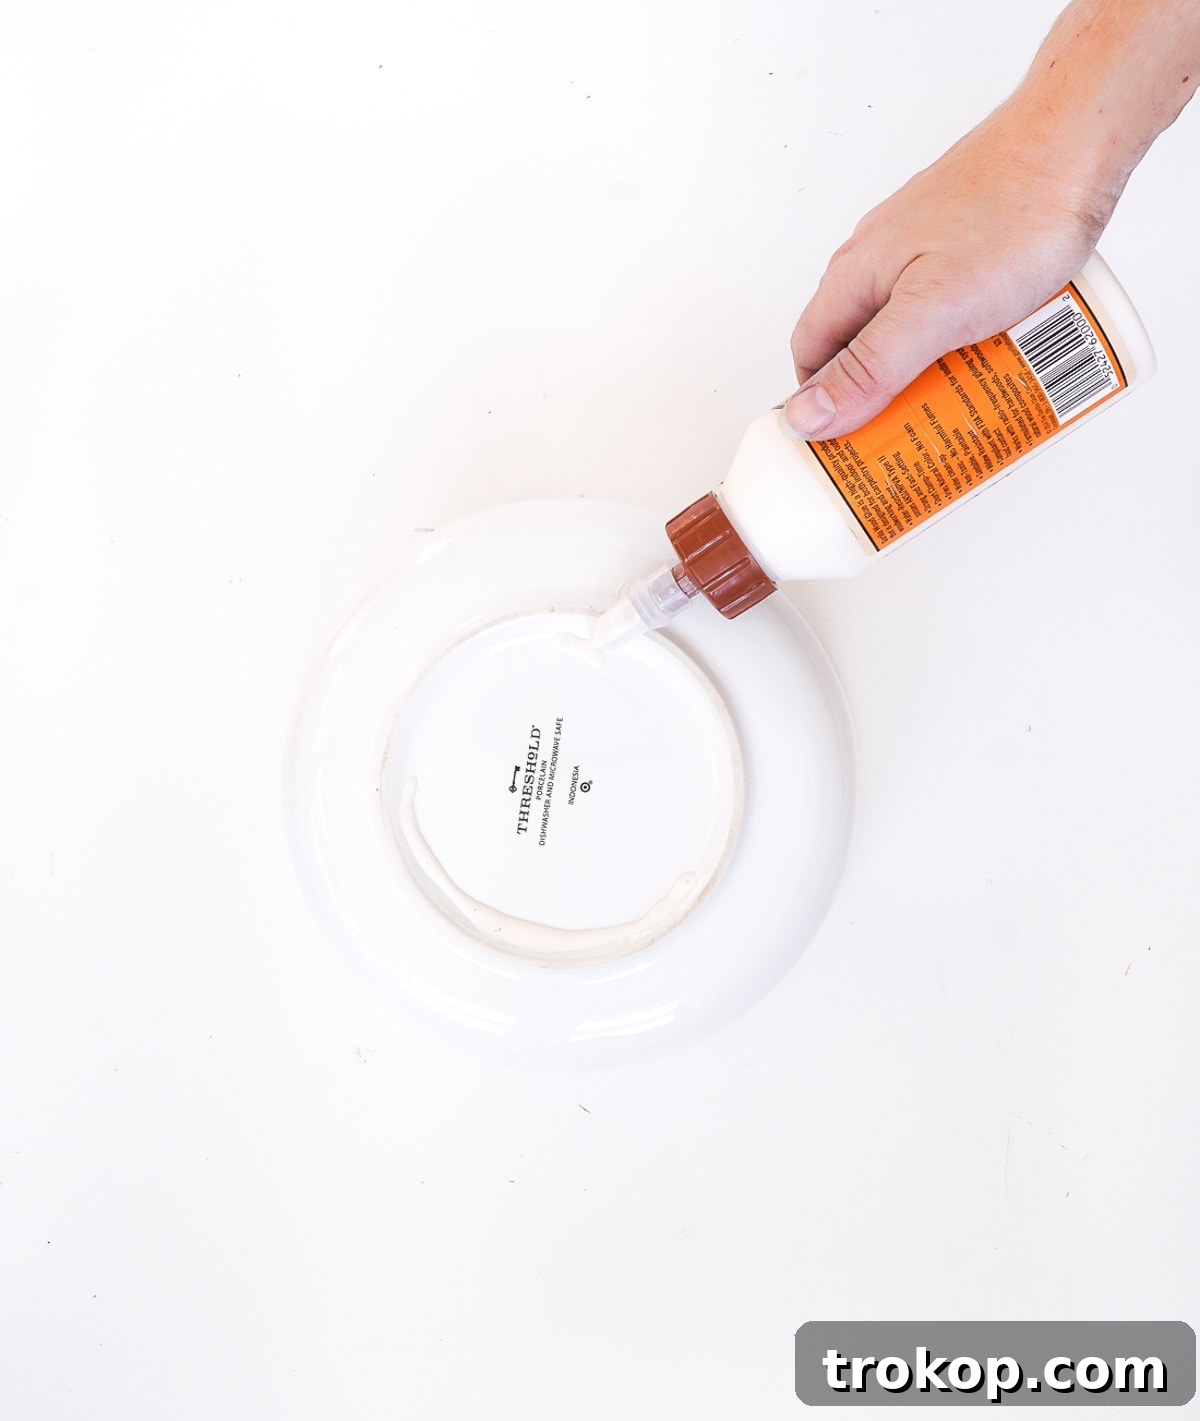
Once the surface is prepped, carefully apply a generous, continuous ring of your industrial strength adhesive around the dampened rim of the larger bowl. Ensure the bead of glue is thick enough to create a substantial bond but not so excessive that it will squish out unsightly from the sides when the bowls are pressed together. Consistency in application is key here for an even bond.
Step 3: Assemble the Bowls
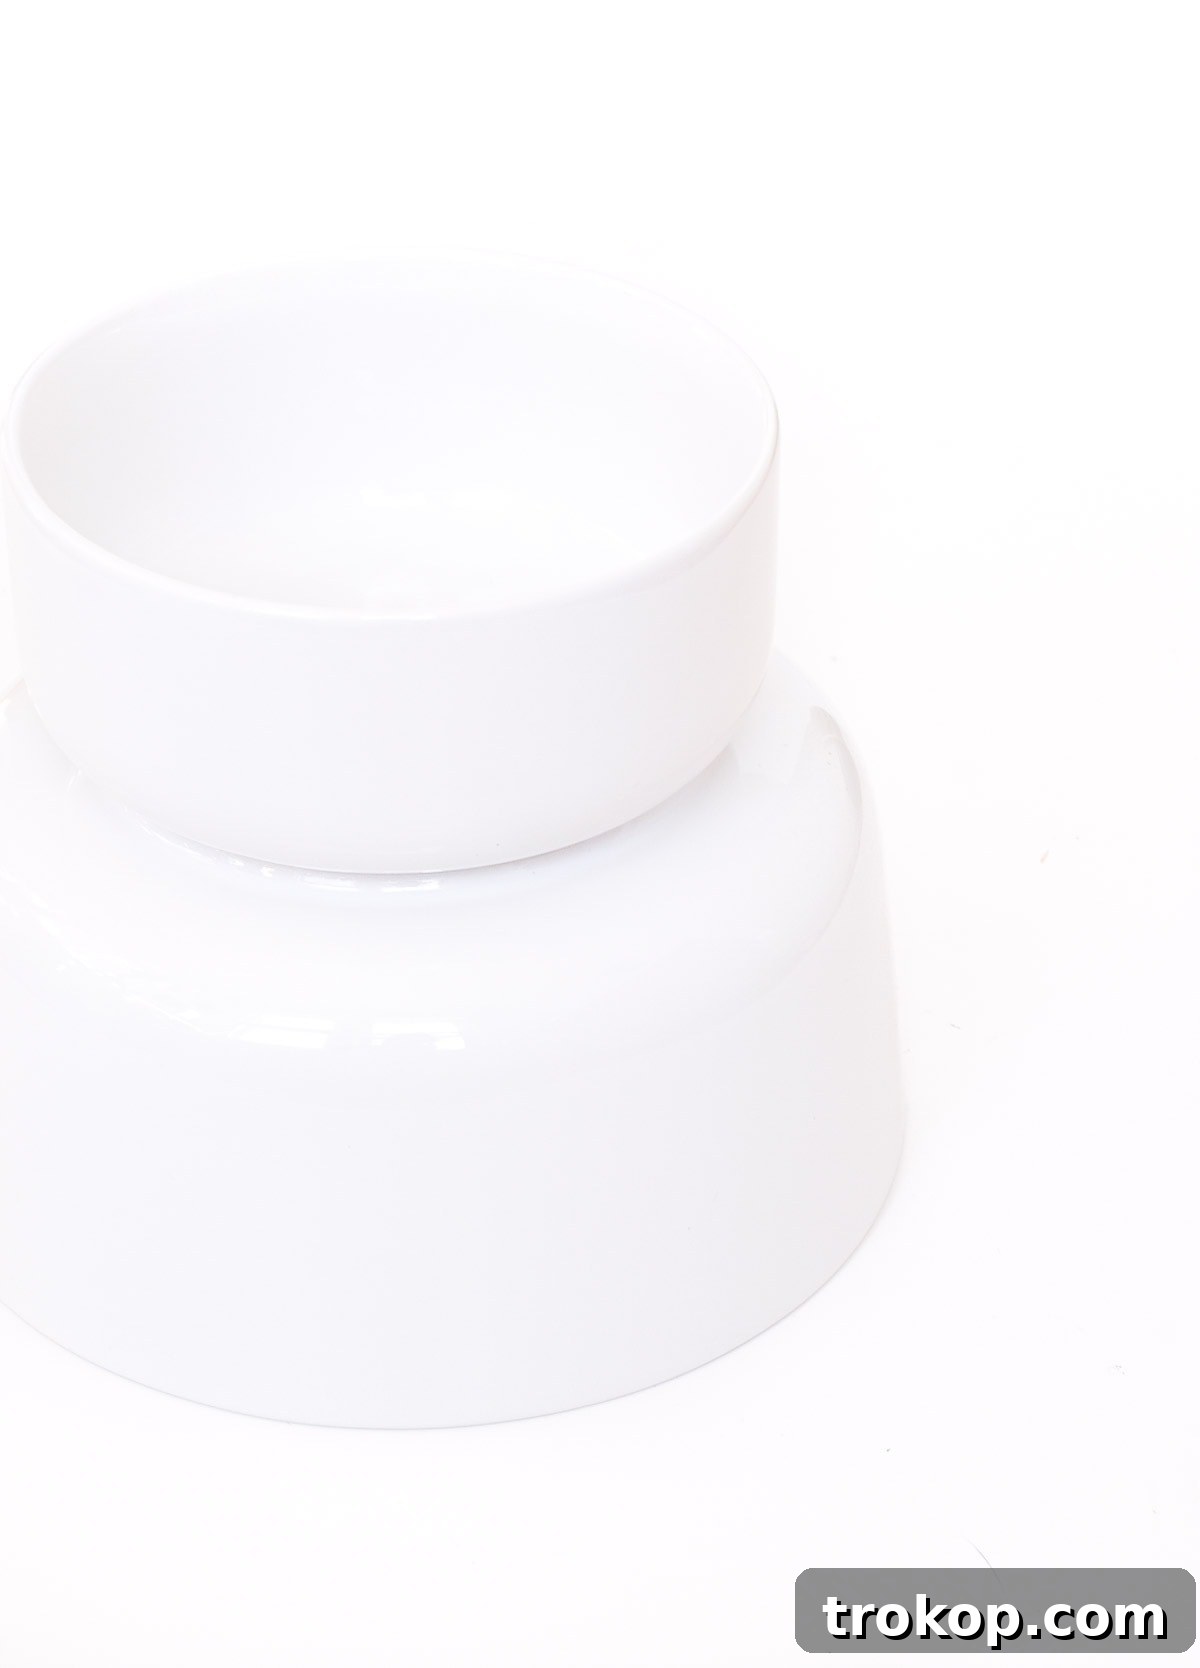
With the adhesive applied, it’s time to bring the two components together. Carefully place the smaller bowl right-side-up on top of the larger bowl. Position it precisely so that the bottoms of both bowls make firm, even contact with the glue. The smaller bowl acts as the base or stand, elevating the larger bowl to create that distinctive Mid Century Modern profile. Apply gentle, even pressure for a minute or two to ensure good initial adhesion.
Step 4: Allow for Ample Drying Time
Patience is a virtue, especially when working with adhesives. Allow your newly assembled planter to dry and cure for at least a few hours, or ideally, overnight. Industrial strength glues need time to fully set and reach their maximum bonding strength. Rushing this step could compromise the stability and durability of your planter, leading to potential breakage down the line. Place it in a quiet, undisturbed spot while it cures.
Step 5: Prepare for Drainage (If Needed)
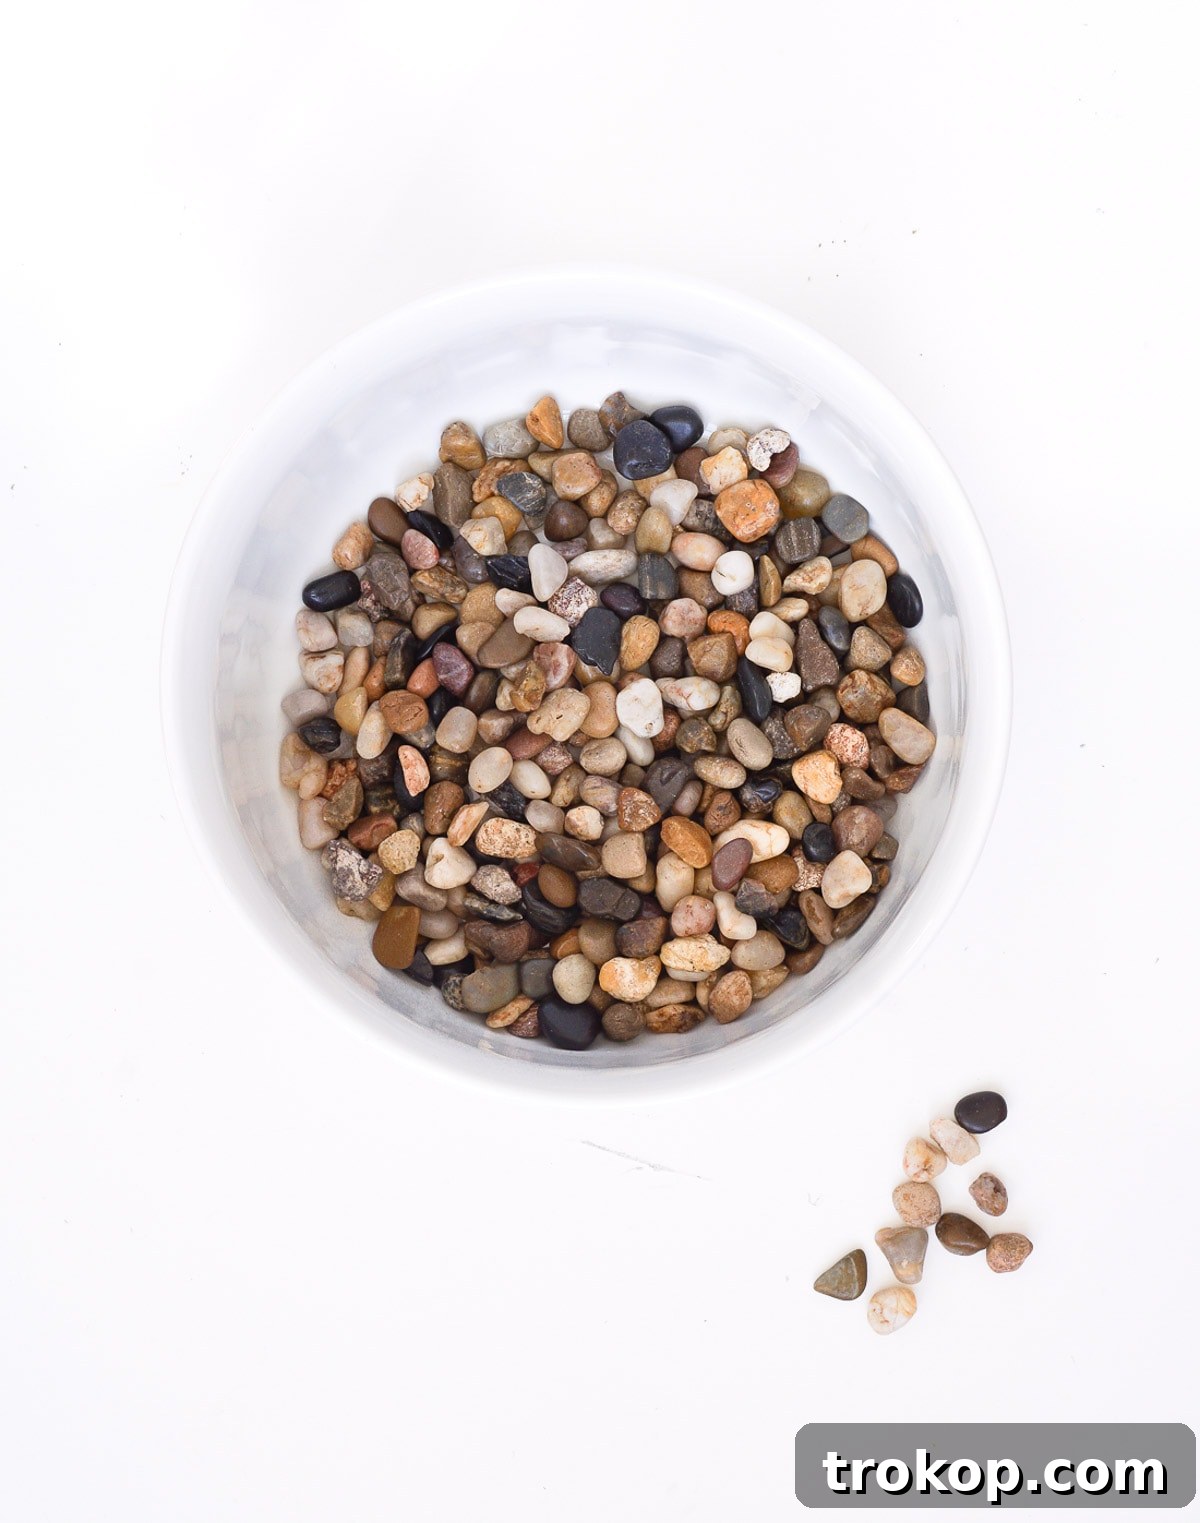
Once your planter is fully cured and stable, it’s time to consider the health of your plant. If the plant you’ve chosen requires excellent drainage to prevent root rot – and most indoor plants do, as our bowl doesn’t have a drainage hole – you’ll want to add a few small rocks or pebbles to the bottom of the larger bowl before introducing any soil. This creates a natural reservoir where excess water can collect, keeping your plant’s roots out of standing water. This simple step can significantly extend the life of your plant.
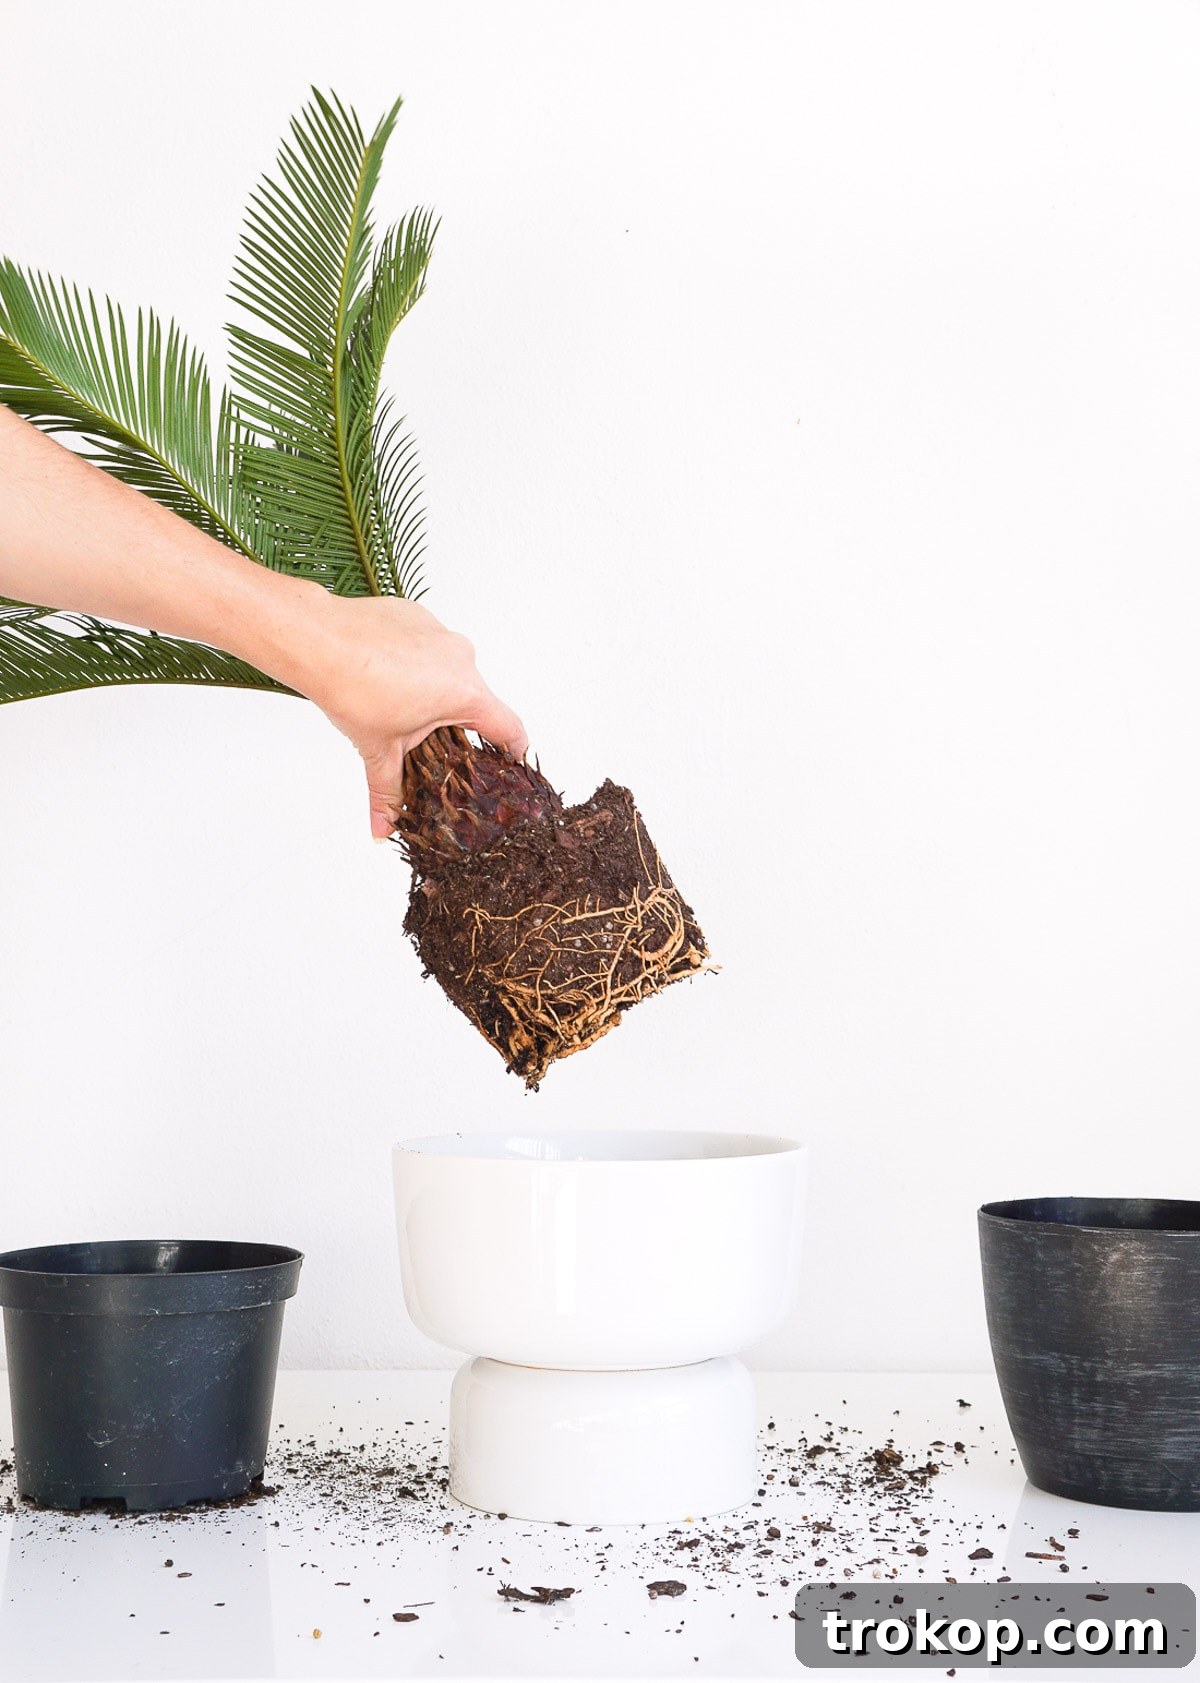
Step 6: Transfer Your Plant
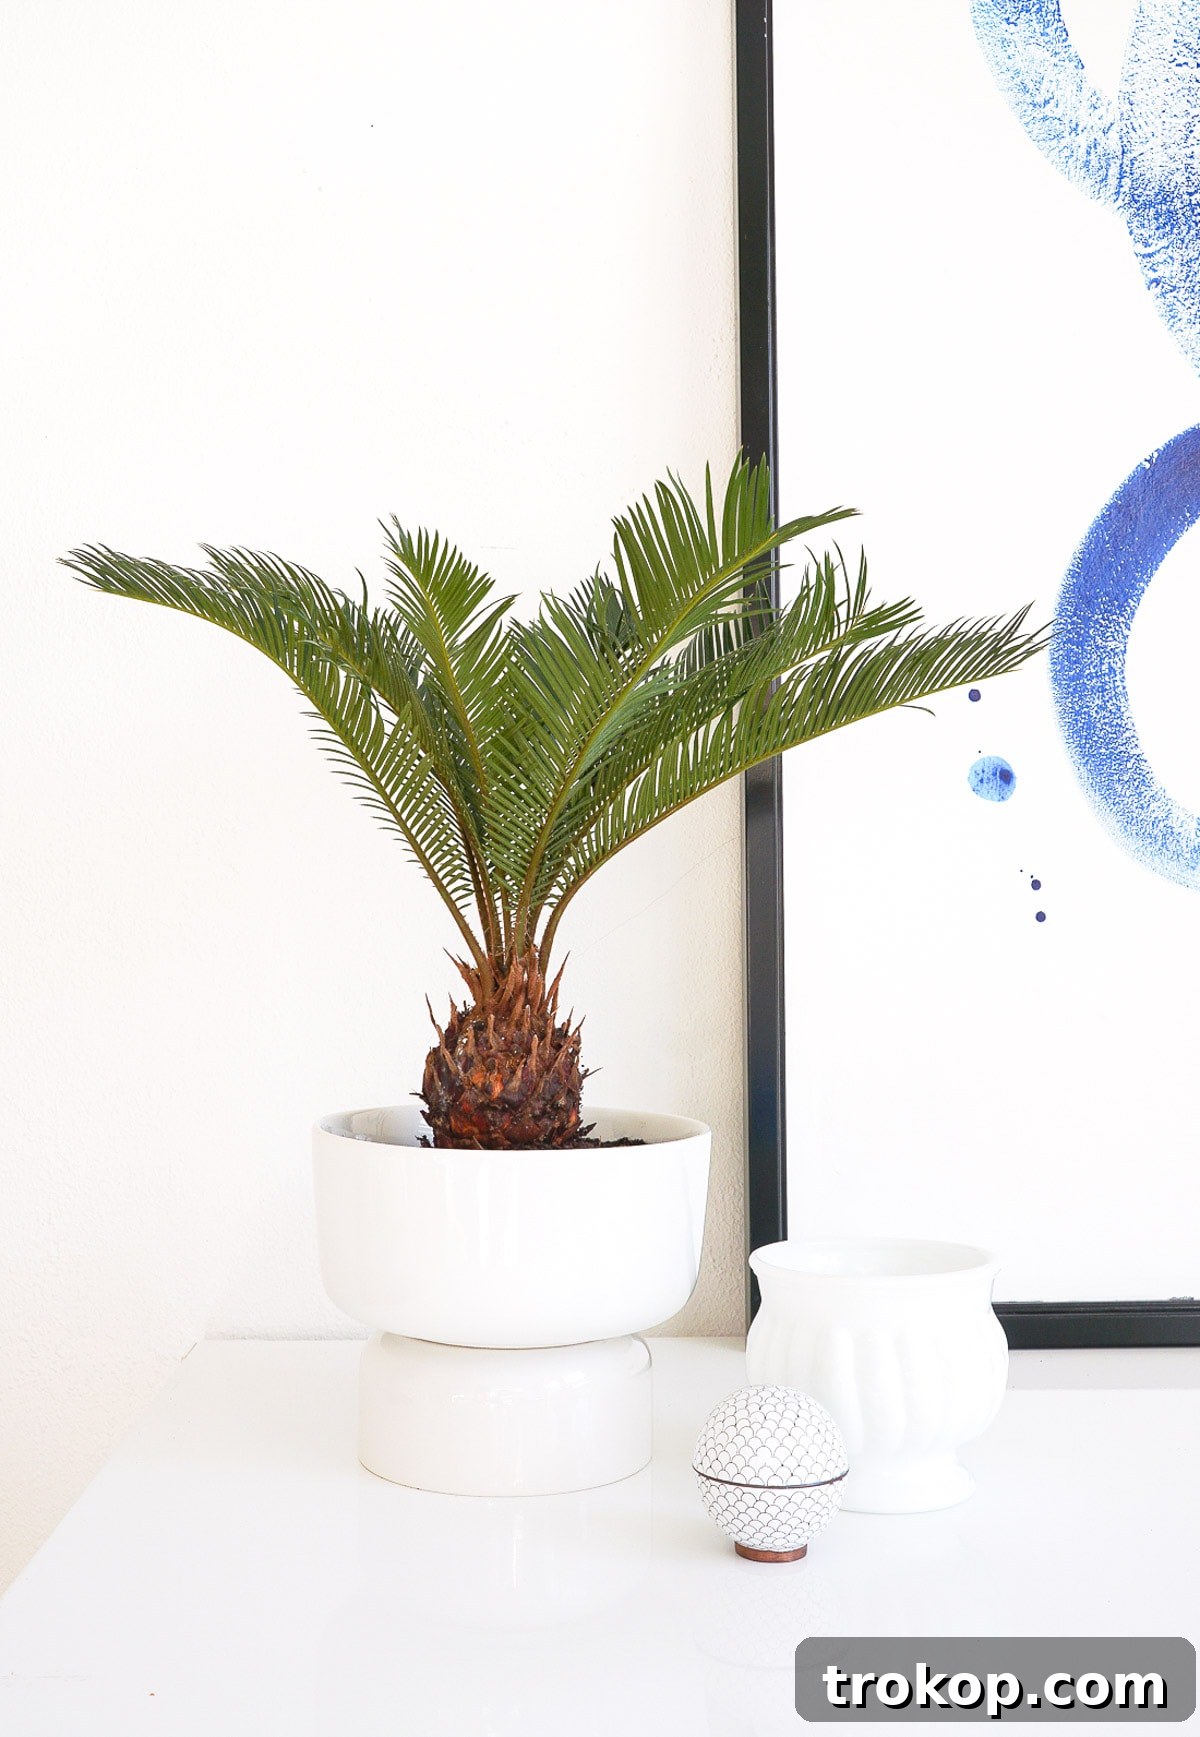
The moment of truth! Gently transfer your chosen plant into its beautiful new home. Add fresh potting soil around the root ball, ensuring the plant is centered and stable. Water lightly after planting. Your DIY Mid Century Modern Planter is now complete and ready to display!
Styling Your New Planter: Integrating It Into Your Home
Once your DIY Mid Century Modern planter is complete, the fun continues with styling it in your home. This piece is incredibly versatile and can enhance almost any room. Consider placing it in a sunny corner of your living room, on a side table next to your favorite reading chair, or even as a chic addition to your home office. Its elevated design draws the eye upward, making plants feel more significant and adding vertical interest to your decor.
For an even more impactful display, try grouping your new planter with other plants of varying heights and textures. This creates a lush, layered look that feels organic and inviting. Complement its clean lines with other MCM-inspired accessories, such as a minimalist lamp, a geometric throw pillow, or a simple wooden tray. The beauty of Mid Century Modern design is its ability to blend seamlessly with both contemporary and traditional elements, allowing your new planter to truly shine as a focal point.
The Enduring Appeal and Benefits of This DIY Project
Isn’t that incredibly easy? The simplicity of this project belies the significant impact it can have on your home decor. Opting for a DIY solution like this offers a multitude of benefits beyond just saving money.
- Cost-Effectiveness: High-end Mid Century Modern planters can be quite expensive. This DIY alternative allows you to achieve the same stylish look for a fraction of the cost, often using bowls you might already have or can find affordably.
- Personalization: While the basic design is clean and classic, you have the freedom to choose bowls that match your exact style and color palette. This makes your planter uniquely yours.
- Sense of Accomplishment: There’s immense satisfaction in creating something beautiful and functional with your own hands. This project is accessible to all skill levels, offering a wonderful sense of achievement.
- Sustainability: Repurposing common household items like bowls into a decorative piece is an excellent way to practice sustainable living and reduce waste.
- Enhancing Indoor Environment: Beyond aesthetics, plants contribute to a healthier indoor environment by improving air quality and boosting mood. Housing them in an attractive planter makes their presence even more enjoyable.
Customization Ideas for Your Mid Century Modern Planter
While the white bowls offer a pristine, classic Mid Century Modern aesthetic, don’t hesitate to get creative with customization if you desire. Here are a few ideas to make your planter truly unique:
- Painting the Bowls: Before assembly, you could spray paint the bowls in a bold color like mustard yellow, teal, or even a metallic gold to add a pop of drama. Ensure you use paint suitable for the bowl material and follow curing instructions.
- Textural Finishes: Experiment with textured spray paints that mimic stone or concrete for a different tactile experience.
- Pattern Play: After painting, you could add simple geometric patterns using painter’s tape and a contrasting color. Think clean lines, polka dots, or abstract shapes that nod to mid-century art.
- Varying Materials: If you find bowls made from different materials – perhaps a ceramic bottom with a smooth plastic top – the contrast can create an interesting visual dynamic. Just ensure your adhesive is compatible with both surfaces.
We are incredibly excited about having discovered and shared this inexpensive and straightforward alternative for achieving high-end design. If you decide to give this rewarding project a try, we would absolutely love to see your creations! Make sure to capture a photo and share it on Instagram, tagging us with #sugarandcloth so we can celebrate your success and admire your stylish new Mid Century Modern planter. Happy crafting!