
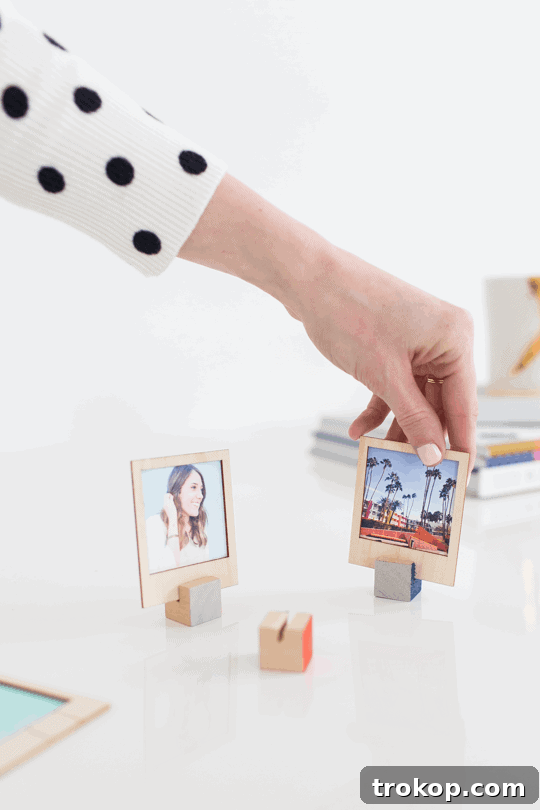
DIY Wooden Polaroid Photo Stand: The Perfect Home for Your Memories
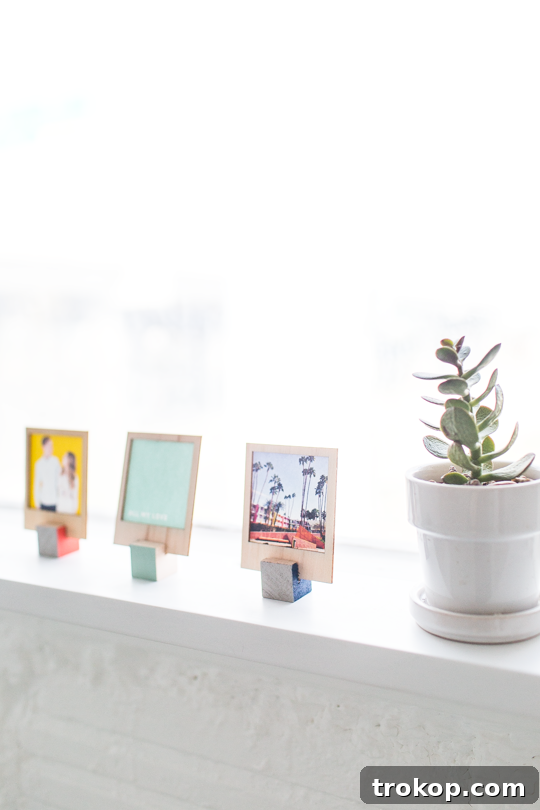
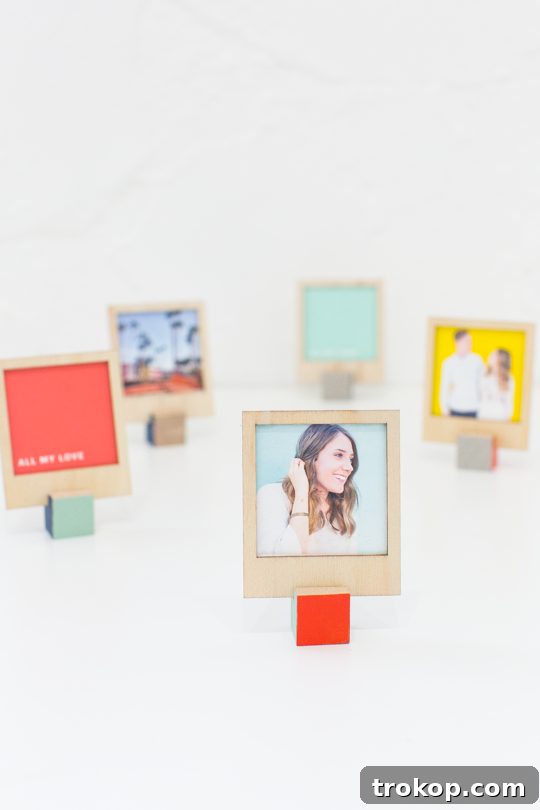
Give your cherished Polaroids the perfect display they deserve! This simple and satisfying DIY wood photo stand tutorial provides a stylish and personalized way to showcase your instant photos, transforming them from forgotten keepsakes into eye-catching décor.
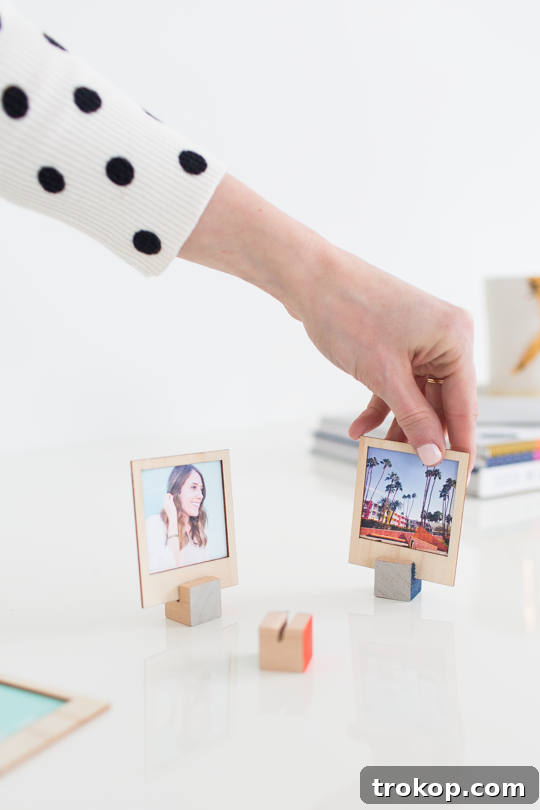
There’s something undeniably special about instant photos. They capture moments in a tangible way, offering a physical reminder of cherished memories. But often, these precious prints end up tucked away in albums or boxes, hidden from view. This DIY project offers a solution: a handcrafted wooden stand that puts your favorite Polaroids on display, adding a touch of vintage charm and personal style to your home.
We’re thrilled that you loved our DIY wooden Polaroid gift set tutorial! It was a hit. Now, we’re taking it a step further by adding the perfect finishing touch: a simple, elegant stand to showcase those handcrafted Polaroid frames.
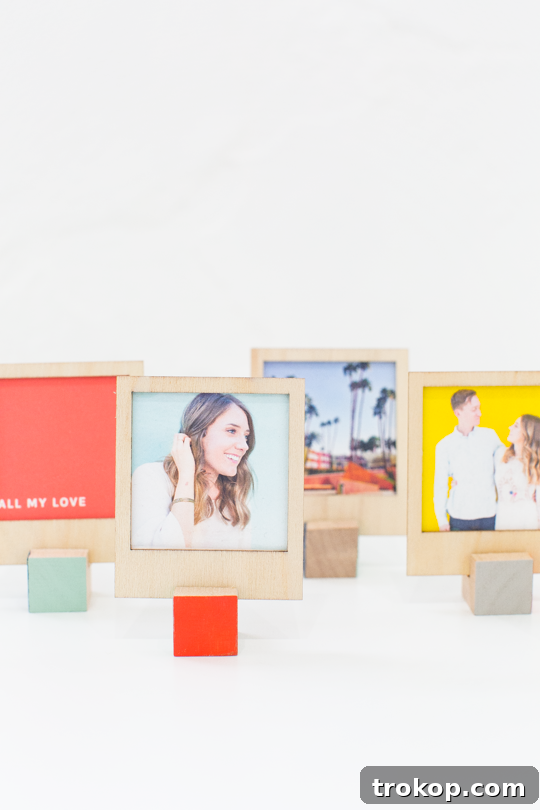
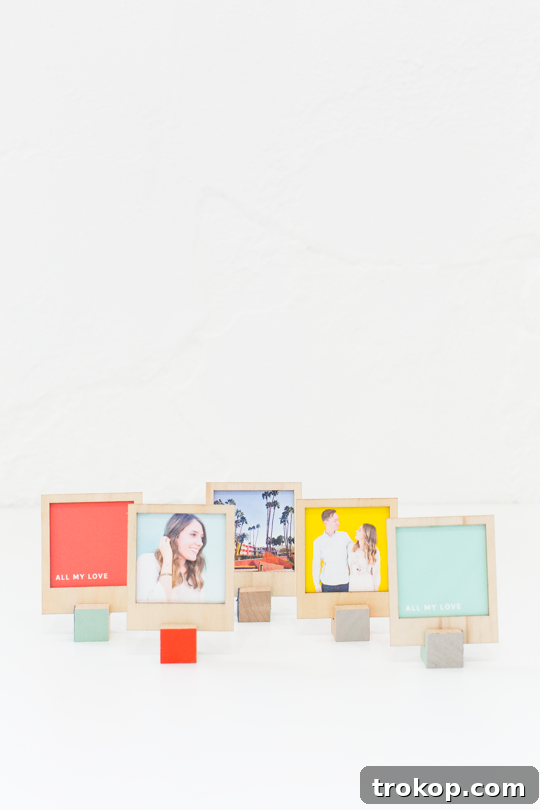
Forget bulky, generic frames that obscure the unique square format and vintage feel of your Polaroids. This minimalist stand allows your instant photos to take center stage, accentuating their charm with the natural warmth and beauty of wood. Best of all, it’s completely customizable! Paint it to match your existing décor, stain it for a rustic look, or leave it natural for a timeless, classic aesthetic.
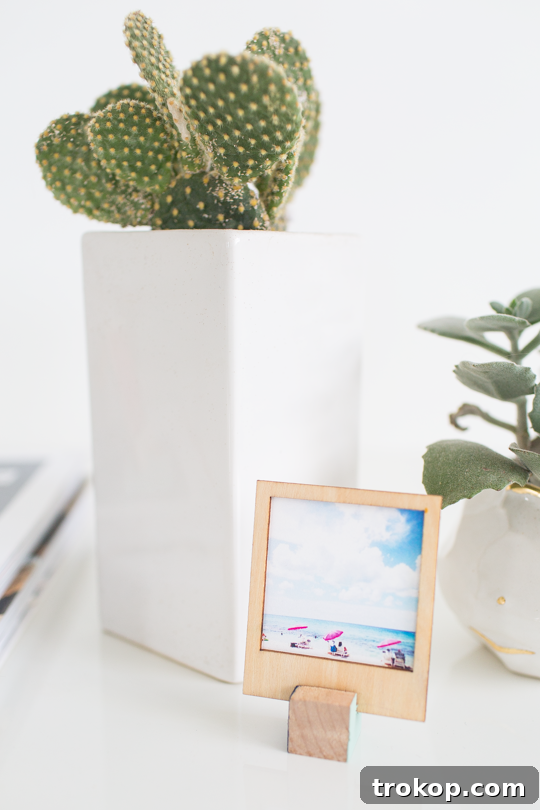
These stands aren’t just for Polaroids; they’re also perfect for showcasing your favorite photos, postcards, greeting cards, or even small pieces of art. They’re incredibly easy to make, making them ideal for quick crafting sessions and beginner DIYers. They also make fantastic desk additions, unique home décor trinkets, or thoughtful photo gift ideas for friends and family.
And the best part? This project is a fantastic way to use up scrap wood! If you have any leftover pieces from previous projects, this is the perfect opportunity to give them a new life and create something beautiful and functional.
Why Choose a DIY Polaroid Photo Stand?
In a world dominated by digital images, the charm and tangible nature of Polaroid photos stand out. A DIY wooden photo stand not only displays these memories but also enhances their unique appeal. Here’s why this project is perfect for you:
- Personalization: Tailor the stand to your specific style by choosing your preferred wood, paint, or stain.
- Simplicity: The project is straightforward and doesn’t require advanced woodworking skills.
- Cost-Effective: Utilize scrap wood and affordable materials for a budget-friendly display solution.
- Aesthetic Appeal: The natural wood complements the vintage vibe of Polaroid photos, creating a visually pleasing display.
- Versatility: Use it for various types of photos, cards, or small art pieces.
- Gift-Worthy: A handmade photo stand makes a thoughtful and personalized gift for any occasion.
Video Tutorial: DIY Polaroid Frame and Stand
For a visual guide to crafting both the wooden Polaroid frame and the accompanying stand, check out our helpful video tutorial below. Witness firsthand how easy and enjoyable this DIY project can be!
Materials and Tools You’ll Need
Gathering the right materials and tools is essential for a smooth and successful DIY experience. Here’s a comprehensive list to help you prepare:
- Wooden Polaroid frames from this tutorial (optional, but highly recommended for a cohesive look).
- Wood blocks: We recommend natural wooden cubes, but scrap wood, pre-cut boards, or any small block of wood will work perfectly.
- Hand saw: A miter saw is ideal for precise cuts, but a handsaw will give you a more rustic, handcrafted appearance.
- Woodworking vise or clamps: These tools are used to securely hold the wood in place while you saw. While not strictly necessary for such small pieces, a vise or clamps significantly improve safety and allow for cleaner, more accurate cuts.
- Craft paint (optional): Choose colors that complement your Polaroids or match your existing décor.
- Foam brush (optional): For applying paint smoothly and evenly.
- Sandpaper (optional): For smoothing any rough edges after cutting.
- Ruler or measuring tape: To ensure accurate cuts and groove placement.
Step-by-Step Guide: Crafting Your DIY Polaroid Photo Stand
Follow these simple steps to create your own unique and personalized wooden Polaroid photo stand:
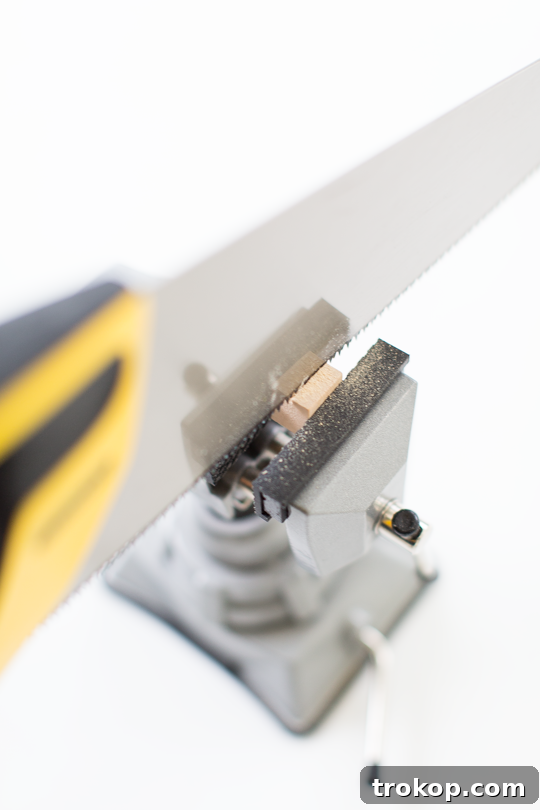
- Prepare the Wood Block: Secure your wood block using clamps or a woodworking vise. This will keep your hands safely away from the saw blade and ensure a clean, stable cutting surface.
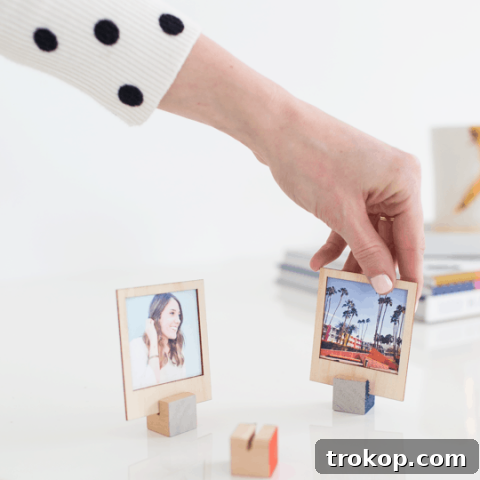
- Create the Groove: Using your handsaw, carefully create a thin groove along the top edge of the wood block. This groove will serve as the slot where your Polaroid will sit. The groove should be approximately a quarter of an inch deep and wide enough to comfortably accommodate the thickness of your photo.
- Sanding (Optional): If desired, use sandpaper to smooth any rough edges or splinters from the wood block and the groove. This will create a more polished and professional finish.
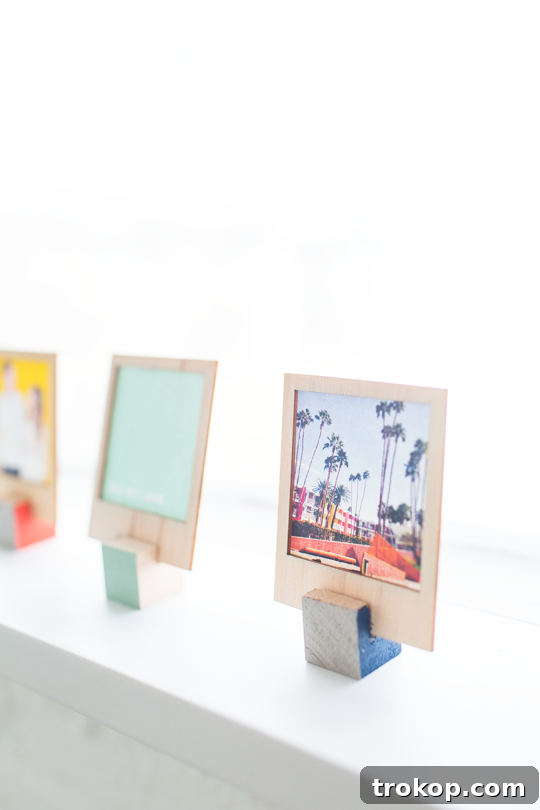
- Painting (Optional): Once the groove is complete, you can personalize your stand by painting it with craft paint. Choose your favorite colors, create a unique design, or simply add a coat of clear sealant to protect the wood. Let the paint dry completely before proceeding.
Once the paint is dry, simply slide your Polaroids into the stand and enjoy your personalized photo display! You can arrange multiple stands together to create a miniature gallery effect, or use them individually to decorate shelves, desks, side tables, mantles, window sills, counters, and dressers.
Tips and Tricks for the Perfect Polaroid Display
Here are some additional tips and tricks to help you achieve the perfect DIY Polaroid photo stand:
- Adaptability: This project is easily adaptable to suit your specific needs. Use a larger piece of wood to create a stand that can hold multiple photos or different types of instant prints.
- Angled Groove: For better viewing, consider creating a slightly angled groove. This will cause your photos to tilt back, making them more easily visible.
- Smooth Finish: Always sand down any rough edges to ensure a smooth, professional finish. This will also prevent any potential damage to your photos.
- Wood Selection: Experiment with different types of wood to achieve different aesthetic effects. Reclaimed wood adds a rustic touch, while hardwoods provide a more polished look.
- Decorative Elements: Consider adding other decorative elements to your stand, such as small embellishments, decoupage, or wood burning designs.
More Easy DIY Projects to Inspire You
Looking for more creative DIY ideas to enhance your home décor? Check out these related posts for further inspiration:
- DIY Watercolor Printable Wall Art
- DIY Floating Flower Table Display
- How To Make A DIY Watercolor Wall Art
- DIY Footed Display Bowls
DIY Wooden Polaroid Displays: Recipe
Materials:
- Wooden cube
- Craft paint (optional, in color of choice)
Equipment:
- Hand saw
- Woodwork vice
- Foam brush (optional)
Instructions:
- Secure your wood block using clamps or a vice. This allows for your hands to a safe distance away from where you’ll be sawing.
- With your handsaw, create a thin groove on the base of the stand. Your photo will sit in this slot. The groove should be about a quarter of an inch deep and wide enough to hold your photo.
- Optional: Paint the sides of the cube with different colors of your choice. Let everything dry completely.
Related Posts: