
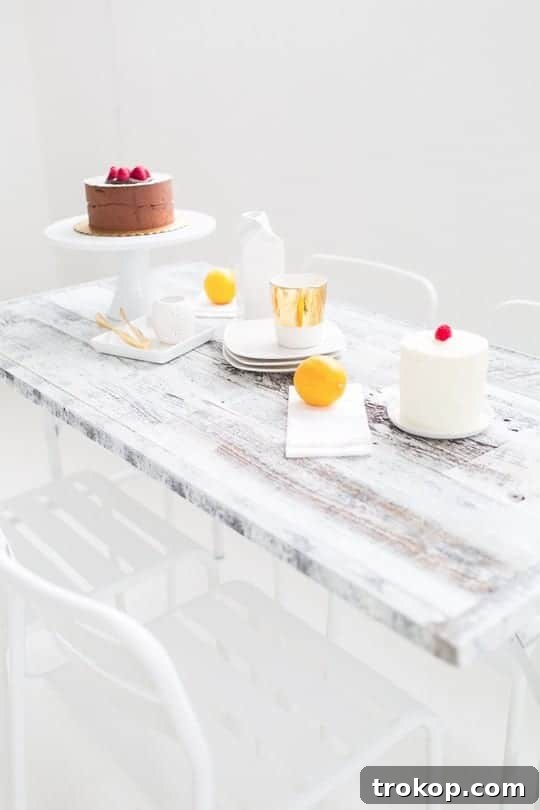
Transform your living space with a touch of rustic elegance! This DIY Reclaimed Wood Folding Table project offers the perfect blend of style, functionality, and space-saving design, making it an ideal addition to any home, studio, or workshop. Forget endless searches for expensive, mediocre folding tables – we’ll guide you through creating a bespoke piece that truly stands out and perfectly complements your decor.
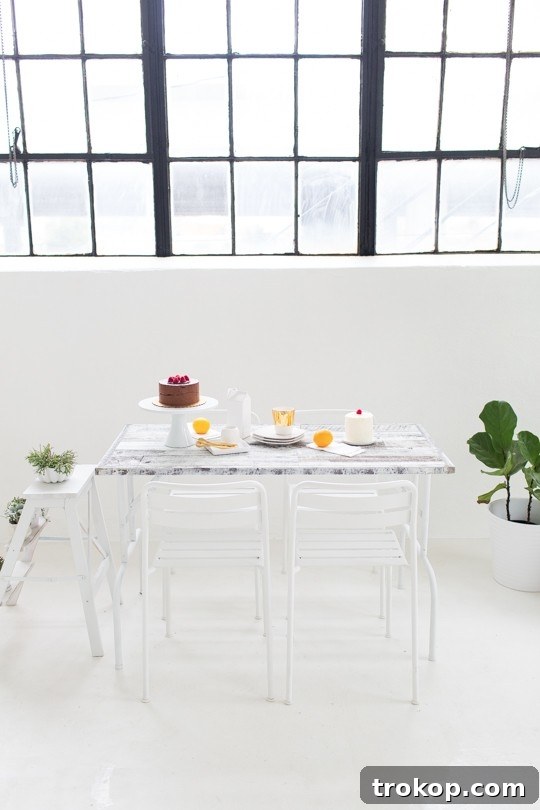
Have you ever found yourself in the midst of an intense, hours-long online search for a “cute folding table” only to be met with disappointment or exorbitant price tags? We certainly have! For anyone juggling seasonal holiday gatherings, creative workshops, or frequent photoshoots, a versatile and stylish folding table is an absolute game-changer. It provides essential surface area when needed and conveniently tucks away when not in use, helping maintain a clutter-free environment without compromising on aesthetics.
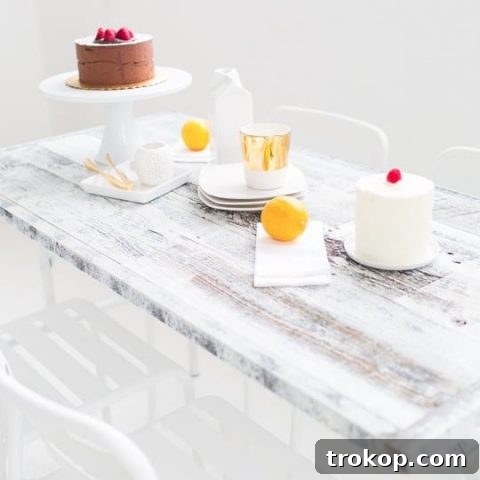
Given our passion for DIY projects and a constant need for adaptable furniture, it was only natural for us to craft our own solution. Our answer? This stunning DIY Reclaimed Wood Folding Table, cleverly constructed using distressed white Stikwood. This innovative material allowed us to achieve the coveted authentic reclaimed wood aesthetic without the bulk, weight, or expense of traditional solid lumber, making it ideal for a portable table.

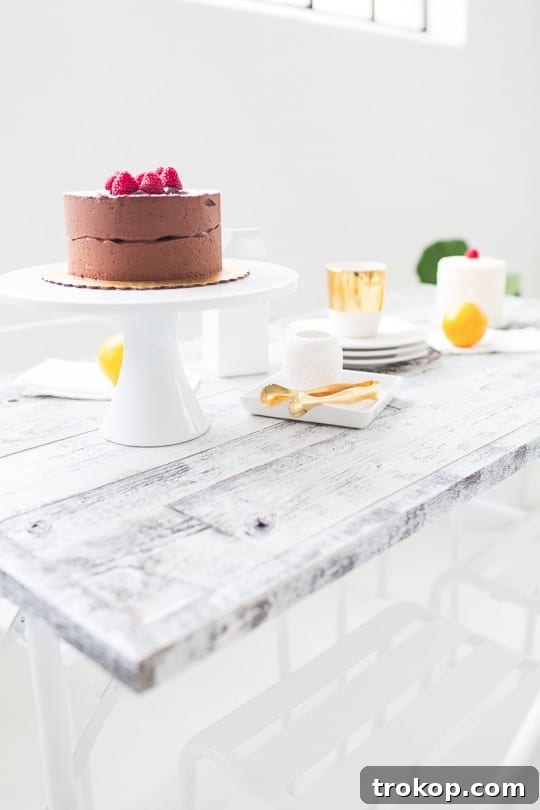
We’ve successfully incorporated Stikwood into numerous home decor projects, from creating a cozy DIY Wooden Headboard to designing a dramatic DIY statement wall. Its ease of use, self-adhesive backing, and authentic look make it a favorite material for quick and impactful transformations. The final result of this folding table project exceeded our expectations, not only for its functionality and space-saving capabilities but also for its undeniable aesthetic appeal. It serves as an incredibly charming backdrop for photos – seriously, has a cake ever looked more inviting and perfectly styled than on this beautiful distressed tabletop?
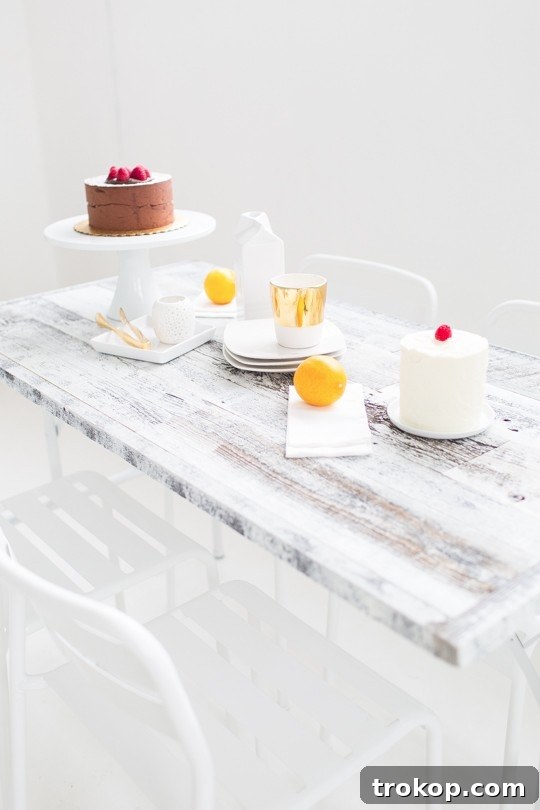
Table of Contents
What is Stikwood?
Stikwood planks are an innovative and user-friendly solution for achieving the natural beauty of real wood in your DIY projects with unparalleled ease. These ultra-thin, lightweight planks are crafted from genuine wood and feature a convenient peel-and-stick adhesive backing, making them incredibly simple to apply to various surfaces, including walls, furniture, and other creative applications. This self-adhesive feature makes them a fantastic choice for DIY enthusiasts looking for professional-looking results without the need for extensive woodworking experience, messy glues, or heavy-duty tools.
For our folding table, we specifically chose a reclaimed look, opting for the distressed white finish that imparts a charming, weathered aesthetic. This particular style evokes a sense of history and warmth, perfect for adding character to any space. However, Stikwood offers an impressive selection of over 30 unique finishes and colors, ranging from rustic and traditional barn wood to sleek and modern smooth options. This wide variety ensures that you can find the perfect style to match your existing decor or bring a fresh, new vision to life. Whether your preference leans towards a contemporary minimalist design or a cozy farmhouse feel, Stikwood provides a versatile option.
One of the many reasons we appreciate Stikwood is its commitment to sustainability. The wood is proudly produced in the U.S.A. using responsibly sourced materials, aligning with eco-conscious crafting practices. You can even order samples to test out different finishes and textures before committing to a larger purchase, ensuring complete satisfaction with your design choice. A single box of Stikwood often contains more than enough material for a significant project, leaving you with plenty of leftover pieces for smaller, complementary DIYs around your home, maximizing value and minimizing waste.
Stikwood provides the authentic tactile feel and high-quality visual appearance of actual solid wood but often at a more budget-friendly price point, especially when considering the reduced labor and specialized tools required for installation. For projects like our folding table, which will undoubtedly experience liquid spills and general daily wear and tear, it’s crucial to ensure the Stikwood is coated with a durable matte polyurethane finish. This protective layer makes the surface resistant to moisture, stains, and scuffs, significantly increasing its longevity and making your table resilient and long-lasting.
If you purchase Stikwood that hasn’t been pre-treated with polyurethane, don’t worry! You can easily apply a suitable sealant at home after assembling your DIY Reclaimed Wood Folding Table. This additional step will safeguard your beautiful new surface for years to come. While Stikwood is our preferred choice for its quality, authenticity, and ease of application, you can also explore other peel-and-stick wood adhesives available on the market to achieve a similar aesthetic, ensuring flexibility for your project based on your budget and preferences.
Benefits of a DIY Folding Table
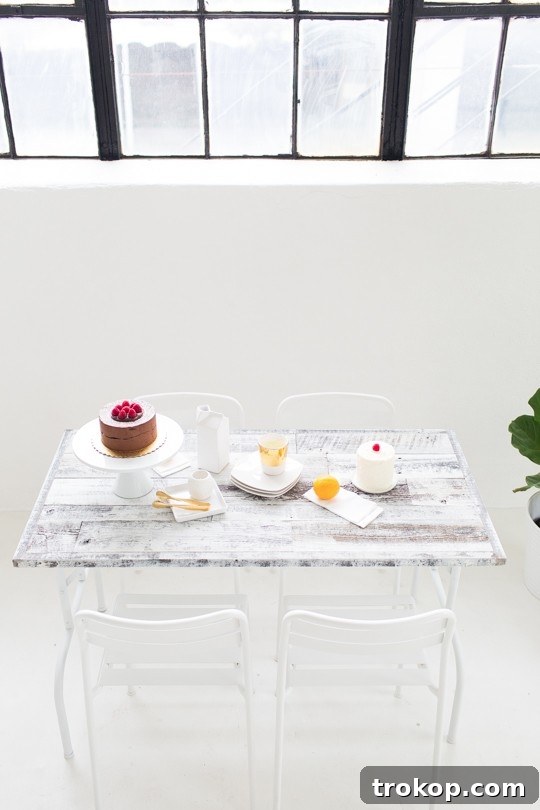
Creating your own folding table offers a multitude of distinct advantages over simply purchasing a pre-made one. This DIY approach empowers you with control over every detail, resulting in a piece that perfectly aligns with your needs and aesthetic preferences.
Firstly, it provides an unparalleled level of **customization**. You get to choose the exact dimensions to fit a specific nook or expand for a particular event, select the wood finish that truly complements your existing decor, and define the overall aesthetic. This means no more settling for generic standard sizes or styles that don’t quite fit your unique vision for your home or studio.
Secondly, a DIY folding table is incredibly **space-efficient and versatile**. Whether you reside in a compact apartment, manage a bustling creative studio, or simply need extra surface area for entertaining guests during holidays, a folding table is the ultimate solution. It can be easily brought out when needed for dining, crafting sessions, temporary workspaces, or even as a pop-up display for events and markets. Once its purpose is served, it effortlessly folds down and tucks away, maximizing your floor space and maintaining a clutter-free environment.
Beyond customization and space-saving functionality, building your own table can be an immensely **rewarding and cost-effective endeavor**. You often save a significant amount of money on labor and retail markups, allowing you to invest in higher-quality materials like authentic Stikwood without exceeding your budget. The profound satisfaction of crafting something beautiful, highly functional, and perfectly tailored with your own hands is an added bonus, contributing to a strong sense of accomplishment and pride in your home decor.
Finally, a DIY table allows for **creative expression**. You can incorporate unique design elements, experiment with different finishes, and truly make the piece your own. It’s a statement of personal style that store-bought furniture often can’t match, providing a conversation starter and a testament to your crafting skills.
Materials and Tools Needed
Before you embark on building your beautiful reclaimed wood folding table, gather all the necessary materials and tools. Having everything ready beforehand will ensure a smooth, efficient, and enjoyable crafting process, allowing you to focus on precision and creativity.
- Folding Table Legs: You’ll need a sturdy set of folding hairpin table legs. These provide the essential collapsible support for your table. Consider their style and color early on, or plan to customize their appearance with spray paint to match your tabletop.
- Plywood: Select a durable piece of plywood in your desired table size. Our featured project used a piece measuring 24″ x 28″ x 3/4″. Don’t worry about cutting it yourself; most local hardware stores offer convenient cutting services, so you can have the plywood precisely cut to your specifications, ensuring a perfect and level tabletop base.
- Drill: An essential power tool for securely attaching the folding table legs to the plywood base. Make sure you have appropriate drill bits suitable for working with wood.
- Reclaimed Stikwood Weathered Wood Peel and Stick: This is the star material for creating your stunning tabletop surface. We used the Weathered White variety, which conveniently came pre-treated with polyurethane for a waterproof finish. If your chosen Stikwood isn’t pre-treated, remember to plan for a sealing step later to protect your beautiful new surface.
- Reclaimed Stikwood Weathered Corner Trim: This specialized trim is designed to provide a neat, clean, and finished edge around your tabletop, enhancing the overall aesthetic. Similar to the planks, our trim was in Weathered White and pre-treated with polyurethane for added durability and moisture resistance.
- Cutting Tool: A Dremel rotary tool, a rotary saw, or a table saw will be crucial for making precise, clean cuts on both the Stikwood planks and the trim pieces. Choose the tool you are most comfortable and proficient with, always prioritizing safety.
- Pencil: A standard pencil is indispensable for accurately marking measurements, cutting lines, and layout positions on both the wood and Stikwood materials.
- Measuring Tape: Accuracy is paramount in DIY projects, and a reliable, sturdy measuring tape will ensure all your cuts and placements are spot on, leading to a professional-looking finished product.
- Lightweight Sandpaper: Useful for gently smoothing any rough edges after cutting the plywood or Stikwood, or for general finishing touches on the wood surfaces. It can also be used to prepare surfaces for optional paint.
- Spray Paint (Optional): If your chosen table legs aren’t the color you desire, a can of spray paint (we used white to perfectly match the distressed tabletop) can quickly transform their appearance, creating a harmonious look.
- Craft Paint and Paintbrush (Optional): Small amounts of black and white craft paint, or colors matching your chosen distressed wood, can be used for touching up any exposed raw wood edges or to further enhance the weathered look, creating a cohesive and polished finish.
- Safety Gear: Always remember to prioritize your safety. Wear appropriate safety glasses to protect your eyes and work gloves to protect your hands when cutting, drilling, or painting.
How to Make a DIY Folding Table
Assemble the Table Base
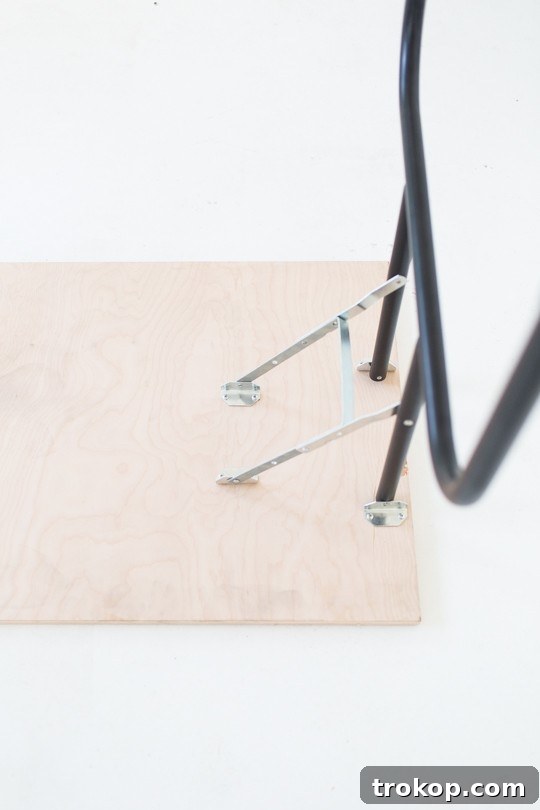
1 — Attach the Folding Legs: Begin by carefully positioning your chosen folding table legs onto the bottom side of the plywood tabletop. Ensure they are evenly spaced and aligned for optimal stability. Use your drill to firmly screw the legs into place, securing them to the plywood. Once attached, extend the legs to stand the table upright – this is often the quickest and most satisfying part of the entire project, as your table begins to take shape!
2 — Customize the Legs (Optional): For a truly cohesive and personalized aesthetic, consider painting the table legs and the exposed bottom of the plywood. We opted for white spray paint to complement our studio’s bright white chairs and overall clean scheme. Many folding table legs are typically sold in black, so a quick and easy spray paint job can dramatically alter their appearance to match your vision. Apply several thin, even coats of spray paint, allowing each coat to dry completely before applying the next. This layered approach will prevent drips and ensure a smooth, professional, and durable finish. Always allow ample drying time as per the paint manufacturer’s instructions before proceeding to the next steps to avoid smudging.
Create the Corner and Border Trim
1 — Mark Trim Overlaps: Carefully measure the entire perimeter of your tabletop. Using your pencil, precisely mark where the Stikwood corner trim pieces will meet and overlap at each of the four corners. This initial marking step is vital for achieving clean, accurate, and visually appealing trim placement.
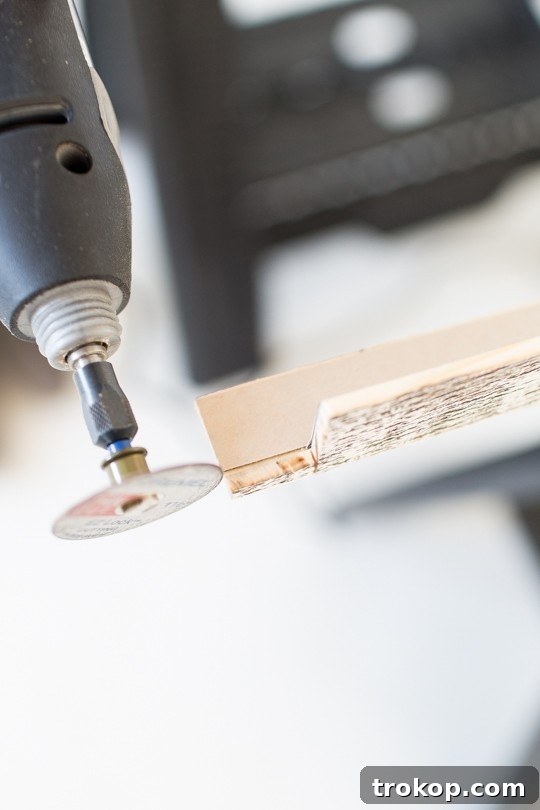
2 — Cut Corner Notches: Instead of employing traditional 45-degree miter cuts for the trim, which can be challenging to get perfect, we opted for a more modern and straightforward approach by creating 90-degree cutouts. Use your Dremel, rotary tool, or table saw to carefully cut out a small 1-inch square notch in the trim piece. This allows the second, adjacent trim piece to rest neatly and securely within the first, creating a unique and streamlined corner joint. You will repeat this precise cutting process for every corner and edge around the entire table, ensuring each piece fits together perfectly and creates a continuous border.
Safety Note: Always exercise extreme caution when operating any power tools. Ensure you are wearing appropriate safety glasses and gloves, and work on a stable, clear surface to prevent accidents.
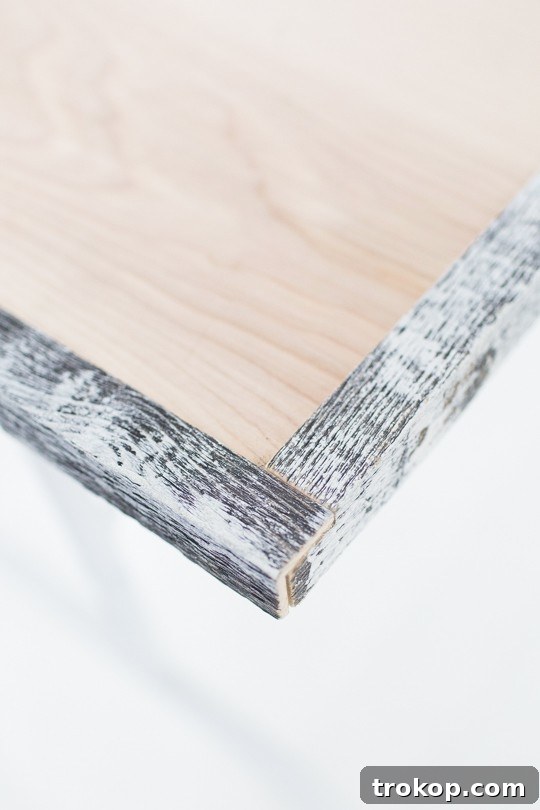
3 — Apply the Trim: Once all your trim pieces are accurately cut, dry-fitted, and you are completely satisfied with their placement, it’s time for adhesion. Carefully peel off the protective adhesive backing from each trim piece. Slowly and firmly press each piece into place around the edges of your tabletop. Work methodically and ensure proper alignment, as the self-adhesive on Stikwood is very strong, making repositioning difficult once applied.
Prepare the Stikwood Boards
1 — Design Your Layout: Before peeling any adhesive, take the time to lay out your Stikwood planks directly onto the tabletop. This crucial dry-run step allows you to experiment with different arrangements and determine the exact layout you like best. For a dynamic and visually interesting “mismatched” or reclaimed look, try varying the lengths and orientations of your boards. Each Stikwood plank possesses unique characteristics in terms of grain, color, and distress marks, so take your time arranging them to achieve your desired pattern and overall aesthetic. Consider how the different pieces interact to create a truly bespoke and appealing surface.
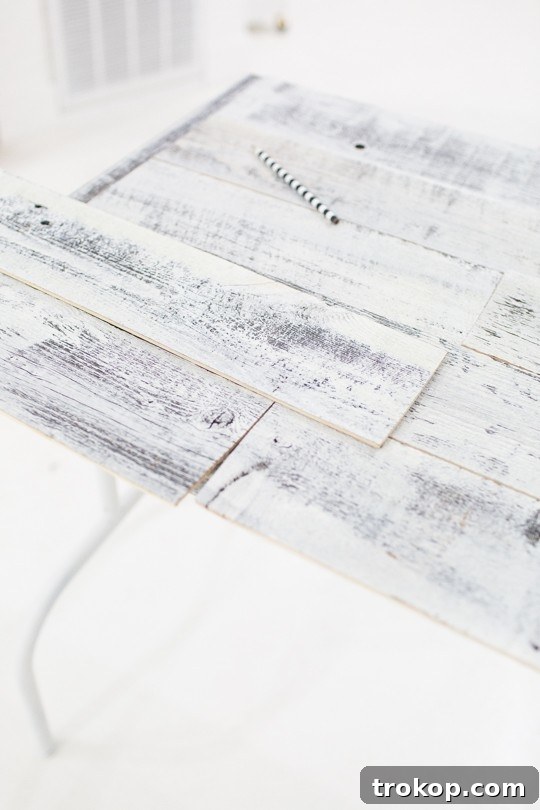
2 — Measure and Mark for Cuts: Once you’ve perfected your dry layout and are happy with the design, use your pencil and measuring tape to precisely mark where each individual board needs to be cut. These cuts will ensure that every Stikwood plank fits perfectly within the border created by your installed trim, leaving no gaps. Double-check all measurements before making any cuts to avoid errors and unnecessary material waste.
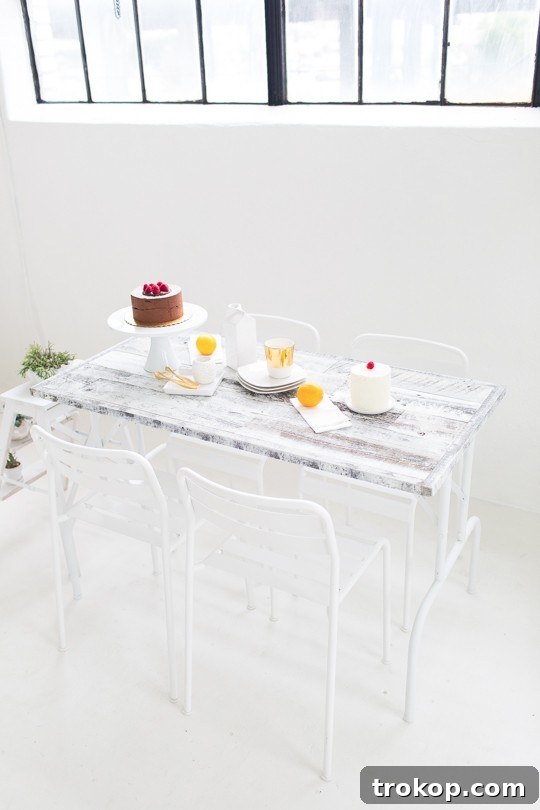
3 — Cut and Dry-Fit Boards: Now, cut all the Stikwood planks according to your precise marks. Once cut, dry-fit them onto the table once more, placing them exactly where they will be permanently adhered. This is a crucial step that allows you to confirm that all cuts are accurate and that every piece fits properly within the trim and against its neighbors. Make any necessary minor adjustments to the cuts at this stage before permanent adhesion, as Stikwood is notoriously difficult to remove without damage once applied. Taking your time here will ensure a flawless finish.
Apply the Wood Boards
1 — Install the Boards: Now for the satisfying permanent installation! Starting from one edge of your tabletop, peel the adhesive backing off a pre-cut Stikwood board. Carefully position it in its designated spot and press down firmly to secure it in place. Work meticulously across the table, row by row, ensuring each board is tightly abutted against its neighbors and the border trim. Apply even pressure across the entire surface of each plank to ensure maximum adhesion. Remember, once Stikwood is down, it’s very difficult to reposition without damaging the plank, so align carefully and confidently!
2 — Smooth Rough Edges (Optional): After all the Stikwood boards are adhered and the tabletop is complete, take your lightweight sandpaper and gently sand down any rough cut edges or corners that may be present. This step will create a smooth, refined surface that is pleasant to touch and safer to use, preventing snags or splinters.
3 — Touch Up and Finish (Optional): For a truly professional and polished finish, use a small amount of craft paint (black and white, or colors matching your chosen distressed look) to touch up any visible raw wood on the edges of the Stikwood planks. This small detail helps to blend the freshly cut edges seamlessly with the distressed aesthetic, giving your table a perfectly cohesive and naturally aged appearance. This step significantly enhances the “reclaimed” look, making it appear genuinely old and beautiful.
4 — Apply Protective Sealant (Optional but Recommended): If your Stikwood planks were not pre-treated with polyurethane (or for an extra layer of protection), it is highly recommended to apply a matte polyurethane sealant to the entire tabletop. This clear protective coat will create a durable barrier, shielding your table from liquids, stains, and heavy use, ensuring long-term durability and preserving its beauty for years to come. Follow the manufacturer’s instructions for application and drying times.
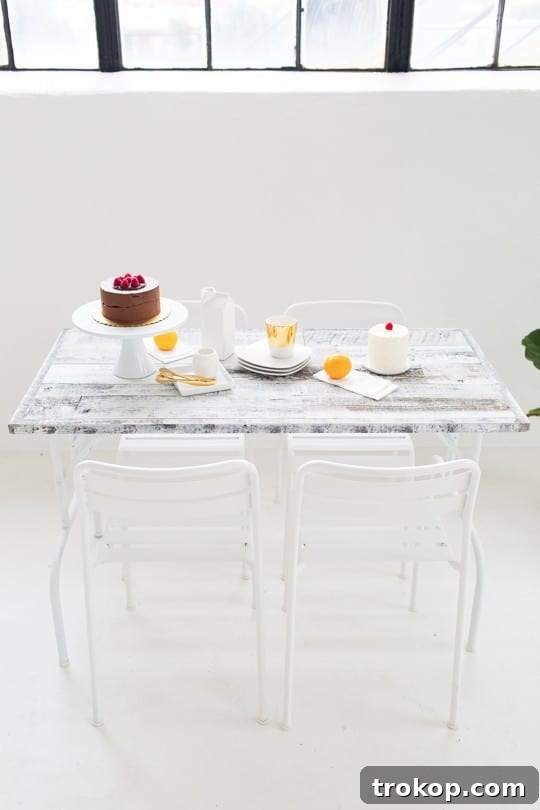
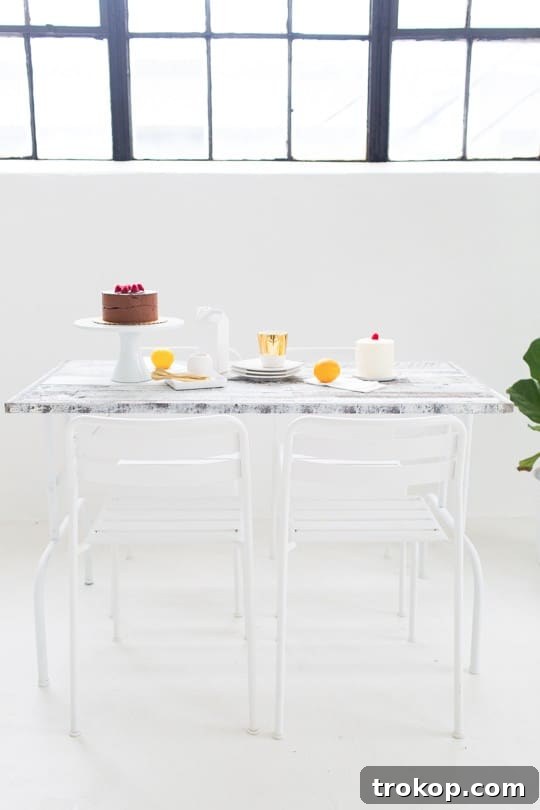
Care and Maintenance for Your Stikwood Table
To ensure your beautiful DIY reclaimed wood folding table remains in pristine condition and serves you well for many years to come, proper care and maintenance are essential. If you chose pre-treated Stikwood, it already has a good level of protection against everyday spills and general wear. However, for non-pre-treated planks or for added peace of mind and enhanced longevity, applying a matte polyurethane topcoat as a final step is highly recommended.
This clear sealant will create a robust barrier against moisture, food stains, and minor scratches, making your table incredibly durable and remarkably easy to clean. For routine daily cleaning, simply wipe the surface with a soft, damp cloth. Avoid using harsh chemical cleaners, abrasive scrubbers, or excessive water, as these can potentially damage the wood finish or penetrate the seams over time. In the event of any spills, blot them immediately with a dry cloth to prevent liquid absorption and staining. With this minimal effort, your custom-built reclaimed wood folding table will continue to be a stunning focal point and a highly functional piece of furniture in your home or studio.
More Easy DIY Tables to Make at Home
Enjoyed the process of crafting your DIY Reclaimed Wood Folding Table? The world of DIY furniture is vast, rewarding, and offers endless opportunities for personalization! If you’re looking to expand your collection of custom-made tables, enhance other areas of your home, or simply dive into more creative projects, explore these related posts for fresh inspiration and achievable designs. Each project offers a unique way to infuse your home decor with personalized touches and functional beauty.
- Floor Seating Ideas – DIY Floor Seating Table: Perfect for creating a relaxed, bohemian, or minimalist vibe, a low-profile floor seating table is great for casual dining, intimate gatherings, board games, or simply lounging in comfort.
- DIY Mini Patterned Side Table: Add a vibrant pop of personality and functional charm to any room with a compact side table featuring a custom pattern. This project is an excellent way to experiment with different design techniques, colors, and finishes on a smaller scale.
- A Perfectly Pastel Easter Table Ideas: Get inspired to beautifully decorate your dining space for special occasions with creative and delightful themes. This demonstrates how a basic table, like your new folding one, can be transformed for any celebration or seasonal aesthetic with simple decor additions.
- DIY Paper Color Block Table Covering: For a quick, temporary, and budget-friendly style update, learn how to create a vibrant color-block table covering. This is perfect for parties, seasonal refreshes, or when you want to experiment with bold color schemes without a permanent commitment.
DIY Reclaimed Wood Folding Table Project Details
1 hour
30 minutes
1 hour
2 hours
30 minutes
DIY
Kitchen Decor
Equipment
-
Dremel, rotary saw, or table saw
-
Drill
-
Pencil
-
Measuring tape
-
Lightweight sandpaper
-
Brush
-
Safety Glasses
-
Work Gloves
Materials
- 2 folding table legs
- 1 piece plywood in the table length, width and thickness size of your choice
- 1 box Stikwood Weathered Wood or any peel and stick wood planks
- 1 box Stikwood Weathered Wood Corner Trim
- Spray paint optional for the table legs
- Craft paint optional
Instructions
To assemble the table:
-
Screw the folding table legs on both sides of the plywood to the bottom of the table. Ensure they are securely fastened and then fold out the legs.
-
Optional: If you desire an all-white color scheme or a different custom color, spray paint the legs and the bottom of the table. Apply in thin, even coats and allow to dry completely between applications and before proceeding to the next step.
Assemble the corner and border trim:
-
Measure and precisely mark where the trim pieces will meet and overlap in the corners of your tabletop.
-
Using a Dremel, rotary tool, or table saw, cut out a small 1-inch square notch in the trim pieces. This allows the adjacent trim piece to neatly overlap, creating a modern 90-degree corner rather than a traditional mitered joint. Repeat this process for all four corners.
-
Once cut, carefully peel the adhesive backing from the trim pieces and firmly press them into place around the edges of the table.
Prep the wood boards:
-
Arrange the Stikwood planks on your tabletop without peeling the adhesive. Experiment with different layouts and alternate board lengths to achieve your desired mismatched or patterned design. Each plank has unique character, so find an arrangement that pleases you most.
-
When satisfied with the dry layout, measure and mark each board precisely where it needs to be cut to fit perfectly within the border trim.
-
Cut all the Stikwood planks according to your marks. Dry-fit them onto the table once more to confirm all cuts are accurate and fit properly within the trim. This crucial step allows for any necessary adjustments before permanent adhesion, as Stikwood is not easily removed once applied.
Assemble the wood boards:
-
Starting from one edge, peel the adhesive backing off a pre-cut wood board and firmly press it into its designated place on the tabletop. Work meticulously across the table, ensuring a tight fit for each plank until the entire surface is covered.
-
Optional: Use lightweight sandpaper to gently smooth any rough cut edges or corners on the newly applied wood boards for a refined and safe surface.
-
Optional: If desired, apply a small amount of craft paint (black and white, or a custom color) to any visible raw wood edges. This helps to seamlessly blend them with the distressed white finish of the Stikwood, enhancing the overall reclaimed aesthetic.
-
Optional (but Recommended): If your Stikwood was not pre-treated, apply a matte polyurethane sealant to the entire tabletop to protect it from liquids and heavy use, ensuring long-term durability.
Notes

We absolutely love seeing your creative endeavors and the beautiful transformations you bring to life! Don’t forget to share your finished DIY Reclaimed Wood Folding Table with us on Instagram. Tag us and use the hashtag #sugarandclothloves so we can admire your unique creations and potentially feature them on our channels! Looking for more inspiring interior design ideas, practical home organization tips, or exciting DIY projects to tackle? You can find all our comprehensive home decor tutorials, creative inspiration, and expert ideas right here on our blog. Happy crafting!