
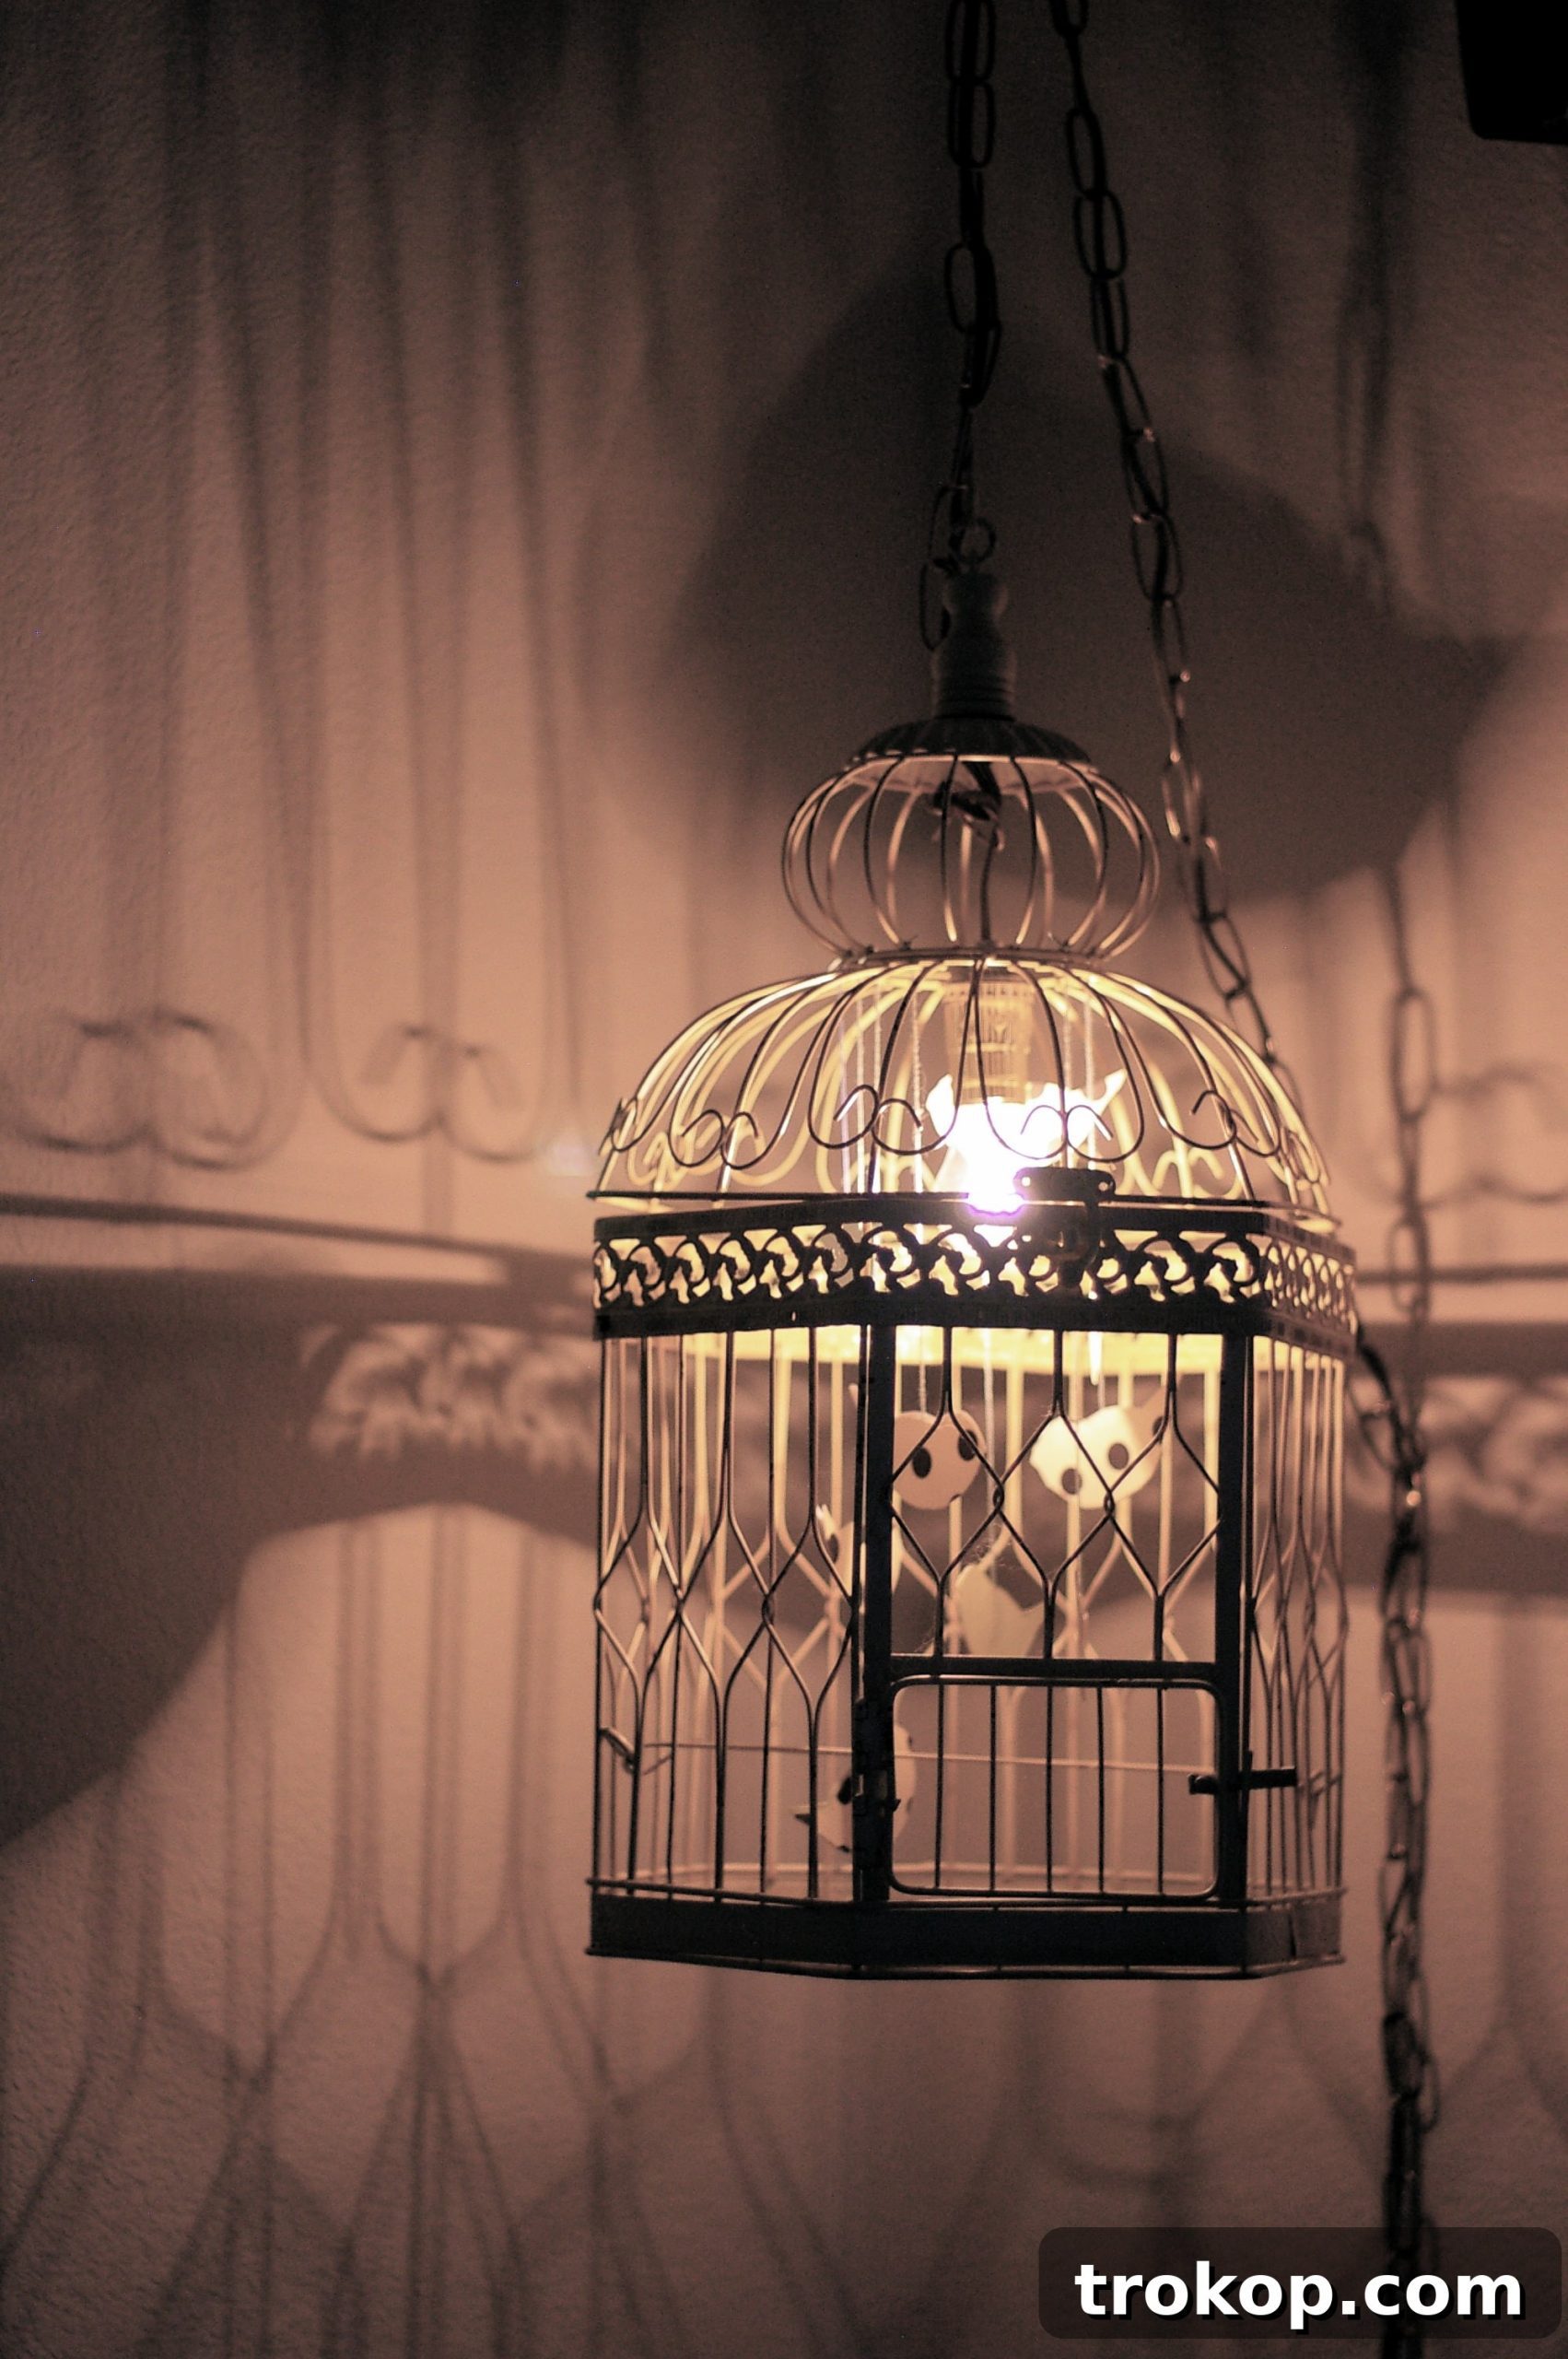
Light up your space with unparalleled charm and a touch of vintage elegance! This comprehensive DIY Birdcage Chandelier tutorial invites you on a creative journey to transform a simple, often overlooked birdcage into a breathtaking statement light fixture. Imagine the warm glow emanating from your unique creation, instantly elevating the ambiance of any room. Not only is this project incredibly rewarding, but it’s also a perfect way to infuse your home with personalized style and a sense of history, all while adhering to a budget.
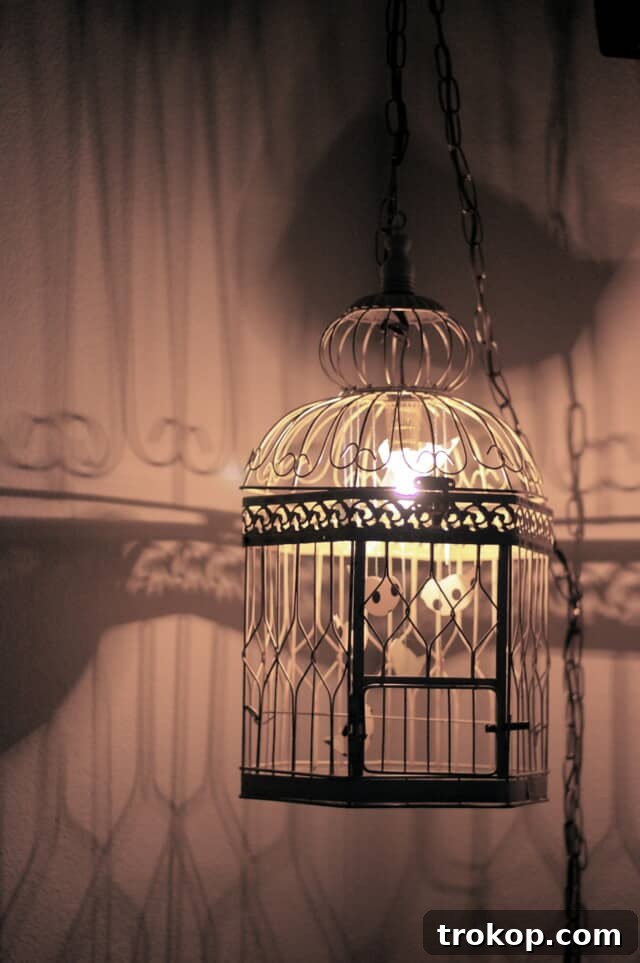
For months, a beautiful vintage birdcage found itself wandering aimlessly around our apartment, a cherished relic patiently awaiting its next act. Its initial role as a charming prop for wedding reception favors had been fulfilled beautifully, leaving it without a clear purpose thereafter. Rather than allowing this once-significant piece to simply gather dust and fade into the background, we felt it deserved a second chance, a new lease on decorative life.
It was then that inspiration truly struck: why not transform it into a one-of-a-kind lamp? While embarking on this creative endeavor certainly came with its own learning curve, the journey of transformation proved to be immensely gratifying and the end result more than worth every effort. What was once a static, purely decorative item has now blossomed into a captivating DIY birdcage chandelier, casting a warm, inviting glow that imbues our space with character and a unique story. We were genuinely surprised, even ourselves (and my husband!), by the sheer beauty and functionality of the finished piece. Driven by this success and the desire to empower others, we meticulously documented each step, compiling a detailed, easy-to-follow tutorial to help you craft your very own charming birdcage light fixture.

Materials and Tools for Your Birdcage Chandelier
Embarking on this charming DIY project requires a few key materials and basic tools. Sourcing these items is often part of the fun, and many can be found at thrift stores, hardware shops, or online, making this a truly accessible and budget-friendly endeavor.
- Birdcage: The star of your chandelier! Look for a lightweight option, ideally under 15 pounds, to ensure easy hanging and safety. Vintage cages from flea markets or antique shops add instant character. Craft stores and online retailers also offer new decorative birdcages that can be easily adapted. Consider the size and style that best suits your intended space. Similar options can be found here and here.
- Swag Lighting Kit: This kit is crucial as it provides the necessary cord, plug, and often, a chain. A 12-foot kit (around $12) offers ample length and flexibility for placement. Ensure it’s rated for the bulb wattage you plan to use.
- Metallic Hardwired Lamp Socket: This component will house your light bulb. Choose a sturdy metallic socket (around $4) that complements the aesthetic of your birdcage.
- Incandescent Light Bulb: A 40-watt bulb is generally ideal for this project, providing a warm and inviting glow without excessive heat. Consider an Edison-style bulb for an extra touch of vintage charm (typically under $3). Always ensure the bulb’s wattage does not exceed the rating of your lamp socket or lighting kit.
- Drill: Essential for creating any necessary openings in the birdcage or for ceiling installation, especially when dealing with drywall.
- Screwdriver Set: You’ll need both flathead and Phillips head screwdrivers to secure the electrical components and possibly for installation.
- Wire Strippers/Cutters: While not explicitly listed, these are highly recommended for safely and efficiently preparing the electrical wires.
- Measuring Tape: Useful for determining the ideal hanging height and wire length.
- Pencil/Marker: For marking drilling spots.
Safety First: Essential Precautions for Electrical DIY
Working with electricity requires careful attention to safety. Before you begin any wiring steps, please read and understand these critical precautions. If you are uncomfortable with electrical work, consider consulting a professional or seeking assistance from someone experienced. Your safety is paramount.
- Always Unplug: Ensure the lighting kit is never plugged into an electrical outlet while you are assembling or wiring the lamp socket. This is the single most important safety rule to prevent electric shock.
- Inspect Components: Before use, check all electrical components (wire, socket) for any signs of damage, fraying, or wear. Do not use damaged parts.
- Follow Instructions: Adhere strictly to the instructions provided with your swag lighting kit and lamp socket.
- Correct Wiring: Double-check all wire connections. Loose connections can be a fire hazard.
- Proper Wattage: Only use a light bulb that matches or is below the maximum wattage rating of your lamp socket and lighting kit. Overpowering can lead to overheating.
- Adult Supervision: If children are present, ensure they are kept away from the workspace, especially when dealing with tools and electrical components.
Step-by-Step Assembly: How to Create Your Birdcage Chandelier
Now that you have gathered your materials and prioritized safety, let’s dive into the exciting process of transforming your birdcage into a beautiful light fixture. Follow these detailed instructions carefully for a successful and stunning result.
Step 1: Prepare the Lighting Kit
Begin by opening your swag lighting kit. Carefully unravel the entire chain and the electrical wire. The chain usually comes neatly bundled on a single link. Your task now is to integrate the electrical wire with the decorative chain. Gently thread the lighting wire through the links of the chain, effectively “braiding” it as you go. This serves both an aesthetic purpose, concealing the wire, and a practical one, providing support. As you thread, ensure you don’t leave excessive slack at the end where the open wires will connect to the socket. While you’ll be able to make minor adjustments later, aiming for the bulb to hang just below the chain’s attachment point to the cage is a good starting goal. Think about the desired drop length for your bulb within the birdcage.
Step 2: Thread the Wire Through the Birdcage
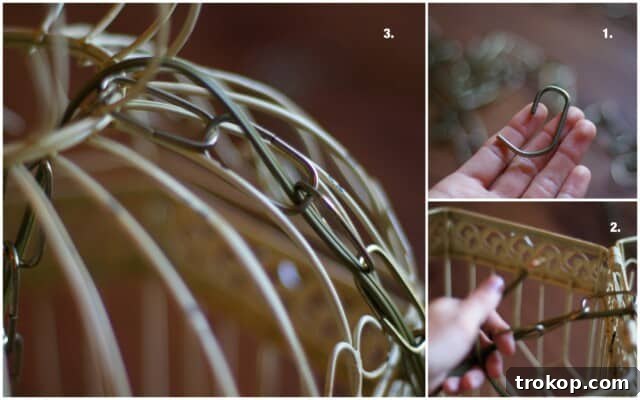
With the wire and chain prepared, it’s time to introduce them to your birdcage. Thread both the wire and the chain through the top opening of the birdcage. Orient them in the same direction they will hang once the chandelier is installed in your chosen location. This is a critical point: the lamp socket and light bulb will need to be assembled *inside* the birdcage. The assembled fixture will likely be too large to fit through the bars or openings of the cage after it’s complete, so ensure you have enough wire and chain fed through to comfortably work on the socket assembly inside the cage.
Step 3: Assemble the Lamp Socket
Take your metallic hardwired lamp socket. These typically come in two main pieces that pull apart. Gently separate them. You’ll usually find a smaller black insulating piece inside the base of the socket; carefully pull this out as well. Now, take the top cap piece of the socket (the part that will connect to the hanging wire) and string it onto the electrical wire you’ve already threaded through the birdcage. This step is often overlooked and can cause frustration later if forgotten! Ensure the top cap is on the wire, ready to be connected.
Step 4: Secure the Wiring to the Socket
WARNING: Ensure the lighting kit is ABSOLUTELY UNPLUGGED from any power source before proceeding.
With the main body of the socket (the part with the terminals) in hand, use your screwdriver to partially unscrew the two small screws located on each side. You don’t need to remove them entirely, just loosen them enough to create space. Gently pull the two separated strands of the electrical wire slightly farther apart at the end. You’ll notice two small metal contact points or “dots” within the socket. Position one side of the stripped wire onto each side of the socket, ensuring the tips of the bare metal wires are fully inserted into these contact points. It’s crucial that the copper strands make good, firm contact. Once positioned correctly, secure them into place by tightening the screws. A common trick is to gently bend the wire slightly around the screw before tightening, which helps the screw hold the wire securely without damaging it. Verify that no stray copper strands are touching each other or the metallic body of the socket, which could cause a short circuit.
Step 5: Reassemble the Socket
Once both wires are securely connected to the terminal screws and you’ve double-checked for any loose strands or potential shorts, it’s time to put the socket back together. Carefully reinsert the black insulating piece if you removed it, and then clamp the two main pieces of the socket back together, ensuring they fit snugly and securely, just as they were before you disassembled them. Make sure all internal components are enclosed and protected.
Step 6: Position the Bulb Within the Cage
Your swag lighting kit typically includes two hanging hooks. While one will be used for ceiling installation, the other can be ingeniously repurposed within the birdcage itself. Find a suitable spot on the inside of the top of your birdcage, ideally centered, and attach this extra hook. This hook will serve as an anchor point, allowing the bulb to hang perfectly in the middle of the cage, ensuring even light distribution and a balanced aesthetic. You may need to use a drill to create a small pilot hole if the cage material is too rigid for the hook to screw into directly.
Step 7: Install the Chandelier to the Ceiling
This step involves attaching your beautiful new birdcage chandelier to its permanent home. You’ll use the remaining hook from your kit for this. The method of installation depends on your ceiling material:
- For Wood Ceilings (or ceiling joists): You’re in luck! If you’re screwing directly into a wooden beam or joist, simply pre-drill a small pilot hole to prevent splitting the wood, then screw the hook firmly into place until it’s secure.
- For Drywall Ceilings: This requires a bit more care. You’ll need to use a drywall anchor.
- First, determine the exact spot where you want your chandelier to hang.
- Carefully drill a hole into the drywall, ensuring it’s just large enough to accommodate the largest part of your chosen drywall anchor. Many swag lighting kits come with toggle bolt-style anchors that require squeezing the “wings” to insert through the hole, then releasing them to expand behind the drywall.
- Once the anchor is securely in place in the drywall, you can then screw the hanging hook into the anchor. Ensure it feels very stable before proceeding. Remember, even a lightweight birdcage chandelier needs a secure anchor.
Once the ceiling hook is firmly installed, connect the chain of your birdcage chandelier to it. Adjust the length of the chain and electrical cord to achieve your desired hanging height.
Step 8: Final Assembly and Decoration
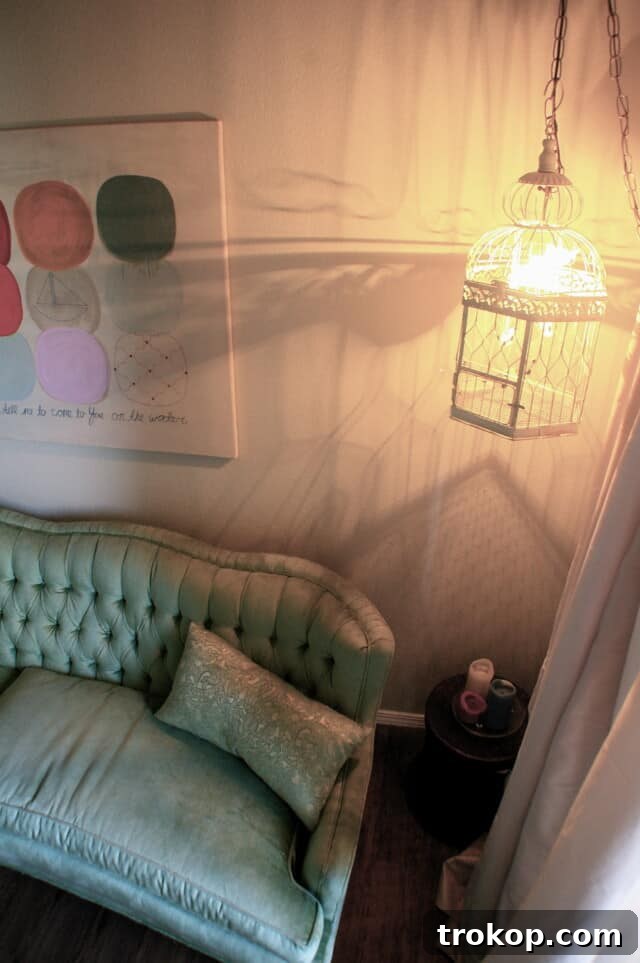
With the chandelier securely hung, the moment of truth has arrived! Carefully screw your chosen incandescent (or LED equivalent) light bulb into the assembled socket. Close and lock down the lid of your birdcage, ensuring the electrical components are safely enclosed. Finally, plug in your swag lighting kit to an outlet, and witness your beautiful creation illuminate your space!
If you’re still feeling creative, consider adding some decorative elements inside the cage. For instance, paper birds, faux leaves, or small strings of beads can add an extra layer of whimsy and charm, allowing the light to filter through in interesting patterns and making your chandelier even more unique. Experiment with different decorative touches to truly personalize your new light fixture.
Why Choose a DIY Birdcage Chandelier?
Opting for a DIY birdcage chandelier goes beyond simply acquiring a new light source; it’s a statement of personal style, sustainability, and creativity. By repurposing an old birdcage, you contribute to upcycling efforts, reducing waste and giving a beautiful object a new lease on life. This project allows for unparalleled customization, ensuring your light fixture perfectly complements your existing decor or stands out as a unique focal point. It’s a testament to the idea that stunning home decor doesn’t require a hefty budget but rather a bit of imagination and a willingness to create. The satisfaction of illuminating your home with something you’ve handcrafted yourself is truly immeasurable.
Design and Customization Ideas for Your Upcycled Light
The beauty of a DIY project lies in its infinite possibilities for personalization. Your birdcage chandelier can be a canvas for your creativity:
- Paint & Finish: Give your birdcage a fresh coat of paint. Matte black offers a modern industrial look, while a distressed white or pastel hue can enhance its vintage charm. Metallic gold or silver spray paint can transform it into a glamorous piece.
- Embellishments: Drape strings of crystals or beads from the top for a touch of elegance. Weaving faux floral vines or delicate fairy lights around the exterior can add a magical, whimsical feel. Consider adding small charms or lockets for a truly personalized touch.
- Inside the Cage: As mentioned, paper birds or butterflies can create a playful scene. For a more sophisticated look, small, lightweight artificial succulents or air plants can be secured inside, bringing a touch of nature without the maintenance.
- Bulb Choice: Beyond the standard incandescent, experiment with different bulb shapes and filaments. Edison bulbs amplify the vintage aesthetic, while a smart LED bulb allows you to change colors and brightness, adapting to any mood or occasion.
- Placement: While perfect for a living room or bedroom, consider hanging your birdcage chandelier in a hallway, entryway, or even a covered porch for an unexpected decorative element.
Let your imagination soar and turn your birdcage chandelier into a true reflection of your unique style.
Care and Maintenance for Your New Fixture
Maintaining your DIY birdcage chandelier is simple, ensuring it continues to bring light and joy to your space for years to come. Regularly dust the birdcage and the light bulb with a soft, dry cloth to prevent buildup. If your birdcage is painted, avoid harsh chemical cleaners that could damage the finish. When it’s time to replace the light bulb, always unplug the fixture from the wall outlet first and allow the old bulb to cool completely before carefully unscrewing and replacing it. A little care goes a long way in preserving the beauty and functionality of your handcrafted lighting.
Embrace the satisfaction of crafting something truly unique and beautiful for your home. This DIY birdcage chandelier is more than just a light fixture; it’s a conversation starter, a piece of art, and a testament to the charm of repurposed design. Happy crafting!