
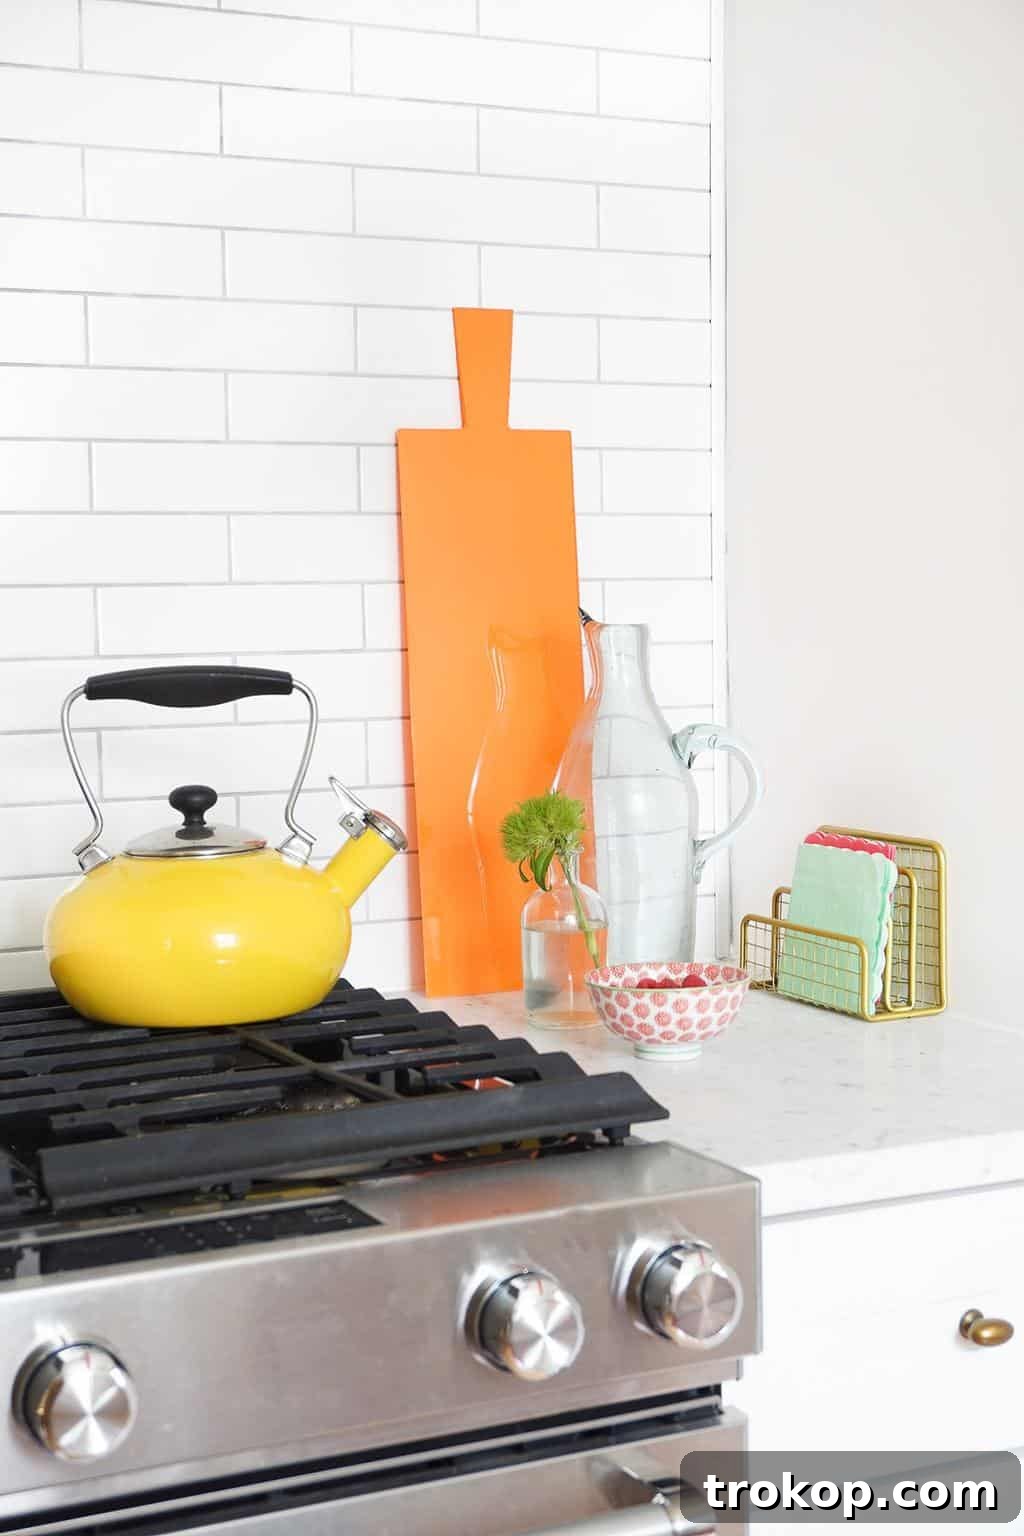
When the sun shines bright and the air is filled with the promise of warm evenings, there’s nothing quite like gathering friends and family for a memorable backyard party. From spontaneous barbecues to meticulously planned al fresco dinners, these outdoor celebrations are a hallmark of summer joy. And as any seasoned host knows, successful entertaining hinges on seamless logistics – especially when it comes to serving. Picture this: platters of delectable appetizers, refreshing cocktails, and delightful desserts all needing to gracefully make their way from kitchen to patio. That’s where the humble serving tray transforms into an indispensable ally.
While one might think a single serving tray suffices, the reality of outdoor entertaining often calls for a versatile collection. Different dishes, varying temperatures, and diverse presentation needs mean that a curated assortment of trays isn’t just a luxury – it’s a practical necessity. But why settle for generic, mass-produced options when you can infuse your gatherings with a touch of personalized charm? This guide will walk you through creating a stunning, custom-cut acrylic serving board that will elevate your outdoor entertaining experience. Crafted from a simple sheet of acrylic found at your local hardware store, this DIY project promises not only a fun and rewarding creative process but also a highly functional, eye-catching piece that’s ready for any summer fête.
Imagine a vibrant, custom-shaped tray, bursting with your favorite summer color, effortlessly holding an array of treats. Its smooth, food-friendly surface is a breeze to clean, making post-party cleanup just a little easier. A collection of these bespoke boards, perhaps in a kaleidoscope of happy hues and unique shapes, would create an absolutely gorgeous summer spread, guaranteed to impress your guests. This tutorial, brought to you by Erin from francoisetmoi.com, is designed to empower you to craft your own stylish, functional, and conversation-starting serving essential. Get ready to bring on those long, lively summer nights with flair!
Why choose acrylic for your serving boards? Acrylic, often referred to as Plexiglas, is a fantastic material for DIY projects, especially for items that need to be both durable and aesthetically pleasing. Unlike glass, acrylic is shatter-resistant, making it a safer choice for outdoor environments where accidents can happen. It’s also significantly lighter than glass, which means your serving board will be easy to carry, even when laden with goodies. The material’s inherent transparency allows for unique design possibilities, and when painted, it takes on a beautiful, glossy finish that mimics high-end resin or glass art. Furthermore, acrylic is non-porous, making it exceptionally hygienic and simple to wipe clean – a crucial feature for any item that comes into contact with food. Its versatility also means you can cut it into virtually any shape imaginable, giving you complete creative freedom that store-bought options rarely offer.
Embracing a DIY approach for your serving boards also offers significant cost savings. High-quality, uniquely designed serving trays can often come with a hefty price tag in boutiques or home decor stores. By sourcing a sheet of acrylic and a few basic tools, you can achieve a sophisticated, personalized look for a fraction of the cost. This project isn’t just about making a tray; it’s about crafting a functional piece of art that reflects your personal style and enhances your home’s aesthetic. Whether you’re aiming for a minimalist modern vibe, a whimsical organic shape, or a bold pop of color, an acrylic serving board provides the perfect canvas. Let’s dive into the materials you’ll need to bring this vision to life.
Materials & Tools You’ll Need:
- Sheet of .220 in thick Acrylic: This is the core of your project. The .220 inch thickness (approximately 5.6mm) provides a good balance of strength and manageability for cutting. You can typically find these at hardware stores or specialty plastic suppliers.
- Poster Board: Essential for creating your template. Choose a sturdy poster board that will hold its shape as you trace and cut your design.
- Ruler & Marker: For drawing precise lines on your poster board template and transferring your design accurately to the acrylic sheet.
- Reciprocating or Power Saw: A skill saw, jigsaw, or even a table saw can be used for cutting acrylic. Ensure you have the appropriate blade for plastics to prevent chipping or melting. Safety glasses are a must!
- 2×4 Wood Board (approx. 24″ long) + Clamps: (Optional but highly recommended) This acts as a straight-edge guide for your saw, ensuring perfectly straight cuts, especially important for geometric designs.
- Router: An invaluable tool for smoothing and refining rough edges, particularly around curves or inside corners of handles, giving your board a professional, finished look.
- Fine Grit Sandpaper: To further smooth any remaining imperfections along the cut edges, ensuring a safe, soft-to-the-touch finish.
- Spray Paint for Plastic (in the color of your choice): Crucial for adding that vibrant pop of color. Make sure the paint is specifically formulated for plastics to ensure proper adhesion and a durable finish.
- Clear Spray Sealer: Provides an extra layer of protection for your paint, enhancing its durability and preventing chips or scratches.
- Safety Glasses & Gloves: Always prioritize safety when working with power tools and spray paints.
Step-by-Step Guide to Crafting Your Custom Acrylic Serving Board:
Step 1: Design Your Template
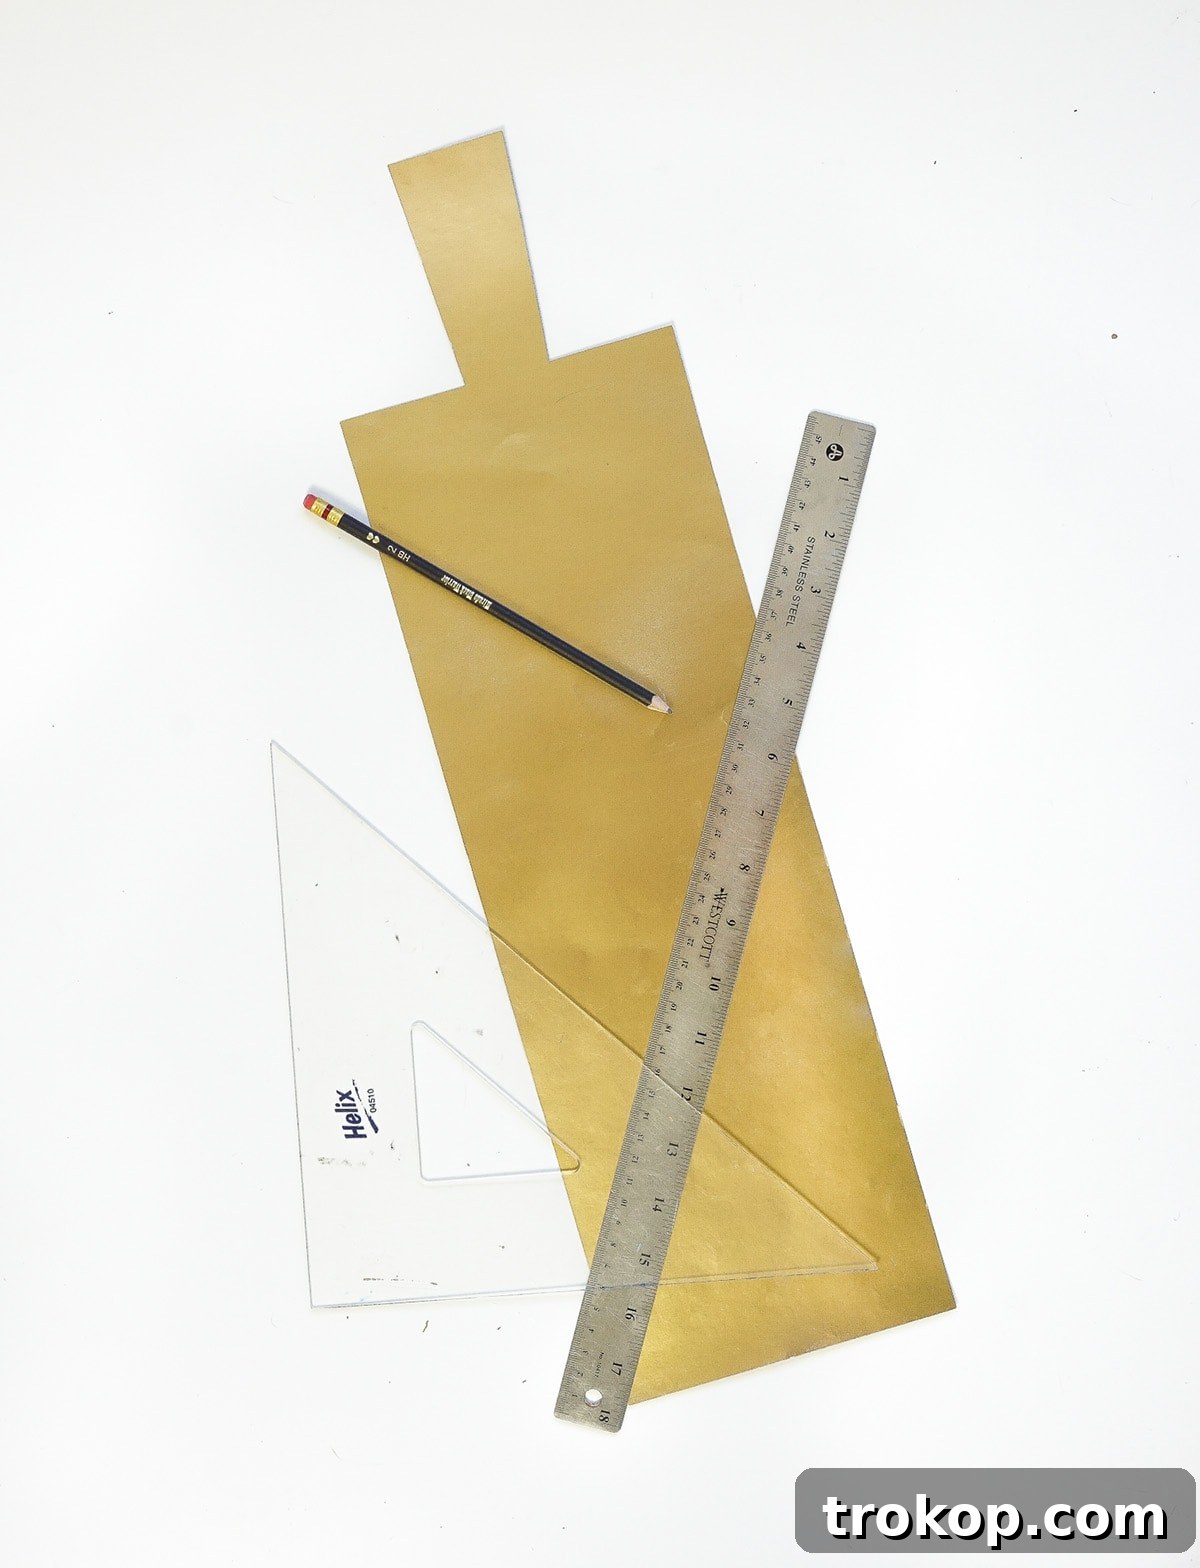
The journey to your perfect serving board begins with a design. On your chosen poster board, draw out the exact shape you envision for your cutting board. This is where your creativity can truly shine! Consider various styles: perhaps a sleek, modern rectangle with rounded corners, an organic, free-flowing abstract shape, or even a whimsical leaf or cloud design. If you want to incorporate a handle, remember to design that cutout as well. Use your ruler for straight lines and a compass or a large round object for perfect curves. Once you’re happy with your design, carefully cut it out from the poster board. This template will serve as your precise guide for cutting the acrylic, so take your time to ensure it’s exactly what you want.

Step 2: Trace Your Design onto Acrylic
Lay your custom poster board template onto the sheet of acrylic. A critical tip here: the acrylic sheet will come with a protective film on both sides. **Do not remove this film yet!** It acts as a shield against scratches during the cutting process and provides an excellent surface for tracing. Strategically position your template on the acrylic sheet to minimize waste and perhaps even utilize existing straight edges of the acrylic, reducing the number of cuts you’ll need to make. Carefully trace around your template using a marker. A fine-tipped marker is ideal for precision, ensuring your traced lines are as accurate as possible, which will result in cleaner cuts.

Step 3: Precision Cutting of Your Acrylic
Now it’s time to bring your design to life. Wearing your safety glasses, carefully cut out the traced shape from the acrylic sheet using your power saw. When cutting acrylic, it’s important to use a blade designed for plastics or fine-tooth blades to prevent chipping or melting. For exceptionally straight edges, a trick professional woodworkers use is to employ a small wood board as a straight-edge guide for your saw. Clamp this guide board firmly onto the acrylic, parallel to the line you intend to cut. This technique will ensure your cuts are perfectly straight and clean. For any rough edges, especially within the inside corners of a handle cutout or intricate curves, a router is your best friend. Fitted with a flush trim bit, a router will smooth and refine these areas, giving your board a professional, polished finish that speaks to quality craftsmanship. Always work on a stable surface and ensure the acrylic is clamped securely to prevent movement during cutting.

Step 4: Smooth the Edges
Even with careful cutting and routing, the edges of your acrylic board may still have some slight imperfections. This step is crucial for both aesthetics and safety. Using fine-grit sandpaper, gently sand down only the cut edges of your acrylic board. The goal is to remove any sharp points, burrs, or irregularities, creating a smooth, safe, and professional-looking finish. Avoid sanding the flat surfaces of the board, as this can dull the acrylic. Work evenly along all edges until they feel perfectly smooth to the touch. This attention to detail will significantly enhance the overall quality and feel of your finished serving board.

Step 5: Paint and Seal for a Vibrant Finish
This is where your serving board truly comes to life with color! Carefully peel back the protective film from **one side only** of your acrylic sheet. This exposed side is the one you will paint. The remaining film on the other side will keep it pristine and provide a clean surface for your food. In a well-ventilated area (preferably outdoors), apply 2-3 light, even coats of your chosen spray paint for plastic. Allow adequate drying time between each coat to prevent drips and ensure a smooth, opaque finish. Once the paint is completely dry to the touch, apply a clear spray sealer over the painted surface. This clear coat will protect your vibrant color from scratches and wear, ensuring your beautiful board lasts for many gatherings to come. Again, apply in thin, even coats, allowing each to dry thoroughly. Finally, for the grand reveal, peel back the remaining protective film from the top (unpainted) side of your acrylic board. You’ll be left with a gleaming, perfectly finished serving board, ready to be loaded up with delicious treats and impress your guests!
Tips for Success & Customization:
- Design Inspiration: Don’t limit yourself to traditional shapes! Think about the theme of your party or your home decor. Abstract blobs, organic leaf shapes, or even customized initials can make for incredibly unique serving boards. Use stencils or freehand drawing on your poster board to experiment.
- Color Palette Exploration: The range of spray paint colors is vast. Consider matching your board to your existing backyard or pool scheme, or choose a contrasting color for a bold statement. Ombre effects can be achieved by blending two colors of spray paint, or create color-blocked designs by masking off sections.
- Versatility Beyond Serving: These acrylic boards are incredibly versatile. Beyond carrying food, they can serve as chic decorative trays for displaying candles, small plants, or holding remote controls and magazines on a coffee table. Use them as a catch-all for keys and mail by the door, or as a stylish vanity tray in the bathroom.
- Care and Maintenance: To clean your acrylic serving board, simply wipe it down with a soft, damp cloth and mild soap. Avoid abrasive cleaners or harsh chemicals, as these can scratch the acrylic or damage the paint and sealer. For extra shine, you can use a specific acrylic cleaner.
- Gifting Potential: A custom-made acrylic serving board makes an exceptional and thoughtful gift. Personalize it with the recipient’s favorite color or design, making it perfect for housewarmings, weddings, or birthday celebrations.
- Safety First: Always wear appropriate safety gear, including eye protection and gloves, when using power tools and spray paints. Ensure your workspace is clean, well-lit, and properly ventilated. If you’re new to using power tools, watch some tutorial videos or ask for guidance from an experienced individual.
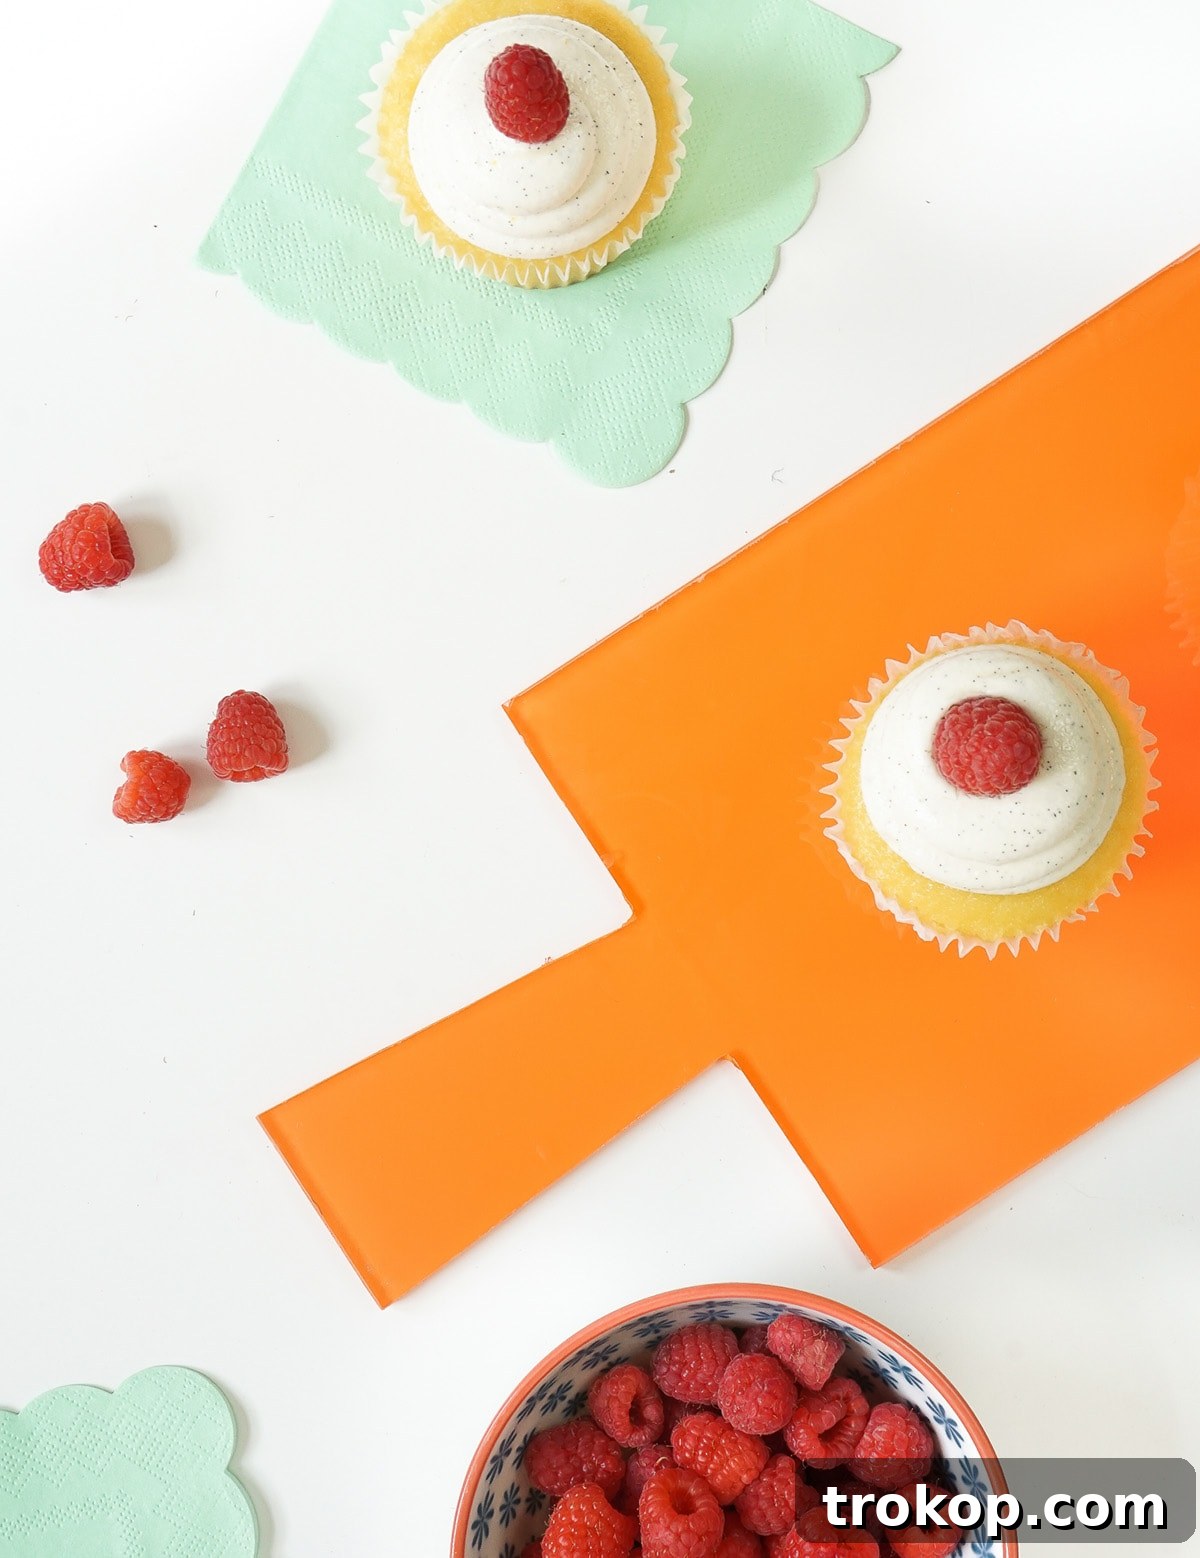
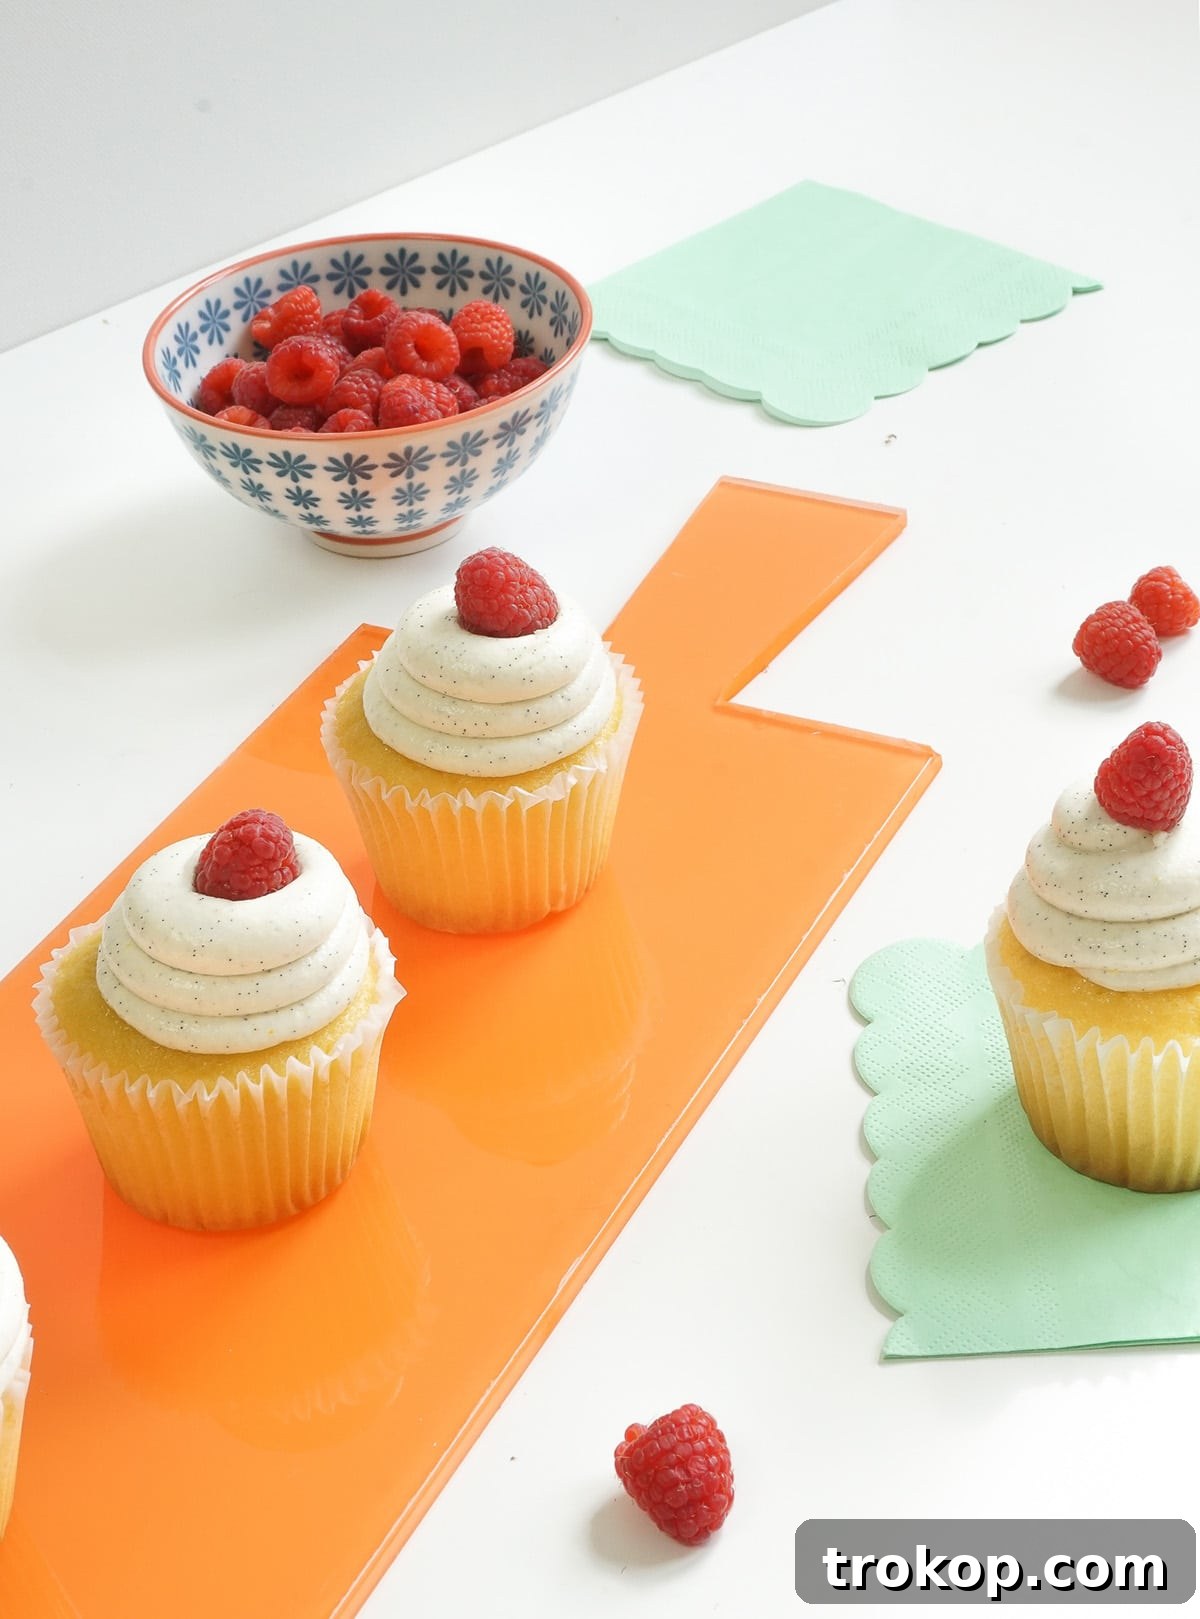
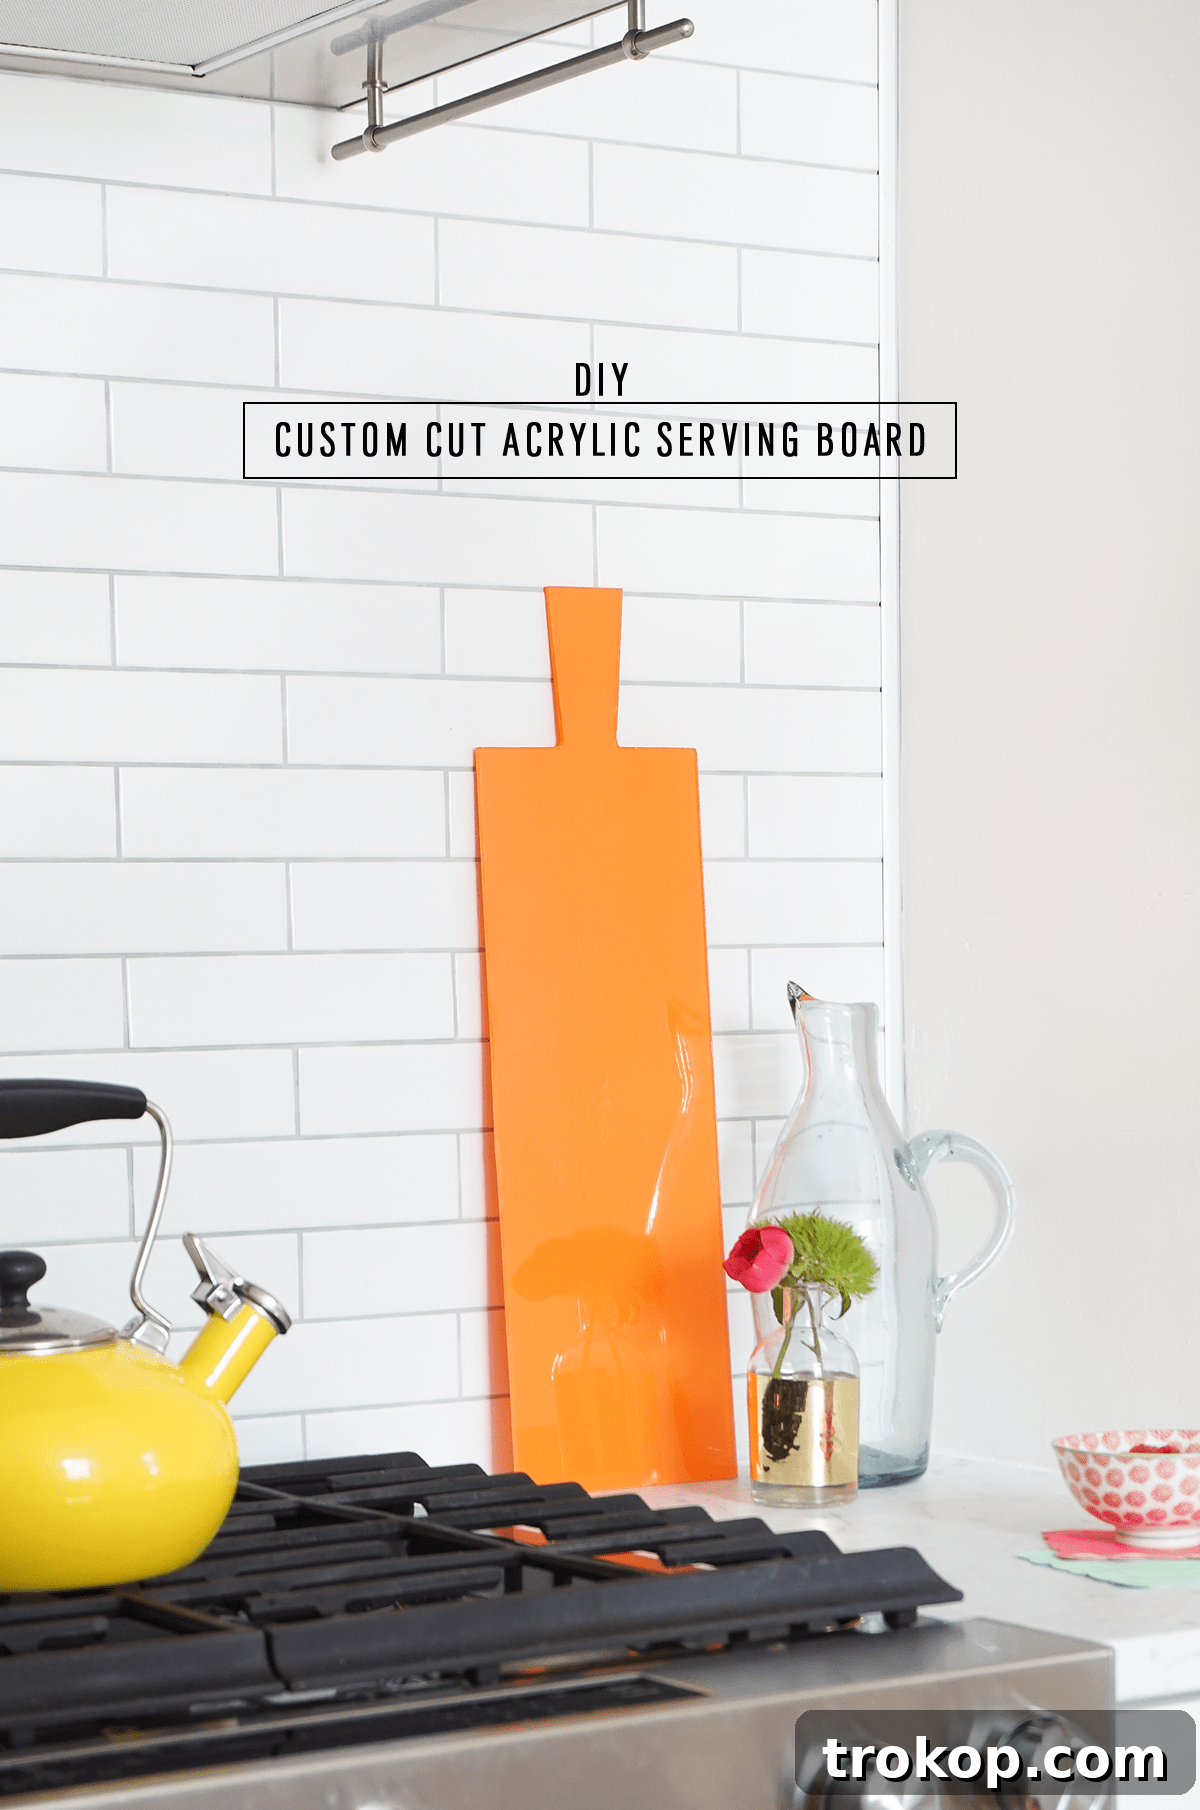
The satisfaction of crafting something beautiful and functional with your own hands is truly unparalleled. This DIY custom acrylic serving board project offers an exciting opportunity to inject your personal style into your entertaining essentials, making every gathering feel a little more special and uniquely yours. With the incredible range of spray paint colors available today, you have endless possibilities to perfectly match your serving board to your existing backyard decor, your pool party theme, or simply your current design obsession. For my own board, I couldn’t resist choosing a vibrant, summery orange color – it just screams sunshine and good times! Now, we’d love to hear from you: Do you have a particular color or design obsession for your summer decor this year? Share your ideas and get ready to create stunning, personalized serving solutions that will make your next outdoor event unforgettable!