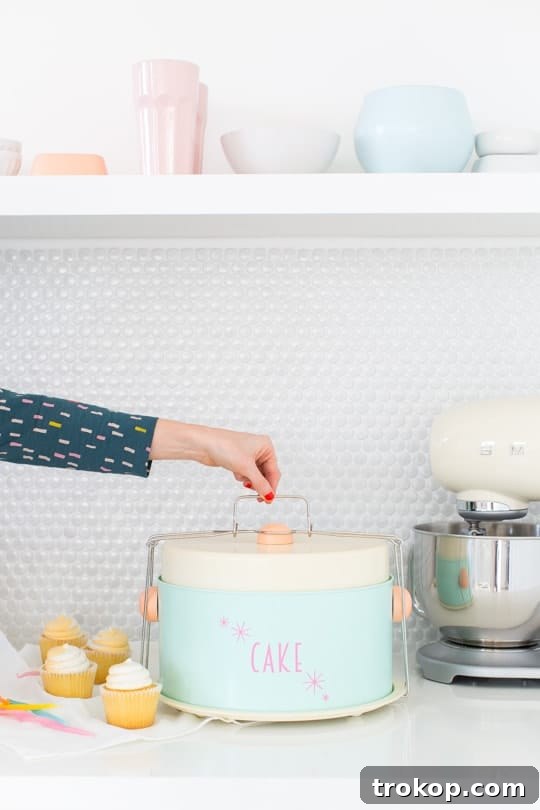
Transforming ordinary objects into personalized masterpieces is one of the greatest joys of DIY, and this project is no exception. Get ready to turn a simple cake carrier into a charming, custom-designed retro accessory that will undoubtedly steal the show at your next gathering. This DIY Retro Cake Carrier is not just incredibly cute and sweet; it’s also a fantastic conversation starter that promises to earn you a flood of compliments. And for all you bakers out there, rest assured, this carrier is designed to be completely food-safe, keeping your delicious creations pristine and secure.
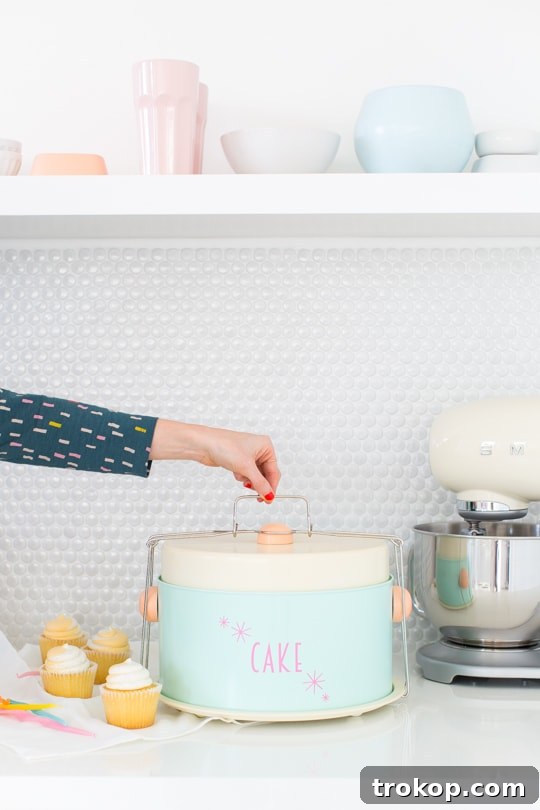
The journey to creating this delightful cake carrier began over a year ago when I first acquired the original piece. I instantly envisioned a vibrant, retro-inspired makeover, but like many creative projects, it sat patiently, awaiting its moment. My passion for all things retro runs deep, finding expression in various projects, from fashion choices to home decor, much like the appealing Retro DIY Portable Bar I once crafted. The design inspiration for this carrier, however, remained elusive until just recently.
Despite numerous studio moves and the accumulation of countless other creative endeavors, I was genuinely surprised and impressed to discover that all the original components of the cake carrier had survived. It felt like fate, a sign that its time had finally come. And now, after its much-anticipated transformation, it stands as a far more charming and unique DIY retro cake carrier than its original form. While the carrier wasn’t inherently unappealing before, it simply didn’t reflect my personal style. It lacked that distinctive flair, that touch of “me” that makes a piece truly special. So, I embarked on a creative journey, experimenting with a fresh palette of colors and a playful font to inject new life into it.
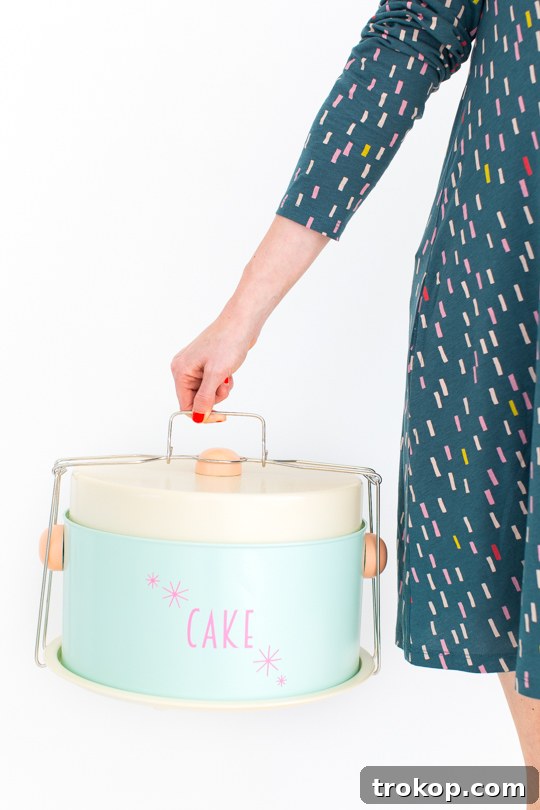
A significant breakthrough in this project, and indeed in my entire spray-painting experience, was the discovery of food-safe shellac. This product has revolutionized how I approach kitchen-related DIYs, opening up a world of possibilities for customizing food storage and serving items without compromising safety. Now, I can confidently spray paint virtually any kitchen accessory, knowing it will remain safe for contact with food. This makes personalized kitchen decor more accessible than ever before.
The timing couldn’t be more perfect, as you still have ample opportunity to craft one of these charming carriers just in time for the upcoming holiday season. Imagine presenting your festive confetti birthday cheesecake or a homemade pie in a carrier that’s as delightful as the dessert itself. For those of us who believe that presentation is just as crucial as the treat inside, this project is a dream come true. There’s a certain satisfaction that comes from having every detail, down to the transport vessel, perfectly align with your aesthetic vision – some might call it obsessive, but I call it dedication to style!

Materials and Tools Needed to Make a Vintage DIY Cake Carrier
To embark on this exciting DIY project, you’ll need a few key items to achieve that perfect retro look and ensure food safety. Gather your supplies, and let’s get crafting:
- Cake Carrier: Begin with this specific cake carrier, or a similar one available here. The design allows for easy disassembly, which is crucial for a smooth painting process.
- Enamel Gloss Spray Paint: Choose your preferred colors to match your retro vision. I opted for Montana Gold in refreshing mint, soft shrimp pastel, and classic cream to create a delightful vintage palette.
- BIN Shellac Primer: This is a game-changer! BIN Shellac Primer provides exceptional adhesion and helps to create a smooth, even surface, making your paint job look professional.
- Extra Fine Sandpaper: Essential for preparing the surface. Extra fine sandpaper ensures that your paint adheres properly and eliminates any existing graphics or imperfections.
- Food-Safe Clear Shellac Sealant Spray: This is the most crucial step for food safety. I highly recommend the Rust-Oleum Zinsser 408 Bulls Eye Clear Shellac Spray, which is an all-natural and non-toxic option. Find a suitable option here.
- Matte Pink Adhesive Vinyl: (Optional) For creating custom letters and a starburst design. This matte pink adhesive vinyl adds a professional, crisp finish.
- Retro Cake Sticker Download: If you prefer not to use vinyl or a cutting machine, you can utilize this Retro Cake sticker download. Alternatively, stencils and paint or a pre-made retro sticker will work wonderfully.

How To Make A Retro DIY Cake Carrier
Ready to bring your retro vision to life? Follow these detailed steps to create a cake carrier that’s both stylish and functional:
Step 1 — Prepare Your Carrier: Begin by carefully unscrewing and removing the handles from your cake carrier. Disassemble all the separate pieces to ensure you can work on each component individually. Using the extra-fine sandpaper, gently sand down all surfaces. This crucial step creates a smooth base for your paint and ensures optimal adhesion. Focus on removing any existing graphics or rough patches, but be sure to leave the silver latching mechanism untouched to maintain its functionality. Once sanding is complete, you should no longer see any of the original designs or text.
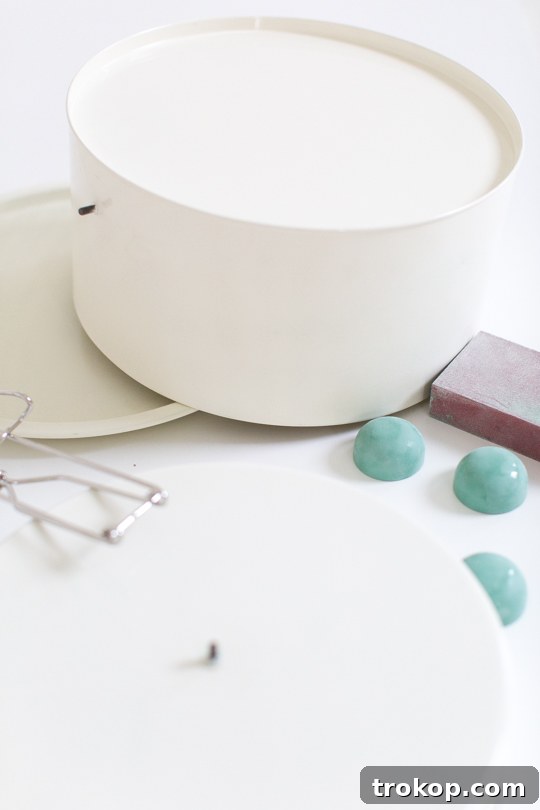
Step 2 — Apply Shellac Primer: After sanding, meticulously dust off all the pieces to create a clean, debris-free surface. This is essential for the primer to adhere properly. Now, apply a coat of BIN shellac primer. One of the fantastic qualities of shellac primer is its self-leveling ability, which effectively fills in minor imperfections and roughness on the surface. This means you’ll achieve a beautifully smooth and uniform canvas once the primer has dried, setting the stage for a flawless paint job.
Step 3 — Color Your Carrier: With your primed surfaces ready, it’s time to infuse your cake carrier with vibrant retro hues. Select your chosen enamel gloss spray paints and apply three very thin, even coats to each piece. Applying multiple thin coats, rather than one thick one, prevents drips and ensures a professional-looking finish. Allow each coat to dry according to the manufacturer’s instructions, typically between coats, and then let all pieces dry completely for a full 24 hours before proceeding.
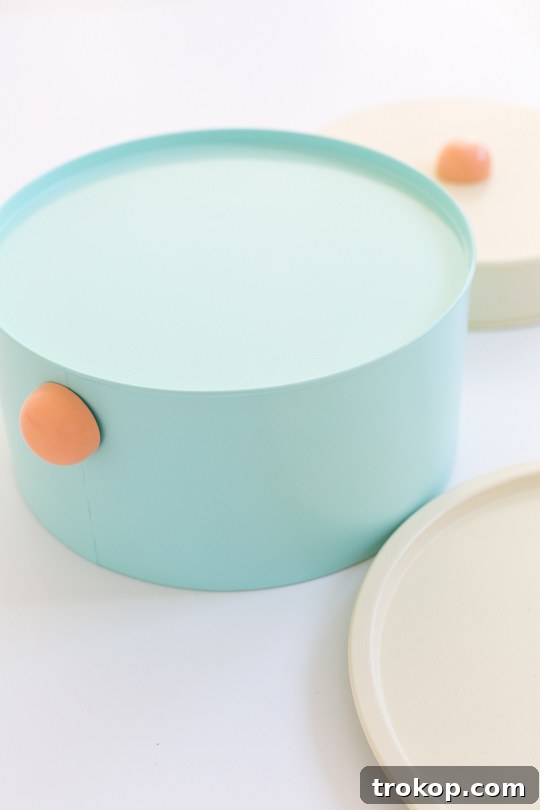
Step 4 — Seal for Food Safety: This is a critical step for ensuring your DIY cake carrier is safe for direct contact with food. Apply a final, generous coat of clear food-safe shellac sealant spray to all the painted pieces. This protective layer acts as a barrier, ensuring that no toxic paint surfaces are exposed to your delicious sweets. The good news is that food-safe shellac typically cures quite quickly, minimizing your downtime and allowing you to move on to the next step sooner.
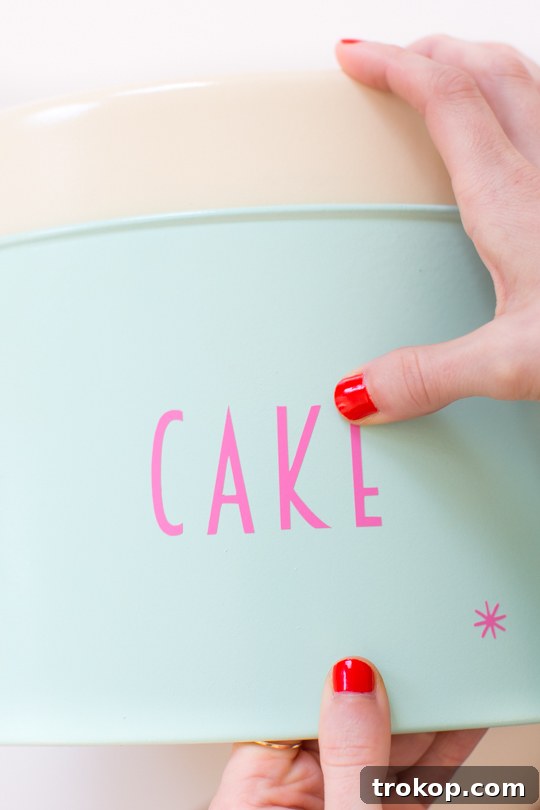
Step 5 — Add Your Decals: For the decorative sticker portion, I utilized my Cricut machine to precisely cut the desired graphic from adhesive pink vinyl. This method offers sharp, clean lines and a professional finish. However, if you don’t own a cutting machine, don’t worry! You can easily download the provided artwork and use it as a stencil to hand-paint the design, or simply print it onto a solid sticker sheet and apply it. There’s no need to invest in an expensive machine solely for this step; creativity and resourcefulness are your best tools!
Step 6 — Final Seal for Durability: Once your sticker or painted design is perfectly in place, apply one last coat of the clear food-safe shellac over the entire surface, including the decal. This extra layer serves multiple purposes: it firmly seals the sticker, preventing it from peeling off over time, and it makes the entire DIY cake carrier easily wipeable. This enhanced durability ensures that your beautiful creation can be cleaned effortlessly after each use, maintaining its charm and hygiene for years to come.
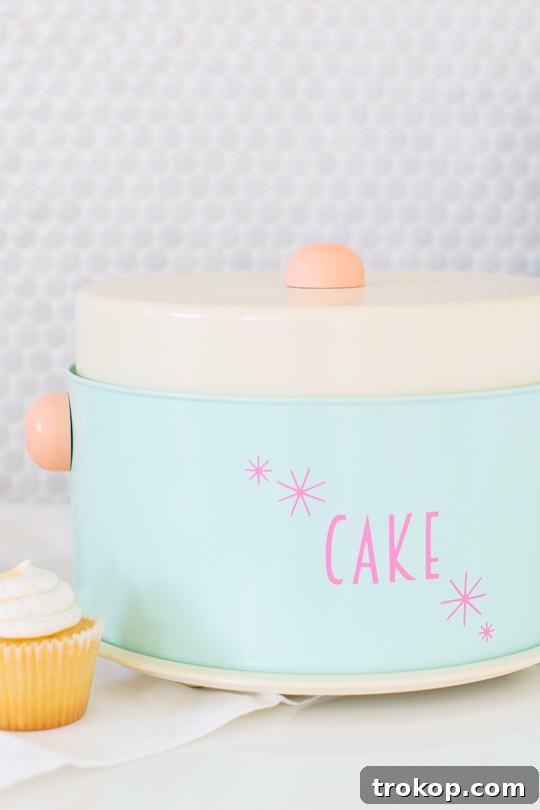
How To Wash Your Retro DIY Cake Carrier
To ensure the longevity and pristine condition of your newly crafted retro cake carrier, it’s essential to follow specific cleaning guidelines. Due to the custom paint and sealant, your carrier should only be hand-washed as needed. Use a soft cloth or sponge with mild soap and lukewarm water. Avoid abrasive cleaners, harsh scrubbing pads, or dishwashers, as these can damage the sealant and paint finish. Gently wipe down the surfaces, rinse thoroughly, and then dry immediately with a soft towel to prevent water spots. Proper care will keep your DIY retro cake carrier looking fabulous for many parties to come!
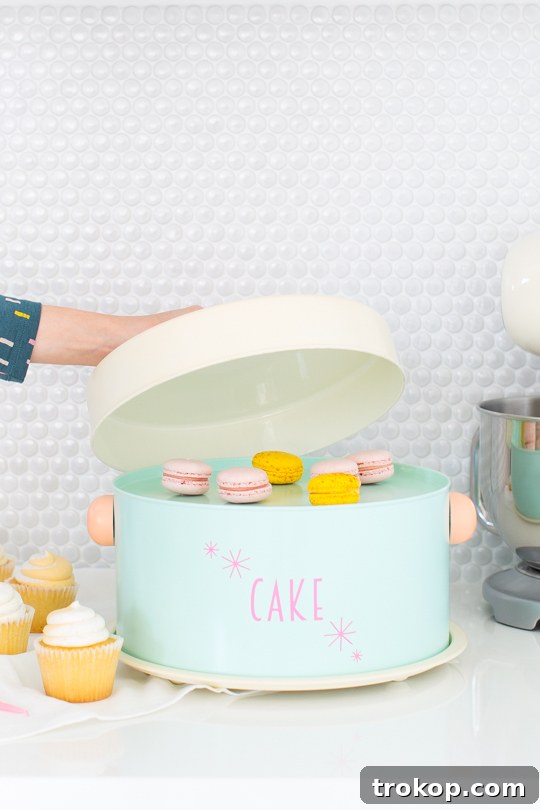
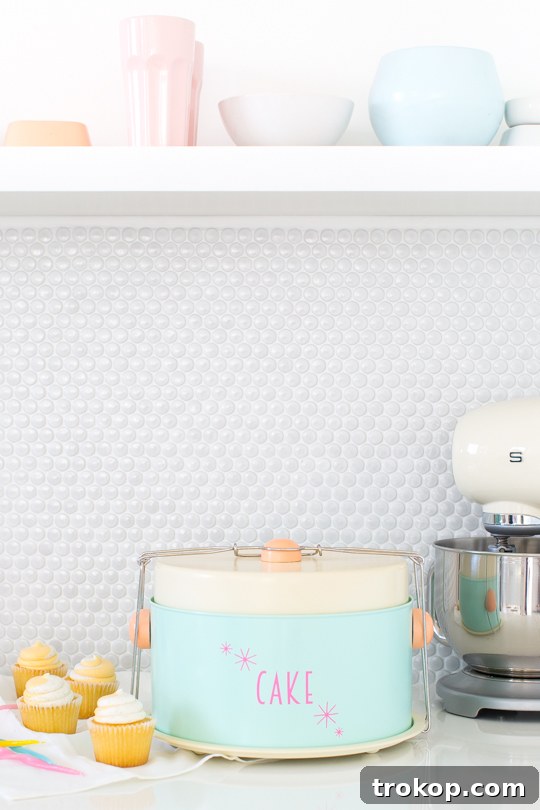
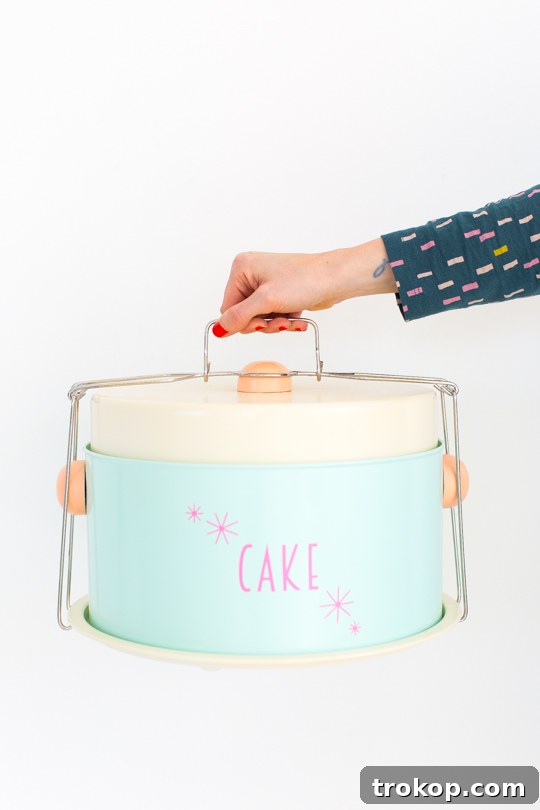
While some might call this level of styling obsessive, I consider it a passion for presentation. This DIY project truly paid off when we took our newly styled cake carrier to a friend’s birthday gathering; it was met with an abundance of compliments and admiration! The effort is undoubtedly worth it, especially considering how frequently this carrier will be put to use with all the delightful desserts we create. It’s the perfect, charming way to transport your exquisite Raspberry Layer Cake or any other homemade confection.
There’s a particular pet peeve of mine about arriving at parties without a beautifully presented dish. Why put so much effort into baking if the presentation falls flat? Don’t judge me for wanting my cake to travel in style!
For those eager to explore more retro-inspired DIY projects and add a touch of vintage charm to their lives, be sure to delve into our related posts below. We have a treasure trove of creative ideas waiting for you:
- DIY Metallic Patterned Glassware
- Retro DIY Portable Bar
- Ikea Hack Retro DIY Sideboard
- Outdoor Decor: DIY Retro Beach Umbrella
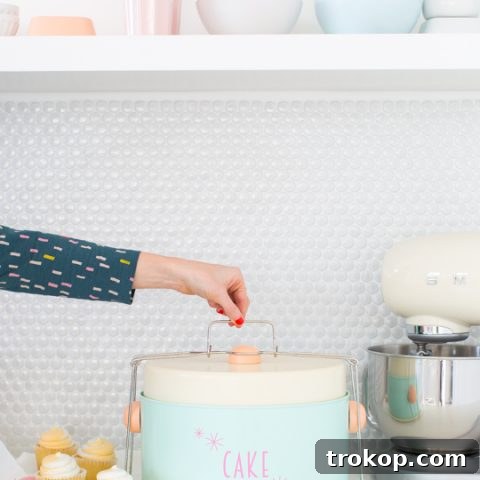
DIY Cake Carrier Idea
Equipment
- Cricut machine (Optional, for precise cutting of decals)
Materials
- Cake carrier Or a similar one here
- Enamel gloss spray paint I used Montana Gold mint, shrimp pastel, and cream.
- BIN Shellac Primer
- Extra fine sandpaper
- Food safe clear shellac sealant spray
- Matte pink adhesive vinyl
- Retro Cake sticker download
Instructions
-
Unscrew the handles from the carrier and disassemble everything so that you can use the extra fine sandpaper to sand down all of the pieces. However, leave the silver latching mechanism alone.
Once everything is sanded, you should no longer be able to see any of the previous graphics.
-
Dust everything off so that you have a clean surface to spray your BIN shellac primer on. The cool thing about shellac primer is that it self-levels and fills out a lot of the roughness of surfaces. So you should have a nice clean slate once this is dry.
-
Spray each piece of your cake carrier the colors of your choice, using three very thin coats of spray paint. And let it dry for 24 hours.
-
Now you’ll use the final coat of clear food-safe shellac to spray all of the pieces again so that there are no toxic paint surfaces exposed to any of your sweets!
The shellac also cures really quickly so you shouldn’t have a lot of downtime here.
-
For the sticker portion, you can use a Cricut machine to cut the graphic out of adhesive pink vinyl.
But you can always download the artwork to cut out and use as a stencil or print on a solid sticker as well.
-
Spray one last coat of shellac over top of the sticker once you had it in place so that it wouldn’t easily peel off.

We are always thrilled to see your unique creations! Don’t forget to share your newly transformed DIY retro cake carrier with us on Instagram using the hashtag #sugarandclothloves. We find immense joy in seeing how you personalize and integrate these projects into your own homes and celebrations. For those constantly seeking fresh and inspiring interior design ideas, you’re in luck! You can explore all our home decor tutorials, tips, and creative ideas conveniently located right here on our site. Happy crafting!