
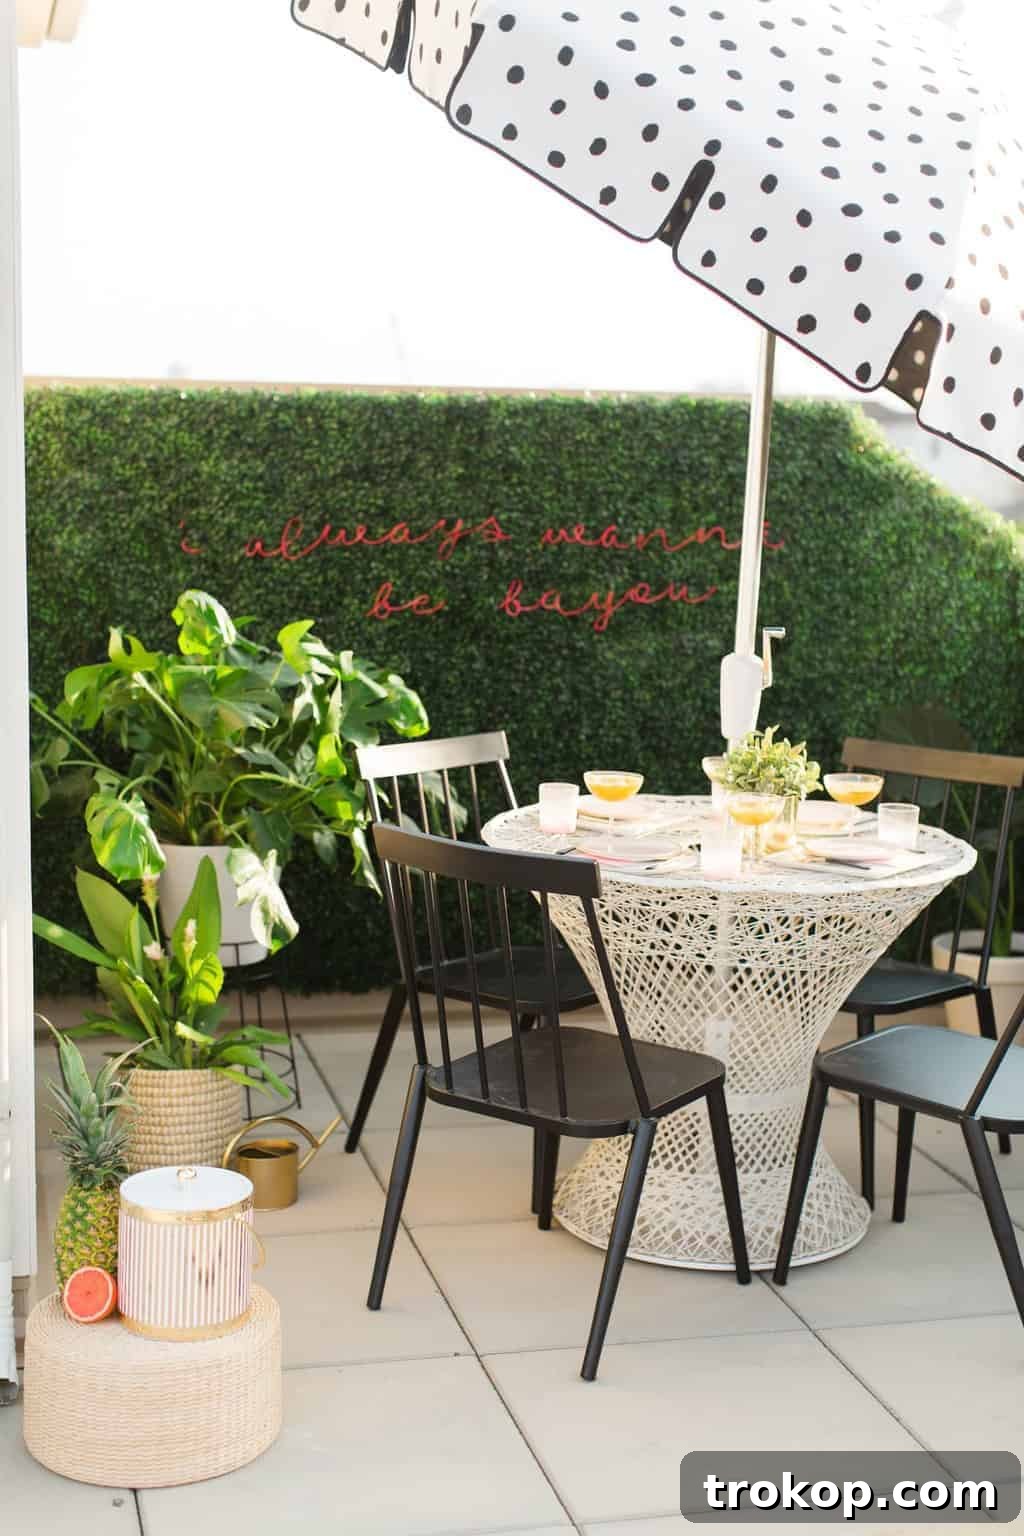
Transform your living space or outdoor area into a vibrant, inviting sanctuary with a stunning faux boxwood wall, beautifully accented by a custom DIY neon sign. This maintenance-free greenery solution brings a touch of nature and a personalized glow to any setting, offering both privacy and undeniable aesthetic appeal. Perfect for those who love lush decor without the hassle of watering and trimming, this project is a rewarding endeavor that will captivate guests and enhance your home year-round.
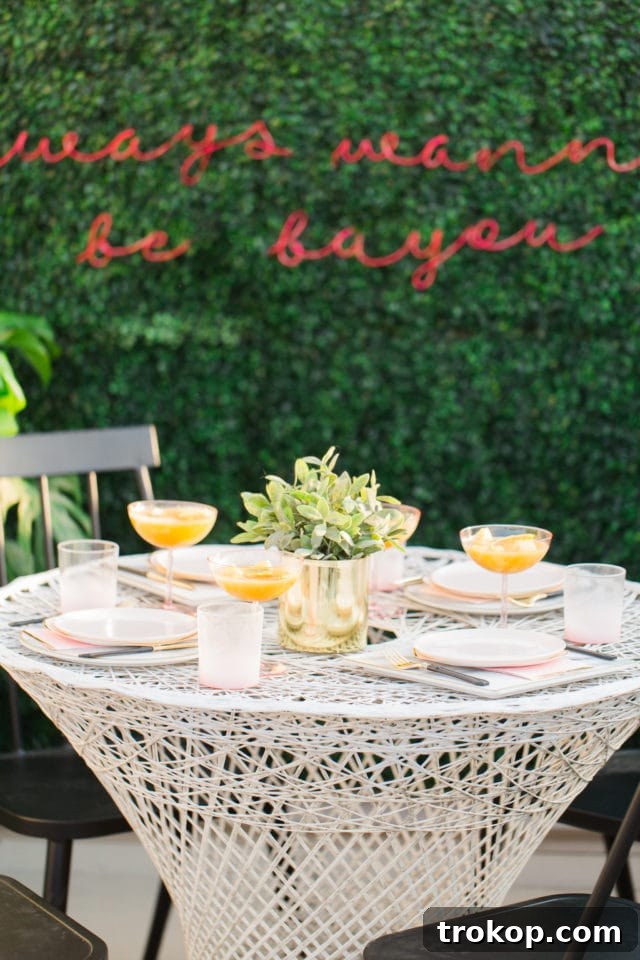
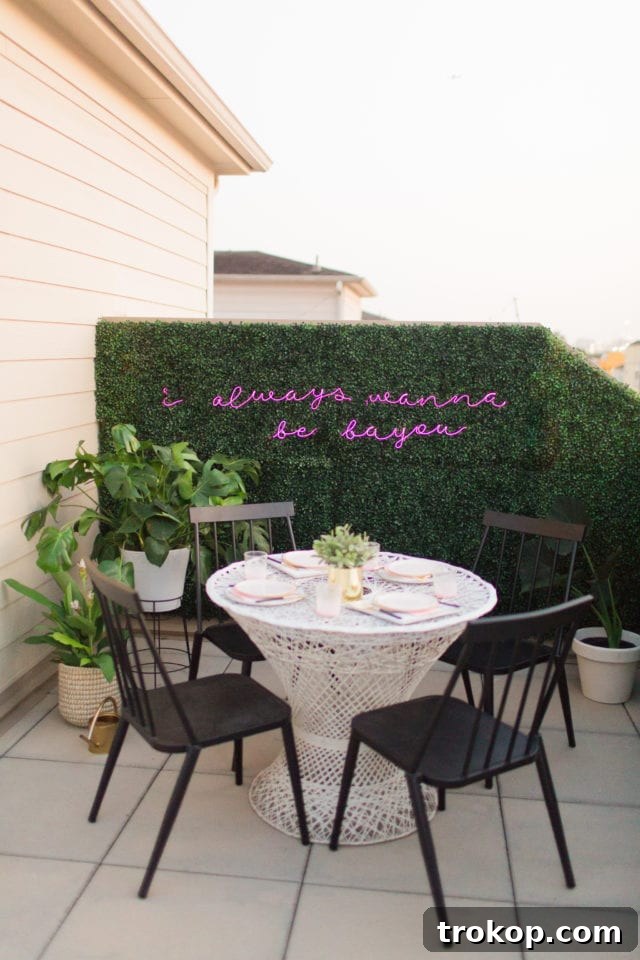
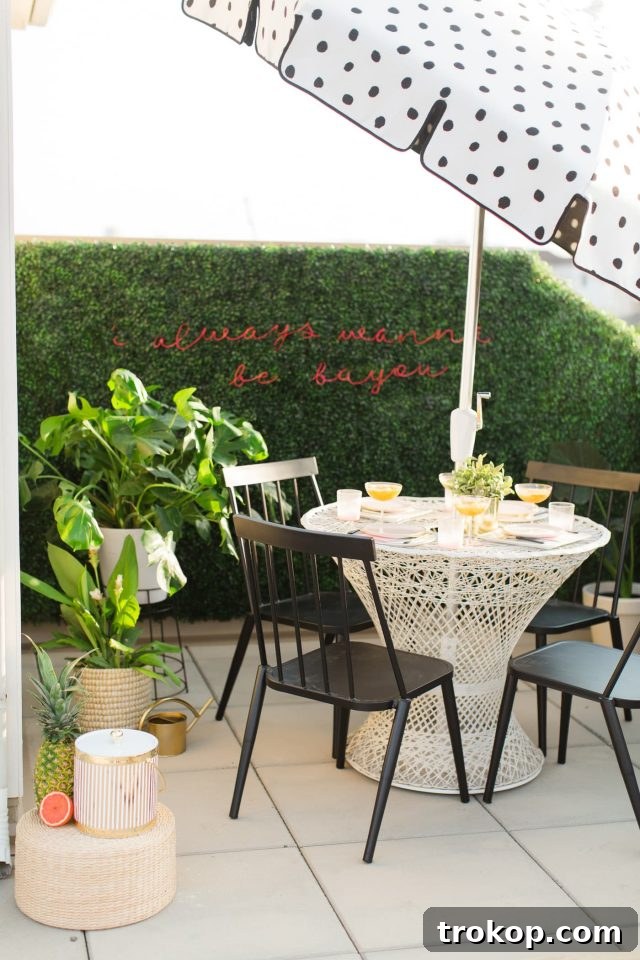
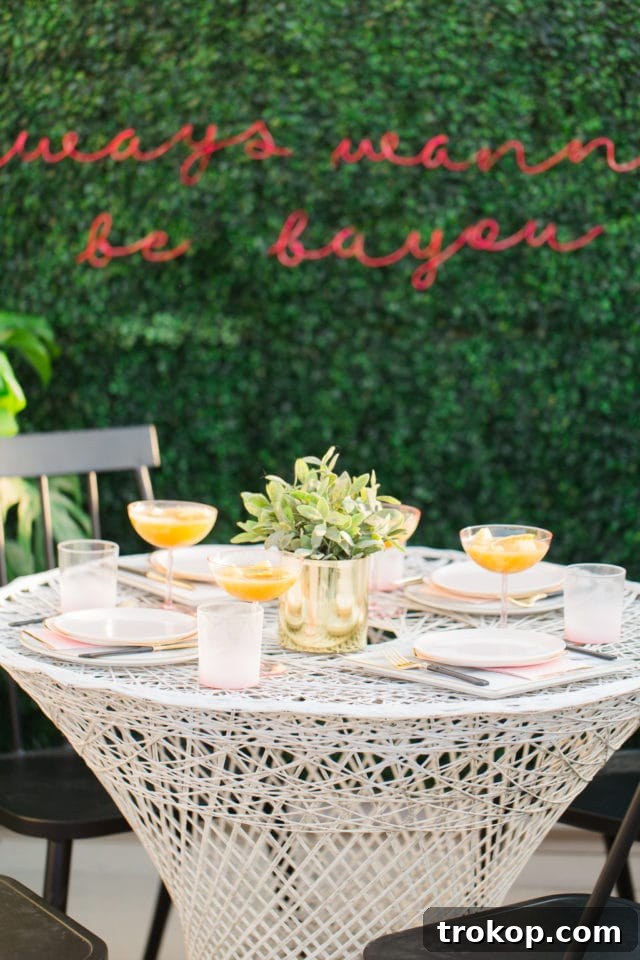
Faux boxwood walls have become a beloved trend for their ability to infuse spaces with a sense of calm and natural beauty. They provide an immediate feeling of privacy and tranquility, making them ideal for patios, balconies, or even indoor accent walls. Our custom creation combines this timeless elegance with the modern flair of a DIY neon sign, turning a simple backdrop into a focal point. This showstopping piece was a highlight of our recent rooftop patio makeover for our townhouse, demonstrating how a creative DIY project can elevate your home’s design.
The best part? This entire setup is 100% maintenance-free. For anyone with a “black thumb” or a busy schedule, this means enjoying the serene beauty of a green wall and a glowing custom message without any of the upkeep. No watering, no pruning, no fuss – just everlasting vibrancy and light. While this DIY project is relatively involved, requiring attention to detail and a bit of patience, the final result is incredibly satisfying. It’s a versatile addition suitable for any season and can even be designed for temporary installation, making it perfect for renters or those who like to frequently refresh their decor.

Table of Contents
Materials and Tools for Your DIY Boxwood Neon Wall
For the Lush Faux Boxwood Backdrop:
- Faux Boxwood Panels — The cornerstone of your green wall. Carefully measure your intended space to determine the exact number of panels needed. Consider buying a few extra for potential trimming or future expansion.
- Lightweight Plywood or PVC Boards — These will serve as the essential backing for your boxwood wall. If opting for plywood, it is crucial to select pressure-treated or properly sealed wood, especially for outdoor installations. Untreated wood will quickly succumb to rot and decay when exposed to the elements. Pressure-treated plywood offers a one-step solution, saving you the effort of sealing. For our project, we chose two 4’x8’ pieces of pressure-treated plywood. This backing prevents the need for extensive drilling into your home’s exterior paneling, which may not be designed for numerous holes.
For the Dazzling DIY Neon Sign:
While crafting a traditional glass neon sign is a complex and hazardous task best left to professionals (due to high voltage and glass manipulation risks), creating a “neon-like” effect with Electroluminescent (EL) wire is a safe and popular DIY alternative. This method allows you to achieve a custom glowing sign with relative ease for your faux boxwood wall:
- EL Wire Kit with Controller and Power Source — Select a kit in your desired color. EL wire typically comes in various thicknesses; for outdoor durability, 3.2 mm and 5.0 mm options are highly recommended. We used 16 feet of EL wire for our sign. Ensure your kit includes a controller and power source (often battery-operated or USB) for ease of use.
- 16-Gauge Wire — This thicker wire provides crucial structural stability for shaping your custom sign, especially for larger designs or intricate lettering. It acts as a robust skeleton for your EL wire.
- E6000 Glue — A heavy-duty adhesive ideal for securely bonding the delicate EL wire to the sturdier gauge wire. Its strong hold ensures your sign retains its shape over time.
- Green Zip Ties, Fishing Line, or Thread — Essential for discreetly attaching the EL wire sign to the boxwood panels. Many faux boxwood panels come with integrated green zip ties, which are perfect for blending in. The green color helps camouflage them within the foliage, making the neon sign appear to float.
- Gorilla Tape — An opaque and highly durable tape needed to cover and conceal any excess EL wire or connecting wires behind the boxwood, preventing unwanted light bleed-through and ensuring a clean finish.
- Needle-Nose Pliers — Indispensable for precisely shaping both the gauge wire and the EL wire, particularly for tight bends and intricate curves.
- Staple Gun and Staples — For efficiently and securely attaching the faux boxwood panels to their plywood or PVC backing.
- Heavy-Duty Wide D-Ring Hangers — If you plan for a temporary or easily removable boxwood wall, these hangers provide a robust and secure method for mounting the entire assembly.
Step-by-Step Guide: Creating Your Custom EL Wire Neon Sign
Step 1: Design Your Vision with a Template
Optional but highly recommended: Create a detailed template or sketch of your desired design or lettering on paper. For larger signs, an “engineering print” is an excellent and cost-effective option. These large-scale prints, typically used for blueprints, can be produced at local print shops for regular text or images at a surprisingly low cost – ours was only about $5! A clear, scaled template will serve as your guide for precise wire shaping, ensuring your neon sign looks exactly as you envisioned.
Step 2: Master the Art of Wire Shaping
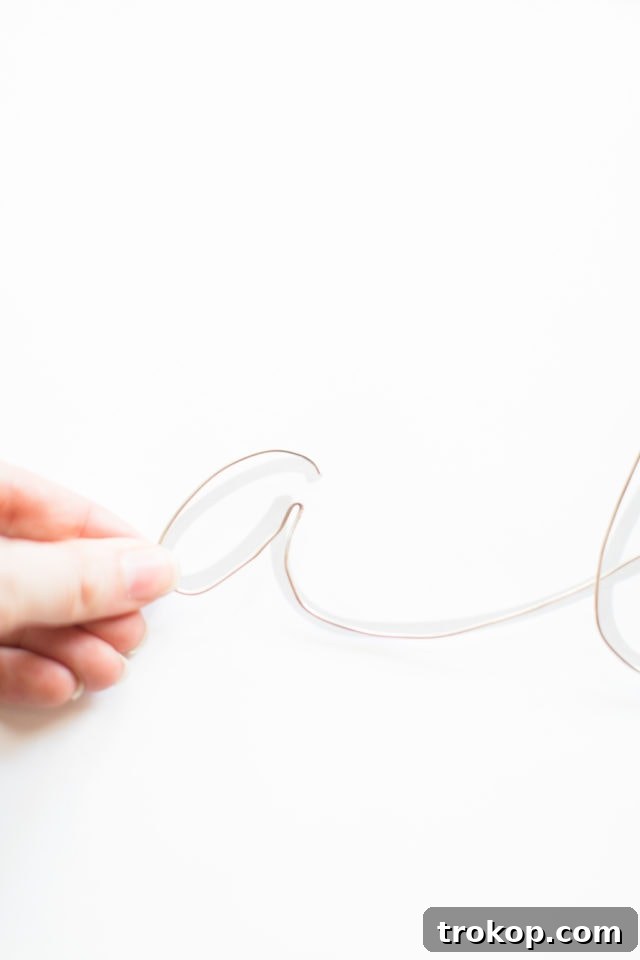
With your printed phrase laid flat as a template, begin shaping your 16-gauge wire. This sturdy wire will form the skeleton of your neon sign. Use your needle-nose pliers to carefully bend the gauge wire, meticulously following the contours of each letter or design element. The pliers are invaluable for creating smooth curves and sharp angles with precision. As you complete each letter or segment, gently weigh it down with a heavy bowl, paperweight, or even a book. This clever tip keeps your finished sections in place, preventing the rest of the word from getting tangled or losing its shape as you progress. Once all segments are shaped, ensure each word or design element lies as flat as possible, ready for the next step.
Step 3: Strategic Placement on Your Boxwood Panel
Before you begin attaching the EL wire, take the time to carefully lay your pre-shaped gauge wire phrase onto the faux boxwood panels. This is a critical planning stage where you can experiment with the exact positioning and spacing of your sign. Visualizing it now allows you to make adjustments easily. Once you start threading and gluing the EL wire into the boxwood, altering the word placement becomes much more difficult. The gauge wire acts as a placeholder, guiding your EL wire attachment and ensuring the final neon sign is perfectly aligned and aesthetically pleasing. Don’t rush this step – a well-planned layout is key to a professional-looking finish.
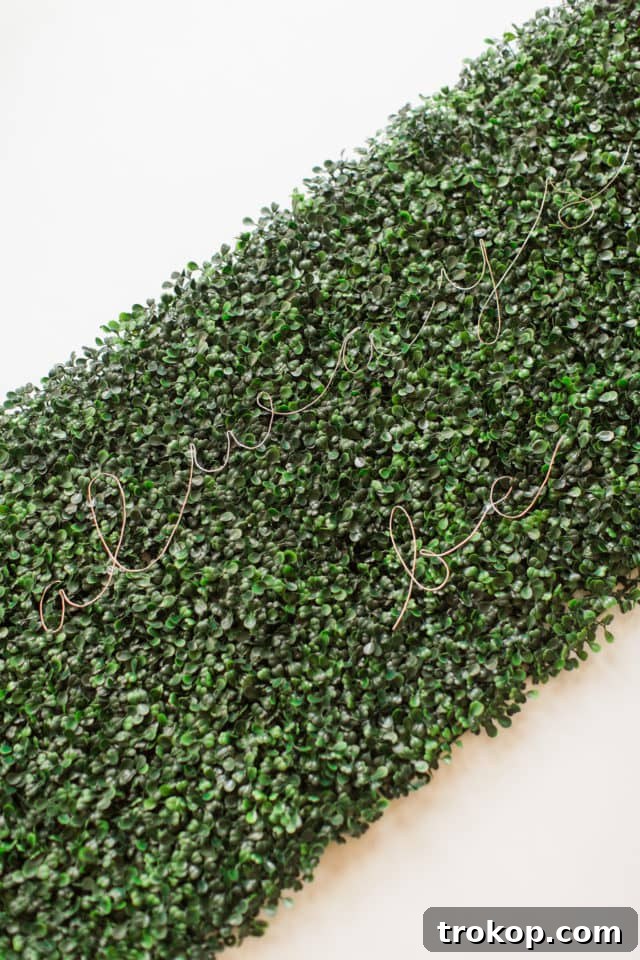
Shaping and Securing Your Neon Brilliance
Step 4: Threading the EL Wire – The Foundation of Your Glow
Begin the process by carefully threading the EL wire from the back of the boxwood panel to the front. As you start, ensure you leave a generous amount of slack for the EL wire controller. This extra length allows the controller to hang discreetly behind the boxwood panel while remaining easily accessible for operation. Plan your entry and exit points for the wire, ensuring a clean path for the illumination.
Step 5: Meticulous Molding with E6000 Glue
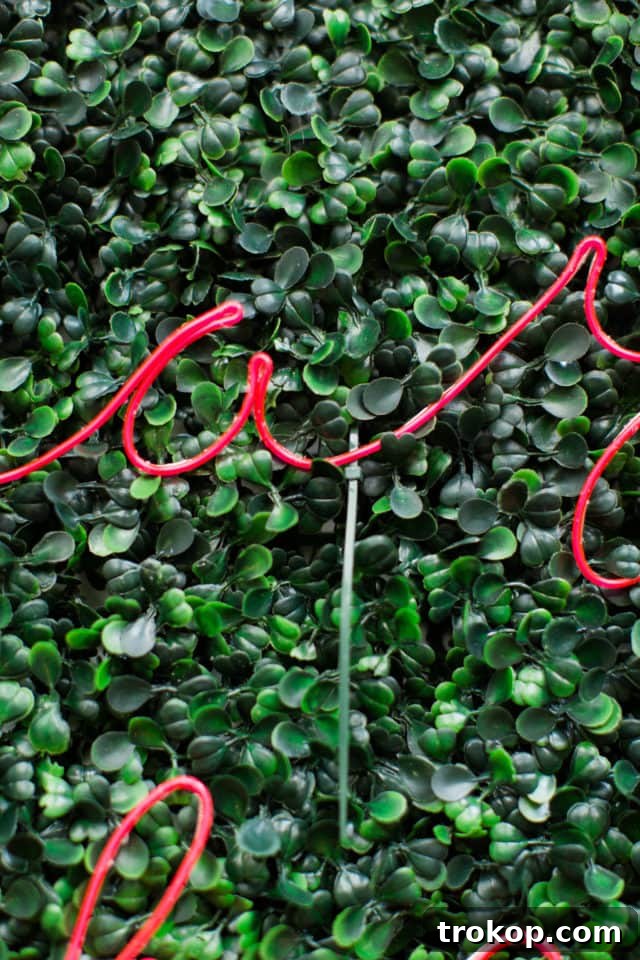
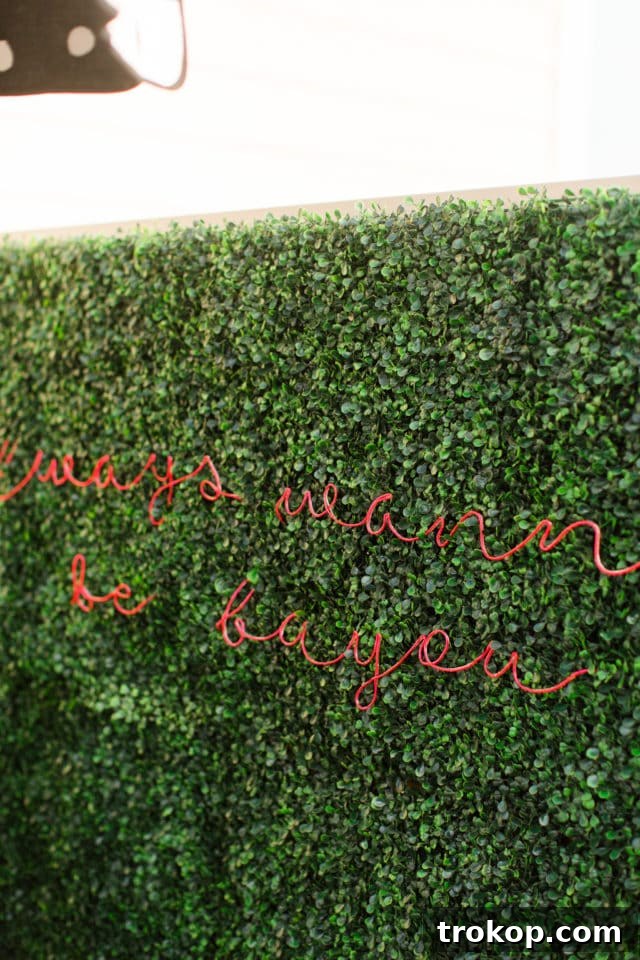
Now, meticulously mold the flexible EL wire directly onto your pre-shaped gauge wire template. As you follow the contours of your design, apply E6000 glue in small, consistent beads to bond the EL wire securely to the gauge wire. Having an extra set of hands can be incredibly helpful for this step, allowing one person to hold the wires in place while the other applies the glue and shapes. If working solo, take your time and use needle-nose pliers to hold the wires steady while the glue begins to set. Remember to thread the EL wire back through the boxwood panel to the reverse side when transitioning between separate words or disconnected segments of your design, ensuring only the illuminated portions are visible on the front. Pay close attention to curves and bends, as these areas require a firm bond to maintain the sign’s integrity.
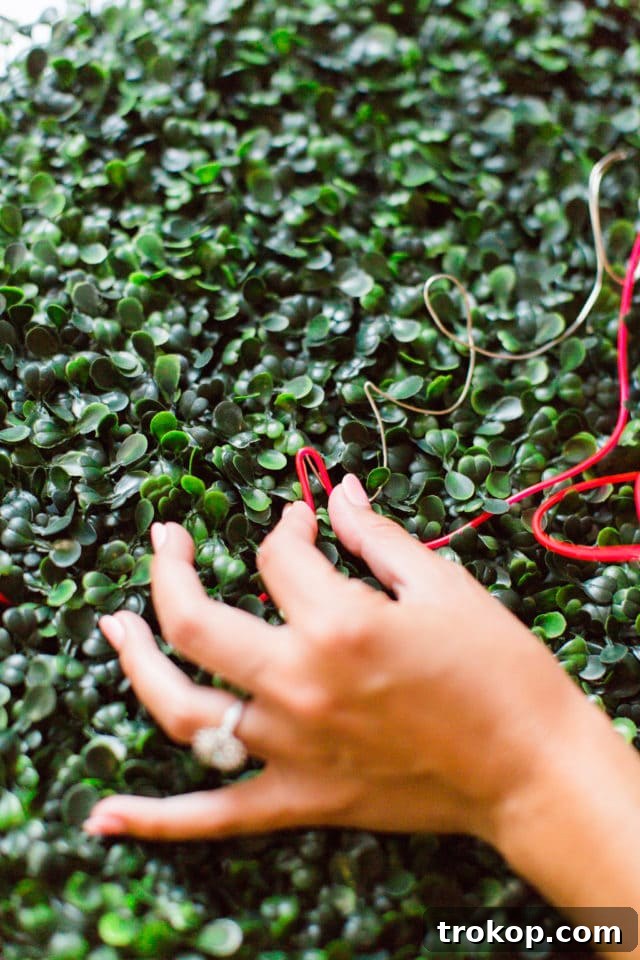
Step 6: Temporary Holds for a Perfect Cure
Once the EL wire is molded and glued to the gauge wire, use twist ties (or small pieces of masking tape) to temporarily secure the two wires together. This temporary holding action is crucial while the E6000 glue undergoes its full curing process, which typically takes between 24 to 72 hours for maximum strength. At this stage, your letters might look like a bit of a chaotic, twist-tied jumble, but rest assured, this indicates you’re on the right track! The twist ties prevent the wires from shifting as the glue sets, ensuring your design remains intact.
Step 7: The Final Secure Attachment
After approximately 2 hours, the E6000 glue should have set enough for initial handling. At this point, you can carefully remove the twist ties. Avoid leaving them on for more than 24 hours, as the glue might fuse them to the wires. For particularly tight bends or larger letter shapes, you may choose to leave the ties on for a bit longer to allow for a more robust set. Don’t be concerned about any minor glue residue on the sides or front of the letters; E6000 glue often dries clear and any excess can usually be cleaned off easily once fully cured. Once the glue is completely dry and all twist ties are removed, it’s time to permanently attach your words to the boxwood.
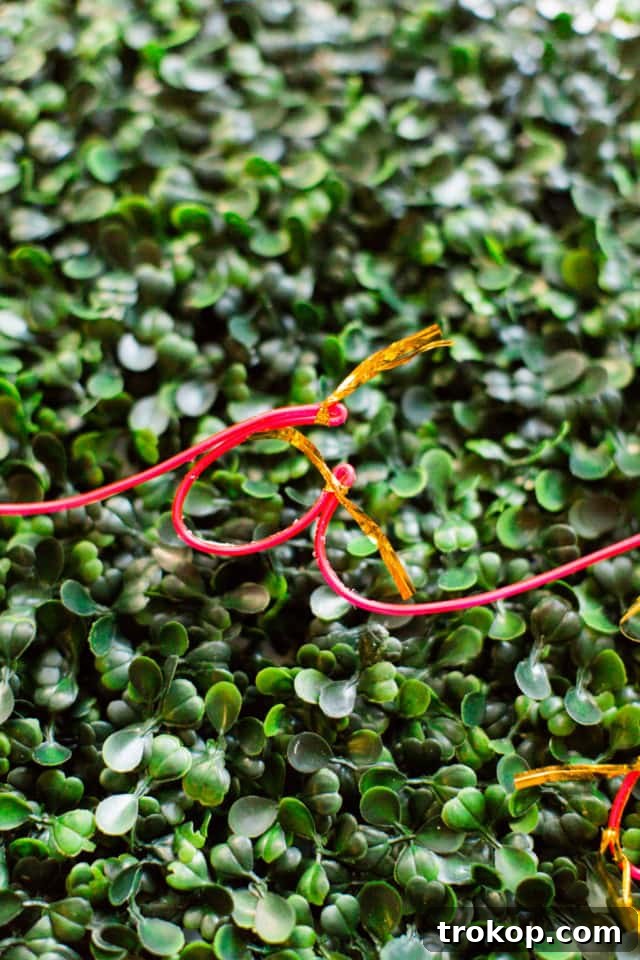
Finalizing Your Neon Sign Attachment to the Boxwood
Step 8: Expertly Concealing Excess Wiring
Using green zip ties (or fishing line/thread for an even more invisible approach), begin to loosely secure the assembled DIY neon sign to the boxwood panel. Thread the zip ties through the gaps between the faux boxwood leaves, passing them between the gauge wire and the EL wire. It is paramount to attach these ties LOOSELY. Overtightening can potentially damage the delicate EL wire or cause the words to become lost within the dense boxwood foliage, diminishing the sign’s visibility. Green zip ties are ideal because they naturally camouflage with the boxwood. Most boxwood panels already come with small green ties, which are perfect for this task. Identify about 4-6 strategic points per word where you can feed a zip tie through. If necessary, a sharp X-acto knife can be carefully used to create a small opening in the dried glue between the wires to accommodate the zip tie.
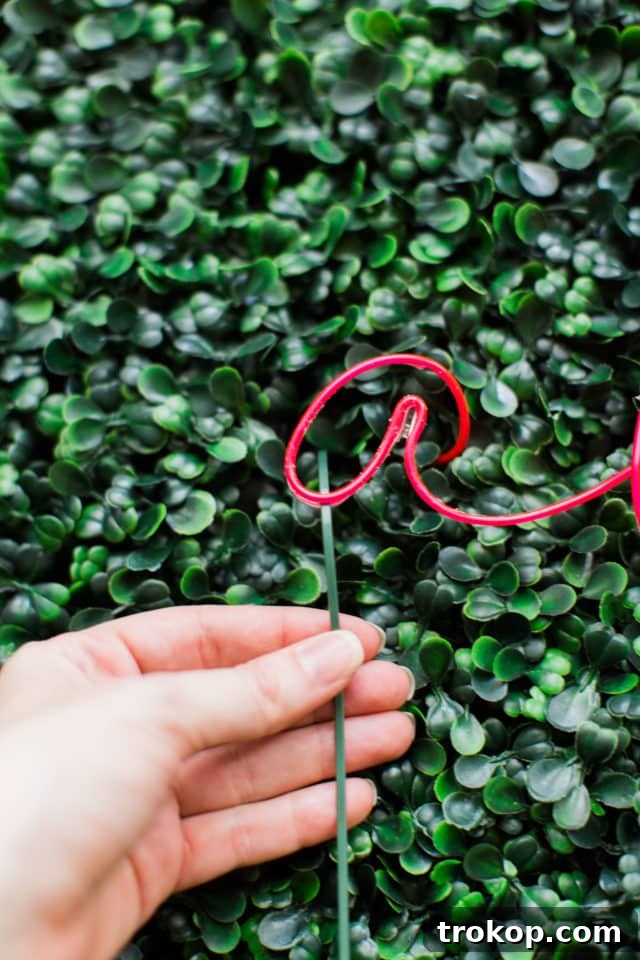
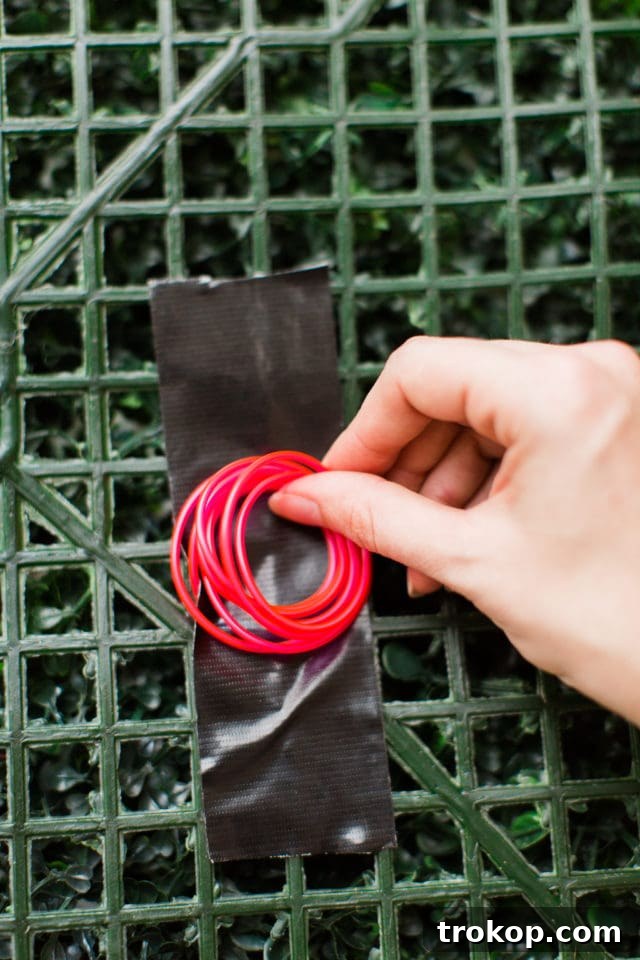
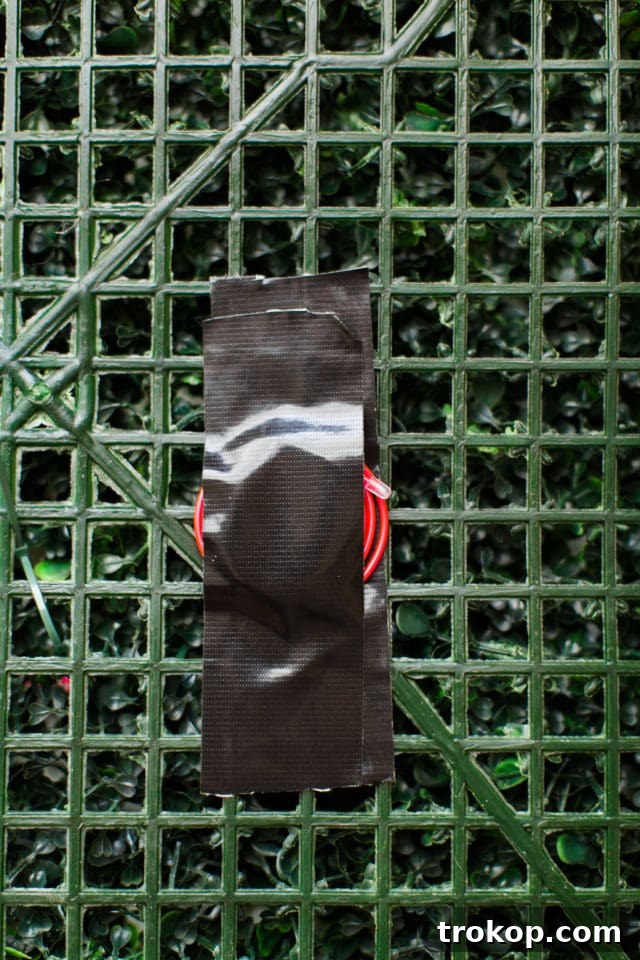
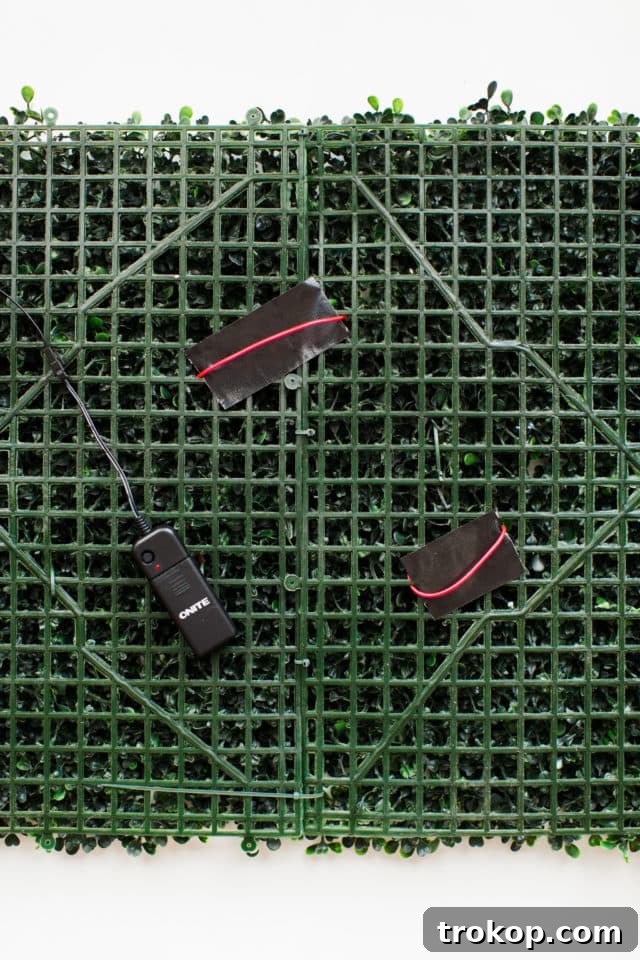
To maintain a polished appearance and prevent any unwanted light from shining through, conceal all excess EL wire and connecting wires using Gorilla tape. This durable, opaque tape is perfect for outdoor use. Simply coil any excess wire neatly and create a “tape sandwich”: place a piece of Gorilla tape between the coiled wire and the boxwood backing, then secure another piece of tape over the top of the wire. Repeat this process for any connecting wires that pass between words on the back of the panel, ensuring a clean and hidden wiring system for your stunning neon sign.
Installing Your Stunning Faux Boxwood Wall
Step 9: Preparing the Robust Backing
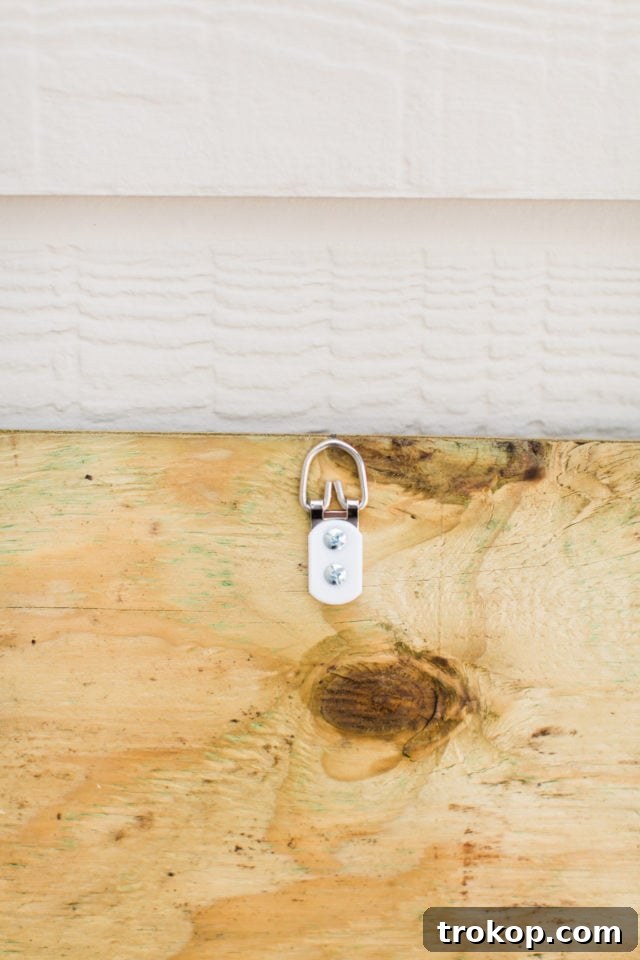
Before installing your faux boxwood wall, properly prepare its backing. Drilling numerous holes directly into exterior siding is generally not recommended as it can compromise the building’s integrity or void warranties. Instead of using a single, large, heavy piece of plywood that would require many screws, we strategically cut our two 4’x8’ pieces of pressure-treated plywood into four separate sections. This approach helped distribute the weight more evenly and align with the four 20-inch boxwood panels our sign encompassed. Alternatively, you could skip the backing and attach the boxwood directly if your wall material allows, but our aim was a temporary, removable solution. This design choice was essential since this location was not our permanent home, offering the flexibility to easily take down the boxwood wall if needed.
Step 10: Seamless Panel Assembly and Layout
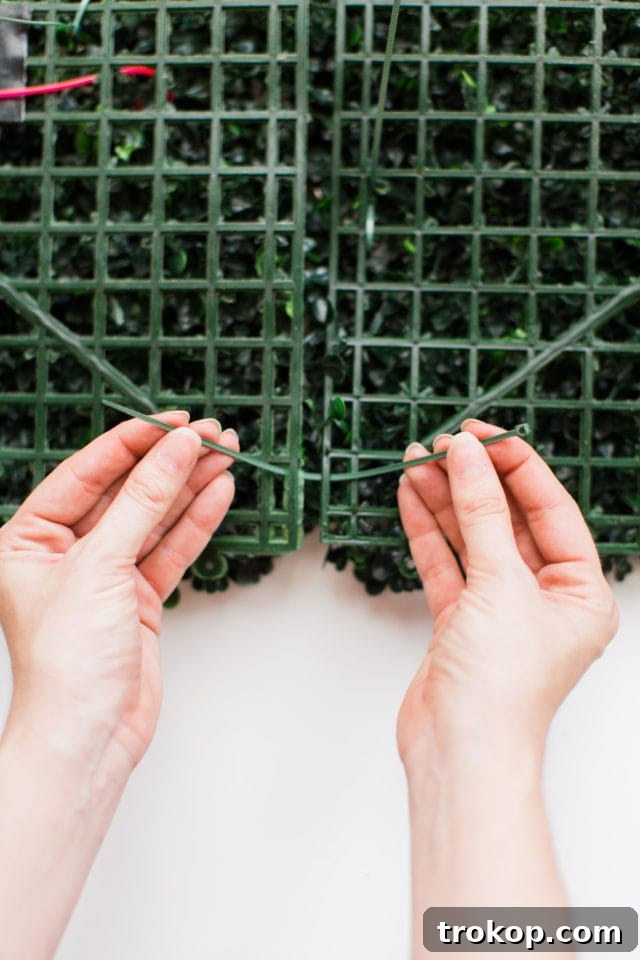
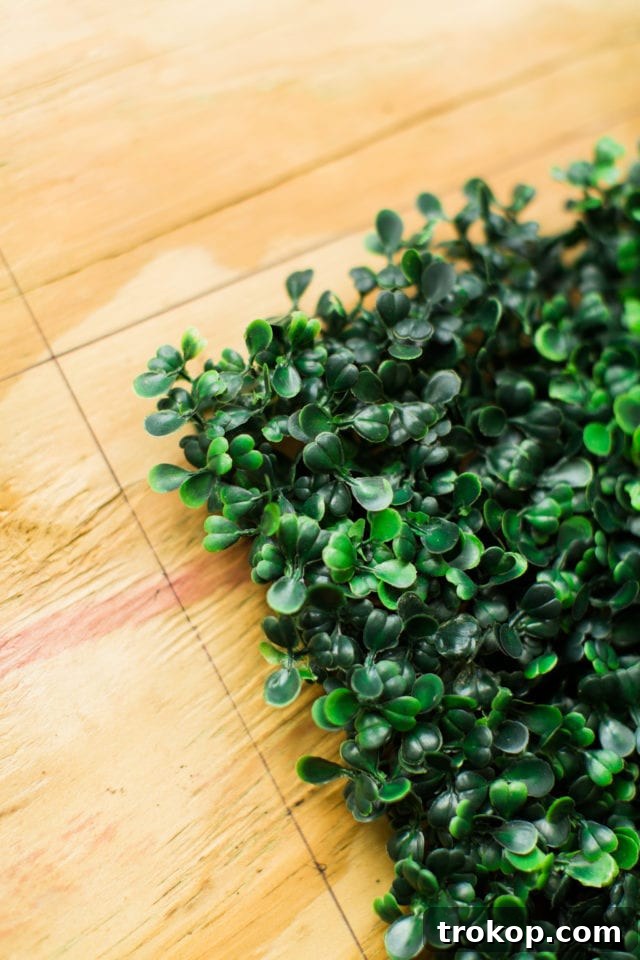
Lay your faux boxwood panels face-up on a large, flat, clean surface. Most boxwood panels are designed with interlocking connectors along their edges; carefully align and connect them to form your desired wall size and shape. If any edges need trimming to fit your specific dimensions, use sturdy shears or wire cutters. Before permanently attaching anything to the plywood backing, measure and mark the exact placement of each boxwood panel. This pre-planning ensures a symmetrical and polished final look for your green wall.
Step 11: Attaching Panels to the Backing
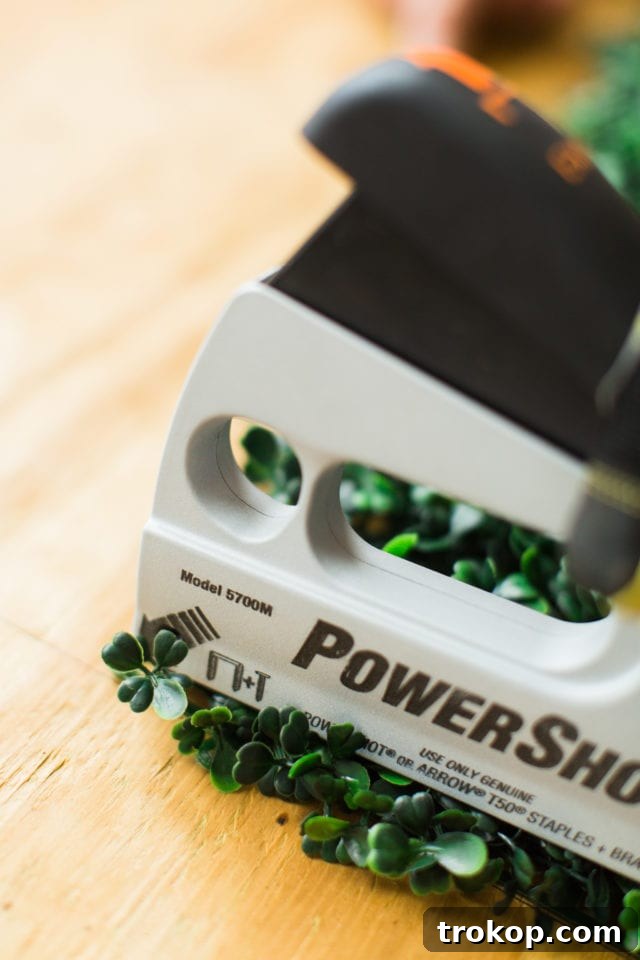
Once your boxwood panels are assembled and their positions marked, use a staple gun to securely attach them to the plywood backing. Drive staples through the plastic grid of the boxwood panels into the wood, ensuring a firm hold. Apply staples at regular intervals around the perimeter and across the surface of each panel to prevent sagging or shifting over time.
Step 12: Safely Mounting Your Green Wall
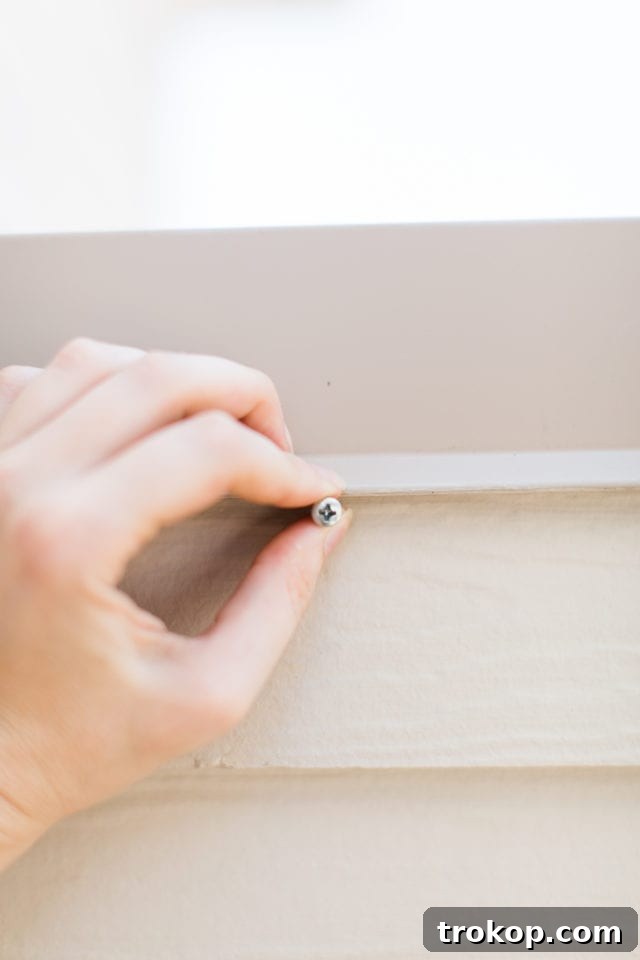
Attach your heavy-duty wide D-ring hangers to the top edge of the plywood backing, following the manufacturer’s instructions. Space them evenly to support the weight of the entire boxwood wall. Then, securely hang the assembled wall onto your chosen location. For a temporary installation, hanging the wall like a large picture frame makes removal simple. We cleverly hid the mounting screws beneath the top ledge of our exterior wall, making them barely noticeable after removal.
Step 13: Powering Up Your Custom Neon Glow
The final step is to connect your EL wire to its power supply and controller, adhering strictly to the manufacturer’s instructions. Many EL wire kits, like ours, come with a wire and controller already assembled, simplifying this process. Once connected, switch it on and watch your custom neon sign come to life! It offers a delightful visual during daylight hours and transforms into a captivating glow at night. Our EL wire set even features three different settings, ranging from a steady, ambient light to a lively blinking effect – allowing you to choose your own party vibe or a serene glow with ease.
Essential Safety Considerations for Your DIY Project
Your safety is paramount during any DIY endeavor, especially when working with electrical components and materials that may be exposed to the elements. Please adhere to these critical safety guidelines:
- Follow Manufacturer Instructions: Always meticulously follow the manufacturer’s instructions for your specific EL wire or LED rope lights. These guidelines are designed to ensure safe and optimal performance.
- Avoid Electrical Modifications: Never attempt to cut or modify the electrical components of the EL wire or LED rope lights unless the instructions explicitly state it is safe to do so. Unauthorized modifications can lead to electrical hazards.
- Water and Moisture Precautions: Refrain from using these lighting options near water sources or in wet, unprotected environments. While some EL wire is rated for outdoor use, extreme moisture can still pose a risk. Ensure all connections and power sources are protected from rain and humidity.
- Flammable Materials: Exercise extreme caution and never leave lit lights unattended, especially when positioned near potentially flammable materials like faux boxwood panels. Although EL wire produces minimal heat, it’s always wise to be vigilant.
- Protect Power Sources Outdoors: If your faux boxwood wall and DIY neon sign are exposed to the elements, it’s highly advisable to remove the battery packs or unplug the power source when not in use. Reattach them only when you are ready to illuminate your sign to prevent weather-related damage or shorts.
Enhance Your Project: Pro Tips & Creative Ideas
- Temporary Installation for Flexibility: This DIY project can be surprisingly temporary! By attaching heavy-duty D-ring hangers to the plywood backing, the entire wall can be hung and removed much like a large picture frame. This was a key consideration for us, allowing for easy repositioning or removal as needed. To make removal even less noticeable, strategically hide the screws under a top ledge of your exterior wall. This offers an ideal solution for renters or those who enjoy seasonal decor changes.
- Creating a Freestanding Wall: If drilling into a wall isn’t an option, or if you desire a movable feature, you can easily adapt this project into a freestanding wall. Simply attach sturdy legs or construct a robust frame to the back of your plywood or PVC board backing. This transforms your boxwood wall into a portable screen or room divider, perfect for creating private nooks in open spaces or enhancing event decor.
- Versatile Party Backdrop: Beyond everyday decor, this illuminated boxwood wall makes for an incredible party decor element or a captivating photo backdrop! Imagine it at a vibrant garden-themed party, a milestone birthday celebration, or even as a unique feature at a wedding or bridal shower. The custom neon message adds a personalized touch, making any event unforgettable. Consider phrases like “Love Always,” “Happy Hour,” or a custom hashtag for a truly memorable setup.
- Seasonal Decor Integration: While maintenance-free, your boxwood wall can still be seasonally styled. Add festive string lights for holidays, hang small ornaments, or drape seasonal garlands to complement your existing decor. The green backdrop provides a versatile canvas for endless creative expressions.
Discover More Outdoor DIY Inspiration
If you enjoyed crafting this illuminated green oasis, explore more of our favorite DIY projects from the archives to further enhance your outdoor spaces:
- 20 Great DIY Plant Stand Ideas That Show Off Your Plants
- How to Get Rid of Flies When Dining Outside
- Vertical Garden Wall Planter
- Colorblock Food Domes
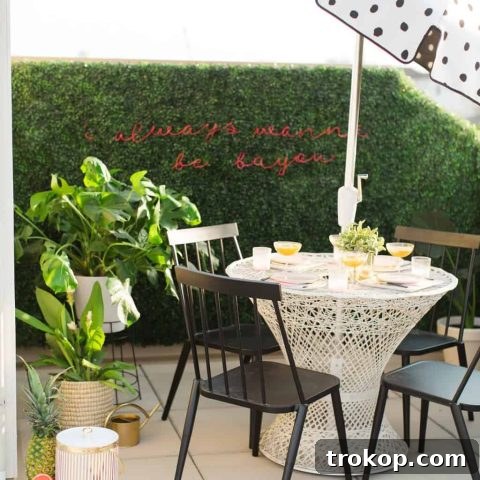
Faux Boxwood Wall with DIY Neon Sign
Bring an element of nature to your home with a cozy and inviting faux boxwood wall and DIY neon sign that requires no maintenance!
6 hours
1 day
6 hours
DIY
Outdoor
Equipment
-
Needle nose pliers
-
E6000 glue
-
Gorilla tape
-
Staple gun and staples
Materials
- Pressure treated plywood
-
Boxwood panels
with green zip ties - 16-gauge wire
-
EL wire
in the color of your choice - Heavy duty wide D-ring hangers
Instructions
-
Optional: Create a template guide with an engineering print of your design or sketch your desired design or lettering on paper.
-
With your template, start shaping your gauge wire letters: Use pliers to bend the gauge wire to follow the shape of each letter. Once you finish a letter, weigh it down with a heavy bowl or paperweight. This keeps the completed letters in place and prevents the rest of the word from getting tangled as you move on to the next one. Then, bend each word to be as flat as possible.
-
Lay the pre-shaped gauge wire phrase on the boxwood panels to plan out its placement.
-
Now shape the EL wire using your gauge wire as a template. Start by threading the EL wire from the back to the front of the boxwood. Make sure to leave lots of additional room for the EL wire controller to hang behind the boxwood panel and still be within reach.
-
Carefully mold the EL wire to the gauge wire template, applying E6000 glue as you go.
-
Use twist ties for temporary holding while the E6000 glue dries (24-72 hours).
-
After about 2 hours, remove the twist ties. For the bigger letter bends, you can leave the ties on for a bit longer to allow more time for the glue to set.
-
Using green zip ties, loosely secure the DIY neon sign to the boxwood panel. It is important to LOOSELY attach the zip ties. Zip ties can potentially damage the delicate EL wire if pulled too forcefully. Also, if sign is secured too tightly, the words will start to get lost in the leaves.
-
Conceal excess EL wire with gorilla tape so that it does not shine through the front. Do the same with the wires that are sticking through the back between each word.
-
Prepare the backing for your faux boxwood wall and attach the hanging hardware according to the manufacturer’s instructions.
-
Assemble the faux boxwood panels.
-
Using the staple gun, attach the boxwood panels to the plywood backing.
-
Hang the wall securely on your chosen location.
-
Connect the EL wire to the power supply following the manufacturer’s instructions.
Notes
- Please refer to the tutorial post for detailed notes and explanations.
- The cost of the project is dependent on your desired wall size.
$200
diy neon sign, faux boxwood wall

More Decor & Lifestyle Ideas
28 Decorative Wall Mirrors You’ll Wish You Bought Sooner
Looking for the perfect wall mirror? Explore our roundup of…
Continue Reading28 Decorative Wall Mirrors You’ll Wish You Bought Sooner
37 Best Beach Toys for Vacation Fun
Discover the best beach toys for kids, toddlers, and families…
Continue Reading37 Best Beach Toys for Vacation Fun
Your Guide to Hosting the Perfect Outdoor Movie Night
From DIY projectors to cozy seating arrangements, explore the best…
Continue ReadingYour Guide to Hosting the Perfect Outdoor Movie Night
33 Easy DIY Pumpkin Painting Ideas
Create festive and unique decorations with these pumpkin painting ideas…
Continue Reading33 Easy DIY Pumpkin Painting Ideas