
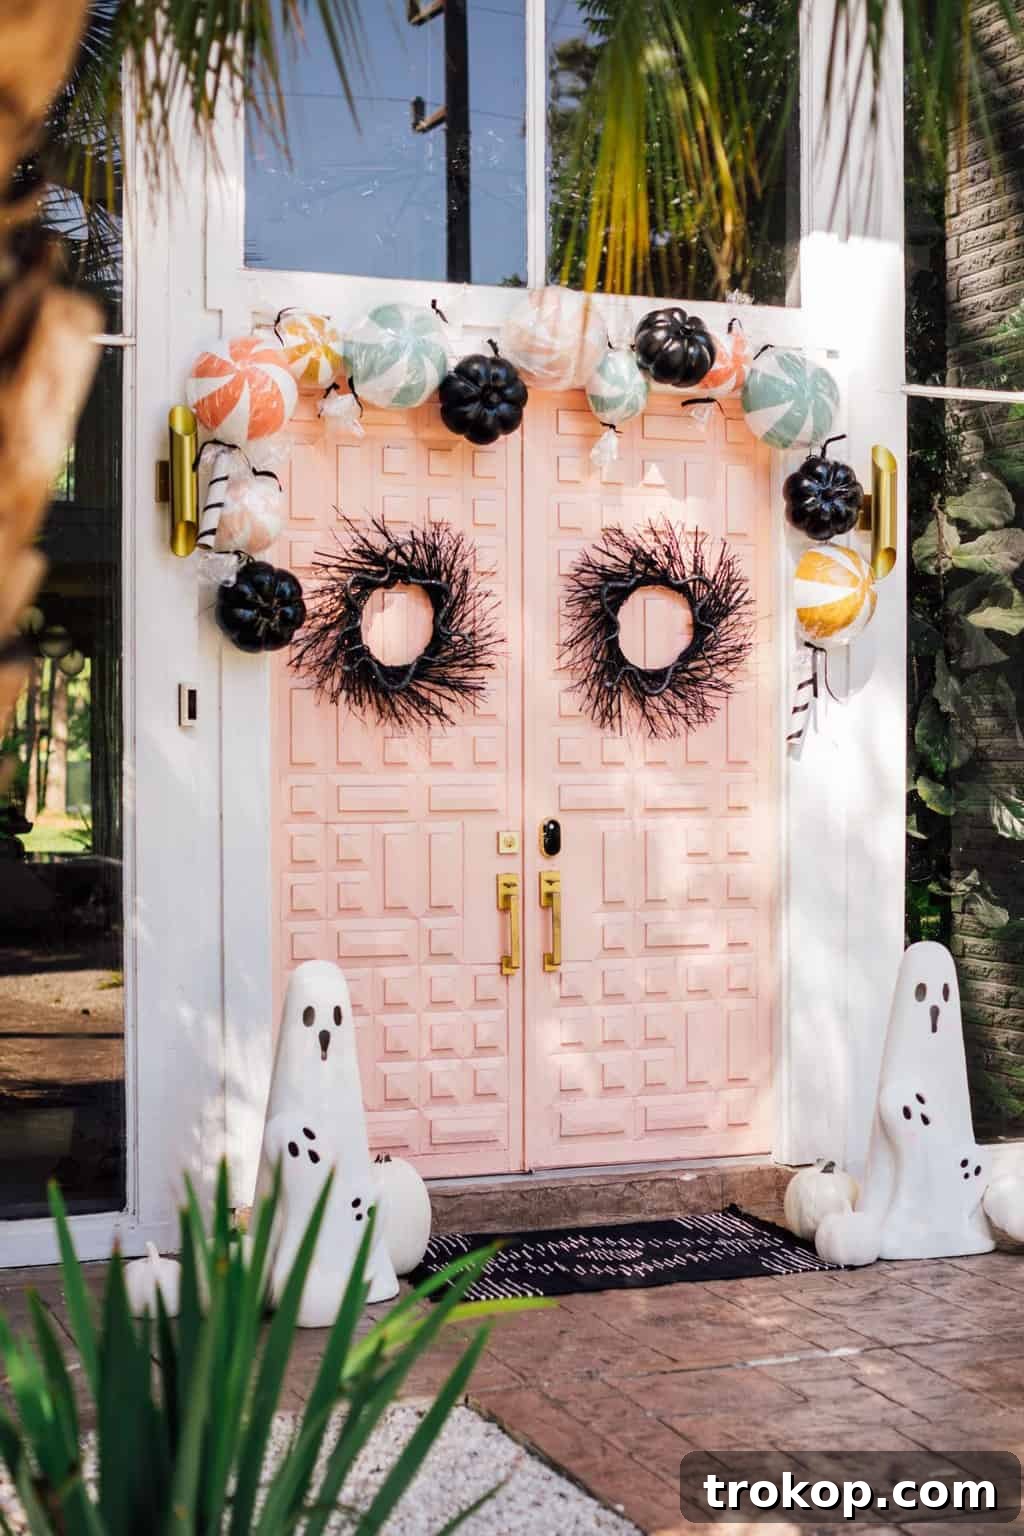
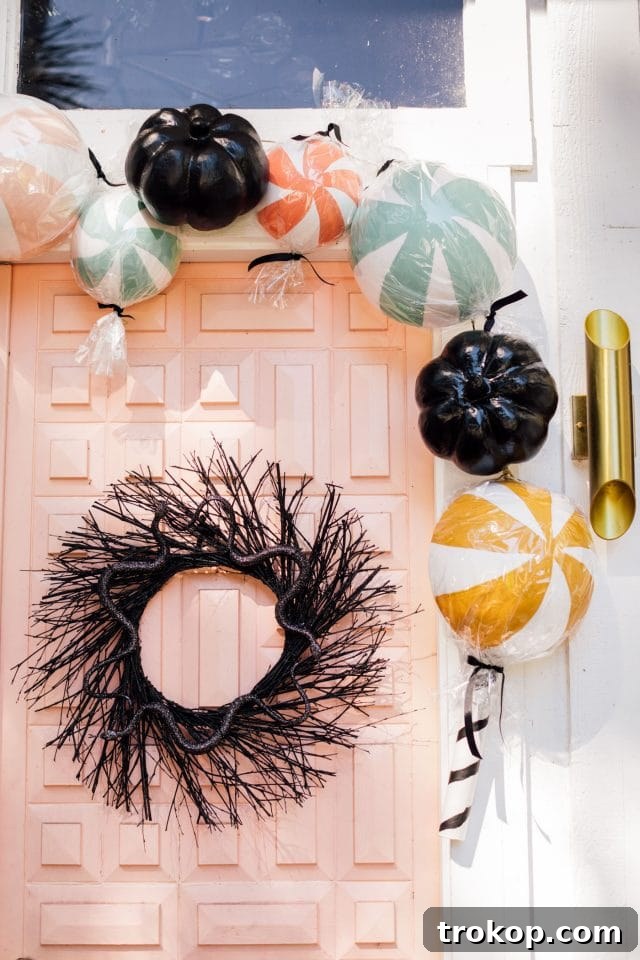
Step into the enchanting world of Halloween with a captivating front door transformation that blends sweet whimsy with a touch of spooky charm. Forget the traditional gore and embrace a delightful aesthetic using oversized candy creations and adorable, not-so-scary ghost decorations. This year, redefine your holiday spirit with an entryway that sparks joy and wonder for trick-or-treaters and guests alike.
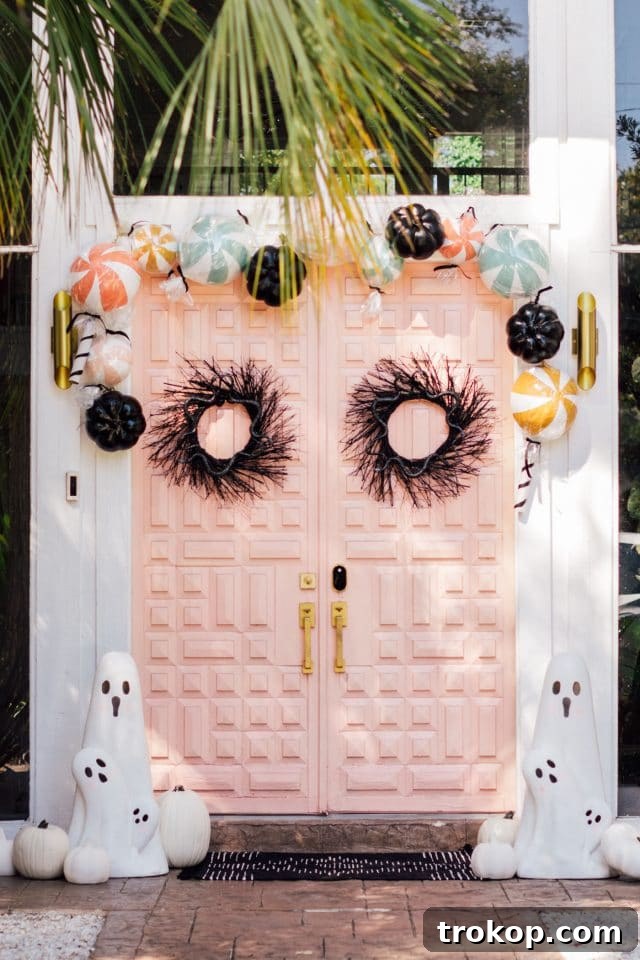
Embracing a Unique Halloween Front Door Theme: Sweet & Spooky Delights
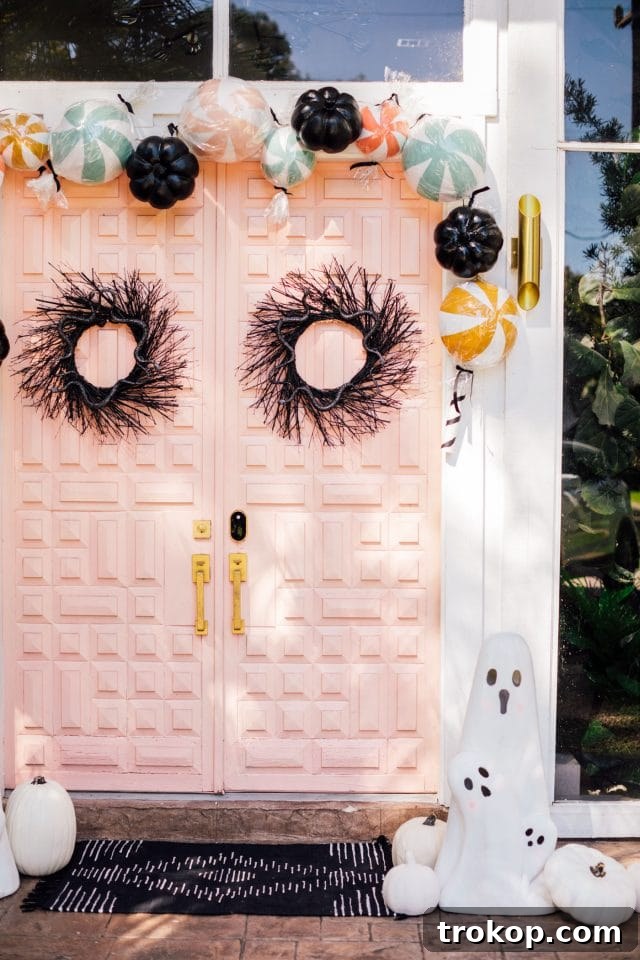
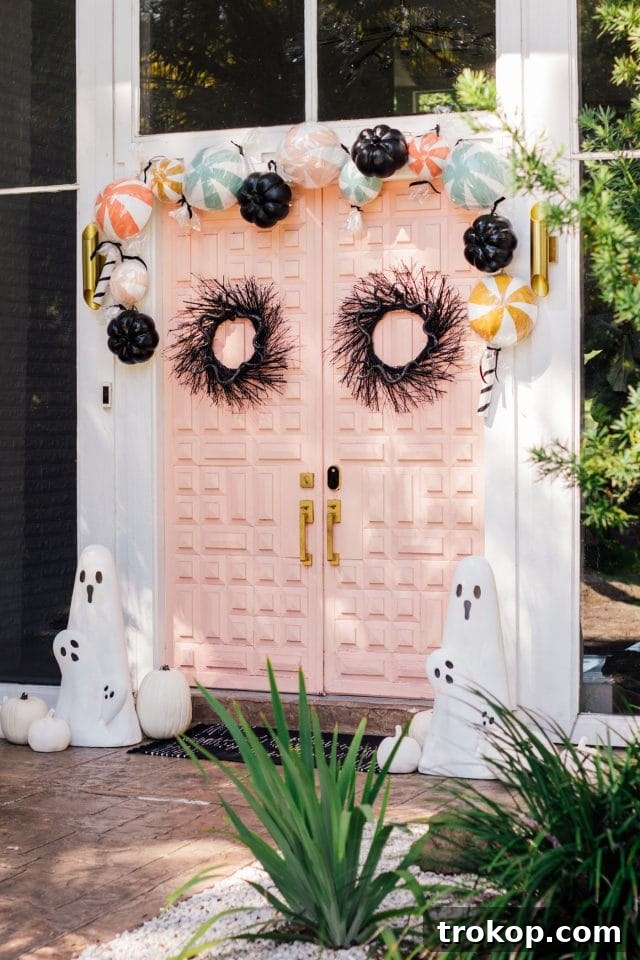
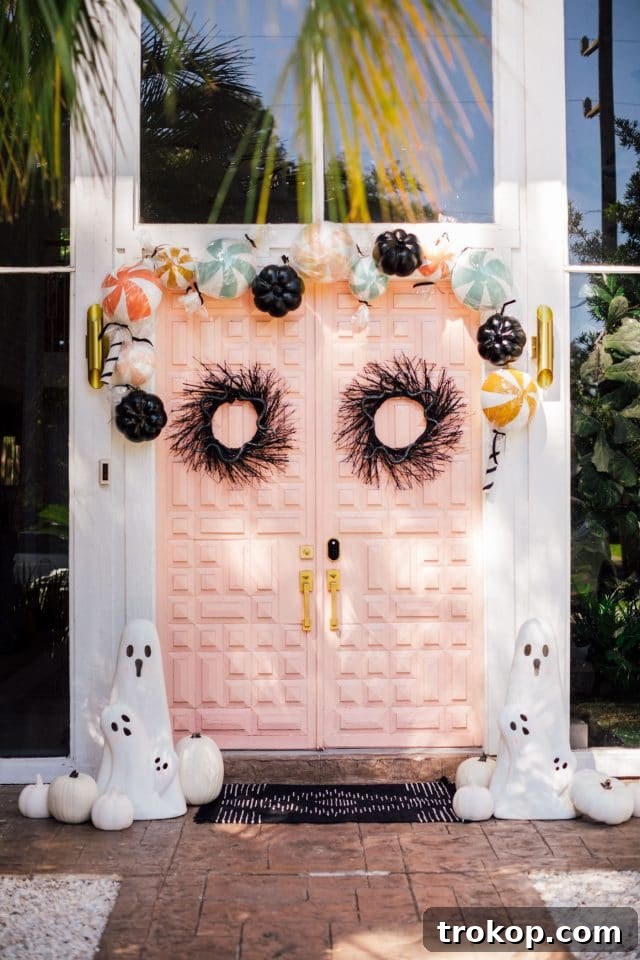
Every year, the anticipation of Halloween brings with it the exciting challenge of conceptualizing fresh and imaginative front door decorations. While classic spooky themes always have their appeal, this year called for something truly distinctive. We veered away from the conventional Halloween color palette and opted for a playful, sweet candy theme intertwined with charming, not-so-frightening ghost decorations. This creative approach allows for a festive display that’s both inviting and perfectly suited for a whimsical celebration.
Last year, our Halloween front door decor leaned into a more traditional spooky elegance. This year, however, the desire to infuse a fresh, vibrant energy into our entryway was undeniable. The vision was clear: giant pastel candy decorations accented with subtle hints of black, creating a sophisticated yet utterly fun atmosphere. The inspiration for these delightful ghosts and candies actually stemmed from a previous project – a batch of adorable melting ghost macarons. Translating that charming, playful aesthetic into outdoor decor seemed like the perfect way to shake things up and bring a unique personality to our Halloween festivities.
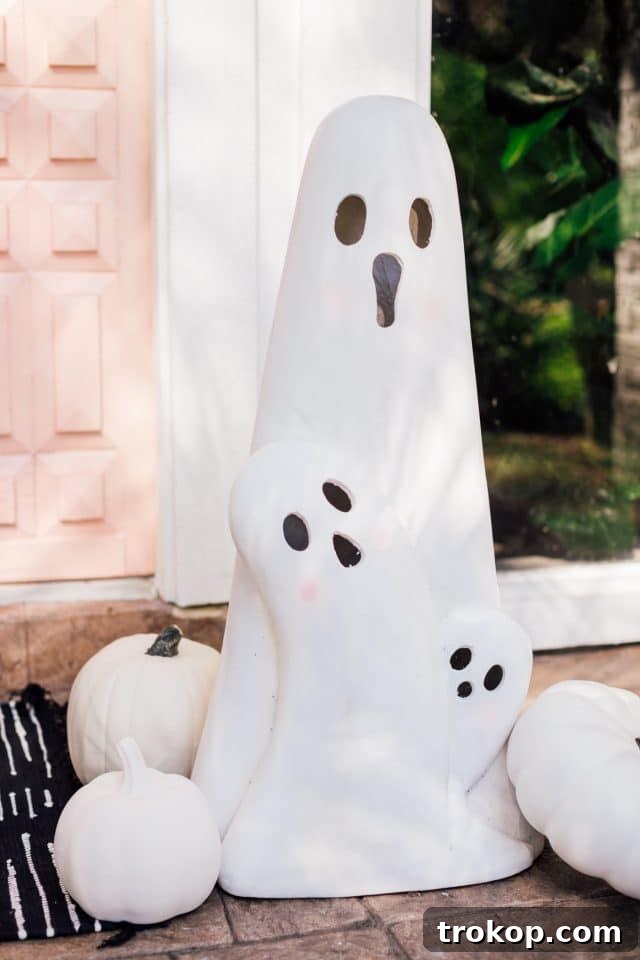
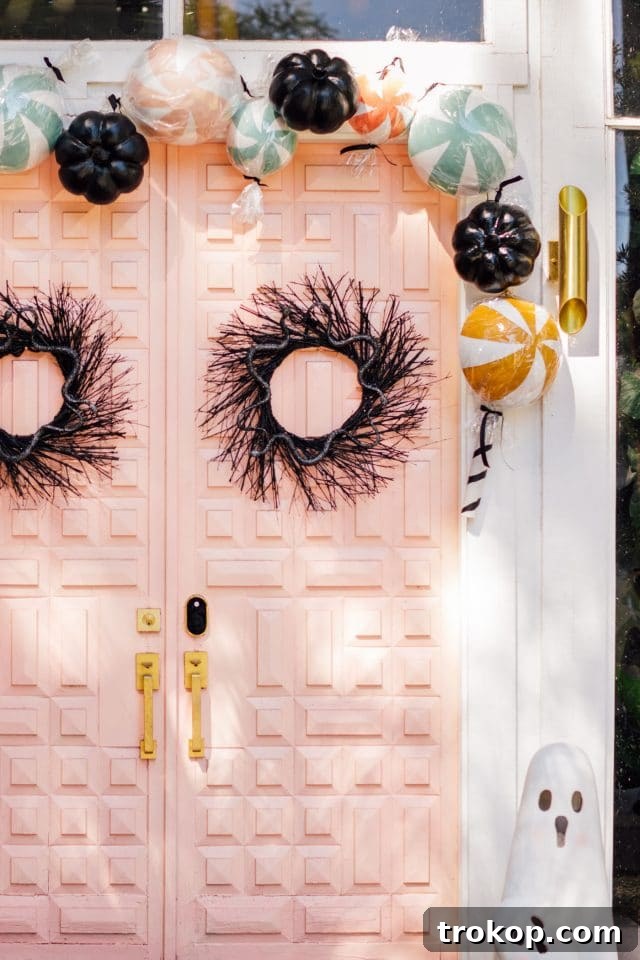
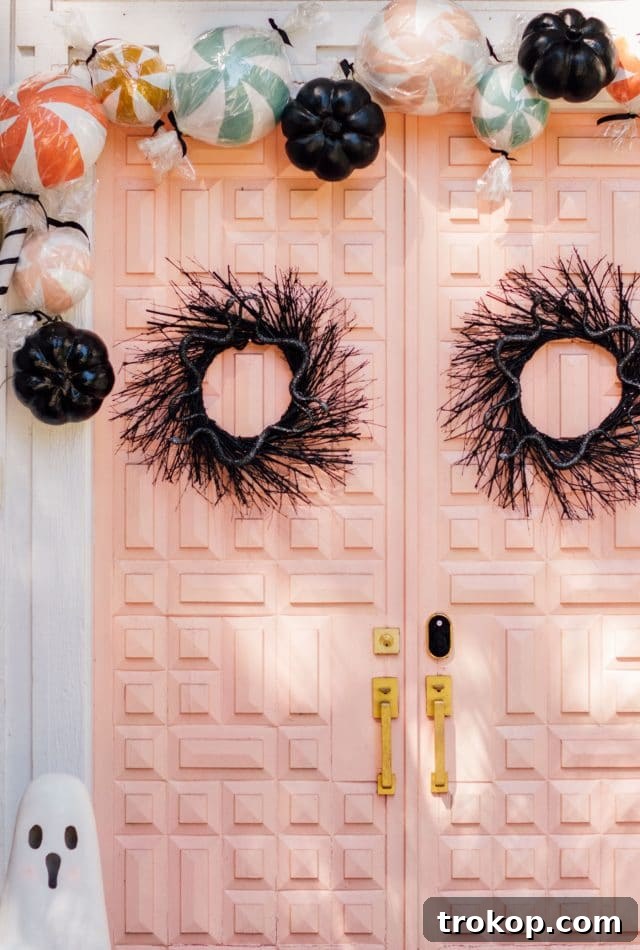
Let’s be honest, a vibrant pink front door doesn’t exactly scream “terrifying” in the traditional sense. Rather than fighting against its inherent cheerfulness, we decided to lean into it, designing custom ghost decorations that are more cute than chilling. Imagine sweet, pink-cheeked ghosts gently swaying alongside oversized, colorful candies. This unexpected combination creates an approachable and visually stunning Halloween display that stands out from the crowd.
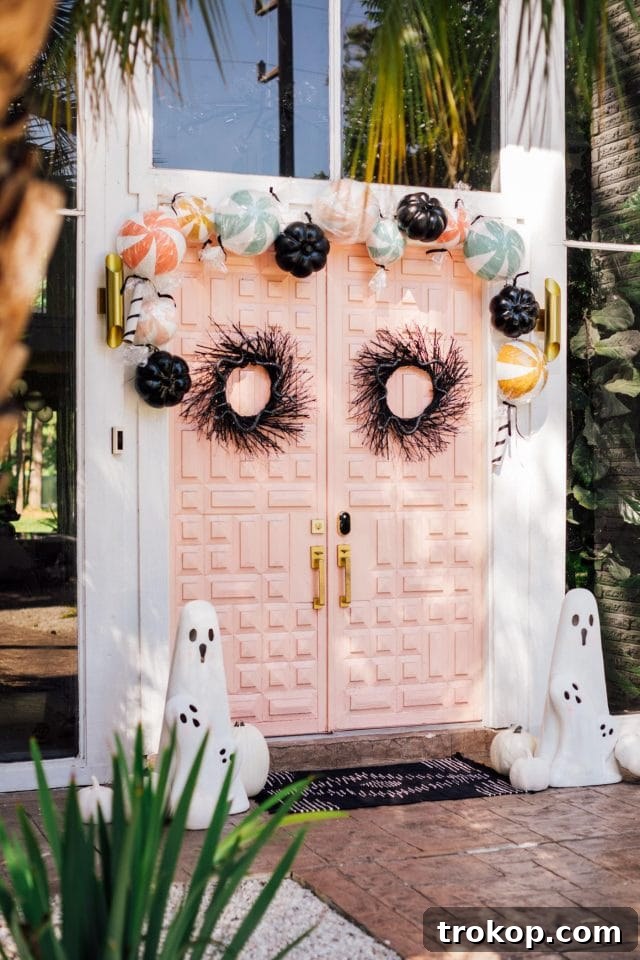
DIY Jumbo Candy and Friendly Ghost Decorations: A Step-by-Step Guide
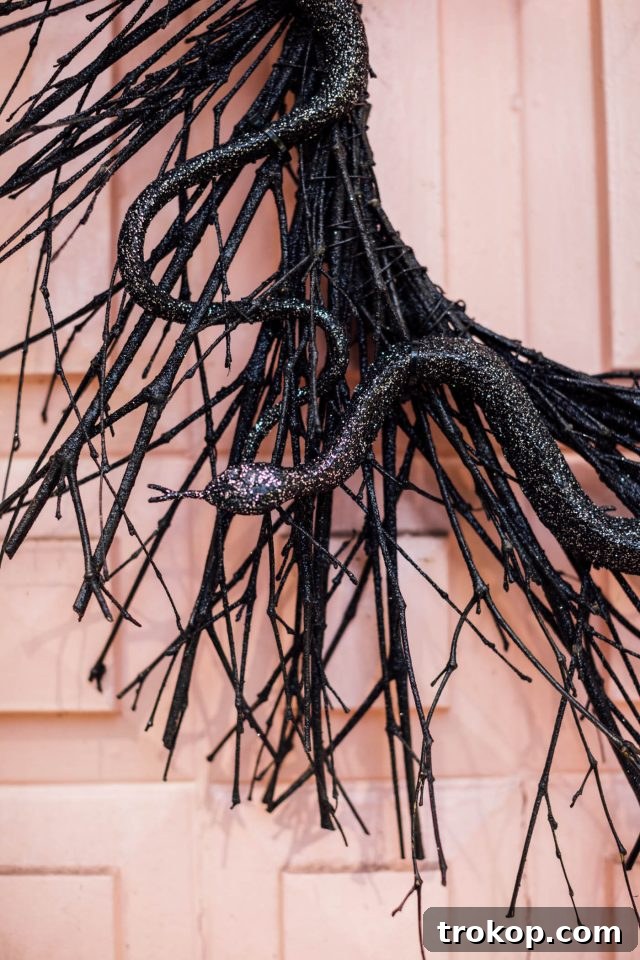
Creating your own jumbo candy and ghost decorations is a fantastic way to personalize your Halloween display. The project is not only rewarding but also surprisingly straightforward, allowing for a high impact look with minimal fuss. We started with some fabulous black glitter wreaths and charming resin ghosts, which set a wonderful base for our theme. To truly elevate the display and prepare for an upcoming family Halloween party, adding the vibrant, DIY jumbo candies was the perfect touch of color and whimsy.
Materials You’ll Need to Create Your Own Jumbo Candy
Gathering your supplies is the first exciting step in bringing these oversized treats to life. Most of these items can be easily found at craft stores or online, ensuring a smooth and enjoyable crafting process:
- Foam half-spheres in various sizes: These form the core of your jumbo candies, allowing for different candy shapes and dimensions.
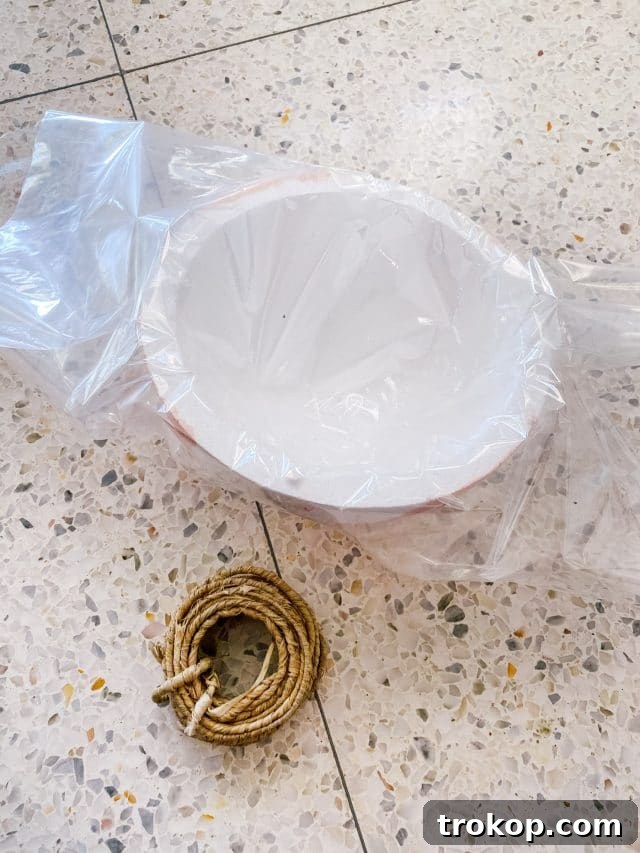
- Clear cellophane gift wrap: This is crucial for creating the authentic “wrapped candy” look, adding that perfect shimmer.
- Black ribbon: Used to conceal the wire and add a decorative touch that complements the black accents in the overall decor.
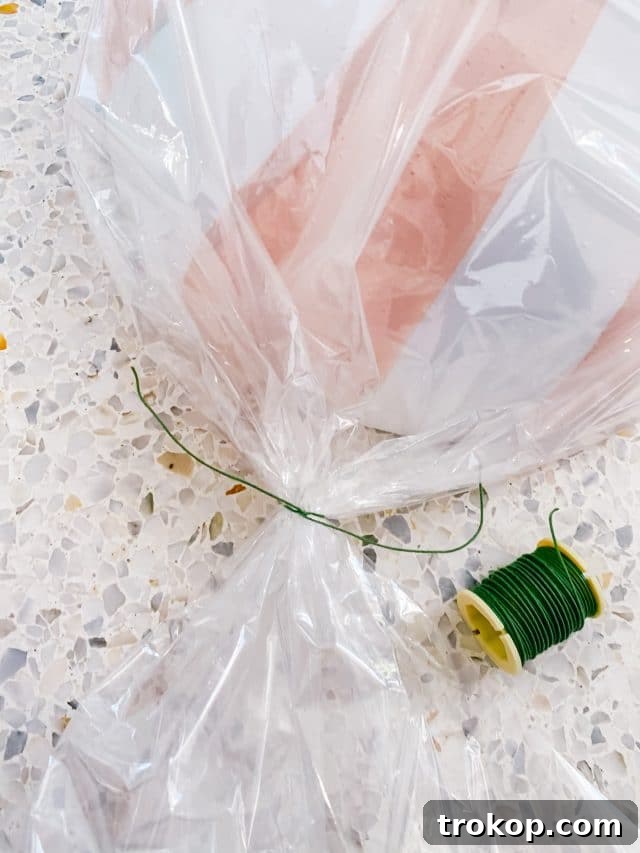
- Crafting wire (or floral wire): Essential for twisting and securing the cellophane wraps, giving the candy its characteristic twisted ends.
- Wrapped rustic wire: This will serve as the main hanging structure above your door, from which your candies will be suspended.
- Clear packing tape or hot glue: For securely attaching the cellophane to the foam spheres.
- Paint in the colors of your choice: To bring your candies to life with vibrant or pastel hues. Consider acrylic paints for good coverage and durability.
- Scissors: For cutting cellophane, ribbon, and wire.
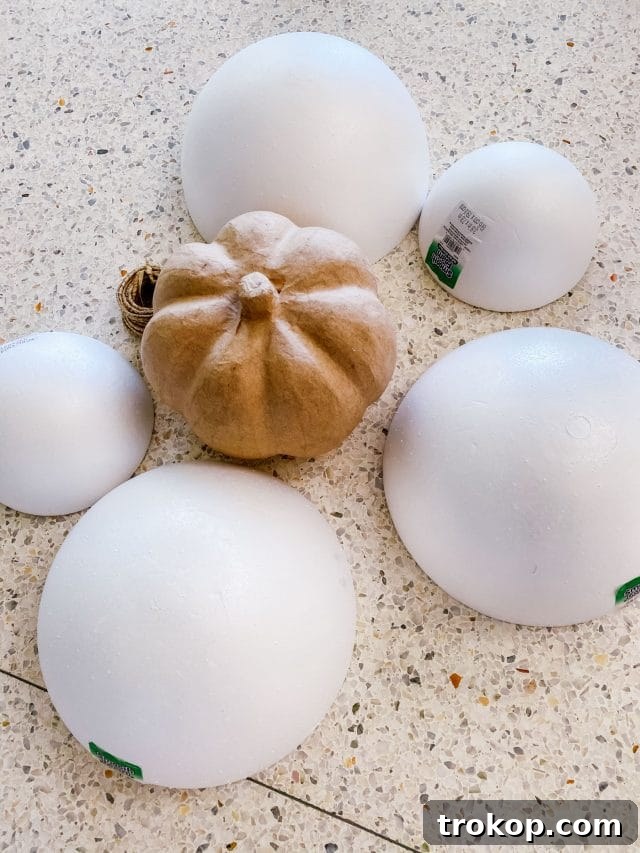
How to Make a Pink Front Door with Two Black Wreaths and Ghost Decorations
This DIY project typically takes about 1 hour of active crafting time, with an additional 4 hours needed for paint to fully dry, bringing the total time to approximately 5 hours. The estimated cost for materials is around $20, making it an affordable and impactful decor solution.
-
Step 1: Prepare and Paint Your Spheres and Pumpkins. Begin by painting your foam half-spheres and any pumpkins you plan to use. The color scheme is entirely up to your personal preference! For a cheerful, non-traditional look, consider pastel shades for your candies or bold stripes. We chose to create eye-catching striped candies in a variety of soft, playful colors, complemented by sleek black pumpkins to add a touch of modern contrast. Apply several thin coats of paint for an even, opaque finish. Allow adequate drying time for all painted items, ensuring they are completely dry to the touch before proceeding to the next step. This is crucial for preventing smudges and ensuring the cellophane adheres properly.
-
Step 2: Wrap Your Candy in Cellophane. Once your painted foam spheres are thoroughly dry, it’s time to transform them into candies. Take a piece of clear cellophane gift wrap, large enough to fully encase your foam sphere and leave ample excess on both ends for twisting. Place the painted sphere in the center of the cellophane. Bring the edges of the cellophane together, wrapping it snugly around the foam ball. Secure the cellophane to the flat side (the inside of the back) of the foam half-sphere using clear packing tape or a dab of hot glue. Ensure it’s firmly attached to prevent shifting. The goal is to create a tight, candy-like wrapper effect around the painted sphere.

-
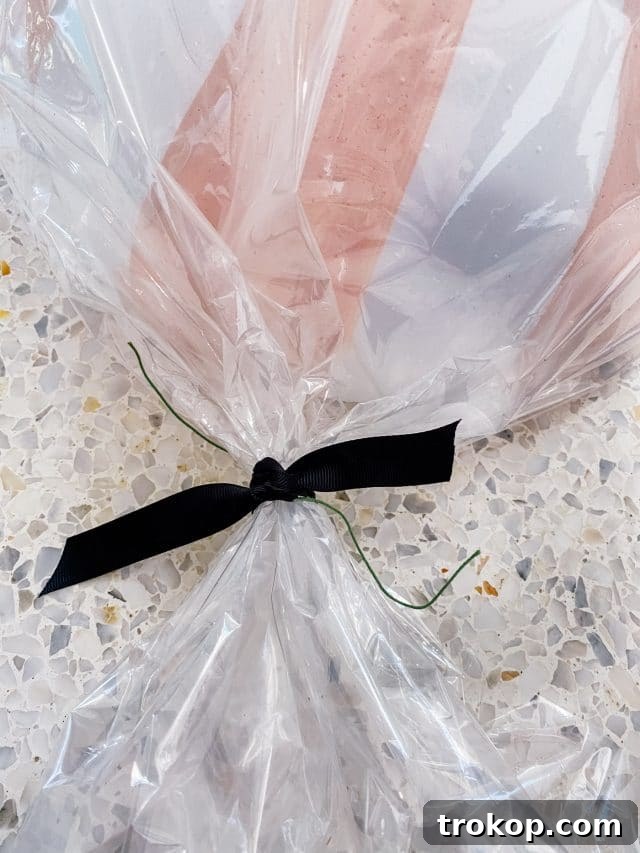
Step 3: Twist and Secure the Candy Ends. With the cellophane securely wrapped, gather the excess cellophane on each end of the sphere. Twist these ends tightly, just like a classic candy wrapper. To hold the twist firmly in place and give it structure, take a piece of crafting wire (floral wire works perfectly) and wrap it snugly around the base of each twisted cellophane end. An important tip: make sure to leave a generous length of excess floral wire extending from one end of each candy. This extra wire will be invaluable later for easily attaching your jumbo candies to the main hanging rustic wire on your front door, providing flexibility in placement and arrangement.
-
Step 4: Add Decorative Ribbon. To enhance the aesthetic and cleverly conceal the crafting wire you just used, take a piece of black ribbon. Tie or wrap this ribbon gracefully around the twisted, wire-secured ends of your jumbo candy. This step adds a polished, decorative finish, making your oversized treats look even more realistic and appealing. The black ribbon also ties into the contrasting black elements of the overall decor, creating a cohesive visual theme.
-
Step 5: Install the Main Hanging Wire. Once all your jumbo candies are prepared, it’s time to set up the foundation for your display. Carefully hang the wrapped rustic wire above your front door. Use small, discreet nails hammered into the door frame or trim to securely hold the rustic wire in place. Ensure it’s taut and level, providing a sturdy base from which your decorations will hang. The height and span of this wire will determine the overall layout of your candy and ghost display, so take a moment to visualize your desired arrangement.
-
Step 6: Attach Candies, Pumpkins, and Ghosts. Now for the exciting part – bringing your entryway to life! Use the excess floral wire you left on the ends of your wrapped candies to attach each piece to the large rustic wire hanging above the door. Distribute them evenly or create clusters for visual interest. Next, strategically place your painted pumpkins and the charming, not-so-spooky resin ghosts. You can hang ghosts using fishing line for a floating effect, or place pumpkins on ledges or steps. Arrange all elements until you achieve a balanced, festive, and utterly delightful Halloween front door display! You’re all set to enchant your neighborhood.
Bonus Crafting Tip: DIY Lollipop Sticks!
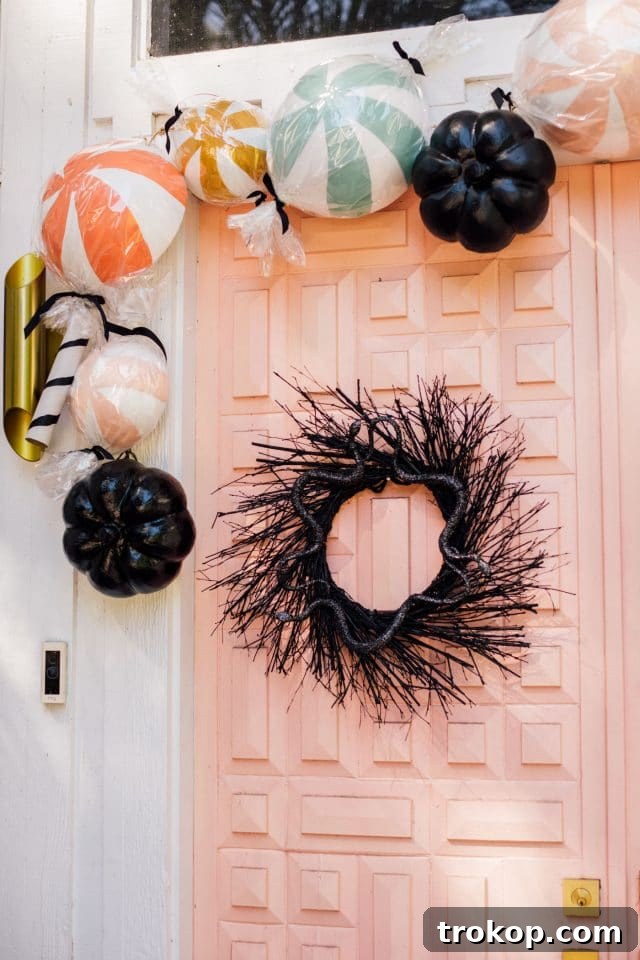
If you’re feeling particularly inspired and have some leftover gift wrap cardboard rolls lying around, put them to good use by crafting “lollipop” sticks for some of your jumbo candies. This simple addition can add another layer of visual interest and variety to your display. To maintain our sophisticated black and white theme, we painted the cardboard rolls white and then added elegant black stripes with a fine brush or a thin black ribbon wrapped around. Once dry, simply attach these sticks to the back of a few select candies using hot glue or strong tape, creating giant lollipops that pop!
Personalizing Your Halloween Entryway: Tips for Creative Expression
While we’ve shared our specific “sweet candy and not-so-scary ghost” theme, the beauty of DIY Halloween decor lies in its adaptability. Don’t feel limited by our choices; let them inspire your own unique vision! If your front door isn’t pink, consider how different color schemes would complement its existing hue. A bold orange door might shine with black and white candies, while a dark blue door could be stunning with metallic silver and purple accents. Experiment with various paint patterns on your foam spheres – polka dots, swirls, or even ombré effects can add incredible personality.
Beyond the candies, think about incorporating other elements that tie into your chosen theme. Perhaps add some oversized spiderwebs in unexpected colors, or use fairy lights to create a magical glow around your ghosts. Consider crafting additional DIY elements, such as friendly monster eyes peeking from behind your wreaths, or a personalized Halloween welcome mat that ties into your sweet and spooky motif. The key is to infuse your own creativity and make the display truly yours, reflecting your home’s personality and your family’s Halloween spirit. This approach ensures your front door becomes a unique focal point that delights everyone who approaches.
More Halloween & DIY Ideas to Spark Your Imagination
Halloween isn’t just about decor; it’s a season of imaginative costumes, delightful treats, and unforgettable family fun. We’re always buzzing with ideas for making the most of this festive time. We hope to photograph our family costume for this year soon, too! Last year, our family costume idea, a DIY fruit snacks theme, was quite a hit and definitely unique. This year, thanks to requests from a very enthusiastic two-year-old, we’re going with something a little more universally recognized. Until then, we’re excited to share even more Halloween inspiration to get your creative juices flowing:
- Family Costume Ideas: Explore 38 innovative ideas for unforgettable family Halloween costumes, from whimsical to wonderfully creative.
- DIY Halloween Wigs & Lashes: Elevate your costume game with these fantastic DIY wig and lash combinations, perfect for any character.
- 36 DIY Halloween Costumes for Kids: Find inspiration for adorable and easy-to-make costumes that will make your little ones shine.
- Family Group Costume Idea: DIY Fruit Snacks Food Costume: Revisit our past success with this delightful and playful food-themed group costume.
- Easy Couples Halloween Costumes: Discover a range of simple yet impactful costume ideas for couples looking to celebrate together.
- Thanksgiving Punch: An Easy Pumpkin Punch Recipe: While not strictly Halloween, this festive pumpkin punch is perfect for autumn gatherings and transitions beautifully into Thanksgiving.
- Pumpkin Patterns: Tips for How to Carve with Pumpkin Stencils: Master the art of pumpkin carving with helpful tips and stencil guidance.
- DIY Pumpkin Decoration: Sequin Polka Dot Pumpkin: Add some sparkle to your autumn decor with this chic and easy sequin pumpkin project.
- Sweets For Fall: Pumpkin Pie Cream Puffs Recipe: Indulge in the flavors of the season with these delectable pumpkin pie cream puffs.
- Creepy Cocktails: Classic Zombie Cocktail Recipe: For the adults, mix up a classic Zombie cocktail to add a sophisticated spooky touch to your party.
- Easy Pumpkin Decal: Five Minute Temporary DIY Halloween Glassware: Quickly transform your drinkware with these simple, temporary Halloween decals.
- Halloween Door Decor: 3 Not-So-Spooky Front Door Decor Ideas: Explore more charming and approachable ideas for decorating your front door this Halloween.
Conclusion: Crafting Unforgettable Halloween Memories
Creating memorable Halloween decorations for your front door doesn’t have to be complicated or strictly traditional. By embracing a unique theme like sweet jumbo candies and friendly ghosts, you can craft an entryway that is both whimsical and welcoming. This DIY project offers a fantastic opportunity to express your creativity, add a personal touch to your holiday celebrations, and delight everyone who passes by. The joy of seeing your vision come to life and the compliments from trick-or-treaters make all the effort truly worthwhile.
We encourage you to embark on this fun crafting adventure and transform your home into a beacon of festive Halloween cheer. Don’t forget to share your amazing Halloween decor creations with us on Instagram using the hashtag #sugarandclothloves. We absolutely adore seeing all the imaginative ways you bring your holiday visions to life! For even more interior design inspiration and DIY ideas throughout the year, be sure to explore our extensive collection of home decor tutorials and creative projects right here on our site. Happy crafting and happy Halloween!