
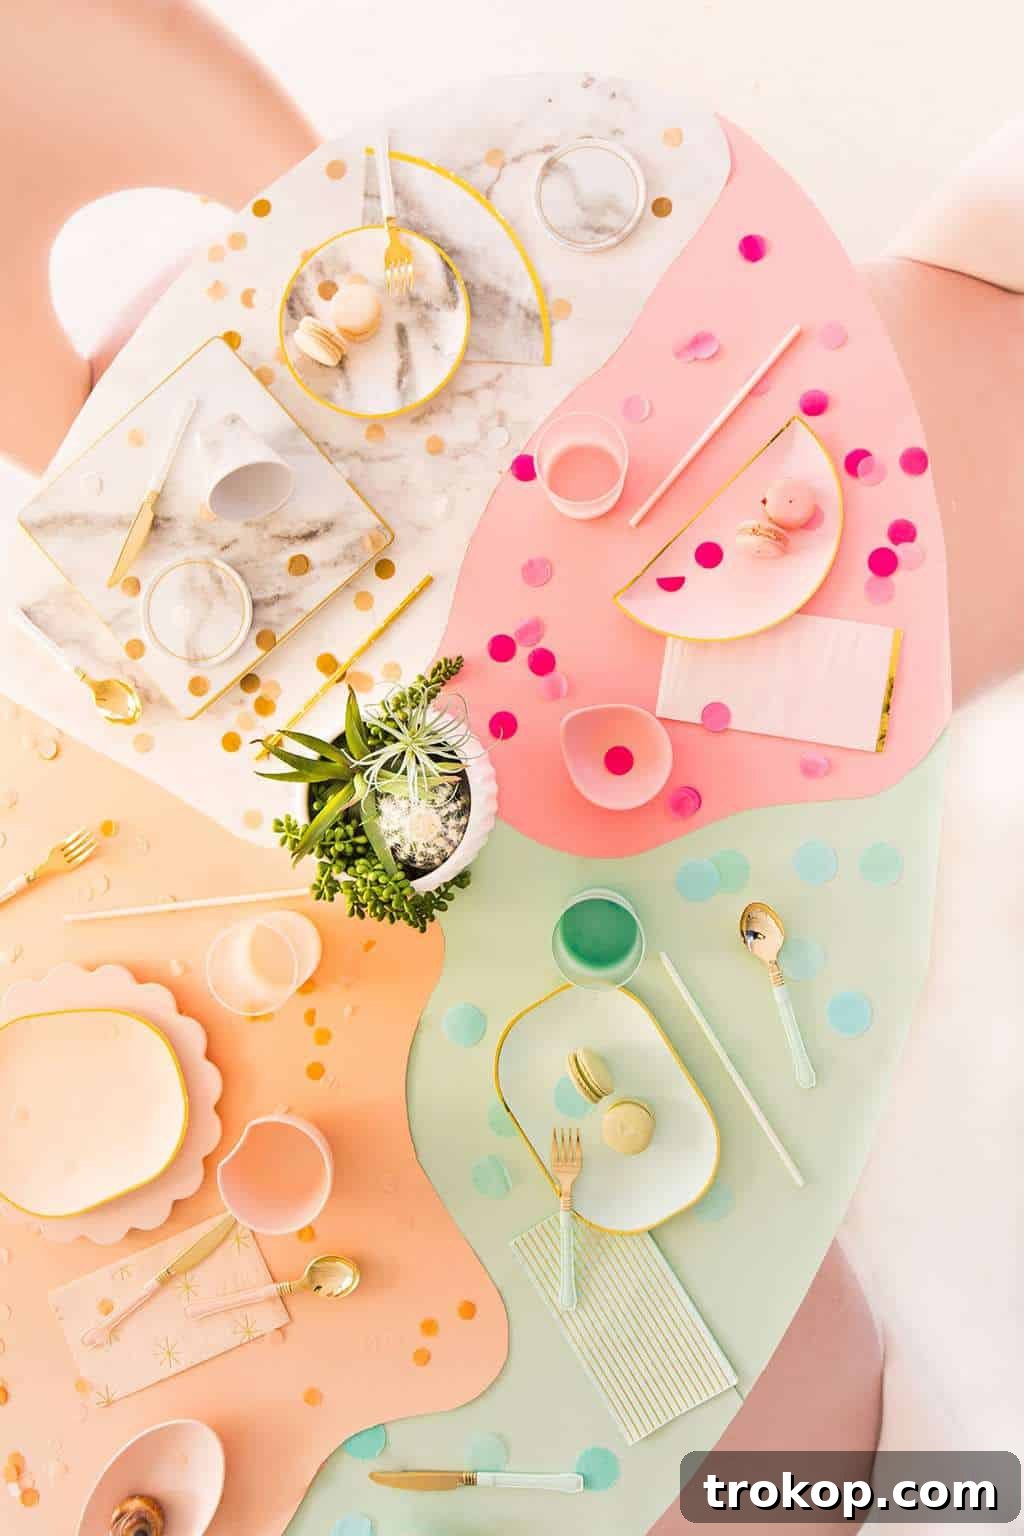
DIY Paper Color Block Table Covering — This creative and effortless DIY Paper Color Block Table Covering offers the perfect swift solution for adorning your tables, presenting a fresh and vibrant alternative to traditional tablecloths. Whether you’re hosting a festive gathering, setting up a kids’ craft station, or simply seeking a temporary yet stylish decor update, this project combines simplicity with striking visual appeal.

DIY Paper Color Block Table Covering: Quick, Easy, and Stylish Table Decor
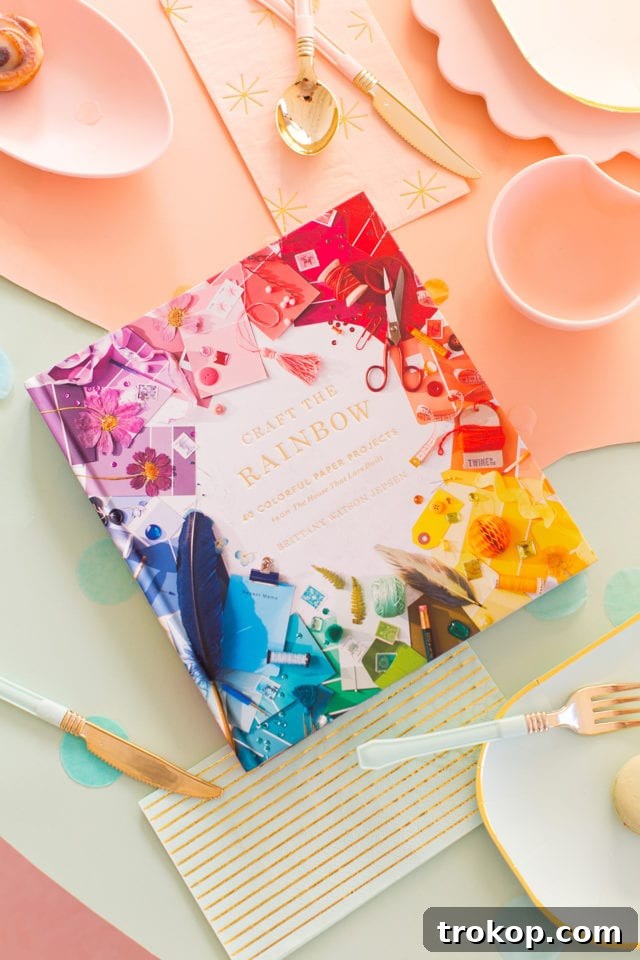
In the spirit of creative collaboration and vibrant design, we’re thrilled to share an inspiring project that celebrates the launch of a truly remarkable book: Craft The Rainbow by the incredibly talented Brittany of The House That Lars Built. Brittany’s artistic vision has long been a source of admiration and inspiration for us, ever since our paths crossed at a blog conference several years ago. Her innovative approach to paper crafts and her ability to infuse every project with an explosion of color are truly captivating.
It was an absolute delight to be invited to participate in her book launch festivities, an opportunity to pay homage to her dedication to making the world a brighter, more colorful place through DIY. In honor of her magnificent collection of paper DIYs, we decided to put our unique spin on her ingenious color wheel tablecloth concept from the book. The result? This eye-catching DIY paper color block table covering—a project that’s not only a breeze to recreate but also perfectly complements any festive setting, especially when paired with our favorite party goods.
This tutorial will guide you through creating your own stunning paper table cover, transforming any ordinary surface into a focal point of design and fun. Get ready to embrace the simplicity and versatility of paper crafting!
Why Choose a DIY Paper Table Covering? The Ultimate Tablecloth Alternative
Traditional tablecloths certainly have their place, but sometimes, a situation calls for something different—something more adaptable, fun, and easy to manage. This DIY paper color block table covering ticks all those boxes and more. Here’s why it’s rapidly becoming a go-to solution for hosts and crafters alike:
- Unmatched Versatility: Whether it’s a birthday party for kids, an elegant outdoor brunch, a messy craft session, or a holiday dinner, a paper table cover can be customized to suit any theme or occasion.
- Budget-Friendly Decor: High-quality fabric tablecloths can be expensive, especially if you need multiple for large events or want different designs for various themes. Crafting paper is an incredibly economical alternative that still delivers high impact.
- Effortless Cleanup: Spills and stains are inevitable, especially with children around. With a paper covering, cleanup is as simple as gathering it up and tossing it away. No laundry, no fuss, no dry cleaning bills.
- Table Protection: Protect your beautiful wooden tables from scratches, dents, and spills. The layers of paper act as a barrier, safeguarding your furniture from wear and tear during lively gatherings or creative projects.
- Endless Customization: The color block technique allows for infinite possibilities. You can match any party theme, holiday palette, or simply express your personal aesthetic. Experiment with vibrant primaries, soft pastels, or sophisticated metallics.
- Quick Setup: In just a few minutes, you can transform a plain table into a visually exciting centerpiece. This is perfect for last-minute gatherings or when you want maximum impact with minimal effort.
- Interactive Element: For kids’ parties, you can even leave parts of the paper blank with crayons or markers, turning the table covering into an interactive drawing surface!
Embracing a paper table covering isn’t just about convenience; it’s about unlocking a new level of creative freedom in your event planning and home decor. It empowers you to be bold with color, experiment with design, and enjoy your gatherings without the worry of post-party cleanup.
Materials And Tools Needed To Make A DIY Paper Color Block Table Covering
Gathering your supplies is the first exciting step in bringing your vision to life. The beauty of this project lies in its simplicity and the readily available nature of its components. You won’t need a specialty craft store trip; most items can be found at your local general store or even in your existing craft stash.
- Oversized Crafting Paper or Gift Wrap: Choose an assortment of colors that speak to your aesthetic or complement your event’s theme. Think about the mood you want to create: bright and playful, sophisticated and muted, or bold and contrasting. Consider rolls of butcher paper, art paper, or even sturdy wrapping paper. The larger the sheets, the fewer seams you’ll have, which contributes to a smoother finish.
- Scissors: A good pair of sharp scissors will make cutting your paper shapes much easier and more precise. For intricate curves or long straight lines, consider a craft knife with a cutting mat for even cleaner edges, though it’s not strictly necessary.
- Pencil: Essential for lightly sketching your abstract shapes and outlines before making any cuts. This allows for adjustments and ensures you achieve the desired flow and design.
- Painter’s Tape: This is your secret weapon for securing the paper to the table. Painter’s tape is ideal because it holds firmly enough during your event but removes cleanly without damaging your table surface or leaving any sticky residue. Alternatively, masking tape can work, but always test a small, inconspicuous area first to ensure it won’t mar your finish. Double-sided tape can also be used for a seamless look, but might require more careful removal.
That’s it! With these basic items, you’re well on your way to crafting a truly unique and personalized table covering.

How To Make A DIY Table Covering: Step-by-Step Guide
Creating your DIY paper color block table covering is a wonderfully straightforward process that encourages creativity and requires minimal technical skill. Follow these simple steps to transform your table:
Step 1: Plan Your Layout and Color Scheme
Begin by laying out the pieces of your chosen colored paper on the floor or a large clear surface. This is your chance to experiment with different color combinations and arrangements. Think about how the colors interact and what kind of “flow” you want across your tabletop. Do you prefer sharp, contrasting blocks, or a more gradual blend of hues? Consider the size and shape of your table; for a rectangular table, you might opt for long, linear blocks, while a round table could inspire concentric circles or radiating segments. Don’t be afraid to mix different textures or patterns if your gift wrap allows!
Step 2: Sketch and Cut Your Abstract Shapes
Once you have a general idea of your desired arrangement, gently place each piece of paper onto your table. Using your pencil, lightly sketch the outline of the abstract edges you plan to cut. These don’t need to be perfect geometric shapes; embrace free-flowing curves, jagged lines, or soft waves to create an organic, artistic look. The goal is to create distinct “blocks” of color that will fit together like puzzle pieces. Take your time with this step, adjusting and refining your sketches until you’re happy with the design. Remember, these are just guidelines, and the beauty of a DIY project is its imperfect charm. After sketching, carefully cut along your pencil lines with your scissors or craft knife. For very large pieces, you might want to cut them in sections and then piece them together.
Step 3: Secure the Paper Cutouts to Your Table
Now it’s time to bring your design to life on the table. Carefully position your cut paper pieces onto the table surface according to your planned layout. Once you’re satisfied with their placement, use painter’s tape to secure each paper cutout. Place the tape along the edges of the paper, underneath if possible, to keep it as discreet as you can. For a truly seamless look, you can place tape on the underside of overlapping paper edges, but tape on the top can also add to the DIY aesthetic. Ensure the tape is firmly pressed down to prevent any shifting during your event. If your paper rolls up at the edges, a few well-placed pieces of tape will keep it flat.
Step 4: Style and Set Your Table
With your vibrant new table covering in place, the fun continues with styling! Add your tableware, centerpieces, candles, and any other decorative elements. The color block design serves as a fantastic backdrop, allowing your place settings and decor to pop. This covering not only looks fantastic but also offers a practical surface for all your party essentials. You’ll find that the dynamic colors create an immediate atmosphere of celebration and creativity. Stand back and admire your handiwork – a unique and custom-designed table, ready for any occasion!

Creative Ideas & Benefits of Your Paper Table Cover
This DIY paper color block table covering isn’t just a pretty face; it’s a versatile solution for a myriad of situations, making it an indispensable trick up your sleeve for home entertaining and crafting:
- Quick Fix for Scuffed or Dated Tables: Instantly camouflage any imperfections on older tables or give a tired surface a fresh, modern facelift without permanent commitment. It’s a fantastic way to revitalize furniture for an event without investing in costly repairs or new pieces.
- Protecting Surfaces from Little Hands: If you have “littles” around, you know the struggle of keeping surfaces pristine. This paper covering acts as a perfect barrier against spills, crayon marks, paint, and general wear and tear, safeguarding your precious tables during craft sessions, mealtimes, or playtime. Cleanup becomes a non-issue!
- Theme Customization for Any Event: From vibrant birthday parties and chic baby showers to elegant holiday dinners or casual backyard BBQs, you can easily adapt the colors and patterns of your paper to match any theme. Imagine pastel blocks for a spring brunch or bold, primary colors for a superhero party.
- Seasonal Decor Updates: Swap out your paper colors with the seasons! Use warm reds and oranges for autumn, cool blues and silvers for winter, or bright greens and yellows for spring. It’s an affordable way to keep your home decor feeling fresh and topical.
- Inspire Creativity: The abstract, color-blocked design itself is a piece of art. It can inspire conversations, stimulate visual interest, and even encourage guests to unleash their own creative ideas.
- Eco-Friendly Options: Choose recycled or FSC-certified craft paper for a more sustainable option. Since it’s disposable, you can select materials that align with your environmental values.
Don’t you agree that this project offers both aesthetic appeal and immense practicality? It truly simplifies the art of table setting and party hosting. By embracing this DIY solution, you’re not just covering a table; you’re creating an experience.
For those eager to dive deeper into the world of paper crafting and unlock even more vibrant possibilities, be sure to grab a copy of Brittany’s book, “Craft The Rainbow,”. It’s a treasure trove of inspiration that will undoubtedly ignite your passion for colorful DIY action and equip you with dozens of ingenious projects to brighten your home and celebrations.
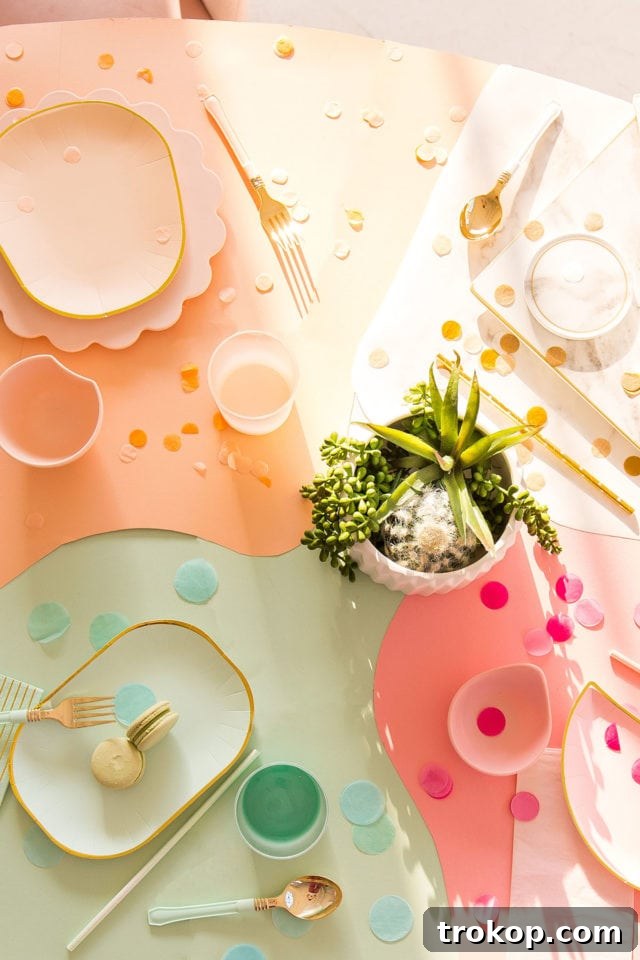
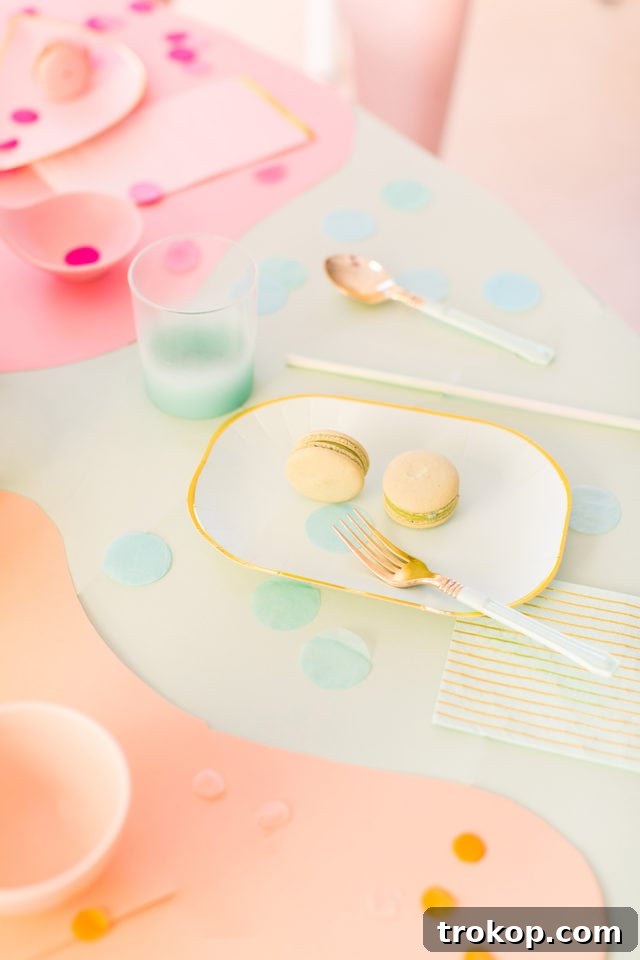

Embrace the joy of crafting and the beauty of color with this simple yet impactful DIY project. Happy creating!