
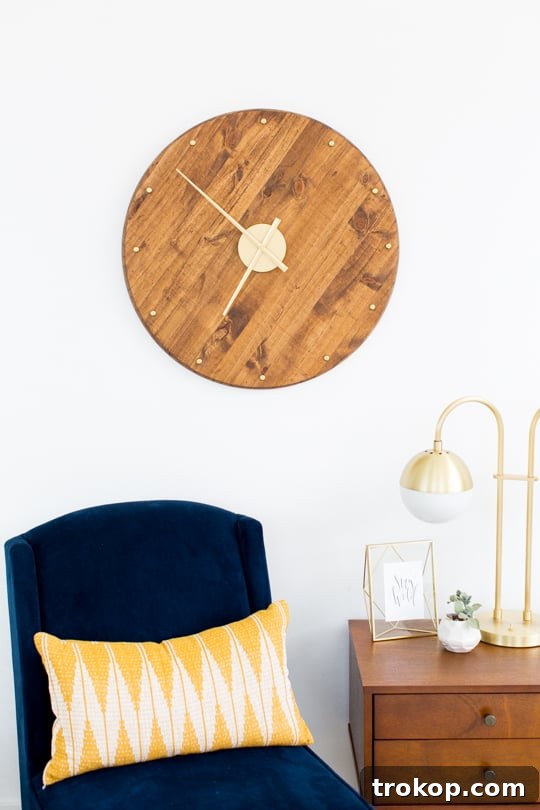
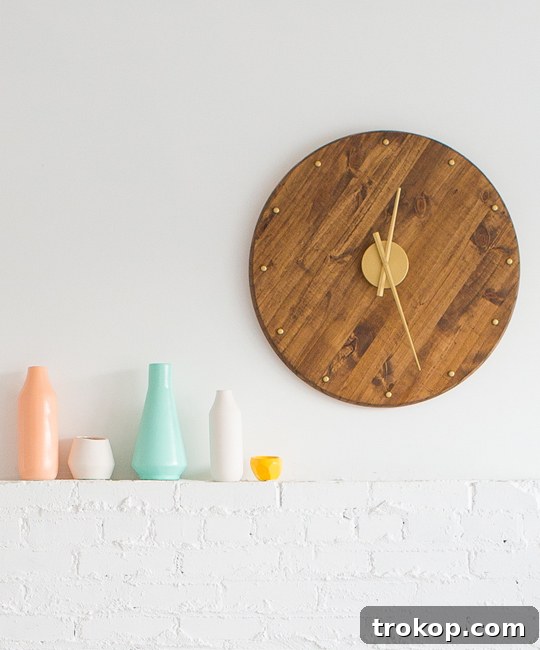
Transform your living space with a touch of timeless elegance by crafting your very own Mid Century DIY Wall Clock. This comprehensive guide will walk you through each step, making it easy to add a stylish, functional, and uniquely personal statement piece to any room. Mid Century Modern design, celebrated for its clean lines, organic shapes, and minimalist aesthetic, continues to captivate homeowners and designers alike. Its enduring appeal lies in its blend of practicality and sophisticated simplicity, making it a perfect choice for those looking to infuse their decor with a classic yet contemporary feel.

Are you searching for the ideal retro clock to complement your existing decor, perhaps for a focal point in your living room? Many pre-made Mid Century Modern pieces, from furniture to accessories, can come with a hefty price tag. However, the beauty of DIY projects lies in their affordability and the immense satisfaction derived from creating something beautiful with your own hands. We’ve embraced this philosophy before, successfully crafting budget-friendly items such as a DIY mid century modern side table, stylish DIY mid century plant stands, and even a comfortable Mid Century DIY day bed, all designed to capture that coveted vintage aesthetic without breaking the bank.
This led us to embark on our latest creative endeavor: designing and building our own jumbo-sized Mid Century DIY Wall Clock. You’ll be surprised at how straightforward this project is and how significantly it can cut down on costs compared to purchasing a similar item from high-end home decor stores. This easy-to-follow tutorial offers clear, concise instructions, enabling you to construct a one-of-a-kind wall clock that perfectly embodies the sophisticated charm of the Mid Century design movement. It’s an opportunity to create a conversation piece that reflects your personal style and adds a unique, handcrafted element to your home.
With a carefully selected list of materials and some common household tools, you’ll be well on your way to assembling a visually striking and fully functional work of art. Imagine the impact this custom clock will have, whether it graces the wall of your living room, kitchen, home office, or bedroom. Beyond its aesthetic appeal, the act of creating something tangible and beautiful provides a deep sense of accomplishment. So, gather your supplies, prepare your workspace, and let’s dive into bringing a distinctive slice of Mid Century allure to your walls with this engaging DIY wall clock project!
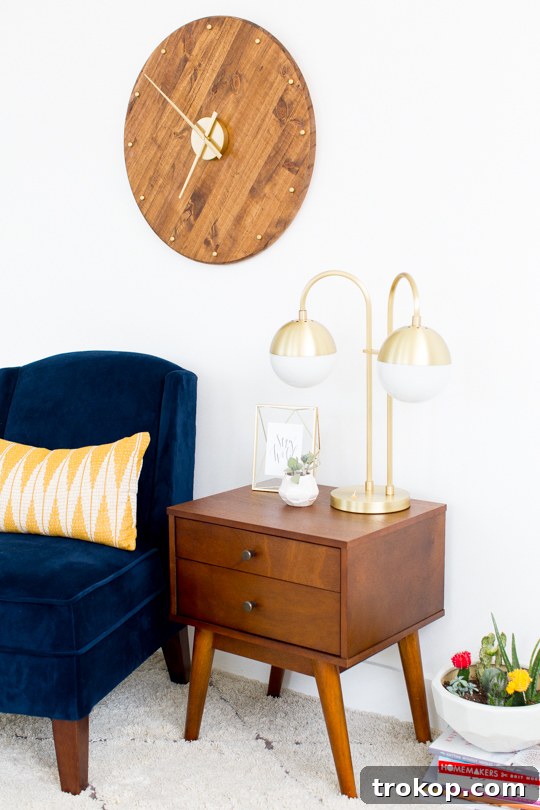
Materials and Tools Needed to Make a DIY Mid Century Wall Clock
Before you begin your exciting journey to create a stunning Mid Century DIY Wall Clock, gathering all your materials and tools is crucial. Having everything ready beforehand will ensure a smooth and enjoyable crafting process. Here’s a detailed list of what you’ll need:
- Wood Round: The foundation of your clock face. We recommend a 1″ x 2′ x 2′ unfinished pine wood round for a substantial, classic look. Its size makes a bold statement, perfect for a large wall clock.
- 3-D Clock Hands Time Movement: This is the heart of your clock, providing the mechanism for accurate timekeeping and stylish hands. A similar one is available here. Ensure the shaft length is appropriate for the thickness of your wood round.
- Foam Brush: Essential for applying wood stain smoothly and evenly, ensuring a professional finish without streaking.
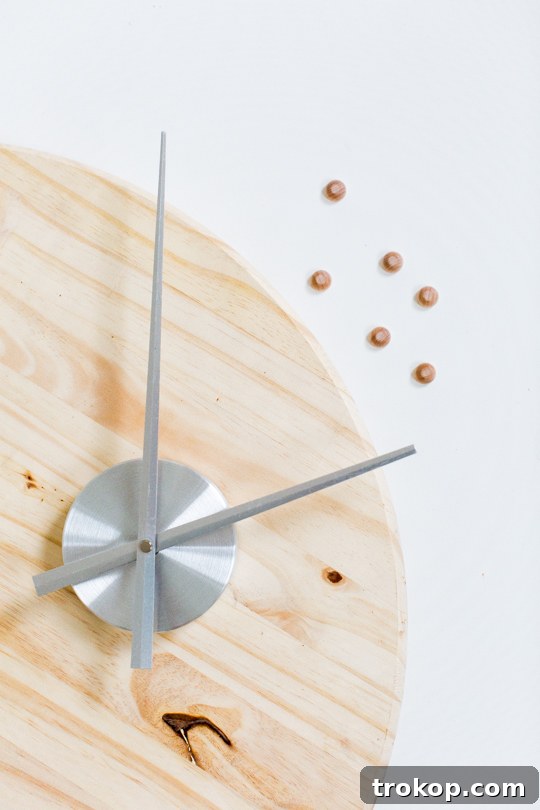
- Dowel Caps: These small wooden caps will serve as the hour markers on your clock face, adding a subtle yet distinct Mid Century detail. You’ll need 12 of them.
- Super Glue: For securely attaching the dowel caps and any other small elements to the clock face. A strong, quick-drying adhesive is key.
- D-Ring Hangers: To ensure your finished clock can be safely and securely mounted to the wall. We recommend at least two for stability.
- Picture Wire: Provides an additional layer of security and flexibility when hanging your large clock, distributing its weight evenly.
- Drill, Screws, and Drill Bit: Necessary for installing the D-ring hangers and creating a central point for the clock mechanism. A versatile drill set will be your best friend for this project.
- Optional: Wood Stain: To give your wood round a rich, retro hue. We opted for “Early American” stain, which perfectly captures the classic warmth of Mid-Century aesthetics.
- Optional: Clear Shellac Spray Paint: A protective topcoat to seal the wood stain, enhancing durability and giving your clock a polished finish.
- Optional: Metallic Gold Spray Paint: Our clock hands were originally silver, but a touch of metallic gold spray paint instantly elevates the design, adding that distinct, luxurious Mid-Century flair that complements the wood tones beautifully.
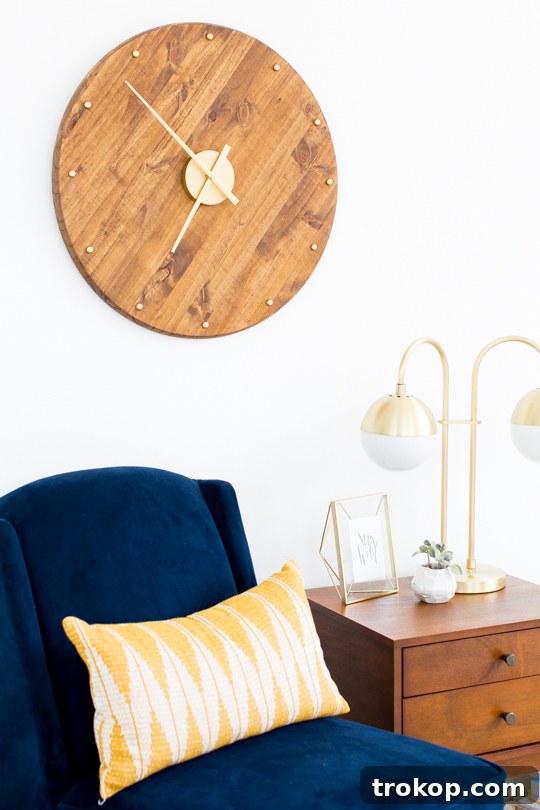
How to Make a Mid Century DIY Wall Clock
Crafting your own Mid Century DIY Wall Clock is a rewarding project that combines simple steps with stylish results. Follow these instructions carefully to create a beautiful and functional timepiece for your home.
Step 1: Optional – Stain and Seal the Wood Round. Begin by preparing your wood round. If you desire a specific color or a more refined finish, apply your chosen wood stain evenly across the front and sides of the wood round using a foam brush. We chose to only stain these visible areas, as the back will not be seen once mounted. Allow the stain to dry completely according to the manufacturer’s instructions. Patience is key here; rushing this step can lead to an uneven finish. For enhanced protection and a lasting sheen, apply a coat of clear shellac spray paint. This seals the wood stain, protects the wood, and provides a smooth, durable surface. Ensure this layer also dries fully before moving on to the next step. A well-stained and sealed base sets the stage for a truly professional-looking DIY wall clock.
Step 2: Optional – Paint the Clock Hands and Dowel Caps. While your wood round is drying, take this time to customize the aesthetic of your clock hands and hour markers. If your clock hands are not already the desired color, or if you want to add a luxurious touch, spray paint the clock hands movement (carefully, avoiding the mechanical parts if possible) and all twelve wooden dowel caps with metallic gold paint. This rich, metallic finish is a hallmark of Mid-Century design and will beautifully contrast with your stained wood, adding significant visual appeal. Make sure to spray in a well-ventilated area and apply light, even coats to prevent drips. Allow these components to dry thoroughly before handling or assembly.
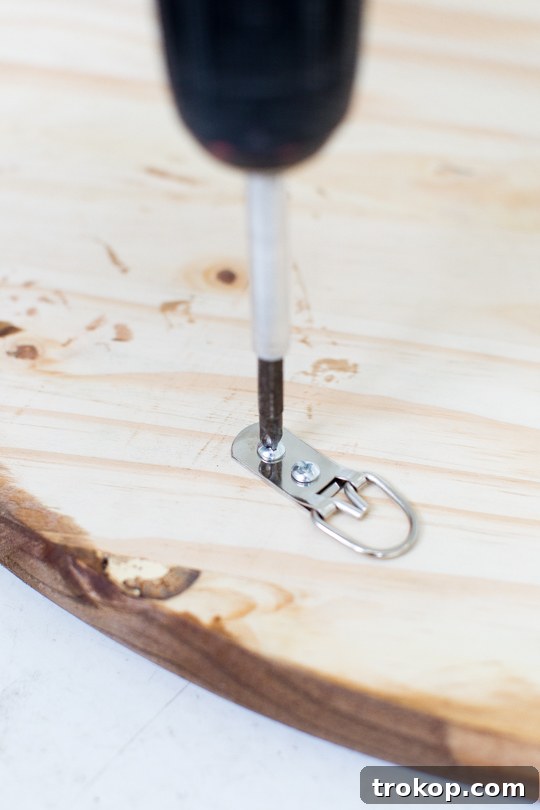
Step 3: Install the Hangers. With the wood round dry, flip it over so the back is facing up. Carefully position your D-ring picture hangers on the back, ideally towards the top edge to support the clock’s weight evenly. Using your drill, secure the D-rings with appropriate screws. Make sure they are installed firmly to prevent any wobbling or accidental detachment. It’s important to install these hangers before attaching the clock hands to avoid any potential damage or scratching to the delicate mechanism during this step. Proper hanger installation is vital for the safe display of your new handmade clock.
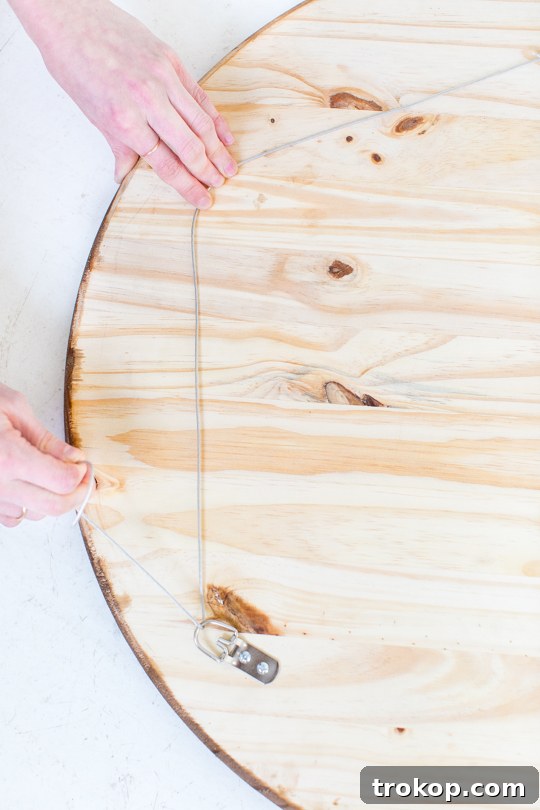
Step 4: String the Picture Wire. Now, thread the picture wire between the two installed D-rings. Pull it taut but leave a slight curve, allowing for easier hanging. Securely twist the ends of the wire around the D-rings, ensuring there are no loose strands. This wire will provide a robust and adjustable hanging point for your clock once it’s fully assembled and ready to adorn your wall. Using picture wire is a professional method that adds both security and versatility to your DIY home decor project.
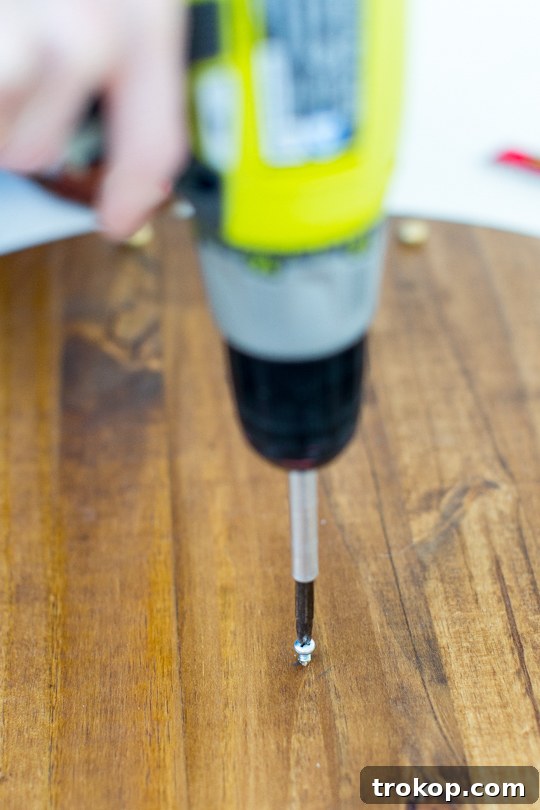
Step 5: Assemble the Clock Face and Mechanism. Flip the wood round back over to its front side. This is where your clock truly begins to take shape. Using a tape measure, find and mark the precise center of the wood round. From this center point, measure approximately 1/2 inch directly below it and drill a small pilot hole. Insert a screw into this hole, leaving it slightly protruding. This screw will act as the anchor for your 3-D clock hands movement, allowing it to hang properly and remain centered. Our particular 3-D clock hands movement is designed to rest on the face, so this single screw provides the necessary support without requiring a hole through the entire wood round. Attach the clock mechanism to this screw, ensuring it’s stable and ready for the hands to be added later.
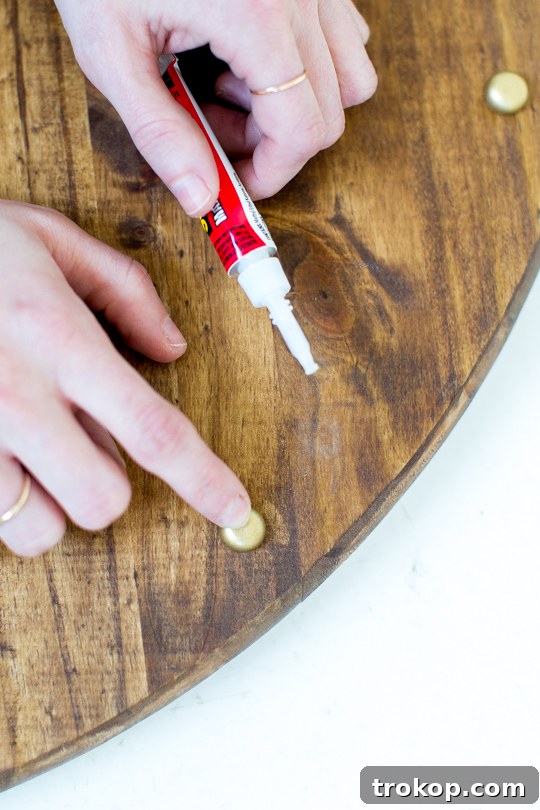
Step 6: Glue the Dowel Caps (Hour Markers). With the clock mechanism in place, it’s time to add the hour markers. Carefully measure and evenly space the twelve painted wooden dowel caps around the circumference of the clock face. These caps should be positioned at the 12, 1, 2, 3, 4, 5, 6, 7, 8, 9, 10, and 11 o’clock positions. Use a ruler or a stencil to ensure even spacing and alignment. Apply a small amount of super glue to the back of each dowel cap and firmly press it onto the wood round. Allow the glue to set completely, ensuring each marker is securely fixed. Once the glue has dried, attach the hour, minute, and second hands to the clock mechanism as per its instructions. Congratulations! Your stunning Mid Century DIY Wall Clock is now complete and ready to be proudly displayed!
Tutorial Tips and Tricks for Your DIY Clock
To ensure your Mid Century DIY Wall Clock turns out perfectly and lasts for years to come, keep these valuable tips and tricks in mind:
- Avoid Over-Spraying the Shellac: When applying the clear shellac spray paint, the key is multiple light coats rather than one heavy layer. Hold the can about 6-8 inches from the surface of the wood round and use sweeping, even motions. This technique prevents drips, runs, and an overly thick, uneven finish, ensuring a smooth and professional-looking seal that highlights the wood’s natural beauty and the stain’s color.
- Test the Clock Mechanism Before Final Assembly: Before permanently gluing all the hour markers and other elements, take a moment to test your clock mechanism. Insert a battery and allow it to run for a few minutes to ensure it’s functioning correctly and keeping accurate time. This simple check can save you significant effort and potential frustration later on, allowing you to make any necessary adjustments or troubleshoot before everything is finalized.
- Strategic Hanging for Maximum Impact: Choosing the right spot for your new DIY wall clock is just as important as building it. Select a wall that complements your Mid-Century decor, perhaps above a sofa, a console table, or in a prominent hallway. Use the picture wire you attached earlier to hang the clock securely on a sturdy hook or nail. If you’re aiming for perfect symmetry or a specific arrangement, use a tape measure to find the exact center of your chosen wall section. A level will be indispensable to ensure the clock hangs perfectly straight. The slight flexibility of the picture wire allows for minor adjustments after initial hanging, ensuring your clock looks its best and becomes a true centerpiece.
- Practice Makes Perfect (Especially with Stain/Paint): If you’re new to staining or spray painting, consider practicing on a scrap piece of wood first. This will help you get a feel for the application process, consistency, and drying times, leading to a much more confident and successful application on your actual clock components.
- Patience with Drying Times: Always adhere to the recommended drying times for stain, shellac, and paint. Rushing these steps can lead to tacky surfaces, uneven finishes, or even damage when you start assembling. A little patience goes a long way in achieving a durable and beautiful finish.
Living Room Furniture Sources & Inspiration
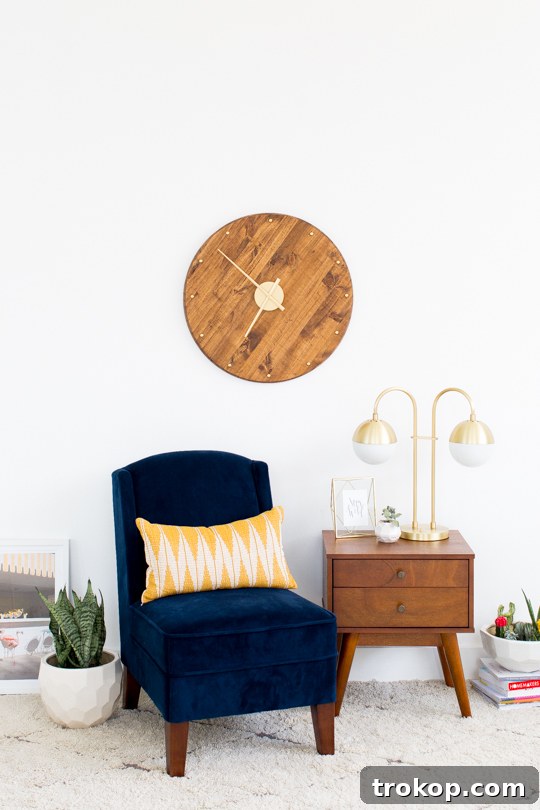
Creating a beautiful Mid Century DIY Wall Clock is just one step towards a fully realized retro-inspired living space. If you’re looking for furniture and decor to complement your new clock, here are some sources and ideas from our own living room makeover:
- Navy Chair from Target: A comfortable and stylish armchair can anchor your seating area, providing a pop of color and a cozy spot.
- End Table from Target: Practical and aesthetically pleasing, an end table is perfect for holding lamps, drinks, or decor.
- Cedar Moss Double Table Lamp from Rejuvenation: Lighting is key to setting the mood. This lamp adds a sophisticated touch while providing ample illumination.
- For more unique clock ideas to adorn your home, be sure to check out our marble DIY tabletop clock and our clever DIY plate clock. These projects offer alternative styles and techniques for creating custom timepieces.
-
Don’t miss our full living room reveal for more detailed sources, decor ideas, and inspiration to complete your Mid-Century inspired home.
More Easy DIY Wall Hang Ideas
If you enjoyed making your Mid Century DIY Wall Clock and are eager for more creative projects to enhance your walls, we’ve got you covered! Explore some of our favorite easy DIY wall hang ideas below to keep your crafting momentum going and add even more personalized touches to your home:
- Pom Pom Wall Art: Add a playful and textural element to any room with vibrant, soft pom-pom creations.
- Fringed Mirror: Elevate a simple mirror with a stylish fringe, perfect for bohemian or eclectic spaces.
- Colorful Fabric DIY Wall Hang: Use various fabrics to create unique, eye-catching wall art that adds color and warmth.
- How to Print on Canvas: Learn to transfer your favorite photos or artwork onto canvas for personalized, gallery-worthy pieces.
Mid Century DIY Wall Clock
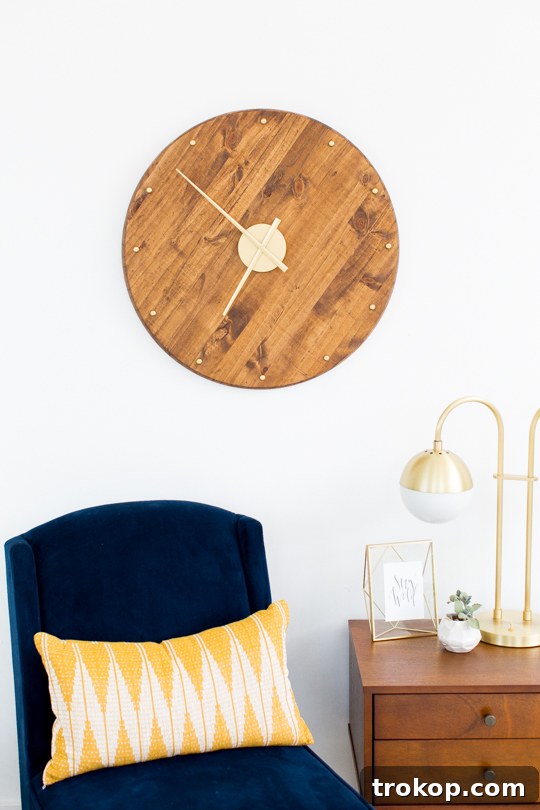
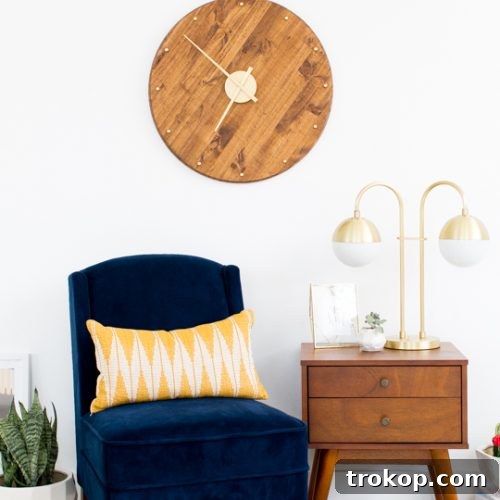
If you’re looking for a statement piece for your home decor, this DIY Mid Century Wall Clock is it! Craft a unique, retro-inspired timepiece that adds character and charm to any room.
Equipment
-
Drill with drill bit and screws
-
Foam brush for stain
-
Super glue
Materials
- 1 wood round
- 1 wood stain any color of your choice
- 1 clock movement mechanism kit
- 1 metallic gold spray paint optional
- 1 clear shellac spray paint optional
- 12 dowel cap
- 3 D-ring hanger
- 1 picture wire
Instructions
-
1. Optional: Stain and seal the wood round: Apply wood stain to the front and sides of the wood round. Once dry, apply a coat of clear shellac spray paint. Allow to dry fully before proceeding.
-
2. Optional: Paint the clock hands and dowel caps: While the wood dries, spray paint the clock hands movement and wooden dowel caps with metallic gold paint. Allow these to dry as well.
-
3. Install the hangers: Flip the wood round over and install the D-ring picture hangers on the back using a drill.
-
4. String the picture wire: Thread the picture wire between the D-rings, securing it tightly to prepare the clock for hanging.
-
5. Assemble the clock face and mechanism: Flip the wood round back over. Measure and mark the exact center, then drill a screw about 1/2″ below the center to hang the clock mechanism.
-
6. Glue the dowel caps: Glue the wooden dowel caps onto the clock face to represent the 12 hours. Allow the glue to set, then attach the clock hands.

We absolutely love seeing your creative projects come to life! Be sure to share your finished Mid Century DIY Wall Clock with us on Instagram using the hashtag #sugarandclothloves. We’ll be thrilled to follow along and celebrate all your amazing creations!
43 Top Amazon Wall Decor Ideas for Every Room in Your Home
Find gorgeous Amazon wall decor that makes a big impact…
Continue Reading43 Top Amazon Wall Decor Ideas for Every Room in Your Home
28 Decorative Wall Mirrors You’ll Wish You Bought Sooner
Looking for the perfect wall mirror? Explore our roundup of…
Continue Reading28 Decorative Wall Mirrors You’ll Wish You Bought Sooner
25 Large Wall Clocks for Your Living Room
Looking for the perfect extra large wall clock? Explore stylish…
Continue Reading25 Large Wall Clocks for Your Living Room
19 Unique & Easy Houseplants that We’re Loving
Looking for unique house plants? Dive into our guide to…
Continue Reading19 Unique & Easy Houseplants that We’re Loving