
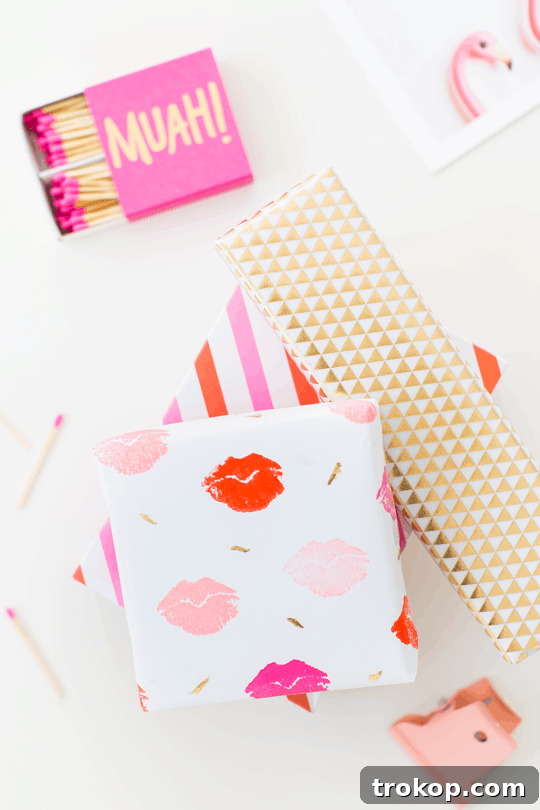
DIY Lip Patterned Gift Wrap: Crafting Kisses for Every Occasion
There’s something truly special about a gift that’s wrapped with love and thoughtfulness. While the present inside is undoubtedly important, the presentation sets the tone, transforming a simple item into a memorable gesture. Imagine presenting a gift adorned with a pattern of charming, colorful lips – a cascade of affectionate kisses, beautifully designed and uniquely yours. This DIY Lip Patterned Gift Wrap isn’t just paper; it’s a canvas of care, perfect for expressing your heartfelt emotions to your sweetheart, best friend, or beloved family member this year.
In a world saturated with mass-produced items, a handmade touch elevates any gift. Personalized gift wrap demonstrates dedication, creativity, and a willingness to invest time and effort into making someone feel cherished. It’s an opportunity to infuse your personality and affection into every detail, making the unwrapping experience as delightful as the gift itself. This project is a fantastic way to celebrate occasions like Valentine’s Day, anniversaries, birthdays, or even “Galentine’s Day” – a celebration of friendship and love.
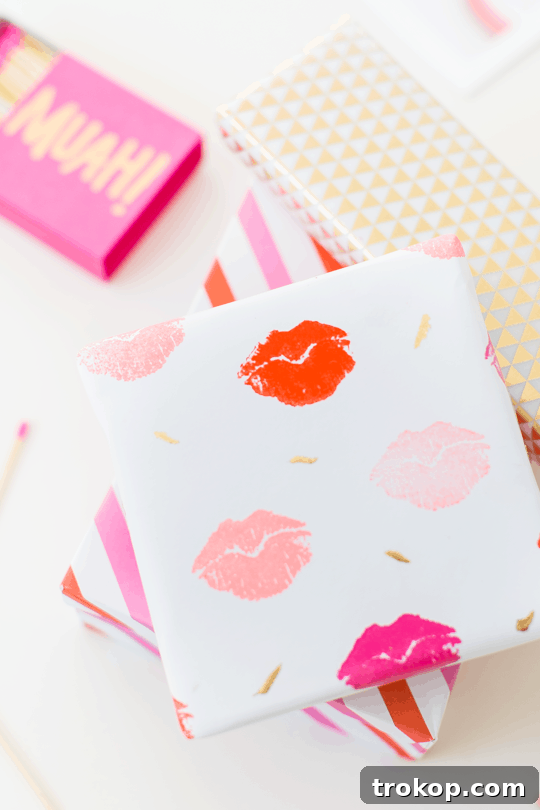
The Allure of Lip Print Design
Kisses are universal symbols of love, affection, and warmth. They transcend language barriers and convey deep emotions. Incorporating a lip print pattern into your gift wrap captures this sentiment beautifully, offering a playful yet profound way to say “I love you” without uttering a single word. Unlike actual lipstick kisses that can smear, dry unevenly, and even leave unwanted germs, a well-executed stamp pattern provides a clean, artistic, and enduring representation of affection.
The beauty of this lip-patterned design lies in its versatility. While it immediately brings to mind romantic celebrations like Valentine’s Day or anniversaries, the choice of colors can easily adapt it to other occasions. Imagine vibrant, playful lips for a birthday gift, or subtle, elegant tones for a bridal shower. This unique approach allows you to step away from generic store-bought gift wrap and create something truly bespoke, reflecting both your taste and the recipient’s personality. It’s a craft that allows for endless creative expression, making each wrapped gift a small work of art.
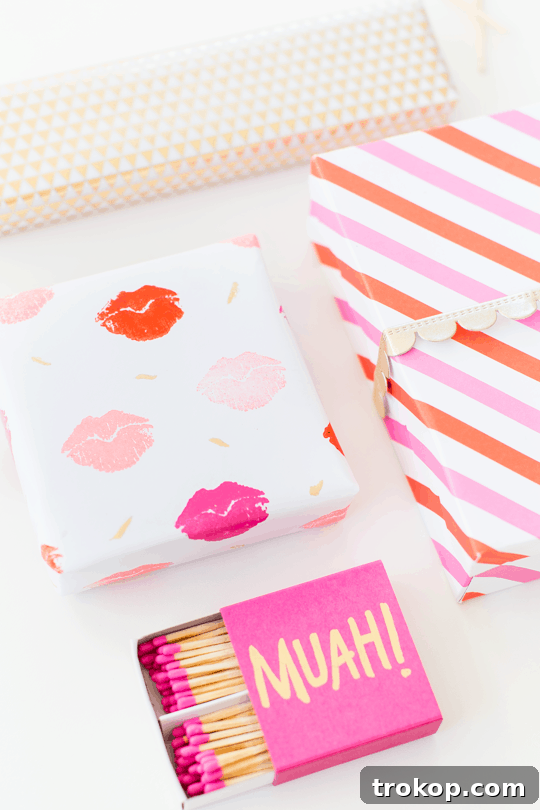
Essential Materials for Your Kiss-Themed Gift Wrap
Gathering the right tools and materials is the first step to a successful DIY project. Here’s a detailed look at what you’ll need to create your stunning lip-patterned gift wrap:
- Lip Stamp: This is the star of your project! You can find lip-shaped stamps at most craft stores or online. Look for one that has a clear, defined lip outline. If you’re feeling extra crafty, you could even carve your own from a linoleum block or a potato for a truly unique look.
- Craft Paint in Your Choice of Colors: Acrylic craft paints work wonderfully for this project. Consider a palette that suits the occasion. For Valentine’s Day, reds, pinks, and whites are classic. For a more subtle look, try pastels or monochromatic shades. Experiment with different finishes too – matte, glossy, or even metallic paints can add depth.
- Gilding Adhesive: This special adhesive is designed to work with gold leaf. It dries to a tacky consistency, allowing the delicate gold leaf to adhere beautifully. Ensure you choose one suitable for paper.
- Gold Leaf Sheets: These thin, metallic sheets will add a touch of elegance and sparkle to your design. Gold leaf comes in various shades, so pick one that complements your chosen paint colors.
- Fine-Tipped Paint Brush: Essential for precise application of the gilding adhesive. A small, pointed brush will give you control over the size and placement of your gold accents.
- White Paper: Opt for a roll of plain white craft paper, butcher paper, or even a large sheet of drawing paper. The smooth, untextured surface will best showcase your stamped pattern. Make sure it’s sturdy enough to withstand stamping and gold leaf application without tearing or buckling.
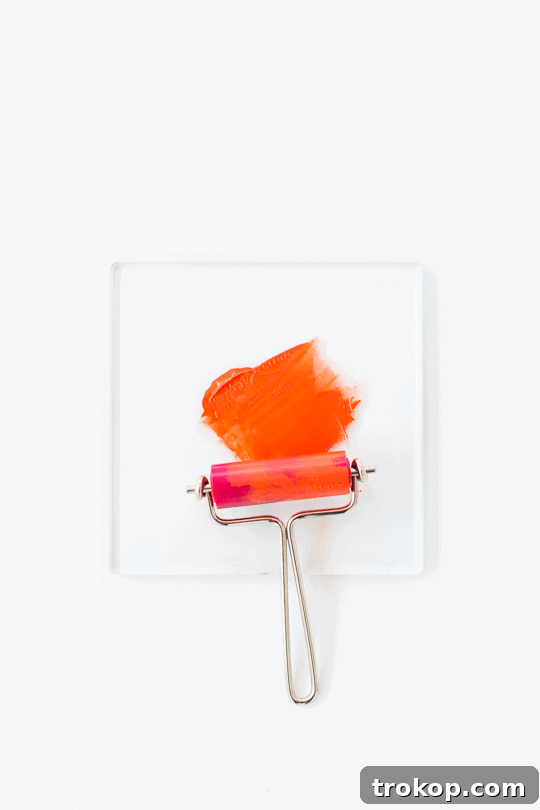
- Brayer Roller (Optional but Recommended): While not strictly necessary, a brayer roller is incredibly convenient. It helps to evenly distribute paint onto your stamp, preventing over-inking and ensuring crisp, consistent impressions every time. This results in a much cleaner and professional-looking pattern.
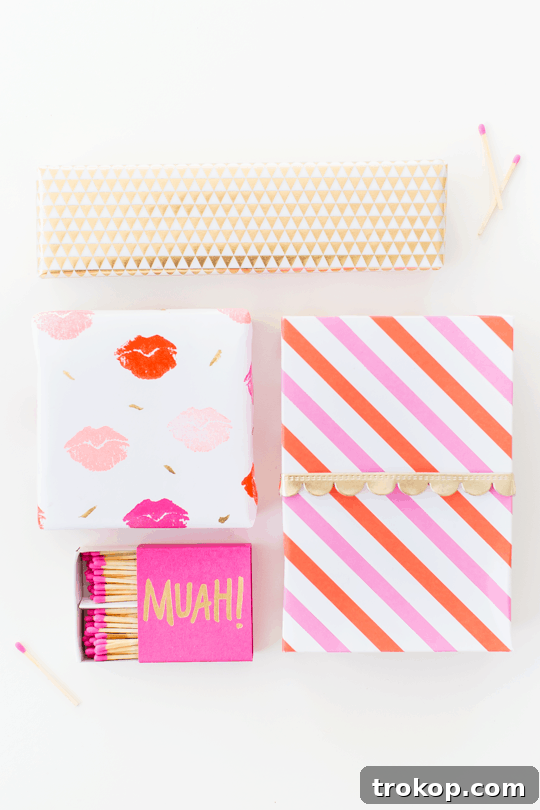
Step-by-Step Guide to Crafting Your Lip Patterned Gift Wrap
Preparing Your Workspace
Before you begin, ensure you have a clean, flat surface to work on. Cover your table with old newspapers, a drop cloth, or a plastic sheet to protect it from paint. Lay out your white paper smoothly. If it’s a roll, tape down the edges to prevent it from curling. Have all your materials within easy reach.
Layering Your Lip Prints
- First Color Application: Begin by applying your first chosen paint color to the lip stamp. If using a brayer, roll a small amount of paint onto a flat non-porous surface (like a plastic lid or ceramic tile), then roll your brayer over it to pick up an even layer. Gently roll the brayer over your stamp. If not using a brayer, dab your stamp directly into a thin layer of paint. Carefully stamp this color across your paper, creating a scattered yet visually balanced pattern. Don’t worry about filling every space; leave room for other colors and the gold accents.
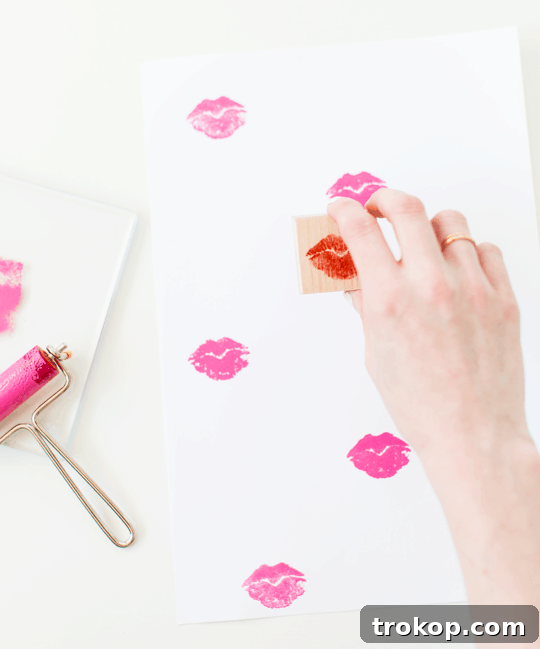
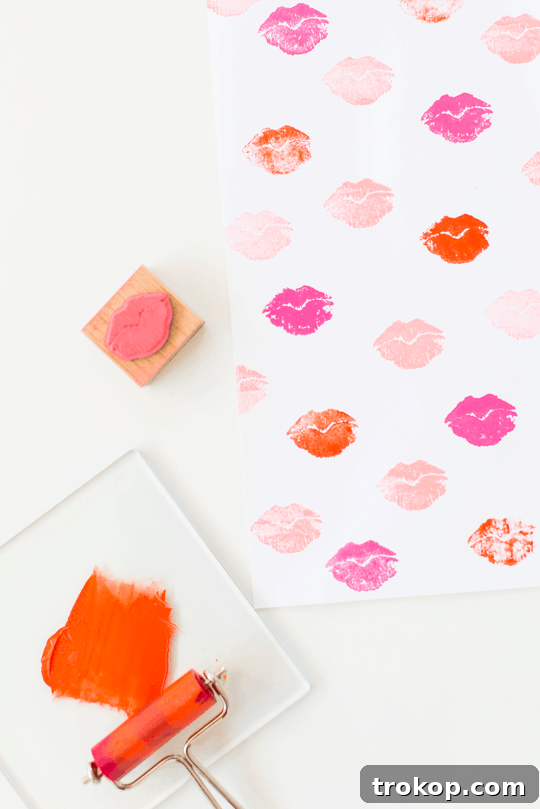
- Subsequent Colors: Allow the first color to dry completely before moving on. This is crucial to prevent colors from smudging or mixing. Once dry, repeat the stamping process with your next chosen color, filling in some of the empty spaces or overlapping slightly with the first color to create a dynamic look. Continue this process for all your desired colors, ensuring each layer is dry before adding the next.
The Elegant Touch: Adding Gold Leaf Accents
- Applying Gilding Adhesive: Once all your stamped colors have thoroughly dried, take your fine-tipped paint brush and the gilding adhesive. Dip the brush lightly into the adhesive and create small dashes, dots, or subtle lines in the empty spaces between the lips, or even slightly overlapping them. Be sporadic and artistic with your placement; these small touches will add shimmer and dimension.
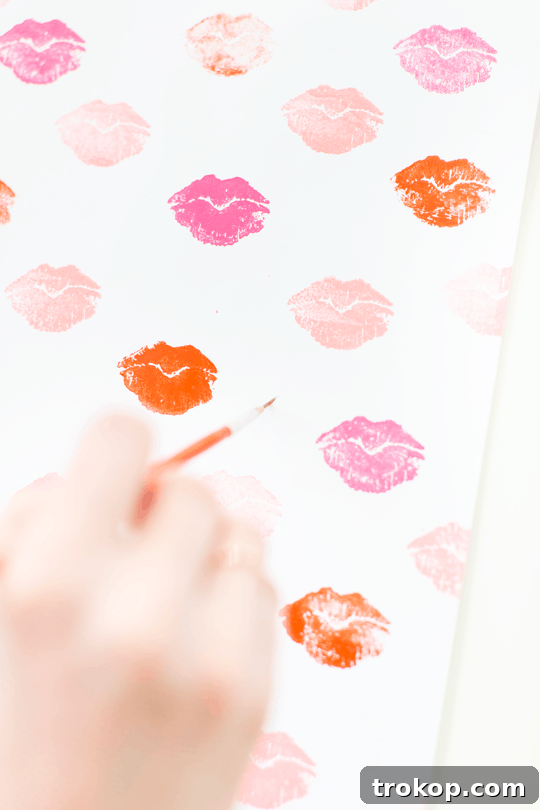
After applying the adhesive, let it dry until it becomes tacky to the touch. This can take anywhere from 5 to 15 minutes, depending on the adhesive and humidity. The adhesive should feel sticky but not wet when you lightly tap it with your finger.
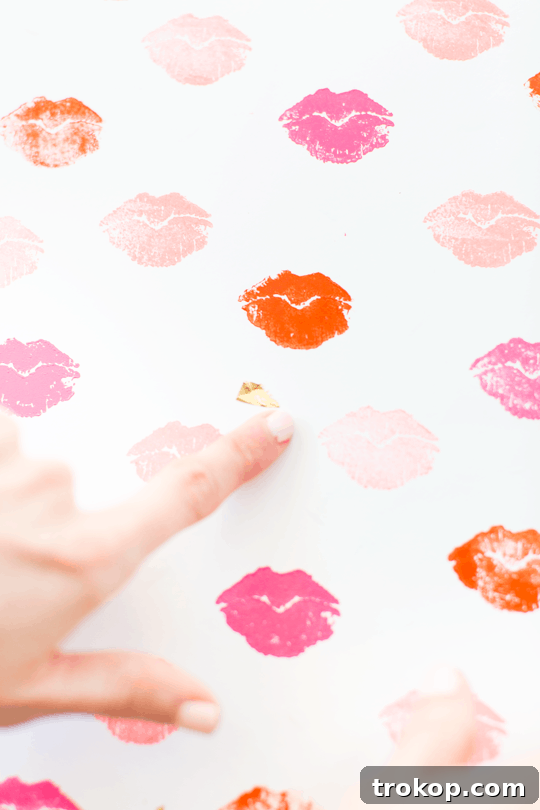
- Gold Leaf Application: Carefully place small pieces of gold leaf over the tacky adhesive spots. Gently press down on the foil with your finger or a soft, dry brush, ensuring good contact between the gold leaf and the adhesive.
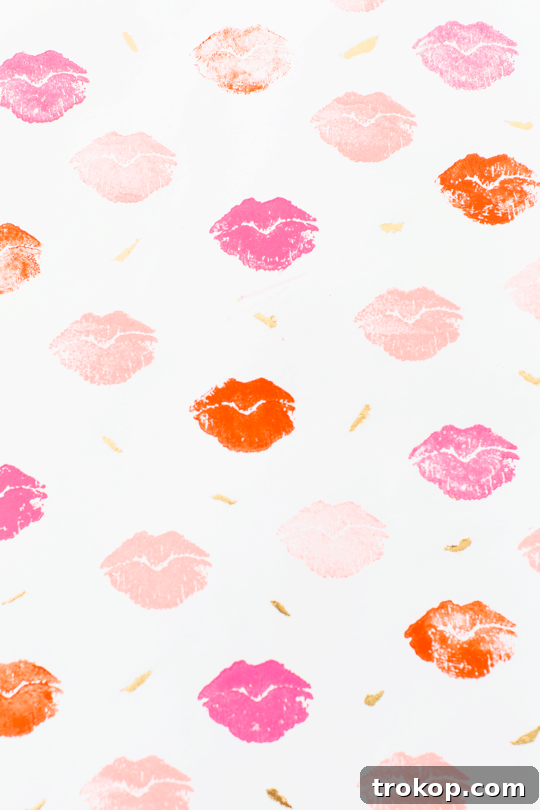
- Revealing the Shine: Once pressed, gently rub away the excess gold foil that hasn’t adhered to the glue. You can use your finger, a soft cloth, or a dedicated gold leaf brush for this. The gold leaf will only stick where the adhesive was applied, leaving behind beautiful, metallic accents. Continue this process for all the painted adhesive spots until your paper shimmers with golden touches.
Customization and Creative Inspirations
The beauty of this DIY project is its adaptability. You can make your gift wrap as vibrant and busy or as subtle and minimalist as you desire. Experiment with various color combinations – perhaps a bold primary palette for a playful vibe, or elegant metallics on a dark paper for a sophisticated look. Play with the density of your lip prints; a tightly packed pattern creates a rich, textured appearance, while widely spaced stamps offer a more modern and airy feel. Consider adding other small elements, like tiny stamped hearts or stars, to complement the lips, or even incorporate different metallic foils (silver, copper) for a multi-toned shimmer. It’s entirely up to your creative vision and how much time you want to invest in completely covering the paper.
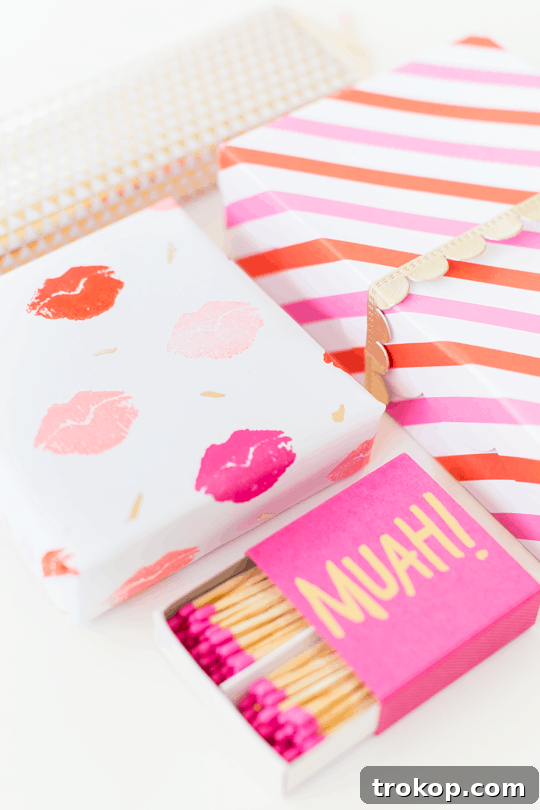
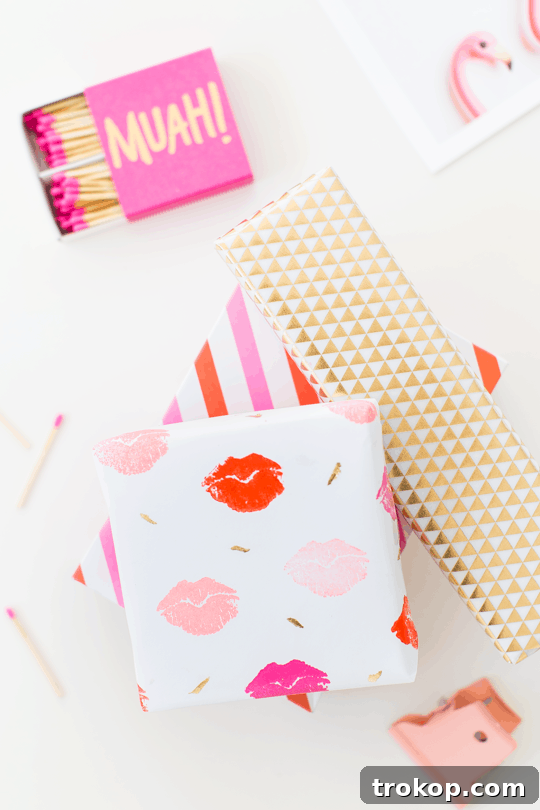
And voilà… or should we say, “muah!” Your custom-designed, kiss-patterned gift wrap is ready to delight!
Troubleshooting Common DIY Gift Wrap Challenges
Even seasoned crafters encounter hiccups. Here are a few common issues and how to tackle them:
- Uneven Stamps? If your stamp impressions are inconsistent, you might be using too much or too little paint, or applying uneven pressure. Use the brayer roller to ensure an even coating on your stamp. Practice on a scrap piece of paper to find the right amount of paint and pressure before working on your final gift wrap.
- Gold Leaf Not Sticking Properly? This usually means the adhesive wasn’t tacky enough when you applied the gold leaf, or it was too wet. Ensure the adhesive has dried to that perfect sticky-but-not-wet stage. If it’s too dry, reapply a tiny bit of adhesive. If it’s too wet, wait a little longer. Temperature and humidity can affect drying times, so be patient.
The Joy of Gifting with a Personal Touch
In the end, this DIY Lip Patterned Gift Wrap is more than just a craft project; it’s an extension of your affection and creativity. The recipient will undoubtedly appreciate the thoughtful effort, knowing that you took the time to create something beautiful and personal just for them. Handcrafted items carry an inherent warmth that store-bought goods often lack, fostering deeper connections and creating lasting memories. Embrace the process, enjoy the artistic journey, and revel in the joy of giving a gift wrapped with genuine love and a shower of colorful, golden kisses.
Project Summary: DIY Lip Patterned Gift Wrap
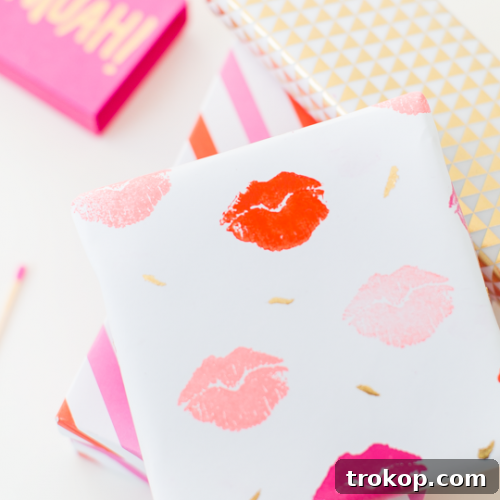
DIY Lip Patterned Gift Wrap
Nothing says I love you like a ton of kisses… on your gift wrap. Make this DIY Lip Patterned Gift wrap for your love or Galentine this year!
Total Time: 20 mins
Course: DIY
Category: Gift Wrap
Equipment
- Fine tipped paint brush
- Brayer Roller: Optional: You don’t need a roller and stand but it does make this project more convenient for not over inking stamps when using regular craft paint.
Materials
- Lip stamp
- Craft paint in the colors of your choice
- Gilding adhesive
- Gold leaf sheets
- White paper
Instructions
-
Start by stamping just one color throughout the paper.
-
Let it dry, and then move onto the next color.
-
Once all the colors have dried, use your paint brush and gold foil adhesive to make small dashes in empty spots sporadically in between the lips. Let the adhesive dry until it’s tacky to the touch.
-
Go back over the adhesive spots with small pieces of gold foil and press firmly across the foil. Rub away the excess foil that doesn’t adhere with your finger. Continue to do so across all painted adhesive spots.
Notes
- You can make it as colorful and full as you want or stick with a more subtle minimal look.
Cost: $23
Keywords: christmas, gifts, gold, gold foil, lips, sugar and cloth, valentines day

Share Your Creations!
Don’t forget to share your DIY Lip Patterned Gift Wrap with us on Instagram using the hashtag #sugarandclothloves. We always love seeing all of your wonderful creations!
Looking for more interior design inspiration and delightful DIY projects? You can find all of our DIY decor tutorials and creative ideas right here!