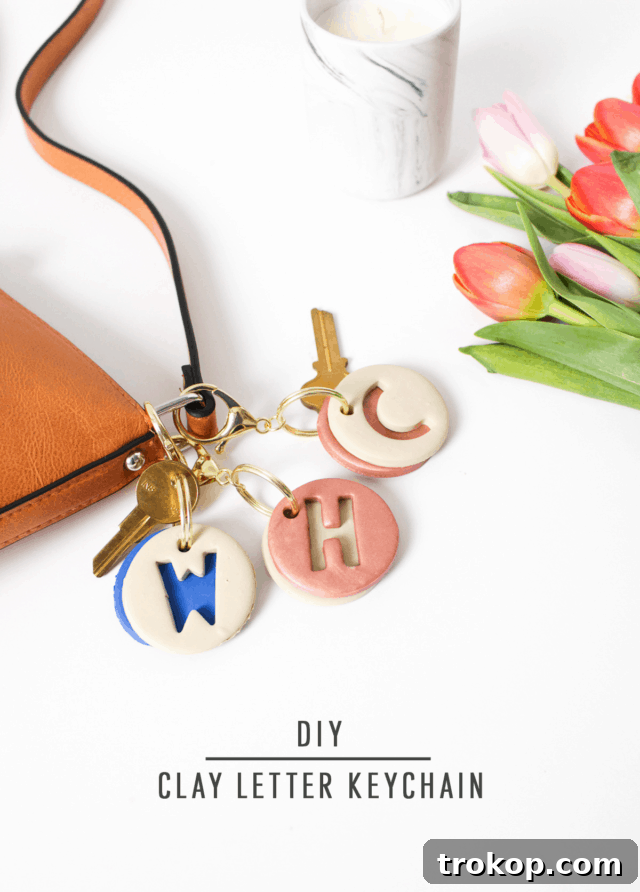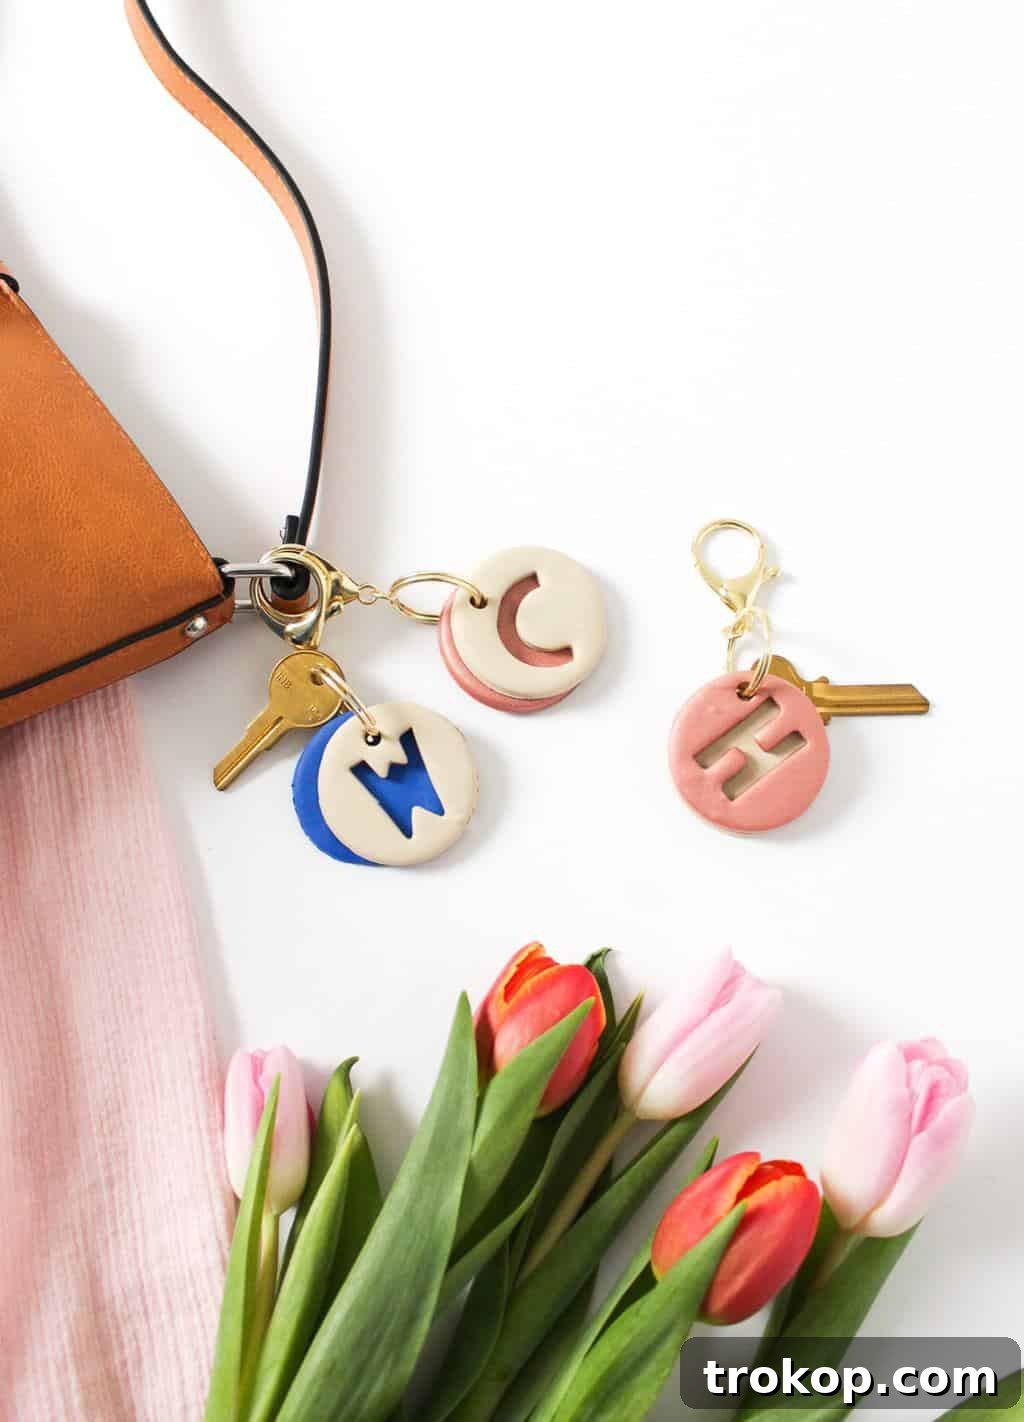
Unlock a world of creativity and organization with our delightful DIY Clay Letter Keychains! Imagine a craft project so effortlessly charming, it transforms everyday essentials into personalized treasures. This guide will walk you through creating bespoke keychains that are not only incredibly easy and inexpensive but also infuse a touch of whimsical elegance into your daily routine. Say goodbye to the endless key shuffle and hello to a system that’s as unique as you are. Get ready to dive into the simple joys of polymer clay crafting and discover how a few basic supplies can lead to truly remarkable results.
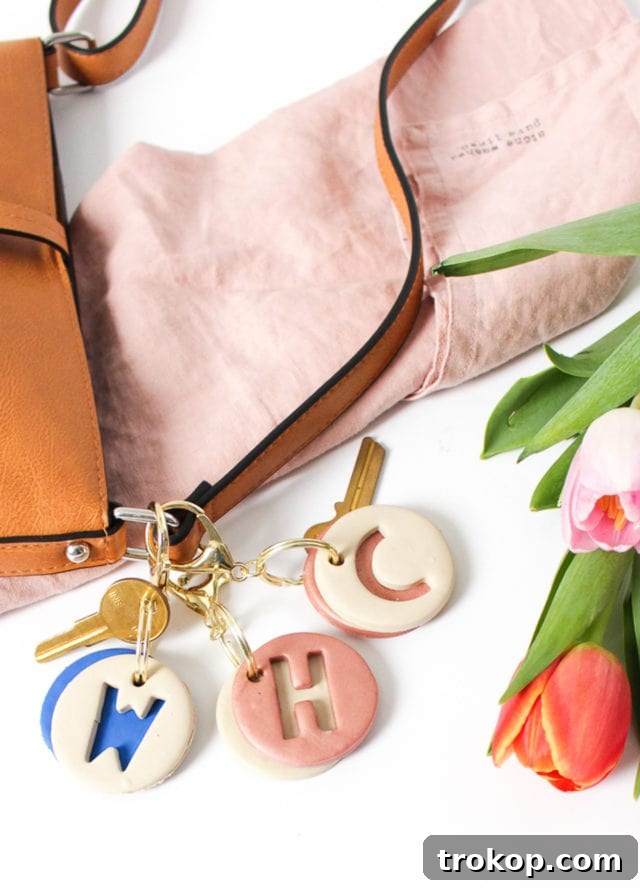
In the bustling rhythm of adult life, managing an ever-growing collection of keys can often feel like a mini-mystery. From the keys to your home, car, and office to perhaps a gym locker or a beloved shed, keeping them distinct and easily identifiable is a constant challenge, especially when you’re rushing out the door. The frustration of fumbling through a jingling mess of indistinguishable metal is a common experience many of us share.
That’s precisely why this modern DIY Clay Letter Keychain project was conceived by Anusha – to bring clarity and a dash of style to an otherwise mundane task. Beyond mere utility, these personalized keychains offer a creative outlet and a practical solution wrapped into one adorable package. They’re designed to make your keys instantly recognizable, saving you precious time and unnecessary stress every day.
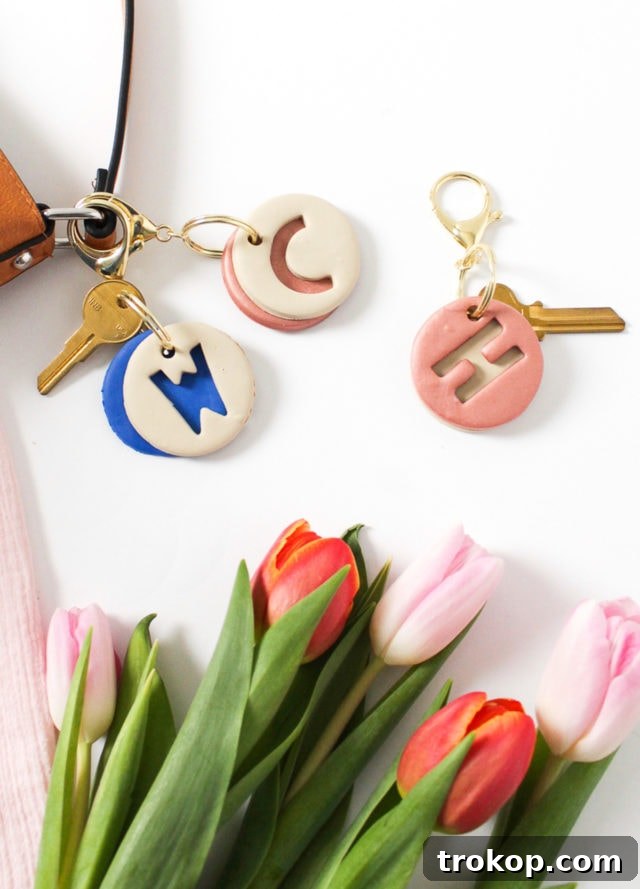
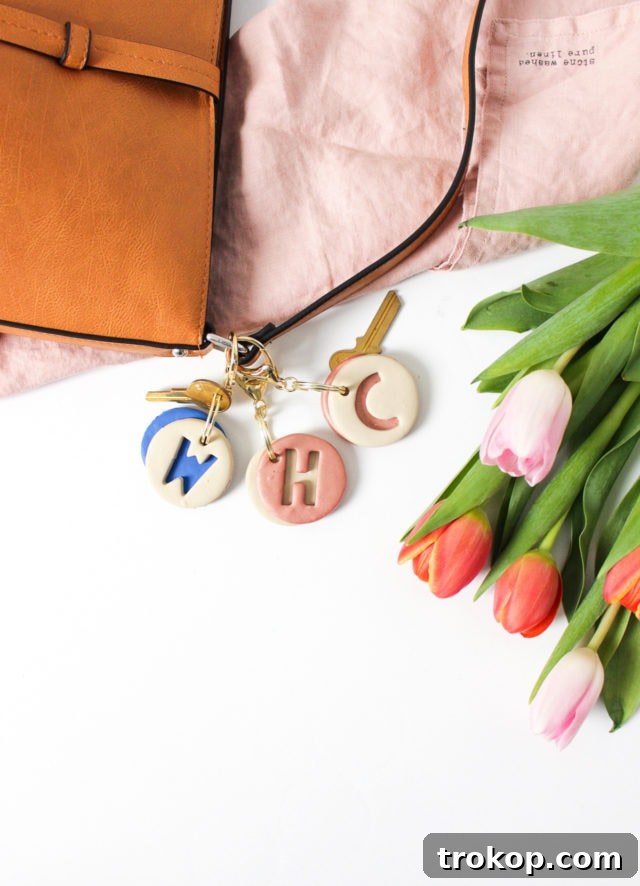
Who can resist the charm of a well-crafted keychain? They’re more than just functional accessories; they’re tiny canvases for self-expression. These little beauties are not only incredibly simple to bring to life, requiring minimal craft skills, but they also boast a delightful aesthetic that’s hard to overlook. You might even notice their charming resemblance to delicate French macarons, adding an unexpected touch of sweetness to your key ring.
The versatility of these clay keychains means you can craft a unique tag for each set of keys, making differentiation a breeze. Imagine “H” for home, “C” for car, or “W” for work, ensuring you grab the right set every time. Alternatively, create a elegant monogram keychain for yourself or fashion a thoughtful, personalized housewarming gift for friends and family. A handmade gift carries a special sentiment, and these keychains are sure to be cherished. They offer a simple yet profound way to add personality and organization to an essential item, making them perfect for personal use or as heartfelt presents.
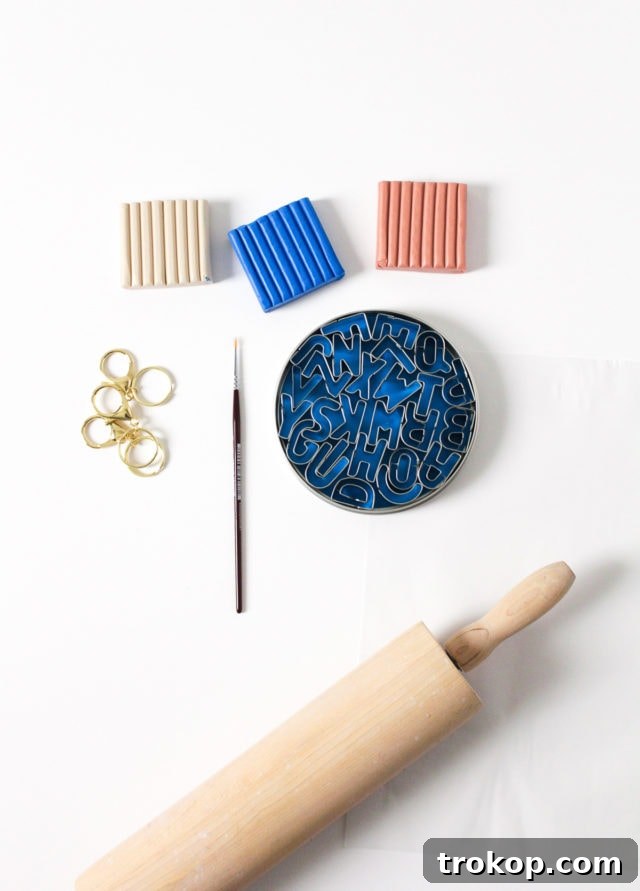
Table of Contents
Materials and Tools Needed to Make a DIY Clay Letter Keychain
Embarking on this fun and simple DIY project requires only a handful of readily available materials and tools. One of the best aspects of working with polymer clay is its accessibility and the wide range of creative possibilities it offers. Here’s a detailed list of what you’ll need to get started on your personalized clay keychains:
- Polymer Clay: This is the star of our show! Polymer clay is a versatile, oven-bake modeling material that comes in an astounding array of colors. It’s durable once baked and easy to work with, making it perfect for beginners. Choose your favorite colors – perhaps a neutral base and a vibrant accent, or colors that match your personal style or key purpose.
- Rolling Pin: Essential for flattening your clay to an even thickness. If you don’t have a dedicated clay rolling pin, a clean glass bottle or a smooth acrylic roller will work just as well. Consistency in thickness is key for even baking.
- Paintbrush or Poking Tool: This will be used to create the small hole for your keychain ring. A thin paintbrush handle, a toothpick, a skewer, or even a drinking straw can serve as an effective poking tool. Ensure the tool creates a hole large enough for the keychain ring to pass through easily.
- Alphabet Letter Cutters: These are available in various sizes and fonts at most craft stores. They allow you to imprint or cut out specific letters, adding that personalized touch to your keychains. Consider choosing a size that is proportionate to your circle cutouts.
- Circle Cookie Cutter: A small to medium-sized circle cutter will be used for the main body of your keychain. Aim for a size that’s comfortable to hold and spacious enough for your chosen letter. Various sizes can also add visual interest if you plan on layering.
- Keychain Rings: These metal rings are what will secure your clay creations to your keys. Standard split rings are common, but you might also opt for rings with swiveling clasps for added convenience.
- Sandpaper (Optional): If you desire an ultra-smooth finish after baking, fine-grit sandpaper can be used to gently refine the edges of your clay pieces. Grits ranging from 400 to 800 are ideal for polymer clay.
Additional Recommended Supplies for Best Results:
- Work Surface: A clean, smooth, non-porous surface like a ceramic tile, glass, or a silicone mat will prevent the clay from sticking and keep it free from lint and dust.
- Oven Thermometer: Polymer clay requires precise baking temperatures. An oven thermometer ensures your oven is at the correct temperature, preventing burning or under-baking.
- Craft Knife or Blade: Useful for trimming excess clay or achieving very precise cuts, though not strictly necessary for this project.
- Wet Wipes: To keep your hands clean between color changes, preventing color transfer to lighter clays.
Gathering these items will set you up for a smooth and enjoyable crafting experience, leading to beautiful, durable, and highly personalized keychains.
How to Make a DIY Clay Letter Keychain
Creating these charming polymer clay letter keychains is a straightforward process, perfect for crafters of all skill levels. Follow these detailed steps to bring your personalized key organizers to life, adding a touch of handmade elegance to your everyday essentials. Remember to always work in a clean environment to prevent dust and lint from adhering to your clay.
Step-by-Step Guide:
1 — Prepare Your Clay: Conditioning is Key
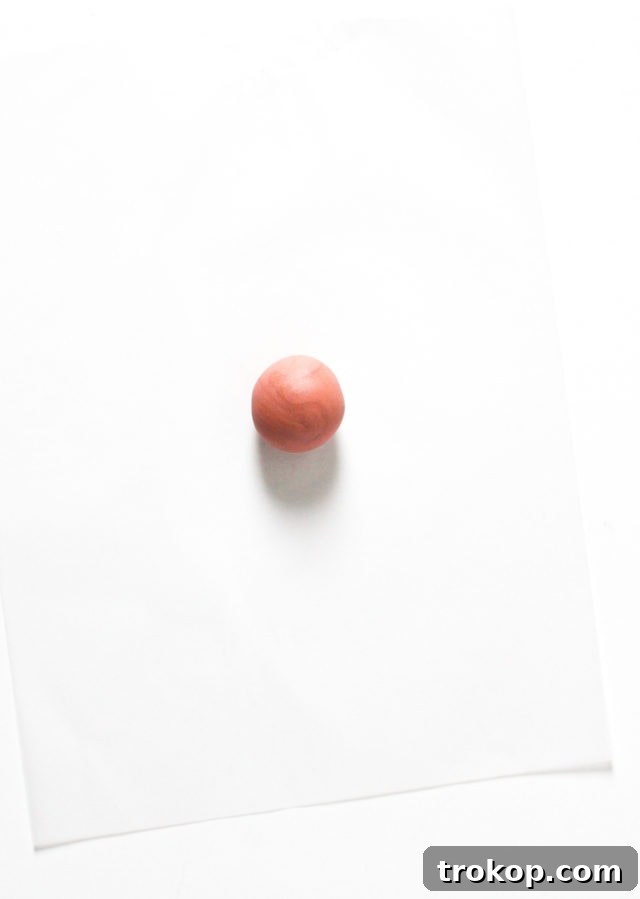
Before you begin shaping, it’s crucial to condition your polymer clay. Take a small portion of your chosen clay color and roll it in the palm of your hands to form a smooth, pliable ball. This process softens the clay, removes air bubbles, and makes it easier to work with. Continue rolling and kneading until the clay is warm, flexible, and free of any cracks or crumbly texture. This ensures a consistent and durable finished product. If working with multiple colors, condition each color separately.
2 — Flatten Your Clay to an Even Thickness
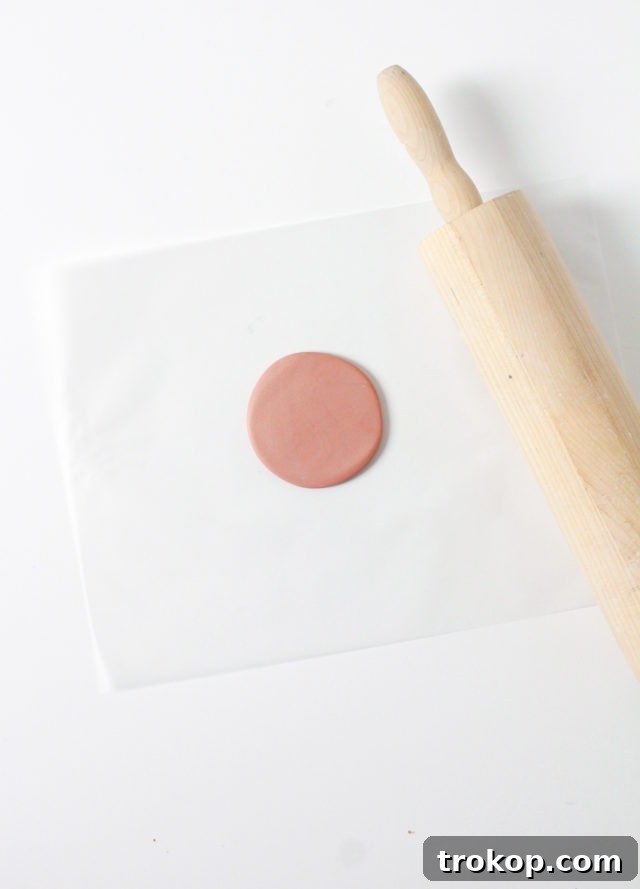
On a clean working surface (a ceramic tile or a dedicated craft mat works wonderfully), use your rolling pin to roll the conditioned clay. Aim for an even thickness of approximately 1/4 inch (about 6mm). For perfect consistency, you can place two strips of wood or playing cards on either side of your clay as guides. Rolling evenly is vital for ensuring your keychains bake uniformly and have a professional appearance. Lift and rotate the clay occasionally to prevent sticking and ensure even pressure.
3 — Cut Out Your Circular Bases
Using a circle cookie cutter or a small lid of your desired size, firmly press into the flattened clay to punch out perfect circles. Start with one clay color for your primary base piece. If you’re planning a two-tone or layered design, repeat this step with a complimentary color for the second piece. Gently remove the excess clay around your cutouts, being careful not to distort their shape. For clean edges, twist the cutter slightly before lifting it.
4 — Personalize with Letters
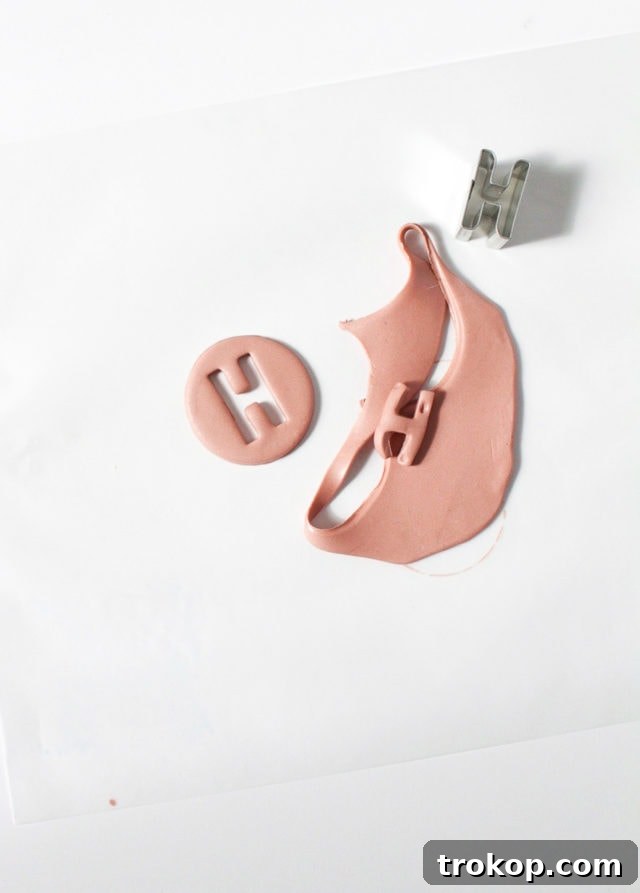
Now for the fun part: adding your personalized letters! Take your alphabet cookie cutters and punch out the desired letters from the clay. You can choose letters that represent specific key sets – for example, “H” for your house keys, “W” for work, and “C” for car keys. Other popular choices include “L” for locker, “G” for garage, or even the initial of a family member. Ensure your letter cutouts are clean and crisp. If you’re doing a two-tone design, you can cut the letter from one color and place it onto a contrasting circular base, or simply use the letter itself as a standalone tag.
5 — Create the Keychain Hole
With a poking tool (like a thin paintbrush handle, a toothpick, or a drinking straw), carefully punch out a small, clean circle near the top edge of each clay piece. This is where your keychain ring will eventually pass through. Make sure the hole is not too close to the edge to prevent tearing after baking, but also large enough for the ring. Gently rotate the tool as you press down to create a smooth-sided hole.
6 — Bake Your Clay Creations
Carefully transfer your clay pieces to a baking sheet lined with parchment paper or a ceramic tile. Bake the clay according to the specific instructions provided on your polymer clay package. Baking times and temperatures can vary between brands, so always refer to the manufacturer’s guidelines for optimal results. As a general reference, we baked ours at 200ºF (approx. 93ºC) for 10 minutes each. Using an oven thermometer is highly recommended to ensure accurate temperature control, preventing your clay from burning or remaining too soft.
7 — Cool and Assemble Your Keychains
Once baked, allow your clay pieces to cool completely on the baking sheet. They will be fragile when hot but will harden significantly as they cool to room temperature. Once thoroughly cooled, carefully insert two pieces of your colored clay (if you’ve created a layered design) onto a keychain ring, threading it through the punched hole. You can experiment with different color combinations and layer two circular pieces for a more substantial look. For an exceptionally smooth and refined finish, you can optionally sand down the edges of your baked keychains using fine-grit sandpaper, either dry or wet for a truly polished feel.
With these steps, you’ll have durable, beautiful, and uniquely personalized keychains ready to bring organization and style to your keys. Enjoy the satisfaction of creating something both functional and aesthetically pleasing!
How Can You Make Polymer Clay Shiny?
One of the appealing characteristics of baked polymer clay is its inherent matte finish, which offers a natural, sophisticated look. For many projects, including our keychains, this subdued appearance is preferred and perfectly complements a modern aesthetic. However, if your vision calls for a gleaming, high-gloss surface, polymer clay is incredibly versatile and can certainly achieve that coveted shine with a few additional steps.
Here’s how you can transform your matte polymer clay creations into radiant, glossy pieces:
- Sanding: This is the foundational step for achieving a smooth, shiny surface. After your clay has baked and cooled, gently sand all surfaces and edges. Start with a medium-fine grit sandpaper (around 400-600 grit) to remove any imperfections or tool marks, then progressively move to ultra-fine grits (800, 1000, 1500, or even 2000 grit). For best results, consider wet sanding by dipping your sandpaper in water, which helps prevent dust buildup and creates a smoother finish. Thorough sanding ensures a perfectly smooth base for subsequent steps.
- Buffing: Once sanded, buffing can bring out a natural sheen. Use a soft cloth (like denim or a microfibre cloth) or a specialized buffing wheel on a rotary tool (like a Dremel) to vigorously rub the surface of the clay. The friction generates heat, which subtly polishes the clay, enhancing its inherent luster. Buffing alone can often achieve a beautiful satin to semi-gloss finish.
- Polishing Compounds: For an even deeper shine, you can use specialized polishing compounds designed for plastics or polymer clay. Apply a small amount to your buffing cloth or wheel and work it into the clay surface. These compounds help to fill in microscopic scratches left by sanding, resulting in a glass-like finish.
- Glazing or Varnishing: This is the most common and effective method for achieving a truly glossy, protective finish. Apply a high-quality, clear, glossy polymer clay varnish or glaze specifically formulated for polymer clay. Options include polyurethane varnishes (like Varathane), epoxy resins, or specialized polymer clay glazes. Apply thin, even coats with a soft brush, allowing each coat to dry completely according to product instructions before applying the next. Multiple thin coats will yield a more durable and deeply glossy finish than one thick coat. Ensure the product you choose is compatible with polymer clay to prevent stickiness or adverse reactions.
Whether you opt for the understated elegance of a matte finish or the vibrant gleam of a glossy one, these techniques allow you to fully customize the aesthetic of your DIY clay keychains to perfectly match your personal style.
More Easy Things to Make with Clay
These DIY Clay Letter Keychains are just the beginning of your polymer clay journey! Once you experience how easy and rewarding it is to work with this versatile material, you’ll want to add a touch of handmade charm to every item you own. The creative possibilities with polymer clay are truly endless, making it a fantastic medium for crafting unique decor, gifts, and personal accessories.
If you’re already caught by the keychain bug and eager to explore more designs, don’t miss this DIY for speckled clay keychains! It offers another simple yet stylish approach to personalizing your keys with a different aesthetic, showcasing just how much variation you can achieve with basic techniques.
Beyond keychains, polymer clay lends itself beautifully to a myriad of other easy DIY projects that can enhance your home decor or make for thoughtful gifts. Its ability to be molded, textured, and colored opens up a world of artistic expression. Here are some inspiring and accessible polymer clay projects to spark your imagination and continue your crafting adventure:
- Clay Sculptures for Home Decor: Discover how to sculpt elegant and minimalist abstract shapes or whimsical figures that add an artistic touch to any room. These can range from simple geometric forms to intricate botanicals, all designed to elevate your living space.
- Marbled DIY Incense Holder: Combine different clay colors to create stunning marbled patterns, perfect for crafting stylish and functional incense holders. This project is excellent for experimenting with color blending and creating unique swirling effects.
- Mountain DIY Photo Holders: Craft charming miniature mountain-shaped stands that cleverly hold your favorite photos, postcards, or notes. These adorable holders add a rustic and personalized touch to desks, shelves, or mantels.
- Beaded DIY Blanket Holder: Utilize polymer clay to create beautiful, custom-designed beads that can be strung together to form a decorative and practical holder for blankets or throws. This project allows for endless color and shape combinations in your bead designs.
But the versatility doesn’t stop there! Consider crafting bespoke jewelry like earrings and pendants, decorative magnets for your fridge, small figurines, unique holiday ornaments, or even stylish decorative bowls and dishes (though remember that polymer clay is not food safe unless properly sealed with a food-safe resin). Polymer clay empowers you to turn everyday objects into personalized works of art, offering endless opportunities for creative expression and delightful handmade creations. So, gather your supplies, let your imagination soar, and keep exploring the wonderful world of clay!