
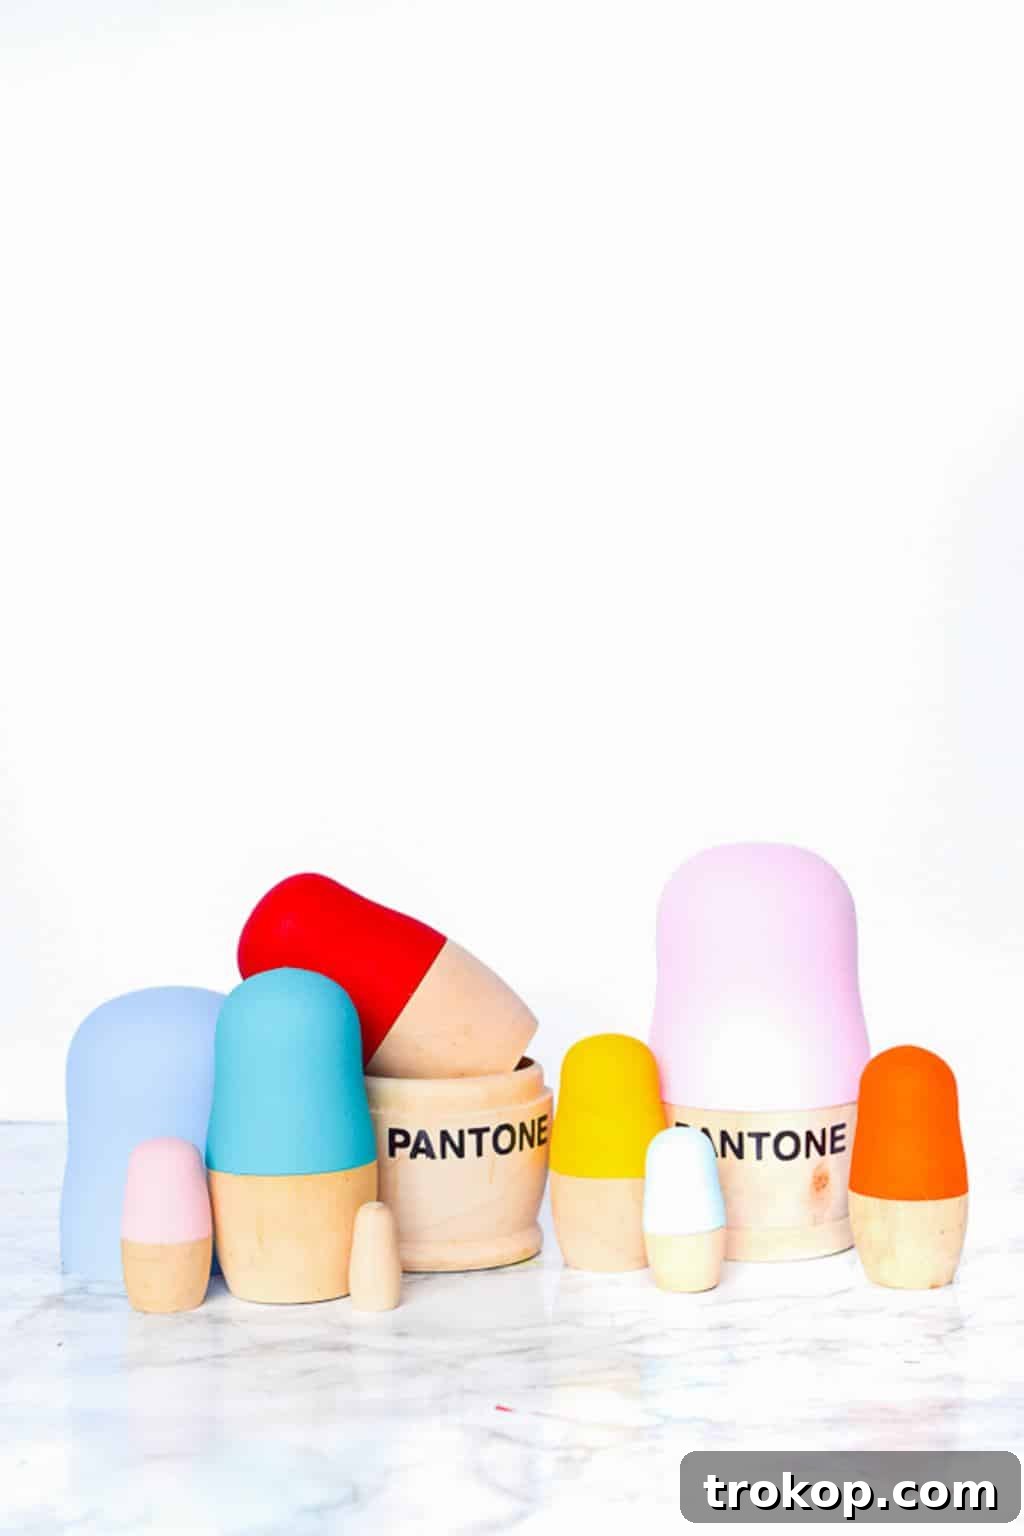
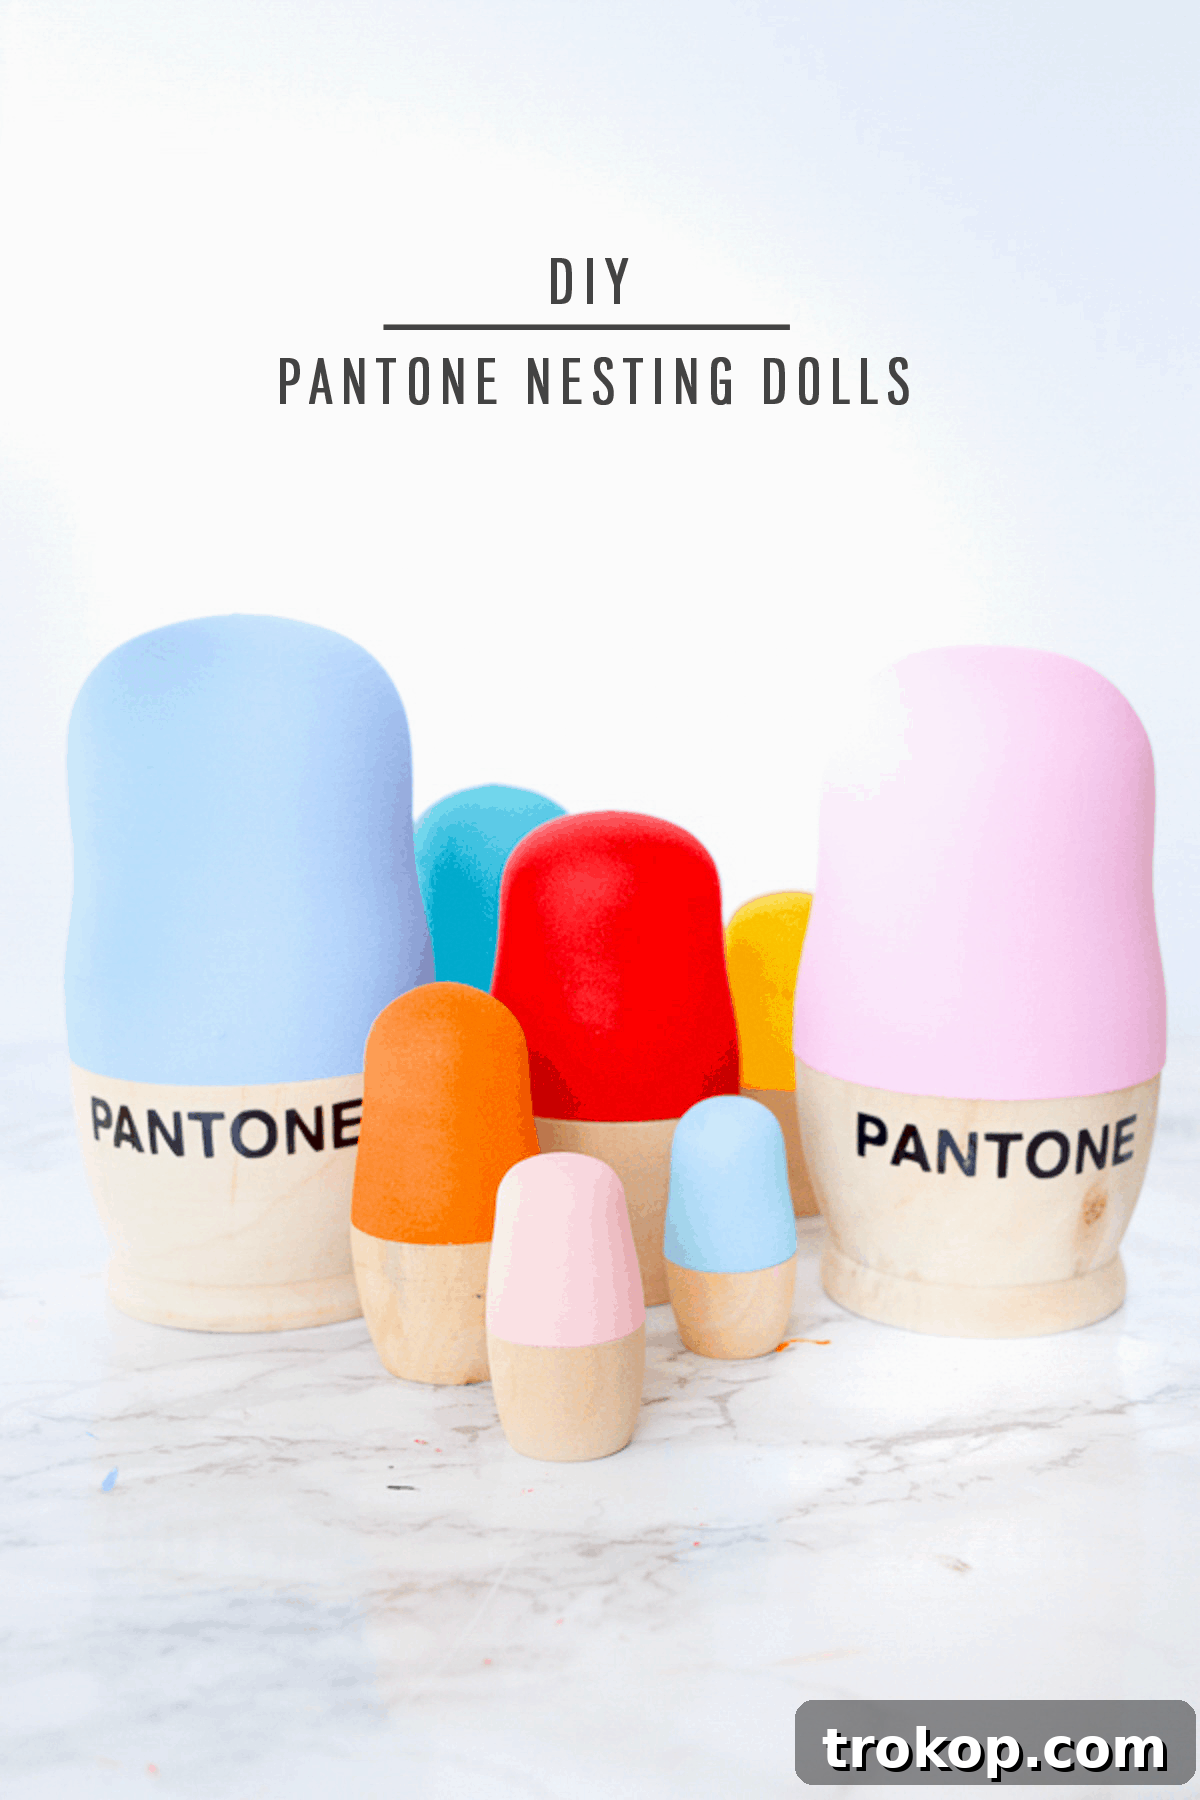
Welcome to a vibrant world where classic craft meets modern design! If you’re searching for a captivating DIY project that adds a personalized splash of color to your home or makes for a truly unique gift, look no further. Today, we’re transforming simple wooden nesting dolls into stylish, customizable Pantone-inspired art pieces. This project isn’t just about painting; it’s about curating a miniature color story that speaks to your aesthetic, whether for chic shelf decor, a playful nursery accent, or a thoughtful handmade present.
For a while, a set of blank wooden nesting dolls sat on my desk, an unfulfilled creative promise. They were beautiful in their natural state, but I envisioned something more, something that would truly make them pop. The inspiration struck serendipitously while I was sifting through Pantone paint chips for another endeavor. Suddenly, the vision materialized: to emulate the iconic Pantone color swatches right onto these charming dolls. The idea was simple yet brilliant: vibrant hues adorning the tops, contrasted with the natural wood bottoms. This concept not only creates a visually stunning display but also brings the abstract world of color palettes into a tangible, interactive format.
These DIY Pantone nesting dolls offer more than just aesthetic appeal. They provide an accessible way to introduce specific color schemes into your living space, allowing you to highlight favorite shades or even showcase colors that hold sentimental value. Imagine a set reflecting the hues of a cherished memory, a beloved landscape, or a significant event. Beyond being a modern decorative element for a bookshelf or mantel, these dolls can also be sealed for durability, transforming them into a safe and stimulating toy for a child’s nursery or playroom, encouraging tactile exploration and early color recognition. This project is a testament to how easily a basic craft item can be elevated into a piece of art that’s both functional and deeply personal.
Essential Materials for Your Pantone Nesting Dolls Project
Embarking on this creative journey requires just a few key supplies. Gathering your materials beforehand will ensure a smooth and enjoyable crafting experience. Here’s what you’ll need to bring your Pantone-inspired vision to life:
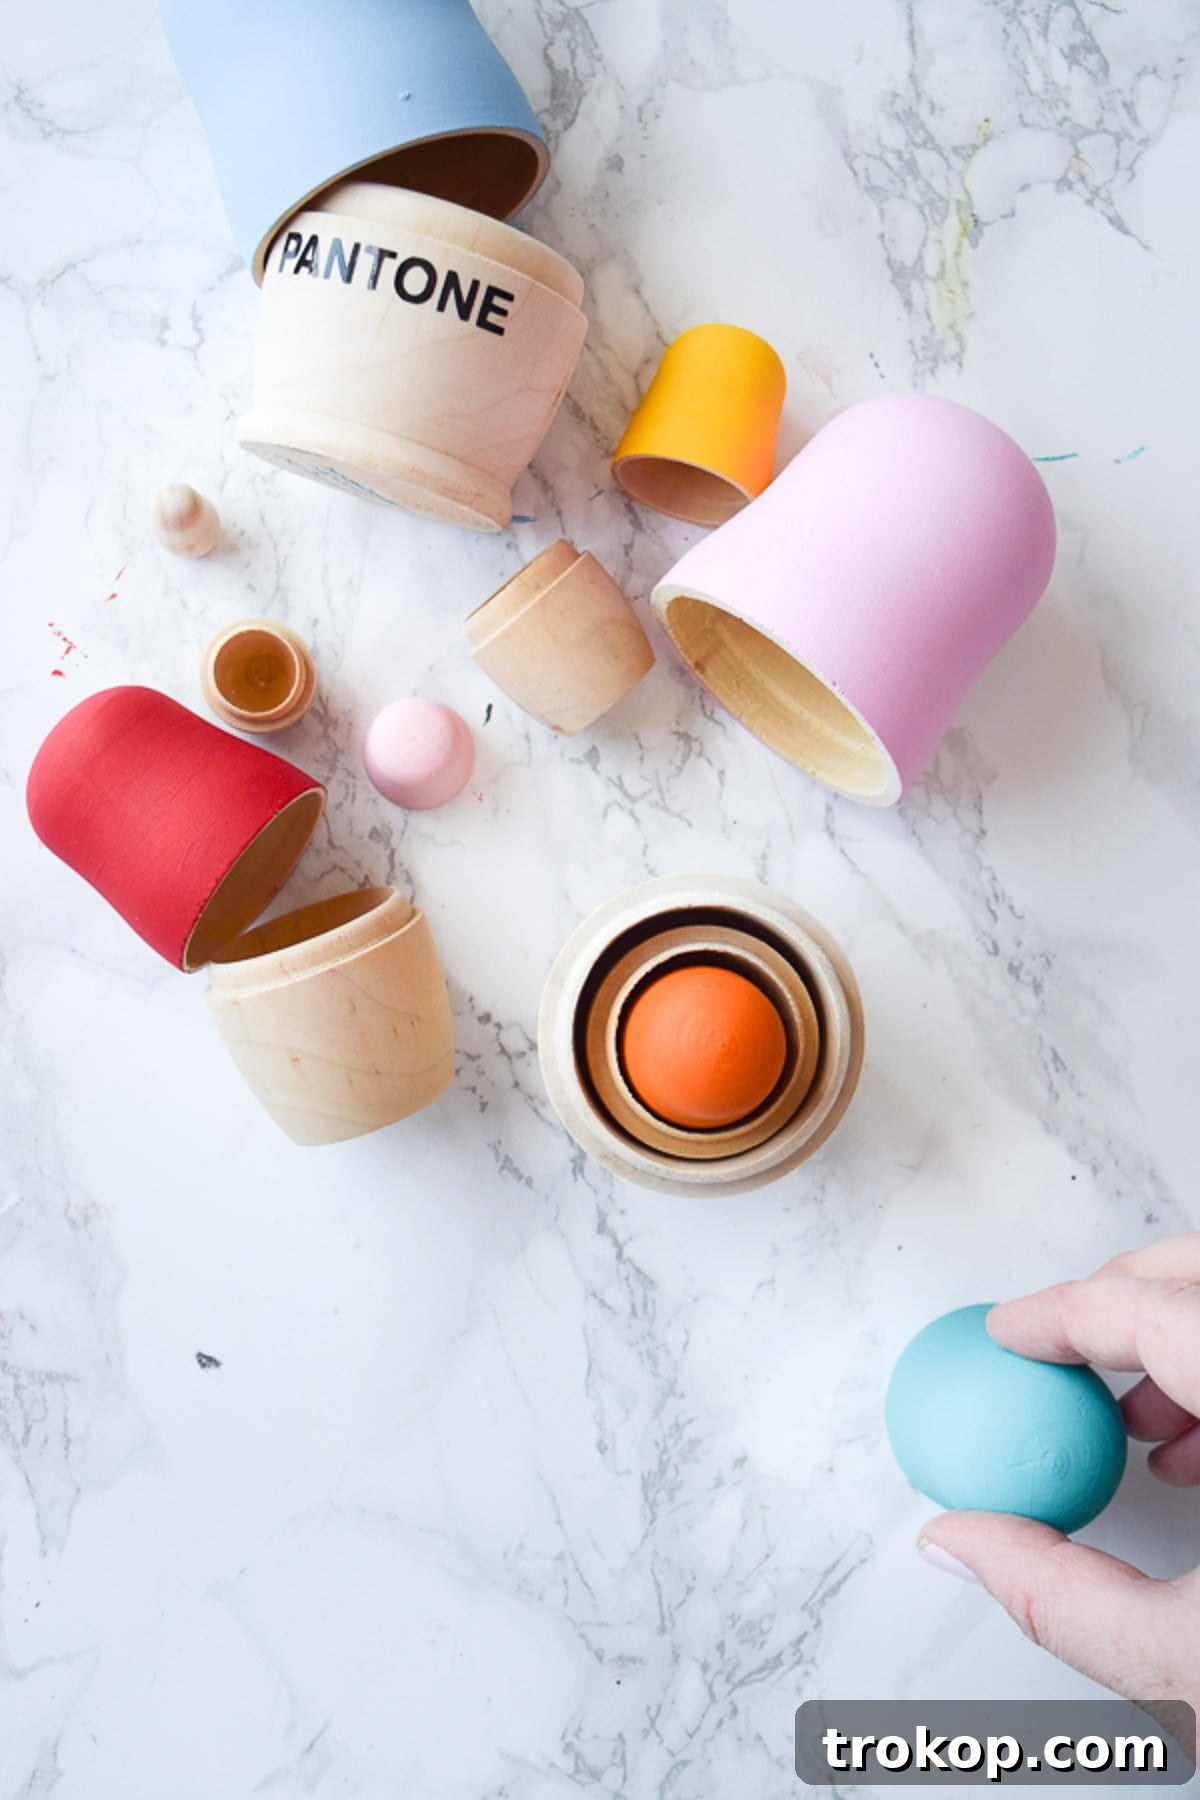
Set of Blank Wooden Nesting Dolls: The foundation of our project. Look for smooth, unfinished dolls that are ready for painting. Sets typically come with 5-7 dolls of varying sizes, perfect for showcasing a diverse color palette. Ensure they fit together snugly before you begin.
Crafting Acrylic Paint Brushes: A selection of sizes will be beneficial. You’ll want larger brushes for broad strokes on the bigger dolls and smaller, fine-tip brushes for detail work, especially if you opt to hand-paint the lettering instead of using vinyl. Synthetic brushes are excellent for acrylics as they hold their shape well.
Cricut Explore Air (or similar vinyl cutting machine): While not strictly essential if you prefer hand-painting or stenciling, a Cricut machine provides unparalleled precision and a professional finish for the iconic “PANTONE” lettering. It significantly streamlines the process and ensures crisp, clean lines.
Black Permanent Vinyl: For cutting out the “PANTONE” text. Permanent vinyl offers better adhesion and durability than removable vinyl, which is crucial for a lasting finish. A classic black ensures high contrast and readability against your chosen paint colors.
Cricut Transfer Tape: This is indispensable for accurately transferring your vinyl cuts from their backing to the curved surface of the nesting dolls. It ensures your lettering remains perfectly aligned and free of wrinkles.
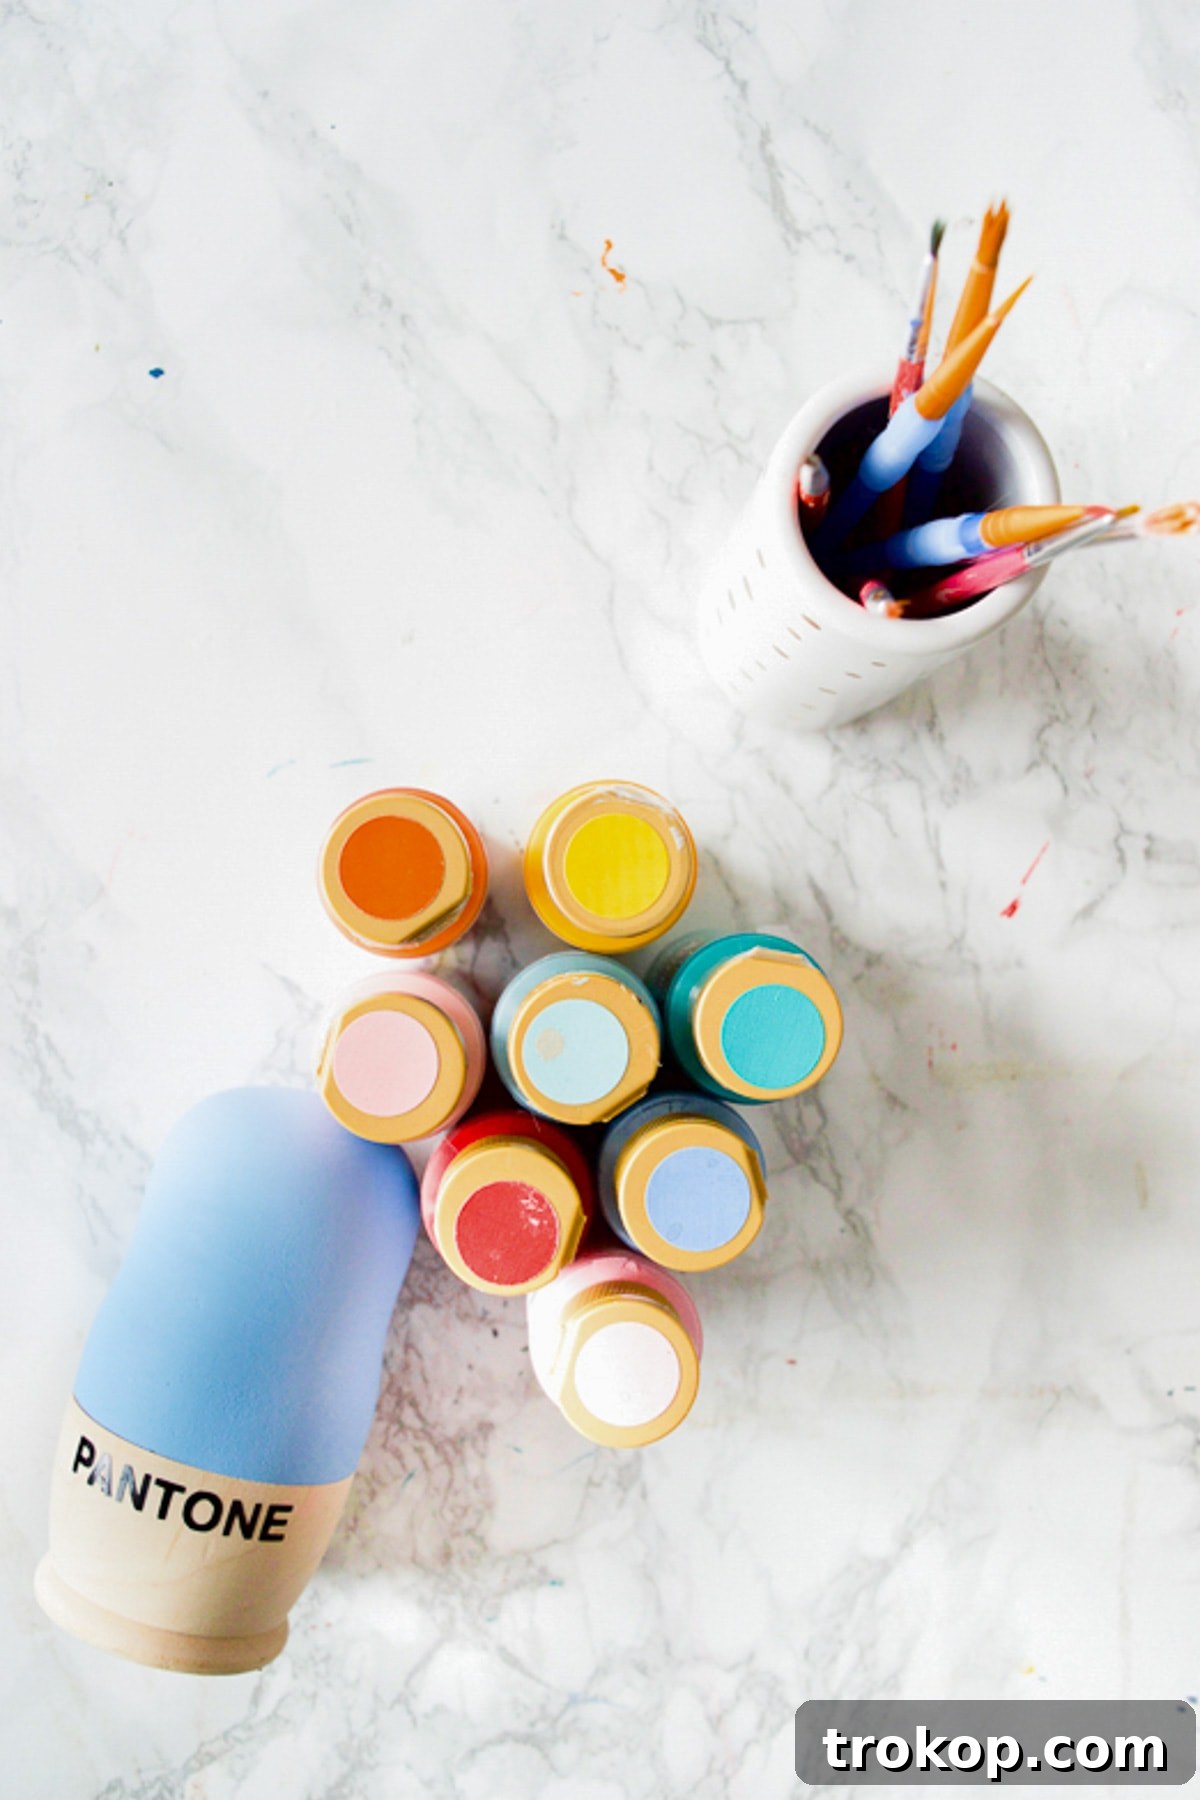
American Acrylic Craft Paint: The heart of your color palette! Choose a range of vibrant, high-quality acrylic paints. Acrylics are ideal for wood crafts due to their quick drying time, excellent coverage, and versatility. You’ll need enough colors to assign a unique shade to each doll lid. Consider opting for paints with good opacity for fewer coats.
Optional: Craft Sealer/Mod Podge or Clear Coat: Highly recommended, especially if the dolls will be handled frequently or given to children. A clear sealer will protect your paint job from chips, scratches, and moisture, ensuring your beautiful creations last for years. Choose between a matte, satin, or glossy finish to complement your aesthetic.
Optional: Fine-grit Sandpaper: For smoothing any rough spots on the wooden dolls before painting, ensuring a perfectly even surface for paint adhesion.
Optional: Painter’s Tape: If you want super crisp lines between the painted top and the natural wood bottom, painter’s tape can be a helpful tool, though the dolls’ natural curve often guides the brush adequately.
Choosing Your Color Story
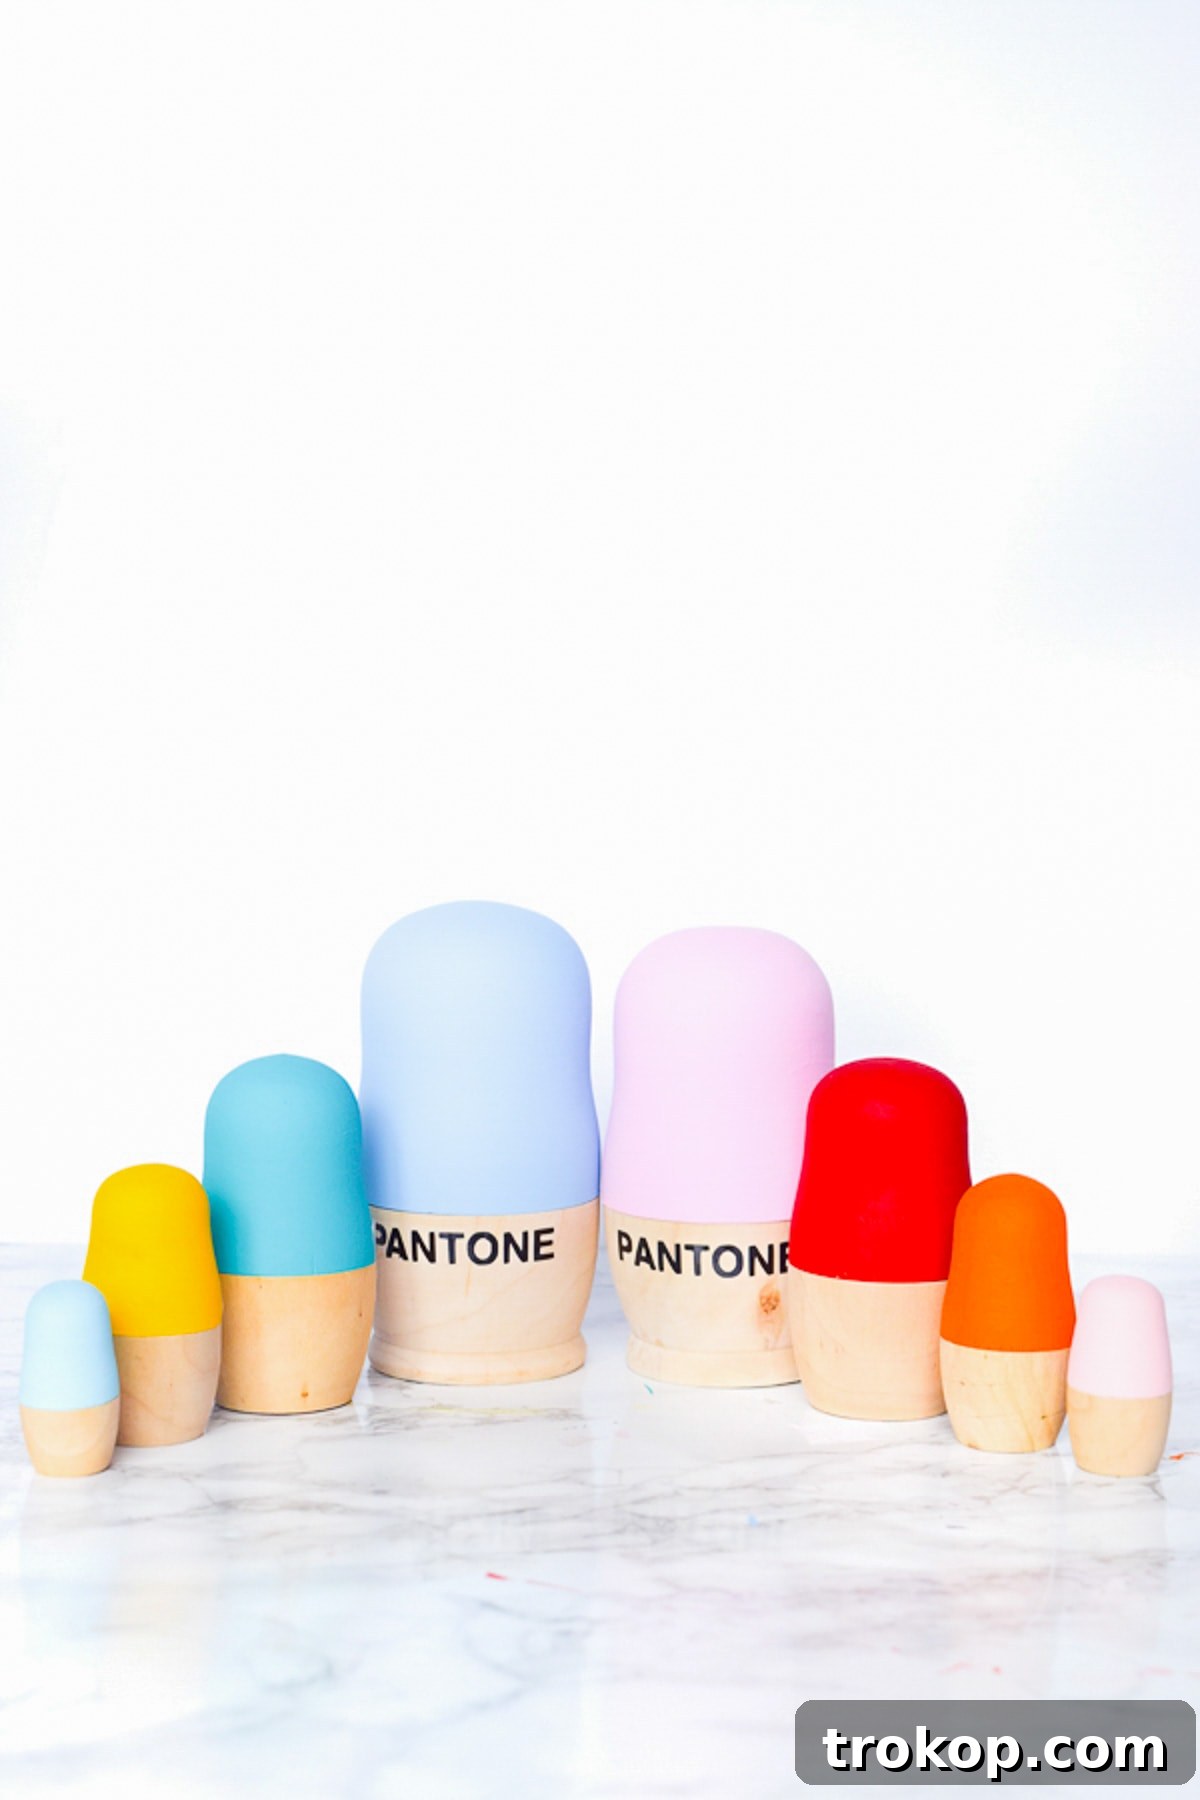
The beauty of this project lies in your personal touch, especially when it comes to color selection. I drew inspiration from the vibrant hues of the Sugar & Cloth color wall, selecting a delightful spectrum including Tuscan Red, Poodleskirt Pink, Cotton Candy, Spiced Pumpkin, Cadmium Yellow, Laguna, Whispering Turquoise, and Baby Blue. These colors evoke a sense of playfulness and modern charm. When selecting your palette, consider:
- Theme: Do you want a seasonal set (e.g., autumn tones, holiday reds/greens), a monochromatic gradient, or a rainbow spectrum?
- Home Decor: Choose colors that complement your existing interior design, acting as an accent piece or integrating seamlessly.
- Recipient’s Preference: If gifting, think about the recipient’s favorite colors or the decor of their space.
- Emotional Impact: Colors evoke different feelings. Warm tones can be energizing, cool tones calming.
Don’t be afraid to experiment with combinations. Lay out your chosen paint bottles to see how they interact before committing them to the dolls. This is where your creativity truly shines, transforming a simple object into a personalized statement.
Step-by-Step Guide: Crafting Your Pantone Nesting Dolls
Step 1: Preparing Your Dolls for Painting
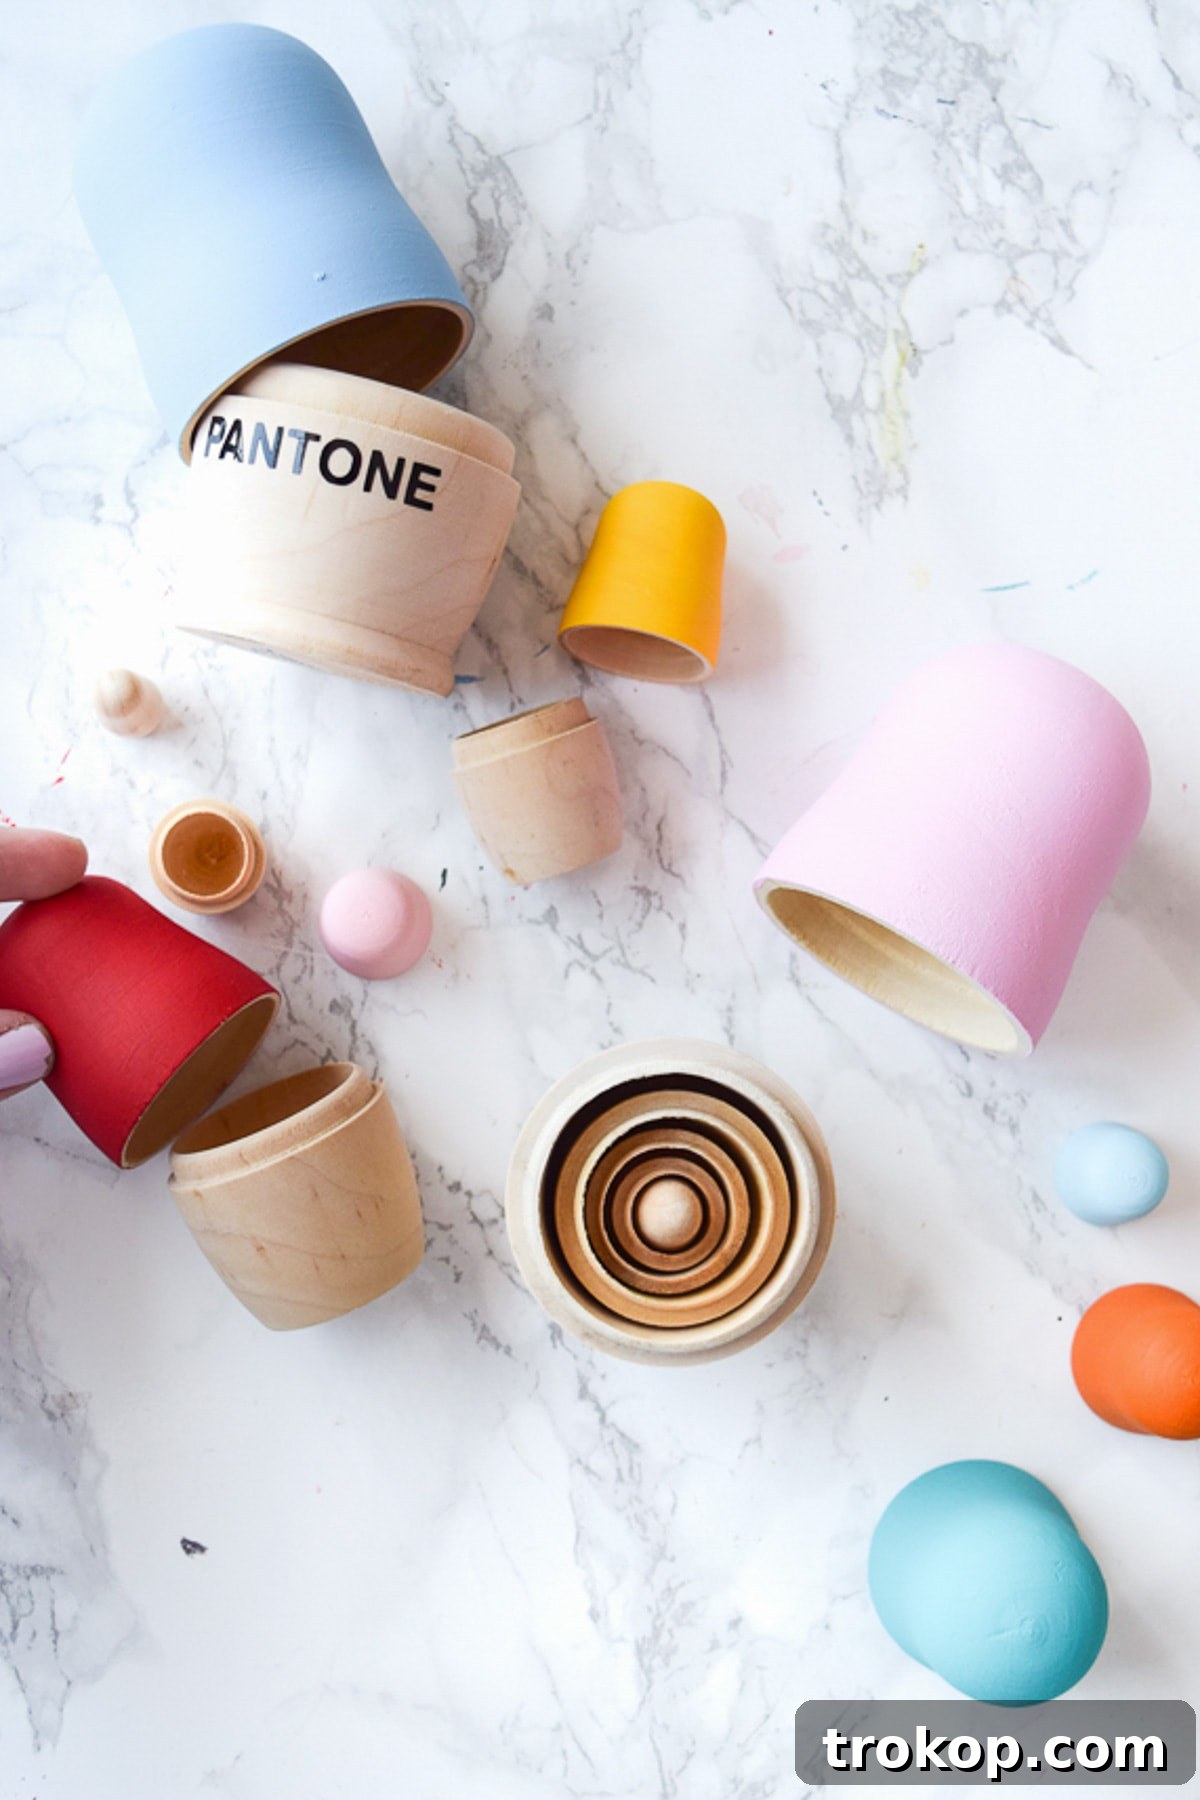
Before any paint touches wood, ensure your nesting dolls are clean and smooth. Gently wipe them down with a damp cloth to remove any dust or debris, then allow them to dry completely. If you notice any rough patches, a light sanding with fine-grit sandpaper will create a wonderfully smooth surface, allowing the paint to adhere beautifully and evenly. Disassemble all the dolls, separating the tops from the bottoms. Remember, we’ll only be painting the lids of each doll to maintain that distinctive Pantone swatch look.
Step 2: The Art of Painting Each Doll Lid
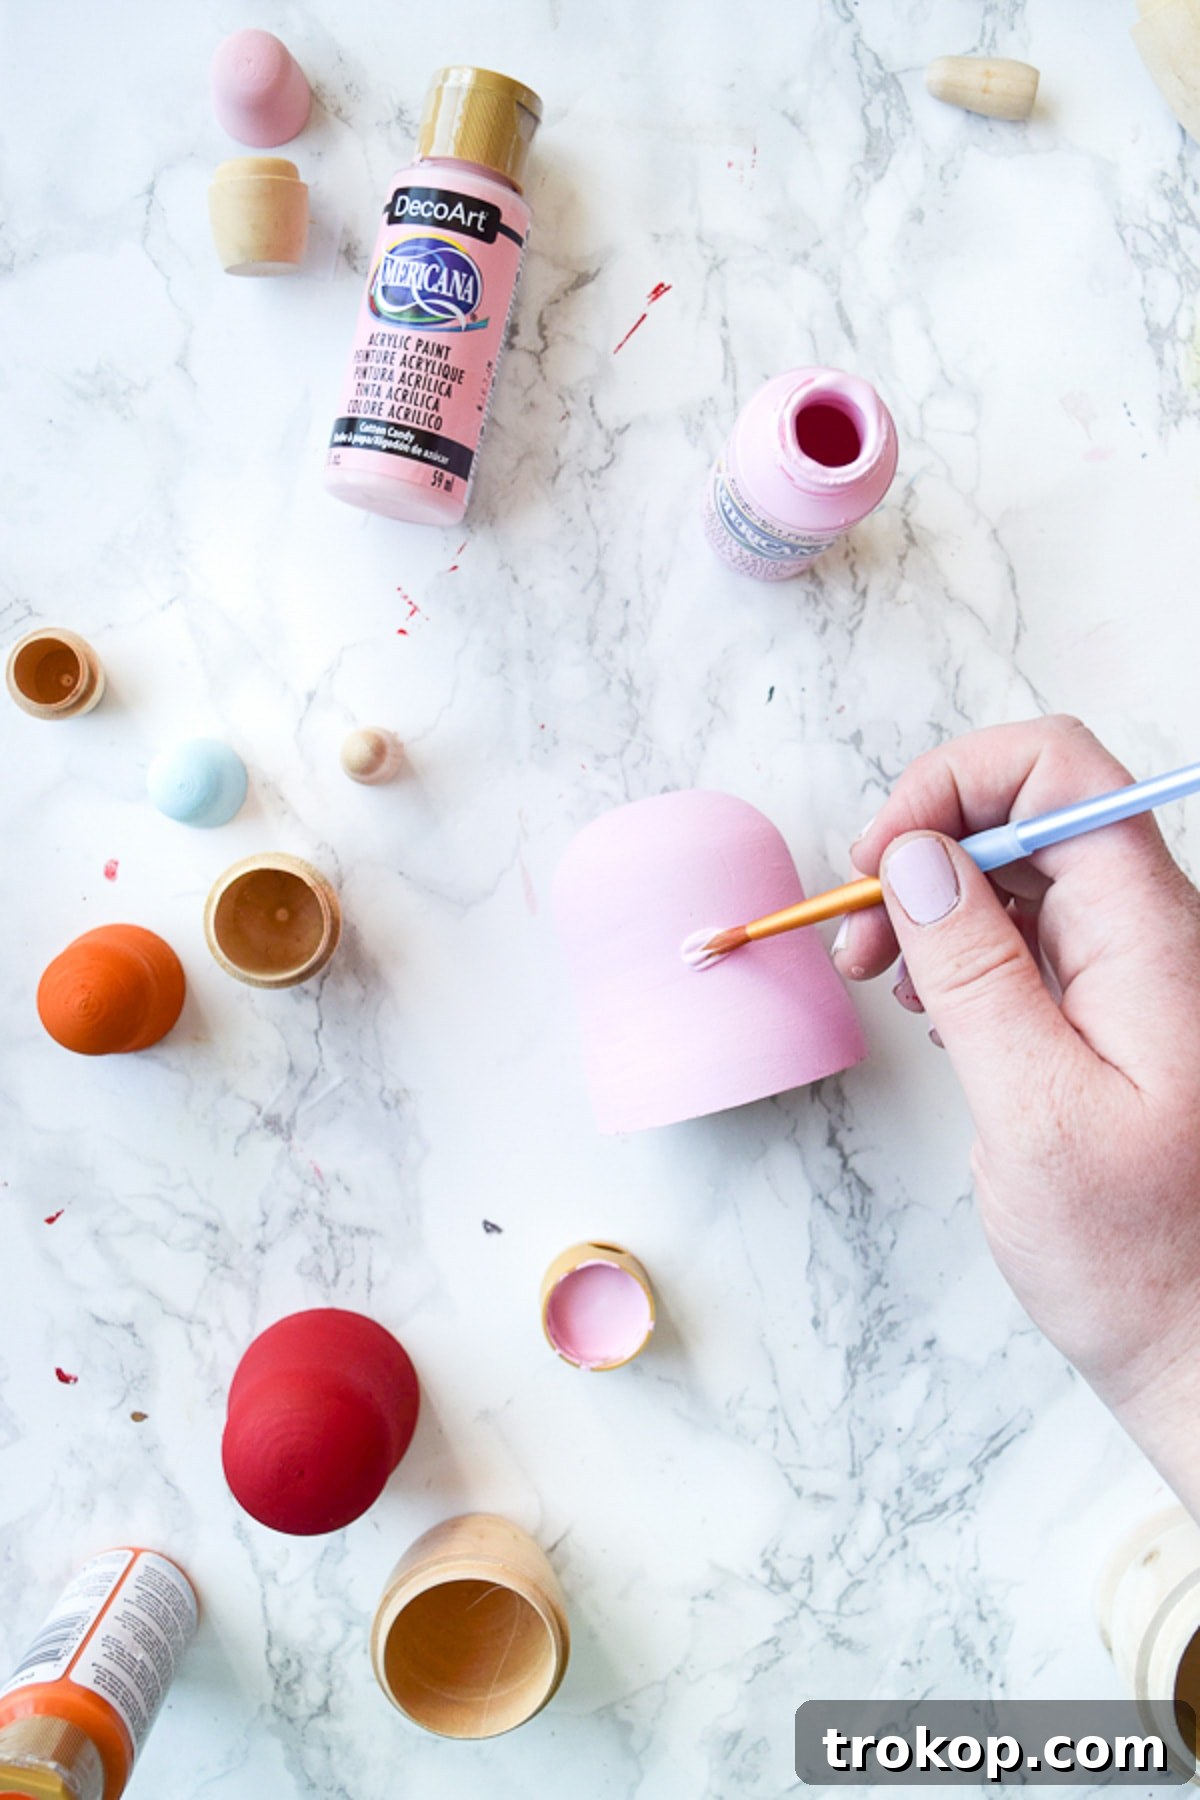
This is where your chosen colors come to life! Select one color for each doll lid. Using your crafting acrylic paint brushes, carefully apply the paint to the top half of each doll. The aim is for smooth, even coverage. Acrylic paints dry relatively quickly, but it’s crucial to allow each coat to dry fully before applying the next. For optimal opacity and a truly vibrant finish, you will likely need two coats. Sometimes, even three thin coats are better than one thick, uneven coat, as this prevents drips and streaks. Work in a well-ventilated area and take your time to achieve clean lines, especially where the painted lid meets the unpainted base when reassembled.
When painting, hold the doll lid steady and use consistent brush strokes. If you’re concerned about getting a perfectly straight line around the circumference, a thin strip of painter’s tape can be applied just below your intended paint line. However, the natural curve of the dolls often provides a good guide, and a slightly organic edge can add to the handmade charm. Ensure the paint doesn’t glob up around the edges where the lid fits into the base; thin coats here are especially important to ensure the dolls can still close properly after painting.
Step 3: Adding the Iconic “PANTONE” Lettering
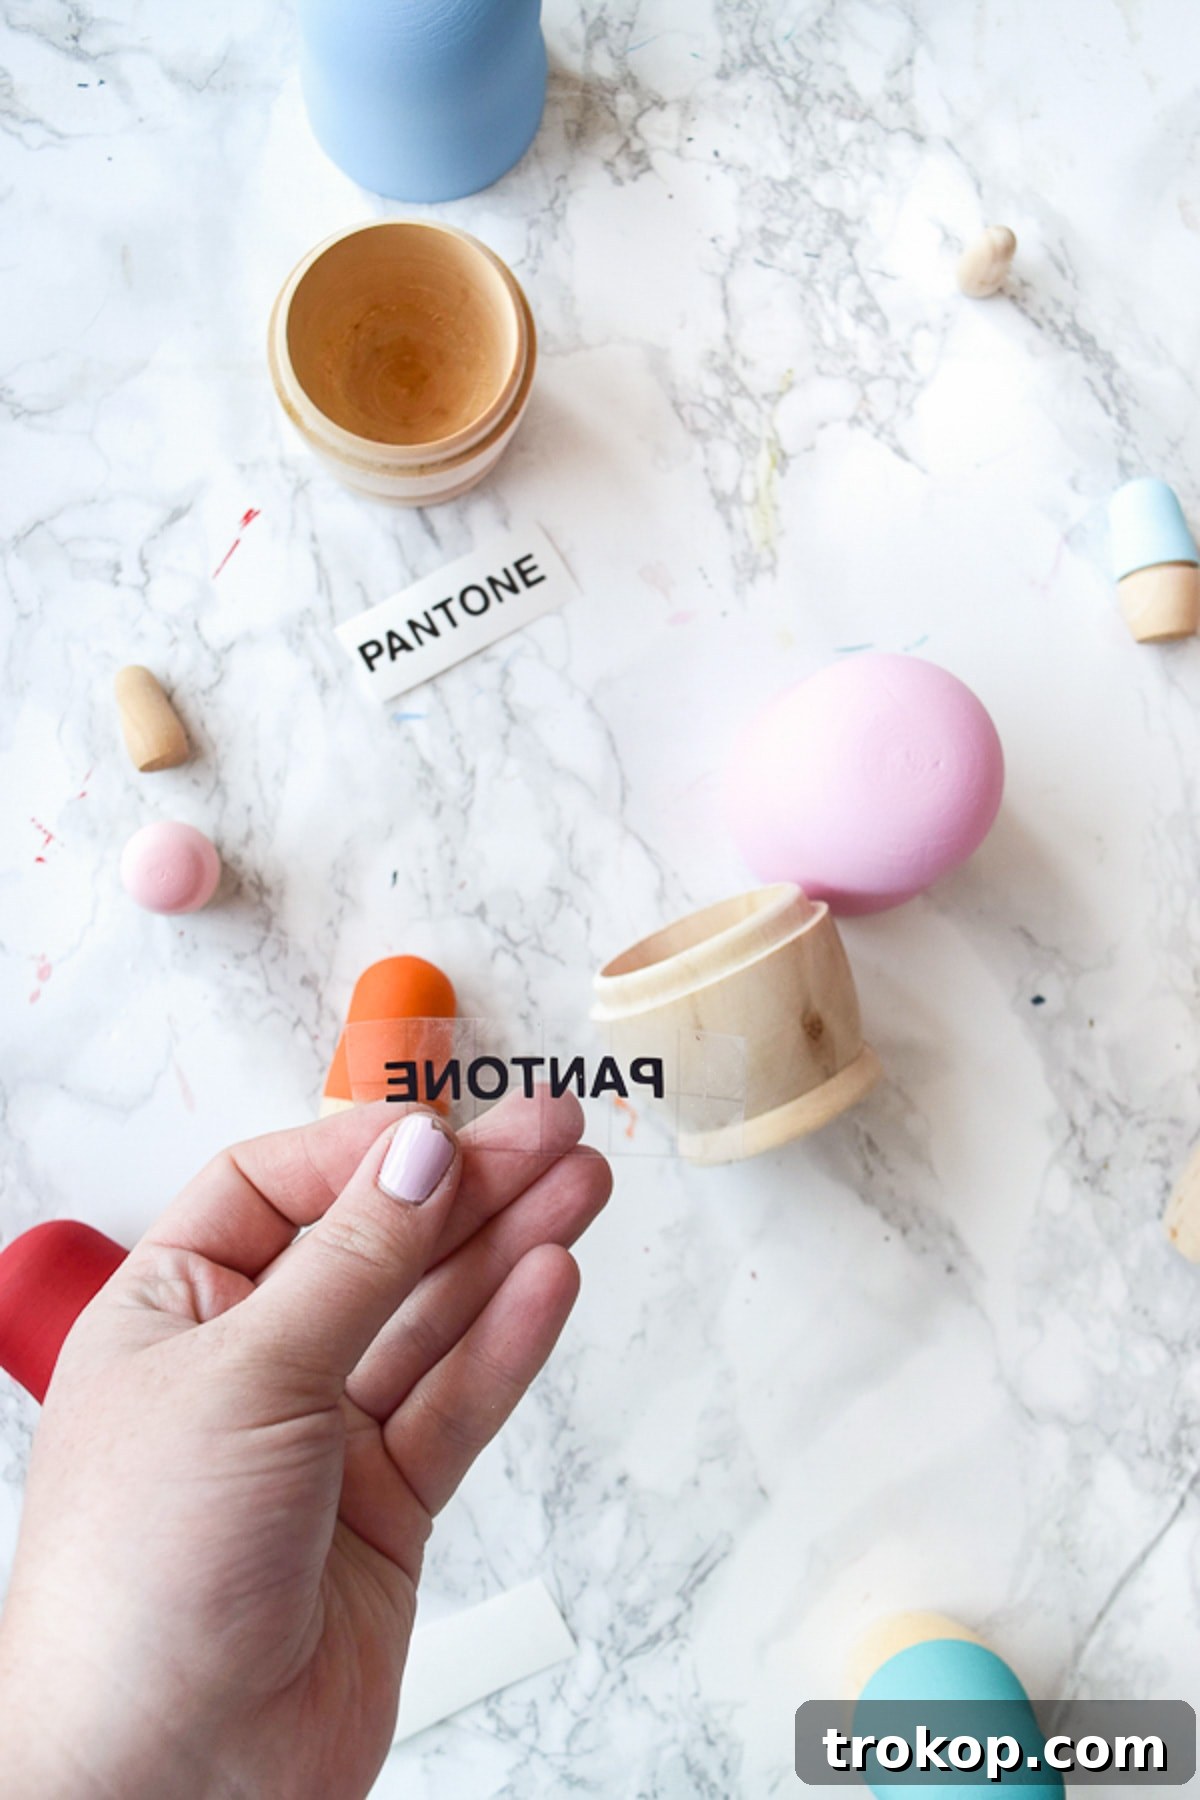
While your painted lids are drying, turn your attention to the distinctive “PANTONE” lettering. This step, made effortless with a Cricut cutting machine, elevates your dolls from colorful to truly Pantone-inspired. Design the word “PANTONE” in an all-caps Helvetica Neue font within your Cricut Design Space. Helvetica Neue is the typeface famously associated with Pantone, ensuring authenticity. You’ll want to cut this word out of your black permanent vinyl as many times as you wish for it to appear on your dolls. I opted to apply the lettering only to the larger dolls to avoid a cluttered look on the smaller ones, which can be challenging to letter neatly.
Once cut, carefully “weed” your vinyl, removing all excess vinyl from around and within the letters. Next, apply Cricut transfer tape over your weeded vinyl design. Press firmly to ensure the vinyl adheres to the tape, then slowly peel the transfer tape, bringing the vinyl lettering with it. Position the lettering onto the dried, painted doll lid. Use a scraper tool or even your fingernail to firmly rub over the transfer tape, adhering the vinyl to the curved surface. Patience is key here; work slowly from the center outwards to minimize bubbles. Finally, carefully peel back the transfer tape at a sharp angle, leaving the “PANTONE” text perfectly affixed to your doll. If hand-painting is your preference, consider using stencils or a fine-tip brush with a steady hand, but be aware that achieving the crispness of vinyl may require more skill and time.
Step 4: Sealing for Durability and Longevity
The final, crucial step is to seal your finished dolls. This protects your beautiful paint and vinyl work from wear and tear, ensuring their vibrancy lasts. A mod podge or clear coat sealant is an excellent choice. Apply one or two thin, even coats, allowing each coat to dry completely according to the product instructions. If these dolls are intended for a child’s nursery or as a toy, opt for a non-toxic, child-safe sealant to ensure complete safety. A durable finish not only guards against chips and scratches but also makes the dolls easier to clean.
Choose your sealant based on the desired finish – a matte sealer will give a subtle, sophisticated look, while a glossy sealer will enhance the vibrancy of the colors and add a polished sheen. Ensure full coverage over both the painted areas and the vinyl lettering for maximum protection. Once sealed and fully cured, your DIY Pantone nesting dolls are ready to be displayed, gifted, or enjoyed!
Beyond the Basic: Customizing Your Nesting Dolls
While the Pantone concept is incredibly chic, the beauty of this DIY project lies in its adaptability. Once you’ve mastered the basic technique, consider these ideas to further personalize your nesting dolls:
- Ombre Effect: Instead of distinct colors, try an ombre gradient where each doll represents a slightly darker or lighter shade of the same base color.
- Patterned Bases: While we kept the bottoms bare for a classic Pantone look, you could paint subtle patterns, stripes, or polka dots on the lower halves for added visual interest.
- Themed Collections: Create sets based on specific themes – holidays (e.g., festive red and green), seasons (e.g., pastel spring, earthy autumn), or even famous art movements.
- Personalized Messages: Instead of “PANTONE,” use the Cricut to cut out names, dates, or short inspirational words, making them ideal gifts for baby showers, birthdays, or weddings.
- Different Finishes: Experiment with metallic paints, glitter accents, or even textured paints for a unique tactile experience.
- Educational Tools: For children, consider adding numbers, letters, or simple shapes alongside the colors to turn them into an engaging learning toy.
Displaying and Gifting Your Handmade Treasures
I am utterly smitten with how these DIY Pantone nesting dolls turned out. They are so versatile! They make for an exquisite piece of modern home decor, adding a pop of sophisticated color to any shelf, mantelpiece, or desk. Imagine them nestled amongst books, complementing a minimalist aesthetic, or bringing a playful touch to a contemporary living space. For a nursery, a sealed set provides a charming, safe, and stimulating toy that can grow with a child, teaching them about colors and sizes. These dolls also make for incredibly thoughtful and unique gifts. Handmade gifts carry a special weight, conveying care and personal effort that store-bought items simply cannot match. Picture giving a set customized with the recipient’s favorite colors or a palette that matches their home decor—it’s a present that’s sure to be cherished.
This project is more than just a craft; it’s an opportunity for creative expression, a chance to slow down, and the satisfaction of creating something beautiful with your own hands. The journey from blank wooden dolls to vibrant, personalized art is incredibly rewarding. I wholeheartedly encourage you to try this project and unleash your inner color curator!
What colors would you choose for your Pantone nesting dolls, and what story would they tell? Share your ideas and creations!