
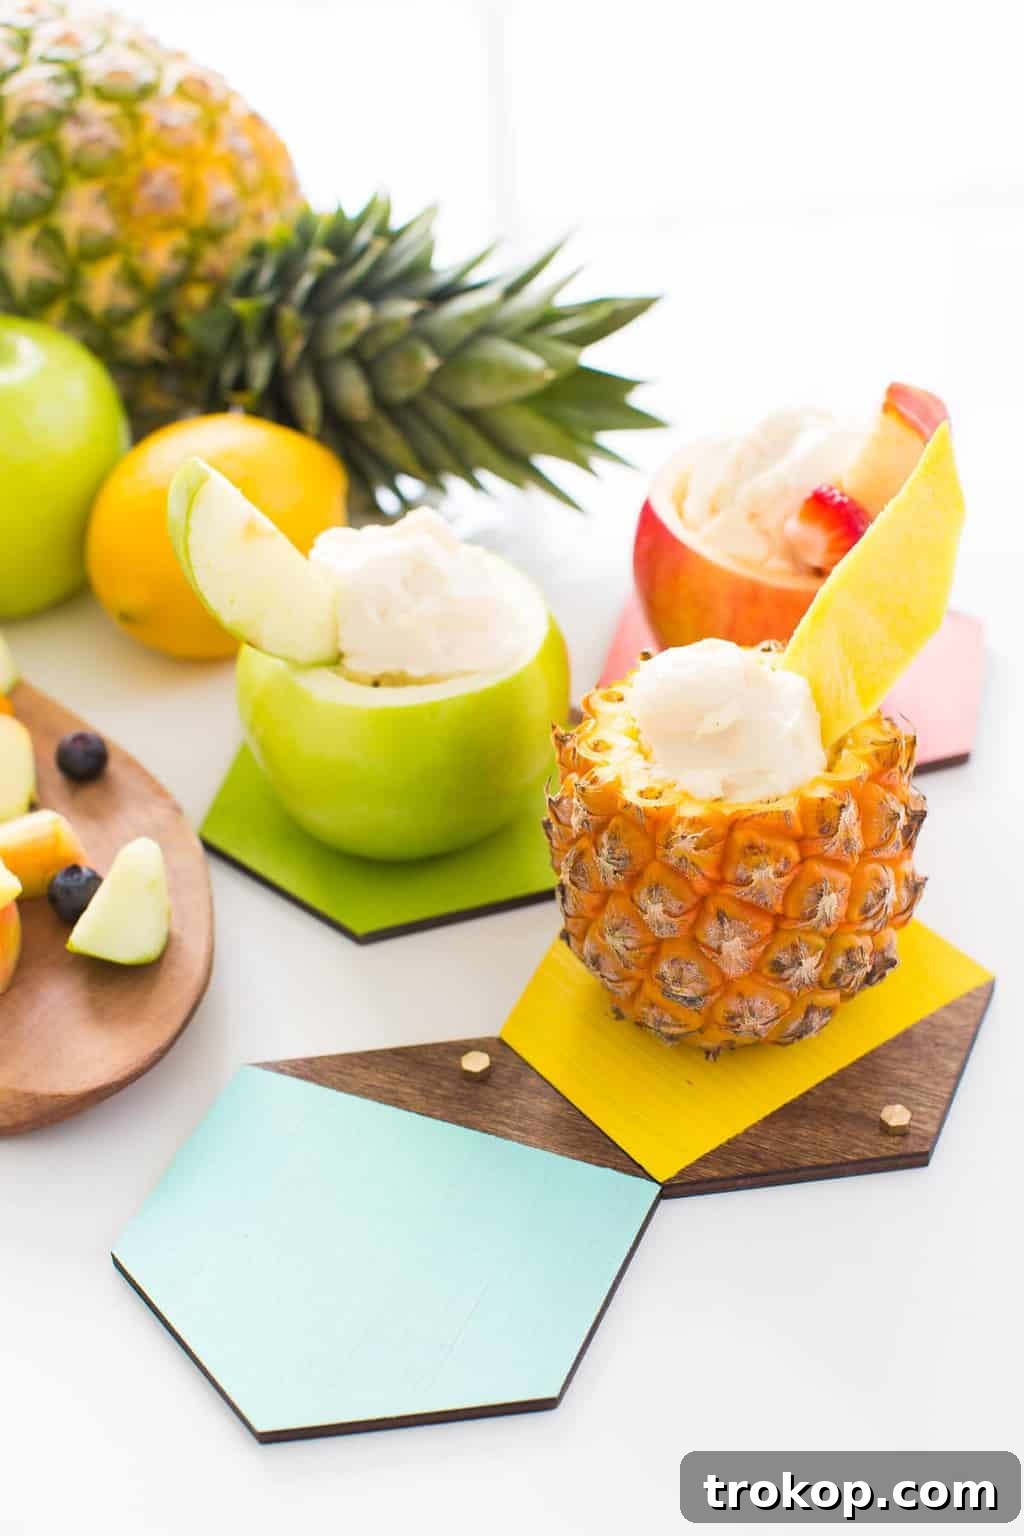
Welcome to a world where creativity meets functionality! Dive into this delightful DIY project and learn how to craft your very own mini wooden serving boards. These charming little boards are not just incredibly practical for entertaining; they are also a fantastic way to showcase your crafting prowess with a project that anyone can master. Whether you’re hosting a casual get-together, styling a small charcuterie, or looking for a unique handmade gift, these hexagon serving boards are the perfect addition to any home.
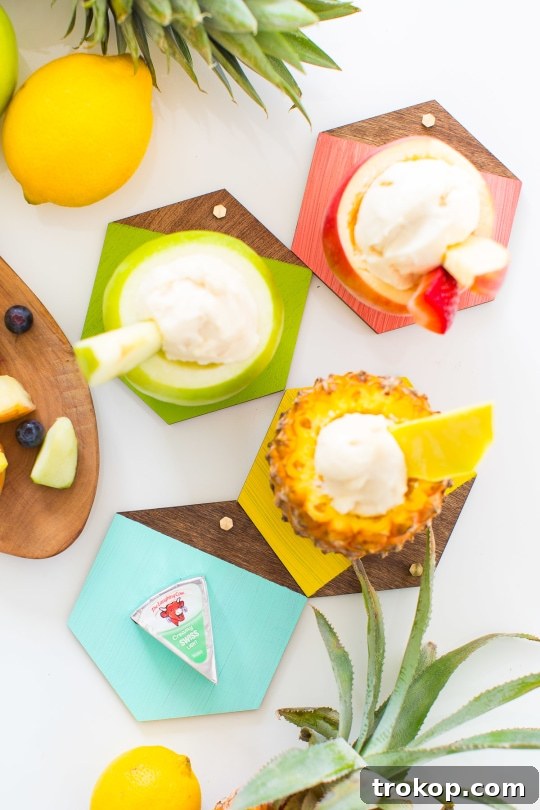
It’s no secret that geometric shapes, especially hexagons, hold a special place in the world of design and DIY. There’s something inherently appealing about their balanced symmetry and modern aesthetic. This guide will walk you through creating these captivating DIY Mini Wooden Serving Boards, perfect for elevating your snack presentation or adding a touch of personalized flair to your kitchen decor.
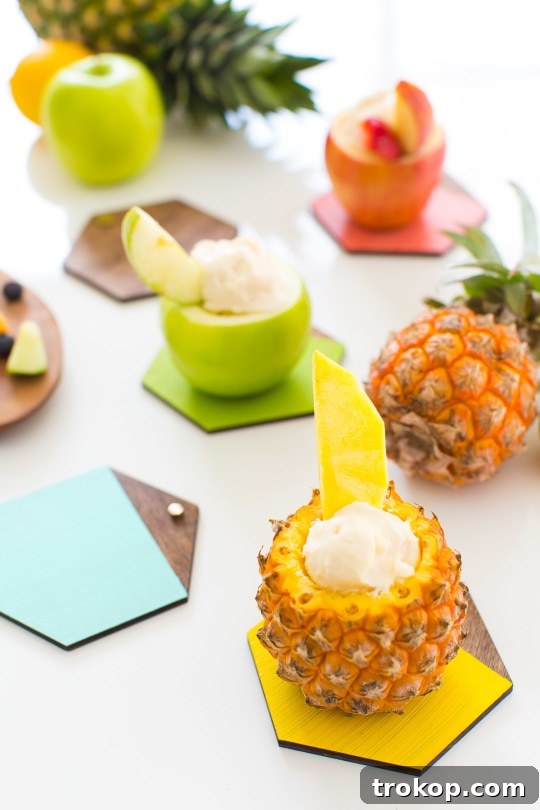
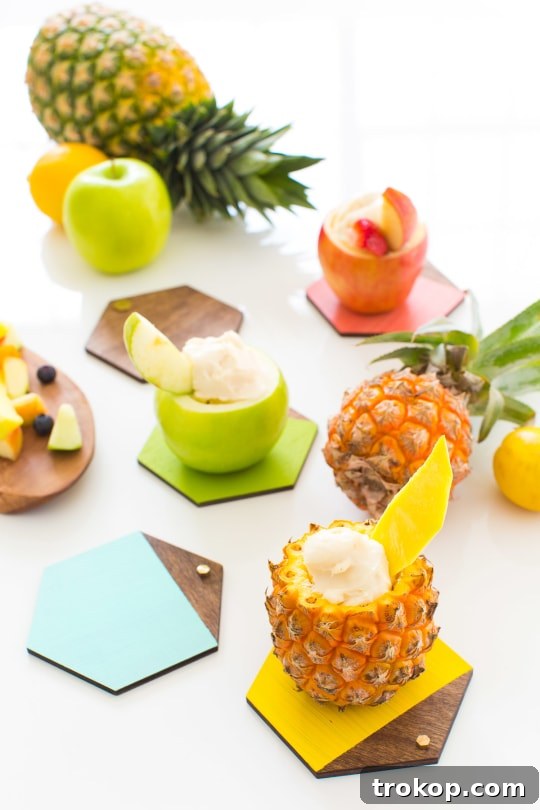
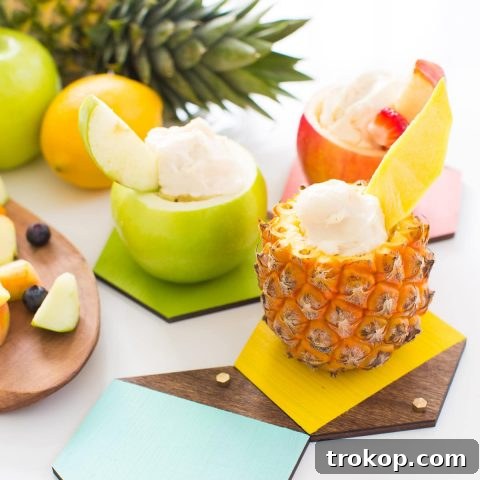
These versatile mini boards were initially conceived for a fun collaboration with our friends at The Laughing Cow®, designed to complement delightful snack pairings like creamy light Swiss cheese with fresh fruit slices, served in mini fruit bowls. The tropical vibe of those snacks perfectly called for custom, coordinating serving boards, and thus, this project was born. Now, we’re thrilled to share the love and the simple steps for you to recreate this charming craft. Imagine these colorful, personalized boards alongside your afternoon snack by the pool, or color-coordinated to help each guest easily identify their individual pairing.
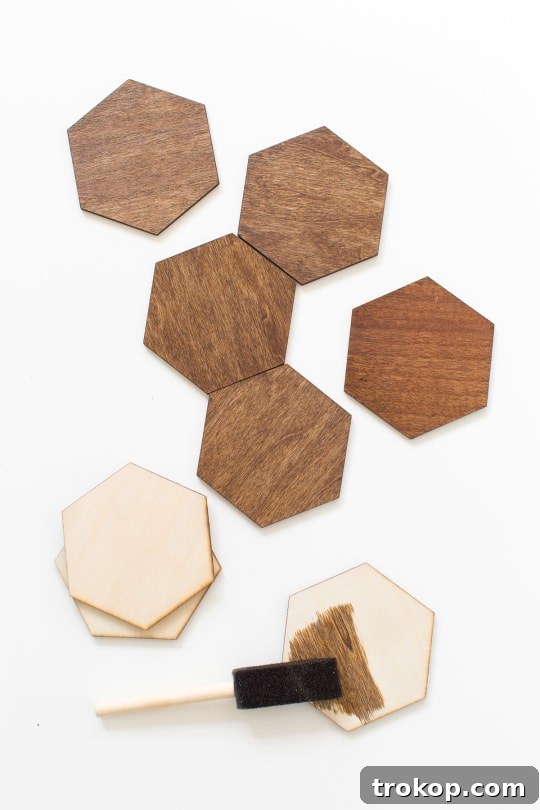
Table of Contents
Introduction to Mini Wooden Serving Boards
Mini wooden serving boards are not just aesthetically pleasing; they are incredibly versatile and can transform any gathering into a more elegant affair. From individual cheese and cracker servings to charming dessert displays, these boards add a rustic yet sophisticated touch. The hexagon shape, in particular, offers a modern twist on traditional serving platters, making them conversation starters. This DIY project is designed to be accessible for beginners while offering plenty of room for seasoned crafters to express their unique style. Plus, the satisfaction of creating something beautiful and functional with your own hands is truly unmatched.
Why Craft Your Own Serving Boards?
There are numerous compelling reasons to embark on this DIY journey. Firstly, personalization is key. Unlike mass-produced items, your handmade boards can perfectly match your home decor or reflect the personality of a gift recipient. You can choose specific stains, paint colors, and embellishments to create truly unique pieces. Secondly, it’s often more cost-effective. Crafting these boards yourself can be significantly cheaper than purchasing similar artisan-quality items from boutiques. Thirdly, it’s a wonderfully fulfilling creative outlet. The process of transforming simple wood pieces into functional art is incredibly rewarding. Finally, these boards make exceptional gifts—thoughtful, practical, and made with love.
Materials and Tools Needed to Make DIY Mini Wooden Serving Boards
Gathering the right materials and tools is the first step to a successful DIY project. We’ve carefully selected items that are easy to work with and, most importantly, food-safe for your serving boards. Quality materials ensure both beauty and durability for your finished pieces.
- 4″ wooden hexagons: These unfinished wood pieces are your blank canvas. The 4-inch size is perfect for individual servings, but feel free to choose larger hexagons if you prefer. Ensure they are smooth and free of major imperfections for the best results.
- Non-toxic wood stain: For a rich, natural wood finish, a non-toxic, water-based wood stain is ideal. Opt for a color that complements your aesthetic. Choosing a non-toxic option is crucial since these boards will be used for serving food.
- Non-toxic clear spray shellac: This is your secret weapon for creating a food-safe, durable, and resistant surface. Shellac is a natural resin that provides excellent protection and a beautiful sheen. Make sure it explicitly states “food-safe” or “non-toxic” on the label.
- Non-toxic paint in the color of your choice and foam brush (optional): If you wish to add a modern color-blocked design, pick a non-toxic craft paint. Foam brushes are excellent for smooth, even application and minimize brush strokes.
- Painter’s Tape: Essential for creating crisp, clean lines if you’re attempting color blocking or other painted designs. A good quality painter’s tape will prevent paint from bleeding under the edges.
- Brass hexagon embellishments and super glue (optional): For an extra touch of elegance and glam, small brass hexagon embellishments can be added. Ensure the super glue is strong-bonding and dries clear.
How to Make DIY Mini Wooden Serving Boards
Follow these straightforward steps to transform simple wooden hexagons into stunning serving boards. Patience during drying times is key for a professional-looking finish.
Step 1 — Stain the Wooden Hexagons: Begin by applying your chosen non-toxic wood stain to the wooden hexagons. You can use an old cloth or a foam brush for this. Dip your applicator into the stain and apply it evenly across all surfaces of the wood. Work in the direction of the wood grain for a smoother finish. Apply a second coat if a deeper color is desired. Once stained, set the hexagons aside in a well-ventilated area and allow them to dry completely according to the product instructions. This usually takes a few hours.
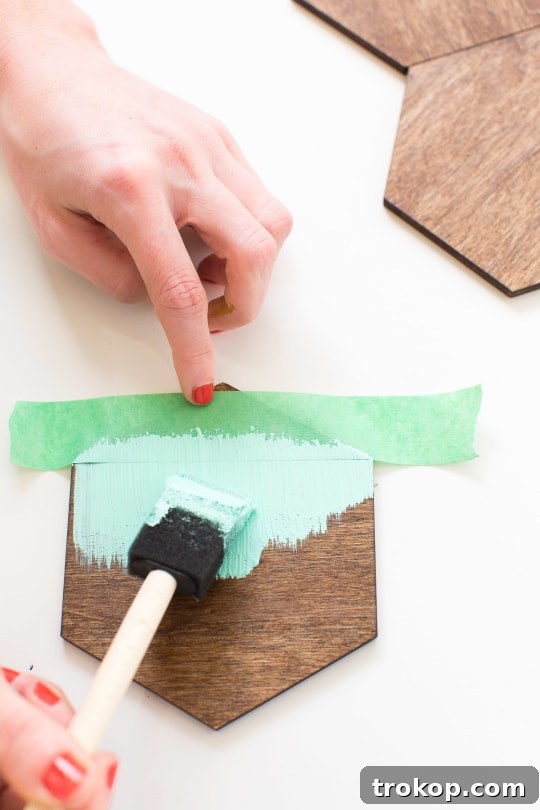
Step 2 — Prepare for Color Blocking (Optional): If you plan to add a color-blocked design to some of your hexagons, this is the time to apply painter’s tape. Carefully tape off the sections you wish to paint, creating your desired geometric patterns. Once the tape is in place, firmly run your fingers or a credit card over the edges of the tape. This crucial step ensures a tight seal, preventing paint from seeping underneath and guaranteeing clean, sharp lines when the tape is removed.
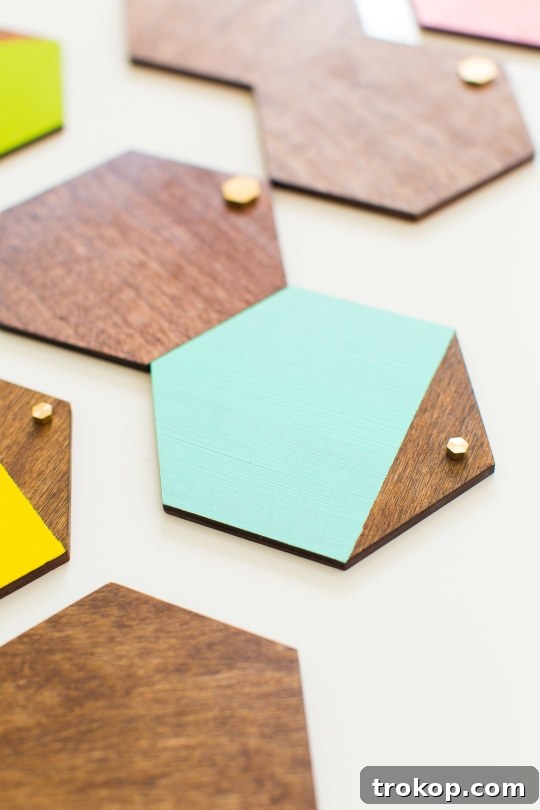
Step 3 — Paint the Color-Blocked Sections (Optional): With your painter’s tape securely in place, apply your chosen non-toxic paint to the untaped sections of the wooden hexagons using a foam brush. Always brush away from the tape’s edge, not into it. This technique minimizes the risk of paint pooling at the tape line, which can lead to uneven or “gunky” edges when you peel the tape away. Apply thin, even coats, allowing each coat to dry to the touch before applying another. Once you’re satisfied with the color coverage, carefully remove the painter’s tape while the paint is still slightly damp (but not wet) to prevent lifting dried paint or leaving jagged edges. Allow the painted sections to dry completely before proceeding.
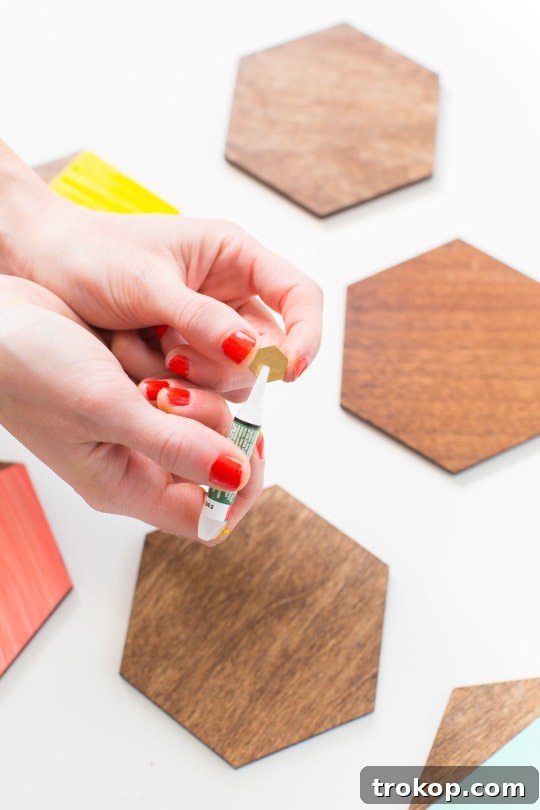
Step 4 — Seal for Food Safety and Durability: Once all paint and stain are completely dry, it’s time to seal your mini serving boards. In a well-ventilated area, spray the entire wooden piece with the non-toxic clear spray shellac. Apply several thin, even coats, allowing adequate drying time between each coat according to the product’s instructions. This shellac coating will create a food-safe, resistant, and durable surface that protects the wood from moisture and wear. The boards will need to cure fully for 24-48 hours to achieve maximum hardness and food safety. However, if you’re adding brass embellishments, you can super glue them onto the tiles once the shellac is dry to the touch, before the full curing period.
Creative Customization Ideas
While the stained and color-blocked designs with brass accents are elegant, don’t stop there! Consider these additional customization ideas to make your mini serving boards truly unique:
- **Wood Burning:** For a rustic and personalized touch, try wood burning initials, intricate patterns, or small illustrations onto the unstained wood before sealing.
- **Stencils:** Use stencils for more complex patterns or text with your non-toxic paint. Floral motifs, geometric designs, or even small quotes can add character.
- **Different Shapes:** While hexagons are trendy, experiment with circular, square, or even custom-cut shapes for your boards.
- **Handles:** For larger boards, consider adding small leather or metal handles for easier carrying and an added design element.
- **Edge Detailing:** Instead of full color blocks, try painting just the edges of the hexagons for a subtle pop of color.
The possibilities are endless, allowing you to match your boards to any theme or personal preference.
Care and Maintenance for Your Boards
To ensure your beautiful DIY mini wooden serving boards last for years to come, proper care is essential. Always lightly hand wash the tiles after using them, using a soft cloth and mild soap. Avoid completely submerging them in water, as this can damage the wood and compromise the sealant, especially if you’ve added brass embellishments. Prolonged exposure to water can also cause warping or cracking. Simply wipe clean and dry immediately. Store them in a dry place away from extreme temperatures to maintain their pristine condition.
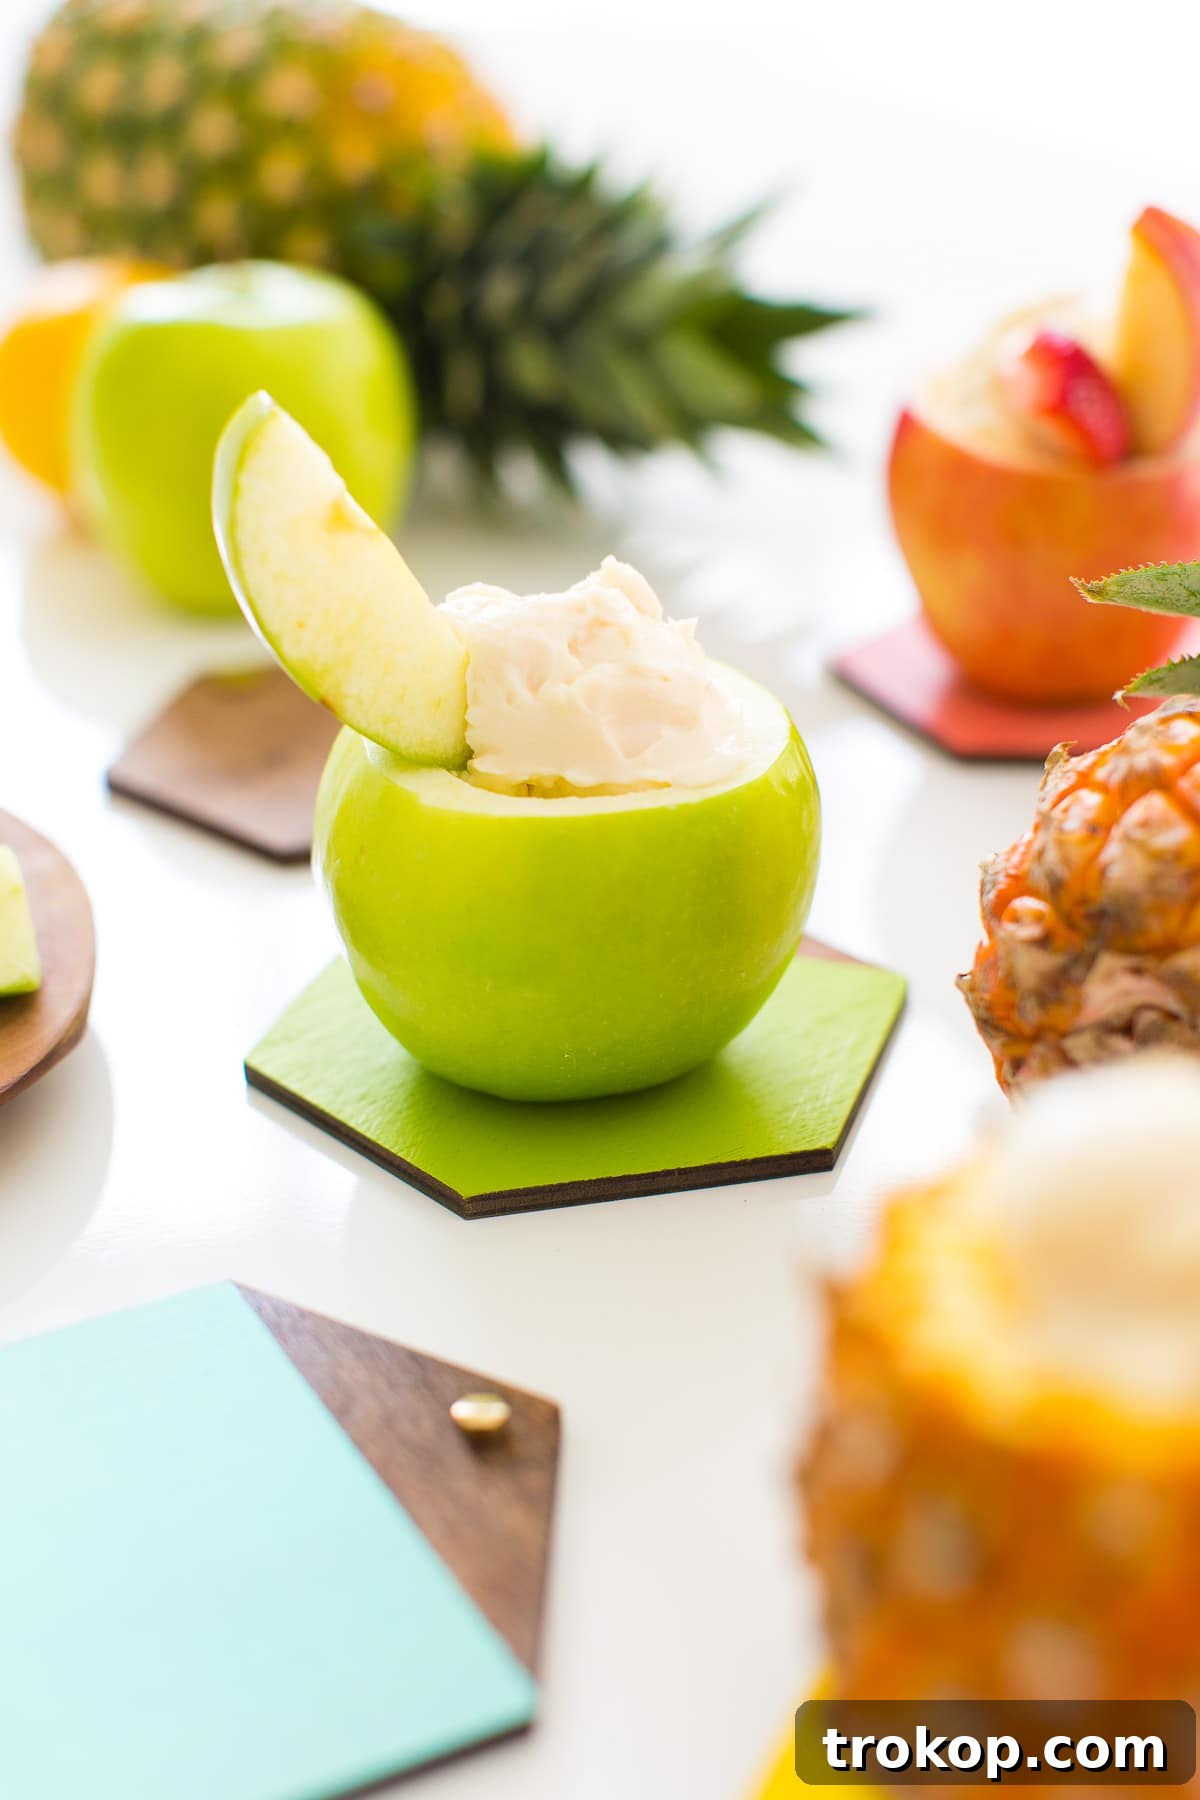
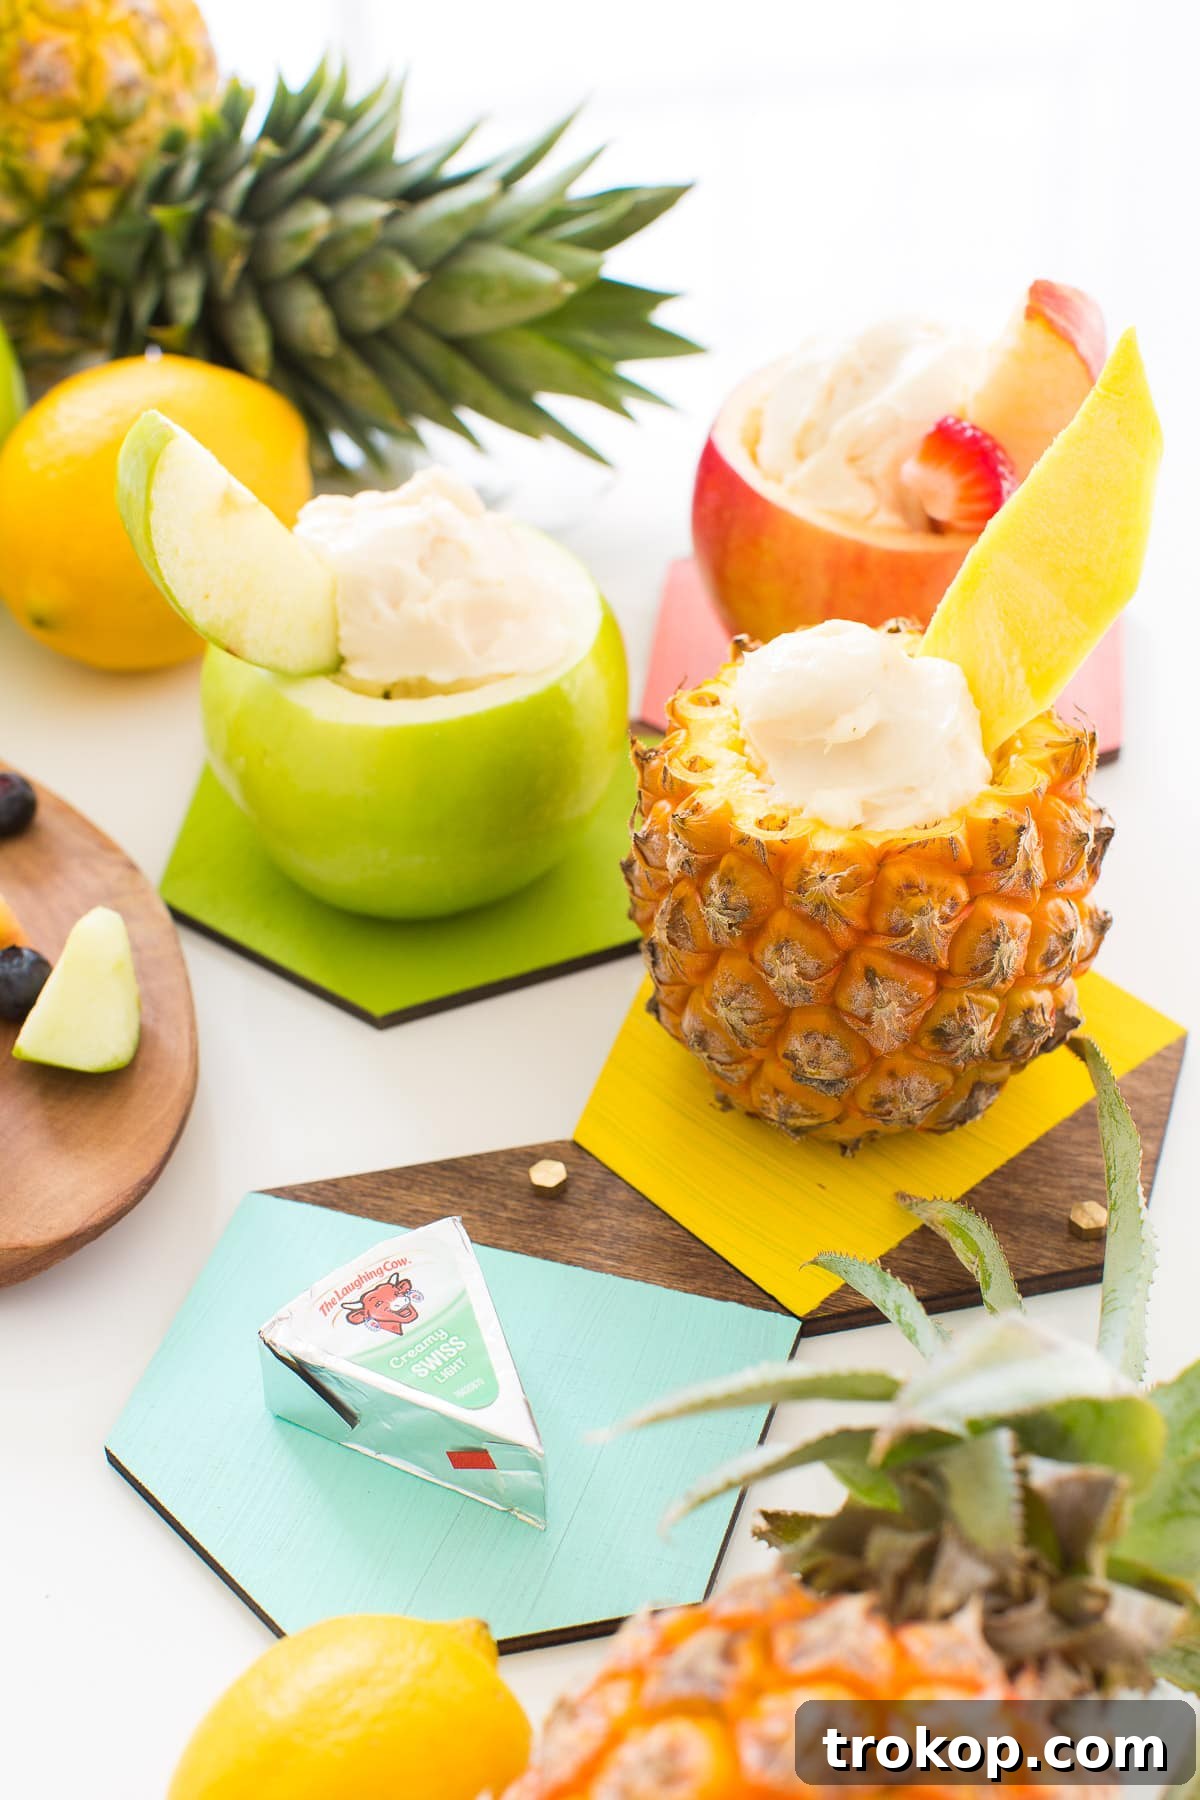
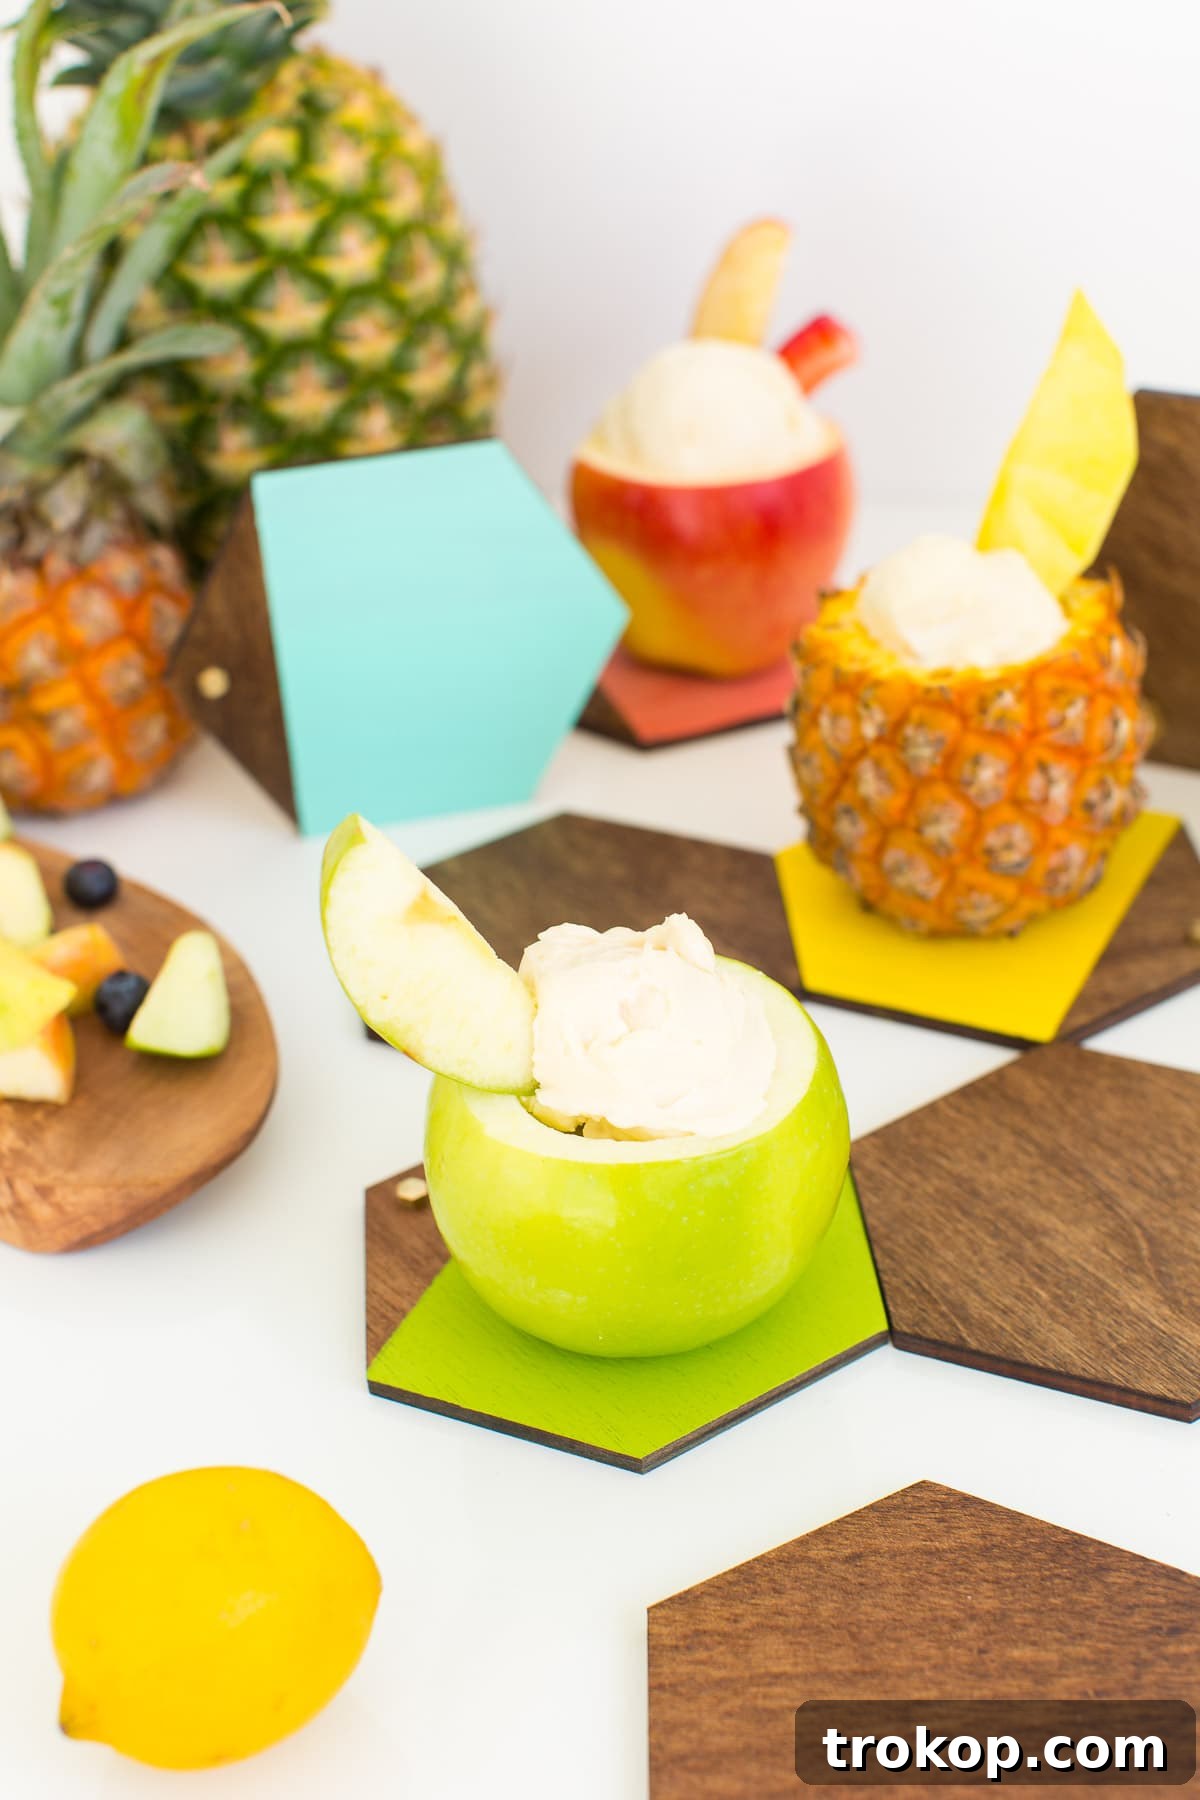
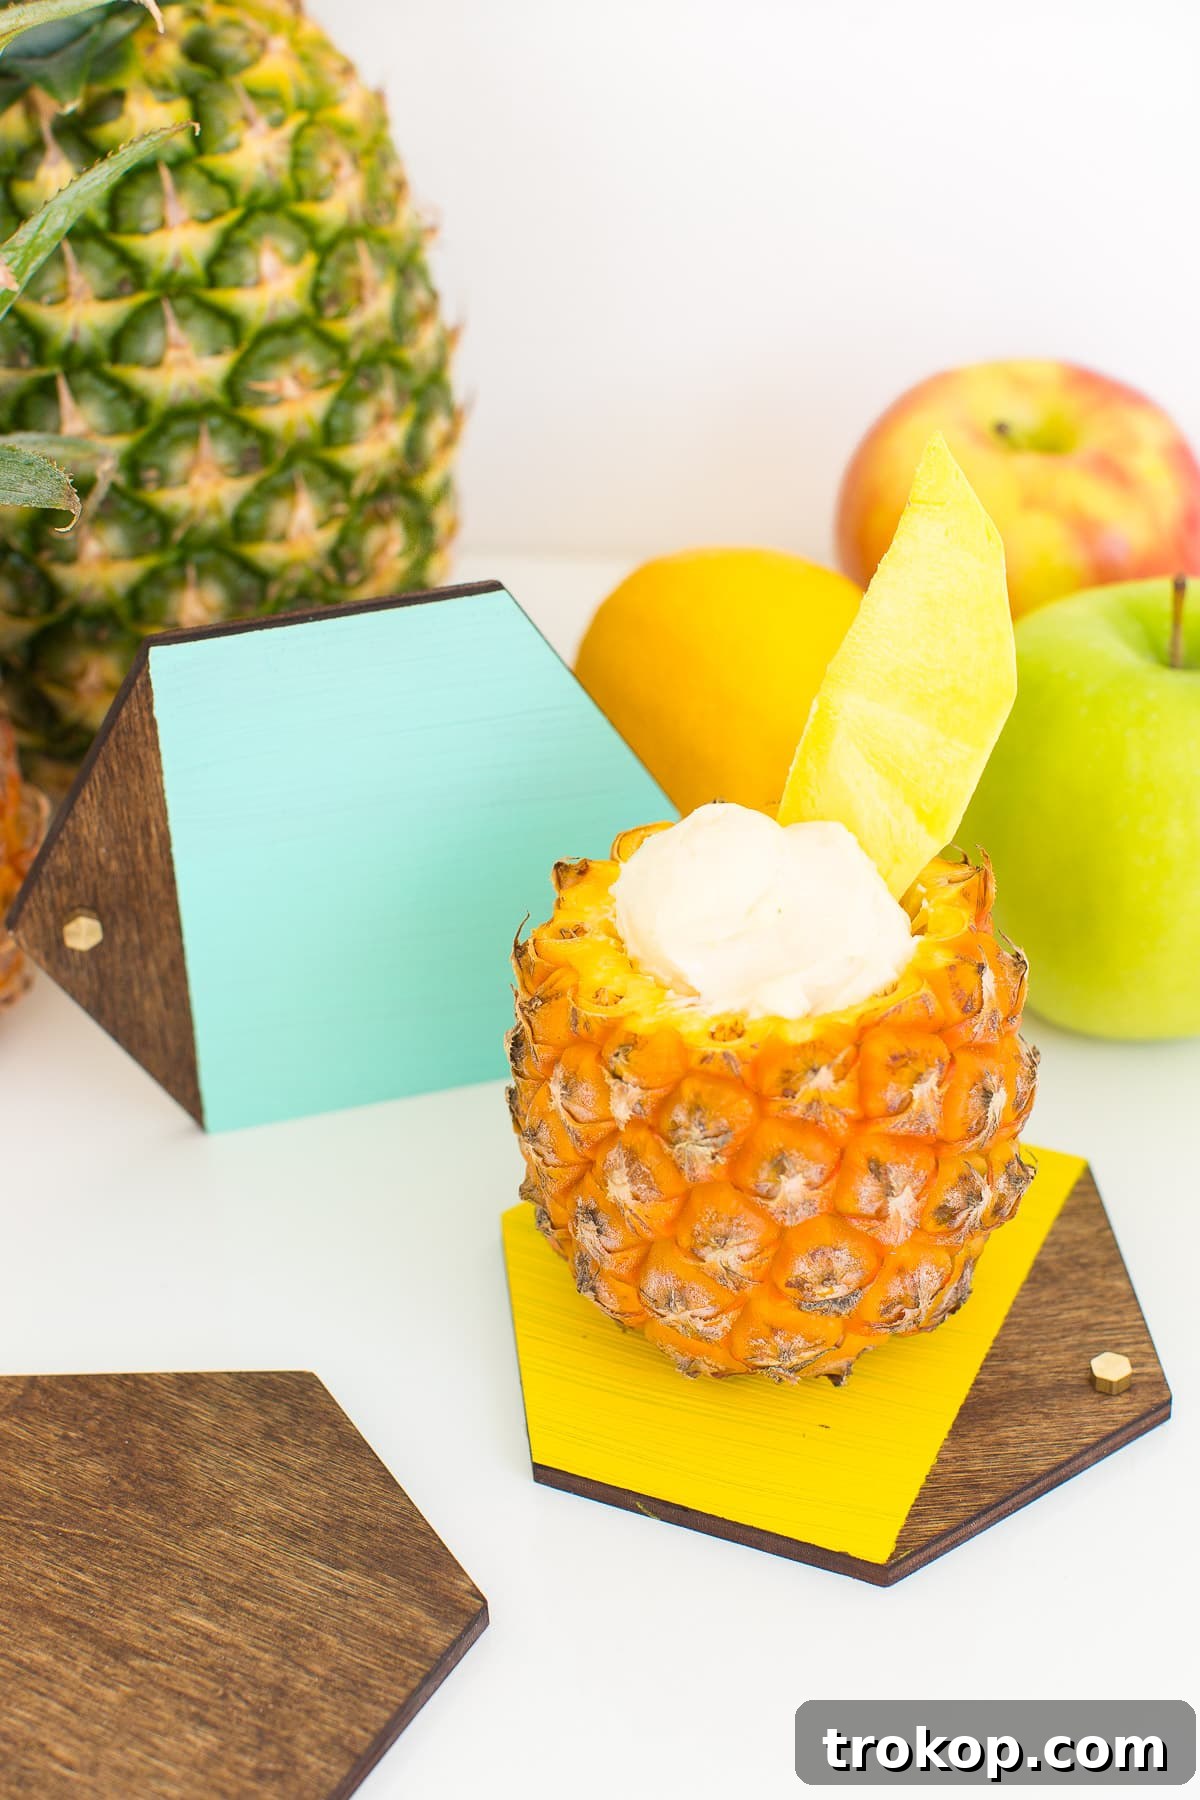
Aren’t these just the cutest little serving boards you’ve ever seen?! And of course, I couldn’t resist adding a little touch of gold for that extra sparkle! If you’re a fan of elegant touches, you might also fancy marble. Compared to their name-brand cousins, these DIY Gilded Marble Hexagon Serving Boards offer a seriously budget-friendly alternative with a luxurious feel.
A big thanks to our friends at The Laughing Cow® for inspiring and partnering with us on this post! We’ve had so much fun creating unique snack pairings, including delightful recipes like the Sriracha Bacon And Egg Breakfast Cupcake and innovative Dessert Cheese and Crackers. These mini boards are perfect for serving any of these delicious treats.
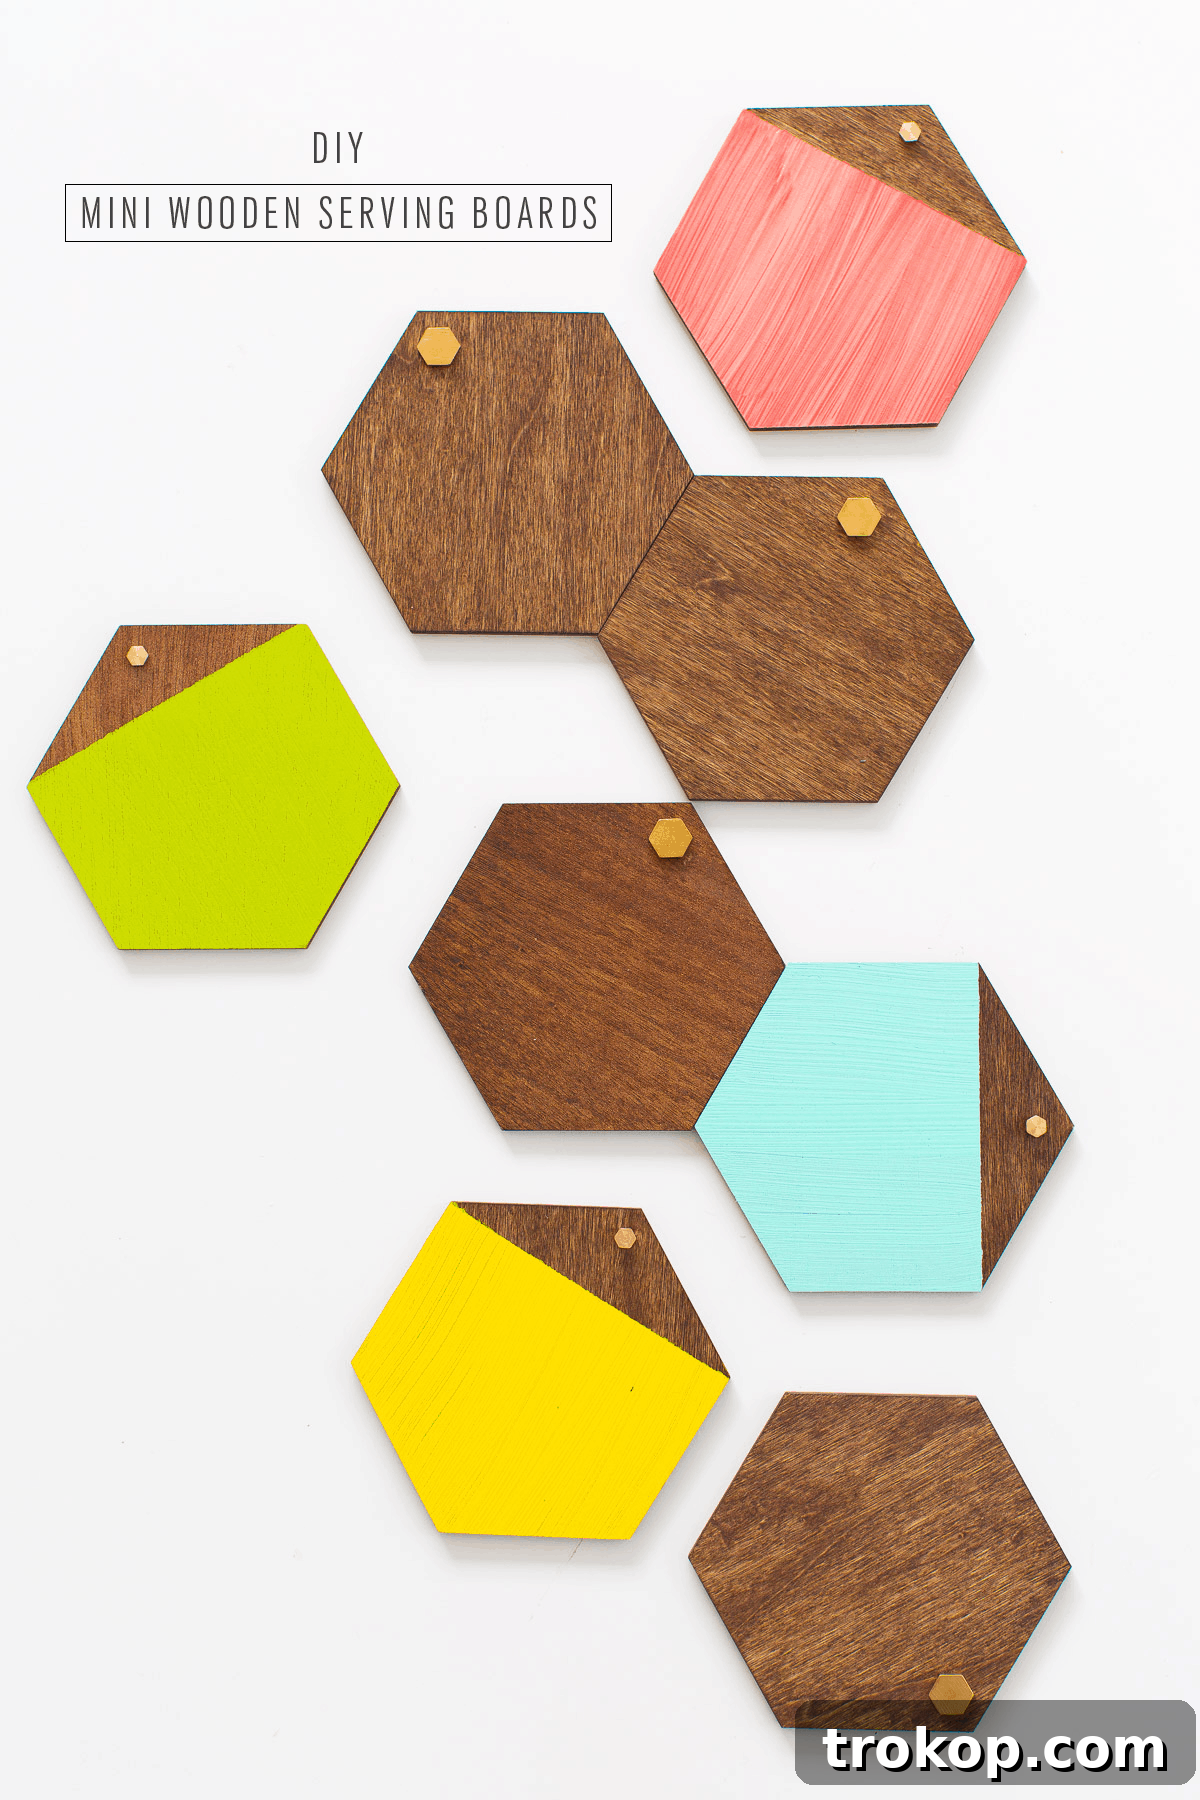
DIY Mini Wooden Serving Boards Project Details
DIY Mini Wooden Serving Boards
Equipment
-
Painter’s tape
-
Foam brush
-
Old cloth (optional, for stain application)
Materials
- 4 inch wooden hexagons
- Non-toxic wood stain
- Non-toxic clear spray shellac (a food-safe sealant for the serving boards)
- Non-toxic paint optional for the color blocking in color of your choice
- Brass hexagon embellishments
- Super glue optional
Instructions
-
First, stain the wooden hexagons with either an old cloth or foam brush dipped into the non-toxic stain. Ensure even coverage and allow it to dry completely as per product instructions.
-
If you’re going to do the color blocking on some of the hexagons, use painter’s tape to tape off different sections. Press firmly over the tape edges to get a clean, sharp line and prevent paint bleed.
-
Paint the desired colors onto the untaped areas, brushing away from the tape. This technique helps avoid paint buildup at the tape’s edge. Let the paint dry completely before removing the tape.
-
Once all paint and stain are fully dry, spray the entire wood piece with the clear spray shellac. Apply several thin coats for a food-safe, resistant surface. The boards will need to set for 24-48 hours to be fully cured. You can super glue any finishing brass touches onto the tiles once the shellac is dry to the touch, but before full curing.
Notes
- Be sure to lightly hand wash the tiles after using them, and avoid completely submerging them in water, especially if you’re using brass embellishments.
- Always work in a well-ventilated area when using stains, paints, and shellac.

Conclusion & Share Your Creations
There you have it—a simple yet elegant way to create personalized mini wooden serving boards that are sure to impress! These boards are not just functional; they are tiny works of art that add character and charm to any setting. The satisfaction of crafting something beautiful and practical with your own hands is truly immeasurable. We encourage you to experiment with colors, patterns, and embellishments to make each board uniquely yours. Don’t forget to share your amazing creations with us on Instagram using the hashtag #sugarandclothloves. We absolutely adore seeing how you bring your DIY dreams to life!
If you’re seeking more inspiration for refreshing your home decor and embracing your creative side, explore our extensive collection of home decor tutorials and ideas right here. Happy crafting!
More Easy DIY Table Ideas
Kids Play Table: An Easy DIY Kids Activity Table
20 Gorgeous DIY Coffee Table Ideas To Try At Home
Floor Seating Ideas: DIY Floor Table
DIY Dressing Table: How To Make An Ikea Vanity Hack
DIY Pallet Table
Simple DIY Faux Terrazzo Coffee Table (+ Video How-To!)