
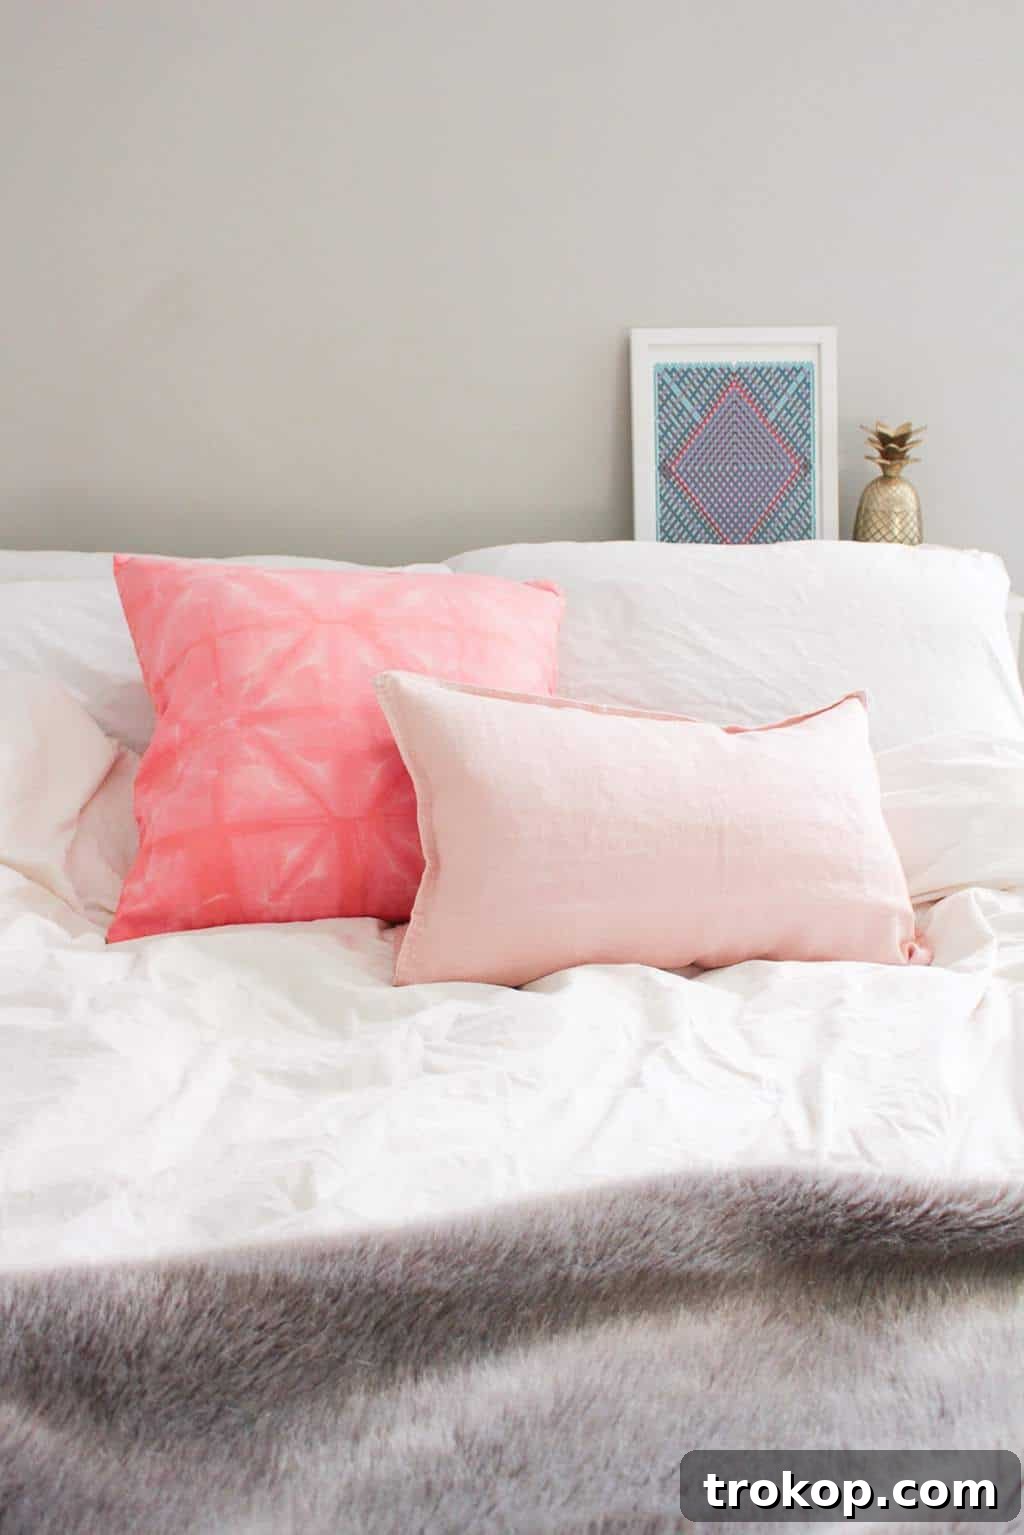
Discover the captivating art of Shibori and learn how to create a stunning, custom throw pillow using natural dyes. This easy-to-follow tutorial will guide you through the traditional Japanese resist dyeing technique, allowing you to craft your very own unique tie-dye pillowcase and infuse your home with personalized style and charm.
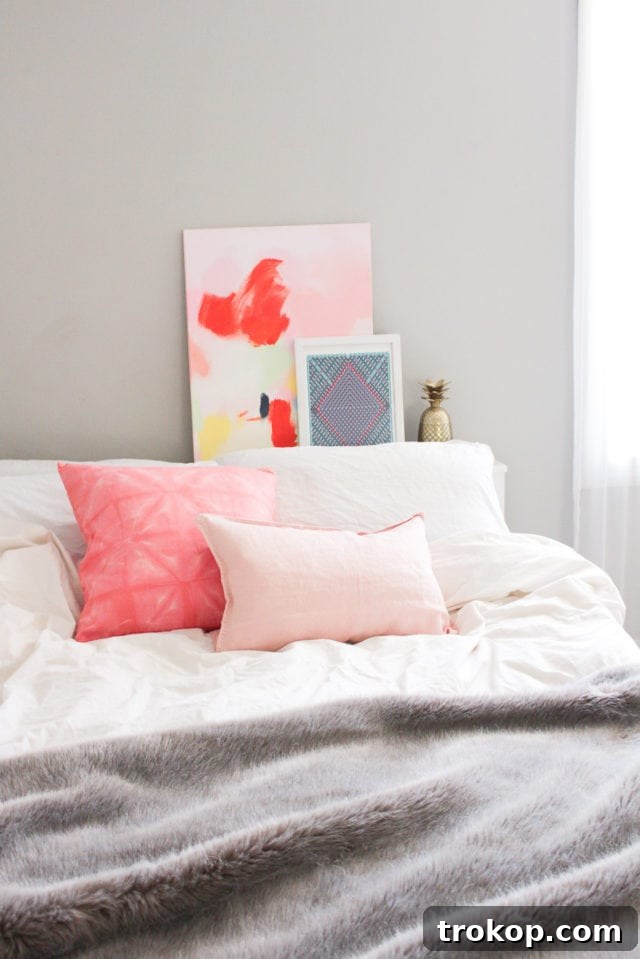
DIY Shibori Throw Pillow: Elevate Your Home Decor with Custom Natural Dyes
A new season often sparks a desire for change and a refreshing of our living spaces. What better way to welcome fresh energy and vibrant aesthetics than by infusing your home with unique, custom-made decor? Bid farewell to the mundane and embrace the boundless joy of DIY!
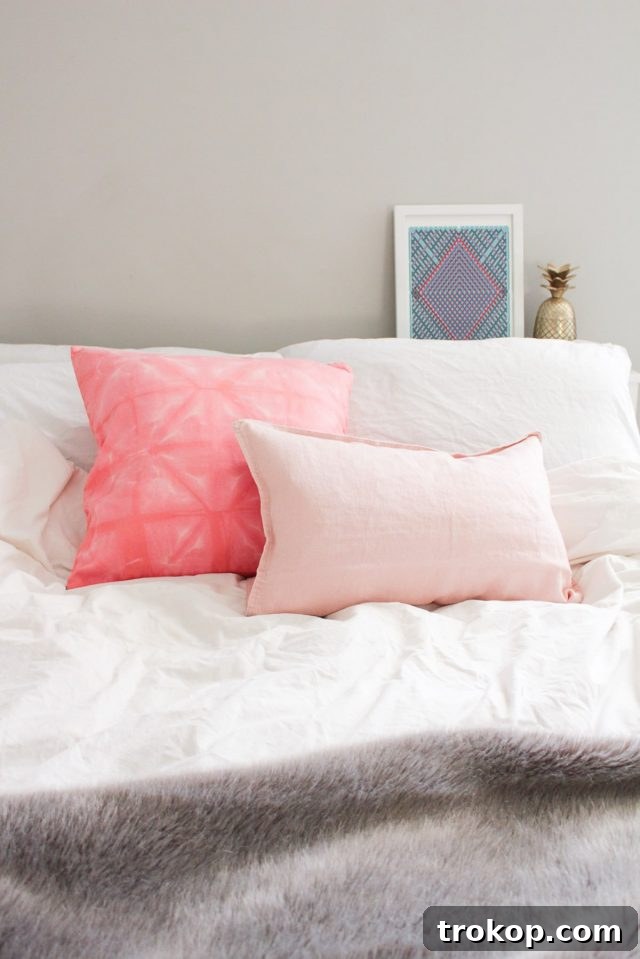
Inspired by the delicate hues of spring and the timeless beauty of cherry blossoms, our featured project today is a gorgeous Pink DIY Shibori Throw Pillow. While traditional Shibori is renowned for its deep indigo blue, we’re daring to be different with a soft, romantic rosy pink. This modern twist offers a cheerful and unexpected pop of color, proving that classic techniques can be beautifully adapted to contemporary tastes.
Shibori, an ancient Japanese dyeing technique, might sound complex, but it’s surprisingly simple to master and incredibly rewarding. The true allure of Shibori lies in its versatility: you can experiment with a myriad of folding, twisting, and binding methods to create an endless array of mesmerizing, one-of-a-kind designs. Even if you’re a complete beginner, our detailed instructions will empower you to replicate this charming pink pillow or inspire you to develop your own signature pattern. The best part? You don’t even need to invest in a complicated dye kit to get started, making this a truly accessible and foolproof project for anyone looking to add a personal touch to their home decor.
Beyond this delightful pillow, consider other ways to brighten your home with handcrafted flair. Nothing quite captures the whimsical essence of summer like pretty pink flamingos, which is why we’ve also created this super simple DIY No-Sew Flamingo Lumbar Pillow for another quick and charming decor update!
What is Shibori Dyeing? Unraveling the Ancient Japanese Art
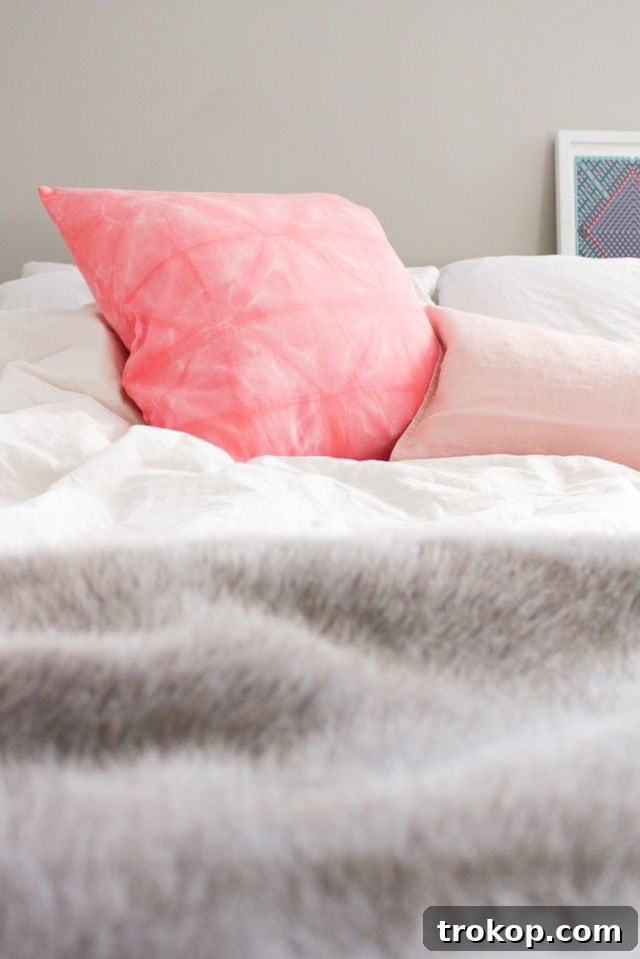
Shibori is a revered ancient Japanese manual resist dyeing technique, with its roots tracing back to the 8th century. The term “shibori” itself translates to “to wring, squeeze, press, or wring,” perfectly encapsulating the essence of this meticulous craft. It involves shaping fabric by manipulating it through folding, twisting, binding, or compressing before submerging it into a dye bath. The areas of the fabric that are bound or manipulated resist the dye, creating mesmerizing and often unpredictable patterns upon revelation.
While often compared to Western tie-dyeing, Shibori distinguishes itself with a more intricate, controlled, and typically geometric approach to pattern creation. Modern tie-dye often embraces a free-form, vibrant aesthetic, whereas Shibori emphasizes thoughtful manipulation of the fabric to achieve sophisticated and repetitive designs. The process involves not just simple tying, but also carefully folding, pleating, gathering, stitching, or even clamping the fabric to create distinct resist patterns. The result is a beautiful blend of artistic intention and the natural flow of the dye, where the hand of the artisan meets the organic qualities of the material.
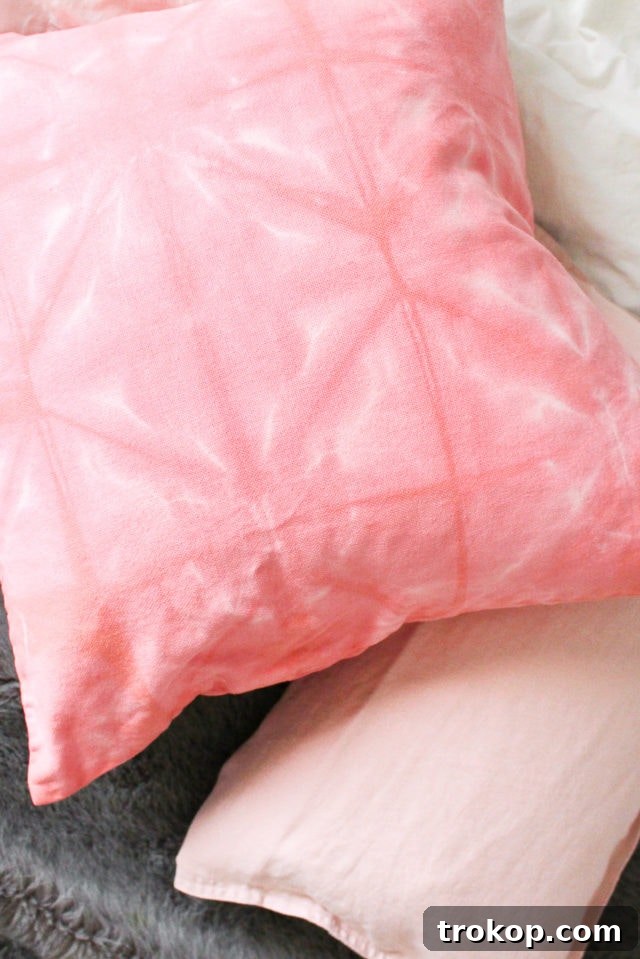
Traditionally, Shibori textiles were predominantly dyed with natural indigo, producing the iconic deep blues associated with classic Japanese crafts. This deep blue has become synonymous with Shibori’s historical elegance. However, the fundamental principles of Shibori can be applied with any natural fabric and dye, opening up a boundless world of color possibilities. Our pink Shibori pillow project beautifully demonstrates this versatility, proving that time-honored techniques can be adapted to contemporary tastes and offer a fresh perspective on a classic art form.
Why Choose Shibori for Home Decor?
Integrating Shibori into your home decor offers a unique blend of artistry, personalization, and a touch of global aesthetic appeal. Each Shibori piece, by its very nature, is a one-of-a-kind creation. The manual process and subtle variations in dye absorption mean that no two items will ever be exactly alike, making your home truly unique and reflective of your individual style. It’s an ideal choice for those who appreciate handcrafted items and seek to infuse their living spaces with distinctive, artisan-made pieces that stand out from mass-produced decor.
Beyond its undeniable aesthetic appeal, Shibori provides a wonderful opportunity for creative expression and mindful crafting. You can experiment with various folding and binding techniques to produce an impressive array of patterns, from subtle, organic ripples to bold, striking geometric shapes. The anticipation and ultimate joy of unveiling your dyed fabric to reveal the intricate design is an immensely satisfying experience. Furthermore, working with natural dyes and fabrics connects you to a more sustainable and environmentally conscious way of decorating your home. It’s a project that is not only enjoyable but also aligns with values of eco-friendliness and thoughtful consumption.
To further enhance your home with unique patterns and a modern flair, be sure to check out this DIY Geometric Accent Wall – a quick, impactful, and colorful way to add a contemporary touch to any room in your house!
Materials Needed for Your Pink DIY Shibori Pillow: Gathering Your Supplies
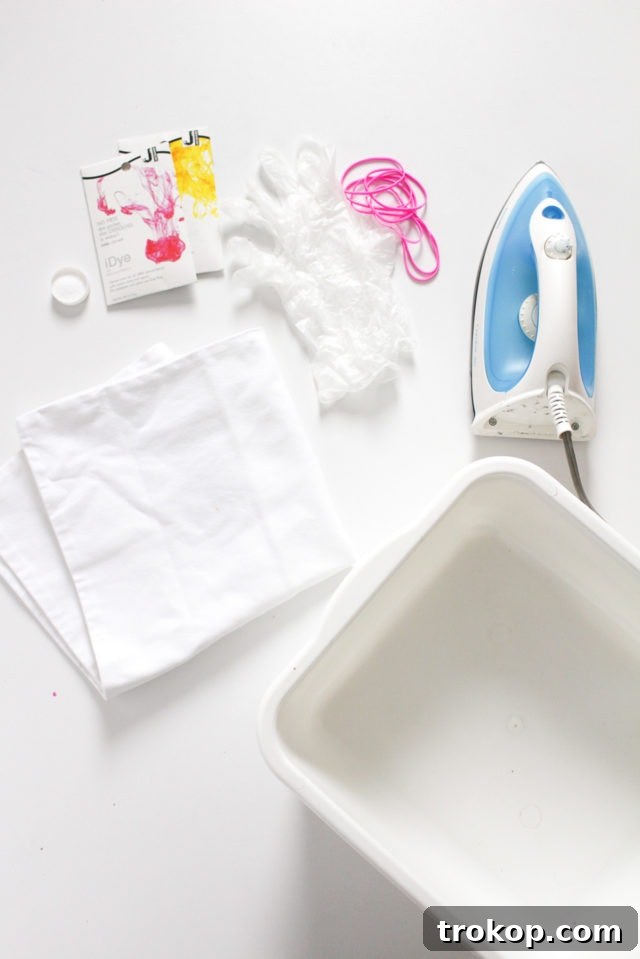
Before diving into the exciting world of fabric dyeing, it’s essential to gather all your necessary materials. Opting for quality supplies will ensure the best results, leading to a vibrant, long-lasting, and truly beautiful Shibori pillow. Here’s a comprehensive list of what you’ll need to create your stunning pink Shibori cushion:
- Cotton Cushion Cover: This will be the canvas for your Shibori masterpiece. It’s crucial to select natural fiber fabrics like cotton, silk, linen, or wool. These materials possess a natural affinity for dyes, allowing for superior absorption and yielding more vibrant, rich, and lasting colors. Always remember to prewash your cushion cover thoroughly before you begin the dyeing process to remove any sizing agents, factory finishes, or residues that might impede proper dye absorption.
- Rubber Bands: These indispensable tools are used for binding and creating the intricate resist patterns that define Shibori. We highly recommend using thick, durable rubber bands as they provide a strong, consistent hold, which is absolutely essential for creating crisp, defined patterns when the fabric is tightly folded and compressed. Consider having a variety of sizes on hand to experiment with different binding effects and pattern scales.
- Pink Dye for Natural Fabrics: While traditional Shibori is celebrated for its iconic indigo hue, a beautiful rosy pink offers a contemporary, cheerful, and charming alternative. Choose a dye specifically formulated for natural fibers to ensure optimal color saturation, adherence, and longevity. Always read the dye package instructions carefully, as preparation and application methods can vary significantly between different brands and dye types.
- Non-Iodized Salt: This is a crucial ingredient for many natural dyeing processes, as it acts as a mordant, helping the dye to bond more effectively and permanently with the fabric fibers. Using non-iodized salt is paramount because the iodine found in iodized salt can sometimes react unfavorably with certain dyes, potentially leading to uneven coloring or undesirable streaking in your finished project.
- Plastic Bucket: A dedicated, large plastic bucket for preparing your dye bath is absolutely essential. Ensure it’s spacious enough to comfortably submerge your folded cushion cover without overcrowding. It’s advisable to avoid using containers that will later be used for food preparation to prevent any cross-contamination.
- Plastic Gloves: These are non-negotiable for protecting your hands from staining! Dye can be notoriously difficult to remove from skin and nails, so a good pair of waterproof, chemical-resistant gloves is an absolute must throughout the dyeing process.
- Iron: An iron is a vital tool for this project, primarily used to help set and sharpen the folds in your fabric for precise and well-defined patterns.
- Optional: Scrap of Fabric: A small piece of the same fabric type as your cushion cover is incredibly useful for testing your dye color and concentration before committing your main project. This allows you to adjust the dye bath for your desired shade and prevents any unwelcome surprises.
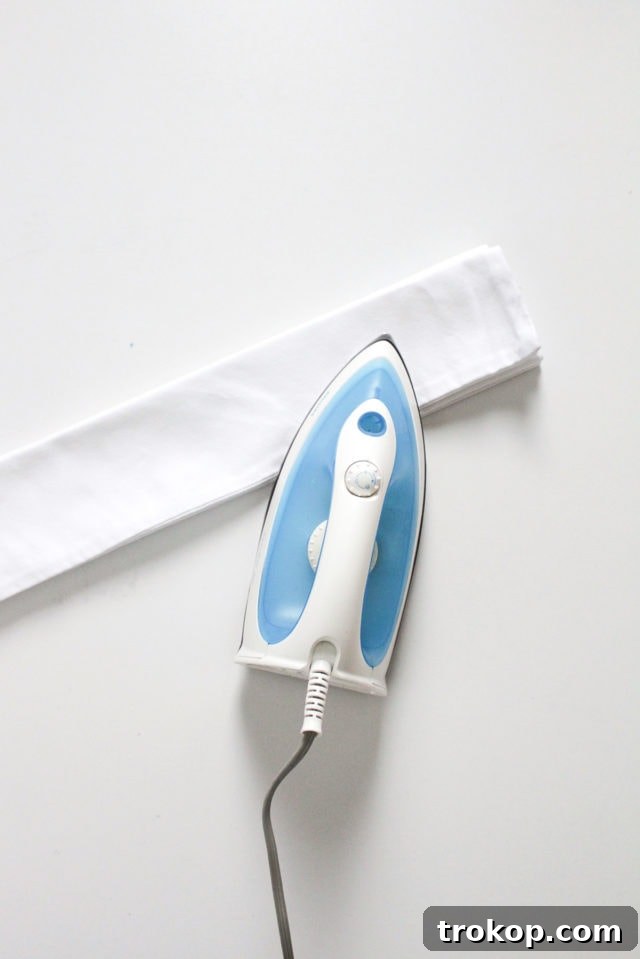
Step-by-Step Guide: How to Make a Pink DIY Shibori Pillow
Creating your Shibori pillow is a fun, mindful, and incredibly creative process. By following these steps carefully, you’ll be able to achieve beautiful, crisp patterns and a vibrant pink hue that will make your pillow a true standout piece.
Step 1: Prepare Your Fabric for Optimal Dyeing
Begin by ensuring your cushion cover is perfectly prepared for the dyeing process. Wash and dry it thoroughly. This initial step is critical as it removes any manufacturing residues, starches, or sizing agents that are often present on new fabrics. These substances can create a barrier, preventing the dye from adhering evenly to the fabric fibers. A clean, residue-free fabric surface allows for optimal dye absorption, which is key to achieving brighter, more uniform, and long-lasting colors.
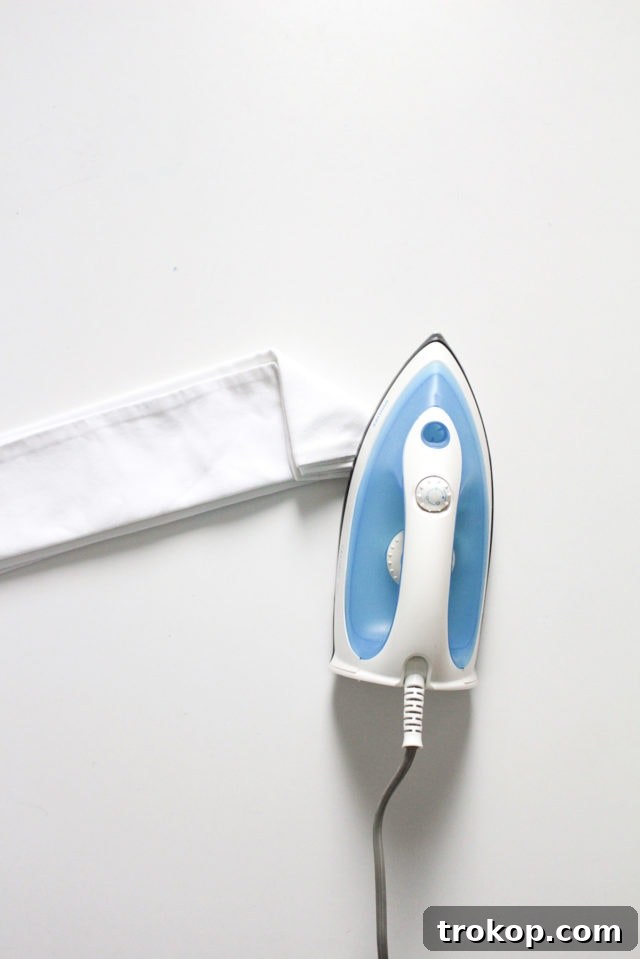
Step 2: Master the Accordion Fold for Defined Patterns
Lay your clean, completely dry cushion cover flat on a clean, hard surface. Start folding the fabric in a precise accordion (or fan) fold style. Aim for even, crisp folds, typically about 1-2 inches wide, across the entire length or width of the fabric, depending on your desired pattern orientation. As you create each fold, press it firmly with a hot iron. Ironing helps to create sharp, permanent creases, which are absolutely essential for defining the resist patterns later on. The more consistent and precise your folds are, the more uniform and intricate your final Shibori pattern will appear.
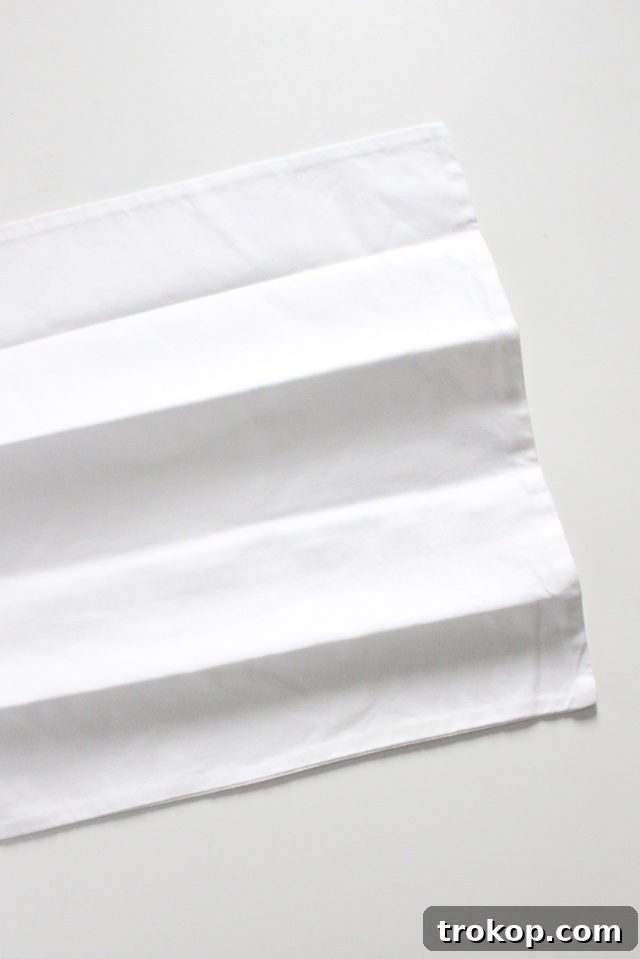
Once you’ve completed the accordion fold along one dimension, proceed to fold the entire strip of fabric in a triangle accordion style. This involves repeatedly folding the long, accordion-pleated strip into neat triangles, creating a compact, multi-layered triangular packet. Ensure each triangle fold is tight and well-creased, again utilizing your iron for maximum precision. This specific folding technique, often associated with ‘itajime shibori,’ is designed to produce a beautiful, symmetrical geometric pattern.
Step 3: Secure Your Pattern with Strategic Binding
With your fabric meticulously folded into a compact triangle, it’s time to secure the resist areas. Take your thick rubber bands and firmly tie them around the two opposing triangle corners. The tightness of these bands is paramount; they act as a physical barrier, preventing the dye from penetrating the fabric underneath, thus preserving the original white color and creating sharp, un-dyed lines. You can strategically add more rubber bands around the edges of the triangle or in other specific areas if you wish to create additional resist patterns, smaller white sections, or more complex designs within your overall pattern.
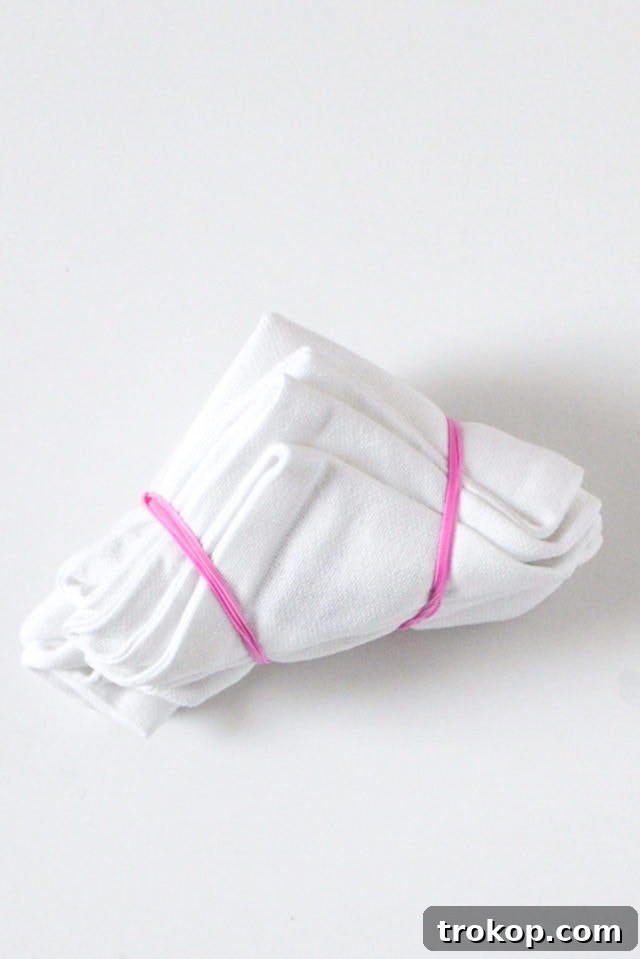
Step 4: Prepare the Dye Bath and Immerse Your Fabric
Now, for the most exciting and transformative part of the process! Carefully read and meticulously follow the instructions provided on your pink dye package to prepare the dye bath in your plastic bucket. This will typically involve mixing the dye powder or liquid concentrate with hot water and adding your non-iodized salt, which functions as a mordant to help the dye bond more effectively and permanently to the fabric fibers. Stir the mixture thoroughly to ensure the dye is completely dissolved and evenly distributed throughout the solution.
Before dyeing your precious cushion cover, always perform a test. Dip a small scrap of fabric (preferably the same material as your pillow) into the dye bath for a short period. This will give you an accurate indication of the color intensity and allow you to make any necessary adjustments to the dye concentration before committing your main project. Don’t forget to wear your plastic gloves throughout this entire step to protect your hands from staining and ensure a clean crafting experience.
Once your dye bath is perfectly prepared and tested, gently submerge your rubber-banded cushion cover into the solution. Ensure it is fully immersed for even dyeing, gently pressing out any trapped air bubbles. The duration of soaking will directly determine the final shade of pink; refer to the “Dyeing Tips” section below for more comprehensive guidance on achieving your desired color intensity.
Step 5: Rinse and The Grand Reveal!
After the desired soaking time has elapsed, carefully remove the fabric from the dye bath, ensuring you are still wearing your protective gloves. Rinse the fabric under warm running water first, gently squeezing out any excess dye. Continue rinsing until the water runs mostly clear. Then, switch to cold water and continue rinsing until all residual dye is completely removed and the water is perfectly clear. This crucial step is vital to prevent any residual dye from bleeding onto the white resist areas or inadvertently staining other laundry items later on. Once thoroughly rinsed, carefully remove the rubber bands to reveal your unique and stunning Shibori pattern!
Step 6: Final Wash, Dry, and Showcase Your Creation!
To ensure maximum colorfastness and thoroughly clean your newly dyed pillowcase, wash it separately in cold water with a mild, color-safe detergent. You can do this gently by hand or in a washing machine on a delicate cycle. After washing, dry the cushion cover completely, either by air drying (which is often preferred for preserving colors) or by using a low heat setting in a dryer. Once dry, proudly insert your pillow cushion, and voilà! Your gorgeous, custom DIY Pink Shibori Throw Pillow is now ready to adorn your home, adding a touch of handcrafted elegance and personal style.
Dyeing Tips: How Long to Soak Your Fabric for Best Results
The duration of your fabric’s immersion in the dye bath is a critical factor that profoundly influences the final color intensity and pattern definition of your Shibori pillow. This step offers a great deal of creative control, so understanding the variables involved will empower you to achieve your perfectly desired aesthetic.
- Controlling Color Intensity: As a general rule, the longer your fabric soaks in the dye solution, the deeper, richer, and more saturated the color will be. For a vibrant, deep pink, a longer soak time is recommended. Conversely, if you’re aiming for a softer, more pastel pink, a shorter immersion will typically suffice.
- Defining Pattern Clarity: The soaking time also plays a significant role in how much the dye bleeds or seeps into the resist areas. A shorter soak will result in lighter dye penetration, producing more distinct white lines and sharper, higher contrasts in your folded patterns. Conversely, a longer soak might allow the dye to seep slightly further into the bound or compressed areas, creating a softer, more blended, or slightly blurred transition between the dyed and un-dyed sections.
- The “Slow and Steady” Approach: It’s highly recommended to slowly and gently soak and dip your folded cushion into the dye bath. This careful approach helps prevent the formation of unwanted air bubbles, which can cause uneven dyeing, and ensures that the dye permeates the fabric evenly across all exposed surfaces.
- Typical Soak Time Guidelines: While dye concentrations and desired results can vary significantly, a soak time of approximately ten to twenty minutes is often sufficient for the dye to adequately set on most natural fabrics. However, this is a general guideline and should always be cross-referenced with your specific dye product.
- Always Refer to Dye Instructions: Crucially, always consult the specific instructions provided with your dye product. Different dye brands and chemical formulations will have unique recommendations for mixing ratios, optimal water temperatures, precise soaking times, and aftercare procedures. Following these manufacturer guidelines will yield the most predictable, successful, and vibrant results.
- Your Test Piece is Your Best Friend: As mentioned in the previous steps, utilizing a scrap piece of fabric for testing is an invaluable practice. Dip your test swatch into the dye bath for varying durations (e.g., 5, 10, 15 minutes) to accurately gauge how the color develops and to precisely determine your ideal soaking time before you commit your main pillow cover to the dye bath. This small step can save you from unexpected outcomes.
Expand Your Shibori Horizons: Beyond Pillows
Now that you’ve successfully created a stunning Shibori throw pillow, mastering the fundamental techniques, you might be wondering where else you can apply this incredibly versatile and beautiful art form. The possibilities for Shibori projects are truly endless! This DIY technique is not limited to cushion covers; you can easily translate this project to a wide array of other natural fabric items, adding a personalized, artistic, and sophisticated touch throughout your entire home and even your wardrobe.
Consider transforming everyday essentials into unique pieces of handcrafted art. Imagine the beauty of dyeing:
- Tea Towels or Cloth Napkins: Add a chic, handcrafted touch to your kitchen or dining table, making every meal a special occasion.
- Blankets or Throws: Create a cozy, eye-catching statement piece for your living room sofa or bedroom, perfect for snuggling up.
- Tote Bags: Design a stylish, custom accessory that not only reflects your personal flair but is also a functional and unique carry-all.
- Scarves or Apparel: Breathe new life into plain garments like t-shirts, dresses, or scarves with beautiful, intricate Shibori patterns, transforming them into wearable art.
- Curtains or Wall Hangings: Infuse your space with large-scale textile art, creating a dramatic focal point that tells a story.
- Bed Linens: Elevate your bedroom with custom-dyed duvet covers or pillowcases for a truly personalized sanctuary.
Whether you prefer the timeless elegance and depth of traditional indigo blue or the playful vibrancy and softness of pink, as we’ve demonstrated, the Shibori technique is wonderfully adaptable to any color palette that suits your personal style and home aesthetic. Don’t be afraid to experiment with different folding and binding methods, and various dye colors, to create a truly diverse and captivating collection of Shibori-inspired items that showcase your unique creativity.
Are you looking for another colorful pillow project with delightful texture and an inviting feel? These DIY Tasseled Throw Pillows will add an extra layer of coziness, playful charm, and tactile interest to your indoor gatherings and complement your existing decor perfectly!
More Quick and Easy DIY Projects for Your Home
If you’ve thoroughly enjoyed the creative and satisfying process of this DIY Shibori dye project, you’ll be thrilled to explore our extensive archive of other favorite living room decor DIYs and easy home updates. We firmly believe that personalizing your living space should be both fun, accessible, and deeply rewarding. Dive into these inspiring projects and let your creativity flow freely!
- Paper Shapes Wall Art
- Marble Table Top With Gold Accents
- Color Glazed Stacked Vases
- Beaded Blanket Holder & Hanger
- Fringed Mirror Wall Hanging
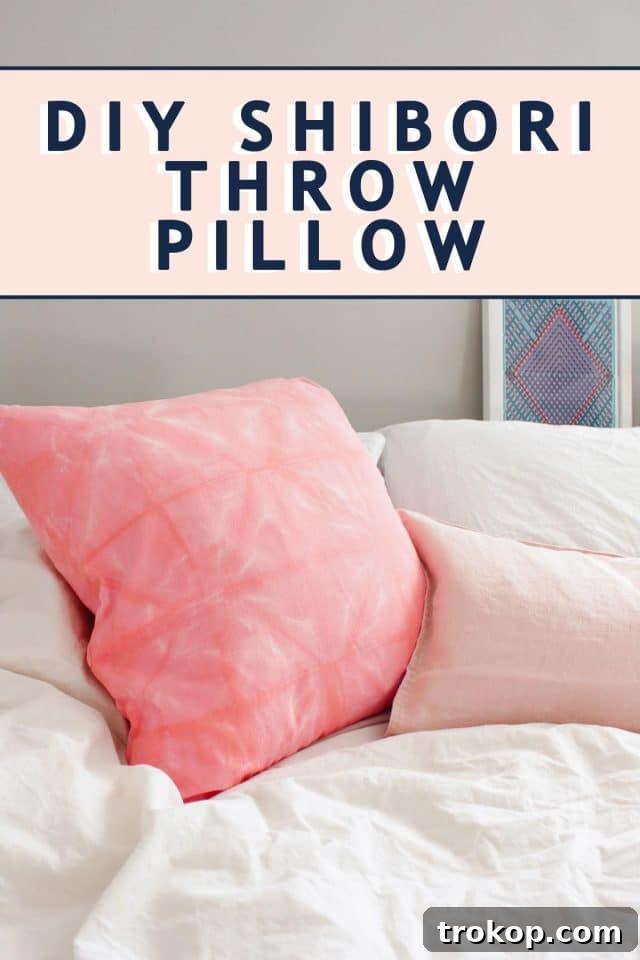
DIY Shibori Throw Pillow: Project Overview
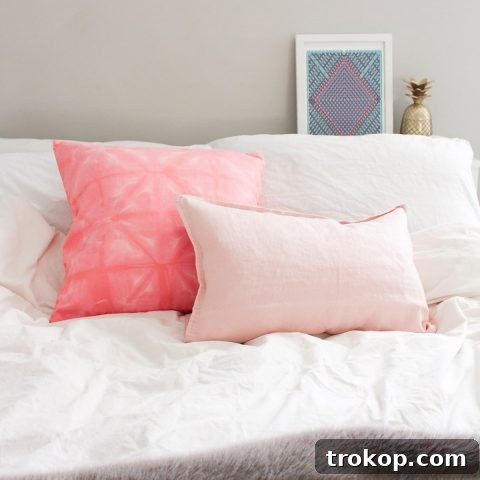
DIY Shibori Throw Pillow
Print This Project
Average rating: 4.91 out of 5 stars from 11 votes
All you need are some natural dye, protective gloves, and a few essential supplies to create the perfect DIY Shibori Throw Pillow, adding a touch of personalized elegance to your home!
Total Time: 1 hr 20 mins
Course: DIY | Category: Pillow
Equipment
- Iron
- Plastic bucket
- Plastic gloves
Materials
- 1 cotton cushion cover (pre-washed)
- 2 or more rubber bands (thick for best results)
- 1 package pink dye for natural fabrics
- non-iodized salt
- Scrap piece of fabric (optional, for dye testing)
Instructions
- Lay your clean, dry cushion cover flat. Fold the fabric in an accordion fold style, stopping to iron each fold as you go to create crisp, defined creases.
- Next, fold the entire accordion-folded strip of fabric into a triangle accordion style, ensuring tight and even folds throughout the process.
- Once the fabric is completely folded into a compact triangle, firmly tie thick rubber bands around the two opposing triangle corners. This binding creates the resist patterns.
- Prepare the dye bath according to the specific instructions on your dye package, ensuring to add the non-iodized salt. Before dyeing your main cushion cover, test the dye color and intensity on a small scrap piece of fabric. Always wear plastic gloves to protect your hands.
- After the desired soaking time (refer to package instructions and testing), carefully remove the dyed fabric. Rinse it thoroughly under warm running water until the water runs clear, then switch to cold water for a final rinse. Once rinsed, carefully remove all rubber bands to reveal your unique Shibori pattern.
- To ensure colorfastness and cleanliness, wash the cushion cover separately in cold water with a mild detergent. Then, dry it completely (air dry or low heat dryer setting). Finally, insert your cushion into the cover and enjoy your beautiful new Shibori pillow.
Notes
- Always pre-wash and thoroughly dry your cushion cover before dyeing. This crucial step removes any residues that could hinder dye absorption, leading to more vibrant and even colors.
- Dye soaking times can vary significantly based on your desired color intensity, the type of dye, and the fabric. While a 10-minute soak is often a good starting point, always refer to your specific dye product’s instructions for the best results. Testing on a scrap piece is highly recommended.
Estimated Cost: $20
Keywords: DIY Shibori Throw Pillow, Shibori dyeing, custom home decor, pink tie-dye, natural fabric dyeing

Don’t forget to share your amazing DIY Shibori tie-dye pillow creations with us on Instagram using the hashtag #sugarandclothloves. We absolutely love seeing all the wonderful projects you bring to life and how you infuse your personal style into your home! Looking for even more interior design inspiration, innovative ideas, and step-by-step guides for crafting beautiful things? You can find all of our home decor tutorials and creative project ideas right here!
Explore More Creative DIY Projects for Your Home
If you thoroughly loved creating your personalized Shibori pillow, you’ll be thrilled to discover even more inspiring DIY ideas designed to help you effortlessly personalize and enhance your living space. Dive into these exciting projects and let your creativity flow freely, transforming your home one craft at a time!
-
DIY Reed Diffuser: How to Make Your Own Essential Oil Diffuser
Learn to craft a custom reed diffuser in just 5 minutes, filling your home with a delightful and inviting fragrance that you control.
-
How to Make Paper Plants + A DIY Paper Caladium
Craft beautiful, maintenance-free paper plants that add a touch of greenery and artistry, including a detailed guide for a stunning paper caladium.
-
DIY Rainbow Art Wall Hanging
Add a joyful pop of vibrant color and texture to any room with this fun and easy DIY rainbow art wall hanging project, perfect for a cheerful accent.
-
Simple DIY Faux Terrazzo Coffee Table (+ Video How-To!)
Transform an ordinary coffee table into a chic, high-end looking piece with a stunning faux terrazzo finish – a quick and impressively elegant upgrade.
-
DIY Color Glazed Stacked Vases
Create unique, sculptural vases by color glazing and artfully stacking simple ceramic pieces, adding a modern, artistic touch to your decor.
-
DIY Fringed Mirror Wall Hanging
Craft a trendy, bohemian-chic fringed mirror wall hanging to instantly bring a touch of warm texture and artisanal flair to your walls, perfect for any room.