
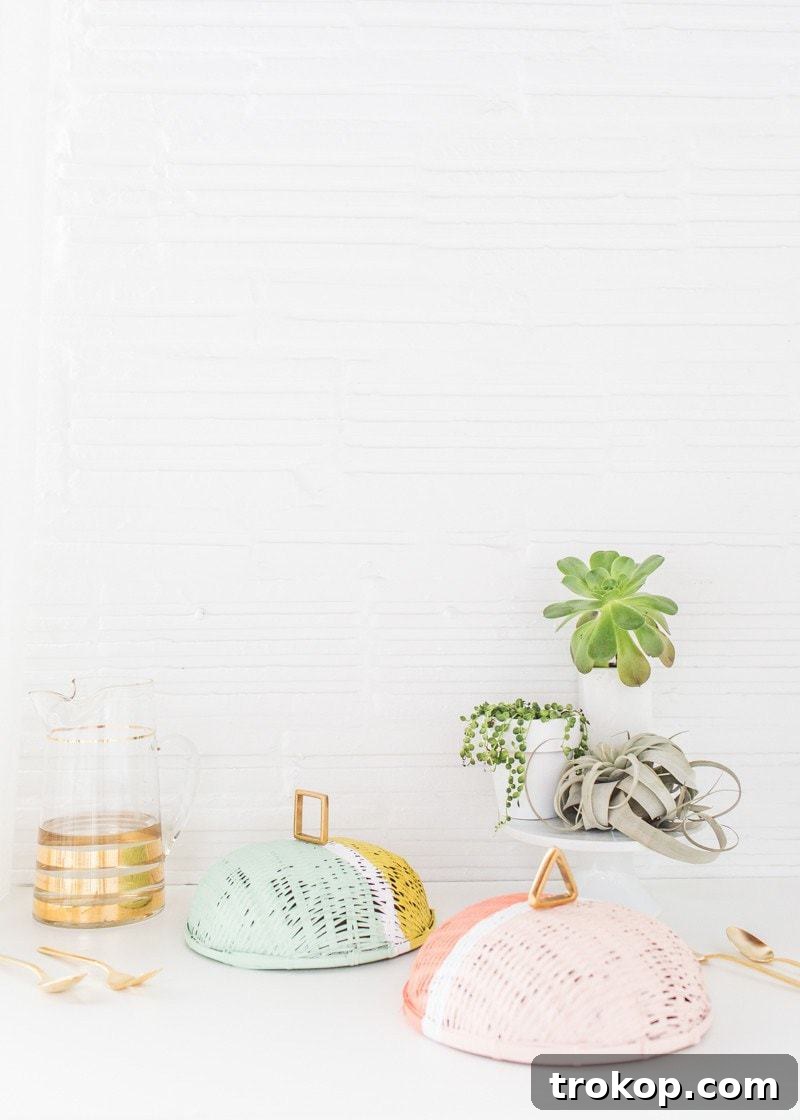
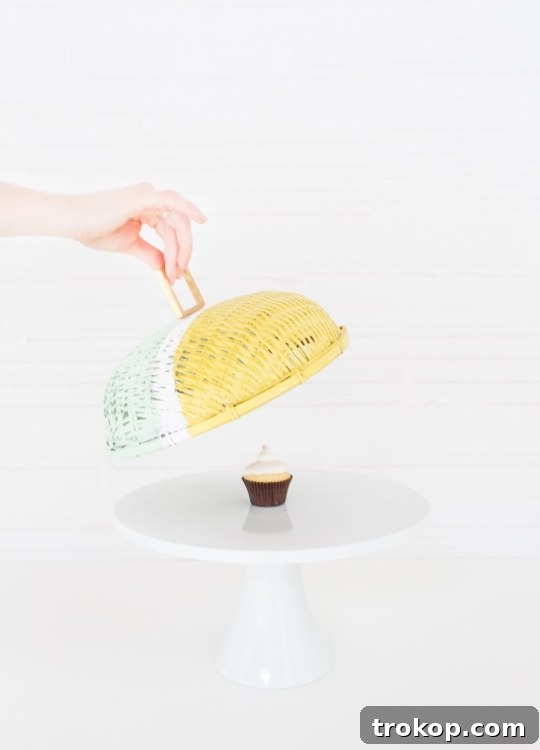
Transforming ordinary into extraordinary with a splash of color is one of my favorite creative endeavors. These Colorblock DIY Food Domes are a perfect example, proving that a little paint and ingenuity can go a long way. Beyond their charming aesthetics, they serve a vital purpose: keeping those persistent outdoor pests from invading your culinary delights, especially cherished treats like cupcakes!
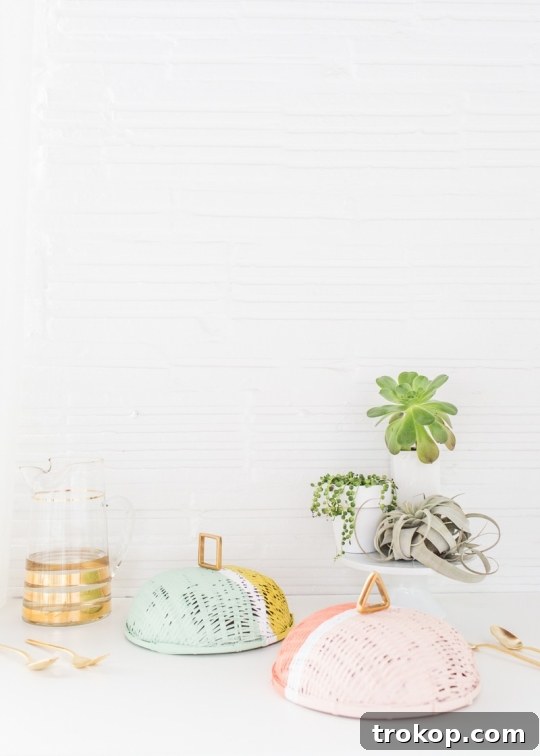
Summer days beckon for outdoor gatherings and al fresco dining. There’s nothing quite like enjoying a meal under the open sky, surrounded by friends and family. However, here in Texas, outdoor entertaining comes with a notorious challenge: the relentless local insect population. They’re as formidable as a middle school dodgeball game, always ready to intercept your carefully prepared dishes. This recurring problem led me to a simple yet brilliant solution: repurposing everyday woven baskets into stylish, protective food domes.
My Colorblock DIY Food Domes aren’t just a practical shield against uninvited guests; they’re a vibrant statement piece for any outdoor setting. They unequivocally demonstrate two powerful truths: first, never underestimate the transformative power of paint; and second, with a bit of DIY magic, no bug will stand a chance between me and my precious pastries!
Introduction to DIY Food Domes
The concept behind these food domes is simple: take an everyday item, infuse it with personal style, and give it a new, practical purpose. Outdoor dining is a joy that shouldn’t be ruined by flies or other insects. While there are many commercial food covers available, a DIY approach allows for complete customization in terms of color, pattern, and size, perfectly matching your outdoor decor or personal aesthetic. These colorblock domes are not just functional; they’re a conversation starter, adding a unique, handcrafted touch to your patio, picnic, or garden party setup.
Why Choose DIY Food Domes?
Opting for a DIY project like these food domes offers numerous benefits. Firstly, it’s incredibly cost-effective. Store-bought food covers, especially stylish ones, can be surprisingly expensive. By repurposing readily available materials like woven baskets, you save money while still achieving a chic look. Secondly, customization is key. You’re not limited to the colors or designs found in stores. You can choose paints that perfectly complement your existing outdoor dinnerware, create a festive theme for a special occasion, or simply express your personal creativity. Thirdly, the satisfaction of creating something beautiful and functional with your own hands is immense. It’s a fun, relatively quick project that yields impressive results, making it an ideal activity for a sunny afternoon.
Materials Needed For Colorblock DIY Food Domes
Gathering your materials is the first exciting step in any DIY project. For these vibrant food domes, you’ll need a few key items:
- Paint Brushes (4 recommended): Having one brush for each chosen color ensures clean lines and prevents color mixing. Opt for brushes suitable for acrylic or craft paint, as these will handle well on woven surfaces.
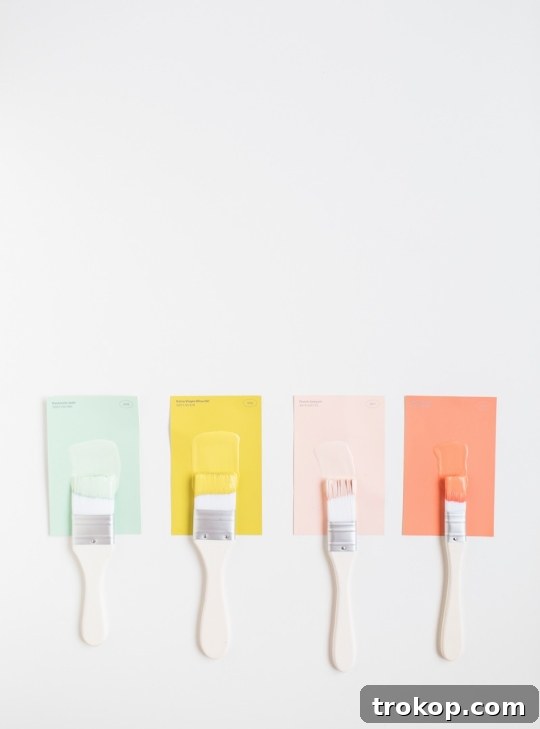
- Paint Colors of Your Choice: This is where your creativity truly shines! I used Glidden® paint’s Pastorale Jade, Tropical Coral, Extra Virgin Olive Oil, and Peach a La Mode for a striking, modern palette. Consider your outdoor decor, the occasion, or simply your favorite color combinations. Matte, semi-gloss, or even metallic finishes can offer different aesthetic appeals.
- Painter’s Tape: High-quality painter’s tape is crucial for achieving crisp, clean lines in your colorblock design. Look for tape that offers sharp edges and removes cleanly without damaging the basket or underlying paint.
- Hot Glue Gun and Clear Hot Glue Sticks: A hot glue gun provides a quick and strong bond for attaching your handles. Clear glue sticks ensure the adhesive is discreet and doesn’t detract from your design.
- Napkin Rings or Decorative Knobs: These will serve as stylish handles for your food domes. I was fortunate to use geometric napkin rings, a thoughtful gift from my friend Kim! You can also explore cabinet knobs, drawer pulls, or even small wooden craft shapes to create unique handles that reflect your style.
- Plain Woven Baskets: The foundation of your food domes! Ensure the baskets are large enough to comfortably cover your dishes. Baskets with a tighter weave will provide a smoother surface for painting, but even loosely woven ones can work with a bit more care. Similar to these options, you want sturdy, clean baskets.
Steps To Make Colorblock DIY Food Domes
Creating these beautiful food domes is a straightforward process. Follow these steps for a perfect finish:
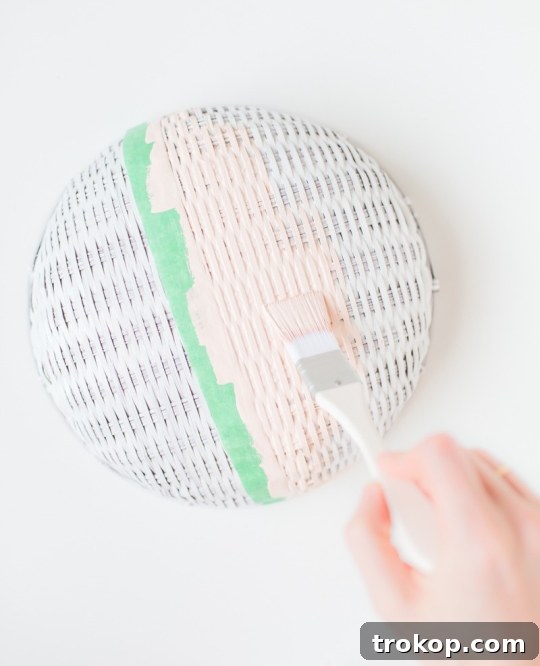
- Prepare Your Surface and Apply Initial Tape: Begin by placing painter’s tape across the center of your basket. This tape will serve as the dividing line for your first two colors, ensuring a clean, sharp edge for the colorblock effect. Press the tape down firmly to prevent paint from bleeding underneath.
- Apply Your First Colors: Carefully paint the left and right sides of the basket with your chosen initial colors. If you’re working with a darker basket and want truly vibrant colors, consider applying a base coat of white paint first. This will help your chosen hues pop even more brightly. Glidden paint is known for its excellent coverage on various surfaces, so you might find one coat is sufficient.
- First Drying Period: Allow the first application of paint to set and dry for approximately an hour. Drying times can vary based on paint type, humidity, and coat thickness, so always check the manufacturer’s recommendations. Ensure the paint is completely dry to the touch before proceeding to the next step to avoid smudges or damage.
- Tape for Remaining Colors: Once the first two sections are dry, carefully remove the painter’s tape. Now, apply new strips of painter’s tape to create the lines for your remaining colorblock sections. You can choose to divide the basket into more sections or create geometric patterns – let your imagination guide you!
- Apply Remaining Colors: Paint the newly taped sections with your additional chosen colors. Again, ensure even coverage and smooth strokes. The quality of your painter’s tape will be evident here, creating those desired crisp lines.
- Final Drying Period: Once all paint is applied, allow your newly painted baskets to dry completely for several hours, or even overnight. This extended drying time ensures the paint is fully cured and durable, ready for outdoor use. Rushing this step can lead to sticky surfaces or chipped paint.
- Attach Your Handle: With the paint fully dry, take your chosen knob or napkin ring. Apply a generous amount of hot glue to the bottom of the handle and firmly press it onto the center top of your colorblock food dome. Hold it in place for a few moments until the glue sets. This creates a convenient and stylish handle for lifting the dome.
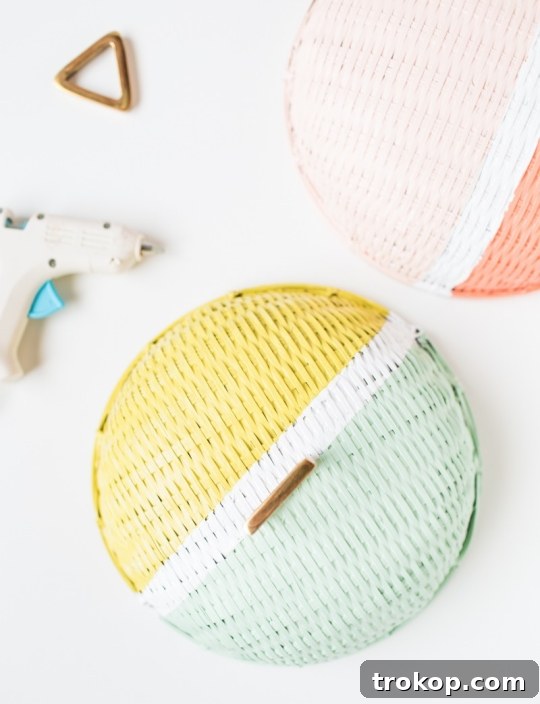
Your beautifully crafted Colorblock DIY Food Domes are now complete!
Customizing Your Food Domes
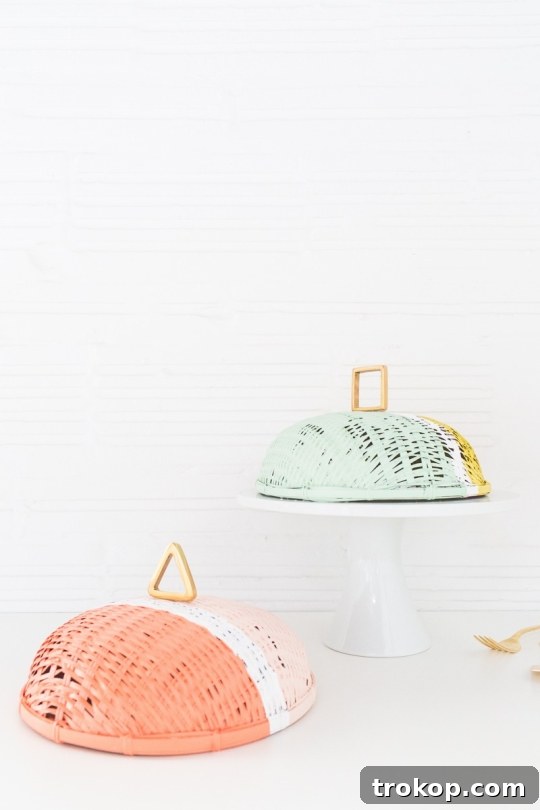
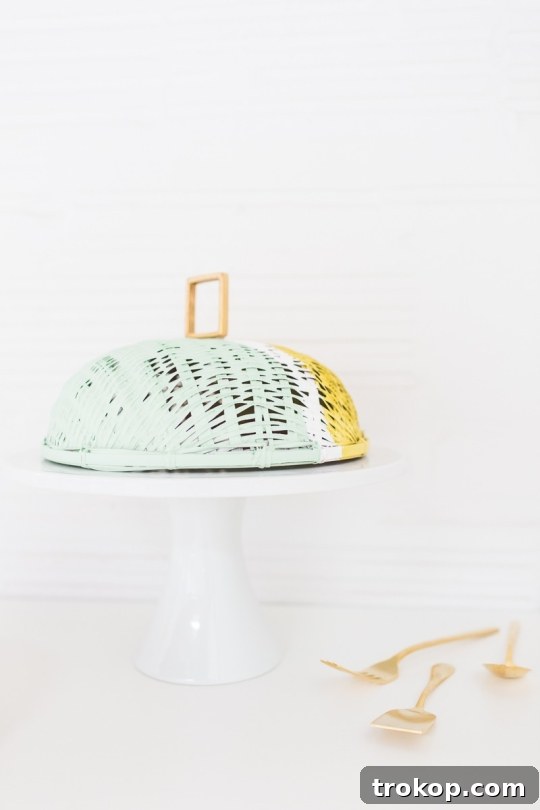
The beauty of DIY lies in endless possibilities. Don’t feel restricted to simple color blocks. Consider adding metallic accents, stenciled patterns, or even ombre effects for a more intricate design. You can also experiment with different types of baskets – natural straw, wicker, or even plastic ones can be transformed. The handles offer another opportunity for personalization; mismatched knobs, decorative pulls, or even painted wooden beads can add character. These domes aren’t just for cupcakes; they can cover fruit platters, cheese boards, salads, or any dish you want to protect and present beautifully. Imagine a set of these domes for a summer picnic, a backyard BBQ, or even a chic outdoor wedding reception. They instantly elevate the presentation of your food while ensuring it remains pristine.
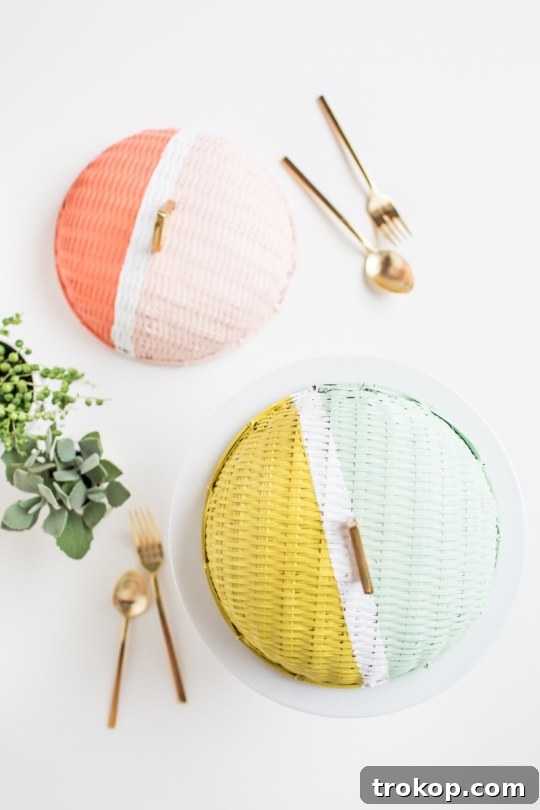
Now that your stunning new Colorblock DIY Food Domes are ready, all you need is the perfect excuse to gather your friends for an outdoor soiree. Show off your DIY prowess and enjoy bug-free deliciousness!
Frequently Asked Questions About Food Domes
What is the dome called that covers food?
The most common term for a dome that covers food, especially in a more traditional or elegant setting, is a “cloche.” Historically, cloches were bell-shaped glass or metal covers used to keep food warm or to protect it from drafts and insects before serving. Today, the term is broadly used for various types of food covers, including those made from mesh, plastic, or, as in our DIY project, repurposed baskets.
Why should I use food domes for outdoor dining?
Food domes are essential for outdoor dining for several practical reasons. They primarily act as a barrier against insects like flies, wasps, and ants, keeping your food hygienic and appetizing. Beyond pest control, they also help to protect food from environmental factors such as light breezes that might disturb lighter dishes or dust. From a presentation standpoint, they can add an element of anticipation and elegance, especially when removed at the table to reveal the delicious treats beneath. For picnics or potlucks, they make transporting and setting up food much easier and safer.
How do I clean my DIY food domes?
Cleaning your DIY food domes is simple. For everyday dust or minor splashes, a quick wipe with a damp cloth is usually sufficient. If food has directly touched the painted surface or if there are more substantial spills, you can gently wash the painted areas with a mild soap and water solution. Avoid harsh abrasives or scrubbing, which could damage the paint. Ensure the basket is thoroughly air-dried before storing to prevent mold or mildew, especially if it’s made from natural fibers.
More Easy DIY’s Projects for Your Home
- How To Have A Modern Kitchen On A Budget: Discover smart ways to update your kitchen without breaking the bank.
- Bundt Pan Planter – How To Make Hanging Bundt With Cake Pans: Turn old bakeware into charming hanging planters.
- DIY Clean & Dirty Dishwasher Magnet With Free Printable Template: A simple and practical project to keep your kitchen organized.
- DIY Cheese Knife Kit – How To Make A Knife Handle: Craft personalized handles for your cheese knives, perfect for entertaining.
- Decorative DIY Marble Plates: Add a touch of elegance to your table settings with this faux marble technique.
DIY Colorful Food Dome
Not only are these food domes adorable, but they’re super easy to make too! Add a vibrant touch to your outdoor dining while keeping food fresh and bug-free.
Dry Time: 1 hr
Total Time: 1 hr 20 mins
Category: Outdoor
Equipment
- Hot glue gun and glue sticks
- Paint brushes
Materials
- 1 plain woven basket (large enough to cover your dishes)
- 1 napkin ring (or a decorative knob of your choice)
- Paint colors of your choice
- Painter’s tape
Instructions
- Use painter’s tape across the center of the basket to serve as the line dividing your initial colors.
- Paint the left and right sides of the basket two different colors. (Consider using a white base coat if your basket isn’t already white).
- Let the painted sections set to dry for about an hour.
- Once dry, remove the tape and apply new tape to define the areas for your remaining colors.
- Apply the rest of your chosen paint colors to the designated sections.
- Let your paint set for a few hours to ensure it’s thoroughly dry and cured.
- Hot glue your knob or napkin ring securely in the center top of the basket to serve as a convenient handle for your Colorblock DIY Food Domes.
Notes
- If you don’t have a white basket, no worries! Just paint the entire basket white first for the best color vibrancy.
Don’t forget to share your fantastic home decor projects with us on Instagram using the hashtag #sugarandclothloves. We absolutely love seeing all the creative ways you bring our DIY ideas to life! For more interior design inspiration, easy crafts, and clever home solutions, you can find all of our home decor tutorials and ideas right here!
Disclosure: Thank you for supporting the wonderful brands that help keep Sugar & Cloth thriving! As you know, I always adore a good colorblock DIY project, and this one was no exception. However, supplies don’t magically appear. This post was sponsored by Glidden paint through their partnership with POPSUGAR Select. While I received compensation to create content featuring Glidden paint, all opinions, ideas, and enthusiasm expressed are authentically my own.
More Easy DIY’s To Try
Learn to craft personalized and durable coasters for your home with this simple guide.
Continue Reading
Add texture and a cozy touch to your living space with a handcrafted rug hook pillow.
Continue Reading
Brighten up any room with these custom, tufted pillows made with your favorite colors.
Continue Reading
Create personalized keychains for yourself or as thoughtful gifts using polymer clay.
Continue Reading
Bring a playful touch to your plant collection with these adorable mini face planters.
Continue Reading
Craft stylish planters inspired by classic mid-century modern design.
Continue Reading
Elevate your indoor greenery with a chic, handmade mid-century modern planter stand.
Continue Reading
Personalize your dining table with a custom iron-on table runner for any occasion.
Continue Reading
Adorn your walls with uplifting messages using easy-to-create printable artwork.
Continue Reading
Craft a luxurious accent table with a faux marble top and elegant gold details.
Continue Reading