
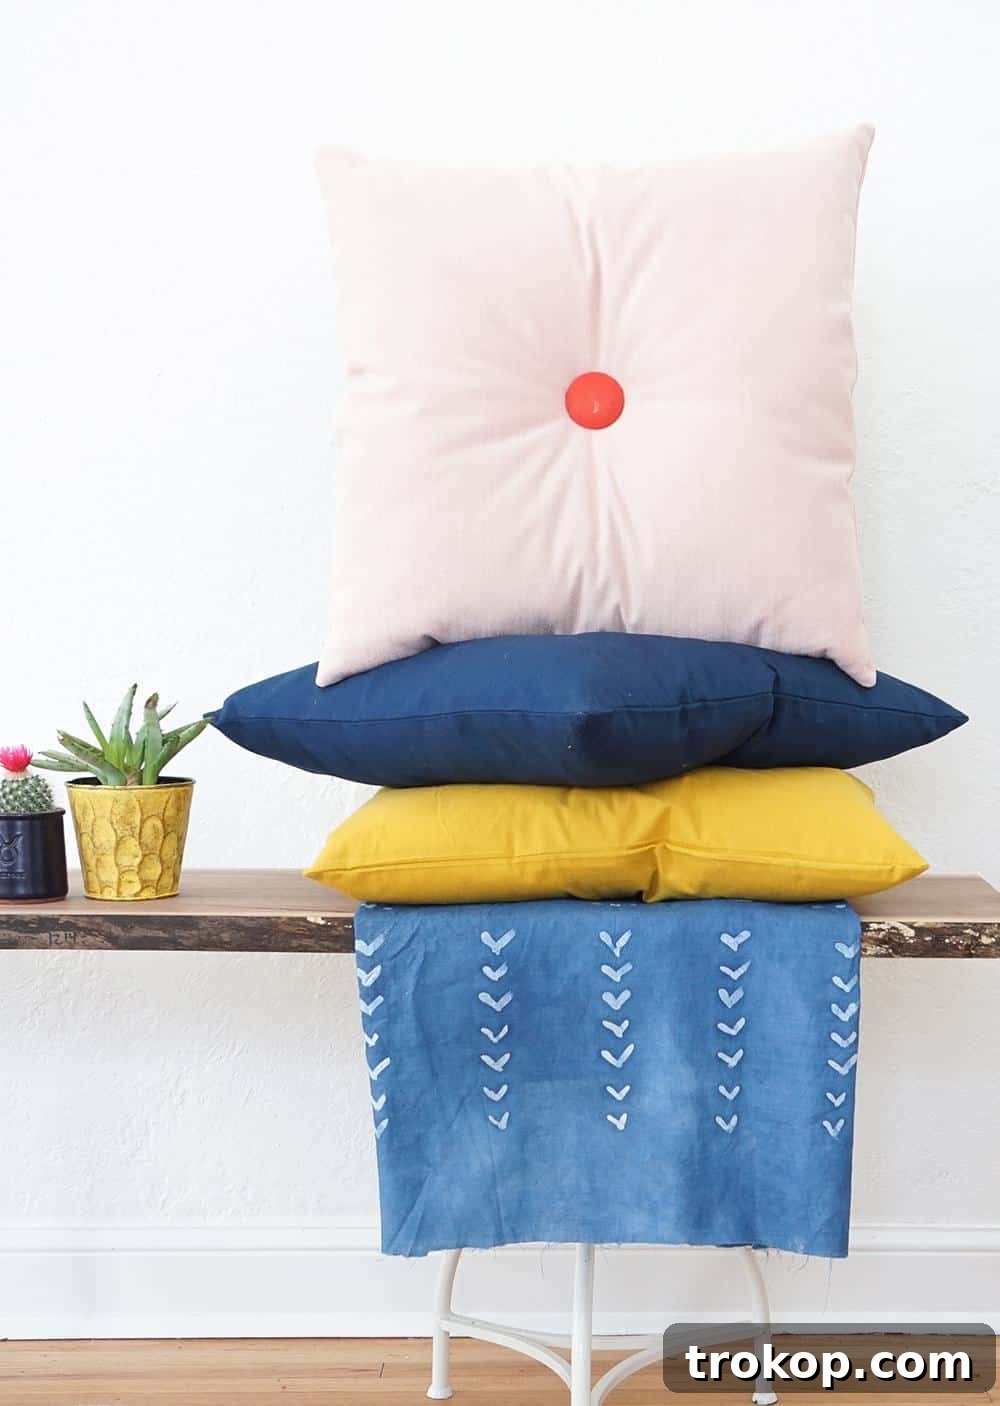
DIY Tufted Pillows: A Simple Guide to Colorful Home Decor
Bring a burst of spring into your home with these vibrant DIY tufted pillows! As winter lingers, what better way to brighten your living space than by adding pops of color and texture? These delightful pillows are not only easy to make but also incredibly versatile, fitting seamlessly into any decor style. From mid-century modern to bohemian chic, these tufted pillows will instantly elevate your home’s aesthetic.
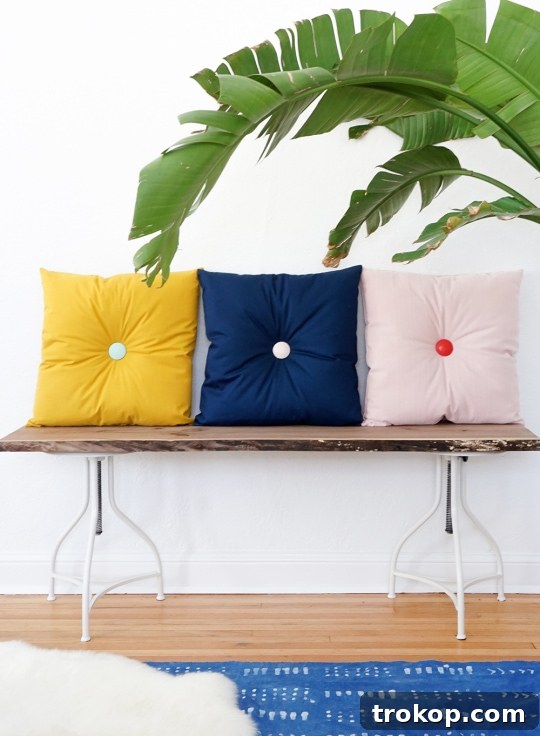
The dreary days of winter can sometimes dampen our spirits. To combat the winter blues, small changes in your environment can make a significant difference. Think about adding fresh greenery, rearranging furniture, or introducing new textiles. And what’s more impactful than a set of handmade, colorful pillows to inject life and personality into your space?
These DIY tufted pillows are designed with simplicity in mind. No complicated zippers or advanced sewing skills are required. This project is perfect for beginners and seasoned crafters alike. With just a few basic materials and a little bit of time, you can create stunning pillows that will transform your sofa, armchair, or even serve as cozy floor cushions.
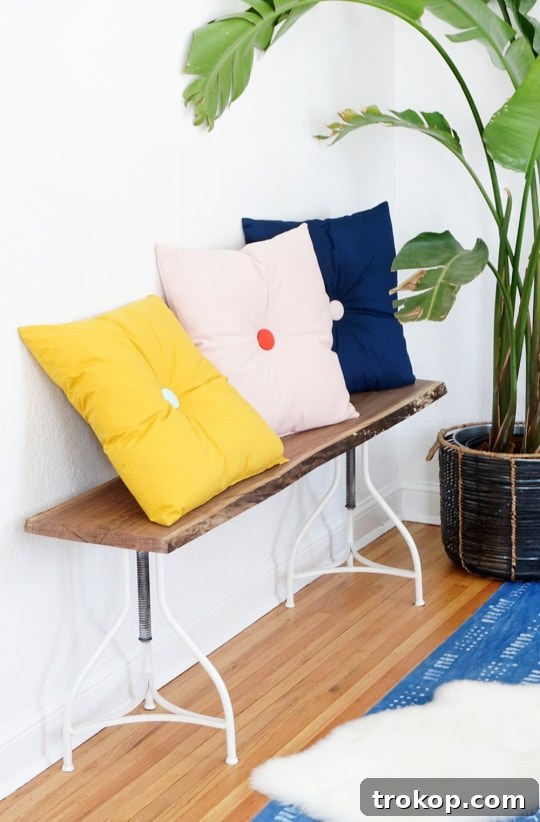
Imagine sinking into your favorite chair, surrounded by these plush, colorful pillows. The soft texture and vibrant hues will instantly lift your mood and create a welcoming atmosphere. These pillows are not just decorative; they’re also functional, providing extra comfort and support wherever you need it.
So, if you’re looking for a fun and easy way to refresh your home decor, look no further! Let’s dive into the step-by-step tutorial for creating these charming DIY tufted pillows.
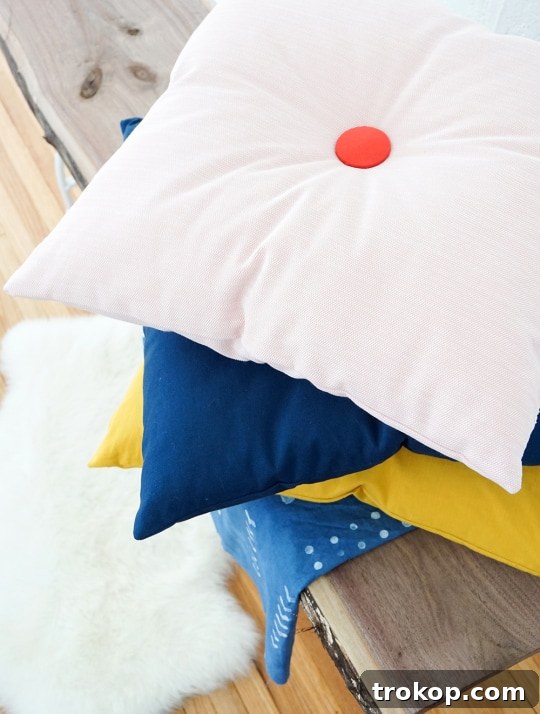
Ready to add a splash of color and personality to your home? Let’s get started!
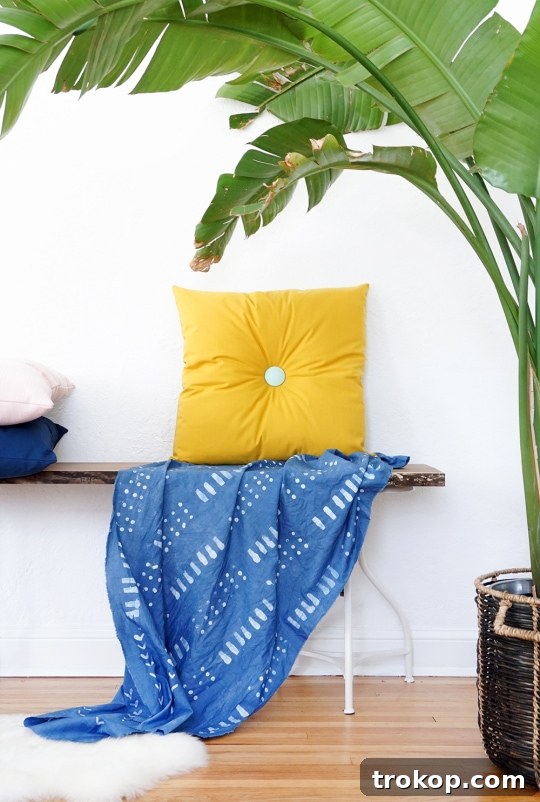
Materials and Tools Needed for Your DIY Tufted Pillows
Before you begin, gather all the necessary materials and tools. Having everything at hand will streamline the process and ensure a smooth crafting experience. Here’s what you’ll need:
- Fabric for the Pillow Body: 0.75 yards of fabric. Ensure the fabric is at least 42 inches wide to accommodate two 21-inch squares side by side. Most fabrics are typically 50-54 inches wide. Choose a fabric that complements your existing decor and reflects your personal style.
- Contrasting Fabric Squares for Buttons: Two 4×4 inch squares of a contrasting fabric. These will be used to create the covered buttons, adding a pop of color and visual interest.
- Half Ball Cover Buttons: Two half ball cover buttons (approximately 1-7/8 inches in diameter). One button for each face of the pillow. These buttons are essential for creating the tufted effect.
- Pillow Form: A 20-inch square pillow form with polyester fill. Polyester fill is recommended as it holds its shape best for this type of pillow.
- Thread: Thread in the same color as your main fabric. This will be used for sewing the pillow cover.
- Standard Hand-Sewing Needle: For general sewing purposes.
- Embroidery Floss: Embroidery floss in the same color as your main fabric. This will be used to attach the buttons and create the tufted effect.
- Larger Hand-Sewing Needle: A larger needle with an eye large enough to thread the embroidery floss.
- Sewing Machine: A sewing machine for quickly and efficiently sewing the pillow cover. Alternatively, you can hand sew if you prefer.
- Basic Sewing Supplies: Scissors, sewing pins, and an iron.
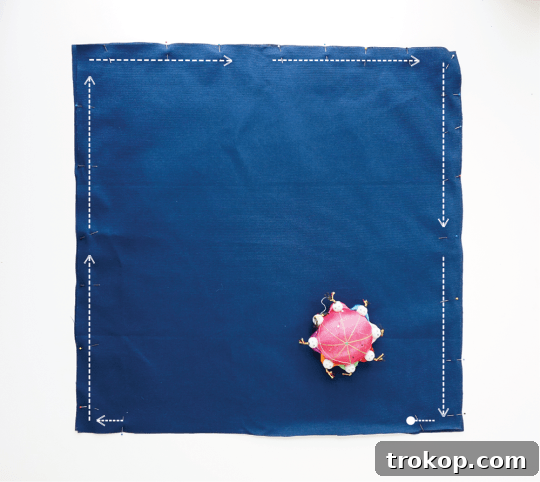
Step-by-Step Guide: Creating Your Colorful DIY Tufted Pillows
Now that you have all your materials ready, let’s move on to the crafting process. Follow these simple steps to create your own beautiful tufted pillows:
- Cut the Fabric Squares: Cut two 21×21 inch squares from your main fabric. Place the “right” sides of the fabric together and secure them with sewing pins.
- Pin the Edges: Pin along three of the edges. On the fourth side, pin only once at each end, leaving a gap in the middle. This unpinned area will be used to insert the pillow form.
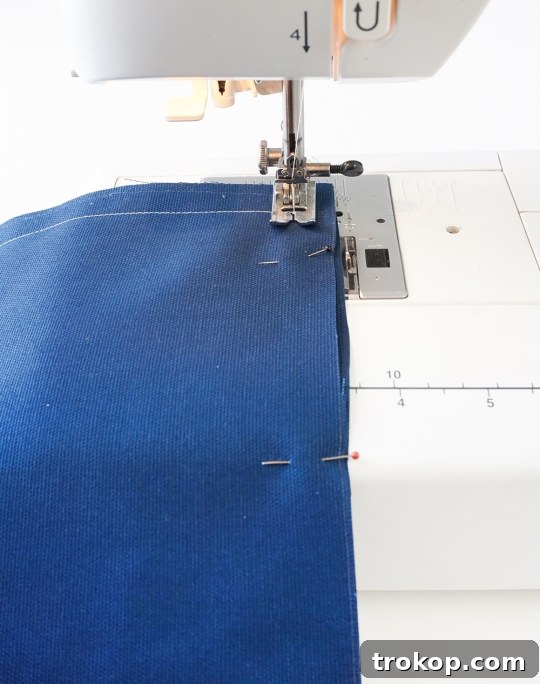
- Sew the Pillow Cover: Start sewing along the edge of the pillow, beginning at the last pin before the large opening. Use a few forward stitches, then backtrack to stabilize the seam. Continue sewing around the perimeter of the pillow until you reach the other side of the opening. Remember to backtrack again to finish the seam. Use a half-inch seam allowance and remove pins as you sew.
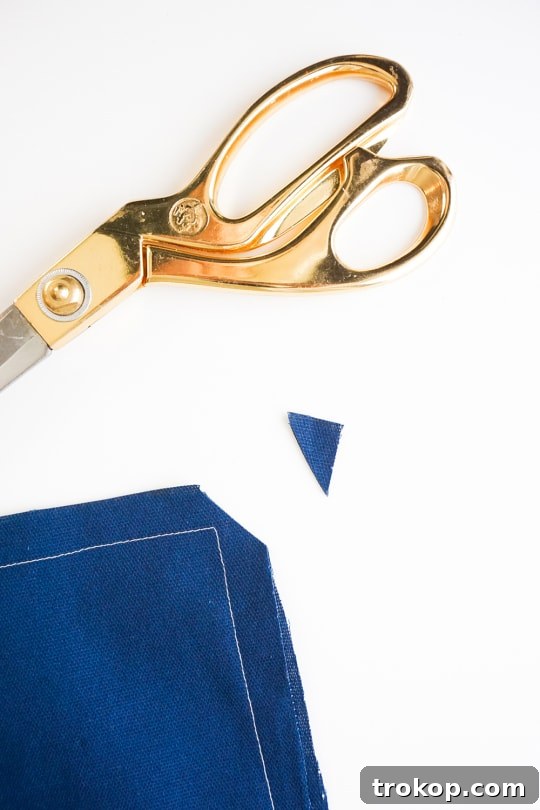
- Trim the Corners: Trim the four corner points of the pillow diagonally, being careful not to cut the seam. This will create crisp, non-bulky corners when the pillow is turned right side out.
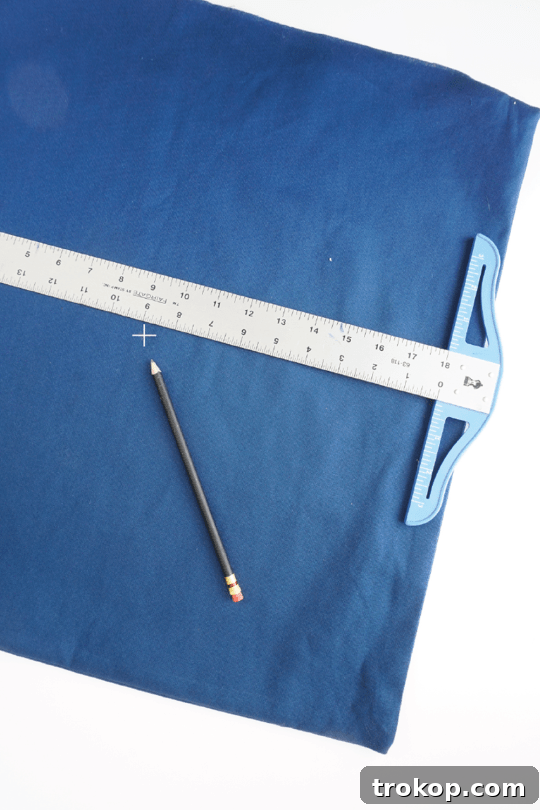
- Turn and Iron: Turn the pillow cover right side out and iron it to remove wrinkles and create crisp seams. Use a ruler to mark the exact center of each pillow front. Stuff the pillow cover with the pillow form.
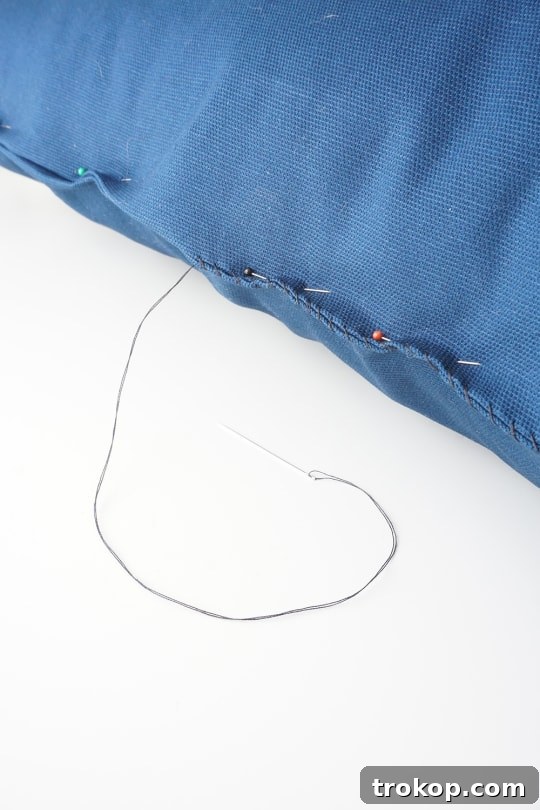
- Close the Opening: Fold the raw edges of the opening inward and pin them together. Thread a needle with coordinating thread and use a whip stitch to secure the two sides.
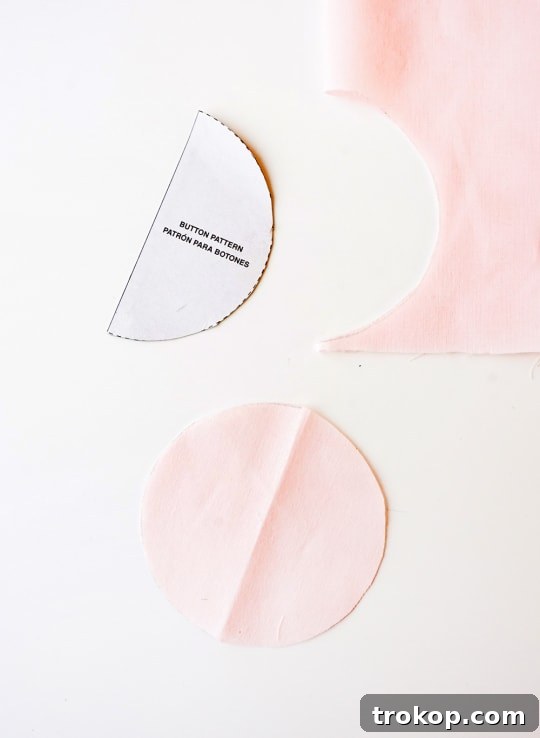
Creating the Covered Buttons: A Step-by-Step Guide
The covered buttons are what give these pillows their signature tufted look. Here’s how to make them:
- Cut the Pattern: Cut out the half-moon pattern on the back of the button package.
- Prepare the Fabric: Fold your contrasting fabric square in half. Align the straight edge of the pattern with the fold of the fabric.
- Trace and Cut: Trace the pattern onto the fabric and cut it out.
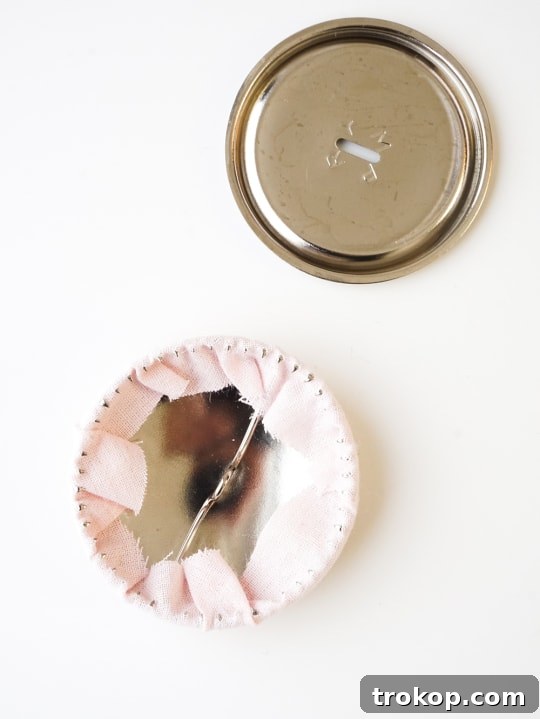
- Cover the Button: Place the half-dome button face down on the fabric circle. Fold the fabric inward to catch on the button’s teeth.
- Snap the Back Plate: Snap the back plate onto the button to secure the fabric in place.
Repeat these steps to create the second covered button.
Adding the Tufted Detail: Securing the Buttons
Now comes the final touch: attaching the covered buttons to create the tufted effect:
- Thread the Needle: Thread your larger needle with a long piece of embroidery floss. Insert the needle through the center of the pillow and out the other side, leaving the floss tail hanging out on the back end of the pillow.
- Attach the Button: Thread one of the covered buttons onto the floss. Send the needle back through the center of the pillow, just to the side of the first stitch.
- Create the Tuft: Pull the floss very tight to create the “tuft.” Tie the floss ends together with a triple knot to secure the button in place. Trim the tails.
Repeat the same process for the button on the opposite side of the pillow.
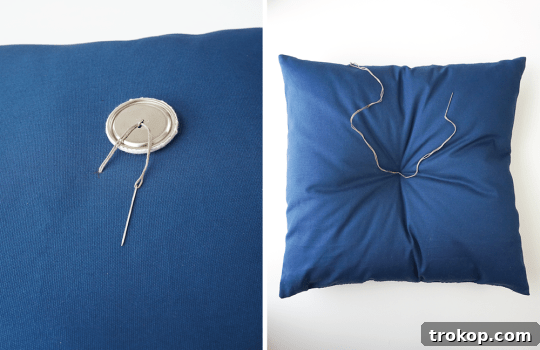
- Conceal the Tails: Tuck the tail ends of the floss underneath the button to conceal them.
Your DIY tufted pillow is now complete! Style it on your sofa, armchair, or use it as a floor cushion for extra seating. With these fresh updates, the winter blues don’t stand a chance!
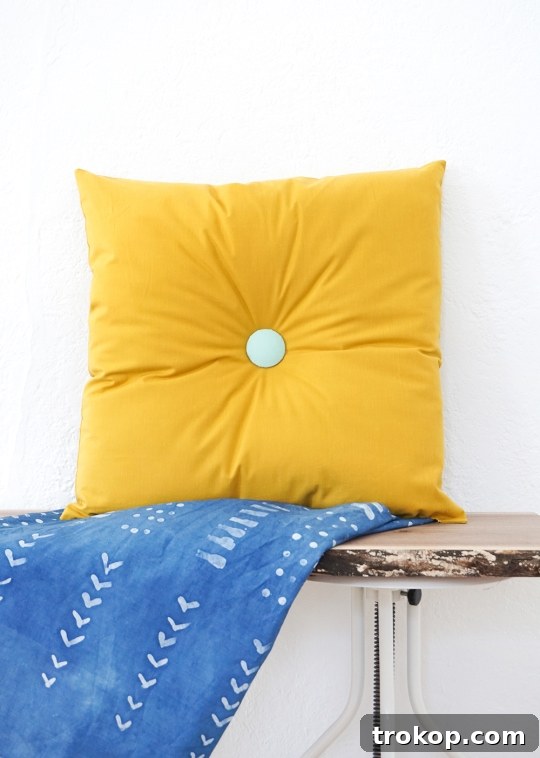
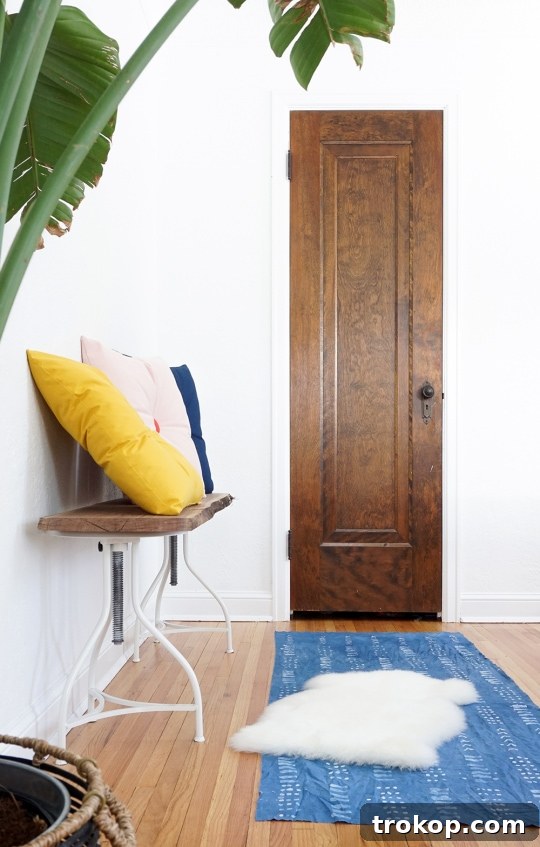
What’s your favorite color combination for spring? Consider experimenting with different fabric patterns and textures to create unique and personalized pillows that reflect your individual style. You can make your own unique design!
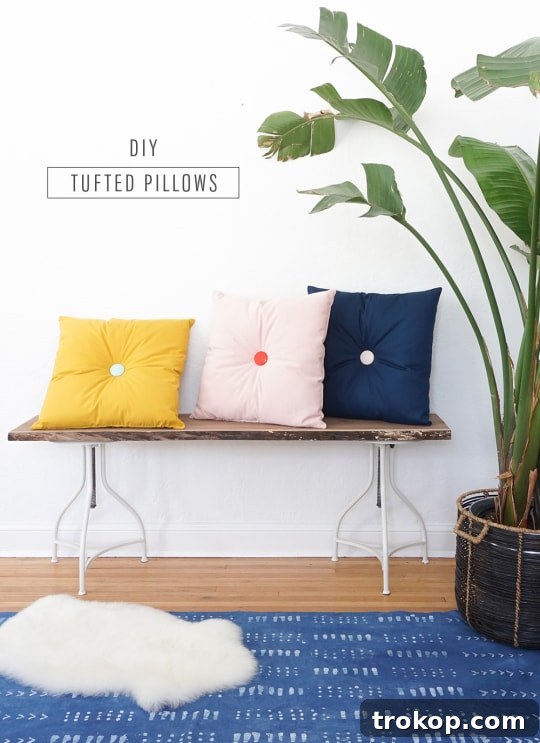
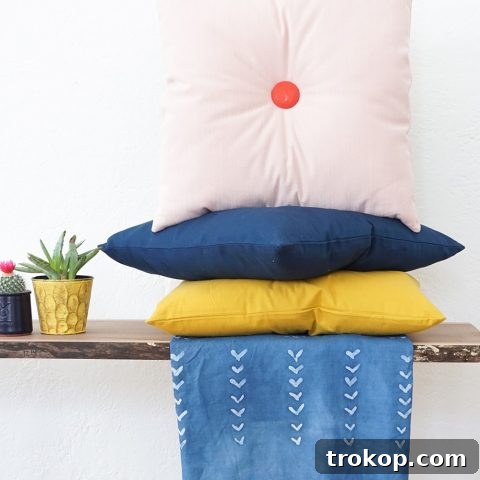
Colorful DIY Tufted Pillow
5 from 1 vote
1 hr
1 hr
DIY
Pillow
Equipment
-
Sewing machine Or you can hand sew them if you’d like!
-
Sewing pins
-
Iron
-
Fabric scissors
-
Basic sewing needle
-
Larger sewing needle with eye large enough to thread embroidery floss
Materials
-
0.75
yd
Fabric for the body of the pillow
Fabric must be a minimum of 42″ wide in order to fit 2 pattern squares side by side. Most fabric is 50″-54″ wide. -
2
4″ x 4″ fabric squares
We choose contrasting colors from the buttons. -
2
half ball cover button
One for each face of the pillow. Ours are 1-7/8″ diameter. - 20″ x 20″ pillow form insert
-
Thread
Same color as your main fabric. -
Embroidery floss
Same color as your main fabric.
Instructions
-
Cut out two 21″ x 21″ squares of the main fabric, and use sewing pins to attach the “right” sides of the fabric together.
-
Pin along three of the edges. On the fourth side, pin only once at each end. The area without pins will be the spot where we insert the pillow form.
-
Sew along the edge of the pillow starting at the last pin before the large opening. Start with a few forward stitches, and then backtrack a few stitches to help stabilize the seam. Then, continue sewing the perimeter of the pillow until you reach the other side of the large opening. Make sure to backtrack again to finish the seam. Sew with a half inch seam allowance, removing pins as you go.
-
Trim the 4 corner points of the pillow at a diagonal, but be sure not to cut the seam. This will help form crisp, non-bulky pillow corners later.
-
Turn the pillow right side out, and iron the cover to remove wrinkles, and create crisp seams. With a ruler mark the dead center of each pillow front. Then, stuff with the pillow form.
-
Close up the pillow by folding the raw edges inward and pinning the two edges together. Thread a needle with coordinating thread and use a whip stitch to secure the two sides.
For The Covered Buttons
-
Cut out the half-moon pattern on the back of the button package.
-
Fold your fabric in half, align the straight edge of the pattern with the fold of the fabric.
-
Trace and cut out the pattern.
-
Place the half-dome button face down on the fabric circle, and fold the fabric inward to catch on the button’s teeth.
-
Snap the back plate onto the button.
Repeat both steps with the 2nd button.
-
Thread up your larger needle with a long piece of embroidery floss. Send the needle through the center of the pillow and out the other side, but leave the floss tail hanging out on the back end of the pillow.
-
Thread one of the buttons onto the floss, and send the needle back through the center of the pillow, just to the side of the first stitch. Pull the flossing very tight to create the “tuft,” and tie them together with a triple knot. Trim tails. Repeat the same process for the button on the opposite side of the pillow.
-
Tuck the tail ends underneath the first button to conceal.
$25
diy tuffted pillow

Explore More Easy DIY Pillow Projects
If you enjoyed making these tufted pillows, why not try your hand at other fun and creative DIY pillow projects? Here are a few ideas to inspire you: