
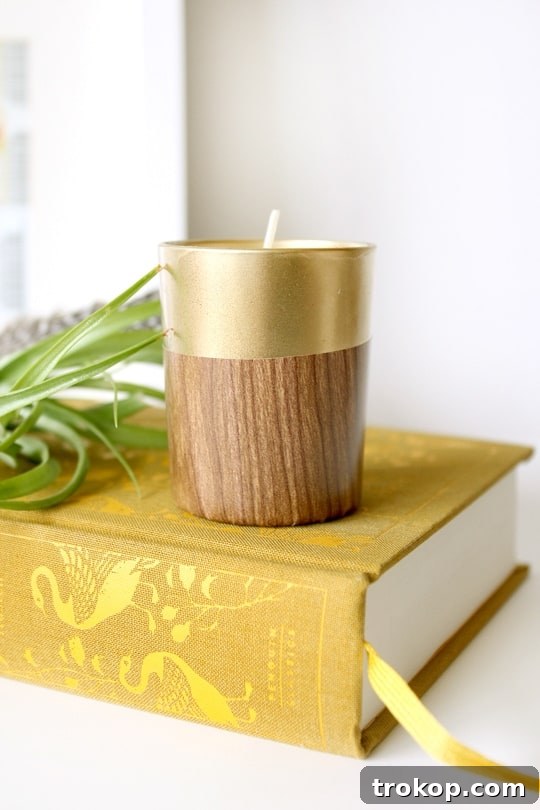
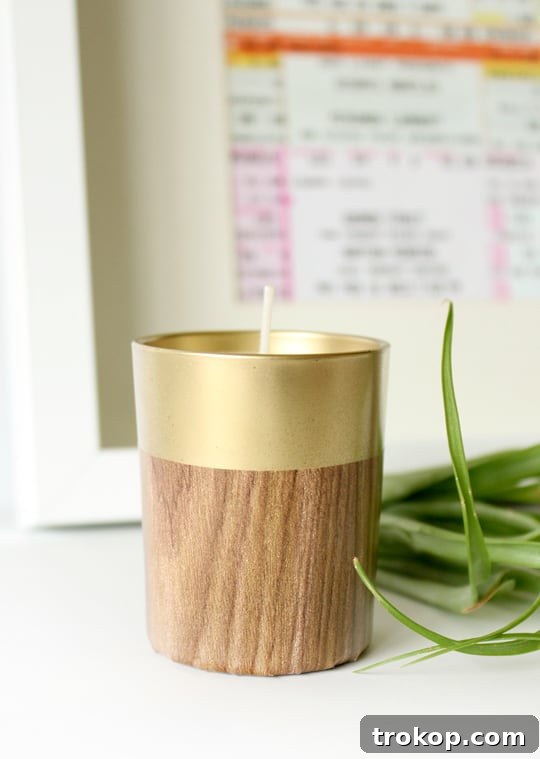
Transform your living space with a touch of retro charm and a dash of golden elegance! This DIY Faux Wood Candle Holder project offers an incredibly simple yet effective way to elevate your home decor without breaking the bank. If you’re searching for stylish, high-end looking tabletop accents, but prefer the satisfaction of creating them yourself, then you’ve found your next favorite craft. Get ready to combine the timeless appeal of wood grain with the luxurious shimmer of gold in a design that’s both chic and wonderfully versatile.
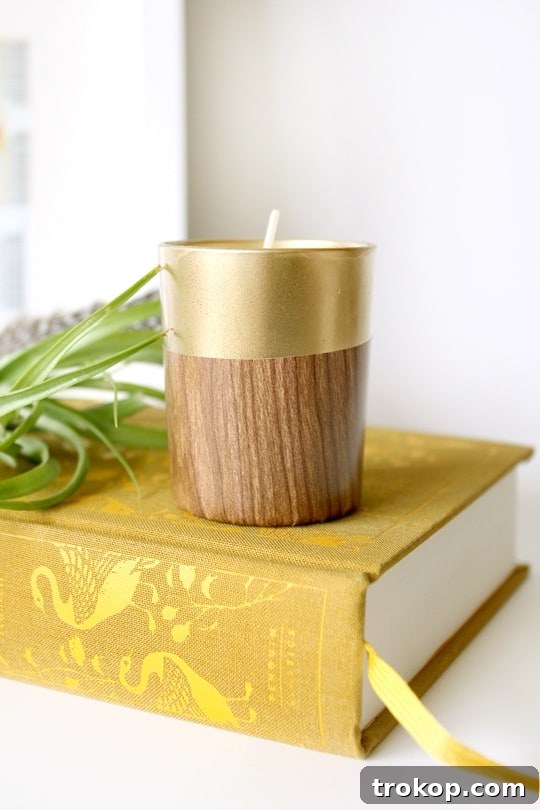
Hello, fellow DIY enthusiasts! Carisa from Camp Pretty is here to guide you through a truly straightforward and rewarding project. We all appreciate decor that looks much more expensive than it actually is, and that’s precisely what these Retro DIY Faux Wood Candle Holders deliver. There’s something inherently appealing about the combination of warm wood textures and radiant gold finishes – it’s a design aesthetic that feels both classic and contemporary, effortlessly adding a sophisticated touch to any room. Plus, this project allows you to finally give those wonderfully scented, but perhaps visually plain, candles the beautiful housing they deserve.
This tutorial is designed for ease and minimal material requirements, making it perfect for beginners and seasoned crafters alike. You’ll be amazed at how quickly you can transform ordinary items into extraordinary decor pieces. Beyond just candle holders, the techniques you learn here can be applied to a variety of cylindrical items, opening up a world of creative possibilities for your home decor. Let’s dive in and start crafting your way to a more stylish home!
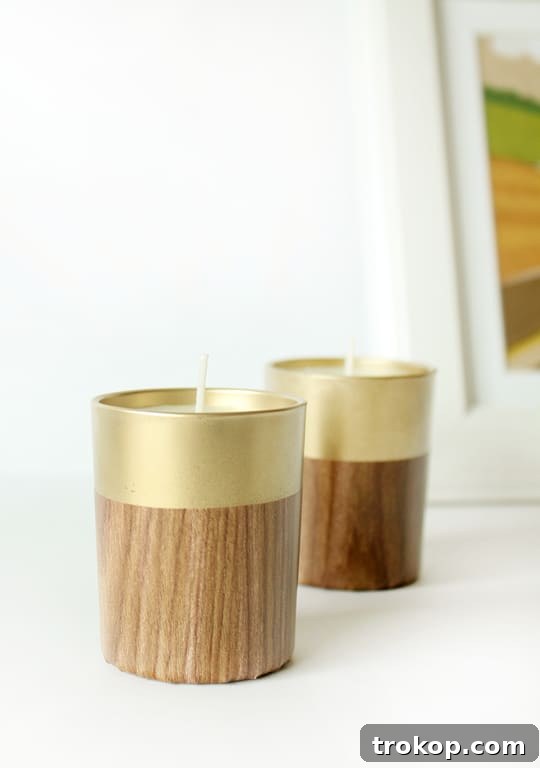
The beauty of this DIY project lies in its simplicity and the impressive impact it makes. Whether you’re aiming to refresh a forgotten corner, create a captivating centerpiece, or simply enjoy a fun and fulfilling craft session, these faux wood candle holders are an excellent choice. Their timeless appeal ensures they’ll complement a wide range of interior styles, from modern minimalist to cozy rustic, and especially mid-century modern or eclectic vintage themes. Prepare to impress your guests with your crafting prowess and impeccable taste!
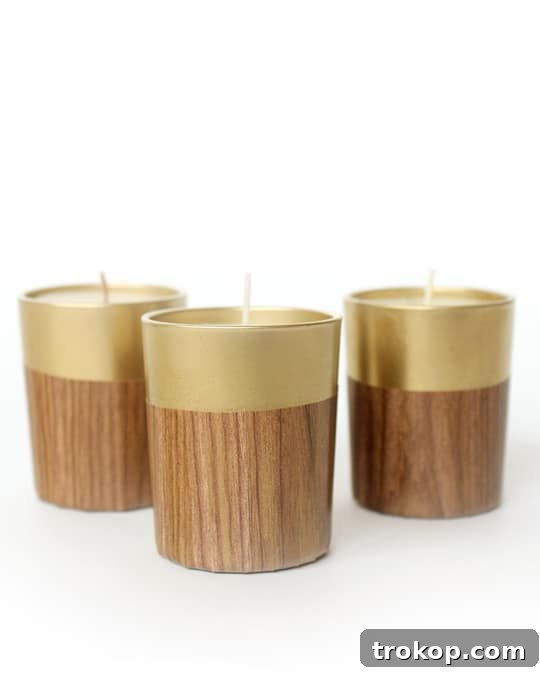
Why Choose This DIY Faux Wood Candle Holder Project?
Beyond its aesthetic appeal, there are numerous reasons why this Retro DIY Faux Wood Candle Holder project stands out as a must-try for any home decor enthusiast:
- Affordable Elegance: Achieve a high-end look without the hefty price tag. Using readily available and inexpensive materials, you can create decor pieces that look like they came from a boutique store.
- Personalization Potential: While we’re focusing on a retro faux wood and gold combination, this project offers endless possibilities for customization. Experiment with different colors of spray paint, various adhesive patterns, or even add embellishments to truly make them your own.
- Beginner-Friendly: With just a few steps and minimal tools, this project is perfect for crafters of all skill levels. It’s a fantastic entry point into DIY home decor that guarantees satisfying results.
- Versatile Decor: These holders aren’t just for candles! As you’ll discover, the finished cylinders can serve a multitude of purposes around your home, adding cohesive style wherever they’re placed.
- Therapeutic Crafting: Engaging in creative projects can be a wonderful way to relax and unwind. Enjoy the process of bringing your vision to life and the sense of accomplishment that comes with a beautiful handmade item.
Materials and Tools Needed to Craft Your Retro DIY Faux Wood Candle Holder
Gathering your supplies is the first exciting step towards your new stylish decor. You’ll be pleased to know that the list is short, simple, and easily accessible. Quality materials will always yield the best results, so consider investing in good adhesive liner and spray paint for a truly polished finish.
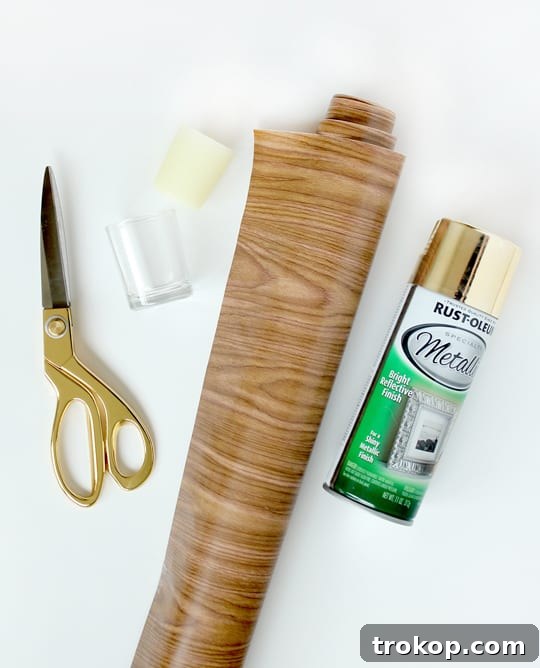
- Wood Grain Pattern Adhesive Shelf and Drawer Liner: This is the star of our faux wood effect! Look for a high-quality liner that offers a realistic wood grain texture and strong adhesive. Various shades of wood are available, allowing you to choose one that best matches your desired aesthetic.
- Cylinder Candle Holders and Candles: The base for your project. Straight-sided cylinder candle holders work best for ease of wrapping. Glass, ceramic, or even sturdy cardboard tubes can be used. Choose candles that fit snugly and complement the size of your holders.
- Gold Spray Paint: A metallic gold spray paint will give your holders that luxurious, high-end touch. Opt for a quick-drying, all-surface formula for best adhesion and durability. A glossy or semi-gloss finish will enhance the golden shimmer.
- Scissors: Sharp scissors are essential for precise cuts, ensuring clean edges on your adhesive liner. A craft knife or utility knife can also be useful for intricate trimming.
Optional but Recommended:
- Ruler or Measuring Tape: For accurate measurements of your cylinders and adhesive liner.
- Pencil: To mark your cutting lines on the back of the adhesive liner.
- Cutting Mat: Protects your work surface when using a craft knife.
- Clean Cloth: For wiping down your candle holders before painting.
- Protective Gloves and Mask: When using spray paint, safety first! Ensure good ventilation.
How To Make A Retro DIY Faux Wood Candle Holder: A Step-by-Step Guide
Now that you have all your materials, let’s get crafting! Follow these simple steps to transform your ordinary candle holders into stunning retro-inspired decor pieces.
Step 1: The Golden Foundation – Spray Painting
Begin by giving your cylinder candle holders a glamorous base. Lay down some newspaper or a drop cloth in a well-ventilated area, preferably outdoors. Ensure your cylinders are clean and dry before you start. Dust or oils can prevent the paint from adhering properly.
First, spray each cylinder evenly with your gold spray paint. Hold the can approximately 6-8 inches away from the surface and apply the paint in light, even coats. Multiple thin coats are always better than one thick coat, as this prevents drips and ensures a smooth, professional finish. Rotate the cylinder as you spray to cover all sides. Once coated, allow them to dry completely according to the spray paint manufacturer’s instructions, typically for several hours. You might need a second coat once the first is dry to achieve a rich, opaque gold.
Pro Tip: For best results, allow ample drying time between coats and before proceeding to the next step. Rushing this process can lead to smudges or an uneven finish.
Step 2: Mastering the Faux Wood Wrap
This is where your candle holders truly take on their retro faux wood persona. Working with adhesive liner requires a little patience and precision.
- Measure and Mark: Unroll a section of your wood grain pattern adhesive liner. It’s helpful to wrap the liner around your cylinder loosely *before* peeling off the backing. This allows you to accurately mark the length needed for a full wrap, ensuring a slight overlap for a seamless look. Use a pencil to mark your desired height, remembering to leave an extra inch or so at the bottom for wrapping underneath.
- Precision Cutting: Carefully cut the marked section of adhesive liner. Ensure your cuts are straight and clean using sharp scissors or a craft knife and a ruler. The precision here contributes significantly to the final look.
- Applying the Liner: Slowly peel back a small section of the adhesive liner’s backing paper from one end. Align this edge with the top rim of your gold-painted cylinder, ensuring it is perfectly straight. Gently press it into place. As you slowly peel away more of the backing paper, smooth the liner around the cylinder, working from the top down and from the applied edge outwards. This technique helps prevent air bubbles. If bubbles appear, you can gently peel back the liner a bit and reapply, or use a credit card or squeegee to smooth them out.
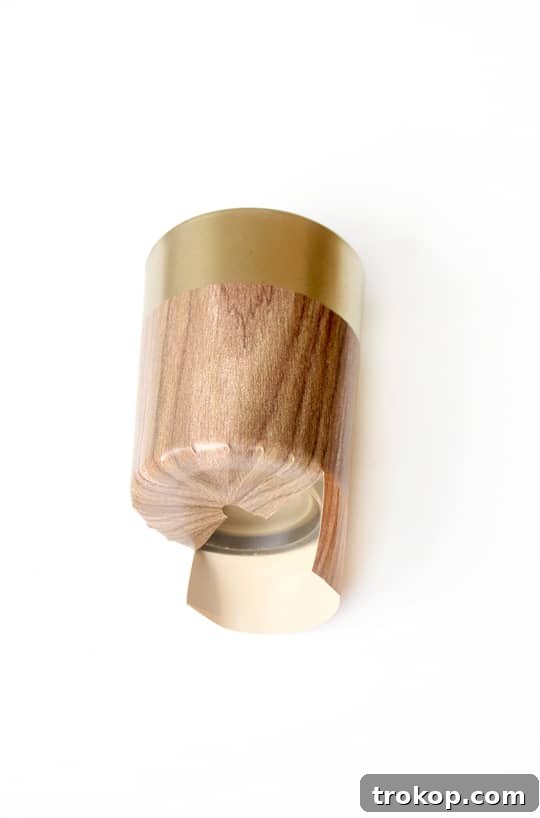
- The Bottom Edge Detail: With the main part of the liner applied, you’ll have an inch of excess liner hanging over the bottom of your cylinder. This is crucial for a neat finish. Using your scissors, cut small slits into this overhang, spaced approximately 1/4 inch apart. These slits allow the liner to curve and adhere smoothly to the bottom of the cylinder without creasing.
- Folding and Securing: One by one, pull each slit tab downwards and firmly stick it onto the bottom surface of your cylinder. This creates a beautifully finished edge that hides the raw edge of the liner and prevents it from peeling over time.
Important Note on Cylinder Shape: This wrapping technique works best with straight-sided cylinders. If your candle holder has an angled or tapered shape, you’ll need a slightly different approach. For angled cylinders, it’s highly recommended to create a quick paper template first. Wrap a piece of paper around the angled cylinder, trace the top and bottom angles, and then use this template to cut your adhesive liner. This ensures that the wood grain pattern lines up perfectly in the back and that the wrap is flush.
Step 3: The Finishing Touches and Placement
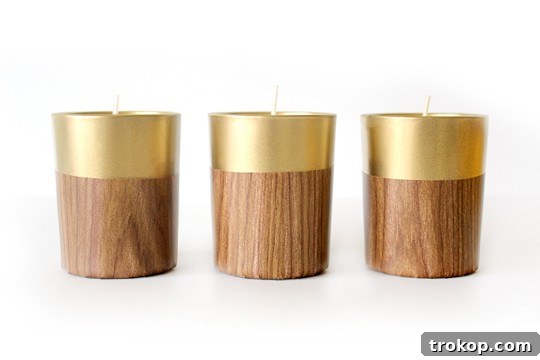
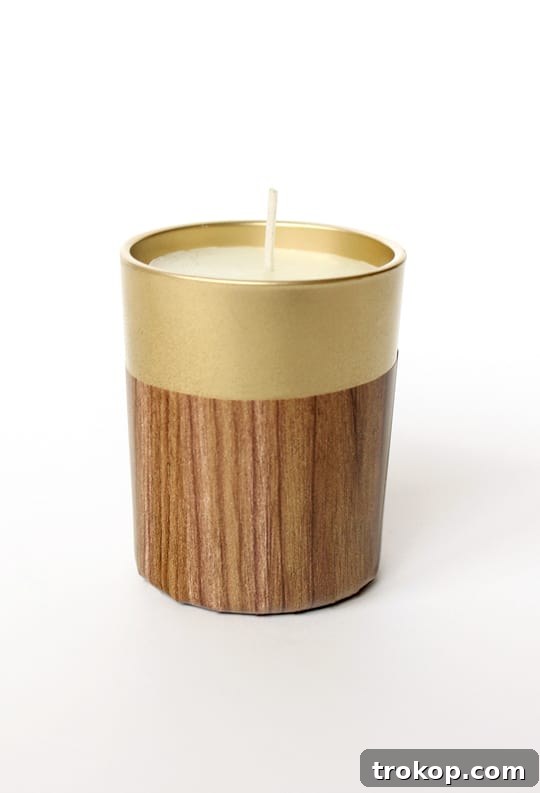
Once your cylinders are beautifully spray-painted and expertly wrapped, the hardest part is over! Simply place your chosen candle into each holder, and your stunning new decor pieces are complete. Take a moment to admire your handiwork!
Creative Uses & Styling Ideas for Your Faux Wood Holders
The versatility of these Retro DIY Faux Wood Candle Holders extends far beyond just holding candles. Their elegant design makes them suitable for a myriad of uses throughout your home:
- Stunning Party Centerpieces: A small cluster of these holders, perhaps in varying heights, creates an incredibly chic and inviting centerpiece for dinner parties, holiday gatherings, or any special occasion.
- Chic Pencil Holders: Organize your workspace with flair by using them to hold pens, pencils, or other desk supplies.
- Elegant Makeup Brush Holders: Elevate your vanity by storing your makeup brushes in these stylish cylinders.
- Stylish Planting Pots: For small indoor plants or succulents, these can serve as decorative outer pots, adding a touch of natural elegance. Just ensure you place a proper drainage pot inside.
- Unique Flower Vases: Perfect for displaying single stems or small bouquets, bringing a refined aesthetic to any tabletop.
- Bathroom Accents: Use them to hold cotton swabs, cosmetic rounds, or small hand towels, instantly upgrading your bathroom decor.
- Shelf Styling: Integrate them into your bookshelf or display cabinet arrangements to add texture, height, and a pop of metallic warmth.
Consider where in your home these Retro DIY Faux Wood Candle Holders could add a missing touch of warmth and sophistication. Do you have an empty spot on a console table, a mantelpiece, or a bathroom counter that’s just begging for a stylish upgrade? These charming creations are sure to fill those spaces beautifully!
Tips for Success & Customization
- Patience is Key: Especially with spray painting and applying adhesive liner, take your time. Rushing can lead to imperfections.
- Practice Makes Perfect: If you’re new to working with adhesive film, consider practicing on a scrap piece of cardboard or an old container before tackling your final candle holders.
- Ventilation: Always work in a well-ventilated area when using spray paint.
- Cleanliness: Ensure your cylinders are free of dust and grease before painting and applying the liner for optimal adhesion.
- Explore Variations: Don’t limit yourself to gold and faux wood! Experiment with different metallic spray paints like copper, silver, or rose gold. Try other adhesive liner patterns like marble, stone, or even abstract designs for a completely different look.
- Add Embellishments: Once your holders are complete, you could add subtle embellishments like a thin strip of leather, a delicate ribbon, or even small metallic charms glued to the surface for extra personality.
Conclusion: Elevate Your Home Decor with Handmade Charm
Crafting these Retro DIY Faux Wood Candle Holders is more than just a simple project; it’s an opportunity to infuse your home with personal style and handmade charm. The elegant fusion of faux wood grain and a radiant gold finish creates a sophisticated aesthetic that will enhance any room. From a captivating centerpiece to a stylish desk organizer, these versatile pieces prove that high-end decor doesn’t have to come with a high-end price tag. You’ll not only enjoy the process of creating them but also the satisfaction of knowing you’ve crafted something beautiful and unique for your living space.
So, why wait? Gather your materials, unleash your creativity, and embark on this delightful DIY journey. We’re confident that these faux wood candle holders will become your new favorite tabletop decor, adding warmth, elegance, and a touch of retro flair to your home.
Don’t forget to share your amazing home decor projects with us! We love to see your creativity in action. Tag us on Instagram using the hashtag #sugarandclothloves. For even more interior design inspiration and DIY tutorials, explore our collection of home decor ideas right here.