
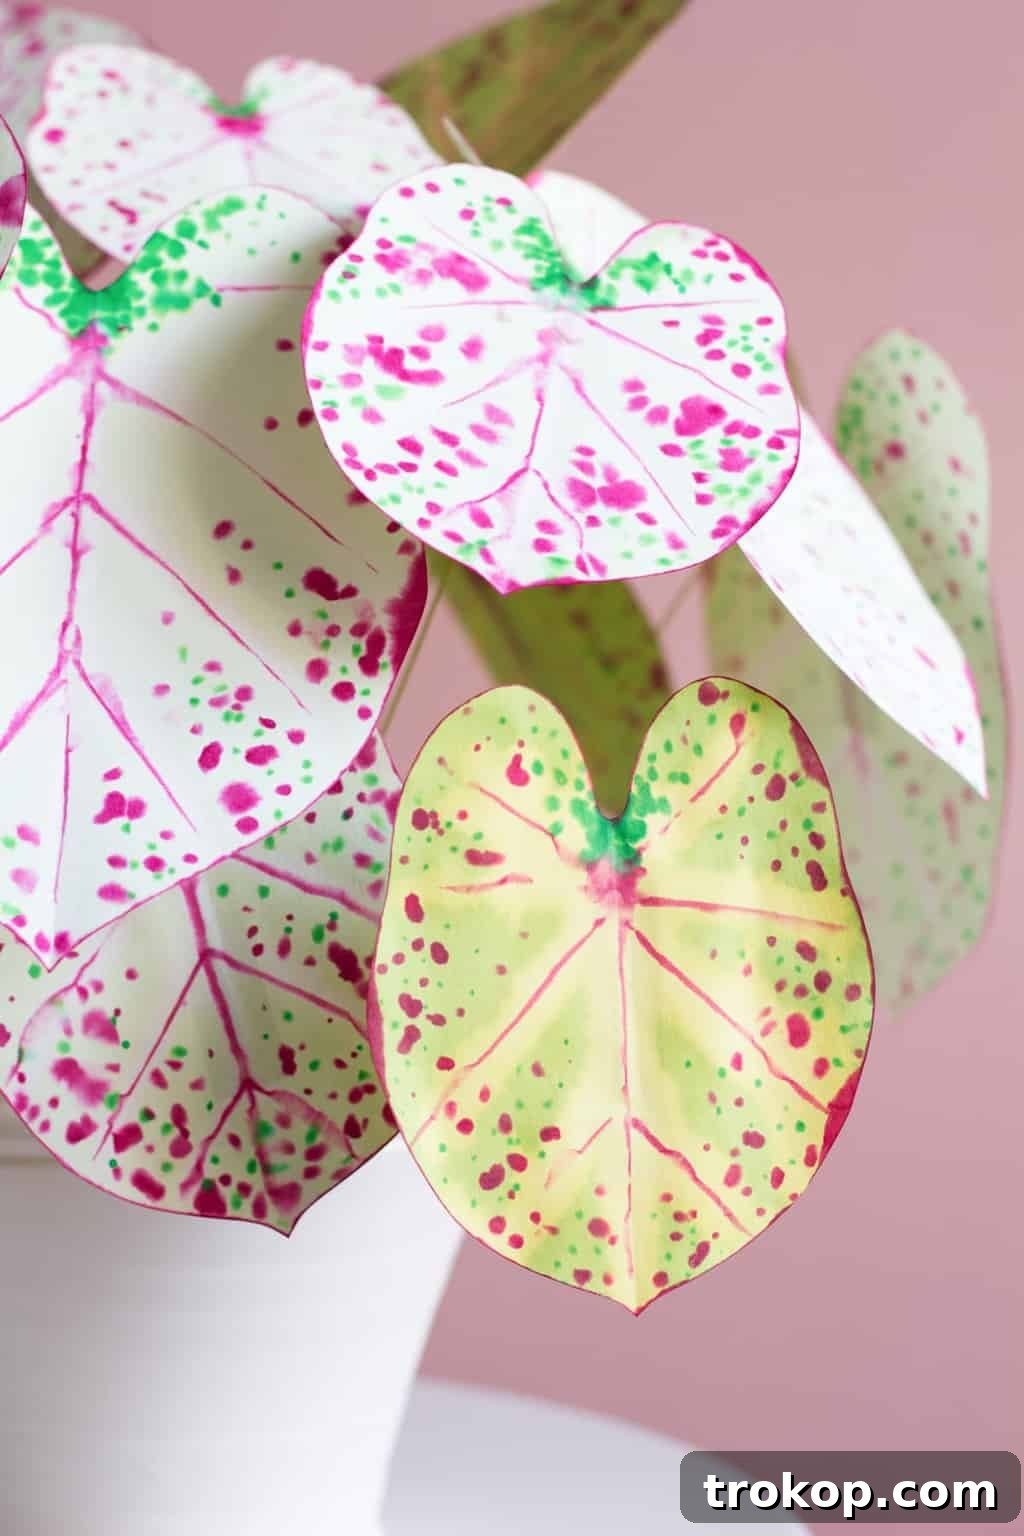
Do you admire lush greenery and vibrant houseplants but struggle with keeping them alive? You’re not alone! Many dream of a home filled with botanical beauty without the constant demands of watering, sunlight, and pest control. Good news for those without a “green thumb”: DIY paper plants offer the perfect, no-maintenance solution. These exquisite creations require absolutely no TLC, providing everlasting botanical charm that will never wilt or fade.
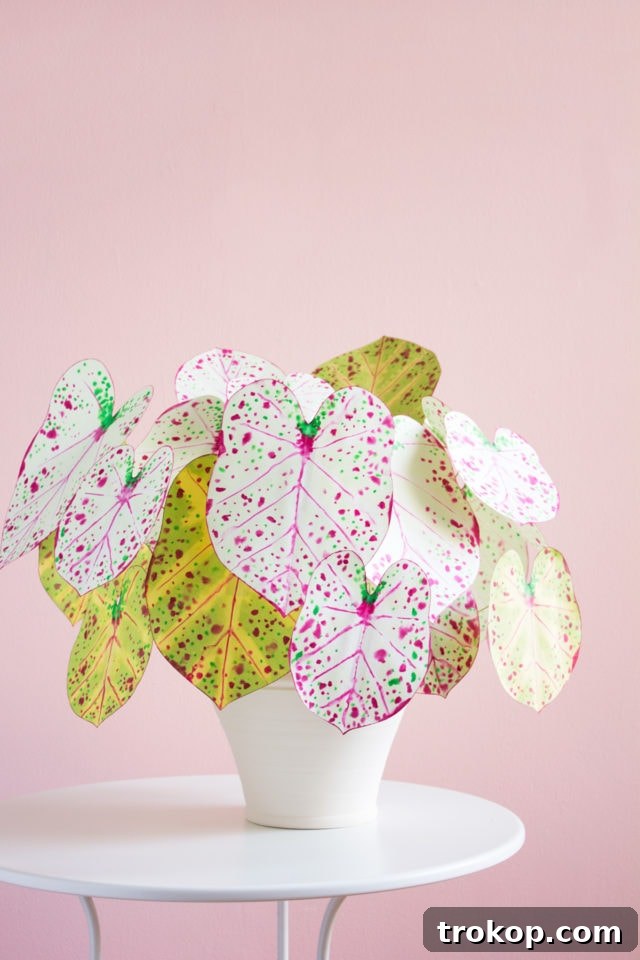
Hello, creative crafters! I’m Corrie, and I’m thrilled to guide you through the rewarding process of crafting stunning paper plants today. As a passionate paper artist, I believe everyone can bring a touch of nature indoors, regardless of their gardening prowess. My mission is to make intricate paper botanical art accessible and enjoyable for all.
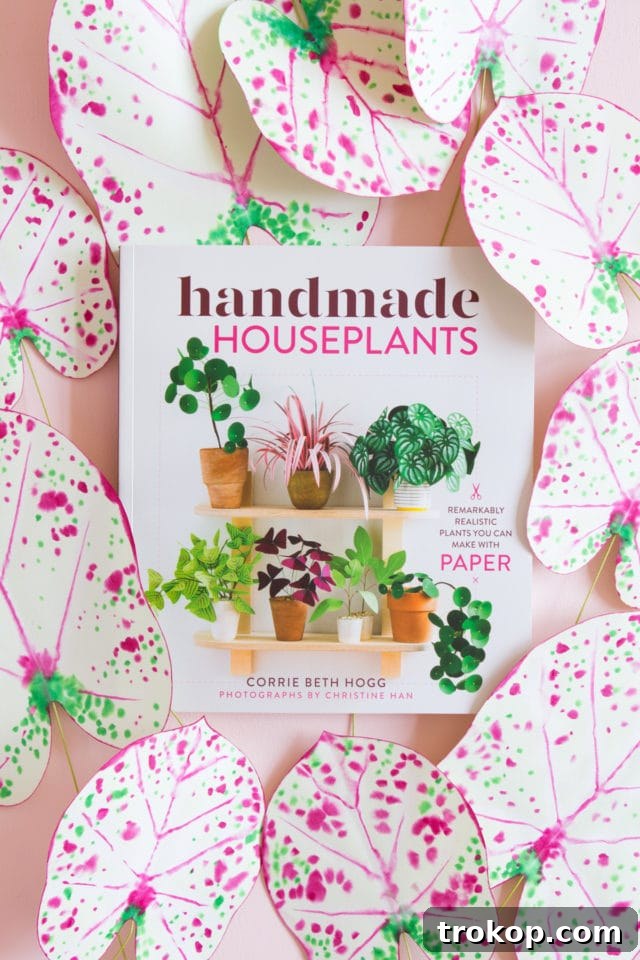
To celebrate the exciting launch of my new book, Handmade Houseplants: Remarkably Realistic Plants You Can Make with Paper, I’ve prepared this exclusive DIY Paper Caladium tutorial just for you. This project is a fantastic introduction to the world of paper crafting, showcasing how you can transform simple paper and a few tools into a breathtaking piece of decor. Get ready to create a vibrant, maintenance-free caladium that will brighten any space.
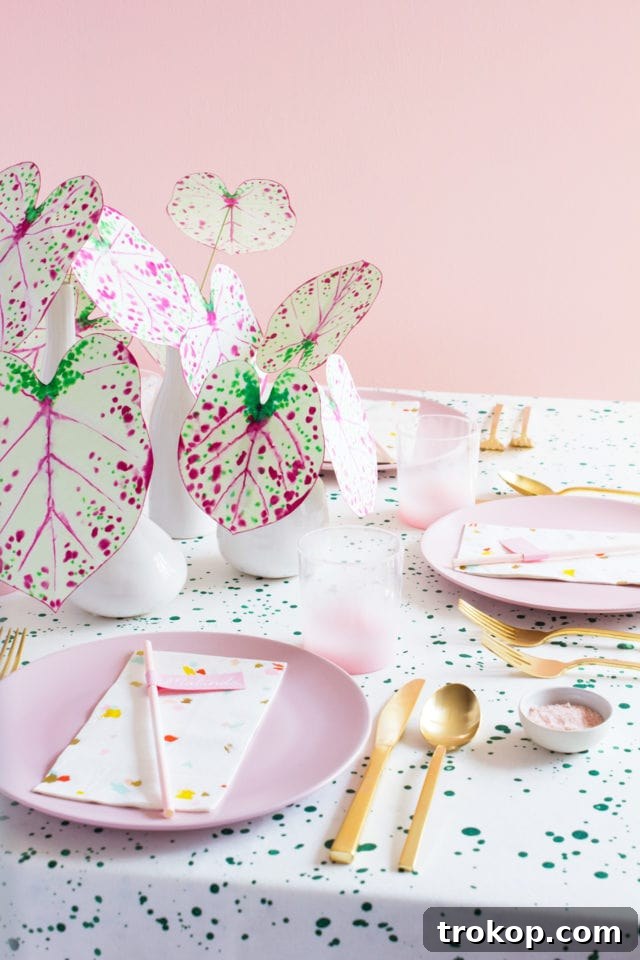
Table of Contents
What are Caladiums? Unveiling the Beauty of Angel Wings
Caladiums, often affectionately known as “Angel Wings” or “Elephant Ear Plants,” are truly a marvel of the botanical world. I am consistently captivated by their stunning diversity, with over a thousand unique varieties showcasing an incredible spectrum of colors. From fiery reds and deep burgundies to soft pinks, vivid greens, and crisp whites, these plants can be found in nearly every hue imaginable, making them a popular choice for adding a tropical flair to any setting.
Their most striking feature is undoubtedly their large, heart-shaped leaves, often adorned with intricate patterns, speckles, and veining that create a dramatic visual impact. In their natural habitat, caladiums thrive in warm, humid, tropical environments, making them particularly challenging to cultivate indoors in many climates. They also typically undergo a dormant period, losing their leaves during cooler months, which can be disappointing for those seeking year-round greenery.
This is precisely why a paper version of these beauties is not just a craft project, but an essential home decor item! With DIY paper caladiums, you can enjoy their vibrant, exotic charm indefinitely, without worrying about seasonal changes, watering schedules, or specific light requirements. You can craft a grand, full plant to create a striking centerpiece, or simply make a few individual stems to place in elegant bud vases for a subtle touch of color. A single, exquisitely crafted paper leaf can even serve as a unique and personal adornment for a gift box, replacing a traditional bow with a handmade flourish.
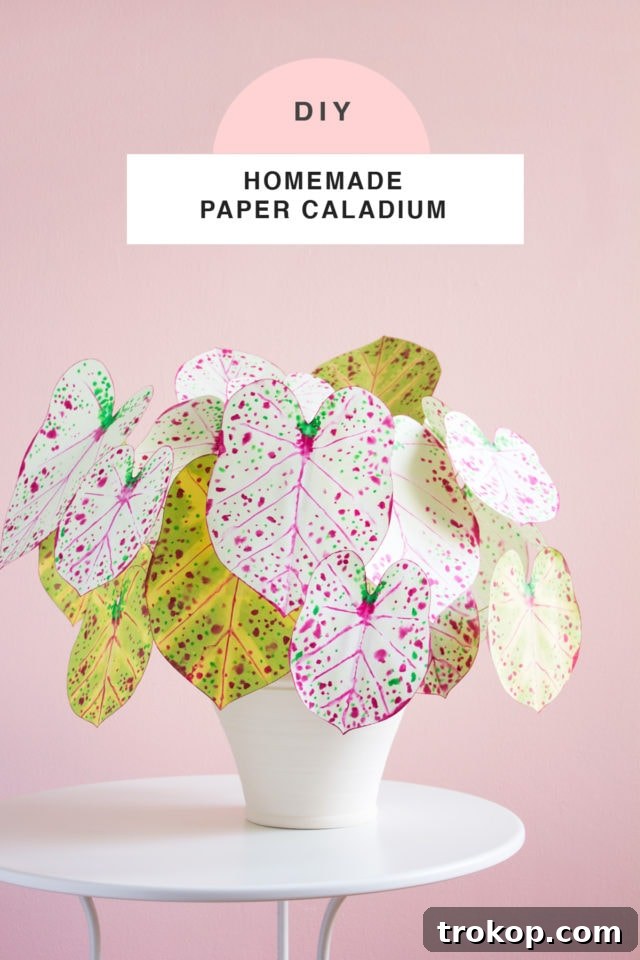
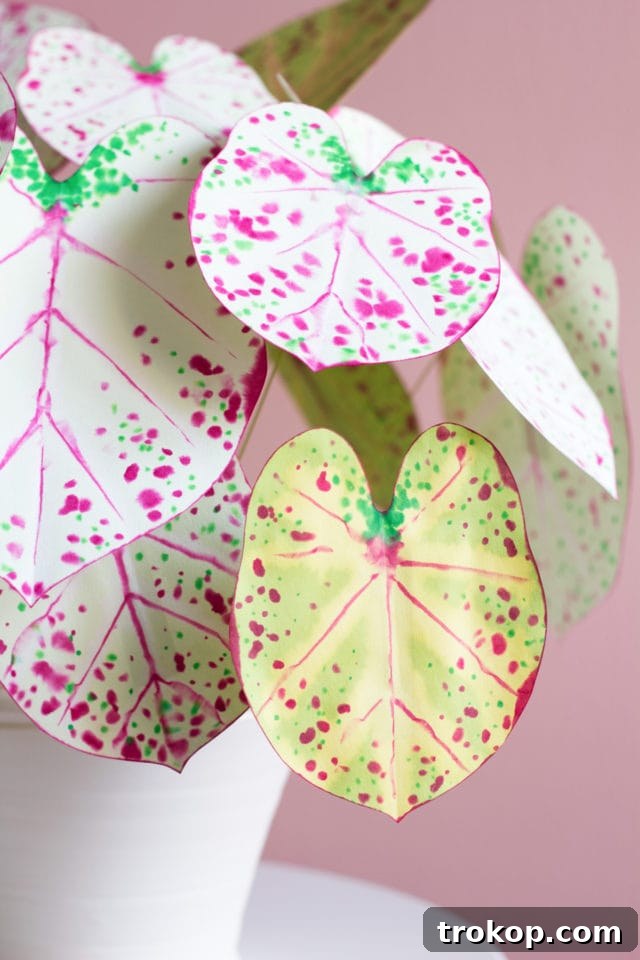
The instructions for this particular DIY paper caladium project are inspired by a charming cultivar known as “Miss Muffet.” While its whimsical name remains a mystery to me despite extensive research, I absolutely adore its distinct pink and green color combination. This variety, with its delicate pink centers and contrasting green margins, offers a delightful palette that perfectly complements a range of decor styles. Of course, I couldn’t resist styling our finished paper caladium with some of the lovely Sugar & Cloth shop party supplies, which created an absolutely perfect tabletop pairing, highlighting the plant’s playful elegance.
Materials and Tools Needed to Make DIY Paper Caladiums
Before embarking on your paper caladium crafting journey, it’s essential to gather all the necessary materials and tools. Having everything at hand will ensure a smooth and enjoyable creative process. Many of these items are readily available at craft stores or can be ordered online. Pay close attention to the specific types of paper and markers recommended, as these play a crucial role in achieving the realistic appearance of your handmade houseplants.
PDF templates from the Handmade Houseplants book
Text-weight matte paper in citrus and spring green (Text-weight paper is ideal for its flexibility and ability to absorb color, mimicking natural leaf texture)
Pencil, scissors, craft knife (for precise cuts and intricate details), bone folder (for crisp folds and smoothing)
Regular household bleach and newsprint or a drop cloth to work on (Bleach is used for unique color effects, so ensure proper ventilation and protect your work surface)
Isopropyl alcohol (common rubbing alcohol, found in any first aid kit, essential for blending marker colors)
Cotton swabs and containers (empty yogurt or take-out containers work well for holding liquids)
Spray bottle filled with water (a simple dollar store find, used for misting the paper)
Pink and green alcohol markers (Alcohol-based markers provide vibrant, blendable color)
20-gauge light green floral wire (for sturdy, pliable stems) and wire cutters
Aleene’s quick-dry tacky glue (for secure and fast bonding) and a small paintbrush to apply it
Pot, styrofoam, and gravel of your choice (for potting and display)
How to Make Paper Caladiums: A Step-by-Step Guide
Now that you have all your materials ready, let’s dive into the creative process of making your very own paper caladium. This tutorial breaks down each stage into simple, manageable steps, guiding you from basic paper shapes to a lifelike botanical masterpiece. Remember, the beauty of handmade crafts lies in their unique imperfections, so don’t be afraid to experiment and enjoy the journey!
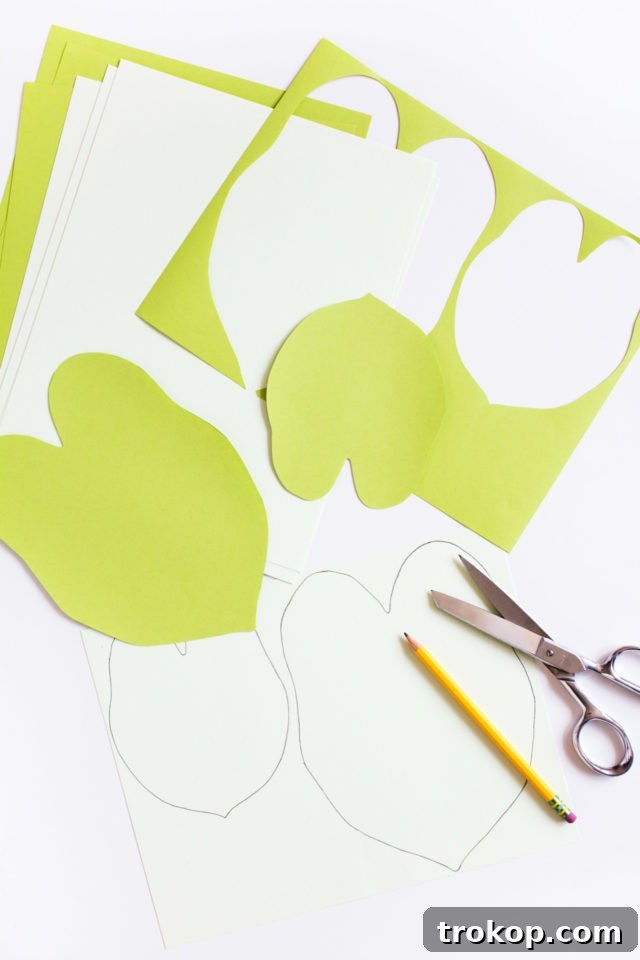
Step 1 — Prepare Your Paper Leaves: Begin by carefully tracing the leaf patterns from the provided templates in your Handmade Houseplants book onto your chosen text-weight matte papers. For a natural look, use a mix of citrus and spring green shades, or experiment with other colors that inspire you. Once traced, use a sharp pair of scissors or a craft knife to meticulously cut out each leaf. Precision here helps achieve a more realistic final product. As you cut, be sure to set aside any paper scraps; these will be repurposed later in the process, ensuring no material goes to waste.
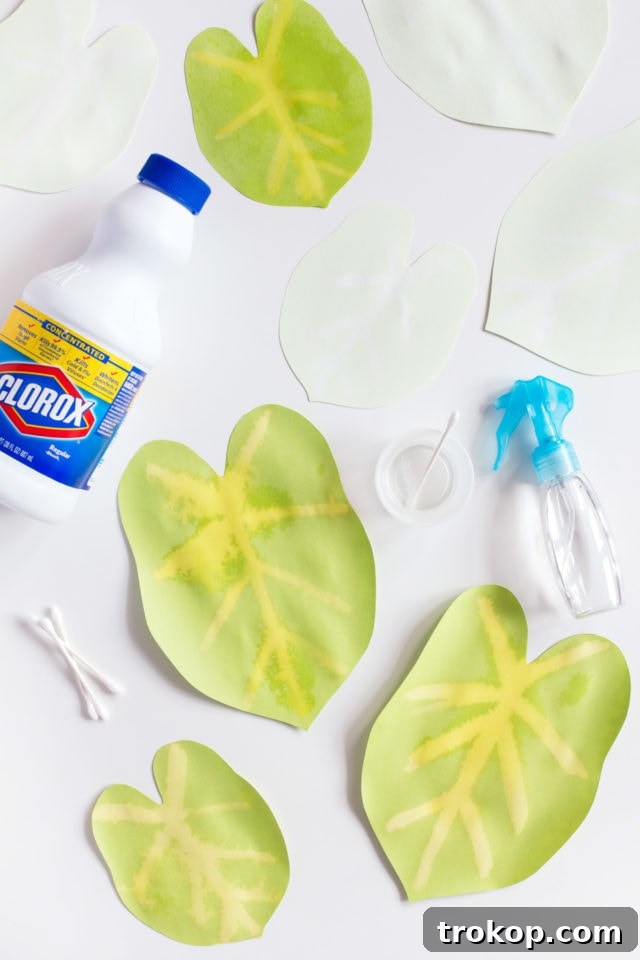
Step 2 — Master the Bleach Vein Technique: This step involves using bleach, so it’s crucial to work in a well-ventilated area and on a protected surface, such as old newspaper or a drop cloth. Safety first! Start by lightly misting each paper leaf with water using your spray bottle. This misting prepares the paper to absorb the bleach in a more organic, watercolor-like fashion. Next, dip a cotton swab into regular household bleach and carefully draw the vein pattern onto each leaf. Aim for a central vein running down the middle, with approximately four sets of smaller lines branching off. Don’t strive for absolute perfection; the water will encourage the bleach to “bleed” and spread subtly, creating beautiful, natural-looking variations that enhance the realism. Even for the pale-green paper, apply this technique for a delicate, subtle effect that adds depth and authenticity.
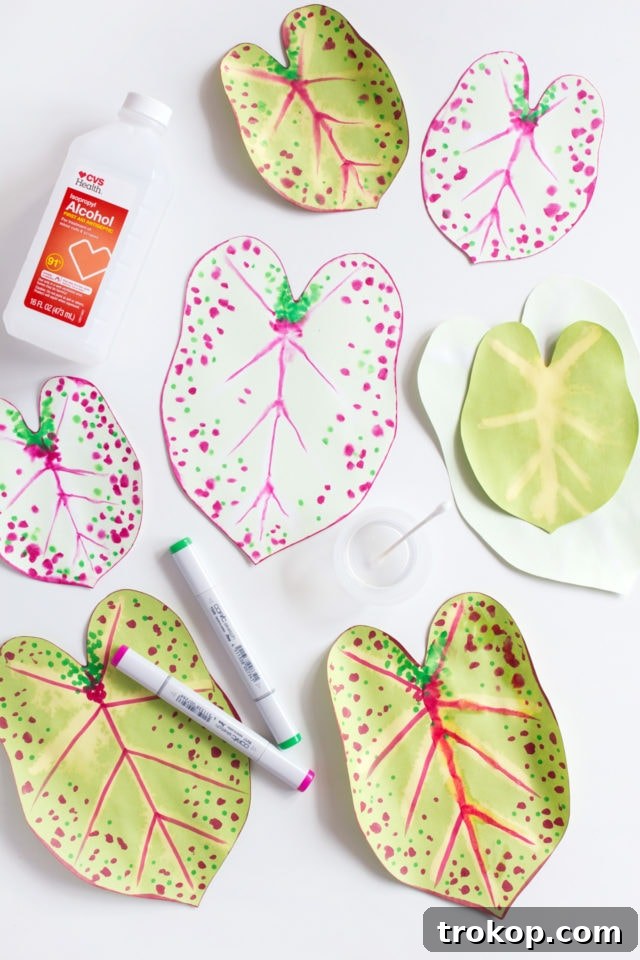
Step 3 — Add Depth with Alcohol Markers: Patience is key here; ensure your leaves are FULLY dry before proceeding to this step. Once dry, it’s time to bring out your pink and green alcohol markers along with the isopropyl alcohol. Using the bleached lines as your initial guide, begin by tracing the primary veins with the pink marker. Then, delicately trace the very edge of each leaf with the pink marker, adding a scattering of dots in various sizes across the leaf surface to mimic natural pigmentation. Switch to your green marker and create a denser cluster of green dots near the top center crevice of each leaf, blending a few green dots among the pink ones in the remaining areas. Finally, dip a fresh cotton swab into isopropyl alcohol and gently trace over each mark you’ve made with the markers. This will allow the ink to spread and soak further into the paper, creating a blended, painterly effect that truly enhances the lifelike appearance of your paper caladium leaves.
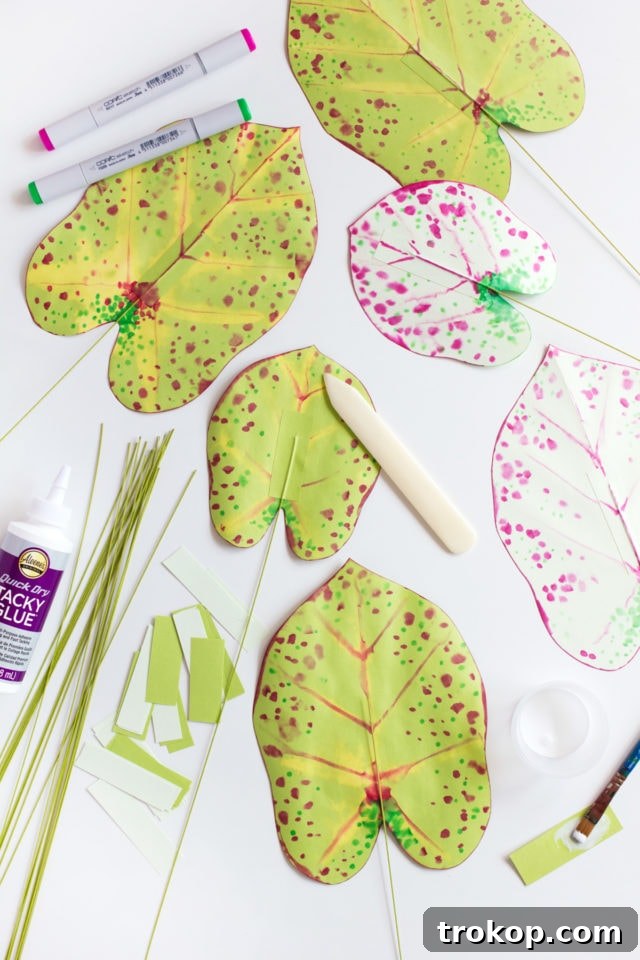
Step 4 — Craft Realistic Stems: Remember those paper scraps from Step 1? It’s their time to shine! Cut these scraps into strips approximately ¾ inch wide and 2 inches long. These strips will be used to attach the floral wire to your leaves, forming sturdy, posable stems. Place a 20-gauge light green floral wire along the center back of each leaf, positioning it carefully. Apply a generous layer of Aleene’s quick-dry tacky glue onto one of your paper strips using a small paintbrush. Carefully place the glue-coated strip over the wire, securing it firmly to the back of the leaf. To ensure a strong, smooth bond, run a bone folder along the contours of the wire, pressing the paper strip securely in place. Once the glue has completely dried, grab your markers again and extend the vein patterns you created in Step 3 onto the paper strip, ensuring a seamless transition from leaf to stem for maximum realism.
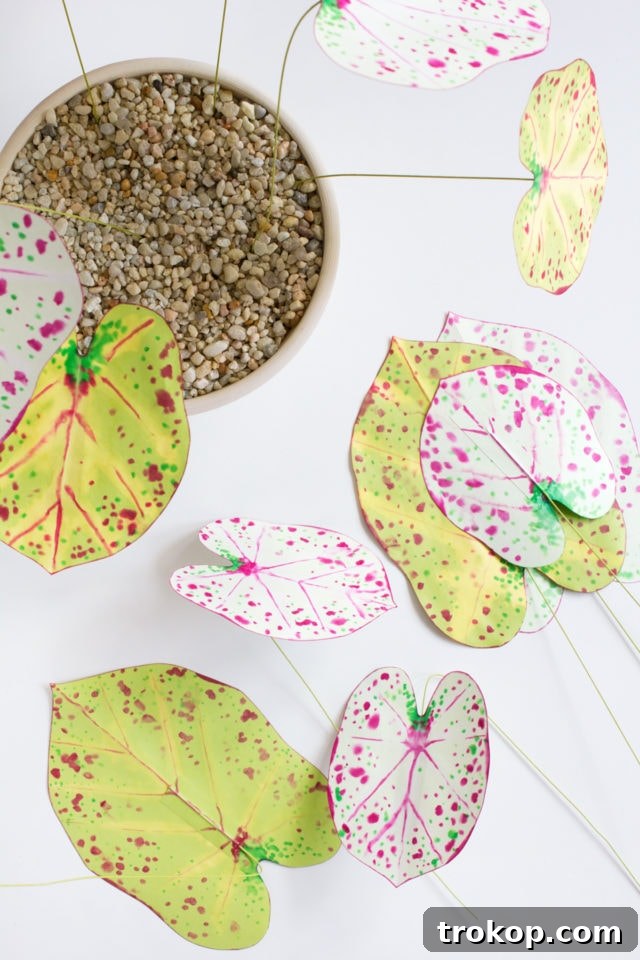
Step 5 — Assemble Your Everlasting Caladium: With your beautiful leaves and sturdy stems complete, it’s time to bring your paper caladium to life. Gently bend the wire stems so that the leaves naturally cascade downwards, mimicking the elegant droop of a real caladium plant. Next, select your chosen pot and fill it with styrofoam, which will provide a stable base for your stems. Cover the styrofoam with your preferred gravel or decorative stones; this adds weight, conceals the foam, and gives your plant a polished, natural finish. Carefully insert the wire stems into the styrofoam, ensuring they are firmly anchored. Take your time to arrange your paper caladium, aiming for a balanced yet organic appearance. Avoid making it perfectly symmetrical; real plants have unique growth patterns. Lastly, make any final adjustments to the angle and position of the leaves until you are delighted with your handcrafted botanical display.
The Enduring Charm of DIY Paper Plants
Beyond their undeniable beauty, handmade paper plants offer a multitude of benefits that real plants simply cannot match. For starters, they are the ultimate no-fuss greenery. Forget about remembering to water, finding the perfect sunny spot, or worrying about nutrient deficiencies. Paper plants are eternally vibrant, retaining their fresh appearance season after season, year after year. They are also completely pest-free, meaning no more battling aphids or spider mites, and they pose no risk of allergies, making them a fantastic choice for anyone sensitive to pollen or spores.
This enduring charm makes DIY paper plants perfect for a variety of uses. They are ideal for home staging, adding a pop of color and life to a room without the commitment of live flora. Offices, particularly those with low light or where plant care is impractical, can benefit immensely from the cheerfulness of paper botanicals. They make thoughtful, personalized gifts that will last a lifetime, and can even be transported easily, perfect for decorating event venues or temporary spaces. The creative control you have over color, size, and type allows you to craft bespoke greenery that perfectly matches your interior design vision, offering a custom aesthetic that real plants often can’t provide.
Explore More Handmade Paper Plant Tutorials
If you’ve enjoyed crafting this beautiful paper caladium, you’ll be thrilled to discover the extensive world of paper botany waiting for you! This caladium project is just a taste of what’s possible. For those eager to expand their collection of everlasting greenery, my book, Handmade Houseplants: Remarkably Realistic Plants You Can Make with Paper, is your ultimate guide. It features a comprehensive collection of 30 more paper plant tutorials, ranging from elegant succulents and sprawling monsteras to delicate ferns and exotic flowering plants. Each project is designed with clear instructions and detailed templates, empowering you to create a diverse indoor garden that will never require a drop of water. Dive in and transform your home into a vibrant oasis, one paper leaf at a time!
DIY Planters & Vases For Your Paper Plant Creations
A beautifully crafted paper plant deserves an equally stunning home. Elevate your DIY paper caladium and other handmade houseplants by pairing them with unique, handcrafted planters and vases. Creating your own containers adds another layer of personalization and charm to your botanical display. Here are some fantastic DIY planter and vase tutorials from Sugar & Cloth that will perfectly complement your paper plant creations:
- Mid Modern Planter: Craft a stylish planter that evokes the timeless elegance of mid-century design, perfect for showcasing a statement paper plant.
- Color Glazed Stack Vase: Learn to create a multi-tiered vase with a sophisticated glazed finish, ideal for arranging multiple paper stems or a cluster of smaller leaves.
- Patterned Vase: Add a touch of artistic flair to your decor with a personalized patterned vase, offering a vibrant backdrop for your intricate paper creations.
- Mid Century Planter: Explore another take on classic mid-century design, providing a sleek and modern home for your everlasting paper greenery.
- Confetti Vase: Bring a festive and playful touch to your space with a confetti-inspired vase, perfect for adding a pop of joyful color to your paper plant arrangements.
There you have it – a magnificent DIY paper caladium, crafted by your own hands, ready to adorn your home with perpetual beauty. This project is more than just a craft; it’s an invitation to cultivate creativity, enjoy the therapeutic process of making, and bring a touch of everlasting nature into your life. Whether you’re a seasoned crafter or just starting, the joy of creating something so lifelike and enduring is truly unmatched. We hope you feel inspired to continue exploring the world of handmade houseplants, transforming simple paper into stunning botanical art. Don’t forget to check out my book, Handmade Houseplants, for even more projects, and share your beautiful creations with us!