Transform Your Entryway: The Ultimate Guide to DIY Color Dipped Clothes Hangers
Are you looking for an easy yet impactful way to elevate your home decor and bring a splash of personalized style to your living space? Look no further than this creative DIY project: custom color-dipped clothes hangers. Perfect for revamping a dull coat rack, adding a vibrant touch to your closet, or even creating a welcoming entryway, these hangers combine functionality with aesthetic appeal. With a simple dipping technique, you can infuse a burst of color into everyday items, making your organization stylish and uniquely yours.

For months, the unseasonably mild “winter” weather in Houston meant coats and bags were often left haphazardly around the house – draped over chairs, piled on tables, creating an unwelcome sense of clutter. It became clear that a dedicated, aesthetically pleasing space was desperately needed to bring order and charm to our home’s entrance. The existing coat rack, a beautiful piece of brass hardware, was functional but lacked a personal touch. It was begging for something more, a subtle yet striking detail that would tie into our home’s overall design while providing much-needed organization. This yearning for both style and tidiness sparked the idea for these DIY Color Dipped Clothes Hangers, a project designed to infuse character and vibrancy into an often-overlooked area of the home.
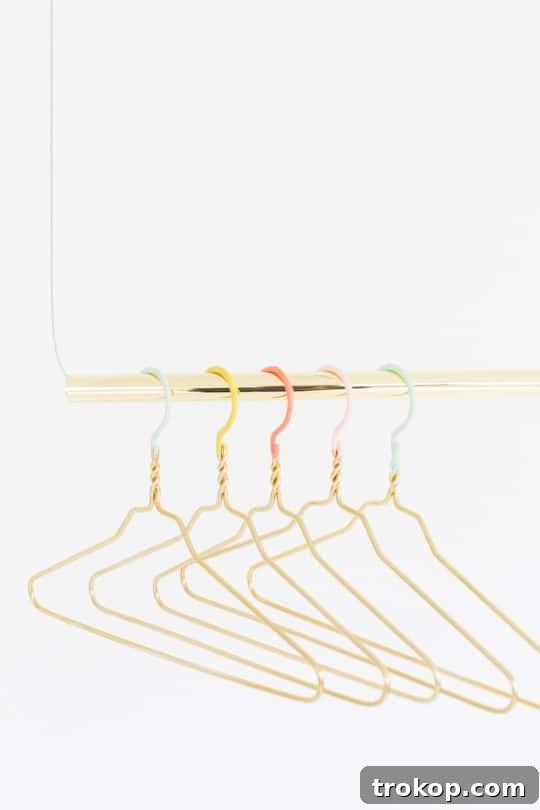
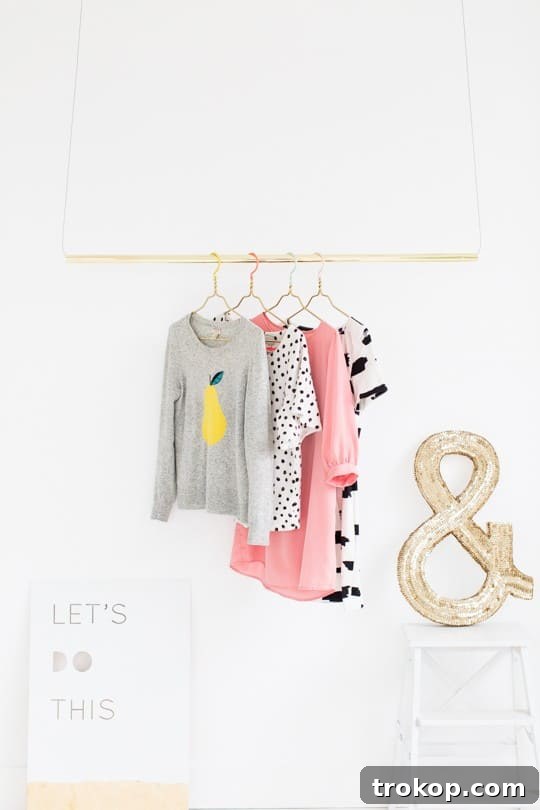
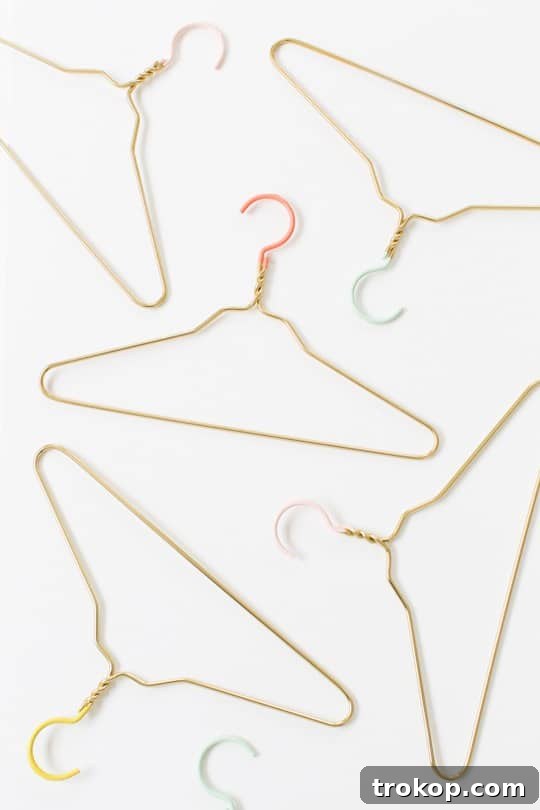
The beauty of this project lies in its simplicity and the immediate impact it creates. A simple dip into a vibrant hue can transform ordinary hangers into eye-catching accessories that elevate your entire coat rack or closet. Imagine guests stepping into your home, greeted by a harmonious display of coats hanging neatly on beautifully colored hangers, instantly conveying a sense of thoughtful design and hospitality. This isn’t just about painting hangers; it’s about curating a more organized, stylish, and inviting home environment. The subtle pop of color adds personality without overwhelming the space, striking a perfect balance between practical utility and chic home decor.
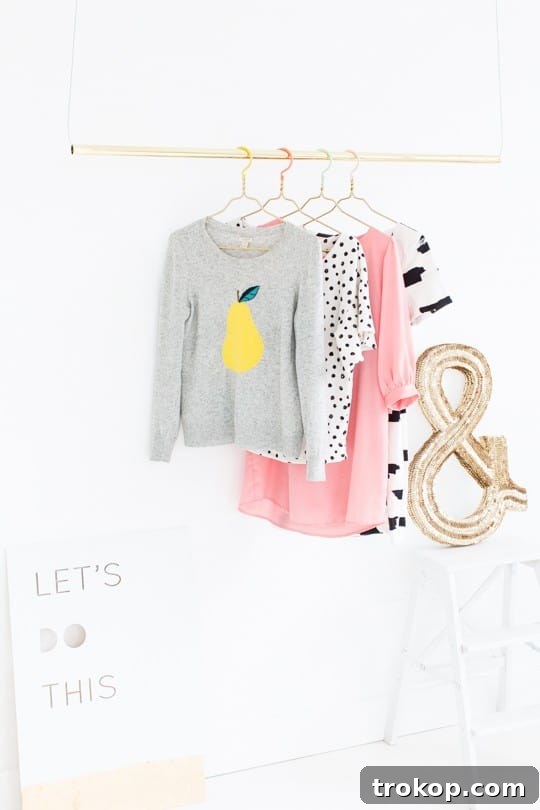
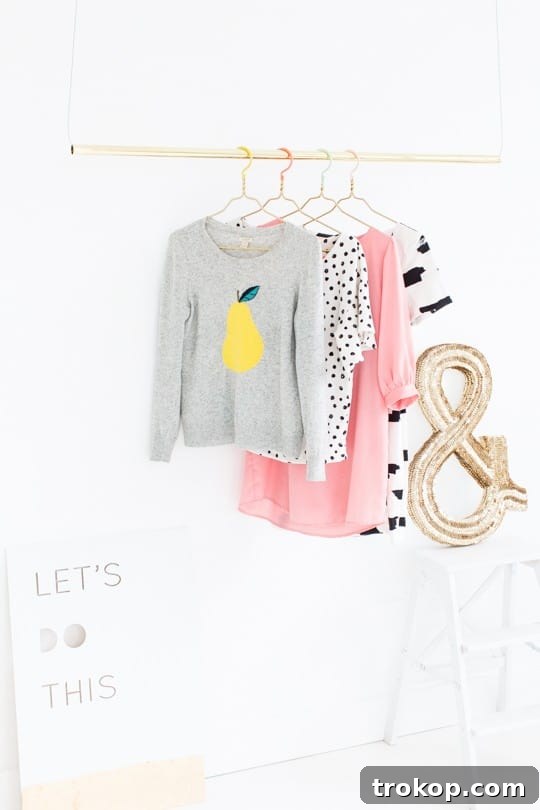
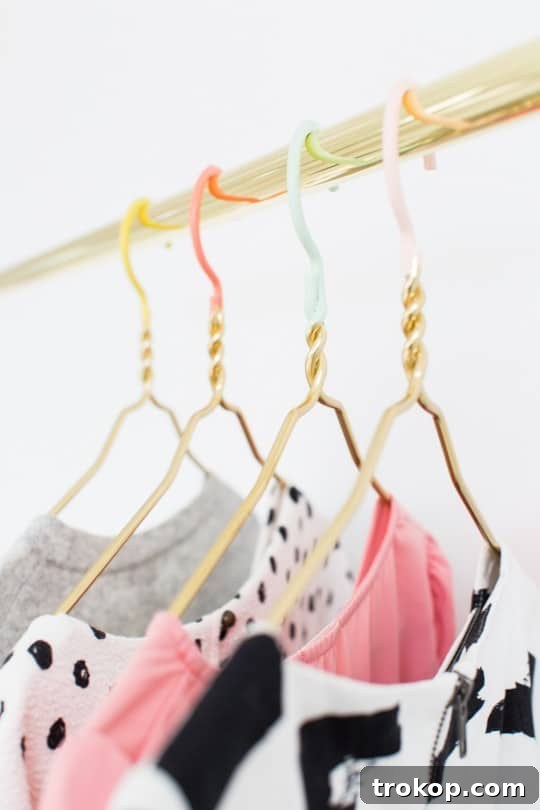
While these photos capture the hangers in a studio setting, the true magic of this DIY project shines in everyday use. The versatility of color-dipped hangers extends far beyond a minimalist display. For households bustling with activity and numerous family members, color-coded hangers can be a game-changer. Assign a distinct color to each person, transforming the once chaotic foyer or mudroom into an organized haven where everyone knows exactly where to hang their belongings. This not only promotes tidiness but also adds a playful and personalized element that children will love. It’s a weekend project that promises both practical benefits and a delightful splash of customized style, making daily routines a little smoother and a lot more cheerful.
Embracing DIY projects like these allows for unique personalization that store-bought items often lack. You get to choose the exact colors that complement your existing decor, ensuring a seamless integration into your home’s aesthetic. Whether you prefer a bold, contrasting shade or a subtle, harmonious tone, the power is in your hands to create something truly bespoke. Beyond the aesthetic upgrade, there’s a deep satisfaction in crafting something with your own hands, knowing that you’ve transformed a simple item into a statement piece. This project is a testament to how small changes can lead to significant improvements in both the look and feel of your living space.
Materials Needed To Make DIY Color Dipped Clothes Hangers
- Interior/exterior satin paint samples from your local home improvement store
- Brass clothes hangers (or rose gold hangers for a softer, pink-toned look!)
- Brass coat rack (highly recommended for a cohesive and stylish display, though optional)
- Drop cloth or old newspapers to protect your workspace
- Stirring sticks
- Optional: Painter’s tape for a clean paint line
- Optional: Gloves for mess-free handling
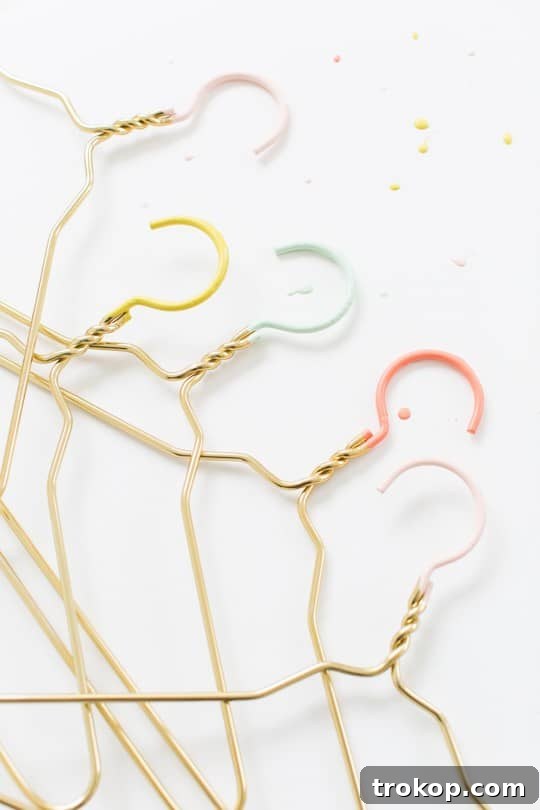
Choosing the right paint is crucial for the longevity and finish of your color-dipped hangers. Interior/exterior satin paint samples are ideal for this project, offering several advantages over standard craft paints. Their formulation is designed to withstand more movement, handling, and general wear and tear, ensuring that your vibrant new hangers remain chip-free and beautiful for longer. This type of paint also dries with a much sturdier and thicker coat, providing excellent coverage and a professional-looking finish that craft paints often struggle to achieve. The satin sheen adds a subtle elegance, complementing the metallic gleam of brass or rose gold hangers beautifully.
When selecting your hangers, consider the aesthetic you’re aiming for. Brass hangers offer a classic, sophisticated base that truly makes the dipped colors pop, creating a luxurious contrast. Rose gold hangers, on the other hand, provide a warmer, more contemporary foundation, perfect for soft pastels or even bold jewel tones that embrace their inherent warmth. While metal hangers are recommended for their durability and sleek profile, you can also experiment with wooden hangers for a more rustic or natural vibe. Just ensure they are smooth and clean, regardless of material, to allow for optimal paint adhesion.
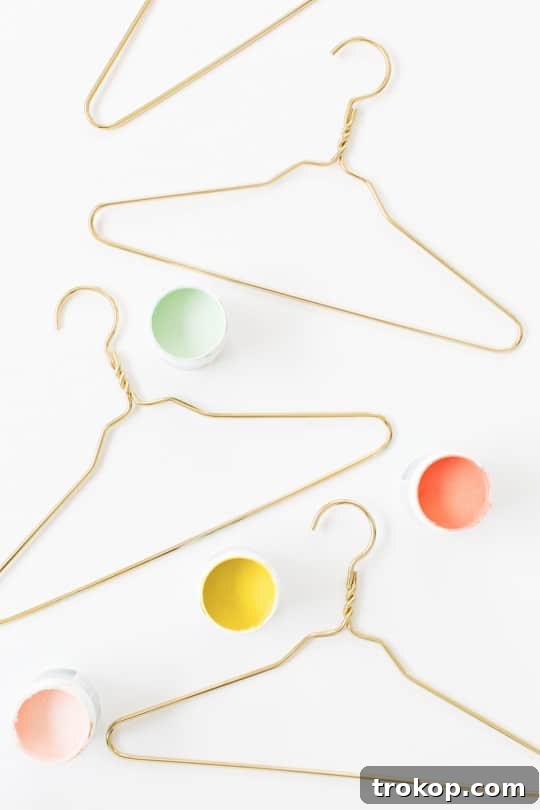
How To Make DIY Color Dipped Clothes Hangers
Creating these bespoke color-dipped hangers is a straightforward process, but attention to detail will ensure a flawless finish. Before you begin, set up your workspace in a well-ventilated area, covering surfaces with a drop cloth or old newspapers to protect against drips and spills. If you’re working with new hangers, a quick wipe-down with a damp cloth to remove any dust or manufacturing residues is a good practice. For older hangers, a thorough cleaning and drying will ensure the paint adheres perfectly. If you desire a perfectly straight and crisp paint line, apply painter’s tape around the hanger at your desired dipping height, ensuring it’s pressed down firmly to prevent bleed-through.
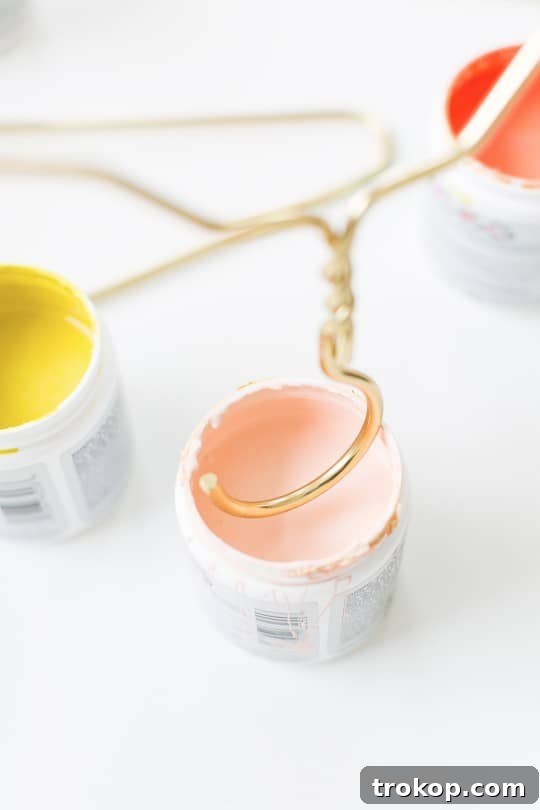
Now, for the exciting part – the dipping! Stir your chosen interior/exterior satin paint thoroughly to ensure an even consistency and pigment distribution. You want the paint to be thick enough to provide excellent coverage on the metal. Carefully dip the handle of your hanger straight into the paint. The depth of your dip is entirely up to you – whether you prefer a subtle hint of color or a more dramatic, extended dip. The key is to achieve a smooth, even coating across the dipped section. Once dipped, slowly lift the hanger, allowing any major excess paint to drip back into the paint container. Hold it steady for approximately 30 seconds to a minute to allow the majority of the drips to fall away naturally, minimizing potential mess during the drying phase.
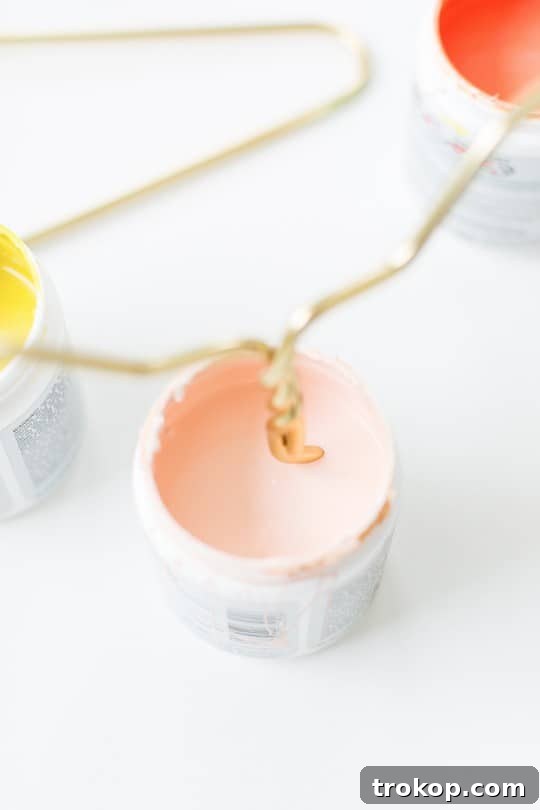
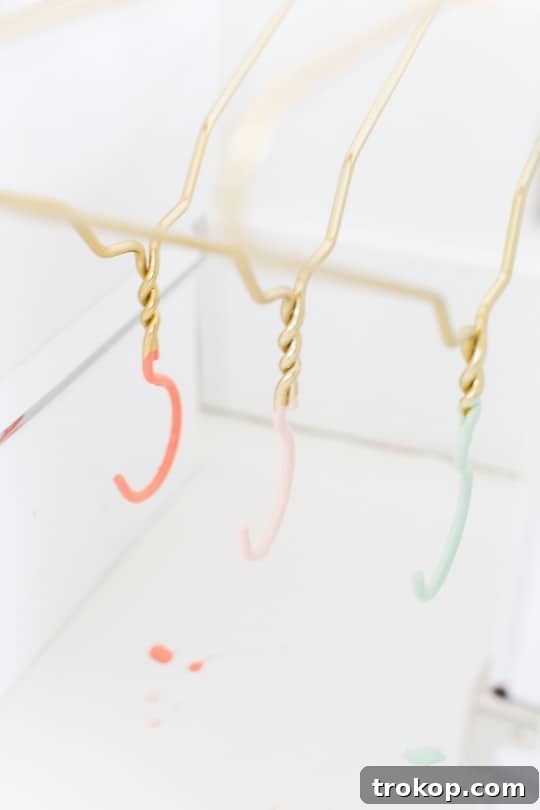
The drying setup is critical for achieving a professional, drip-free finish. To ensure proper air circulation and prevent the paint from pooling or creating unsightly globs, hang the wet hangers upside down. A simple yet effective method is to string two sturdy wooden paint stirrers across two stacks of boxes or chairs, placing craft paper or a drop cloth underneath to catch any residual drips. This allows gravity to work its magic, pulling excess paint downwards and leaving a smooth, even coating on the hanger’s handle. It’s important to monitor the hangers during the initial drying period; keep an eye out for any large globs of paint forming at the bottom edge. If you spot any, gently shake the hanger or carefully wick away the excess with a small brush or toothpick to prevent them from drying into misshapen bumps. Trust me, learning this trick firsthand saved many a hanger!
Allow ample drying time, typically several hours, before handling the hangers, and even longer before putting them to practical use. For optimal durability and color intensity, consider applying a second dip after the first coat has fully dried. This second layer will deepen the color and provide an extra layer of protection, making your hangers even more resilient to daily wear. Once completely dry, if you used painter’s tape, carefully remove it to reveal your perfectly crisp paint line. Your customized, color-dipped hangers are now ready to brighten your entryway, organize your closet, or add a pop of personality wherever they’re displayed.
A quick note of appreciation to our studio neighbor, Sandy, whose generosity truly saved the day! Finding high-quality brass hangers proved to be unexpectedly challenging. After a two-hour search across numerous stores yielded no success, Sandy kindly lent us a set of her own. Her timely assistance allowed us to complete this project, and it truly highlighted how some stylish essentials can be surprisingly hard to track down!
These color-dipped hangers are more than just a decorative touch; they are a testament to the power of thoughtful organization and personalized design. They can transform a mundane utility into a delightful visual element, encouraging a more organized lifestyle while injecting personality into your home. Consider them for a guest room for a welcoming touch, in a laundry room for a cheerful boost, or as a thoughtful, handmade gift for a friend or loved one. The possibilities are endless, limited only by your imagination and color palette.
Sources
- DIY Sequin Ampersand
- “Let’s Do This” artwork custom by Ashley for the Sugar & Cloth studio
- Brass clothes hangers from Avelere (similar ones here)
- Polka dot shirt from Anthropologie
- Pear sweater from JCrew Factory
- Pink dress by Everly
- Brush stroke dress from French Connection
Embrace the joy of DIY and add a touch of handcrafted elegance to your home with these vibrant color-dipped clothes hangers. It’s a small project with a big impact, proving that thoughtful details can truly transform a space.