
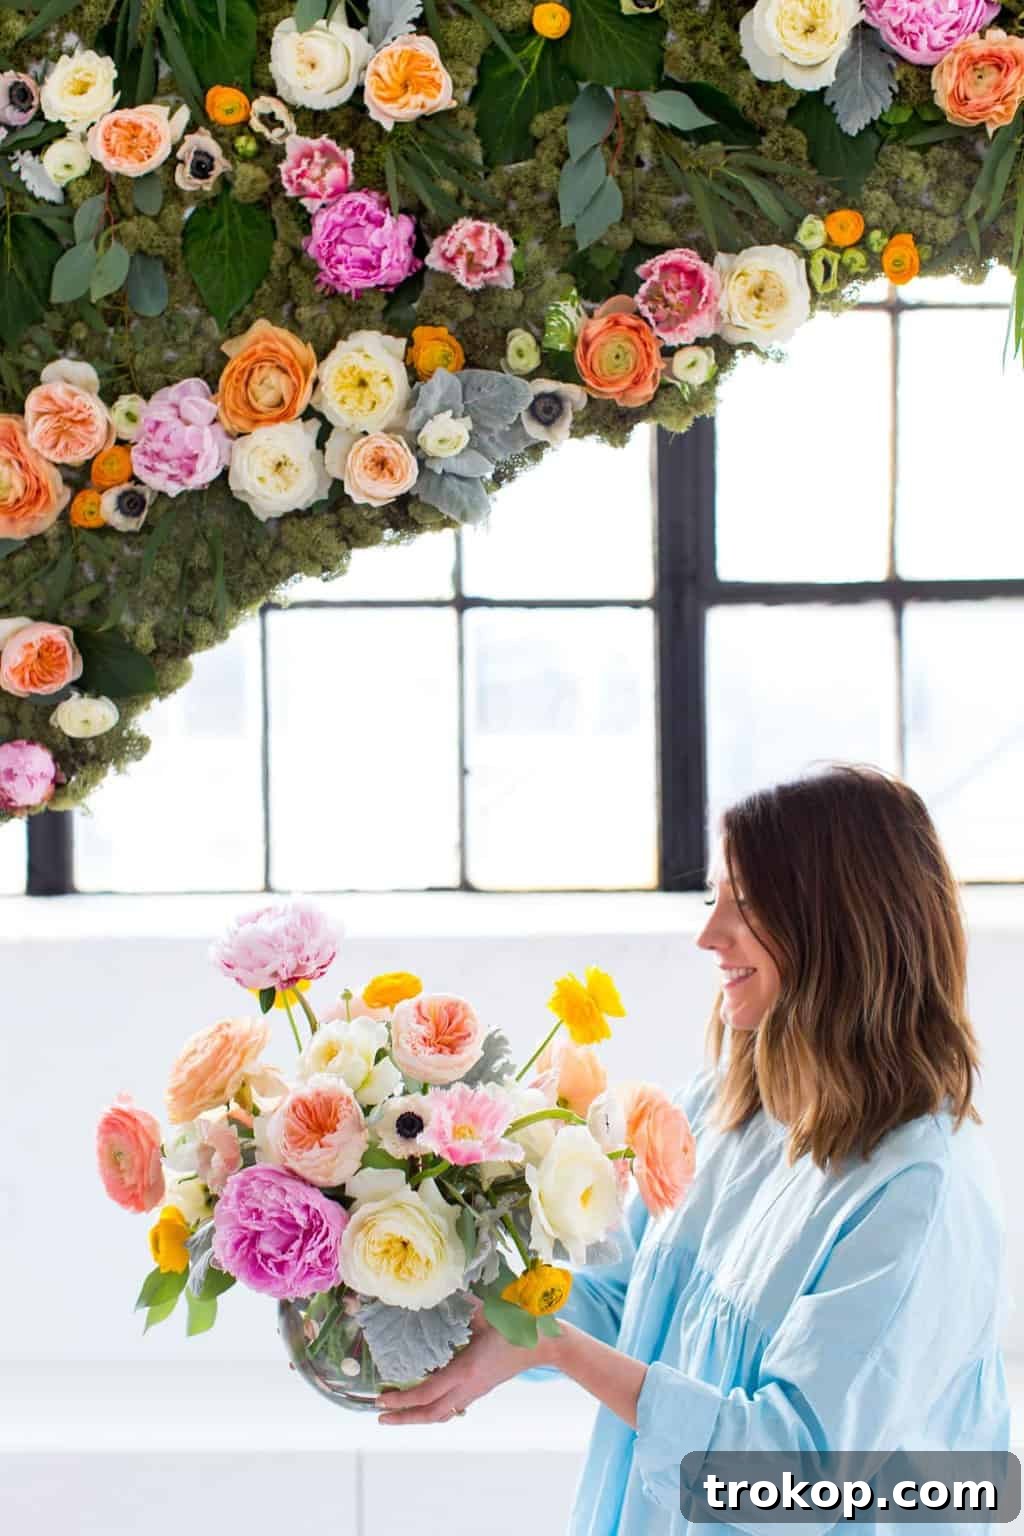
Create a Dreamy DIY Hanging Flower Wall: Your Ultimate Guide
Transform any space into a breathtaking floral wonderland with this easy-to-follow guide for a stunning DIY Hanging Flower Wall installation. Perfect for events, photoshoots, or simply adding a touch of elegance to your home, this project delivers major visual impact without excessive fuss or complex techniques. Get ready to impress your guests and elevate your decor with a personalized floral masterpiece!
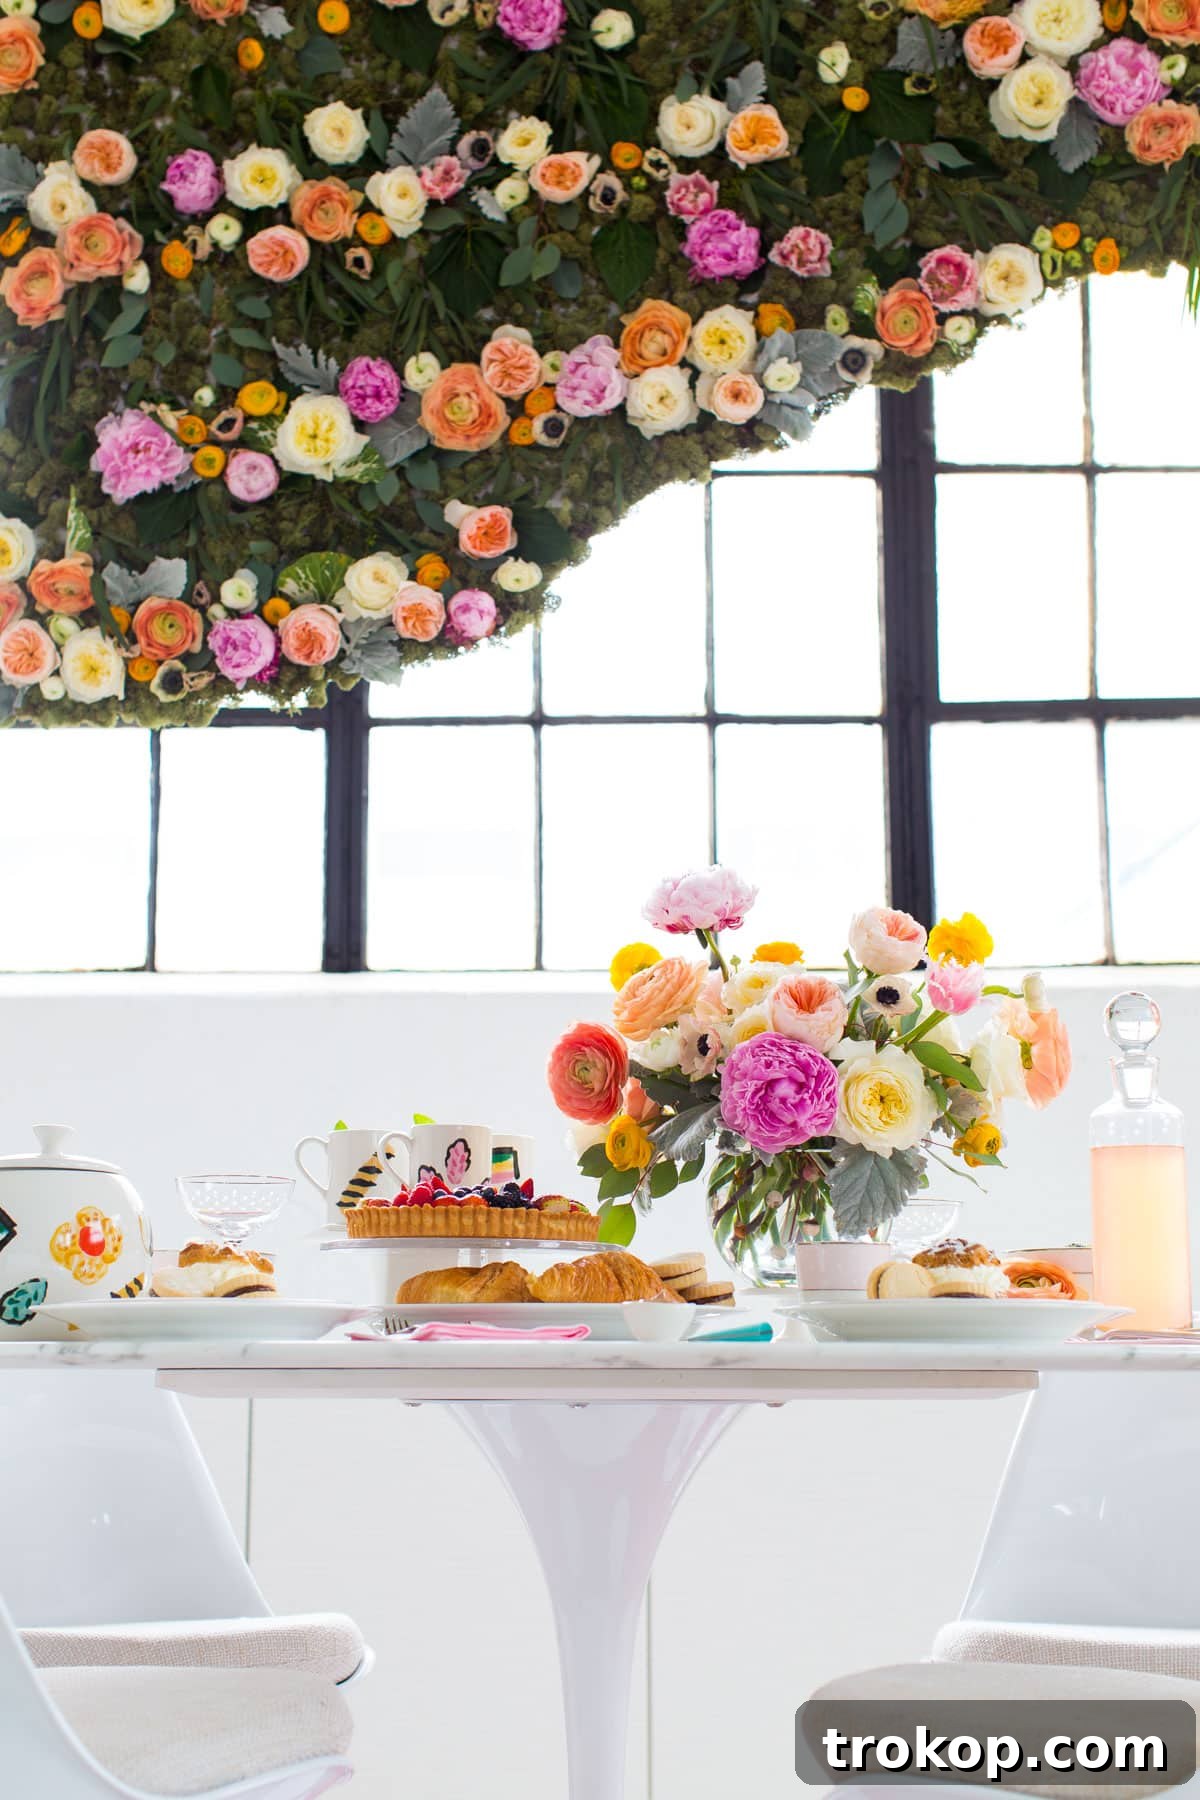
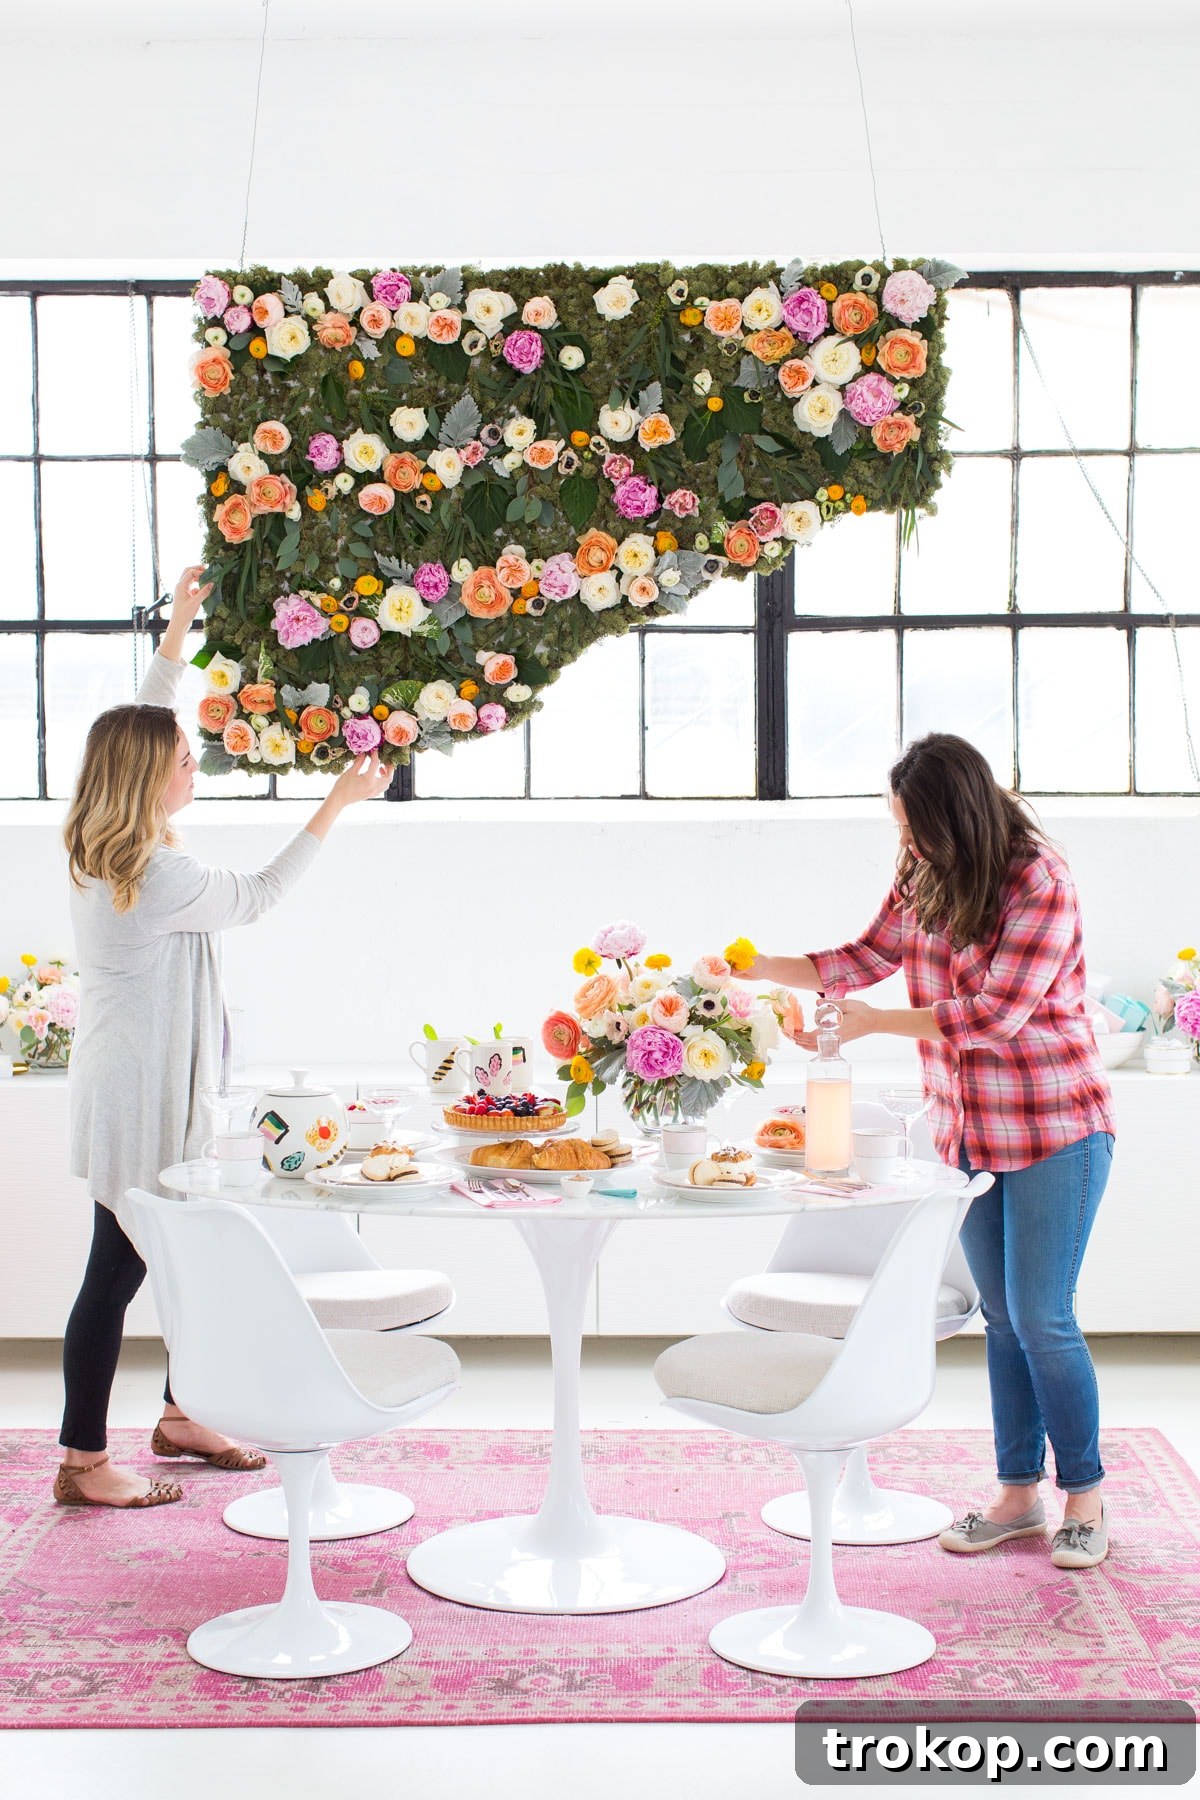
There’s something uniquely enchanting about a wall adorned with delicate blooms, creating an atmosphere of beauty and sophistication. While professional floral installations can be costly and time-consuming, our DIY version offers an accessible and enjoyable way to achieve that coveted aesthetic. Originally crafted for a special Kate Spade photoshoot, this project proved to be a showstopper, inspiring us to share the simple steps so you can create your own magnificent floral display. Consider this a belated, bloomin’ apology for keeping this delightful secret under wraps!
Luckily, the creation process itself is far quicker than any writing delay on our part! With invaluable assistance from the talented team at Blush & Vine and the generous supply of fresh flowers from Flower Muse, we’ve streamlined this project into a straightforward, beginner-friendly endeavor. You’ll be amazed at how easily you can bring this dreamy vision to life.
Why Choose a DIY Hanging Flower Wall?
Flower walls have become a staple in modern event decor and home styling, offering a vibrant, dynamic backdrop that instantly elevates any setting. Opting for a DIY approach provides several significant advantages:
- Cost-Effectiveness: Creating your own flower wall can be significantly more affordable than hiring a professional florist, especially when using a mix of fresh and high-quality artificial blooms.
- Personalization: You have complete creative control over the size, shape, color scheme, and types of flowers used, ensuring your flower wall perfectly matches your aesthetic and the occasion.
- Sense of Achievement: There’s immense satisfaction in crafting something beautiful with your own hands. This project is not only fun but also results in a truly unique piece of decor.
- Versatility: A hanging flower wall isn’t just for parties. It can serve as a stunning focal point in a living room, a charming backdrop for a nursery, or an eye-catching element for a photography studio.
Selecting Your Perfect Blooms and Materials
The success of your DIY flower wall hinges on thoughtful selection of both flowers and structural materials. Here’s what to consider:
Fresh vs. Artificial Flowers:
- Fresh Flowers: Offer unmatched fragrance and natural beauty. Best for short-term events (e.g., weddings, parties) where the wall will be enjoyed for a day or two. Requires more careful handling and assembly closer to the event time.
- Artificial Flowers: Ideal for long-term installations or projects that need to be prepared well in advance. High-quality faux flowers can look incredibly realistic and are available in a vast array of colors and varieties year-round. They are durable, reusable, and require no watering.
- Mixed Media: Combine both! Use fresh flowers for key focal points and artificial ones for filler or areas that need to be prepped early.
Choosing Your Color Palette and Theme:
Think about the overall ambiance you want to create. Do you prefer a romantic pastel blend, a vibrant, bold statement, or a monochromatic masterpiece? Consider the existing decor or the theme of your event. Ombre effects, color blocking, or a gradient fade from one hue to another can add an extra layer of sophistication and visual interest.
Materials Needed For Your DIY Hanging Flower Wall
Gathering all your supplies before you begin will make the creation process smooth and enjoyable.
- Foam board: Lightweight yet sturdy, foam board is the ideal base for your flower wall. Choose a size and thickness appropriate for your desired wall dimensions.
- Jigsaw or box cutter: Essential for precisely cutting your foam board into the desired shape. A box cutter is suitable for straight lines, while a jigsaw offers more versatility for intricate designs.
- Spray adhesive: A strong, quick-drying adhesive is crucial for securely attaching the moss base.
- Picture wire: Durable and flexible, picture wire will be used to hang your finished flower wall.
- Wire cutters: For neatly cutting the picture wire to the correct length.
- Two eyelets: These small metal rings reinforce the hanging points on your foam board, preventing the wire from tearing through the material under the weight of the flowers.
- Moss (sheet or preserved): Provides a beautiful, natural green base that helps camouflage the foam board and allows flowers to blend seamlessly.
- Flowers: Your chosen variety, whether fresh or artificial, in the colors and quantities needed for your design.
- Sewing pins (or floral pins): These are your primary tool for attaching individual flower stems to the foam board. Long, sturdy pins work best.
- Drill: To create holes for the eyelets.
- Screw eye hooks: For securely hanging your completed flower wall from the ceiling or a sturdy support.
- Strong adhesive (e.g., superglue or E6000): For extra security when attaching eyelets.
Step-by-Step Guide: How To Make Your DIY Hanging Flower Wall
Follow these detailed instructions to construct your very own hanging floral masterpiece.
Step 1: Design and Cut Your Foam Board Base
Begin by sketching the exact shape you envision for your flower wall onto the foam board. This could be a classic rectangle, an elegant circle, a whimsical cloud shape, or even initials for a personalized touch. Once your design is finalized, carefully use a jigsaw or box cutter to cut out the shape. For a box cutter, make several shallow passes rather than trying to cut through in one go to ensure clean edges. If using a jigsaw, wear appropriate safety gear and work on a stable surface.
Step 2: Secure Your Hanging Points
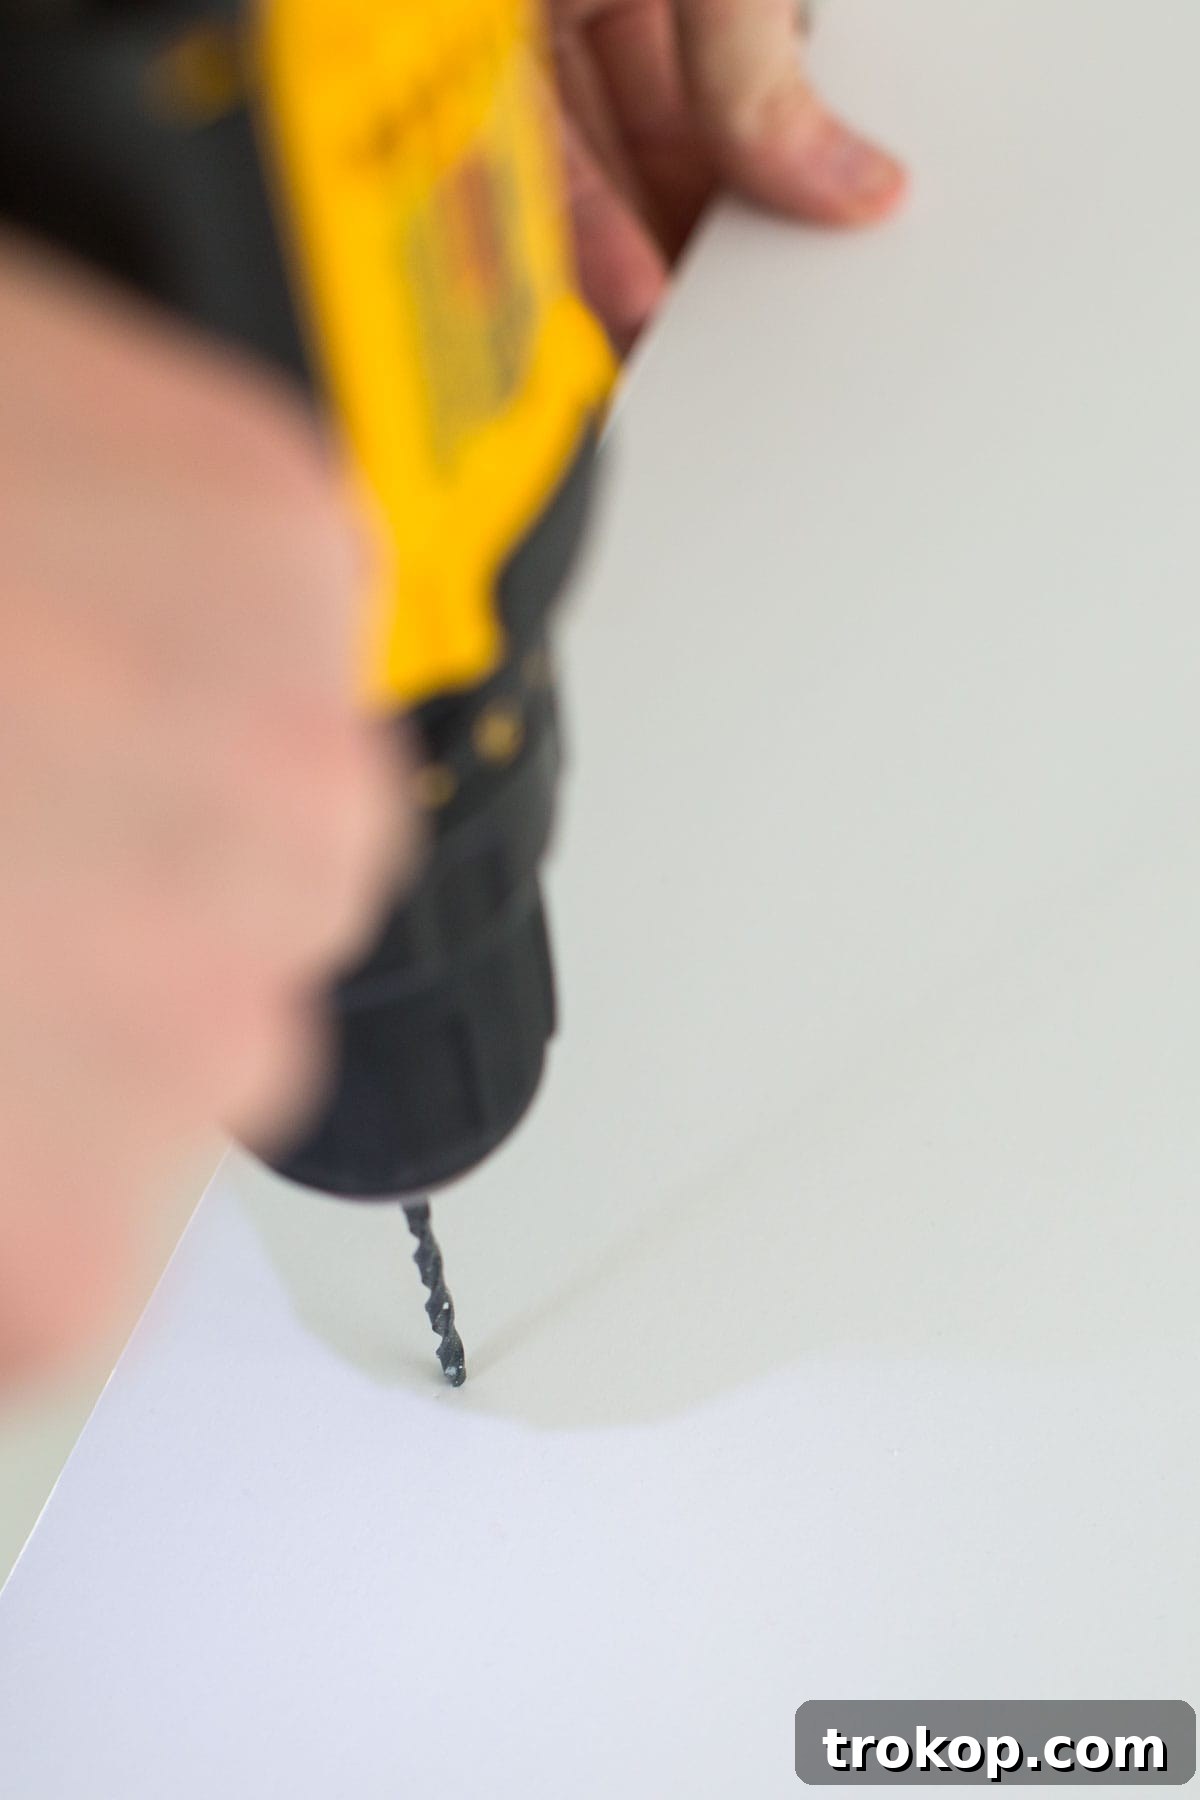
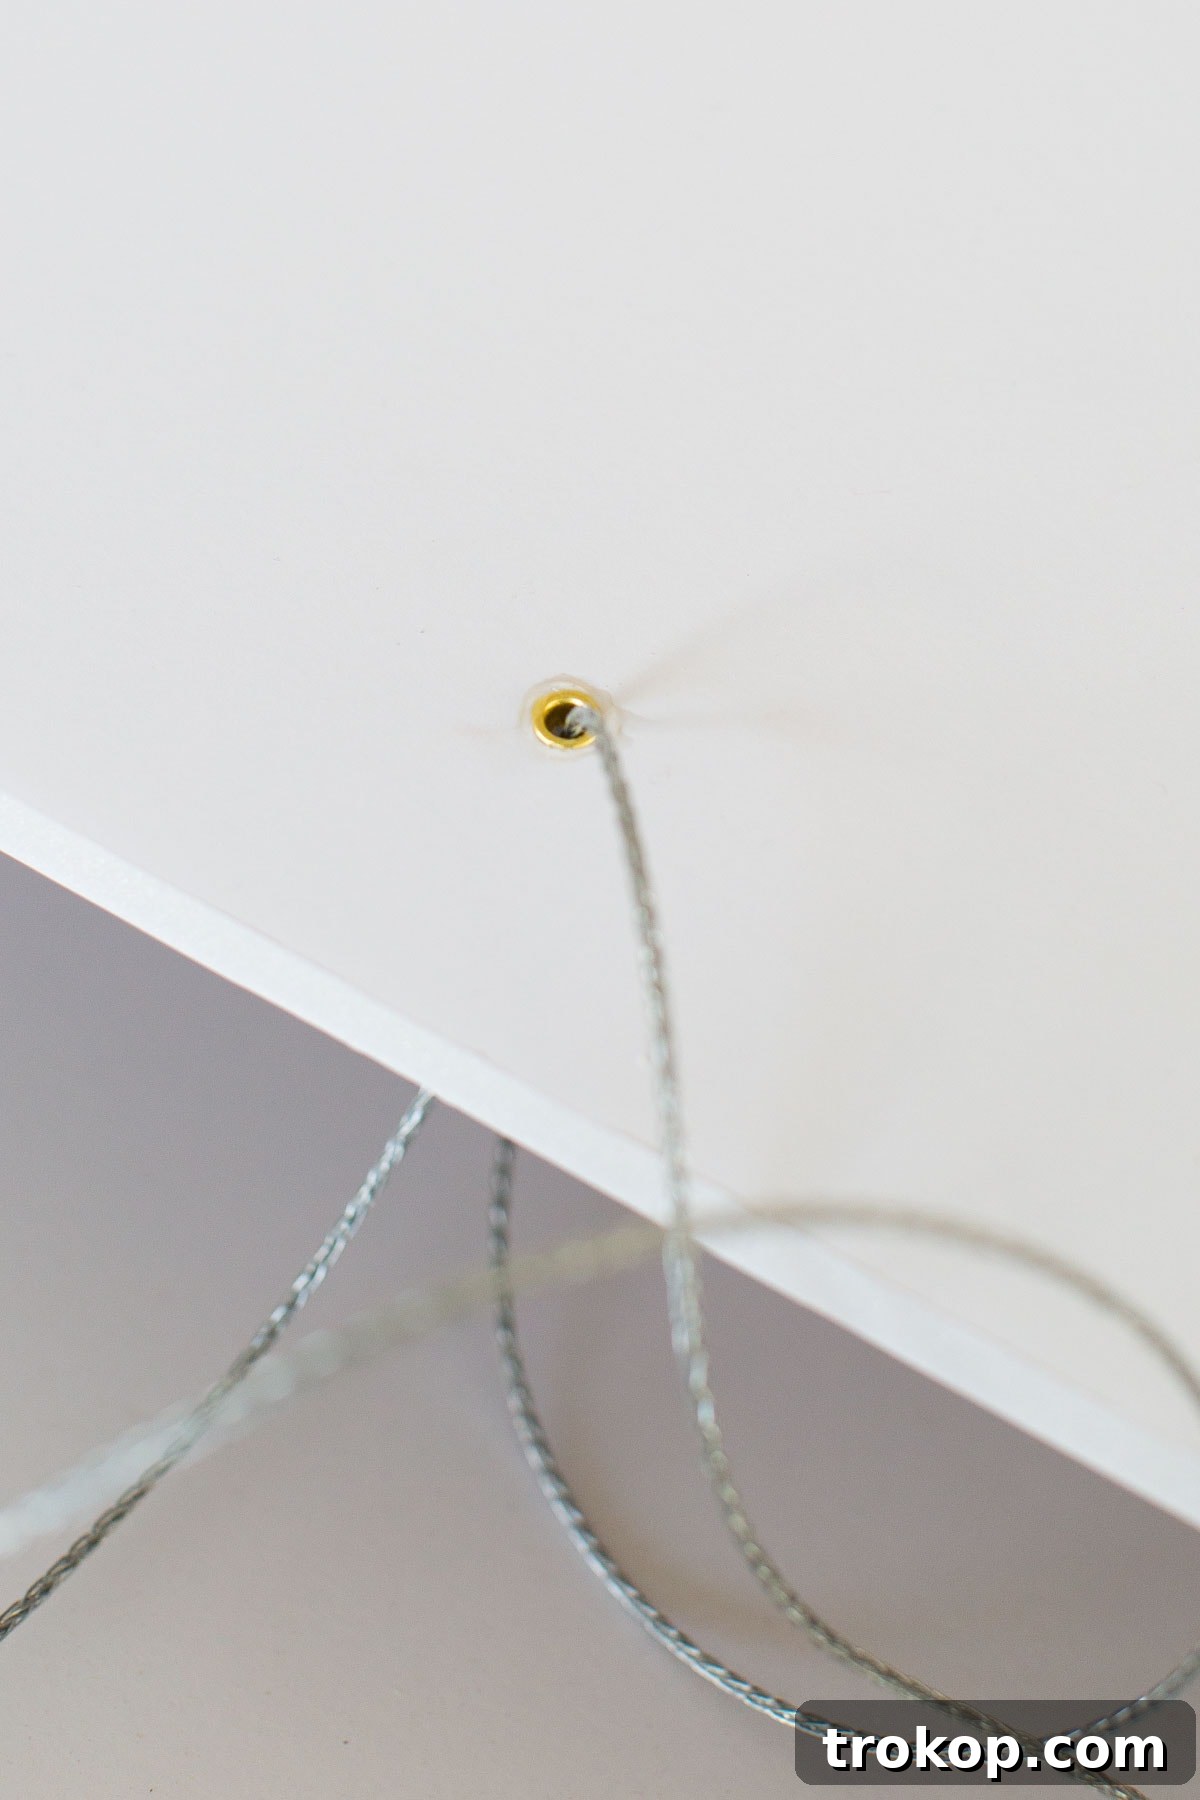
Measure a few inches from each end along the top edge of your cut foam board and mark two spots for drilling. Use your drill to create a small hole at each marked spot. These holes should be just large enough to fit your eyelets. Apply a strong adhesive (like superglue) around the edges of the holes and insert the eyelets. Allow the glue to dry completely. This step is crucial for distributing the weight evenly and preventing the wire from tearing through the foam board once your beautiful flowers are added.
Step 3: Apply the Moss Base
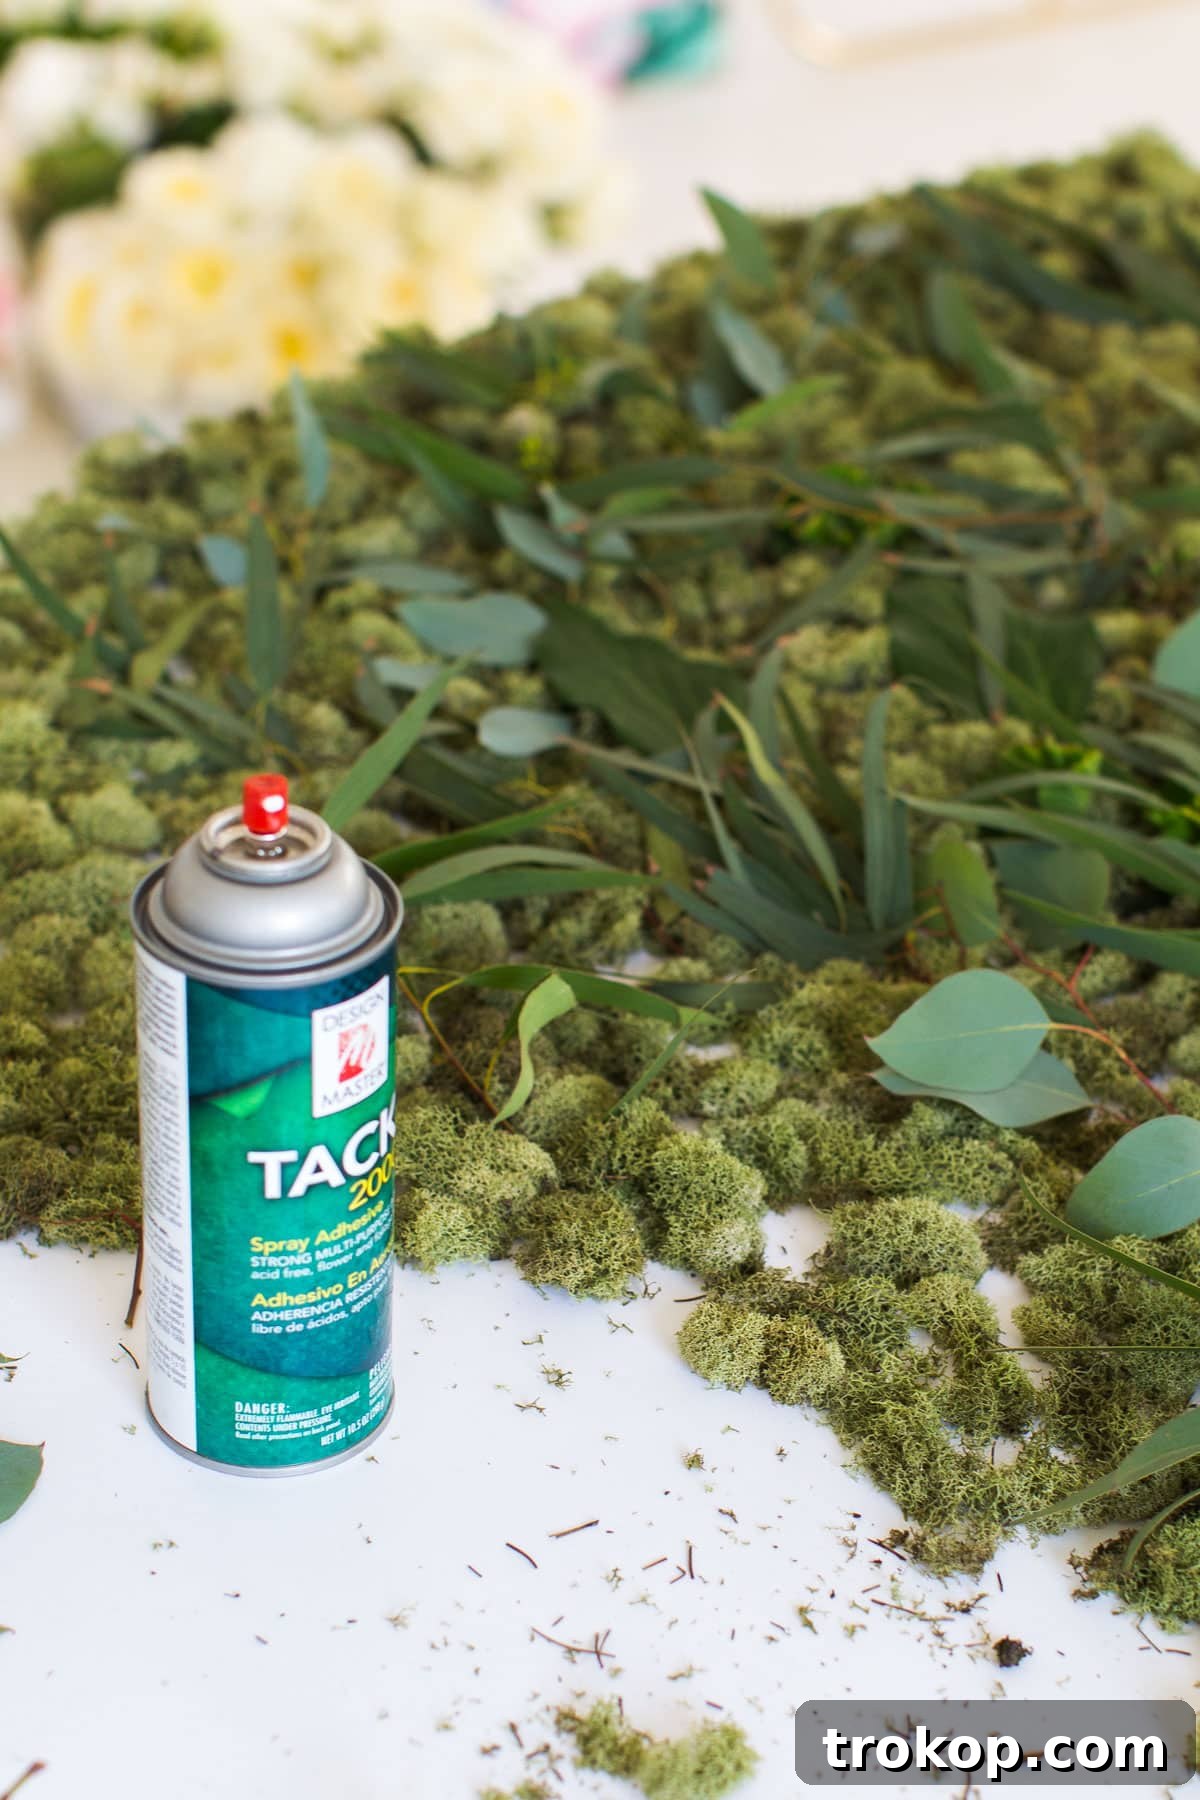
Lay your foam board on a protected surface in a well-ventilated area. Evenly spray one side of the board with spray adhesive. Work in sections if your board is large. Immediately after spraying, carefully press sheets of moss onto the adhesive, ensuring good contact and coverage over the majority of the foam board. This moss layer provides a natural, organic backdrop for your flowers and helps conceal the white foam board, giving your wall a professional and lush appearance.
Step 4: Arrange and Pin Your Flowers
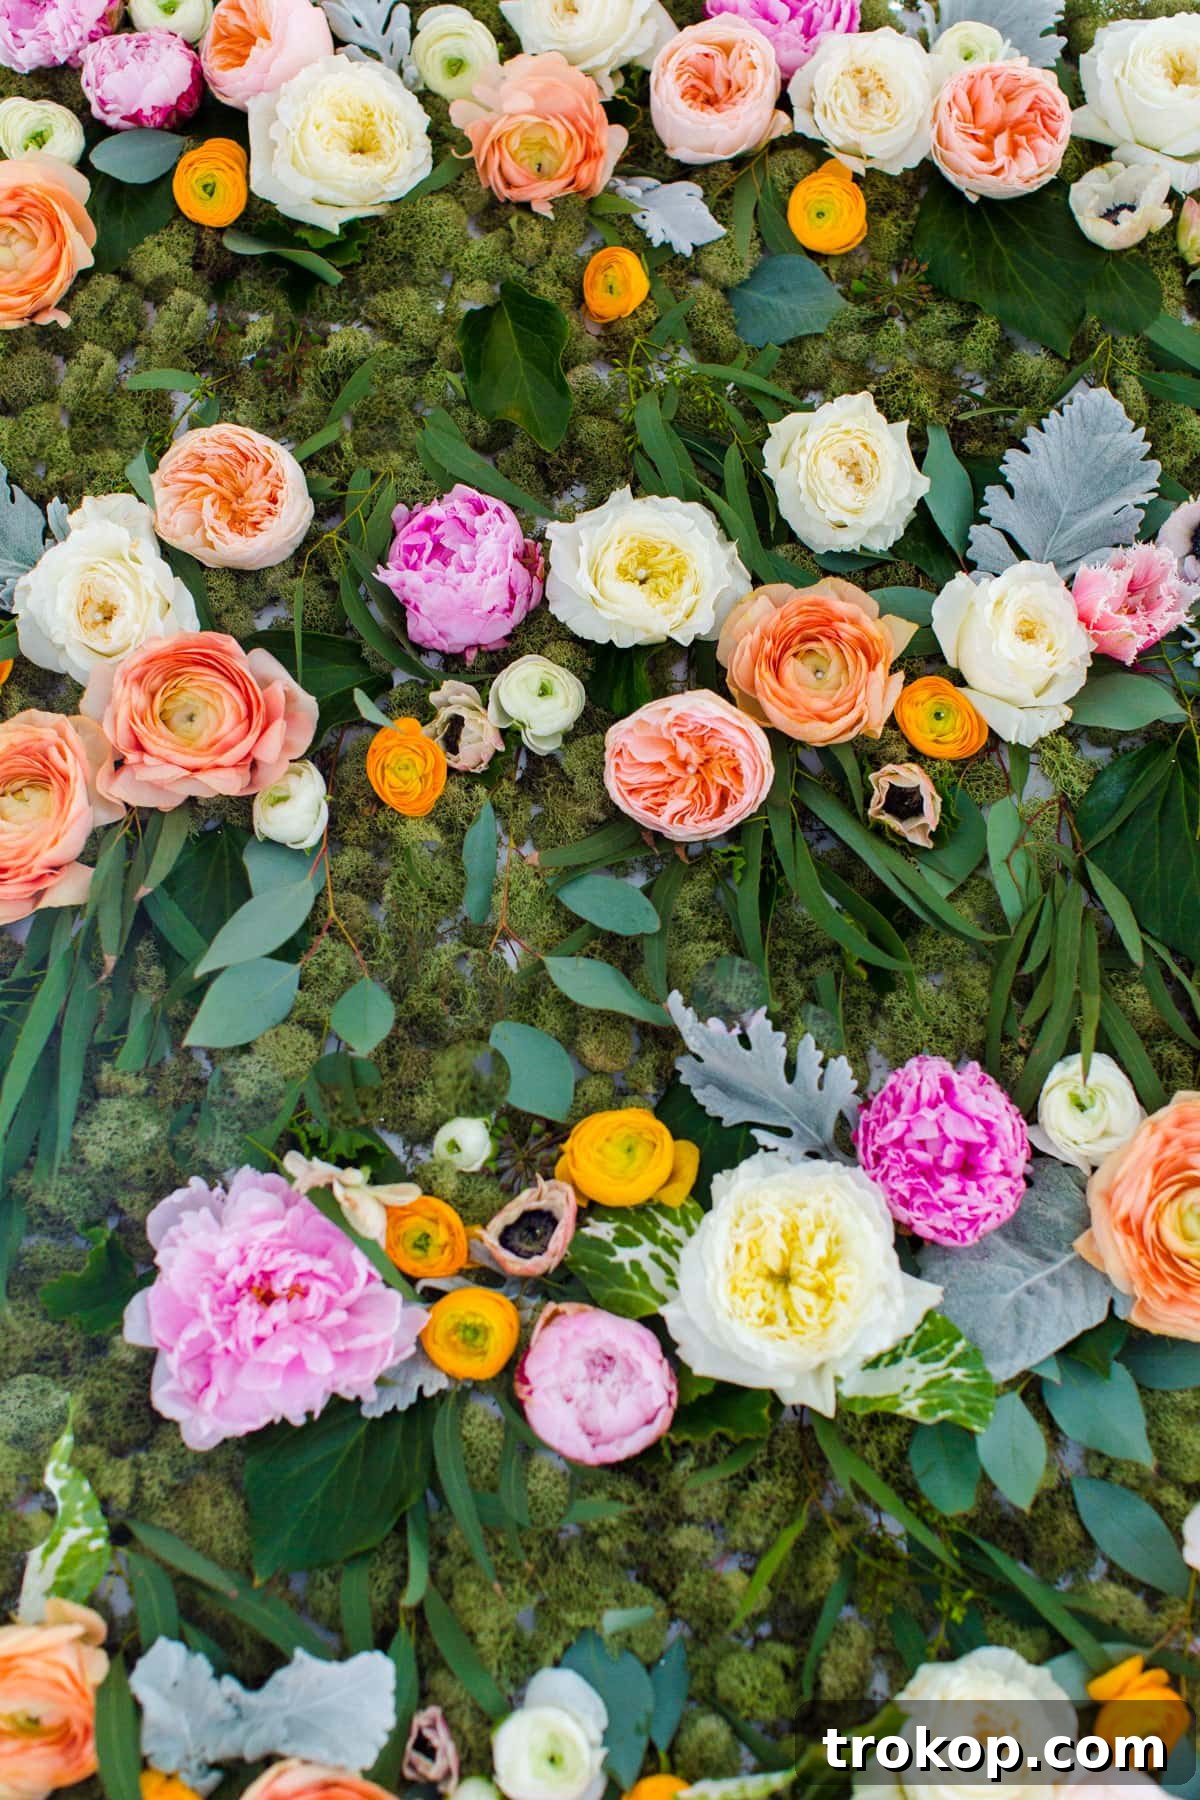
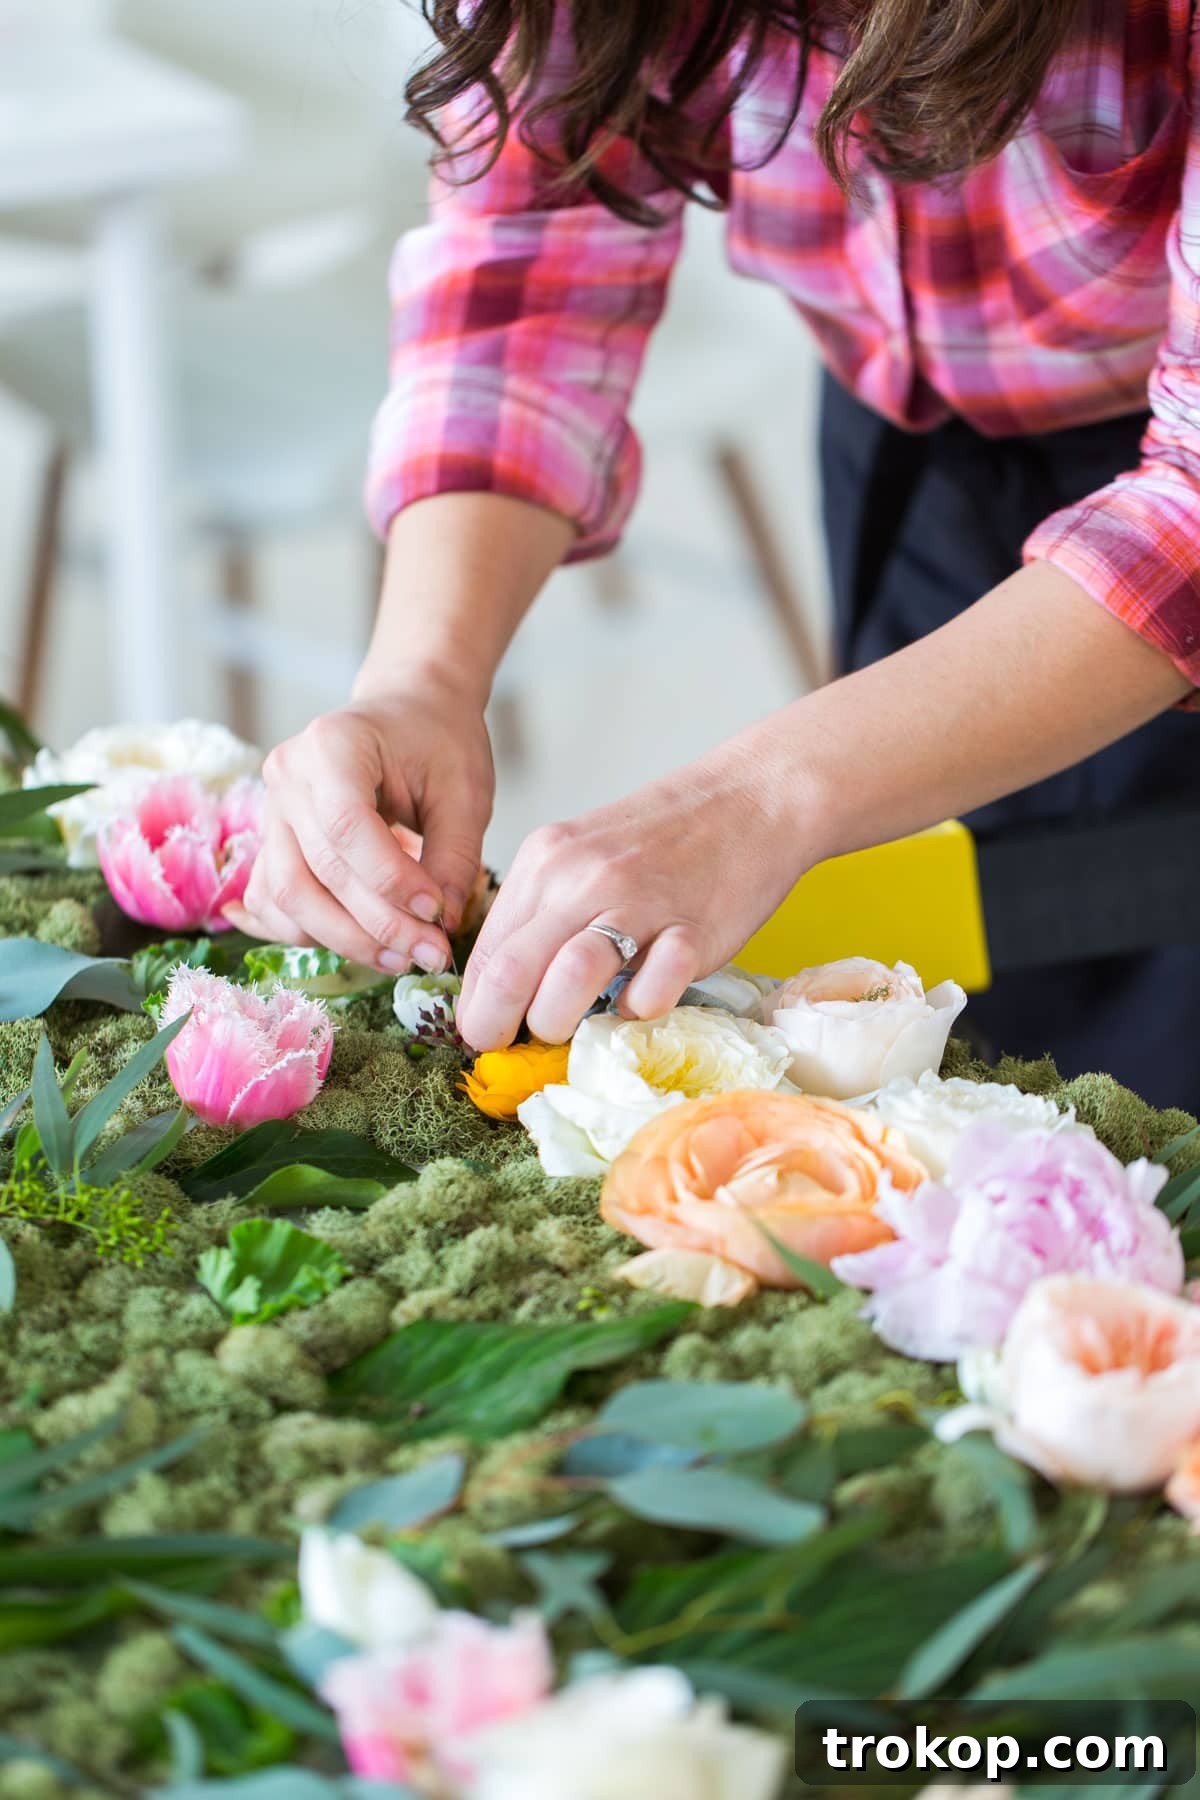
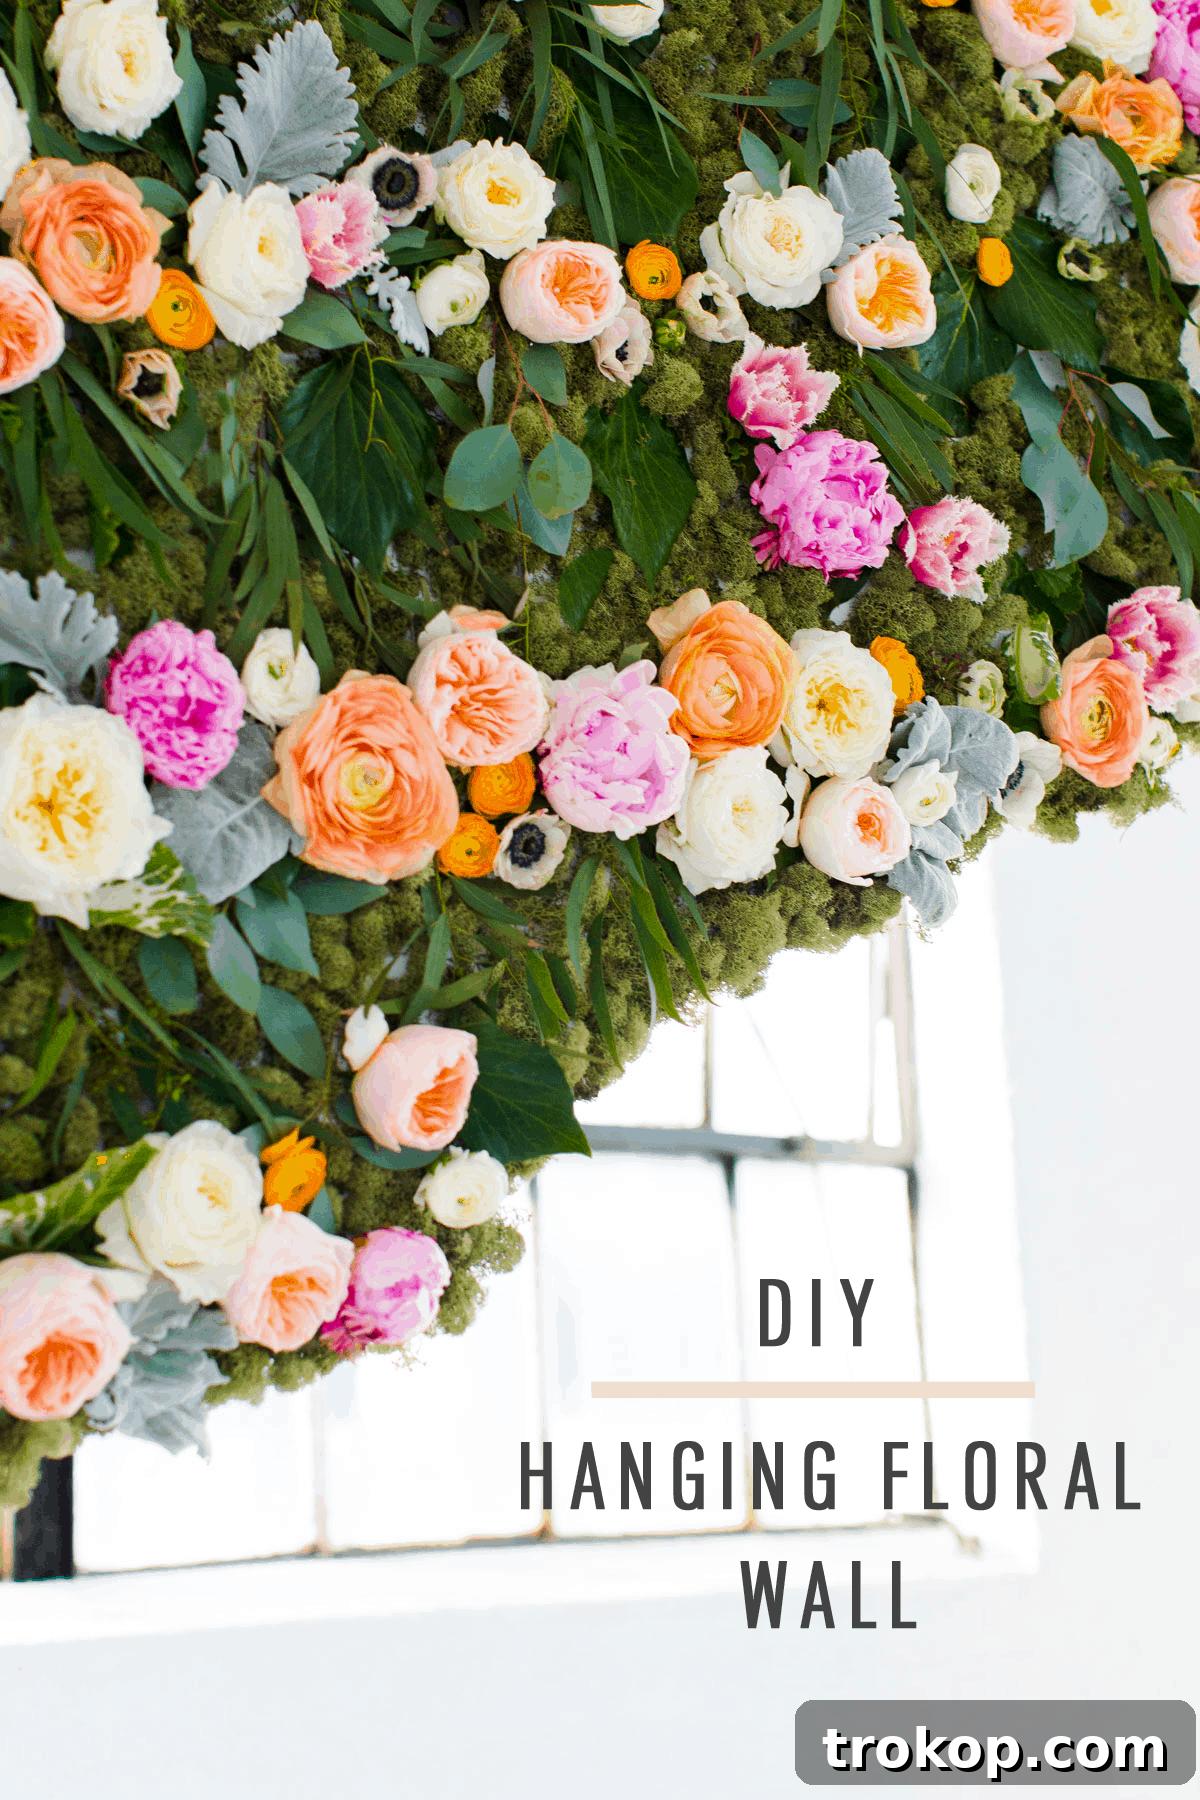
Now for the most creative part! Begin placing your flowers onto the moss-covered board, experimenting with different arrangements. Use sewing pins to securely attach each flower stem to the foam board, pushing them firmly through the moss and into the board. Consider various design patterns: you might create an ombre effect by fading colors from top to bottom, arrange them in distinct lines, or even vary the density of blooms to create an organic, flowing look. Don’t be afraid to mix flower types and sizes for added texture and depth. If using fresh flowers, trim stems short to prevent wilting.
Step 5: Final Assembly and Hanging
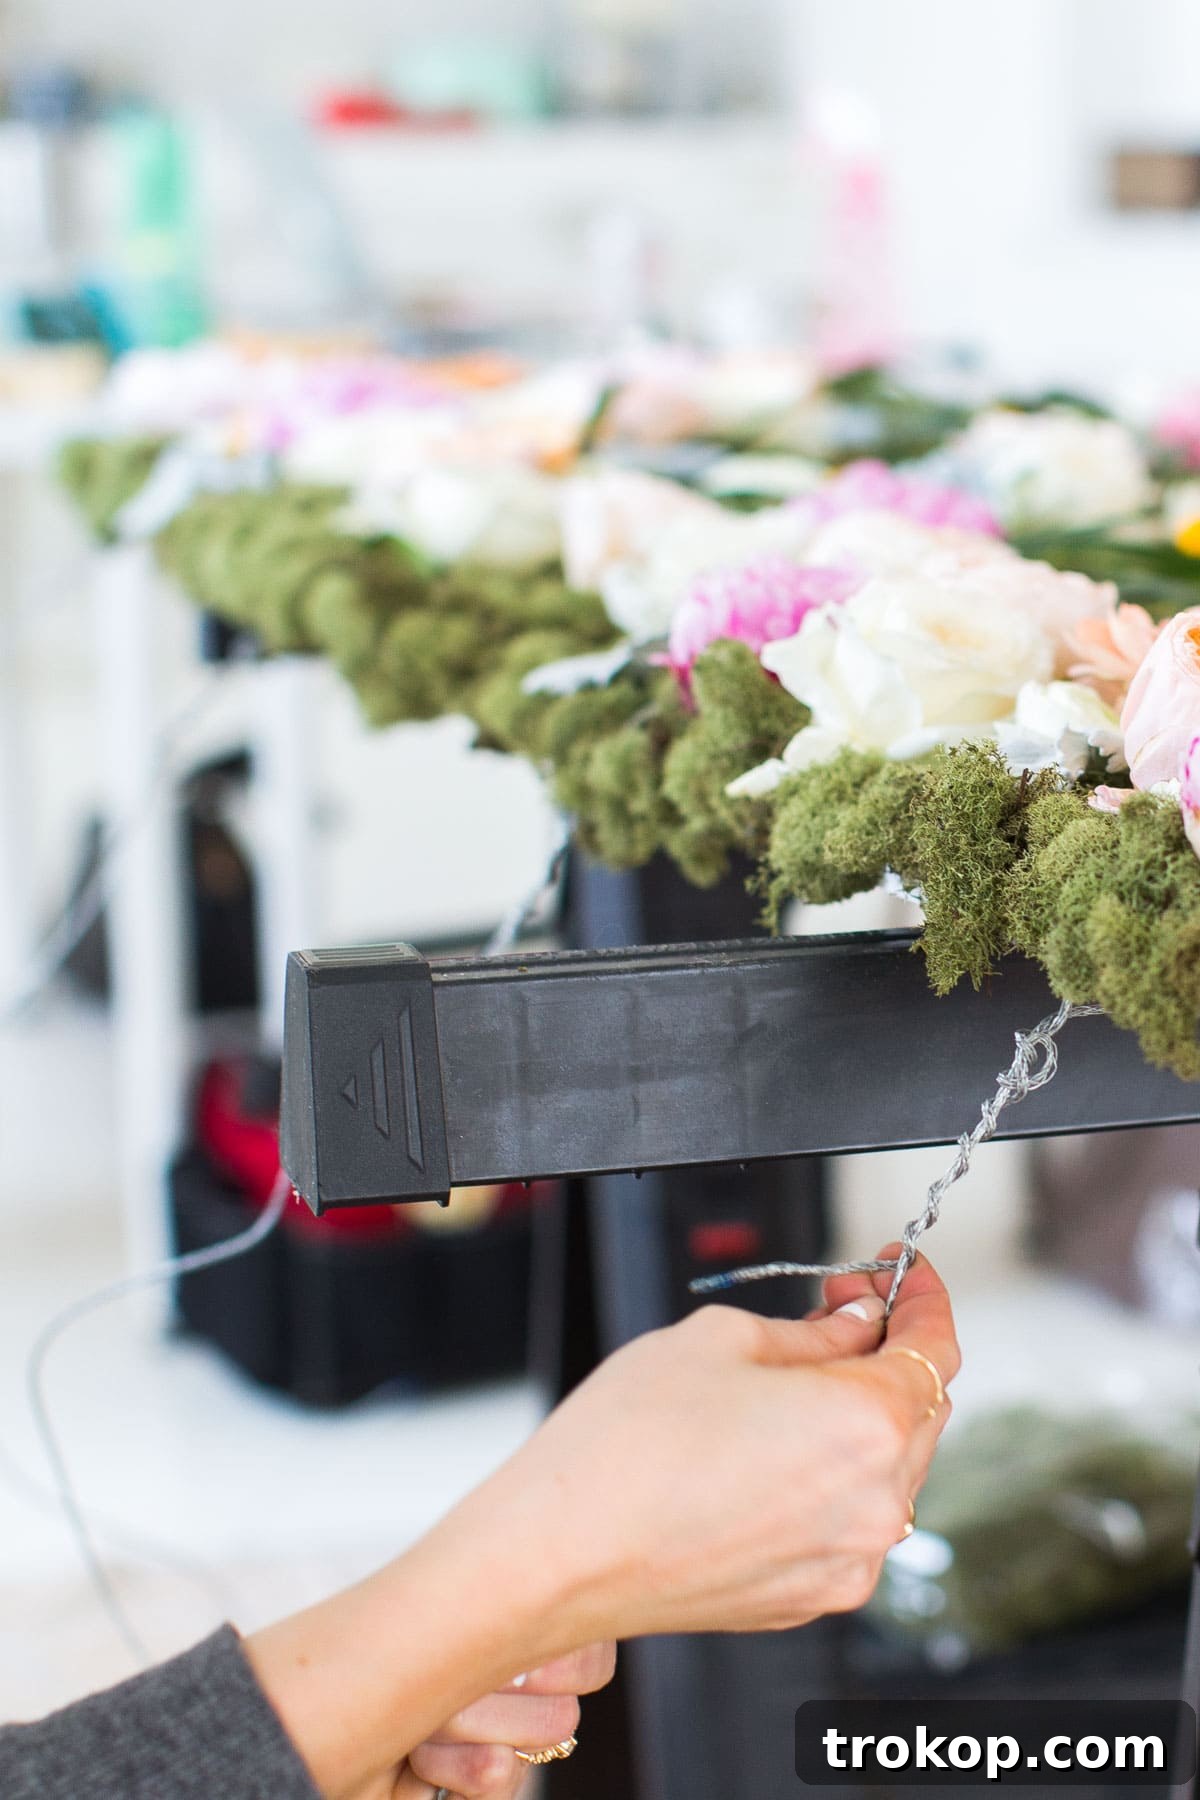
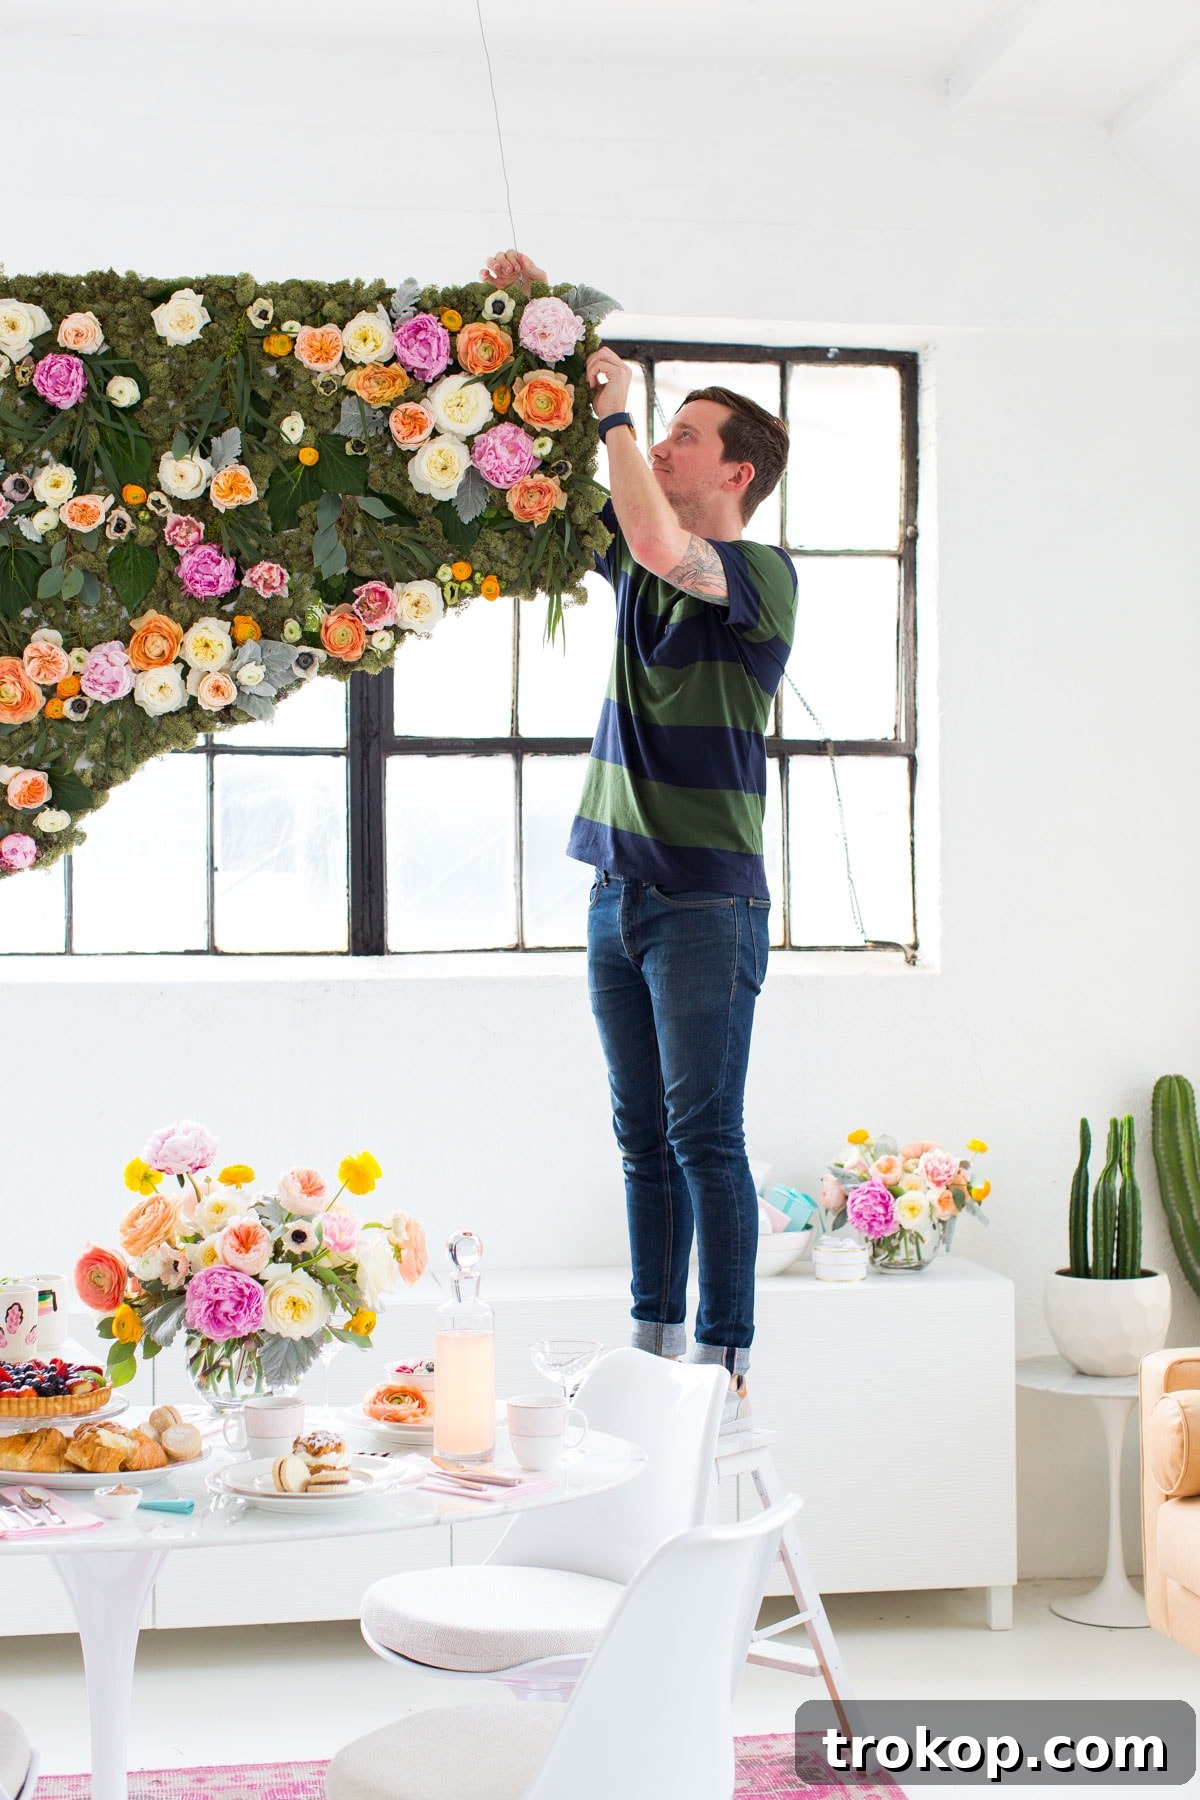
Once all your flowers are securely pinned and any additional elements (like extra greenery or small decorative accents) are in place, it’s time to prepare for hanging. Thread your picture wire through each of the eyelets you installed in Step 2. Securely knot and twist the wire in place on both ends, creating a strong loop for hanging. Ensure the wire is taut enough to support the weight but leaves enough slack for easy hanging. Finally, install screw eye hooks into your ceiling or desired hanging structure, making sure they are spaced appropriately to support the flower wall. Carefully lift and hang your beautiful DIY flower wall!
Tips for Customizing and Perfecting Your Flower Wall
Once you’ve mastered the basics, feel free to get creative and personalize your hanging flower wall even further:
- Add Greenery: Incorporate eucalyptus, ferns, or other foliage to add volume, texture, and a more natural feel.
- Incorporate Lighting: Weave battery-operated fairy lights through your flowers for a magical glow, especially enchanting for evening events.
- Mix Textures: Don’t limit yourself to just flowers. Consider adding silk ribbons, small pompoms, or even delicate paper elements for unique textural interest.
- Seasonal Themes: Adapt your flower choices to the season. Think bright sunflowers for summer, rich autumnal hues, delicate pastels for spring, or wintry white and silver blooms.
- Consider Durability: If using fresh flowers, spritz them lightly with water to keep them fresh for longer. For artificial walls, dust regularly to maintain their vibrancy.
- Practice Arrangement: Before pinning, lay out your flowers on a flat surface to get a sense of your design and color flow. This helps avoid unnecessary repositioning.
Creative Uses for Your DIY Flower Wall
The versatility of a hanging flower wall makes it suitable for a multitude of occasions and settings:
- Weddings and Engagements: Create a stunning ceremony backdrop, a beautiful photo booth wall, or a captivating focal point behind the sweetheart table.
- Baby Showers and Gender Reveals: A soft, floral backdrop adds charm to any celebration of new life.
- Birthday Parties: Perfect for milestone birthdays, providing a memorable setting for photos and festivities.
- Home Decor: Install it in a nursery, bedroom, or living area for a continuous touch of natural beauty and whimsy. It can even serve as unique wall art.
- Photography Backdrops: Professional and amateur photographers alike will find this a fantastic, versatile background for portraits, product shots, or styled flat lays.
- Retail Displays: Businesses can use a hanging flower wall to draw attention, create inviting window displays, or enhance in-store aesthetics.
Creating this DIY Hanging Flower Wall is a rewarding project that allows you to infuse any space with personalized beauty and charm. The impact it creates is far greater than the effort required, making it a truly worthwhile endeavor for anyone looking to add a touch of floral magic. Big thanks to Jared for handling the heavy lifting (literally!) during our initial shoot – a friendly reminder that sometimes, an extra set of hands makes all the difference, especially for taller installations!
So, gather your materials, let your creativity bloom, and enjoy the process of crafting a magnificent floral display that will undoubtedly garner compliments and admiration.