
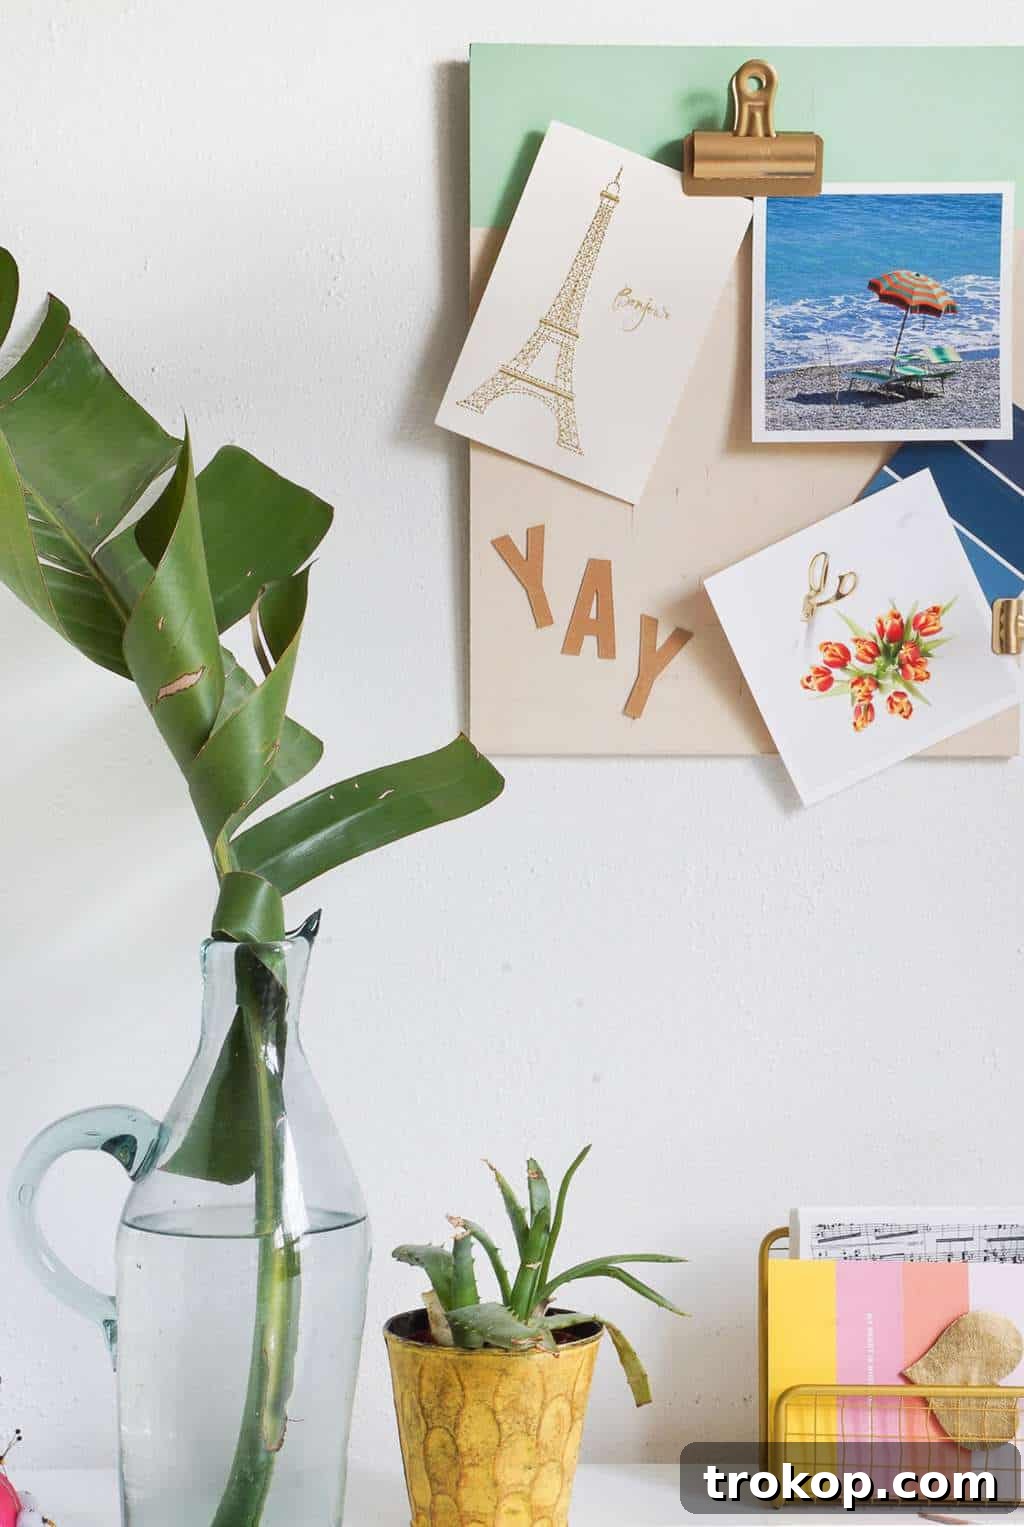
DIY Pin Up Clipboard: Elevate Your Workspace with Creative Inspiration
Transform your desk or home office into a hub of creativity with this simple yet ingenious DIY Pin Up Clipboard. Discover how to craft a beautiful, functional display board that keeps your inspiration fresh and your workspace clutter-free. This easy project is designed to enhance your daily motivation without overwhelming your senses.
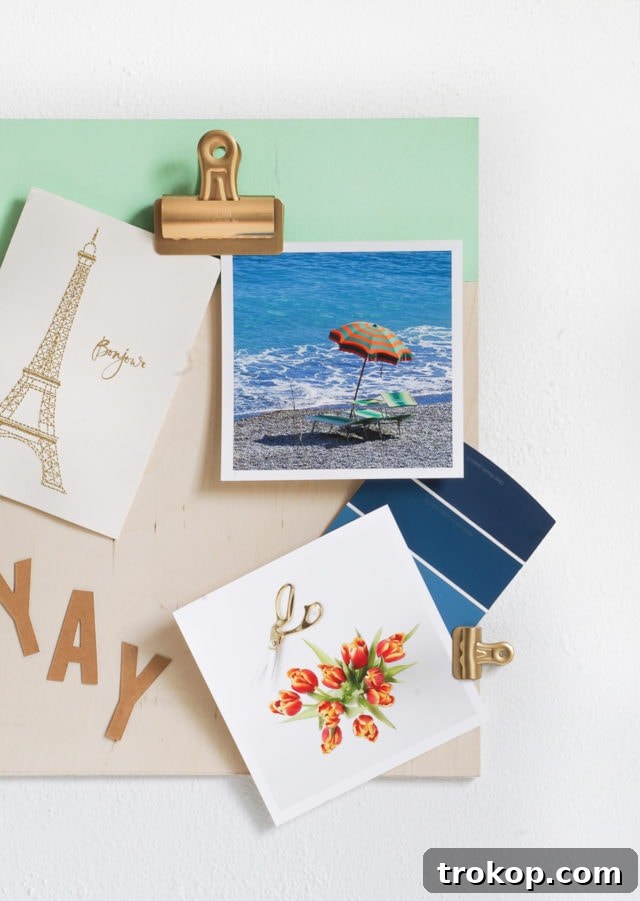
As creative individuals, many of us share a common habit: collecting small treasures that spark joy and fuel our ideas. From heartfelt embroidered cards and intriguing sketches to cherished travel photos and handwritten notes, these snippets of inspiration are invaluable. They serve as visual reminders of beauty, potential, and personal growth, making our workspaces feel more personal and vibrant.
However, as I, Erin, have personally experienced, there’s a delicate balance to strike. While a desk adorned with inspiring elements can be wonderful, an excess of anything can quickly transform into a hindrance. A cluttered display, no matter how meaningful each item, can lead to a chaotic and stressful environment. Instead of fostering creativity, an overly busy space can actually stifle it, making it difficult to focus and generate new ideas.
I realized the need for a more organized and intentional approach to displaying my cherished inspirations. My goal was to find a solution that would allow me to curate my visual motivators, presenting just a handful of pieces at a time, ensuring my workspace remained serene and conducive to creative thought. This led to the creation of a wall-hung DIY Pin Up Clipboard – a stylish, compact, and perfectly sized display board designed to hold only what truly resonates in the moment.
The beauty of this project lies in its simplicity and its core philosophy: regular rotation. By frequently updating the displayed items, you keep your inspiration dynamic and fresh, preventing visual fatigue and ensuring each piece continues to serve its purpose. This project is far more than just attaching a clip and a hanger to a piece of plywood; it’s a testament to the power of thoughtful organization in nurturing creative sanity. It’s an effortless way to bring order and focused inspiration to your daily routine, turning a potentially overwhelming collection into a well-curated source of motivation.
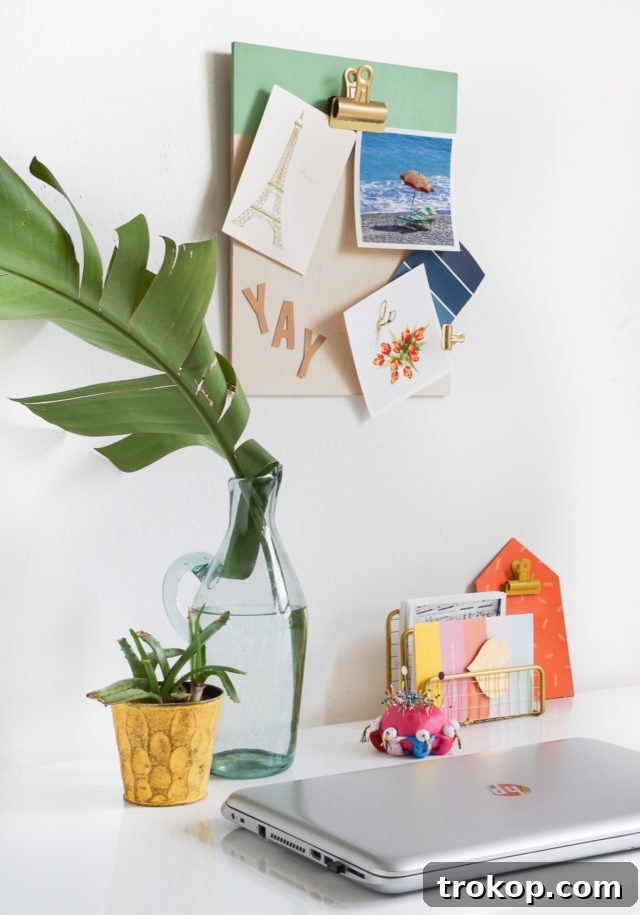
Table of Contents
Materials Needed to Make a DIY Pin Up Clipboard
Gathering your supplies is the first exciting step in bringing this project to life. Most of these items can be found at your local craft store, hardware store, or online. The beauty of this DIY lies in its accessibility and the opportunity to personalize it with your choice of colors and finishes.
- 1/4″ thick plywood board: Cut to measure 12″ x 15″. This size is ideal for a focused display without taking up too much wall space. You can have this cut at most hardware stores.
- Acrylic paint: Choose a color that complements your existing decor or adds a vibrant pop of color to your workspace. Matte or satin finishes work wonderfully.
- Paint brush: A flat brush works best for smooth, even coverage on the plywood.
- Painter’s tape: Essential for creating clean, crisp lines if you opt for a two-tone design.
- Large bulldog clip: This will be the main clip for holding your larger pieces of inspiration.
- Optional: small bulldog clip: Great for adding extra hanging capacity for smaller notes or photos.
- Spray paint: Select a color that contrasts beautifully with your acrylic paint, adding an extra layer of visual interest to your clips.
- Industrial adhesive: A strong adhesive is crucial for securely attaching both the picture hanger and the bulldog clips to the plywood, ensuring durability.
- Brass picture hanger: This will allow you to easily hang your finished clipboard on the wall.
How to Make a DIY Pin Up Clipboard
Follow these straightforward steps to construct your personalized inspiration board. This project is beginner-friendly and requires minimal tools, making it perfect for an afternoon craft session.
Step 1: Prepare Your Board with Painter’s Tape
Begin by taking your plywood board. Using a measuring tape, carefully measure 3-3/4 inches down from the top edge of the board. Once you’ve marked this point, apply a band of painter’s tape horizontally across the board, ensuring it forms a perfectly straight line. Press down firmly on the tape to seal the edges, which will prevent paint from bleeding underneath and guarantee a crisp, clean separation between your painted and unpainted sections. This step is crucial for achieving a professional, finished look.
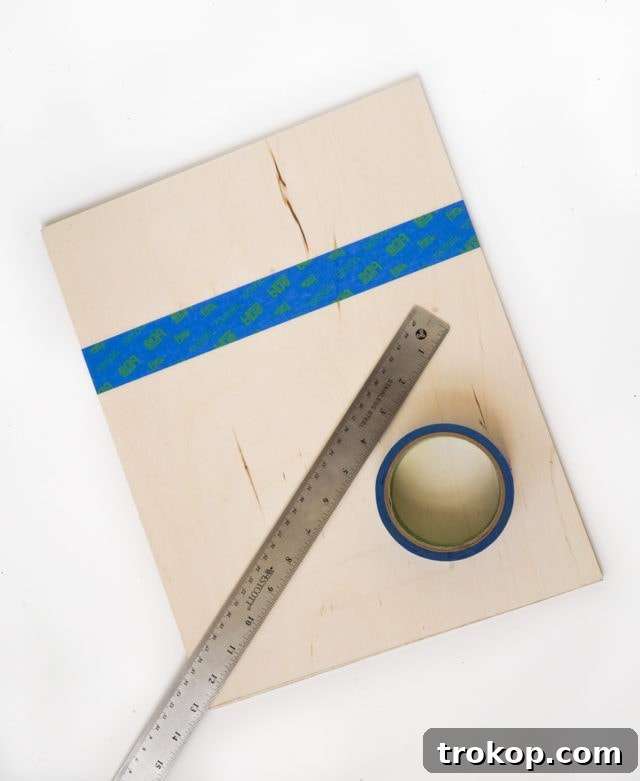
Step 2: Paint the Top Section of the Board
With the painter’s tape securely in place, it’s time to add some color. Using your chosen acrylic paint and paintbrush, carefully paint the top portion of the board, above the tape line. Apply the paint in smooth, even strokes. Depending on the opacity of your paint and the desired look, you might need to apply a second coat after the first has dried completely. Allow ample drying time for the paint to cure fully before proceeding to the next step. This ensures durability and prevents smudging.
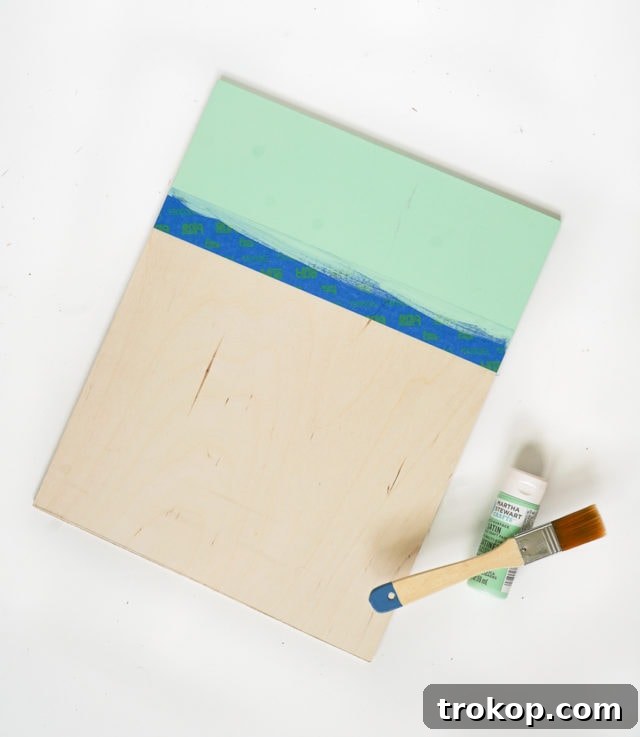
Step 3: Spray Paint Your Bulldog Clips
Next, take your large and (optional) small bulldog clips. In a well-ventilated area, spray paint them with your chosen contrasting color. Lay them on a piece of cardboard or newspaper to protect your work surface. Apply several light, even coats rather than one thick coat, allowing each layer to dry for a few minutes between applications. This technique prevents drips and ensures a smooth, professional finish. The contrasting color will make your clips stand out, adding a stylish detail to your finished clipboard.
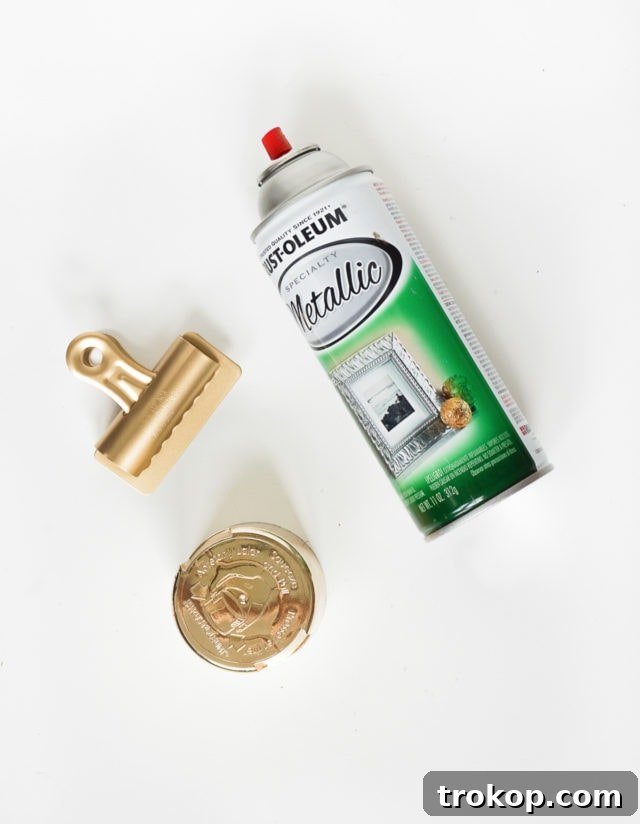
Step 4: Attach the Picture Hanger
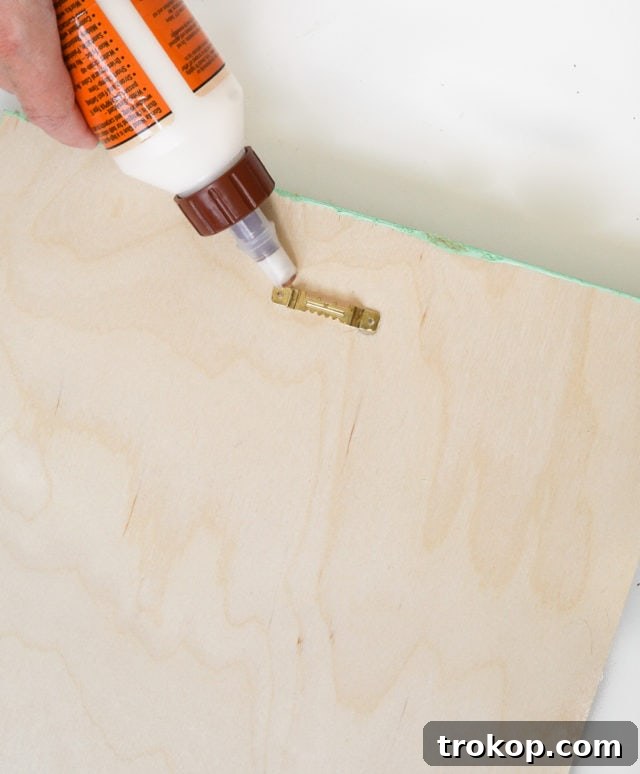
Flip your plywood board over to the back. Apply a generous amount of industrial adhesive to the back of the brass picture hanger. Carefully position the picture hanger at the top center of the board, ensuring it’s straight and level. Press firmly to establish a strong bond.
Step 5: Allow Adhesive to Dry Completely
This is a critical step for the longevity of your clipboard. Refer to the industrial adhesive manufacturer’s instructions for recommended drying times. It’s often best to let it cure for several hours, or even overnight, to ensure maximum strength and prevent the hanger from detaching when the board is hung. Patience here will pay off!
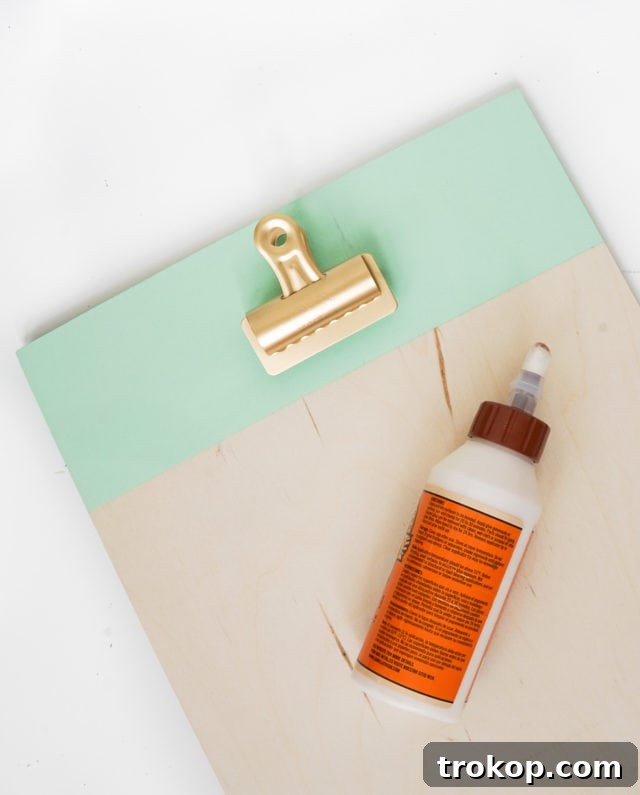
Step 6: Glue the Large Bulldog Clip to the Front
Once the picture hanger adhesive is fully cured, turn the board back to the front. Apply industrial adhesive to the back of the large bulldog clip. Carefully position this clip centered on the painted band you created in Step 2. Press firmly and hold for a few moments to ensure the clip adheres well. Again, allow the adhesive to dry completely according to manufacturer instructions before handling or applying pressure.
Step 7: Add the Optional Small Bulldog Clip
If you wish to expand your display capabilities, you can glue the small bulldog clip to the side or bottom of the board. This offers more versatile hanging power for smaller items like business cards, tiny notes, or individual photos. This step is entirely optional but can add a charming and practical touch to your custom pin up board.
Final Step: Hang and Inspire!
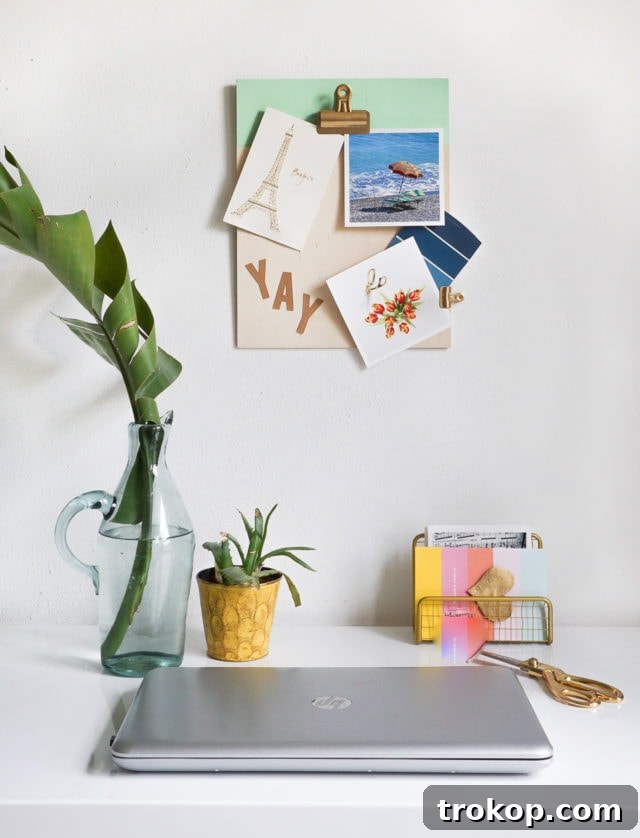
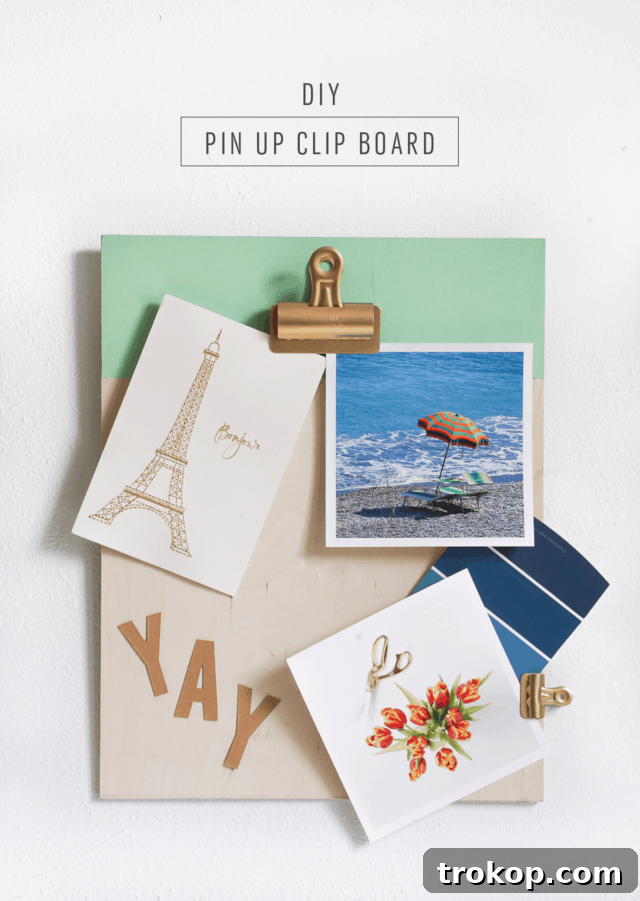
With all components securely attached and adhesives fully dry, your DIY Pin Up Clipboard is ready! Hang it on your wall in your office, studio, kitchen, or any space where you need a burst of inspiration. Start clipping on your favorite photos, quotes, fabric swatches, sketches, or anything that fuels your creativity. Remember to rotate your display regularly to keep your ideas fresh and your space feeling vibrant and inspiring.
Customizing Your Pin Up Clipboard
The beauty of a DIY project is the freedom to make it truly your own. Don’t feel limited by the colors or materials used in this tutorial. Consider these ideas to personalize your pin up clipboard:
- Paint Colors & Patterns: Instead of a solid painted band, try geometric patterns, stripes, or even a stencil. Use metallic paints for a glamorous touch, or vibrant neons for a playful vibe. You could also paint the entire board a single color or distress it for a rustic look.
- Board Size & Shape: While 12″ x 15″ is a versatile size, you might prefer a larger board for a statement piece or a smaller one for a subtle accent. Experiment with different shapes like a circular or hexagonal board for a truly unique display.
- Clip Alternatives: If bulldog clips aren’t your style, consider using binder clips, smaller decorative clips, or even magnetic strips if your board is thin enough to hold magnets (though plywood may not be ideal for this). You could also drill small holes and thread through a decorative ribbon or string to hang items.
- Adding Textures: Cover a section of the plywood with cork board, fabric, or decorative paper before adding the clips. This can add an interesting tactile element and another layer of visual appeal.
- Embellishments: Attach small hooks to the bottom edge for hanging keys, jewelry, or lightweight tools. Add decorative thumbtacks around the perimeter for an extra touch of flair.
Maximizing Your Creative Space
A DIY Pin Up Clipboard is more than just a decorative item; it’s a tool for enhancing productivity and well-being in your workspace. Here are some tips on how to best utilize it:
- Strategic Placement: Hang your clipboard within easy view from your desk. This ensures that your chosen inspirations are always accessible, offering a quick mental reset or a burst of motivation when you need it most.
- Curated Content: Be selective about what you display. Choose items that genuinely resonate with you in the present moment. This could be a motivational quote, a color palette for a new project, a photograph that evokes peace, or a snippet of text that sparks an idea.
- Seasonal Rotation: Consider rotating your display with the seasons or in line with your current projects. This keeps your board dynamic and prevents it from blending into the background. For example, in spring, display floral imagery; in winter, cozy textures.
- Goal Tracking: Use your clipboard not just for inspiration but also for tangible goals. Clip up a weekly to-do list, a progress tracker for a project, or visual representations of long-term aspirations. Seeing them daily can provide a powerful push.
- Decluttering Tool: This clipboard can act as a filter. Before pinning something, ask yourself if it truly belongs there. If your board feels full, it’s a good prompt to review and remove older items, ensuring only the most impactful pieces remain.
By mindfully crafting and curating your pin up clipboard, you’re not just organizing a space; you’re cultivating an environment that actively supports your creative journey and helps you stay focused on what truly matters.
What about you? Do you collect anything in particular as a means of inspiration for your home or office? Share your thoughts and ideas!