
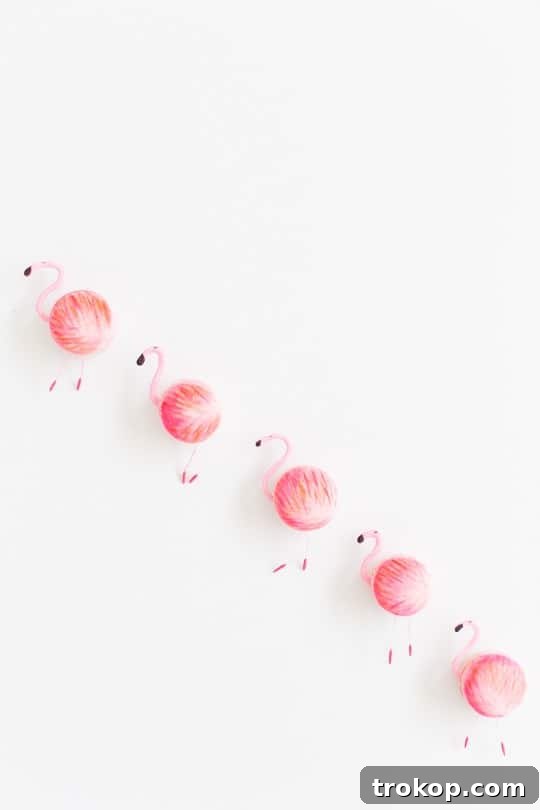
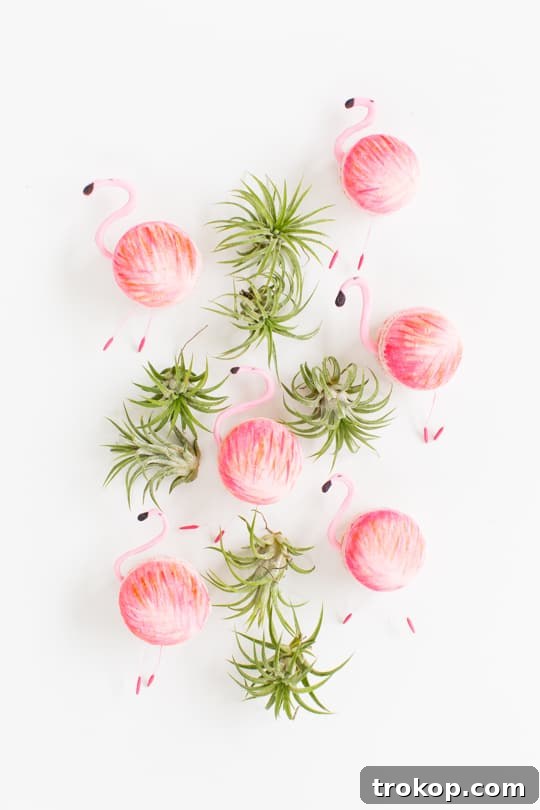
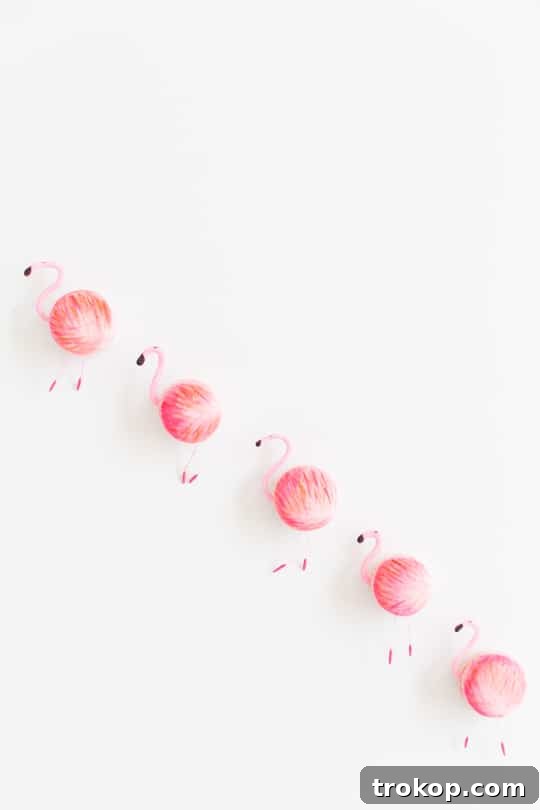
Step into a world of whimsical baking where delicate flavors meet enchanting aesthetics! If you’re anything like us, you’ve fallen head over heels for the charm of French macarons. And what could be more delightful than transforming these sophisticated confections into a flock of fabulous flamingos? Get ready to unleash your inner pastry artist as we guide you through crafting adorable DIY flamingo macarons, perfect for adding a touch of tropical elegance to any occasion.
Macarons are more than just a dessert; they’re miniature works of art that bring joy with every bite. Combining the airy crunch of the shell with a creamy, flavorful filling, they’re a true indulgence. But why stop at delicious when you can also make them incredibly cute? Our DIY flamingo macarons are designed to be the star of your next summer gathering, pool party, or any event that calls for a splash of vibrant fun. Imagine the smiles and admiration as your guests discover these charming, hand-decorated treats!
Why Flamingo Macarons Are Your Next Must-Try Baking Project
These pretty little ladies aren’t just visually appealing; they embody the spirit of summer fun and sophistication. Here’s why diving into this macaron decorating project is an absolute must:
- Unforgettable Impression: Move beyond basic desserts. These unique flamingo macarons will undoubtedly be a conversation starter and leave a lasting impression on your guests. They elevate any dessert table from ordinary to extraordinary.
- Perfect for Summer Celebrations: Whether it’s a sizzling pool party, a serene garden brunch, or a festive birthday bash, flamingos instantly evoke a sense of tropical paradise and joyful celebration. They’re the quintessential summer treat!
- Creative Outlet: Baking is a fantastic form of self-expression, and decorating macarons offers a delightful canvas. This project allows you to play with colors, shapes, and textures, creating something truly unique and personal.
- Surprisingly Achievable: While macarons have a reputation for being challenging, decorating them is often the most enjoyable and accessible part. Our step-by-step guide breaks down the process into simple, manageable steps, ensuring even novice decorators can achieve stunning results.
- A Touch of Whimsy: In a world often too serious, these playful macarons bring a much-needed dose of whimsy and cheer. They’re a reminder that food can be both delicious and incredibly fun!
And yes, while we joke about them being “low in calories” (because who can resist just one?), the true joy comes from the creative process and the delighted faces of those who get to enjoy them. So, let’s gather our tools and ingredients and get started on this delightful journey!
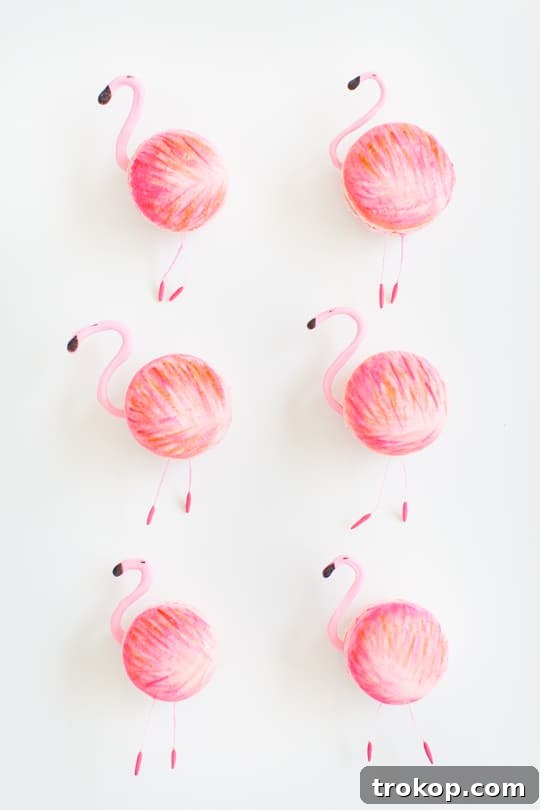
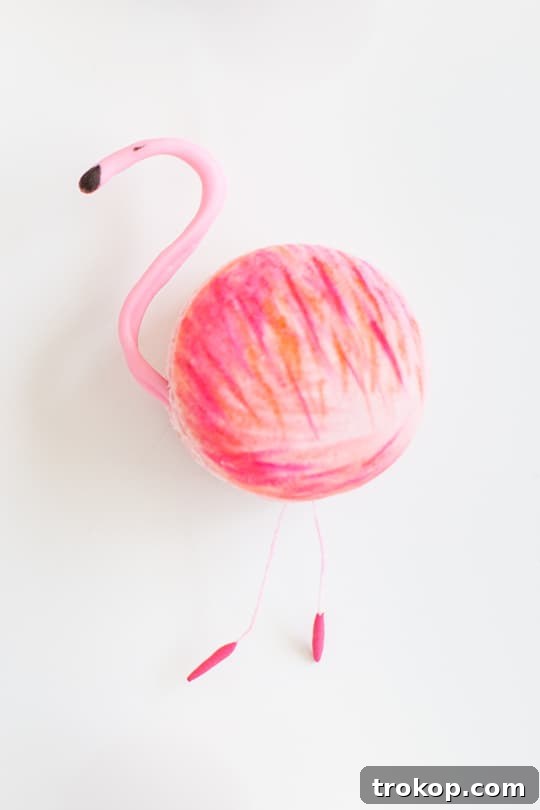
Essential Materials for Your Flamingo Macarons
Before we dive into the creative process, let’s ensure you have all the necessary supplies. A well-prepared workspace makes the decorating process much smoother and more enjoyable. Here’s what you’ll need to create your magnificent flamingo macarons:
- Pink Melting Chocolates: These will be the foundation for our elegant flamingo heads. Choose a good quality melting chocolate that melts smoothly for easy piping and sets firmly.
- Fondant Flower Stamens (for the feet): These delicate, edible stamens are perfect for replicating the slender, graceful legs of a flamingo. They come in various colors, but white or light yellow will work best for a natural look.
- Almond Extract: This essential ingredient will thin our gel food coloring, transforming it into edible paint. It also adds a subtle, pleasant aroma to our decor.
- Food Dedicated Paint Brush: It’s crucial to use a brand new, clean paintbrush that has never been used for non-food items. This ensures hygiene and prevents any unwanted flavors or chemicals from transferring to your delicious macarons.
- Pink and Peach Gel Food Coloring: Gel food colorings are highly concentrated and produce vibrant, rich colors without adding too much moisture. The combination of pink and peach will create a beautiful, natural feather effect for our flamingos.
- Strawberry Pink Macarons: These will be the bodies of your flamingos. You can either bake your own batch of perfectly pink macaron shells (perhaps with a delicious strawberry filling!) or, for a quicker option, purchase high-quality pre-made pink macaron shells. The key is a smooth, sturdy shell.
- Black Food Marker: An indispensable tool for adding fine details like eyes and beaks. Look for a food-safe marker with a fine tip for precision.
- Wax Paper: This non-stick surface is ideal for piping our chocolate flamingo heads and allowing them to set without sticking.
- Piping Bag and Small Round Piping Tip: Essential for creating the delicate chocolate flamingo heads. A small round tip (like a Wilton #2 or #3) will give you the control needed for intricate shapes.
Having everything laid out and ready will streamline your decorating process and help you focus on the creative fun. Let’s get baking (or decorating)!
How To Make DIY Flamingo Macarons: A Step-by-Step Guide
Now for the exciting part – transforming your lovely pink macarons into an adorable flock of flamingos! Follow these detailed steps to bring your vision to life. Remember, patience and a steady hand are your best friends here.
Step 1: Crafting the Elegant Flamingo Heads
Our flamingos will begin to take shape with their distinctive, curvy heads. This step requires a bit of precision but is incredibly rewarding.
- Prepare Your Workspace: Lay down a sheet of wax paper on a flat, stable surface. This will prevent your chocolate heads from sticking and allow them to cool perfectly.
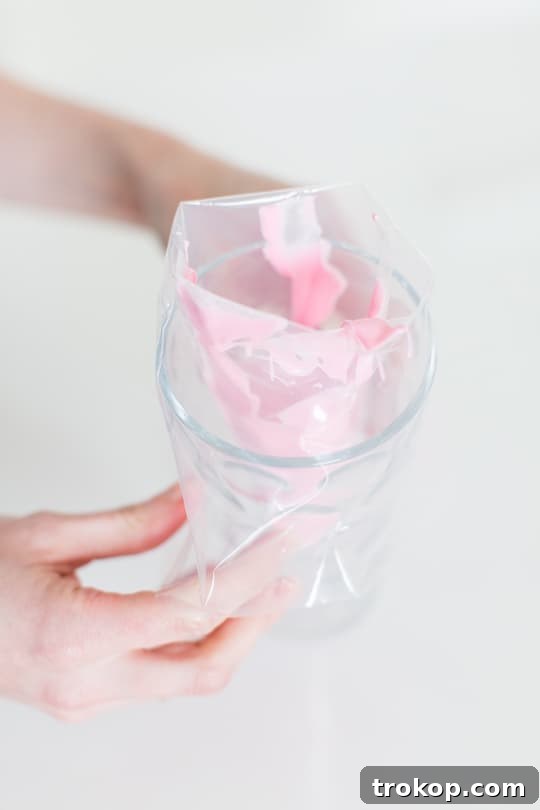
- Melt the Pink Chocolate: Carefully temper your pink melting chocolates according to the package instructions. This typically involves melting them in a microwave at short intervals, stirring frequently, or using a double boiler. Ensure the chocolate is completely smooth and free of lumps for seamless piping.
- Fill the Piping Bag: Spoon the melted chocolate into your piping bag fitted with the small round piping tip. Twist the top of the bag to secure the chocolate and prevent it from oozing out.
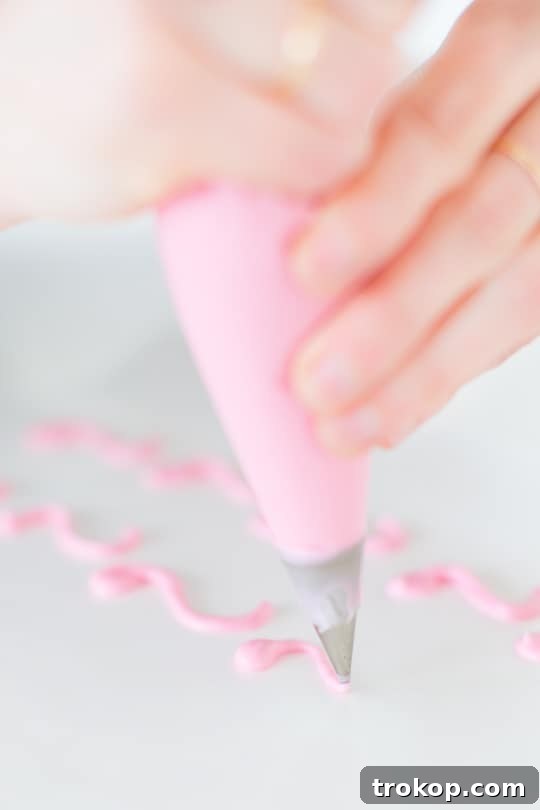
- Pipe the Flamingo Heads: Holding the piping bag steady, pipe elegant, extra-curvy “S” shapes onto the wax paper. These “S” shapes will form the neck and head of your flamingos. Aim for a consistent thickness. You might want to practice a few times on a separate piece of wax paper to get the feel for the curve and size. Remember, no two flamingos are exactly alike, so embrace the slight variations!
- Allow to Cool and Set: Once you’ve piped all your flamingo heads, let them cool completely. For quicker setting, you can place the wax paper carefully in the refrigerator for about 10-15 minutes. Ensure they are firm to the touch before moving on.
Step 2: Preparing Your Edible Paints for Feather Details
Now we’ll create the vibrant, feathery texture on the macaron bodies using our edible paints.
- Mix Your Edible Paints: In two separate small containers (like ramekins or small bowls), add a few drops of the pink gel food coloring to one and a few drops of the peach gel food coloring to the other.
- Add Almond Extract: To each container, stir in a splash (about 1/4 teaspoon, or adjust to desired consistency) of almond extract. This will thin the gel coloring, allowing it to be painted smoothly onto the macaron shells. Mix until you have a liquid consistency that’s easy to brush, similar to watercolor paint. If it’s too thick, add a tiny bit more extract; if too thin, add more gel color.
Step 3: Decorating the Macaron Bodies with Feather Shapes
This step brings the macaron shells to life, giving them the appearance of flamingo feathers.
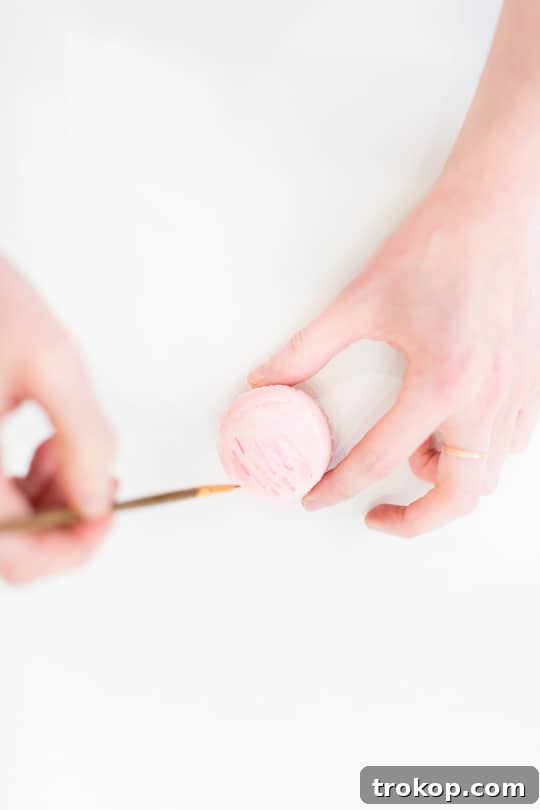
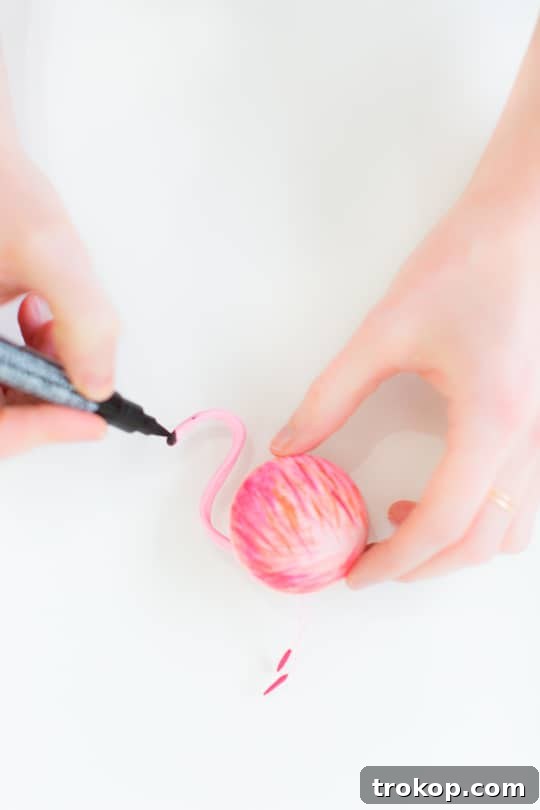
- Apply Feather Strokes: Using your dedicated food paintbrush, carefully brush small, short strokes in varying directions onto a strawberry macaron shell. Alternate between the pink and peach edible paints to create a natural, layered feather effect. Think of how real flamingo feathers transition in color.
- Be Gentle: Macarons are delicate, so use light pressure to avoid breaking the shells. The goal is to create texture and color, not to saturate the shell.
- Allow to Dry: Let the painted macarons dry for a few minutes until the edible paint is set to the touch. This prevents smudging during assembly.
Step 4: Assembling Your Adorable Flamingo Flock
Now it’s time to bring all the elements together to create your charming flamingo macarons!
- Attach the Legs: Carefully insert two fondant flower stamens into the bottom edge of each painted macaron shell. These will serve as the slender flamingo legs. You might need to gently wiggle them to secure them in place.
- Attach the Head: Take one of your cooled chocolate “S” shapes. Gently press the base of the “S” (the bottom of the neck curve) into the side of the macaron, slightly above where the legs are attached. The residual stickiness of the chocolate should help it adhere, or you can use a tiny dab of melted chocolate as “glue” if needed.
- Add the Beak and Eye: With your black food marker, carefully draw a small, elongated beak at the end of the chocolate “S” shape. Then, add a tiny dot for the eye just above the beak. Precision is key here to give your flamingos character!
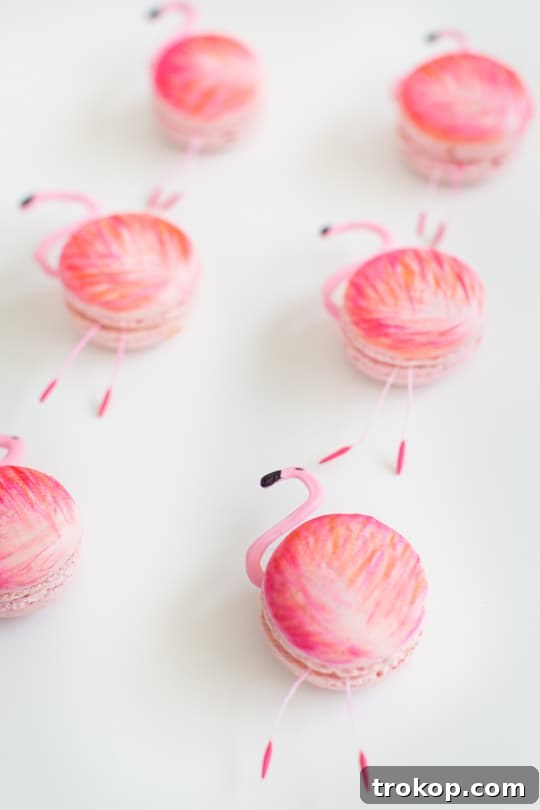
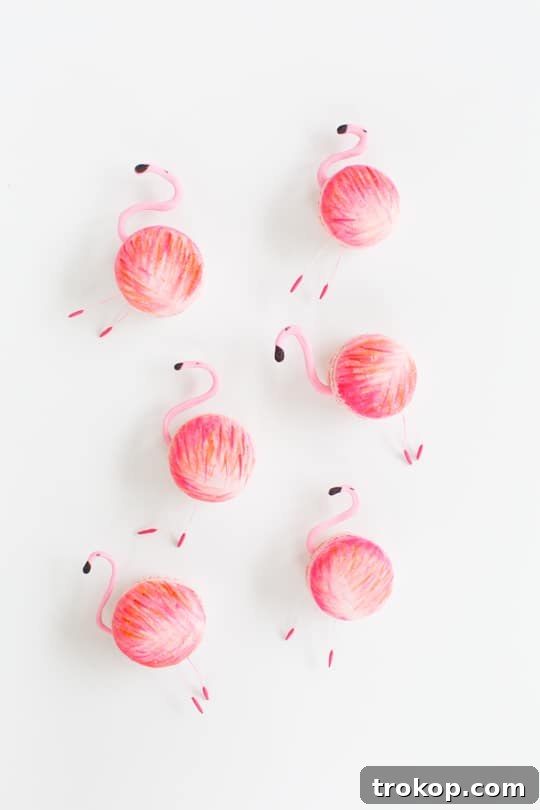
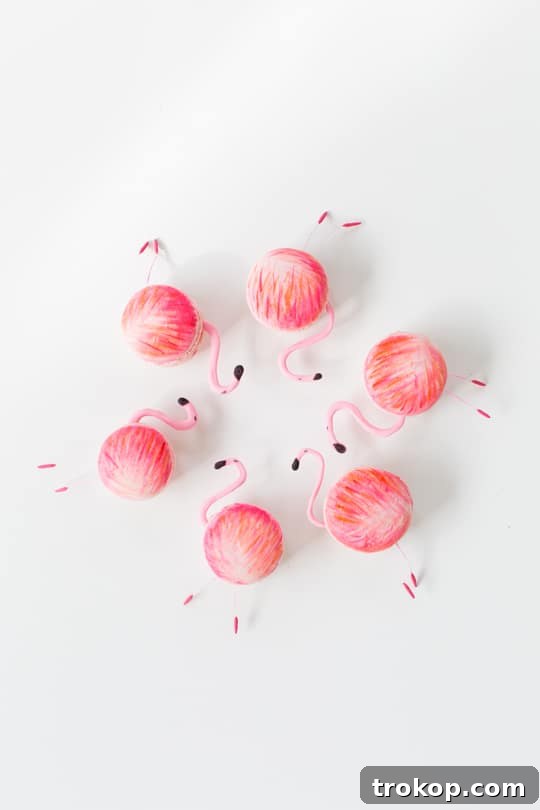
- Repeat and Admire: Continue this assembly process for all your decorated macarons. Once complete, step back and admire your beautiful, edible flock of flamingo macarons!

Tips for Macaron Decorating Success
To ensure your flamingo macarons turn out perfectly, keep these expert tips in mind:
- Work in Batches: If you’re decorating a large quantity, work in smaller batches to prevent your edible paints from drying out or your chocolate from setting prematurely.
- Cleanliness is Key: Always use clean, food-dedicated tools to avoid cross-contamination.
- Experiment with Colors: While we used pink and peach for classic flamingos, feel free to experiment with other vibrant colors for a unique flock!
- Patience, Patience, Patience: Macaron decorating is an art form that benefits from a relaxed approach. Don’t rush any steps, especially drying times.
- Storage: Once decorated, store your flamingo macarons in an airtight container in the refrigerator. They are best enjoyed within 2-3 days for optimal freshness and texture. Allow them to come to room temperature for about 15-20 minutes before serving.
Serving Suggestions & Creative Variations
These adorable flamingo macarons are perfect for a variety of occasions:
- Pool Parties: The most obvious choice! Arrange them on a tiered stand for a stunning display.
- Summer Birthdays: A delightful treat for both kids and adults.
- Bridal Showers or Baby Showers: Especially charming for a tropical or whimsical theme.
- Gifts: Package a few in a beautiful box for a unique and thoughtful homemade gift.
- Photo Booth Props: They’re so cute, they double as props for fun photos!
Feeling extra creative? You could experiment with different types of edible glitter for a shimmering feather effect, or even try slightly varying the curvature of the chocolate necks to give each flamingo a unique posture. The possibilities are endless when you embrace your artistic side!
Now you’ve successfully spent your afternoon creating a flock of macaron flamingos that are almost too cute to eat! But trust us, once you bite into these delightful treats, you’ll know that every moment spent crafting them was absolutely worth it. Not only have you made a delicious dessert, but you’ve also created miniature masterpieces that will bring smiles and a touch of tropical flair to any gathering. We encourage you to share your beautiful creations with friends, family, and online – don’t forget to tag us if you post them!
Happy baking and decorating!