
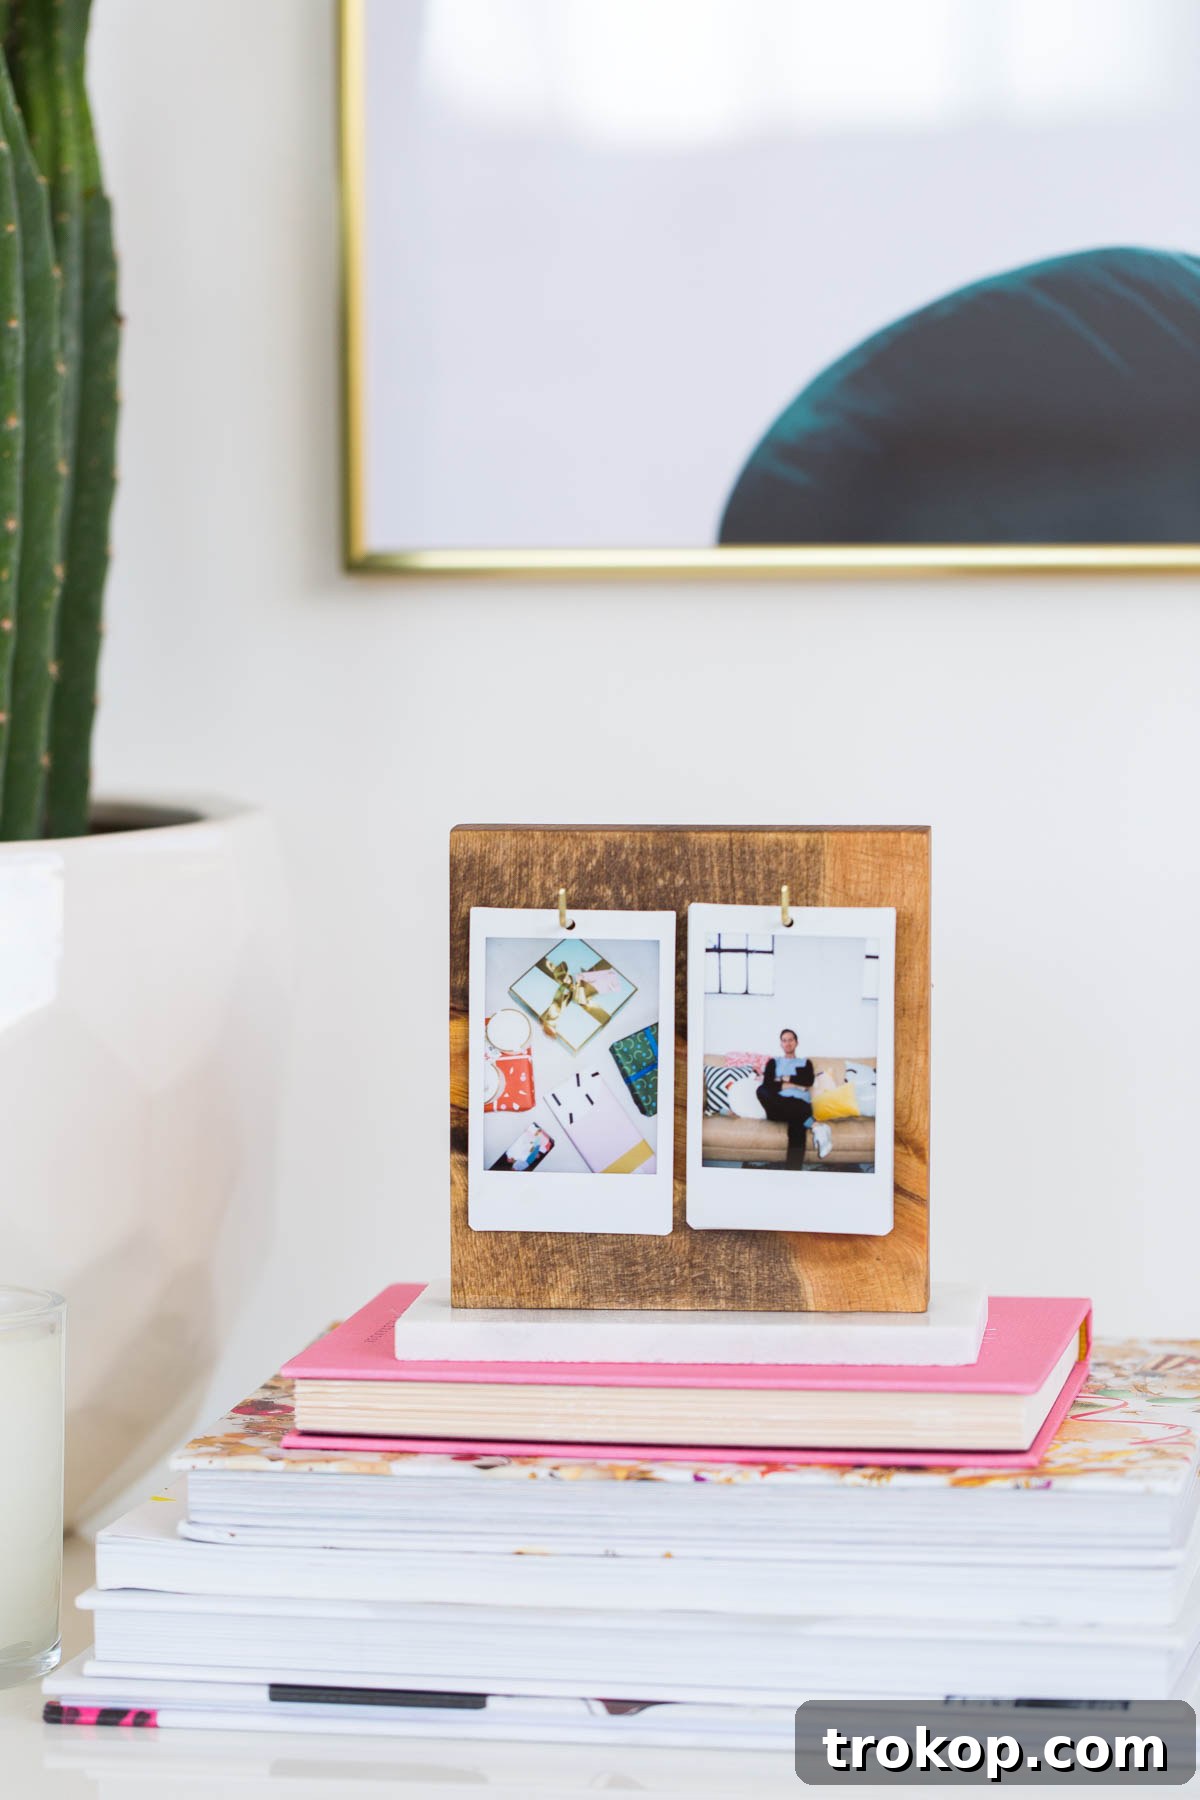
DIY Flip Photo Album: Create a Personalized Instax Keepsake
In a world increasingly dominated by digital screens, there’s an undeniable charm and warmth in holding a physical photograph. This comprehensive guide will show you how to craft your very own DIY Flip Photo Album, a charming and personalized keepsake that brings your cherished memories to life. Perfect for displaying your favorite Instax prints, this handmade album adds a touch of nostalgic joy and serves as a beautiful, interactive desktop accessory or a heartfelt gift.
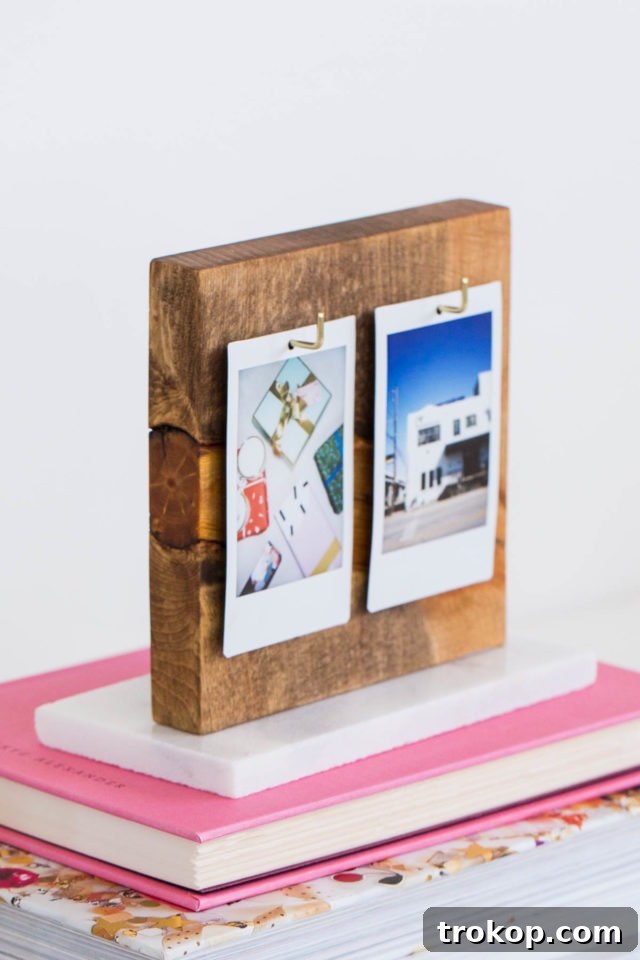
The magic of a tangible photo album lies in the experience: the gentle rustle of pages, the unique texture of each print, and the quiet moments of reflection as you revisit special occasions. Digital photo albums, while convenient, simply cannot replicate this sensory engagement. This project offers a delightful alternative to impersonal digital galleries and generic store-bought frames, allowing you to create something truly unique and meaningful.
With a little creativity, an instant camera like a Fujifilm Instax, and this easy-to-follow DIY guide, you can transform your instant prints into a captivating flip album. Not only is it a fun and rewarding craft project, but it also makes for an extraordinary photo gift idea, celebrating your most cherished moments in a truly unforgettable way. Imagine the delight of a loved one receiving this handmade gift, filled with shared memories!
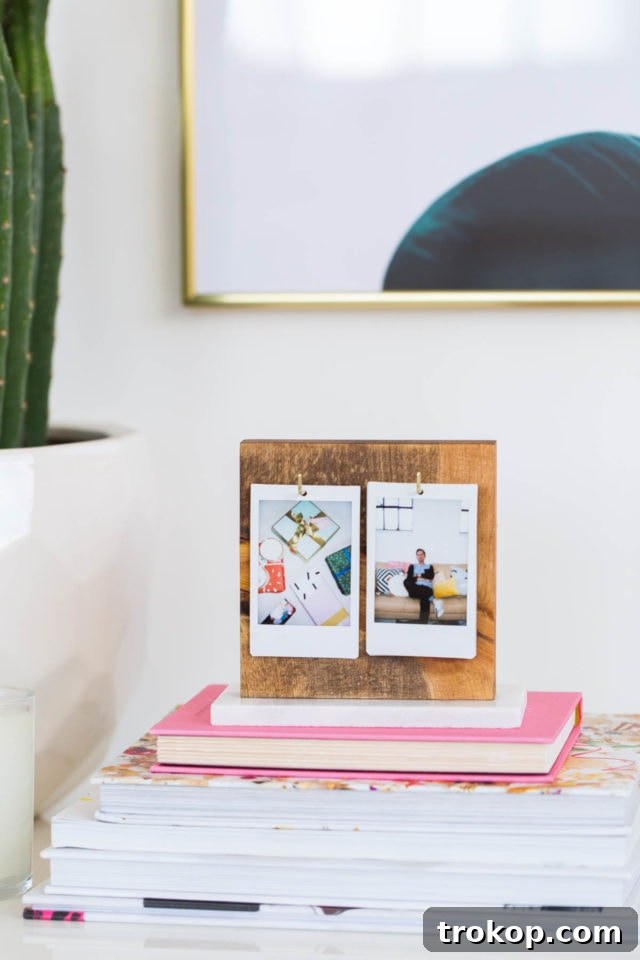
This tutorial is designed for crafters of all skill levels, offering clear instructions and helpful tips to ensure your project is a success. Forget about complicated tools or expensive materials – this DIY photo album relies on simple supplies and a desire to preserve memories in a beautiful, accessible format. Let’s get started on creating your personalized masterpiece!
Table of Contents
- Introduction to the Flip Album
- Why Create a DIY Flip Photo Album?
- Materials and Tools for Your Flip Album
- Step-by-Step Guide: How to Make a DIY Flip Photo Album
- Tips for Success and Creative Personalization
- More Tabletop Decor Ideas
Introduction to the Flip Album
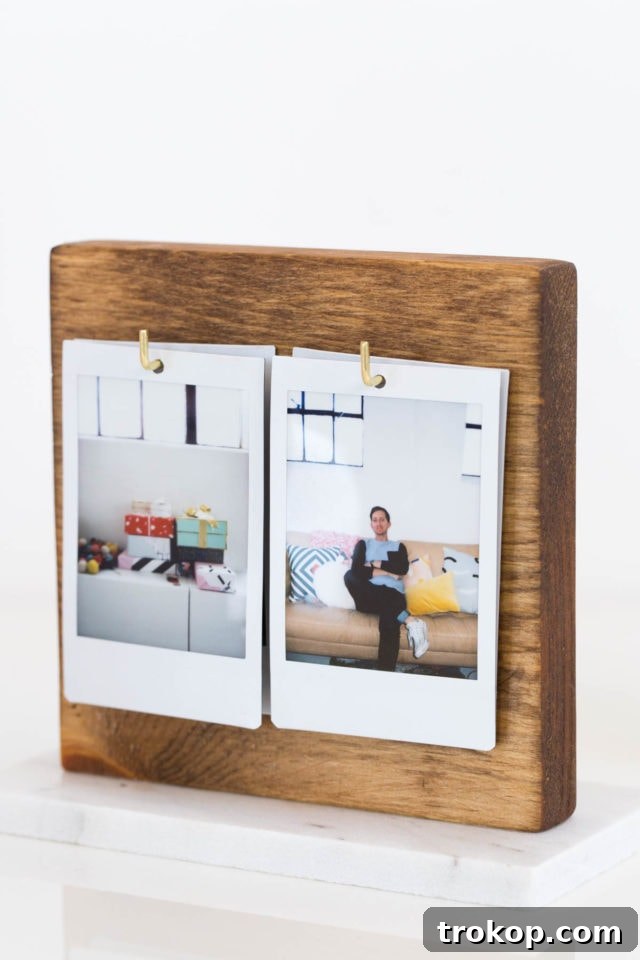
The concept of a flip photo album is simple yet incredibly effective. Instead of a traditional book-bound album, this design allows your photos to hang freely, making it easy to flip through them like a deck of cards. It’s an ideal way to display a rotating collection of instant prints, offering a dynamic view of your favorite people, places, and moments. Imagine having your most cherished Instax photos beautifully presented on your desk, shelf, or bedside table, ready to be flipped through at a moment’s notice.
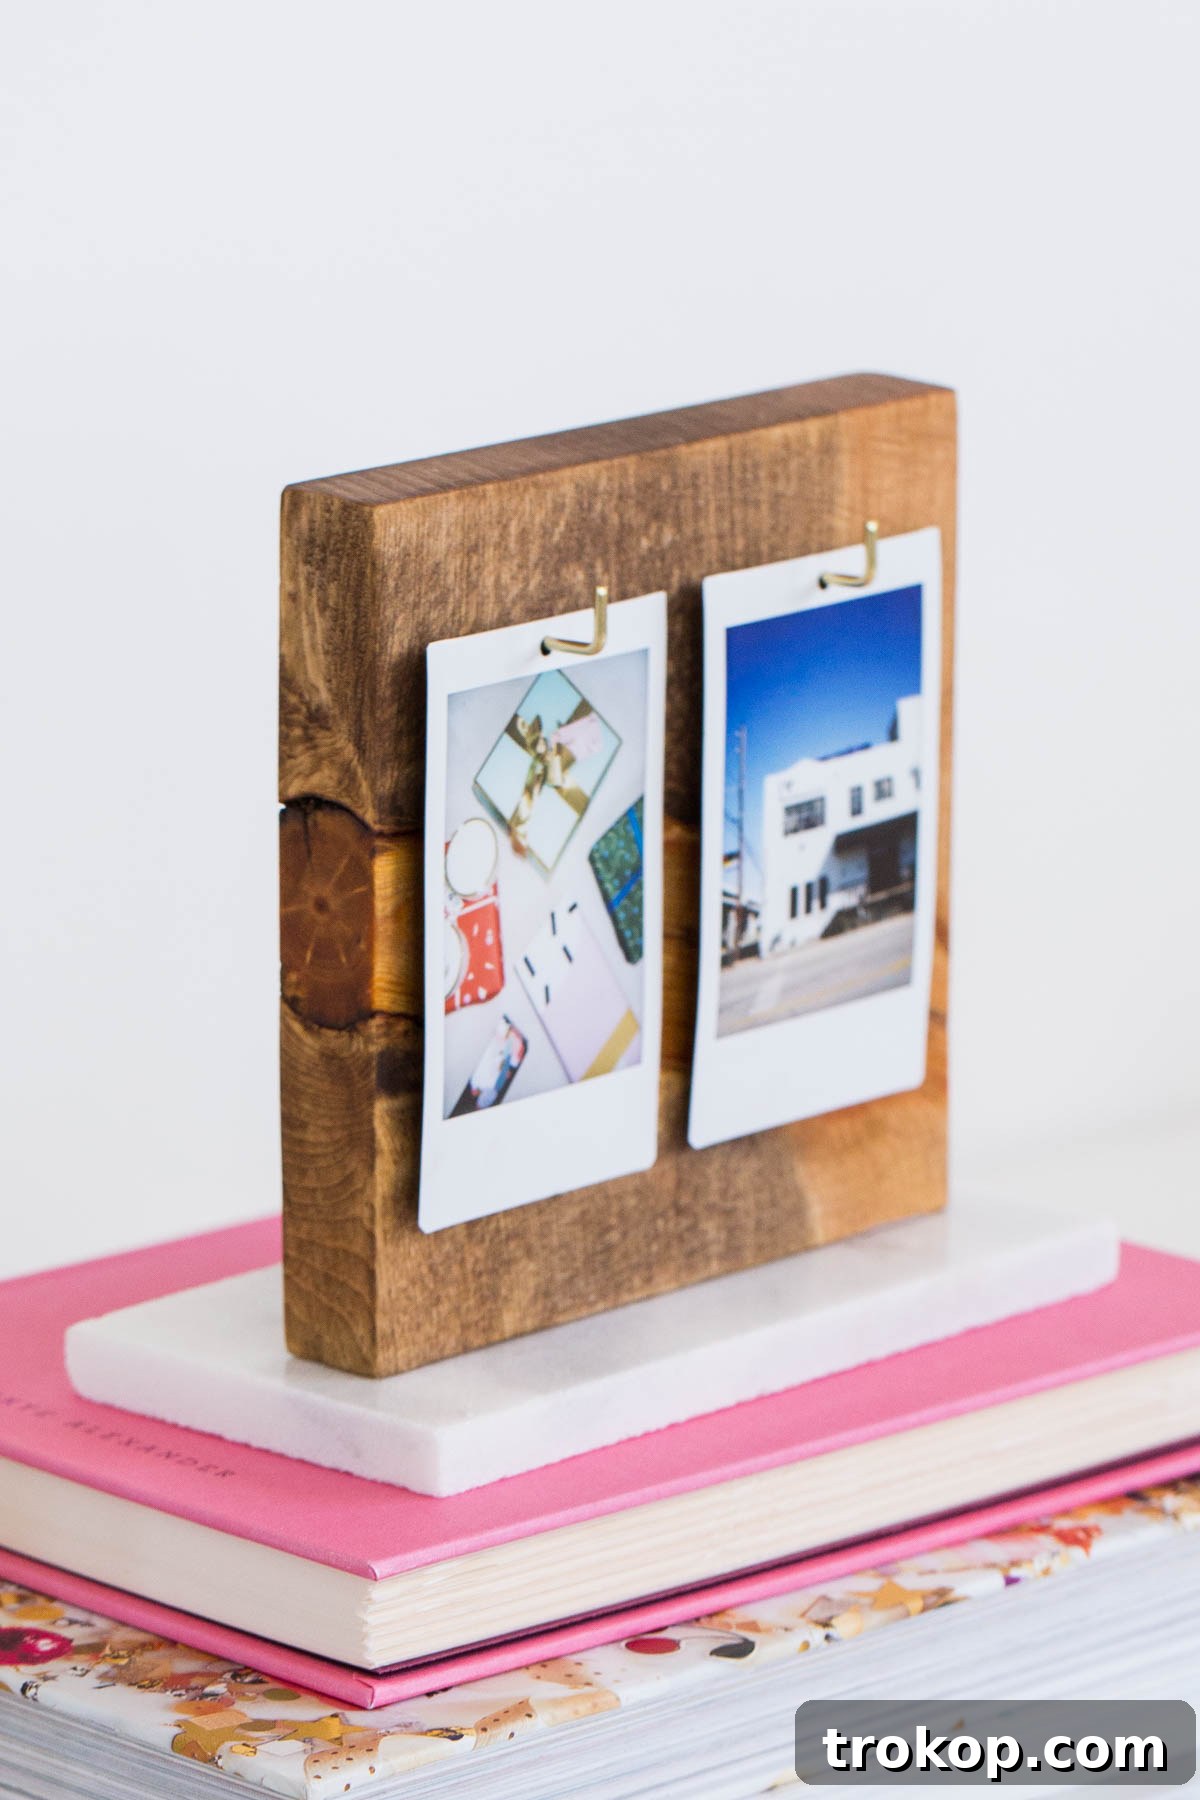
This particular design combines the warmth of wood with the elegance of marble, creating a sturdy and aesthetically pleasing base. The compact size makes it perfect for any small space, adding a personal touch to your home or office decor. It’s also incredibly versatile – you can change out the photos as often as you like, keeping your display fresh and reflective of your current mood or recent adventures.
Why Create a DIY Flip Photo Album?
There are numerous reasons to embark on this rewarding DIY project:
- Personalization: Unlike mass-produced items, a DIY album truly reflects your personality and style. You choose the photos, the stain color, and any additional embellishments, making it uniquely yours.
- Nostalgia and Connection: Physical photos evoke stronger emotional responses. The act of touching and flipping through prints can trigger powerful memories and conversations, fostering deeper connections with your past.
- Unique Decor Piece: This flip album isn’t just a container for photos; it’s a piece of art that enhances your living space. It adds a handmade touch and a focal point that’s sure to spark interest.
- Meaningful Gift: A handmade photo album filled with shared memories is one of the most thoughtful gifts you can give. It shows effort, care, and a deep appreciation for the recipient. It’s perfect for birthdays, anniversaries, holidays, or as a hostess gift or housewarming gift.
- Eco-Friendly Craft: By utilizing scrap wood or leftover materials, this project encourages sustainability and reduces waste, aligning with a mindful crafting approach.
- Easy to Update: The design allows for effortless swapping of photos, so you can keep your album current with your latest adventures or seasonal memories.
Materials and Tools for Your Flip Album
Gathering your materials before you begin will make the crafting process smooth and enjoyable. Here’s what you’ll need:
Equipment
- Hole Punch: Essential for preparing your photos. Ensure it has a punching diameter of 1/8″ to fit the shoulder hooks.
- Foam Brush: For even and smooth application of wood stain.
- Pencil: For marking precise measurements and placements.
- Sandpaper or Electric Sander: To achieve a perfectly smooth wood surface.
Materials
- Wood Square: We recommend a 4.5″x 4.5″ square, but adjust the size based on your film dimensions. This is an excellent opportunity to use scrap wood projects leftovers, minimizing waste and cost.
- 3×6 inch Marble Subway Tile: Or any other desired base material of similar dimensions (e.g., polished stone, ceramic, or a thicker piece of wood). Our tile measured 3″x6″x10mm.
- Instant Epoxy Glue: A strong adhesive is crucial for securely attaching the wood to the base.
- Wood Stain and Foam Brush: Optional, but highly recommended for enhancing the wood’s appearance. Choose a color that complements your style. We used “Early American Wood Finish” stain for a classic look.
- Shoulder Hooks: These will serve as the rings to hold your photos. Two hooks are typically sufficient for Instax Mini prints.
- FUJIFILM INSTAX® Mini 70 Camera and Instax Mini Film: Or any instant camera that produces Polaroid-style film, along with your chosen personal photos.
Step-by-Step Guide: How to Make a DIY Flip Photo Album
Follow these detailed steps to construct your beautiful flip photo album:
Preparation is Key
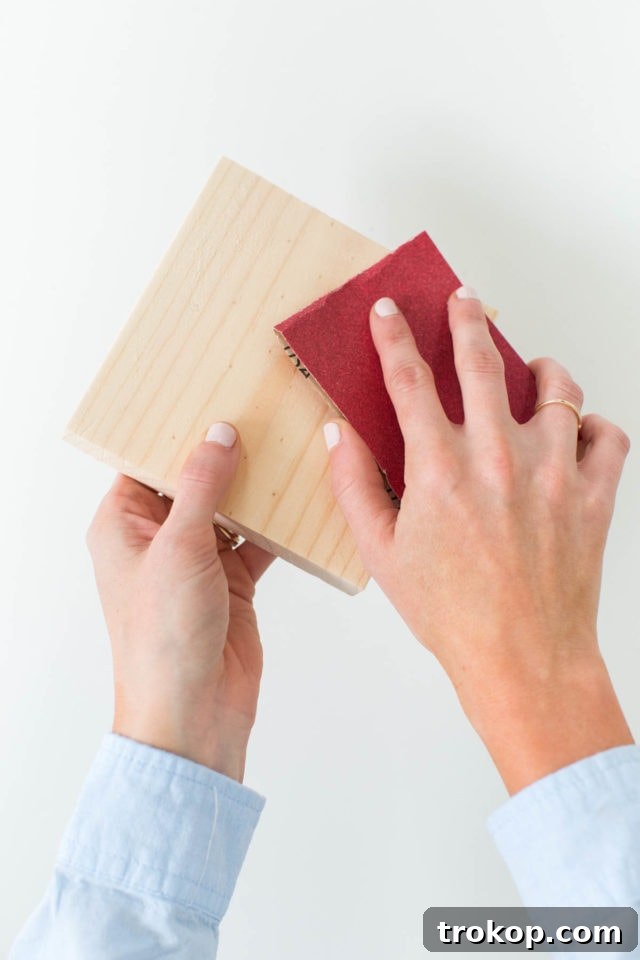
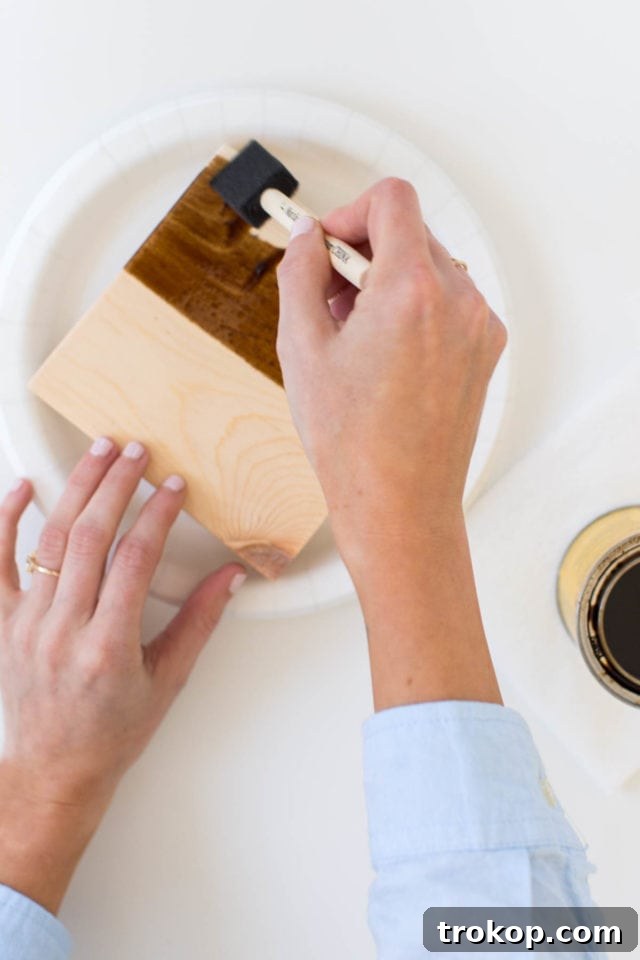
Step 1: Prepare the Wood Square. Begin by thoroughly sanding all surfaces and edges of your wood square. This step is vital for ensuring a smooth, splinter-free finish and allowing the wood stain to absorb evenly. A well-sanded piece will look professional and be pleasant to handle.
Step 2: Stain the Wood. Using your foam brush, apply a thin, even coat of wood stain to the entire wood square. Work in the direction of the wood grain for the best results. Allow the stain to dry completely according to the product manufacturer’s instructions. If you desire a deeper, richer color, apply additional coats, ensuring each coat is fully dry before applying the next.
Assembling the Photo Display
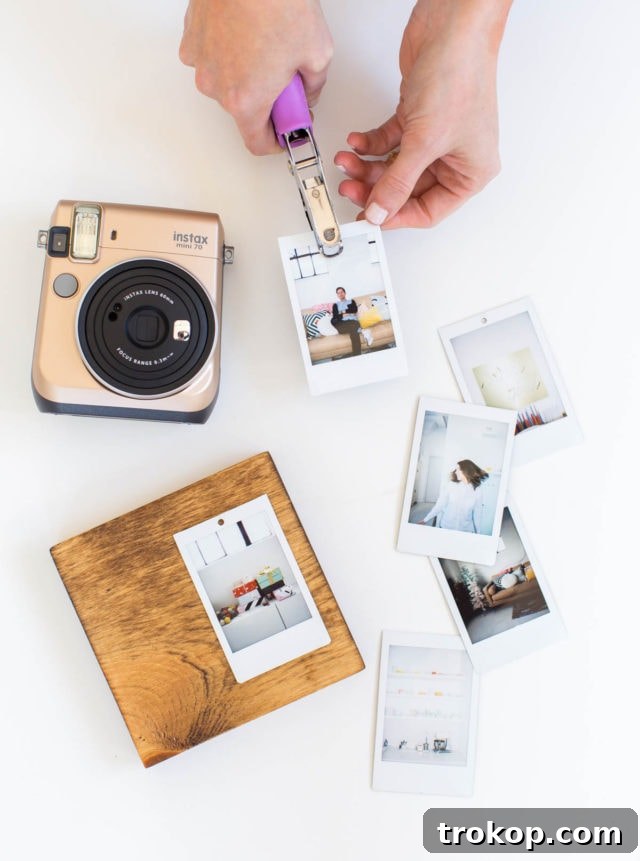
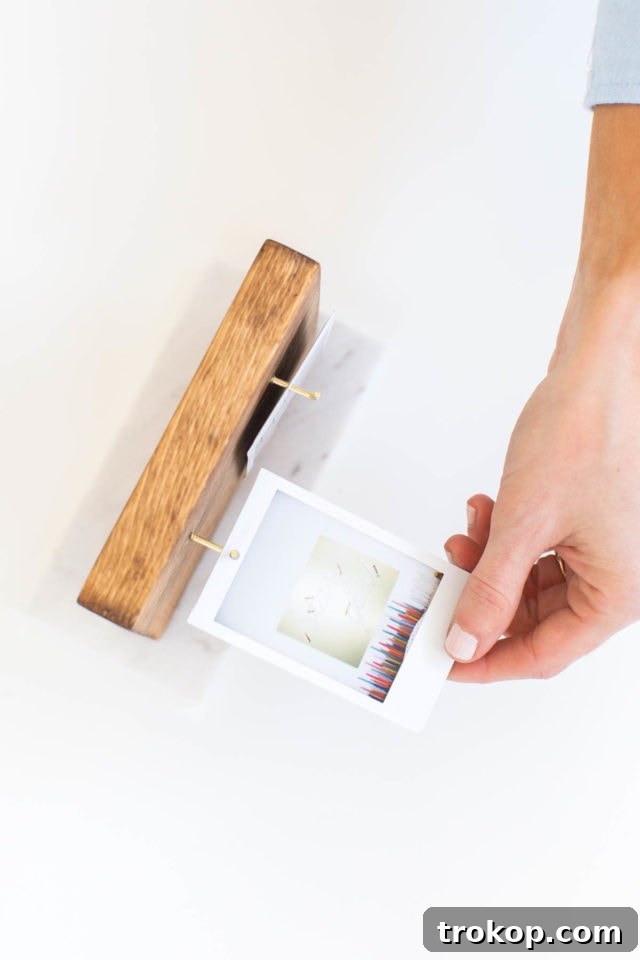
Step 3: Prepare Your Instax Prints and Mark Hook Placement. Select the Instax Mini prints you wish to display. Carefully punch a 1/8-inch hole in the exact middle of the top white border of each photo. To accurately determine where to insert your shoulder hooks, lay two prepared prints side-by-side on the stained wood square. Use a pencil to mark the precise spots where the holes in your photos align with the wood, ensuring they hang symmetrically.
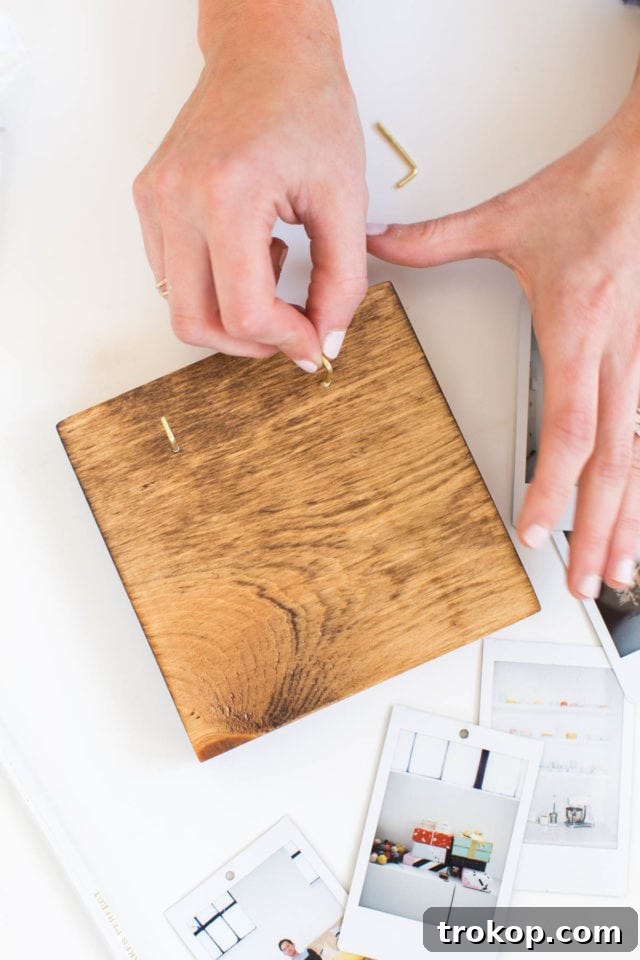
Step 4: Attach the Shoulder Hooks. Take your shoulder hooks and carefully twist them into the marked spots on the wood square. The pointed tip of the hook will act like a screw, creating its own hole as you twist. Ensure they are firmly secured and facing the correct direction to easily hold your Instax photos. These hooks will act as the “rings” of your flip album, allowing photos to be added or removed effortlessly.
Creating the Base
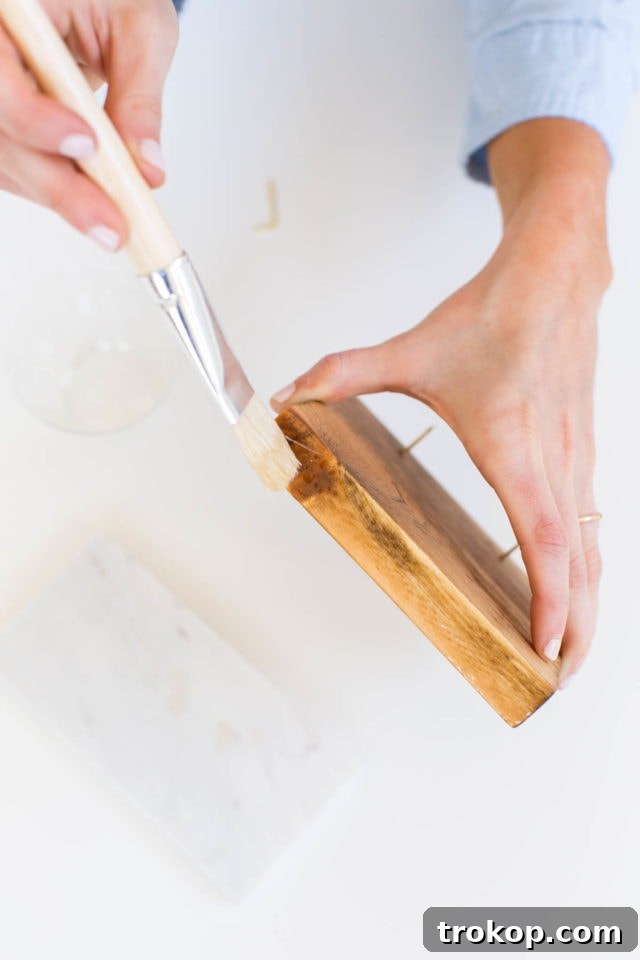
Step 5: Secure the Wood to the Marble Base. Apply a generous, even amount of instant epoxy glue to the bottom surface of the stained wood piece. Immediately and carefully press the wood piece onto the center of your marble tile, ensuring it is level and centered to create a stable stand for your album. Hold the two pieces firmly together for several minutes, allowing the glue ample time to set and create a strong bond. Follow the epoxy glue’s specific drying time instructions for maximum durability.
Final Touches
Step 6: Add Your Photos. Once the glue has fully cured and your stand is stable, carefully slip your hole-punched Instax photos onto the shoulder hooks. Arrange them in any order you like, creating a personal narrative or a vibrant display of your favorite moments. And just like that, you have completed your very own DIY Flip Photo Album!
Tips for Success and Creative Personalization
Elevate your DIY Flip Photo Album with these helpful notes and customization ideas:
- Precise Alignment for Gluing: For a perfectly straight and centered stand, use a pencil to lightly mark the desired placement of the wood on the marble tile before applying the glue. This ensures a clean and professional finish.
- Embellish Your Album: Personalize your album even further! Consider adding small embellishments like decorative stickers, washi tape borders around your photos, or even hand-painted designs or calligraphy on the wooden frame. This is where your creativity can truly shine.
- Alternative Rings: If you prefer a more traditional binding, you can use binder rings instead of shoulder hooks. Keep in mind that using binder rings will require a power drill to create the appropriate holes in the wood square. This might be a good option if you want to hold more photos or prefer a tighter bind.
- Gifting with a Camera: This project makes for an exceptional gift. For an extra special touch, consider pairing the finished album with a new instant camera for your gift recipient. It’s a thoughtful way to encourage them to capture new memories and fill their own album!
- Theme Your Album: Create albums around specific themes: a vacation, a birthday party, a pet’s milestones, or a collection of friendship memories. Thematic albums make for cohesive and delightful displays.
- Photo Selection Strategy: When choosing photos, think about variety. Include close-ups, scenic shots, and group photos. Consider using photos with complementary colors to create a visually appealing flow as you flip through the album.
- Care and Maintenance: To keep your album looking its best, avoid placing it in direct sunlight, which can cause fading. Dust the wood and marble periodically with a soft cloth.
More Tabletop Decor Ideas
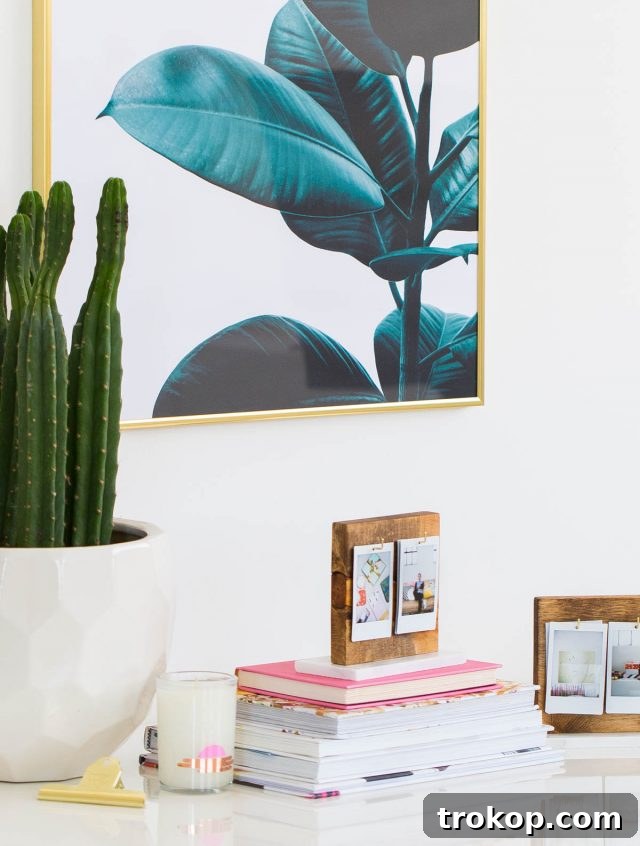
The beauty of this DIY Flip Photo Album is its versatility as a decor piece that can complement almost any room. If you enjoyed this project and are looking for more fun ways to accessorize your space with handmade items, explore some of our other favorite DIY tabletop projects below:
- DIY Desk Organizer: Keep your workspace tidy and stylish with a custom organizer.
- Clay DIY Photo Holder: Craft adorable, unique holders for individual photos.
- Wood DIY Photo Display: Explore another creative way to showcase your instant prints.
- Homemade Reed Diffuser: Add a pleasant scent to your room with this quick and easy project.
Creating your own DIY Flip Photo Album is more than just a craft; it’s an investment in preserving memories, expressing creativity, and adding a personal touch to your surroundings. Enjoy the process of bringing your photos to life and sharing the joy with others!
DIY Flip Photo Album
This DIY Flip Photo Album tutorial shows you how to create a personalized keepsake album, perfect for showcasing your favorite photos and sparking nostalgic joy!
Project Overview
- Active Time: 30 minutes
- Total Time: 30 minutes
- Course: DIY
- Category: Photos
Equipment
- Hole punch (1/8″ diameter hole)
- Foam brush
- Pencil
Materials
- 1 wood square (size dependent on photos)
- 1 subway tile (or desired base material)
- 2 shoulder hooks
- Wood stain (in color of choice)
- Instant epoxy glue
- Personal polaroid photos
Instructions
- Thoroughly sand the surface of the wood square for smooth edges and even staining.
- Apply a thin coat of wood stain to your wood square using the foam brush. Let the stain dry completely according to the product instructions. Apply additional coats for a deeper color, if desired.
- Hole punch the Instax Mini prints of your choice in the middle of the top white border with a 1/8 hole punch. Lay two prints side by side on the board to use as a guide to mark where to insert your hooks.
- Attach the shoulder hooks to the wood by twisting them into place based on your hole markings. These rings will hold your Instax photos together.
- Apply a generous amount of instant epoxy glue to the bottom of the wood piece. Quickly and carefully press the wood piece onto the center of the marble tile, ensuring it’s level to create a stand for your album. Hold firmly for a few minutes to allow the glue to set.
- Carefully slip the photos into the shoulder hooks. And now you have your own DIY Flip Photo Album!
Notes
Estimated cost is based on materials chosen. This project can be very affordable, especially if you use scrap wood and leftover tile from a renovation project, which can significantly reduce the overall cost.
Cost
Approximately $30 (variable based on material sourcing)
Keywords
diy flip photo album, flip album, personalized photo album, instax photo display, handmade gift

A special thank you to Fujifilm for sponsoring this post; we are truly huge fans of their products!
47 Affordable Gifts Under $10 for Everyone
Shop budget-friendly gifts under $10 that look way more expensive and thoughtful, perfect for any occasion without breaking the bank.
Continue Reading47 Affordable Gifts Under $10 for Everyone
25 Best Clear Stadium Bags for Concerts, Sports & Events
Stay stylish and compliant with the best clear stadium bags that are both practical and fashionable for any event.
Continue Reading25 Best Clear Stadium Bags for Concerts, Sports & Events
Jet-Set with These 46 Top Travel Gifts for Men
Whether he’s a frequent flyer or an occasional explorer, these top travel gifts are perfect for any man who loves to explore the world.
Continue ReadingJet-Set with These 46 Top Travel Gifts for Men
37 Best Beach Toys for Vacation Fun
Discover the best beach toys for kids, toddlers, and families to make your next vacation a memorable and fun-filled experience.
Continue Reading37 Best Beach Toys for Vacation Fun