
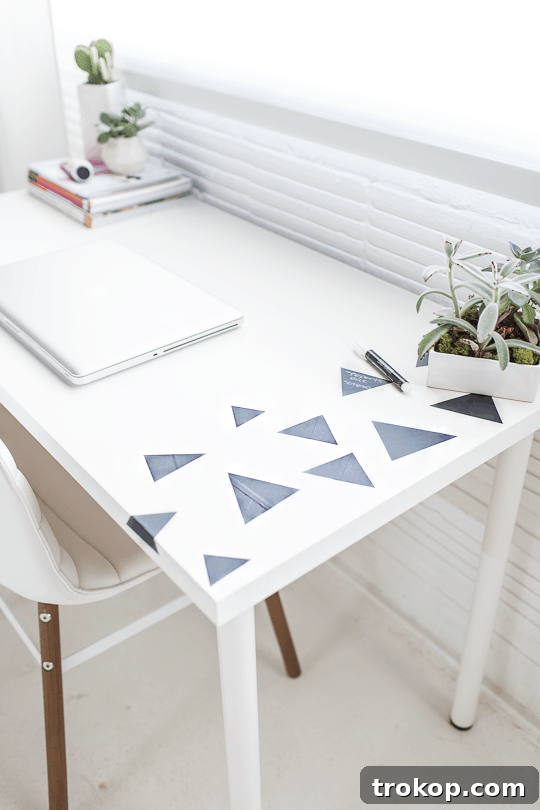
Transform Your Workspace: The Ultimate DIY Chalkboard Desk Guide for Enhanced Productivity and Creativity
Are you tired of cluttered desks, scattered sticky notes, and forgotten to-do lists? Imagine a workspace where your notes, ideas, and daily tasks are elegantly integrated right onto your desktop – a dynamic surface that adapts to your every need. With the innovative solution of removable chalkboard tape, you can effortlessly transform any ordinary desk into a highly functional and remarkably stylish DIY chalkboard desk. This simple yet brilliant hack offers a fresh perspective on office organization, blending aesthetic appeal with practical utility to create an inspiring environment for both work and play.
Say goodbye to the endless hunt for a pen and paper. This ingenious project allows you to create a personalized, disposable note-taking system directly on your desktop. It’s the real-life manifestation of those digital sticky notes you’ve always wished could seamlessly appear and disappear on your physical workspace. Whether you’re a busy professional, a student, or a creative mind, this DIY chalkboard desk offers an unparalleled level of convenience and customization.
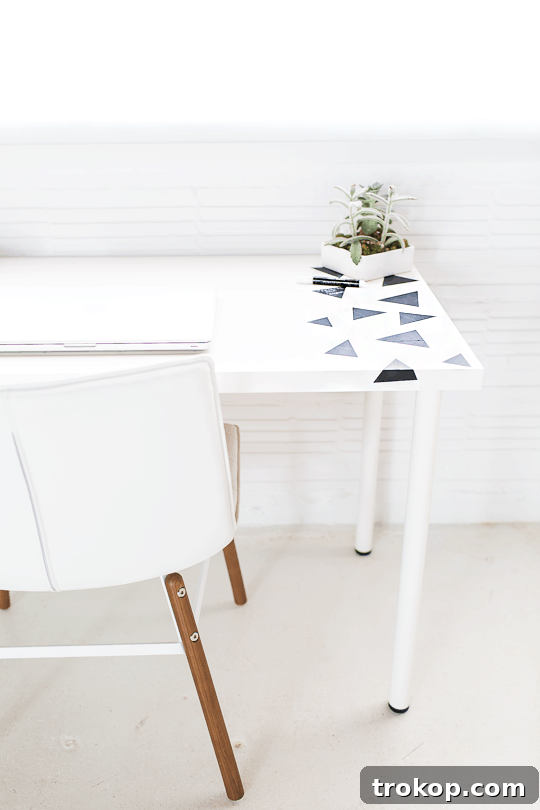
Why a DIY Chalkboard Desk is a Game-Changer for Productivity and Creativity
The concept of a chalkboard desk isn’t just about aesthetics; it’s a powerful tool for enhancing focus, fostering creativity, and maintaining organization. Here’s why embracing this DIY project can revolutionize your daily routine:
- Instant Note-Taking & Brainstorming: No more fumbling for notebooks. Jot down quick thoughts, phone numbers, or sudden inspirations directly onto your desk. It’s perfect for brainstorming sessions, allowing ideas to flow freely and visually right in front of you.
- Dynamic To-Do Lists: Keep your most important tasks visible and easily updated. Cross items off as you complete them, giving you a satisfying sense of accomplishment and a clear view of your progress.
- Unleash Your Inner Artist: Beyond practicality, a chalkboard desk offers a canvas for creativity. Doodle during breaks, practice hand-lettering, or simply change up your desk’s look with new designs whenever inspiration strikes.
- Kid-Friendly Creative Zone: This project is a blessing for families. It provides a dedicated, safe space for children to draw and express themselves without leaving marks on walls or furniture. Engage them in fun learning activities or just let their imaginations run wild.
- Flexible & Removable Design: The beauty of using chalkboard tape is its non-permanent nature. Unlike chalkboard paint, which requires extensive preparation and commitment, tape can be applied and removed with ease, allowing you to update your desk’s look or revert to its original state without damage.
- Budget-Friendly Office Upgrade: Achieve a high-impact transformation without breaking the bank. This DIY project requires minimal supplies, making it an incredibly cost-effective way to refresh your home office or study area.
- Personalized Aesthetic: Gone are the days of generic office spaces. Customize your chalkboard desk with unique geometric patterns, playful shapes, inspiring quotes, or a simple, clean design. Your desk can truly reflect your personality and style.
This project addresses the common challenge of integrating spontaneous thought with structured tasks. It’s a solution that caters to various learning styles and work preferences, making information readily available and visually engaging.
Unlocking the Magic: No Paint, No Mess, Just Pure Genius
Many DIY desk transformations involve messy spray paints, multiple coats of specialized chalkboard paint, and lengthy drying times. This project eliminates all of that hassle. The secret lies in partnering with innovative products, like the Scotch® Duct Tape brand, specifically their revolutionary removable chalkboard tape. This ingenious product allows you to achieve the classic chalkboard effect with unparalleled ease and flexibility.
Forget about fumes, brushes, and accidental spills. With just two primary supplies and our straightforward instructions, you can create this stylish and practical DIY chalkboard desk in a remarkably short amount of time. The process is clean, quick, and satisfying, proving that impactful home improvements don’t have to be complicated or time-consuming. You can personalize your desk with any shapes you desire – from sophisticated geometric patterns and playful polka dots to meaningful letters or even a full calendar grid. The creative possibilities are truly limitless.
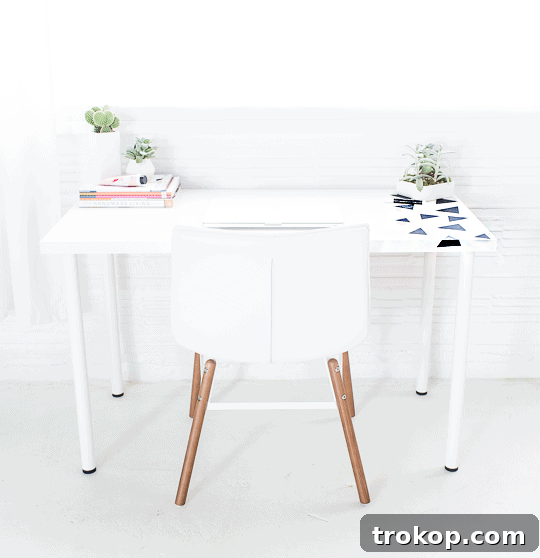
Your Simple Supply List: What You’ll Need
One of the most appealing aspects of this DIY project is its minimal material requirement. You likely already have one of these items on hand, and the other is easily accessible. Here’s what you’ll need to embark on your desk transformation:
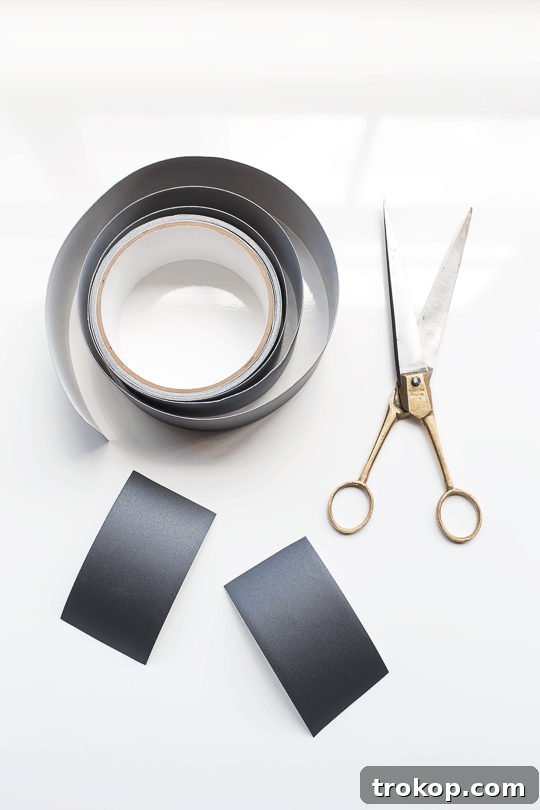
- Scotch® Chalkboard Tape: This is the star of our project. Its removable adhesive and erasable surface make it the perfect medium for a temporary yet effective chalkboard. Choose a roll that offers sufficient length for your desired coverage.
- Scissors: A good pair of sharp scissors will ensure clean, precise cuts for your geometric shapes.
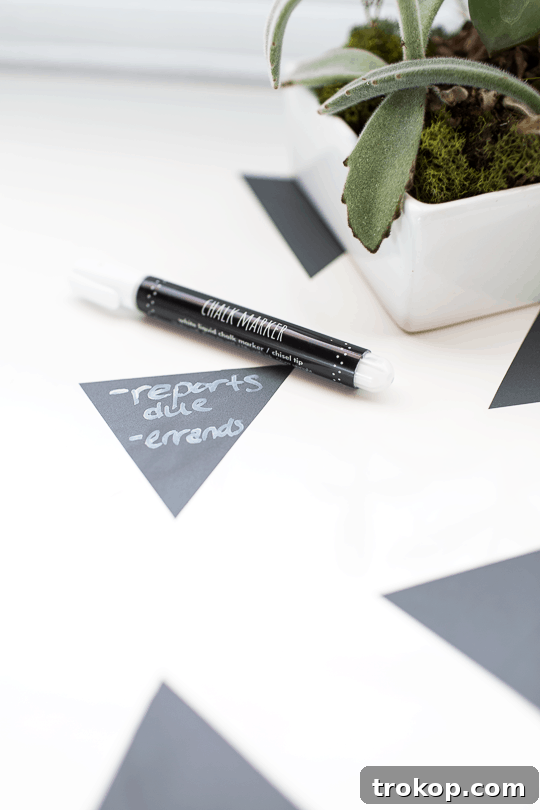
- Chalk or Chalk Markers (Highly Recommended!): While not strictly part of the “desk making” process, these are essential for actually using your new chalkboard surface. Chalk markers provide a vibrant, less dusty alternative to traditional chalk and often dry quickly, preventing smudging.
That’s it! No specialized tools, no heavy equipment, just these simple items to unlock a world of desk organization and creativity.
Step-by-Step Guide: Crafting Your Geometric DIY Chalkboard Desk
Ready to bring your chalkboard desk to life? Follow these easy steps to create a stunning and functional workspace:
Step 1: Prepare Your Surface and Tape
Before you begin, ensure your desktop surface is clean, dry, and free of dust or debris. A clean surface will ensure optimal adhesion for the tape. Next, unroll your Scotch® Chalkboard Tape. Begin by cutting several similar lengths of the tape. The length should be appropriate for the size and complexity of the geometric shapes you intend to create. For instance, if you plan to make small triangles, shorter lengths will suffice; for larger, more impactful shapes, opt for longer pieces.
Step 2: Precision Cutting for Perfect Shapes
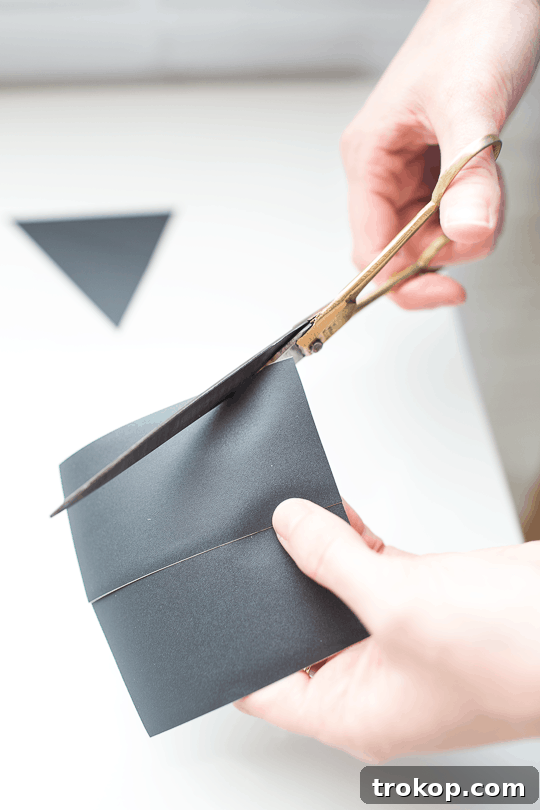
Now for the creative part! Take two of your pre-cut tape lengths and hold them together, aligning their edges. Using your scissors, carefully cut them into your desired shape. Triangles are a popular choice for a modern, geometric look, but feel free to experiment with squares, rectangles, or even more intricate designs. If you find it challenging to hold the two pieces perfectly still while cutting, a tiny piece of regular tape on the back of the chalkboard tape can help temporarily secure them together, making the cutting process much easier and more precise. The beauty of this method is the complete freedom to design your unique patterns.
Step 3: Flawless Application
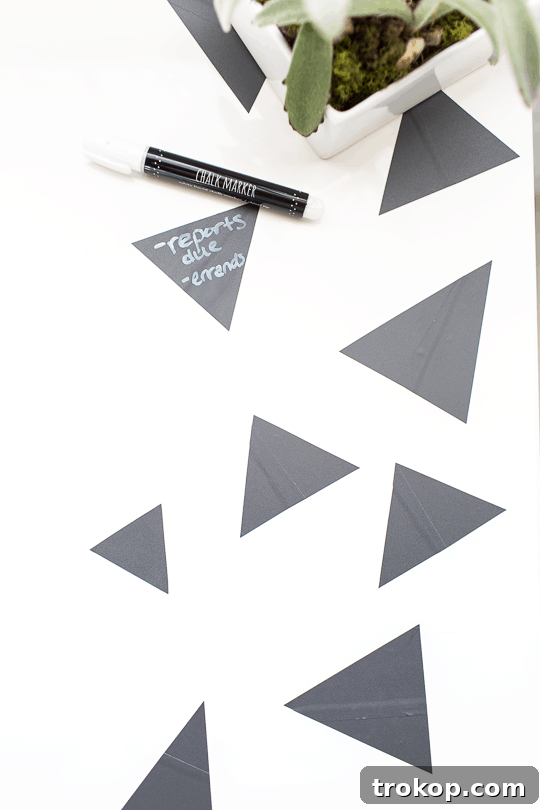
Once your shapes are cut, carefully peel the backing from each piece of chalkboard tape. Position the tape onto your clean desktop surface. Begin by placing one corner or edge first, then slowly press the tape down, smoothing it out as you go to avoid air bubbles. Press firmly across the entire surface of the tape to ensure a secure and lasting adhesion. Take your time during this step; a smooth application will result in a professional-looking finish.
Step 4: Time to Get Creative!
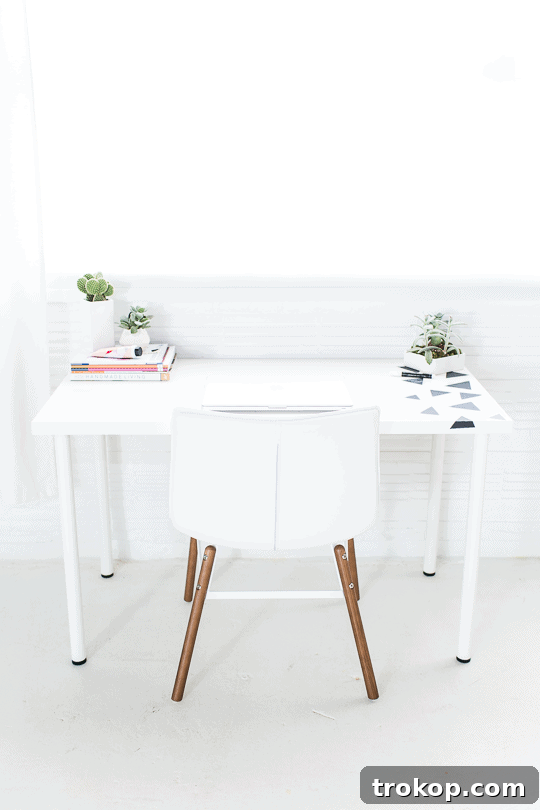
Repeat the cutting and application process, filling the desired space on your desk with your chalkboard shapes. You can create a continuous pattern, a scattered design, or designated zones for specific tasks. Don’t be afraid to vary the sizes of your shapes for added visual interest. For larger areas or broader shapes, you can strategically place single strips of tape rather than always doubling them. Once your design is complete, you are all set for an unparalleled note-taking experience! Grab your favorite chalk marker or a simple piece of chalk, and start organizing, doodling, and brainstorming on your brand-new, customized DIY chalkboard desk.
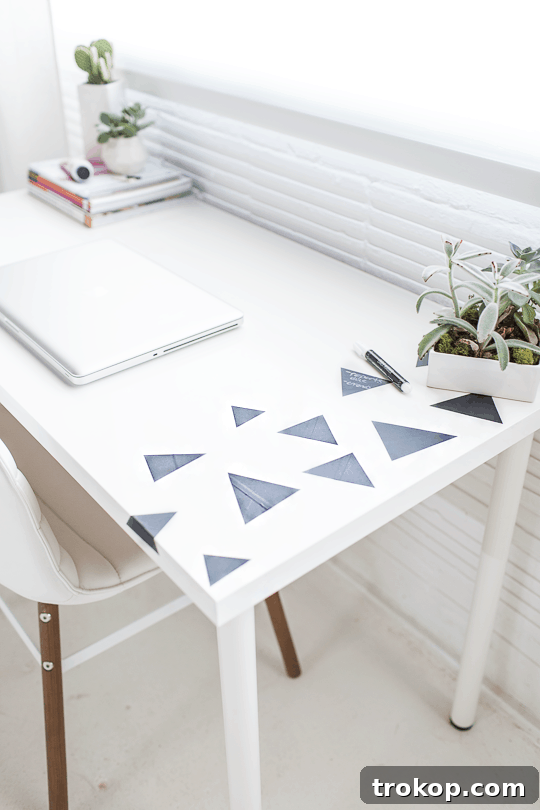
Tips for Maximizing Your Chalkboard Desk Experience
To ensure your DIY chalkboard desk remains a functional and beautiful part of your workspace, consider these helpful tips:
- Cleaning and Maintenance: For best results, use a soft, damp cloth or a dedicated chalkboard eraser to clean your tape surfaces. For chalk markers, a slightly damp cloth is usually sufficient. Avoid abrasive cleaners or harsh scrubbing, as this could damage the tape.
- Best Chalk Options: Traditional chalk works wonderfully, but for less dust and more vibrant colors, consider investing in liquid chalk markers. These offer a pen-like writing experience and come in a wide array of hues, allowing for even greater customization of your notes and drawings. Ensure the markers are designed for chalkboard surfaces to guarantee easy erasability.
- Troubleshooting Common Issues: If you notice the tape lifting at the edges, gently press it back down firmly. For stubborn marks, a little rubbing alcohol on a cotton swab can sometimes help, but always test in an inconspicuous area first. The removable nature of the tape means you can always replace a section if it gets too worn or damaged.
- Layout Planning: Before sticking, lay out your cut shapes on your desk to visualize the pattern and arrangement. This helps prevent misalignment and ensures you achieve your desired aesthetic.
- Optimal Placement: Consider where you typically take notes or where quick reminders would be most beneficial. You might want a large section for brainstorming, smaller sections for daily tasks, or a dedicated area for inspirational quotes.
Beyond the Desk: More Chalkboard Tape Ideas for Your Home
The versatility of Scotch® Chalkboard Tape extends far beyond the desktop. Once you experience the ease and utility of this DIY project, you might find yourself inspired to incorporate chalkboard surfaces throughout your home. Imagine:
- Kitchen Organization: Create erasable labels for pantry containers, a grocery list on the inside of a cabinet door, or a menu board on your fridge.
- Kids’ Play Areas: Designate a drawing zone on a play table, a child-height wall section, or even the front of toy bins for easy labeling.
- Home Command Centers: Transform a section of a wall in your mudroom or entryway into a family schedule board, leaving important messages, or tracking appointments.
- Craft Room Labels: Label storage boxes, drawers, or shelves in your craft or hobby space for quick identification of supplies.
This simple tape opens up endless possibilities for adding functional and fun chalkboard elements to almost any smooth surface.
Elevate Your Office: More DIY Desk Decor & Organization Ideas
If you’re energized by the simplicity and impact of this DIY chalkboard desk, you’ll love exploring other easy office projects and inspirational makeovers from our archives. A well-organized and aesthetically pleasing workspace significantly boosts productivity and morale. Here are some more creative ideas to inspire your next DIY endeavor:
- Desk organizer with a cork board back
- Nesting organizer
- A home office design makeover
- Hexagonal desktop storage organizer for your pens and supplies
- Desktop dry erase board made from a photo frame
- The before & after of our study room makeover
Each of these projects is designed to add both beauty and functionality to your workspace, making it a place where you genuinely enjoy spending time and getting things done. We’d love to hear about your own creative note-taking hacks or any crazy stories of your memo obsession. Share your ideas in the comments below!
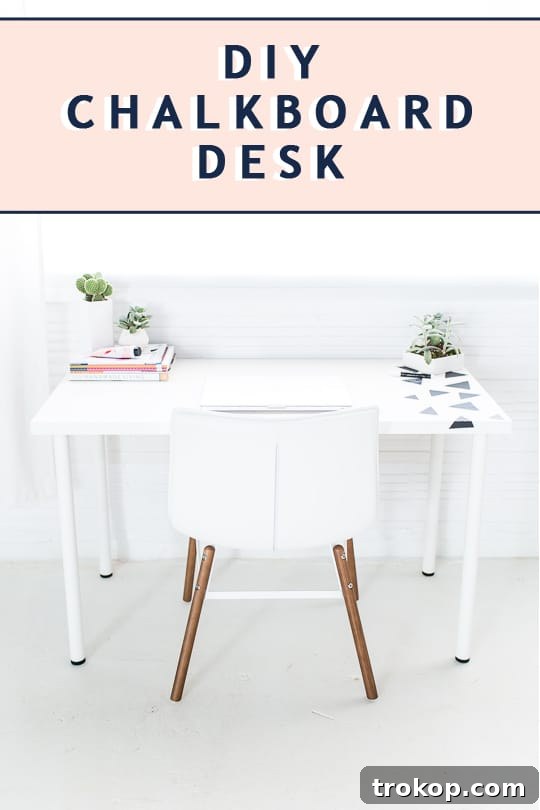
Project Overview: DIY Chalkboard Desk
This quick and easy DIY project transforms any desk into a versatile chalkboard surface using removable tape, perfect for notes, to-do lists, and creative expression. Customize with geometric shapes or any design you desire!
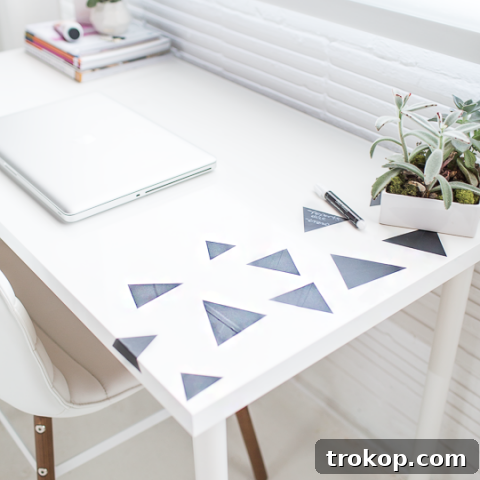
DIY Chalkboard Desk
A clever way to transform your office or desktop into quick and easy chalkboard surfaces with fun geometric shapes for your notes…
- Total Time: Approximately 15 minutes
- Course: DIY
- Category: Office Decor
- Cost: Around $8 (estimated for Scotch® Chalkboard Tape)
- Keywords: chalkboard, desk accessories, desktop, office organization, Scotch chalkboard tape, removable tape
Equipment
- Scissors
Materials
- Scotch® chalkboard tape
Instructions
- Cut similar lengths of the chalkboard tape to suit the size shapes you’ll be making.
- Hold the two pieces together and cut them into a triangle (or your choice of) shape. You can also use a tiny piece of tape on the back to hold the two pieces together if it makes it easier for you to cut.
- Peel the backing from the tape and place onto a clean desktop surface and press firmly.
- Repeat this process until you’ve filled the space you’d like covered. You can also vary the sizes of the shapes to avoid needing to widen the tape with two pieces. Now you’re all set for note-taking with these disposable memos!
Discover More Creative Home Office Projects
Looking for more ways to personalize and organize your workspace? Explore these fantastic DIY projects that combine functionality with stylish design:
- Office Desktop Organizer: DIY Dry Erase Board
- Office Accessories: Hexagonal DIY Desktop Organizer
- Office Design Makeover: Our Home Office Giveaway Reveal
- Office Organizer Idea: DIY Desk Organizer
- DIY Nesting Desk Organizer
- #SUGARANDCLOTHCASA: Before + After of our Study Room Makeover (+ Giveaway!)
This post is sponsored by Scotch® Duct Tape. All opinions expressed are my own, and additional products used in this project were selected by me. Thank you for supporting the brands that enable us to bring you bigger and better content!