
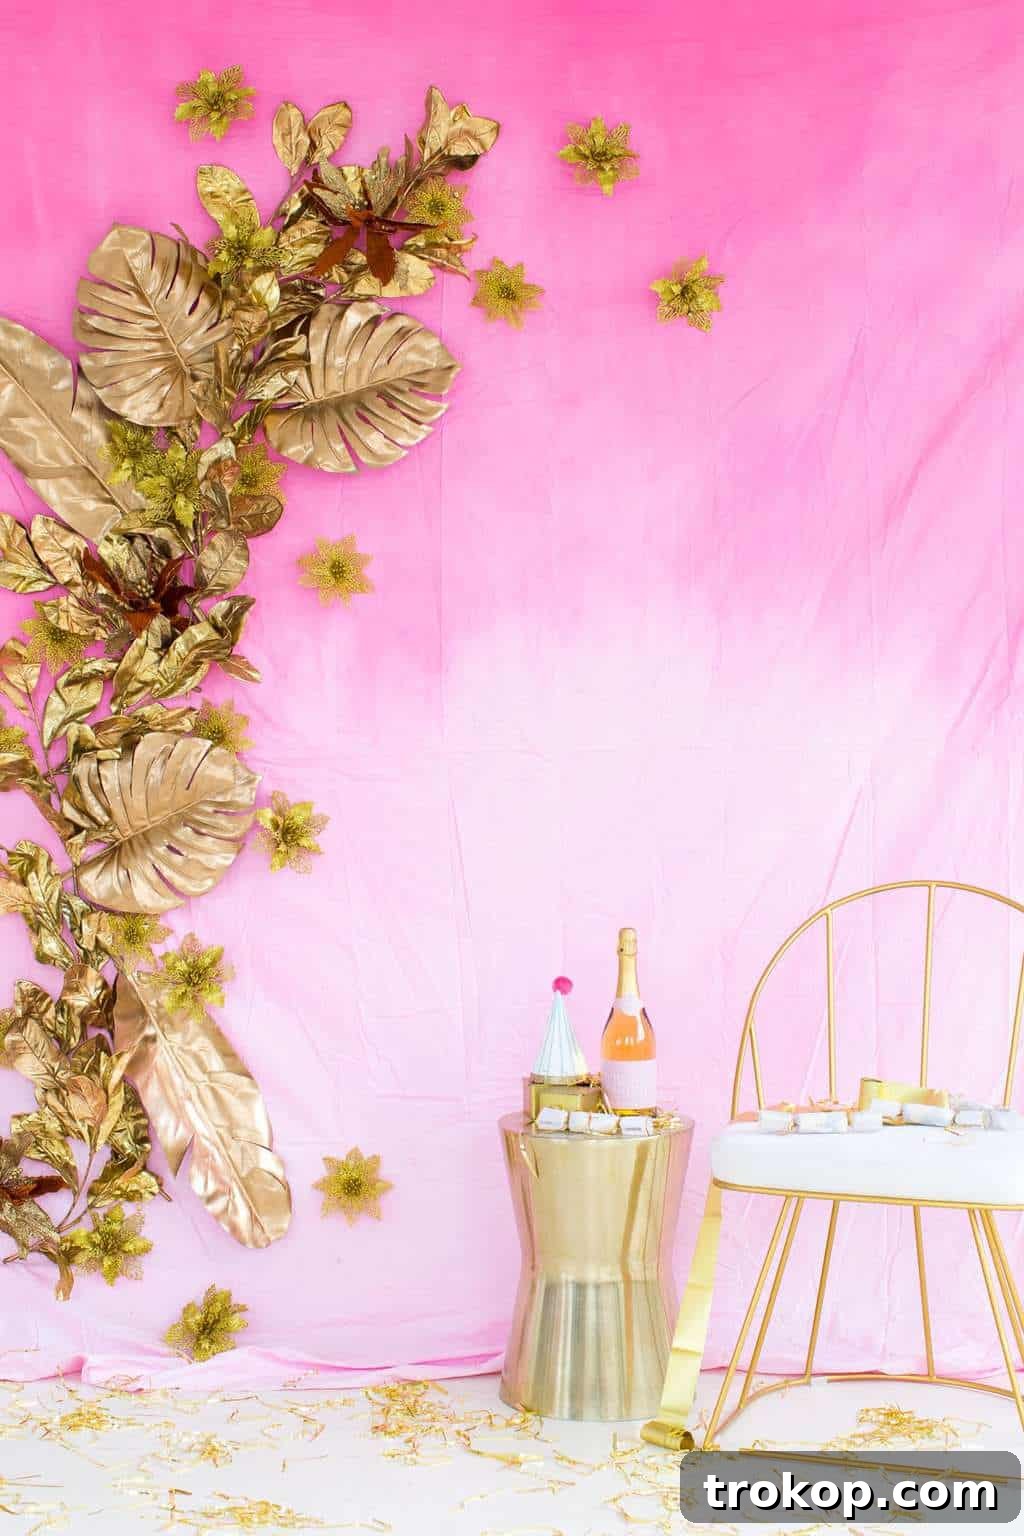
DIY Gold Leaf Photo Backdrop: Craft a Dazzling Display for Unforgettable Moments
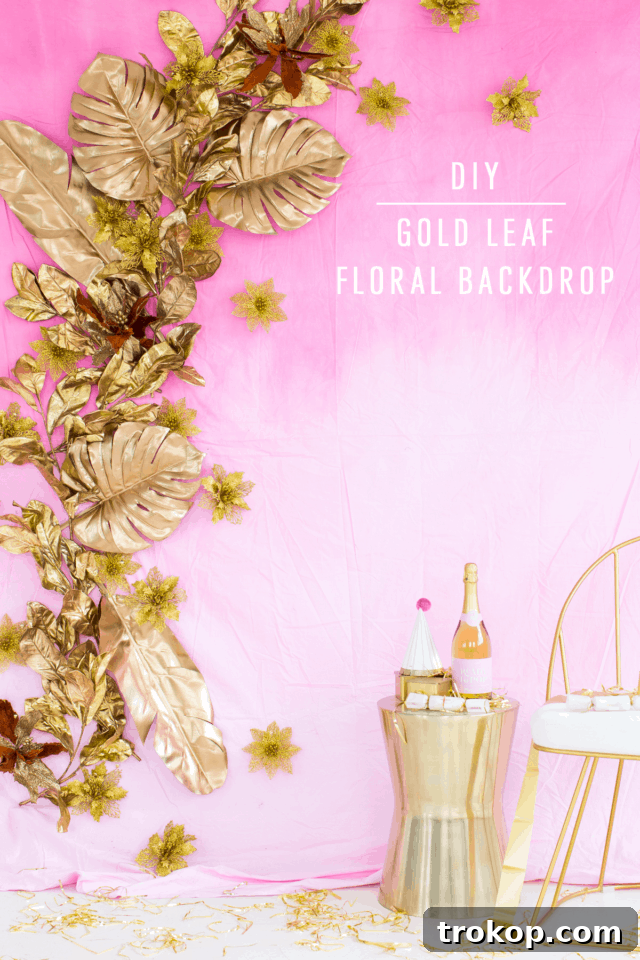
Step into the new year, or any festive occasion, with unparalleled elegance and sparkle! This detailed guide will walk you through creating a show-stopping DIY Gold Leaf Photo Backdrop. Imagine a luxurious display of shimmering gold leaves, artfully arranged to capture the essence of glamour and sophistication. Perfect for New Year’s Eve celebrations, lavish parties, or even elegant weddings, this backdrop promises to be the centerpiece of countless cherished photographs. Forget bland backgrounds; it’s time to design a truly memorable setting that reflects your unique style and creates an atmosphere of pure enchantment.

There’s an undeniable magic that gold, glitter, and a touch of extravagance bring to any celebration. For those who appreciate grand gestures and memorable details, crafting your own DIY Gold Leaf Photo Backdrop is an absolute must. This project isn’t just about decor; it’s about creating an immersive experience, a radiant focal point that encourages joy, laughter, and endless photo opportunities. Whether you’re aiming for a subtle shimmer or an opulent cascade of gold, this tutorial provides all the insights you need to bring your vision to life with ease and flair.
While this project shines brightly for New Year’s Eve, its versatility extends far beyond. Envision this magnificent backdrop enhancing birthday parties, bridal showers, baby reveals, or anniversary celebrations. It’s also an exceptional choice for themed photoshoots, adding a touch of editorial elegance to portraits. The beauty of a DIY project lies in its customizability, allowing you to adapt the size, density, and specific shades of gold to perfectly match your event’s theme and color palette. Get ready to impress your guests and capture truly iconic moments against this dazzling display.
Why Choose a DIY Photo Backdrop?
Opting for a DIY photo backdrop offers numerous advantages over purchasing a pre-made one or relying on generic party decor. Firstly, it allows for unparalleled personalization. You have complete control over every element, from the type of leaves to the exact shade of gold, ensuring your backdrop perfectly complements your event’s aesthetic. Secondly, it’s often more cost-effective. Crafting your own allows you to source materials strategically, often at a fraction of the cost of high-end event rentals. Lastly, there’s immense satisfaction in creating something beautiful with your own hands. It’s a rewarding project that adds a unique, handcrafted touch to your celebration, making it all the more special.
This simple yet impactful backdrop also serves as a fantastic way to elevate your event’s ambiance. Think beyond just photos; a well-designed backdrop can transform an ordinary room into a festive wonderland, setting the mood for the entire evening. It’s a conversation starter, a decor statement, and a functional prop all rolled into one. Plus, many DIY backdrops, including this gold leaf design, can be disassembled and stored, making them reusable for future celebrations or even as permanent decorative wall art in your home!
Materials and Tools Needed to Make a DIY Gold Leaf Photo Backdrop
Gathering the right materials is the first step towards creating your magnificent gold leaf photo backdrop. Quality components ensure a professional finish and a lasting display. Here’s a comprehensive list of what you’ll need:
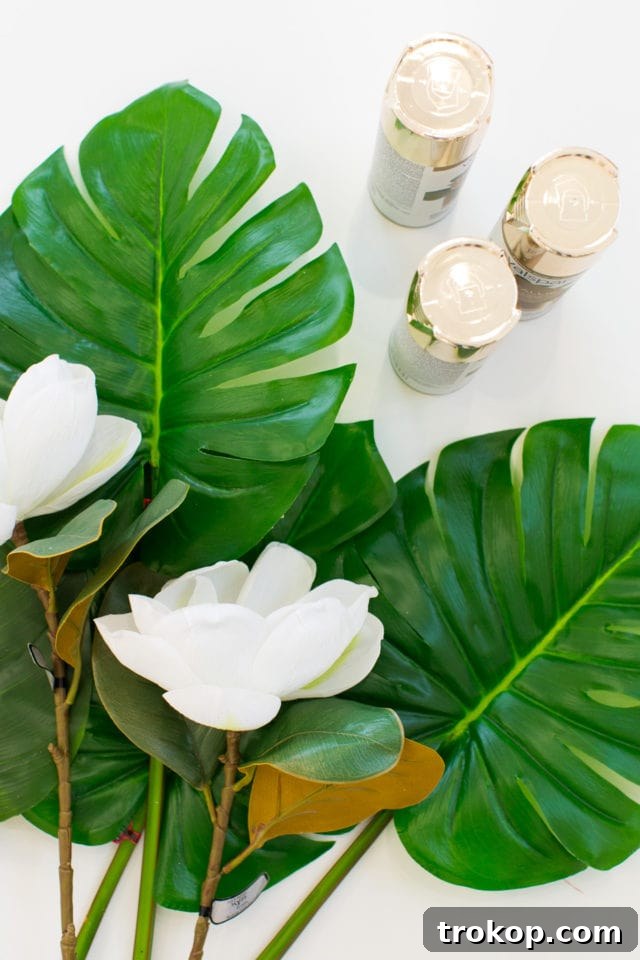
- Faux Palm Leaves: Opt for a variety of sizes and shapes to add depth and natural texture to your backdrop. While palm leaves offer a classic, elegant look, feel free to experiment with other faux foliage like monstera leaves, ferns, or even delicate branches for a different aesthetic.
- Metallic Gold Spray Paint: Crucial for achieving that radiant gold finish. Look for a brand that offers excellent coverage and a smooth, even application. For best results on plastic or faux greenery, choose a spray paint specifically designed for plastic adhesion to prevent tackiness and ensure durability. You can select different finishes like glossy, satin, or matte to match your desired level of shimmer.
- Gold Thumbtacks or Command Hooks: These will be your primary method for securing the leaves to your chosen surface. Gold thumbtacks blend seamlessly with the theme, offering a discreet yet sturdy attachment. If you’re working on a surface where you cannot make holes, consider heavy-duty clear Command Hooks or strips as a damage-free alternative for the foam board.
- Gold Florals (Optional, for added embellishment): To introduce extra texture and dimension, integrate pre-made gold floral elements. The original project utilized these and these specific types, which are excellent for filling gaps and adding intricate details. Think gold-sprayed berries, small artificial flowers, or even glitter-dusted branches.
- Foam Board (Optional, if you can’t tack directly to the wall): This is a fantastic solution for renters or anyone wishing to avoid wall damage. Large sheets of foam board provide a portable and damage-free base for your leaves. You can attach multiple boards together to create a larger surface if needed, using strong adhesive tape or clips.
- Drop Cloth or Cardboard: Essential for protecting your workspace when spray painting.
- Protective Gloves and Mask: For safety when working with spray paint in a well-ventilated area.
- Wire Cutters (Optional): Useful if you need to trim stems of faux leaves or florals.
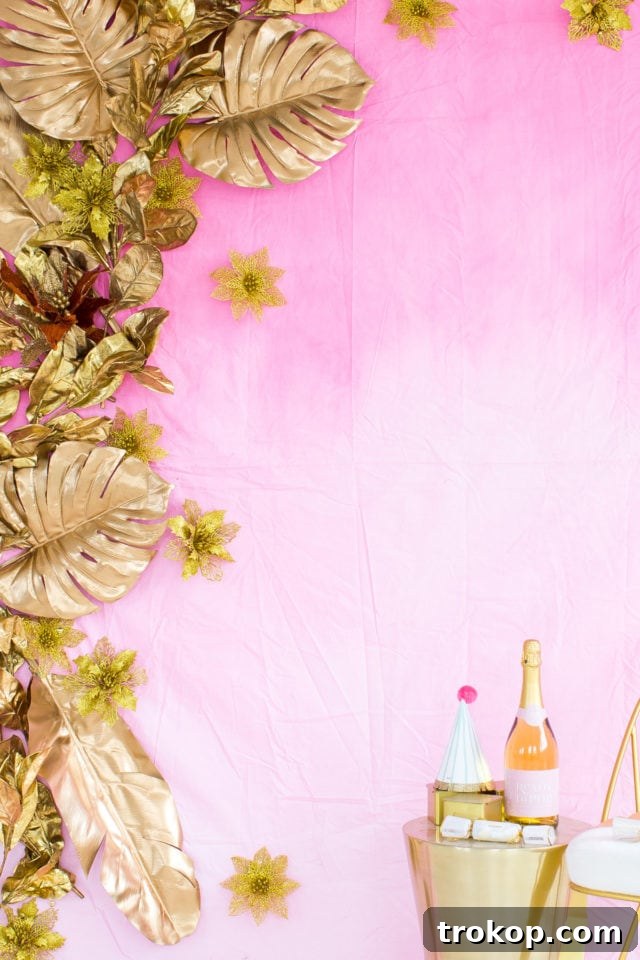
The backdrop can be designed against any wall color, but an accent wall, like the striking pink in the example, can truly make the gold elements pop. If you don’t have an accent wall and wish to introduce a temporary burst of color, consider hanging a dyed bedsheet or a large fabric panel behind your gold leaf arrangement. This provides a vibrant foundation without permanent changes, offering another layer of customization to your design.
How to Make a DIY Gold Leaf Photo Backdrop
Creating this glamorous gold leaf photo backdrop is surprisingly straightforward. Follow these steps to bring your vision to life:
Step 1: Prepare Your Surface (Wall or Foam Board)
First, decide whether you will be attaching the leaves directly to a wall or using foam board as a base. If attaching to a wall, ensure it’s clean and clear of any obstructions. If you’re concerned about making holes or prefer a portable backdrop, assemble your foam boards. You can create a seamless larger surface by taping several foam boards together on the back with strong packing tape or duct tape. This allows for easier transportation and setup.
Step 2: Prepare and Spray Paint Your Leaves and Florals
Lay out your faux leaves and any additional greenery or florals on a drop cloth in a well-ventilated area, preferably outdoors. Ensure adequate spacing between each piece for even spray application. Using your metallic gold spray paint, apply thin, even coats to all sides of the leaves. It’s better to apply multiple thin coats than one thick coat, as this prevents drips and ensures a smooth, non-tacky finish. Remember the crucial tip: use spray paint specifically formulated for plastic bonding to avoid a sticky residue. Allow ample drying time between coats and before handling the painted leaves. Some leaves may already come in gold, which can save you a step and offer a varied texture.
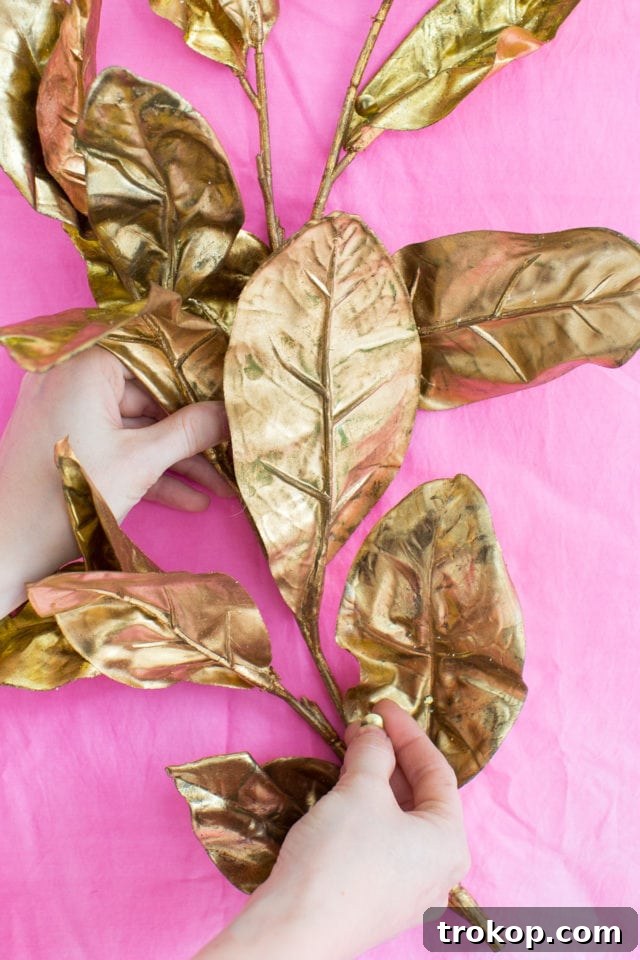
Expert Tip: Always read the instructions on your spray paint can for optimal application and drying times. Test the paint on a small, inconspicuous part of a leaf first to ensure it adheres properly and achieves the desired color and finish. Trust me, learning the hard way about tacky paint is a lesson you don’t want to repeat!
Step 3: Arrange and Attach Your Gold Leaves
Once all your leaves are completely dry, it’s time for the creative arrangement. Start by laying out your larger leaves to define the overall shape and coverage of your backdrop. Think about creating a sense of natural flow and fullness. Begin attaching the leaves from the bottom upwards, or from the outer edges inwards, overlapping them slightly to create depth and hide any attachment points. Use your gold thumbtacks to secure each leaf. If using foam board, you can tack the leaves directly into the board. If using a wall, carefully push the thumbtacks into the wall, ensuring they are secure.
Integrate your smaller leaves and gold floral embellishments to fill in gaps and add intricate details. Vary the angles and positions of the leaves to avoid a flat, uniform look. Step back frequently to assess your progress and make adjustments. The goal is a lush, vibrant, and visually appealing display that feels organic yet exquisitely golden.
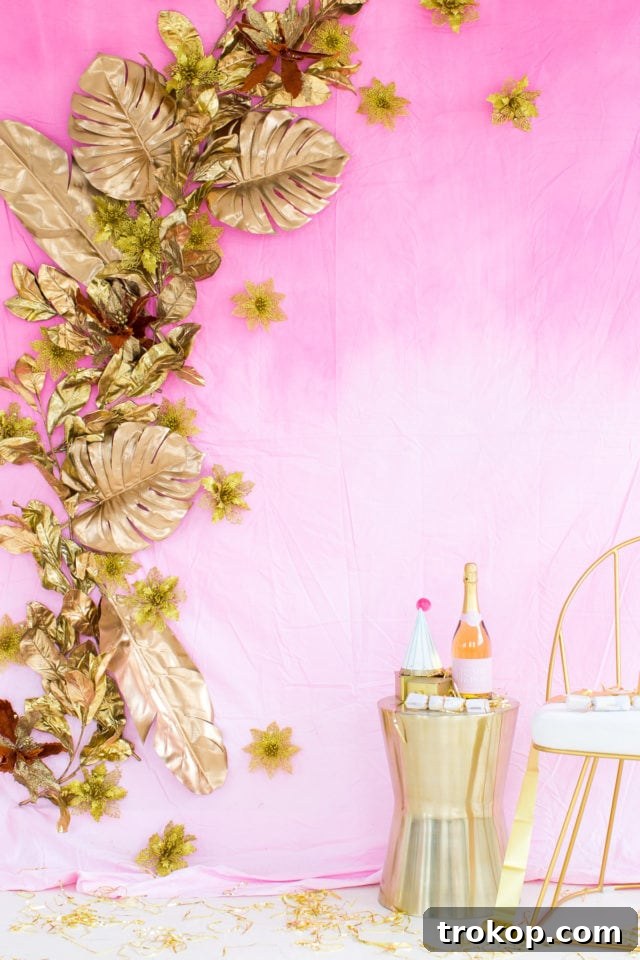
Step 4: Finishing Touches and Placement
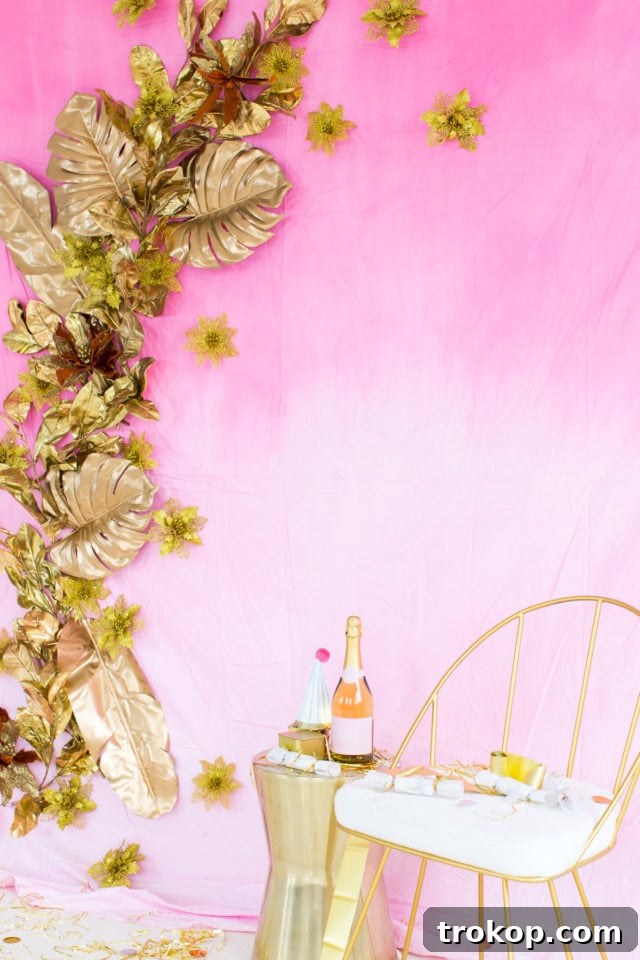
After all the leaves and florals are securely in place, take one last look at your creation. Adjust any leaves that seem out of place, ensuring a balanced and harmonious composition. If you’ve used foam boards, carefully lean or hang your completed backdrop against the desired wall. For wall-mounted backdrops, double-check that all thumbtacks are firmly pressed in. Consider adding subtle lighting, like string lights or spotlights, to enhance the shimmer and bring even more magic to your gold leaf display, especially for evening events.
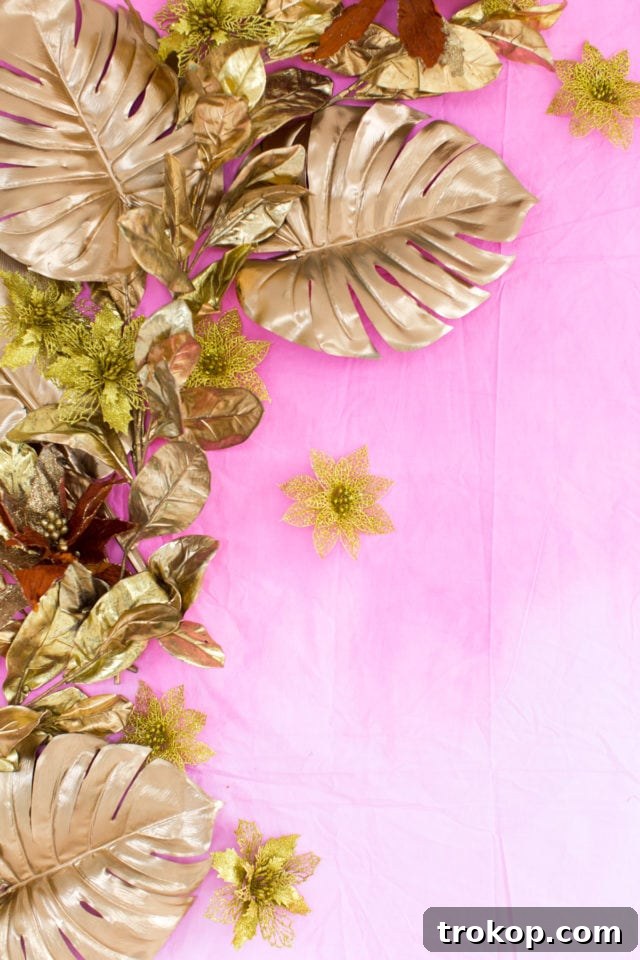
Customizing Your Gold Leaf Backdrop
The beauty of a DIY project lies in its endless possibilities for customization. While gold offers timeless elegance, don’t hesitate to experiment with different metallic shades like rose gold, silver, or even iridescent colors for a unique twist. You could also introduce pops of color by spray painting a few leaves in a contrasting hue, or by weaving in artificial flowers in colors that complement your party theme. For a truly luxurious feel, incorporate elements like feathers, beads, or small mirrors strategically placed among the leaves. Consider varying the types of faux foliage used—combine palm leaves with eucalyptus, ferns, or delicate branches for an even richer texture. This allows you to create a backdrop that is truly one-of-a-kind and perfectly suited to your specific event and personal aesthetic.
More DIY Ideas to Spark Your Creativity
If you’ve enjoyed crafting this glamorous gold leaf backdrop, you’re likely brimming with creative energy for more DIY projects! Delve into our extensive archive of handcrafted decor and functional items to personalize your home and events. Here are some related posts that might inspire your next endeavor:
- DIY Striking Matchstick Holder For Your Candle Collection: Add a touch of elegance to your candle displays.
- How to Make a DIY Geometric Metal Wall Hang: Create modern and chic wall art to elevate any room.
- DIY Paper Wall Art – Easy And Fun To Make!: Explore simple yet stunning paper crafts for unique wall decor.
- How To Make A DIY Floral Chandelier Garland: Bring natural beauty and a whimsical touch to your space with a custom floral chandelier.
- DIY Beach Ball Backdrop: Make a vibrant, playful statement for your summer parties.
- Pampas Grass DIY Photo Backdrop: Create a bohemian-chic backdrop perfect for special occasions.
A big thanks to our friends at Uber for partnering with us on this post! As a company committed to making a difference, Sugar & Cloth is proud to donate 5% of all sponsored campaigns to charity. You can read more about our initiative and impact here.
On a related note, as you plan your dazzling events, remember the importance of celebrating responsibly. Especially during festive seasons like New Year’s Eve, utilizing services like Uber provides a safe and convenient way to travel, ensuring everyone can enjoy the festivities without worry. It’s a smart choice for avoiding parking hassles and allowing friends to share fares, which is always a bonus for any budget-conscious event planner!
We are incredibly excited to see your unique take on this DIY Gold Leaf Photo Backdrop! Don’t forget to share your dazzling creations with us on Instagram. Tag us and use the hashtag #sugarandclothloves so we can admire and celebrate your craftsmanship. Your creativity is our inspiration! For more interior design tutorials, home decor ideas, and DIY projects, explore the rest of our website.