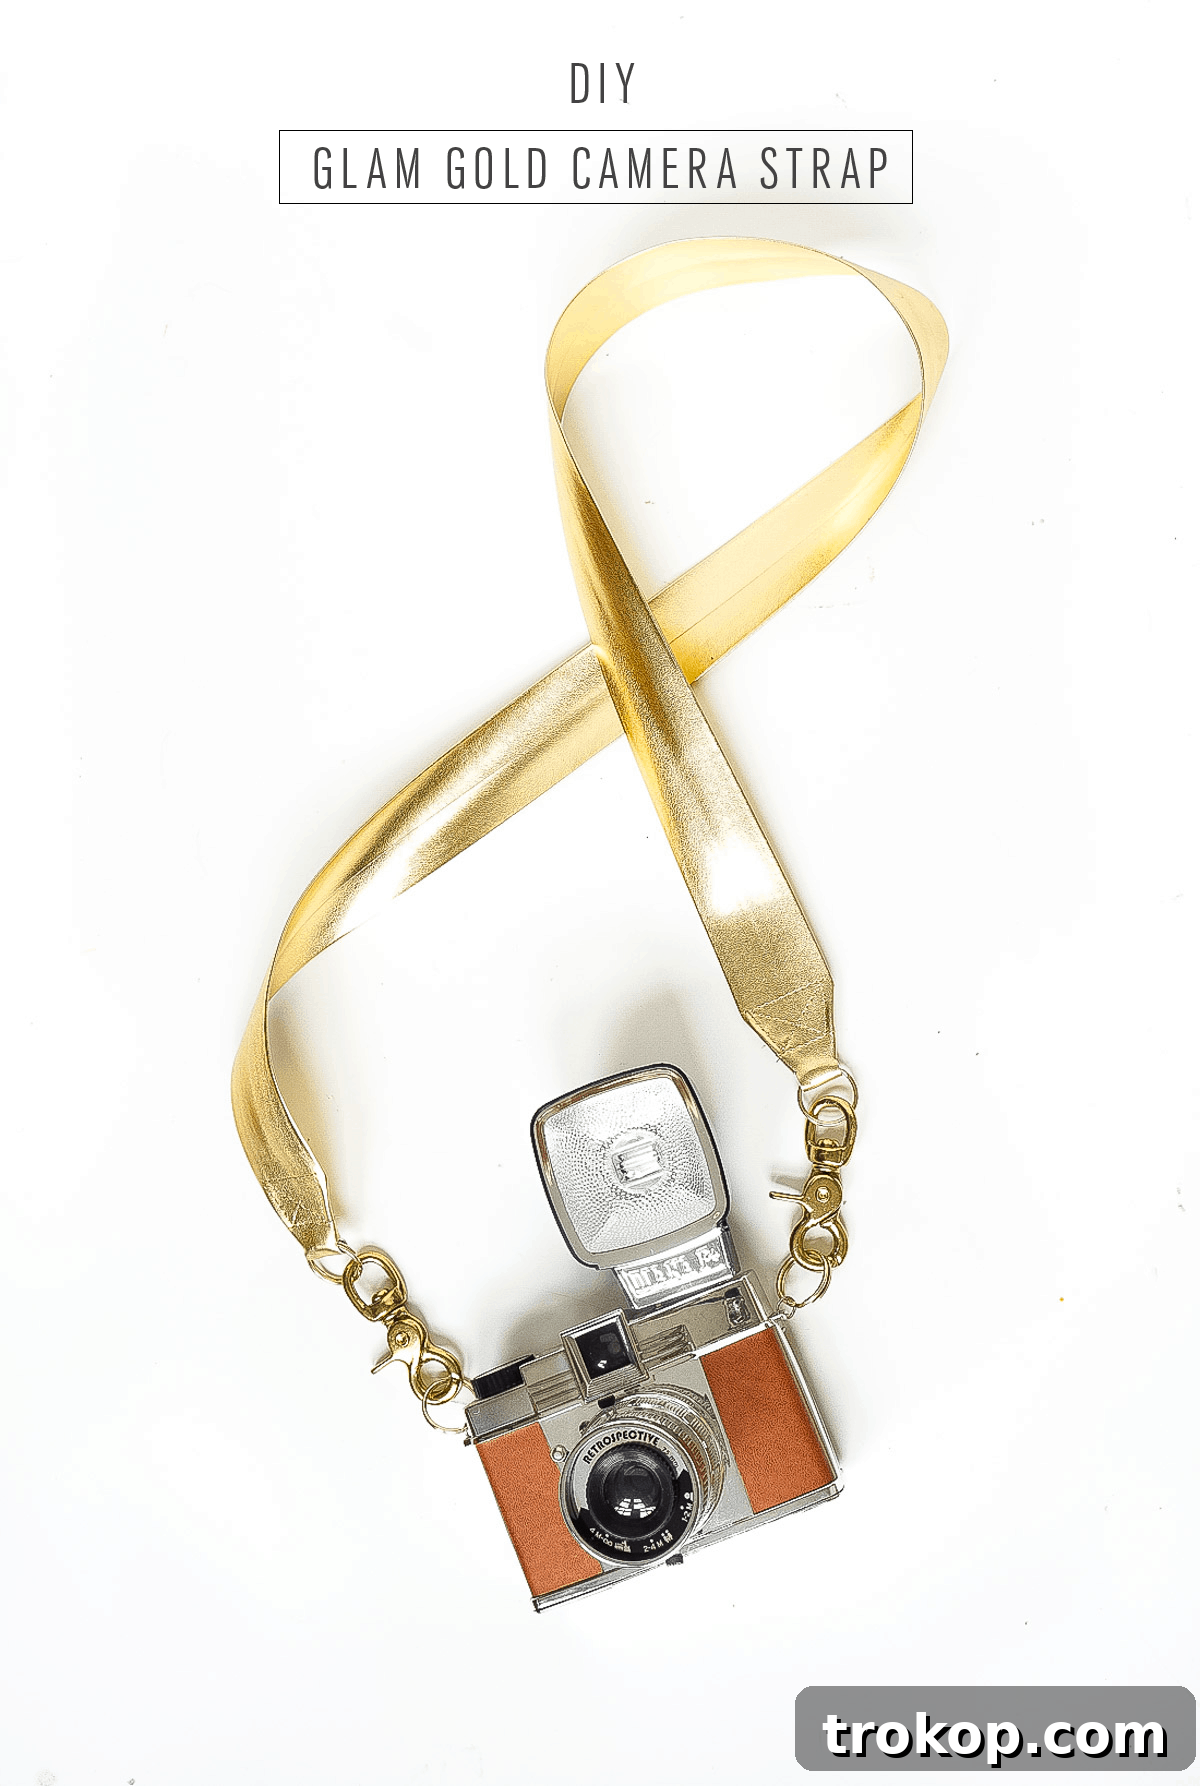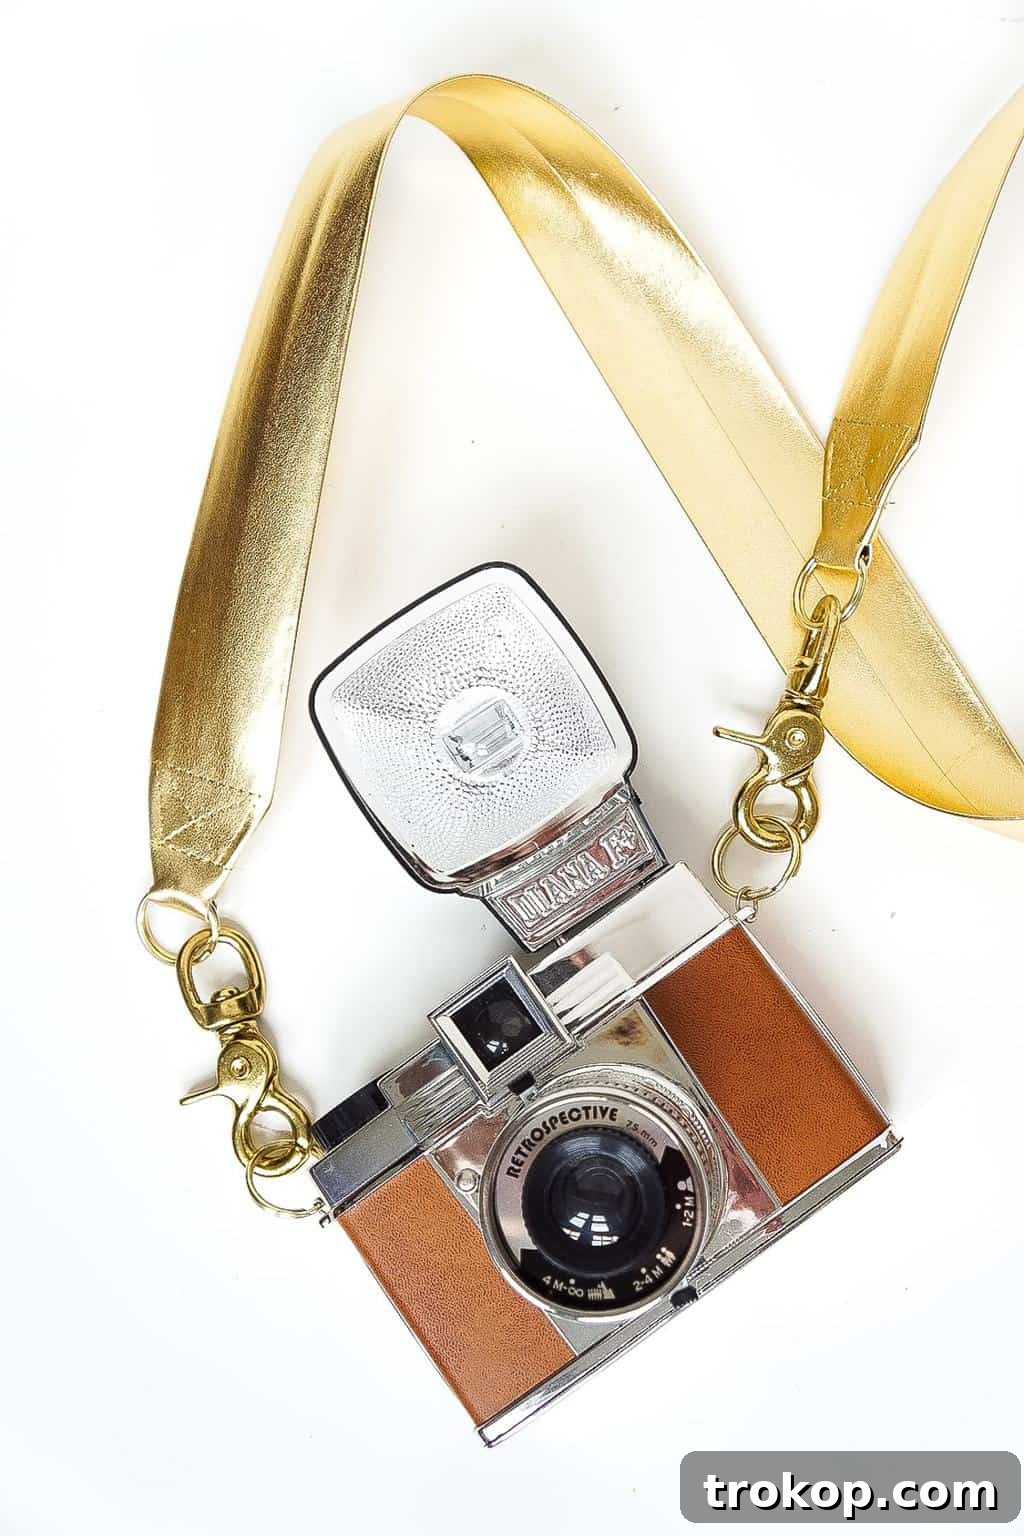
Transform Your Photography Style with a DIY Glam Camera Strap
Are you ready to elevate your photography gear from mundane to magnificent? If your camera strap is still the plain, uninspiring one that came with your camera, it’s time for a stylish upgrade. This fall, as you plan your exciting travel adventures and picturesque outings, imagine documenting those precious moments with a camera strap that reflects your unique personality and aesthetic. Our #StayGold Glam DIY Camera Strap project is here to help you do just that, offering a touch of chic sophistication to your photographic journey.
Gone are the days of blending in with generic accessories. Just like a fashionable outfit, your camera deserves an accessory that’s both functional and visually appealing. A custom camera strap not only adds a personal touch but also enhances your overall photography experience, allowing you to carry your camera with confidence and flair. This DIY project is designed for everyone, from seasoned crafters to enthusiastic beginners, promising a straightforward process with dazzling results.
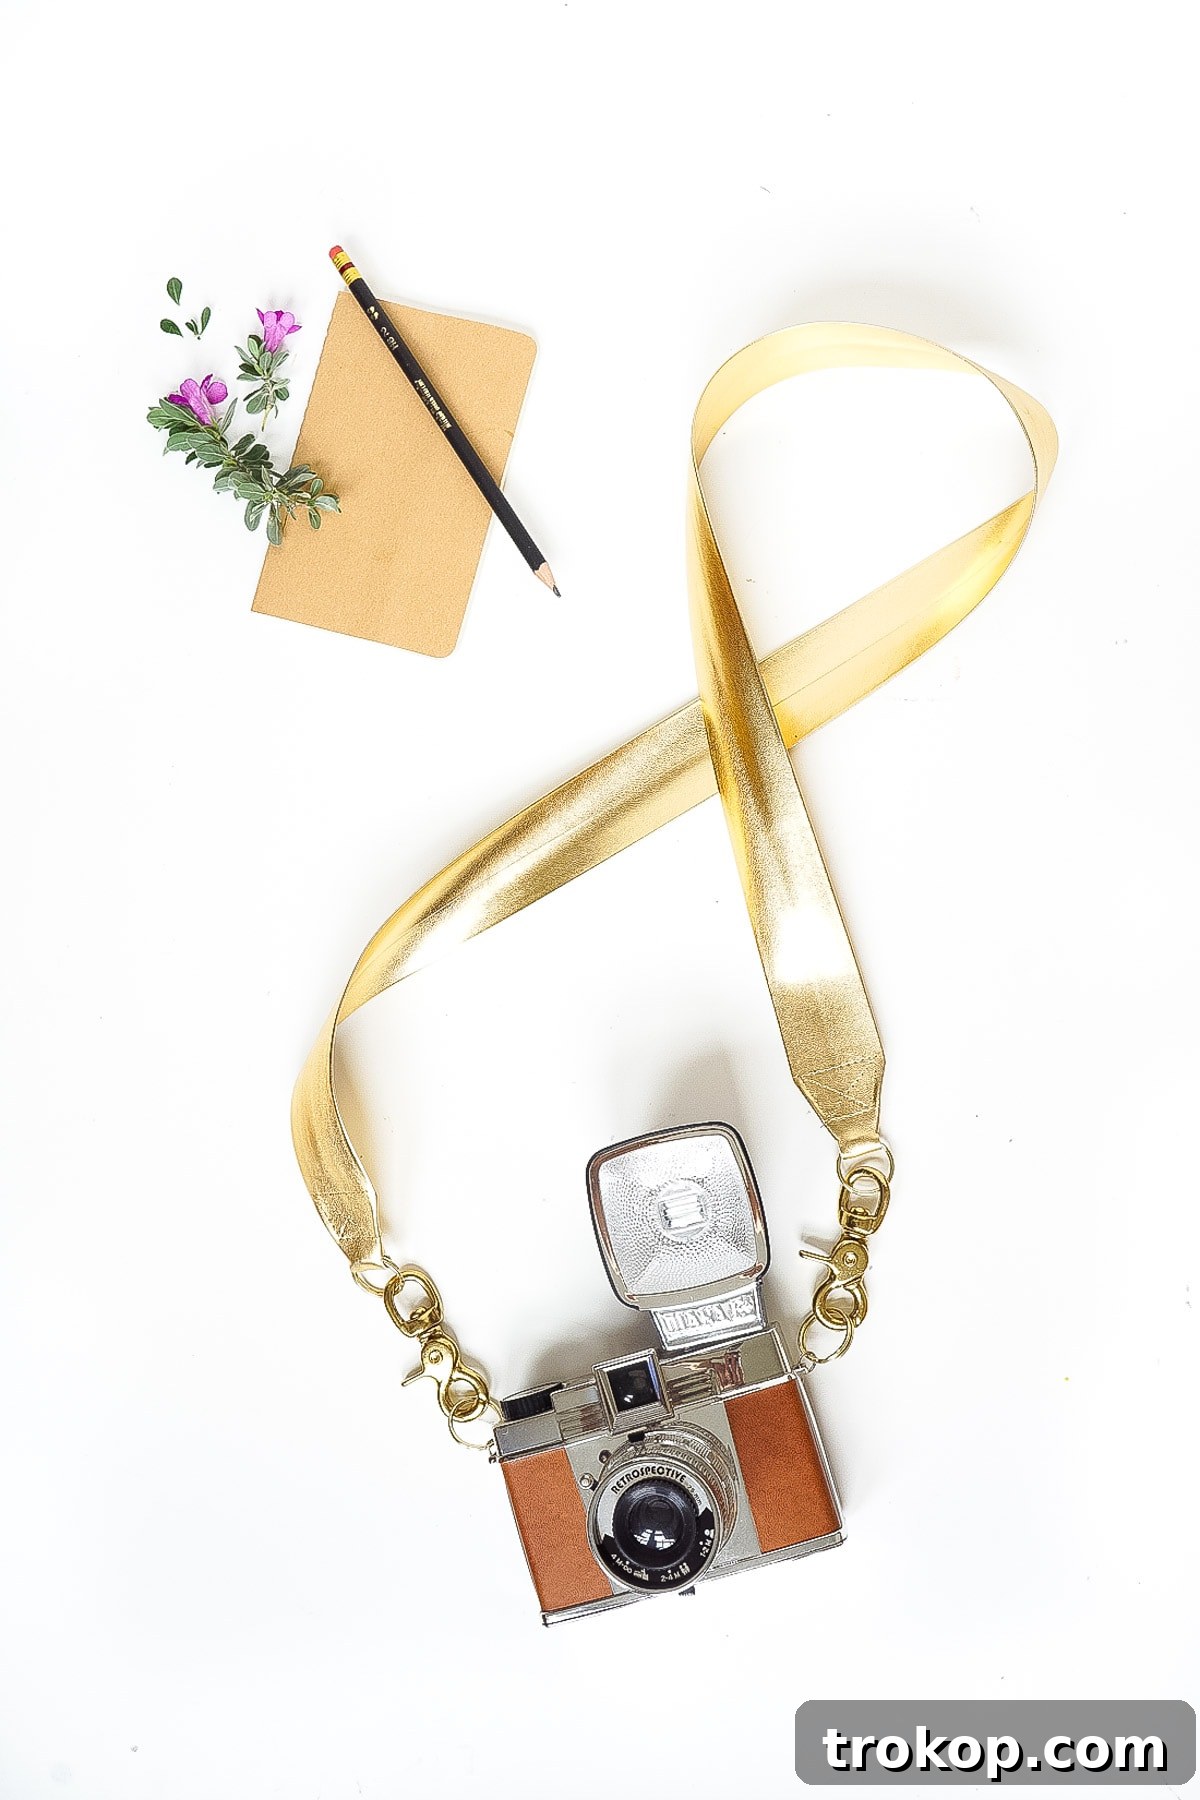
Whether you’re exploring vibrant cityscapes, hiking through autumn foliage, or simply capturing everyday beauty, having a camera strap that you love can genuinely inspire your creative spirit. Many photographers, myself included, have spent countless hours with a drab black strap digging into their shoulder. It’s an oversight easily corrected with a little creativity and a few accessible materials. This particular DIY is engineered for simplicity, primarily utilizing pre-fabricated tape trim, which significantly streamlines the crafting process. You’ll be ready to embark on your next wanderlust-filled excursion, camera in hand and style on point, in no time at all!
Beyond aesthetics, a well-crafted DIY camera strap offers numerous advantages. It provides an opportunity to personalize your gear, ensuring no one else has exactly the same strap. It can also be more comfortable and ergonomically designed to suit your preferences than a factory-standard strap. Plus, the satisfaction of creating something beautiful and functional with your own hands is truly unparalleled. This project empowers you to infuse your passion for photography with your flair for fashion, resulting in a accessory that’s as unique as your vision.
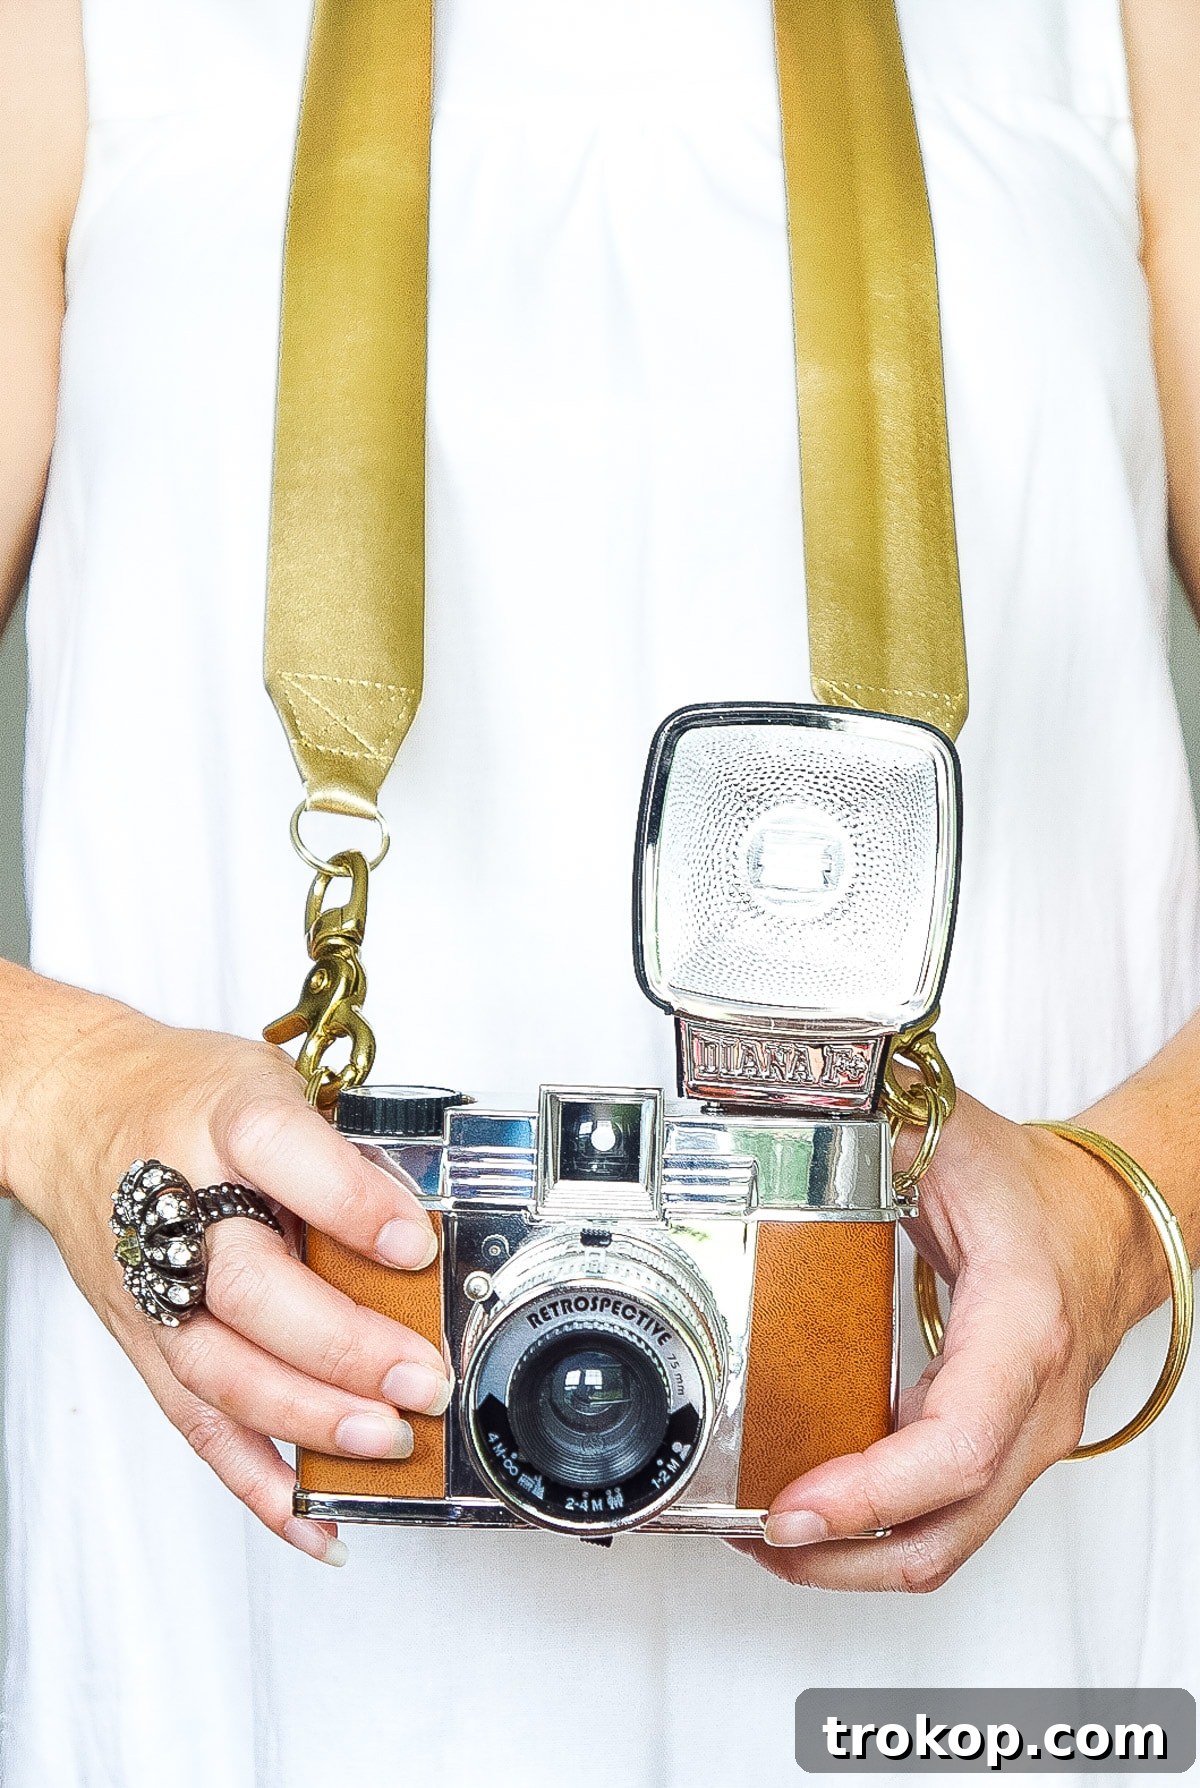
Materials Needed To Make A Glam DIY Camera Strap
Crafting your own glamorous camera strap is surprisingly simple, especially when you have the right components. Here’s a detailed list of what you’ll need, along with some tips for sourcing them:
- Metallic Gold 1.5″ Belting Trim: This is the star of our show, providing the foundation for your strap’s luxurious look. The 1.5-inch width is ideal for comfort and stability, distributing your camera’s weight effectively without being overly bulky. While some retailers might sell it by the bolt online, it’s often more convenient and cost-effective to purchase it by the yard at your local fabric or craft store, such as JoAnn’s. Look for a sturdy, high-quality trim that can withstand regular use and support the weight of your camera.
- 2 Gold Industrial Clasps: These clasps will be the primary connection points between your strap and your camera. “Industrial” refers to their robust construction, ensuring they are strong enough to securely hold your valuable equipment. Opt for clasps with a smooth, reliable mechanism and a finish that complements the metallic gold trim.
- 4 Gold Split Rings: Split rings, similar to key rings, are essential for attaching the industrial clasps to the camera strap itself and to the camera’s attachment points. Having four allows for two at each end of the strap, providing flexibility and a secure connection. Choose gold-toned rings that are sturdy and resistant to bending or opening under pressure.
- Gold Thread: To maintain the cohesive and glamorous aesthetic, a high-quality gold thread is crucial. It will blend seamlessly with your belting trim, making your stitches virtually invisible or adding a subtle shimmer. A strong polyester thread is usually a good choice for durability.
- Sewing Machine: While skilled hands could potentially do this by hand, a sewing machine will ensure precise, strong, and consistent stitches, which are vital for the longevity and safety of your camera strap. Make sure your machine is threaded correctly and you have a needle suitable for sewing through belting material.
- Scissors: A sharp pair of fabric scissors will make clean cuts through your belting trim, preventing fraying and ensuring neat edges.
- Double-Sided Tape: This invaluable tool acts as a temporary adhesive, holding fabric folds and pieces in place before you sew them. It helps to achieve crisp lines and prevents materials from shifting, making the sewing process much smoother and more accurate.
Gathering these materials is the first exciting step in bringing your vision to life. Each item plays a crucial role in ensuring your DIY camera strap is not only beautiful but also incredibly functional and reliable.
How To Make A Glam DIY Camera Strap
Now that you have all your materials ready, let’s dive into the step-by-step process of creating your stunning new camera strap. Follow these instructions carefully to ensure a durable and beautiful finished product.
1 — Determine Your Desired Strap Length and Trim: Begin by envisioning how you typically wear your camera. Do you prefer it around your neck, across your body, or hanging shorter? Drape your existing strap or a piece of string around yourself to find the perfect, comfortable length. Once you’ve decided, lay your metallic gold belting trim flat and use a measuring tape to mark your desired length. With sharp fabric scissors, carefully cut the belting down to size. Remember, it’s always better to cut a little longer than needed, as you can always trim more off later, but you can’t add material back.
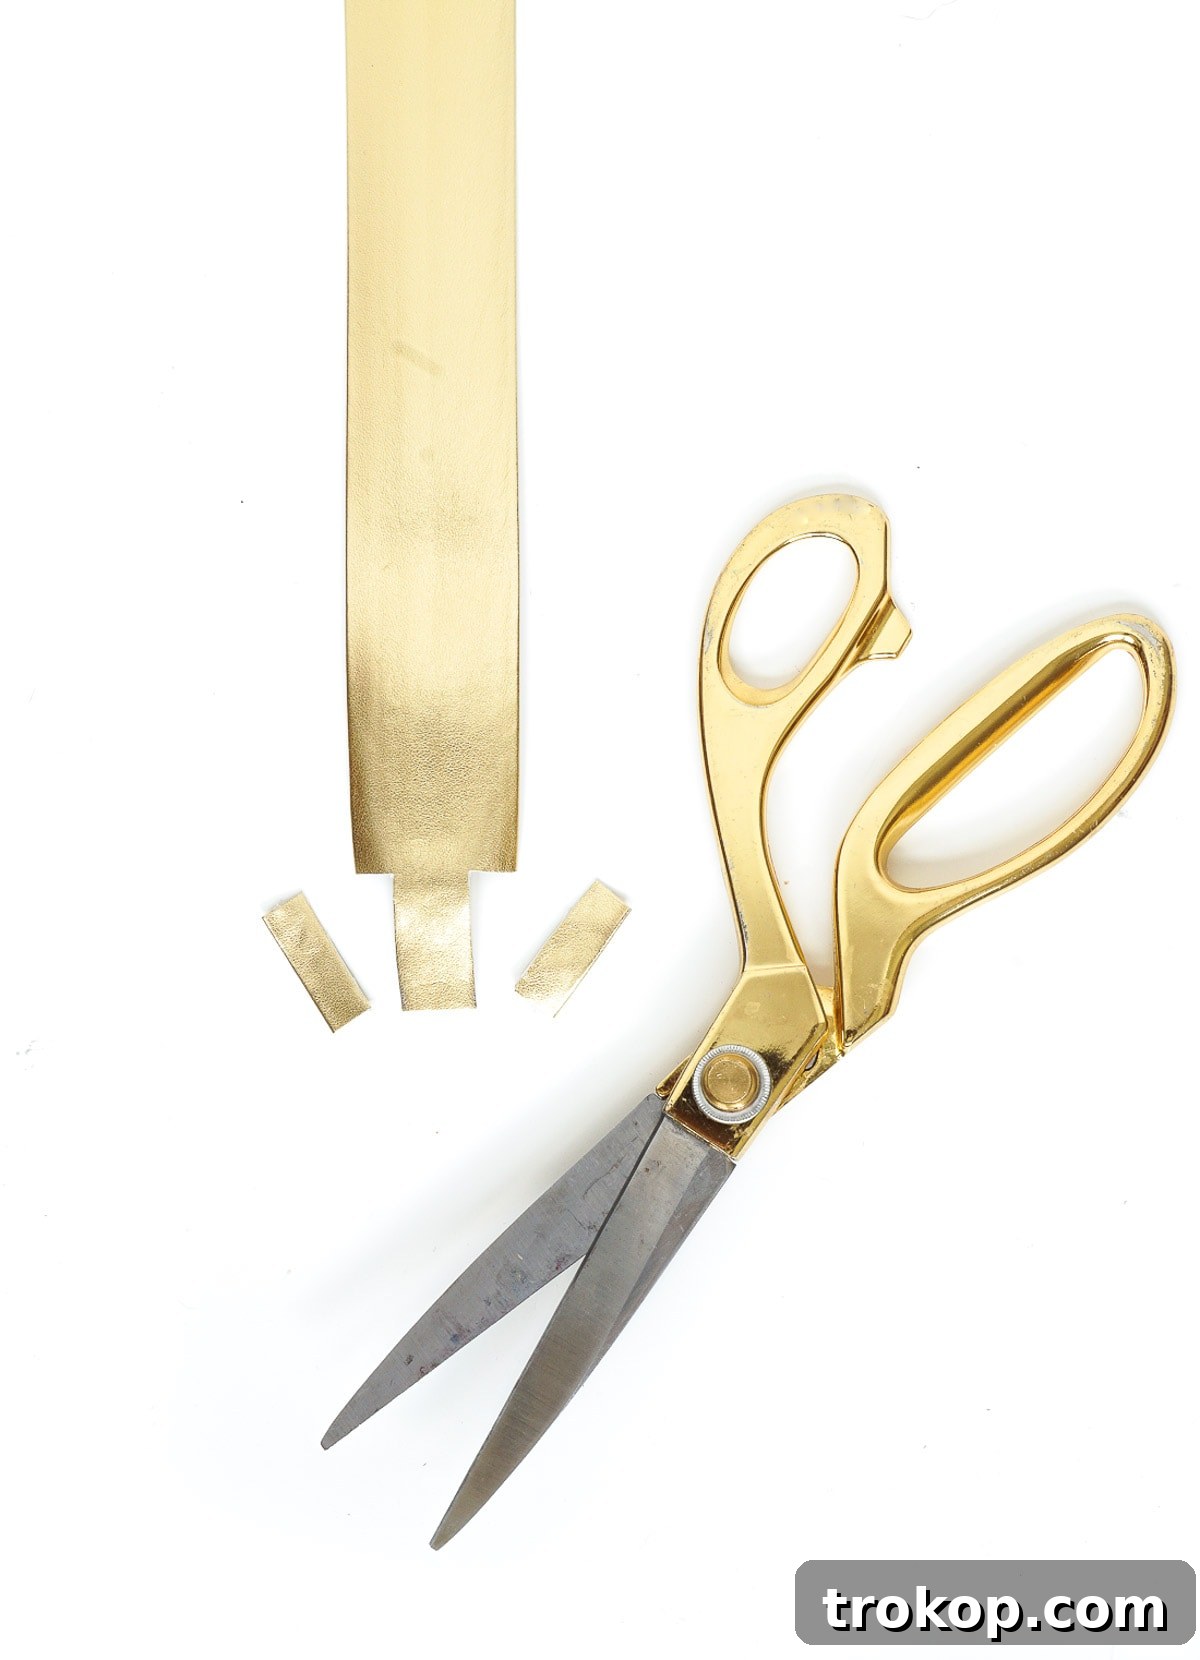
2 — Cut Notches on Both Sides of Each Strap End: At each end of your trimmed belting, you’ll create two 1-inch by 5/8-inch vertical rectangular notches. These cuts are crucial for allowing the strap ends to fold neatly and securely around the split rings. Measure carefully and use your sharp scissors to make precise cuts. The goal is to create a clean, symmetrical slot that will later encase the hardware.
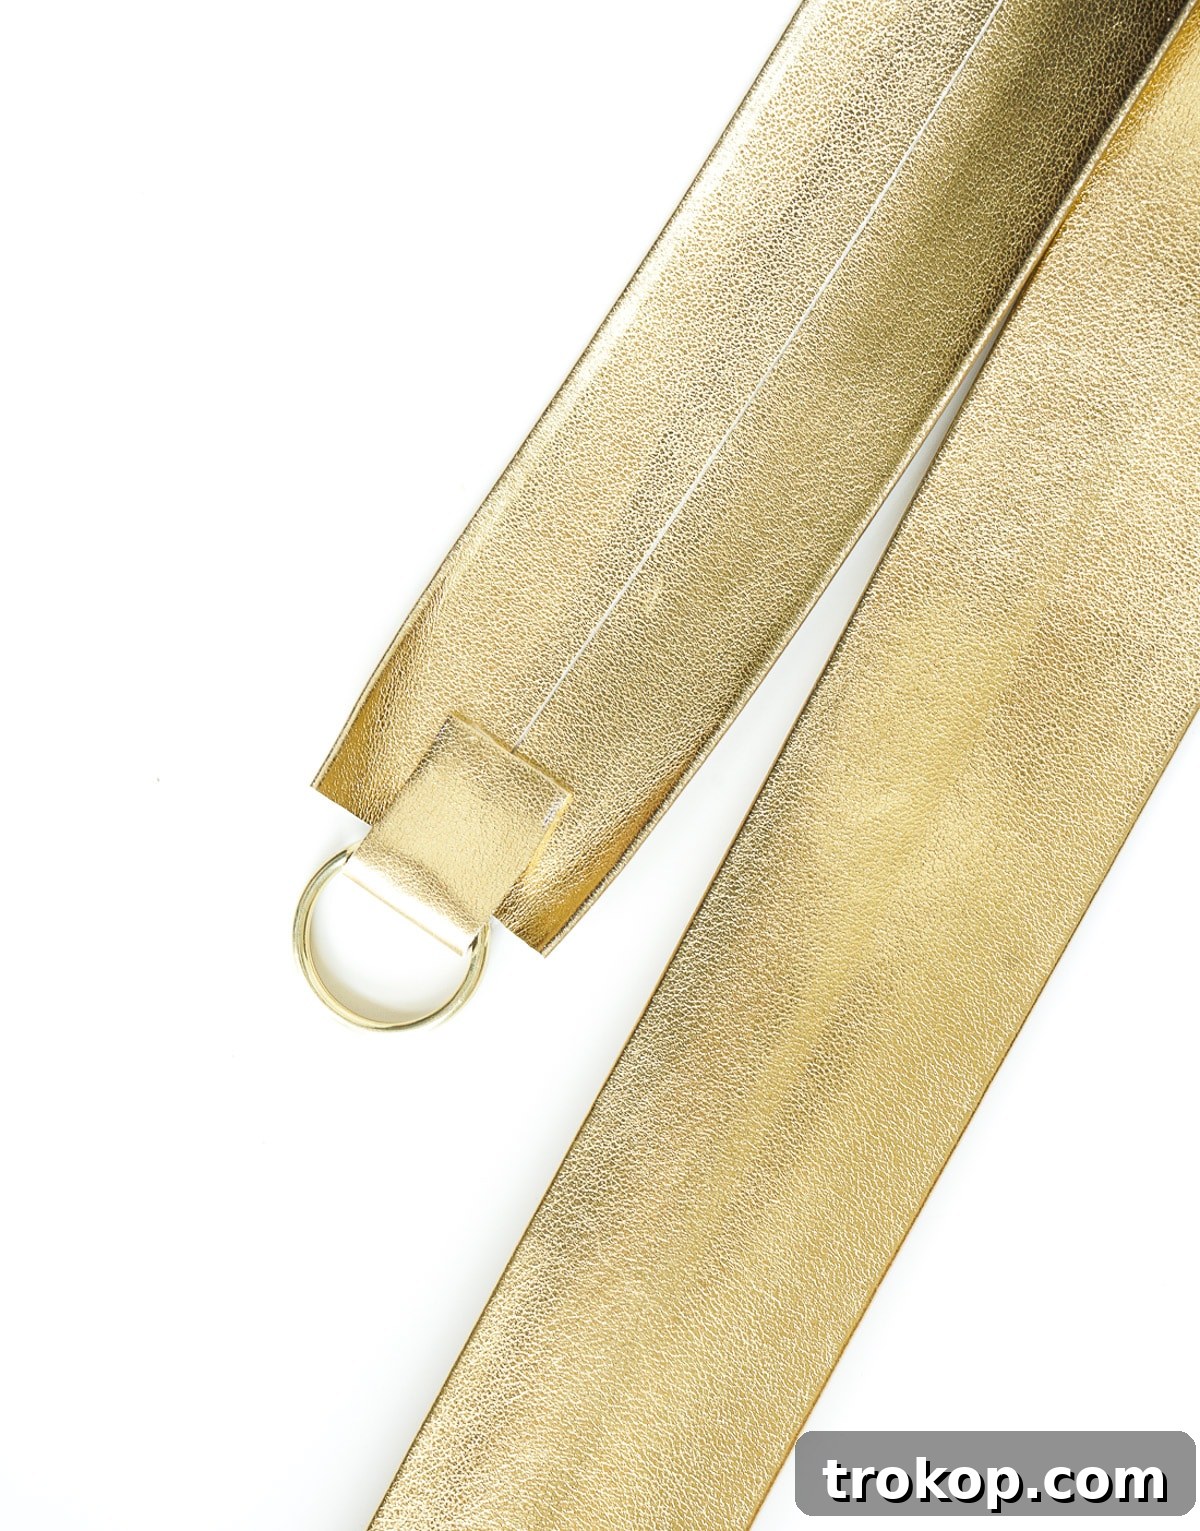
3 — Fold the Flap Back and Secure with Double-Sided Tape: Take one end of the strap. Carefully fold the notched flap back about three-quarters of the way towards the main body of the strap. As you do this, ensure that one of your gold split rings is securely enclosed at the base of this fold, within the space created by your notches. The split ring should be nestled snugly. Once the fold is positioned correctly, use a piece of double-sided tape to temporarily secure the flap in place. This will prevent it from shifting while you prepare for sewing.
4 — Sew a Horizontal Line Across the Bottom of the Strap: Head to your sewing machine, threaded with your chosen gold thread. With the folded flap and split ring secured, sew a strong, straight horizontal line across the very bottom of the folded flap, close to where the split ring is enclosed. This stitch line will firmly hold the split ring in place and provide the initial structural integrity for the strap end. Backstitch at the beginning and end to reinforce the seam, ensuring it can withstand the weight of your camera.
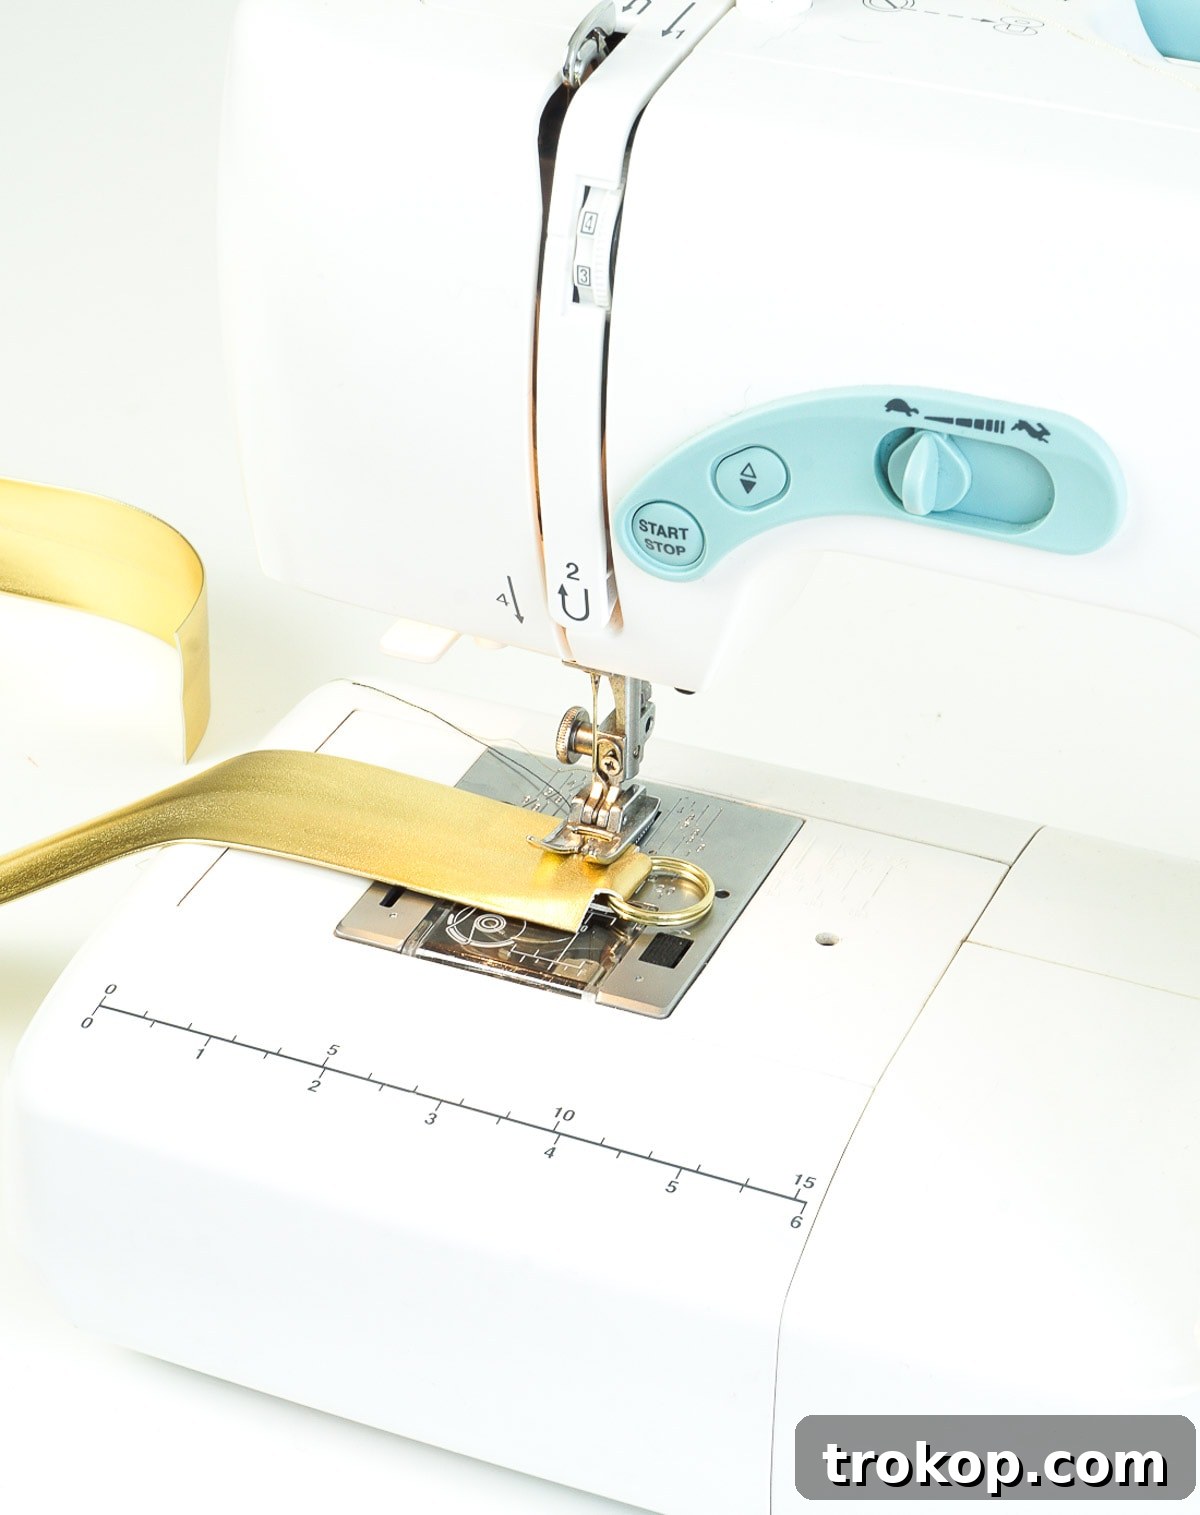
5 — Thread Your Machine and Sew a Horizontal Line: Now, using your sewing machine with gold thread, sew a horizontal line across the folded flap, just above where the split ring is secured. This stitch should be parallel to the fold. This stitch will reinforce the enclosure of the split ring and provide a clean, finished edge to the strap end. Again, use backstitching for added strength. Double-check that your stitches are even and taut.
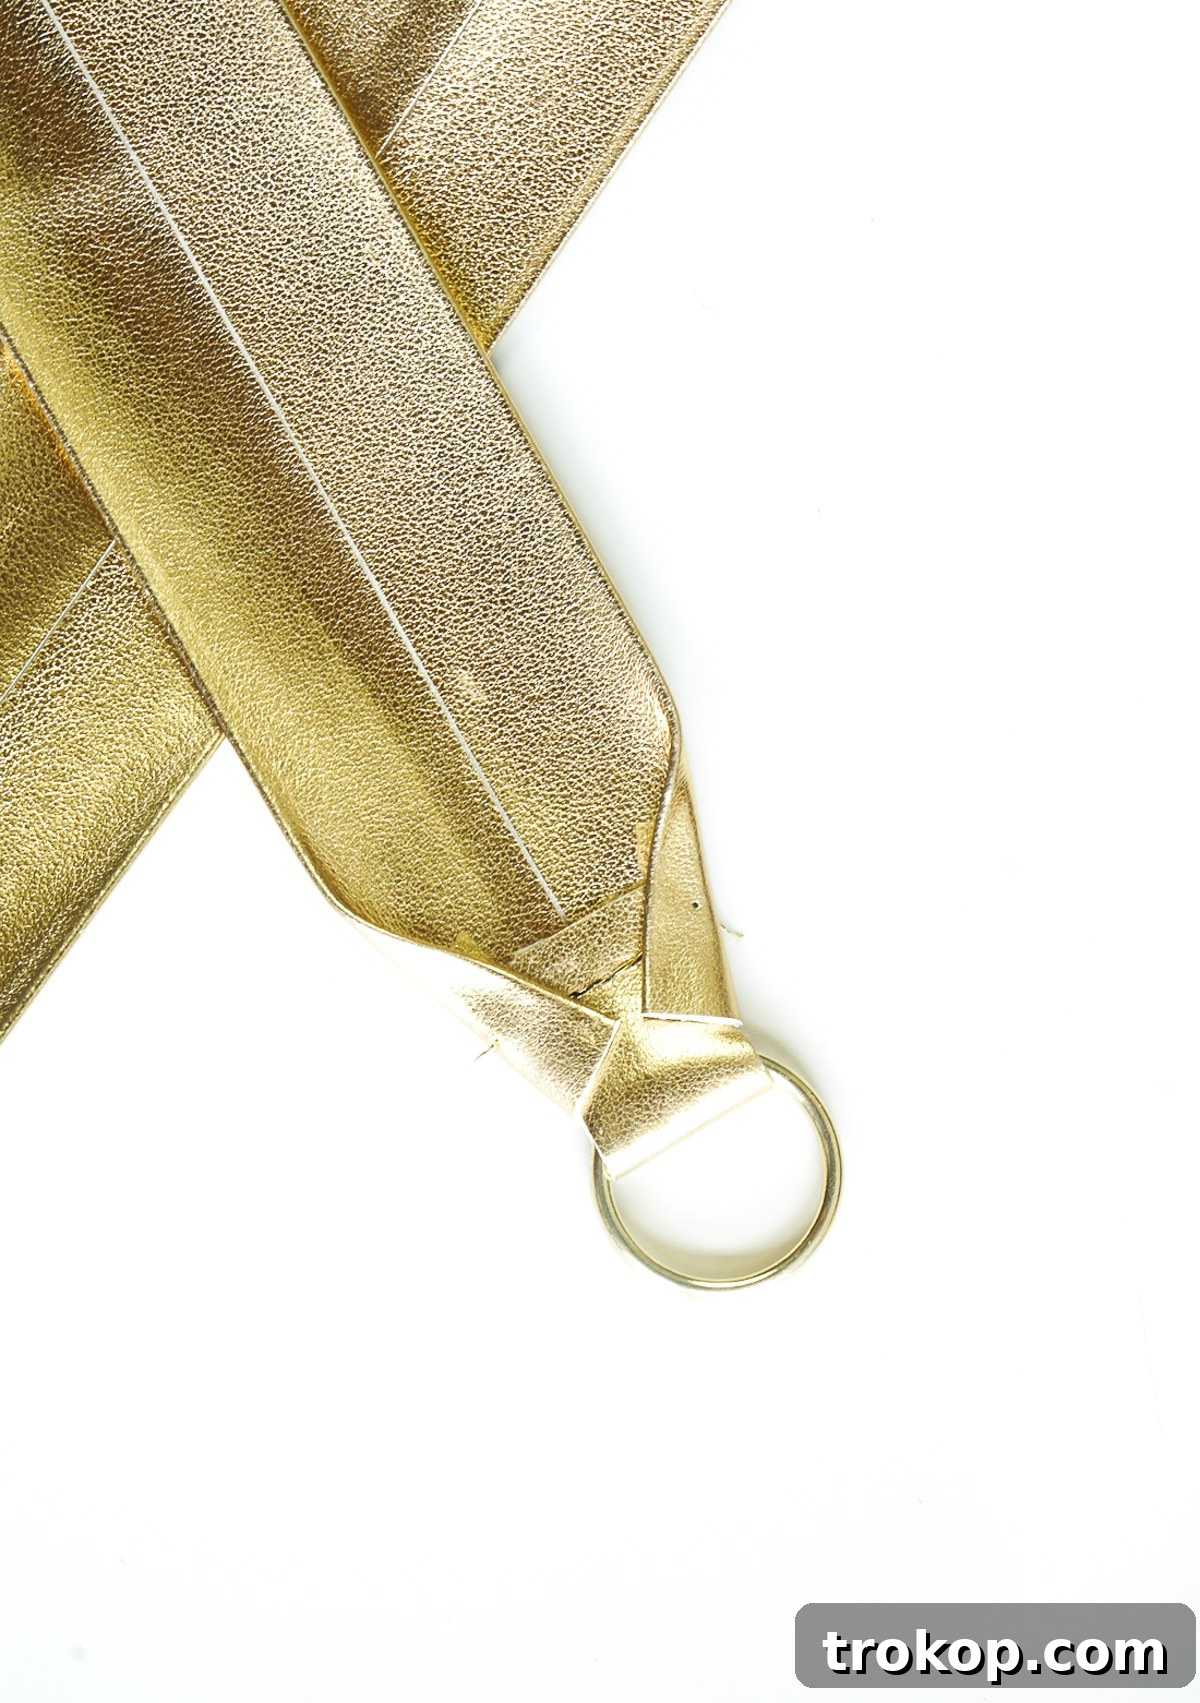
6 — Fold Sides and Secure with Double-Sided Tape: To create a more tapered and refined look, and to further secure the strap end, fold each side of the strap up at an angle. These angled folds should ease the narrower, notched part of the strap into the wider main body, creating a smooth transition. Once you are satisfied with the angle and symmetry of your folds, use small pieces of double-sided tape to hold them firmly in place. This will ensure they don’t shift during the next crucial sewing steps.
7 — Sew Angled Stitch Lines: Referencing the horizontal stitch line you created in Step 4, begin a straight stitch at each end of that line. Follow the angle of the folds you just secured with tape, stitching upwards along both sides of the strap. These angled stitch lines will further strengthen the strap end and contribute to the decorative trapezoid shape you’re aiming for. Make sure your stitches are consistent and firm.
8 — Connect Angled Stitch Lines with a Horizontal Line: Once you have completed both angled stitch lines, sew another horizontal line to connect their tops. This stitch will complete the top edge of your trapezoid shape, fully enclosing the raw edges of the folded fabric and providing an incredibly strong attachment point for your hardware. This final horizontal stitch ensures the strap end is robust and secure.
9 — Sew Diagonal Lines to Connect Opposite Corners: For an extra layer of reinforcement and a visually appealing design, sew diagonal lines across the trapezoid shape you just formed. Connect opposite corners of the trapezoid with a strong, straight stitch. This crisscross pattern not only adds a decorative touch but also significantly increases the durability of the strap end, distributing tension more evenly and preventing wear and tear. This is a critical step for ensuring your camera is safely supported.
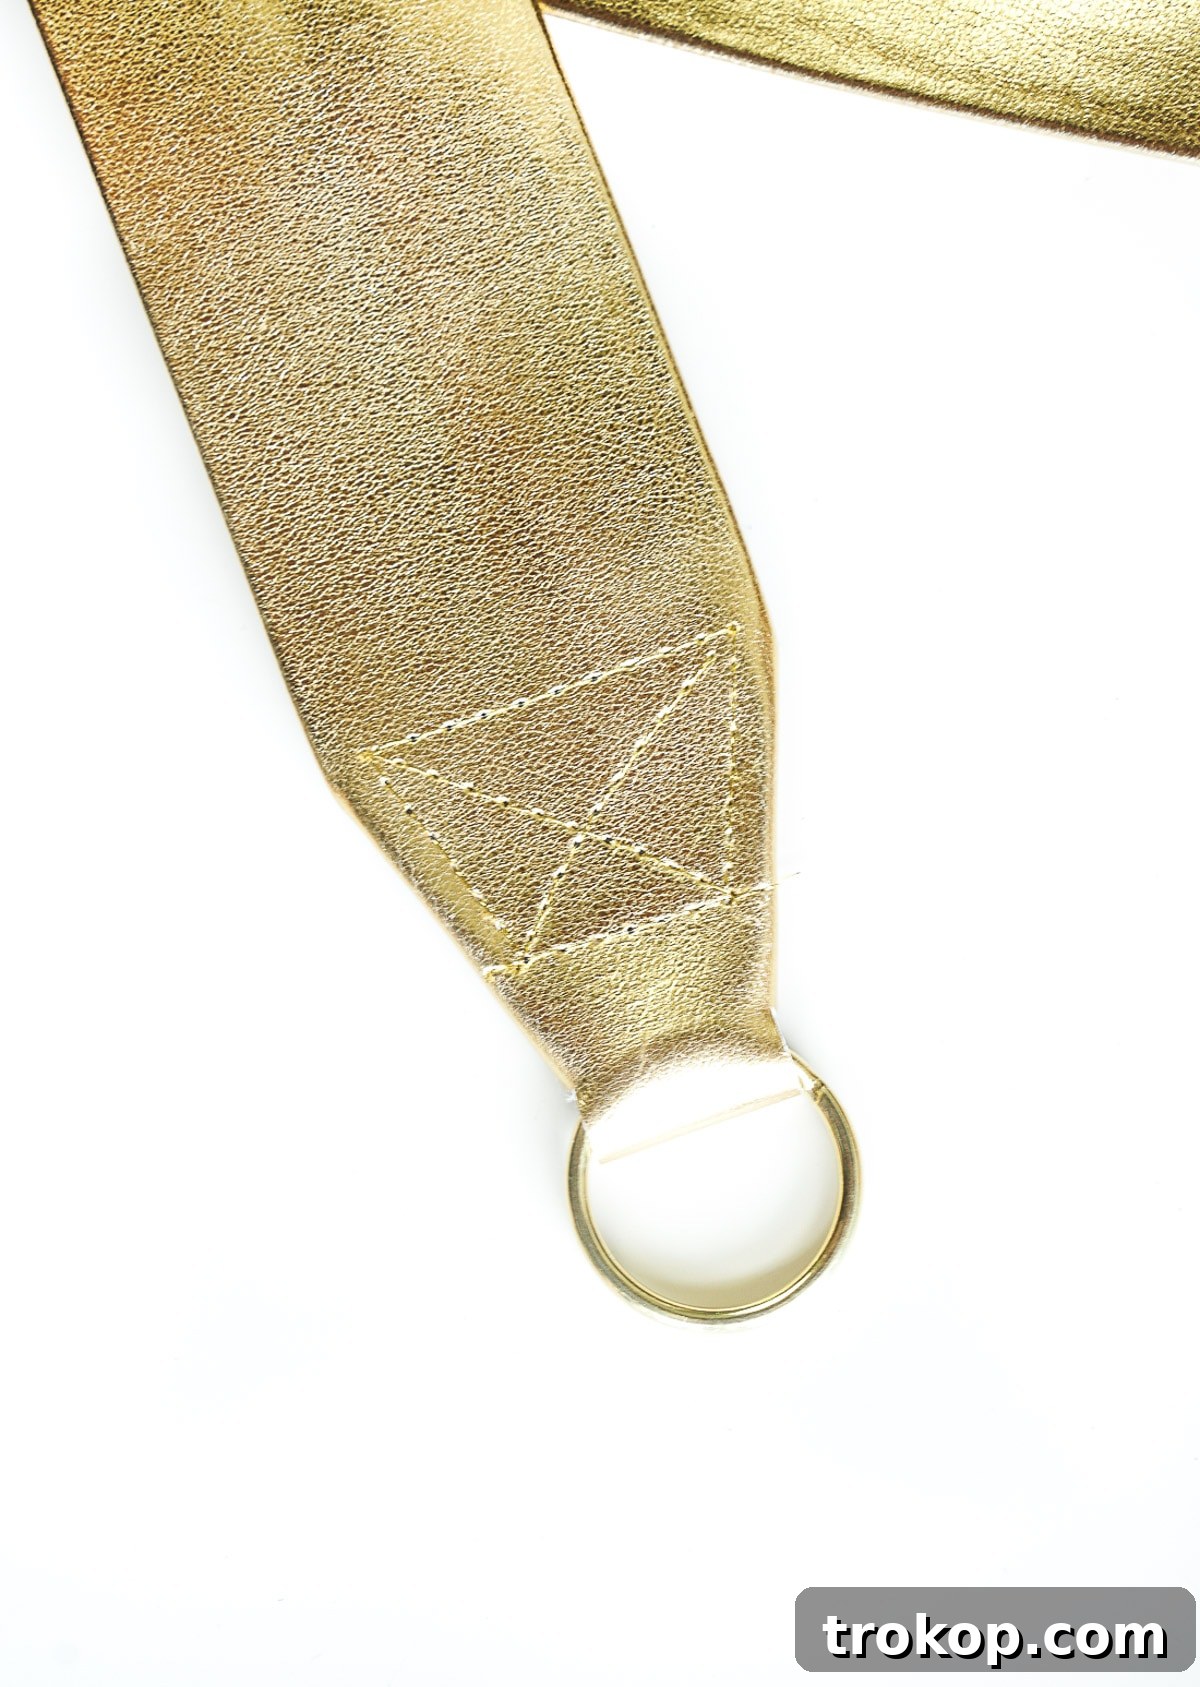
10 — Attach Metal Clasps and Remaining Split Rings: With both ends of your strap securely sewn, it’s time for the final hardware assembly. First, take your two gold industrial clasps. Attach the loop end of each clasp to one of the split rings that are now firmly sewn into each end of your camera strap. Next, take the remaining two gold split rings. Attach one to the levered end (the part that opens and closes) of each industrial clasp. These final split rings will be the direct connection to your camera’s strap lugs. Ensure all connections are tight and secure.
Congratulations! Your stunning new DIY Glam Camera Strap is now complete and ready for action. The careful steps in sewing and reinforcing ensure that your strap is not only beautiful but also robust enough to protect your valuable camera.
Last but not least, attach the strap to your camera. Most cameras have small lugs or rings on the sides designed for strap attachment. Use the split rings on your new clasps to connect them securely to these points. Double-check that all clasps are fully closed and all connections are firm before trusting your camera to your new strap. And you’re all set to capture incredible memories with a touch of personal style!
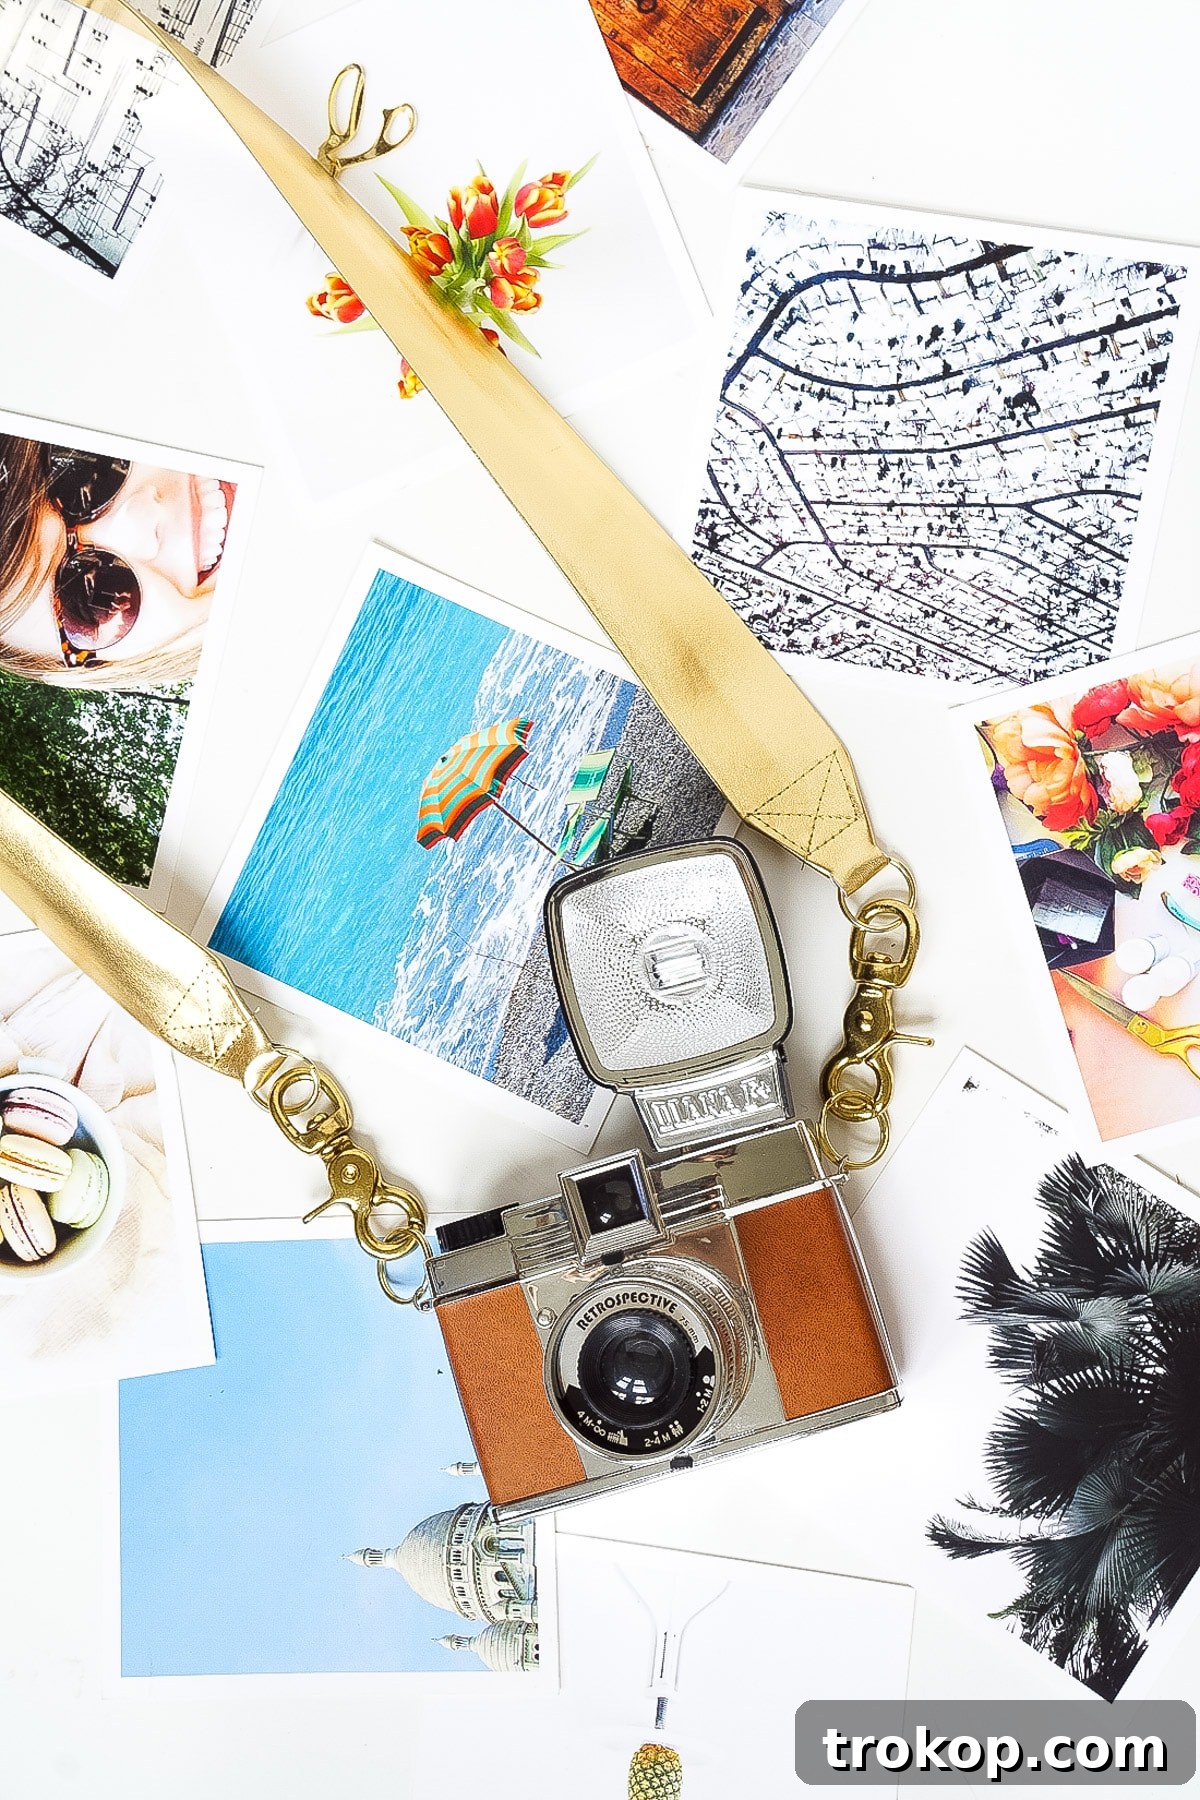
Embrace the joy of personalization and the satisfaction of a DIY project well done. This glam camera strap is more than just an accessory; it’s a reflection of your unique taste and a statement piece that enhances your entire photography experience. Whether you’re a professional photographer or a casual enthusiast, a stylish strap makes every shot feel more special.
Are you taking a trip this fall, eager to put your new accessory to good use? If so, where are you headed? We’d love to hear about your travel plans and see your beautiful creations in action. The world is full of incredible sights, and now you have the perfect companion to document them all!