
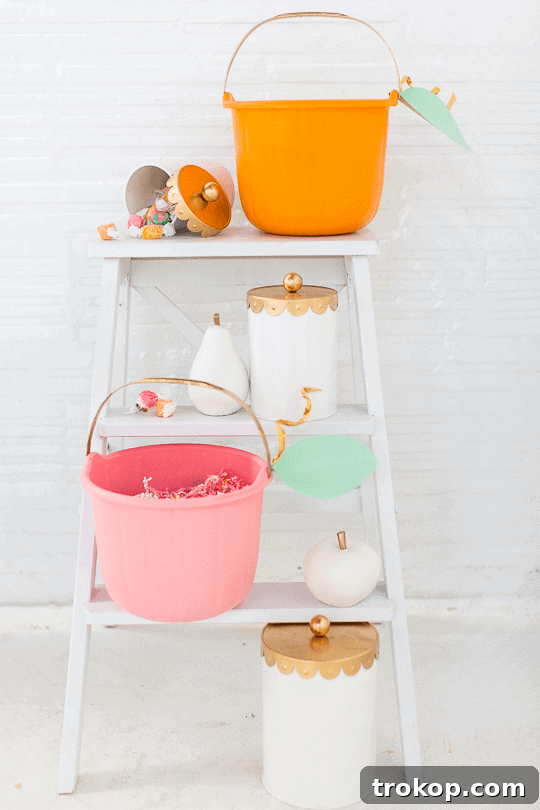
Craft the Cutest Haul: Easy DIY Pumpkin Halloween Candy Buckets!
Halloween is almost here, and that means it’s time for one of the most exciting traditions for kids: trick-or-treating! To make this year’s candy collection extra special, why not create a custom, adorable, and super easy DIY Pumpkin Halloween Candy Bucket? Forget generic store-bought pails; a handmade bucket adds a personal touch that your little ghouls and goblins will cherish.
Imagine your children’s delight as they proudly carry their unique, hand-decorated pumpkin buckets from door to door, filling them with sweet treats. This fun craft project is not just about making a functional item; it’s about creating lasting Halloween memories with your family. It’s a fantastic way to spend an afternoon getting into the festive spirit, and the best part is, it’s incredibly simple to put together, even for those last-minute Halloween craft enthusiasts!
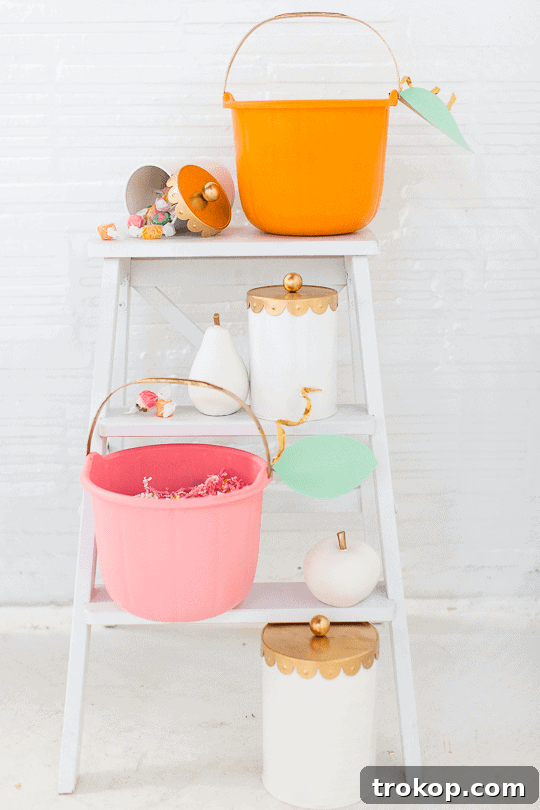
Every trick-or-treater deserves a fantastic way to haul their Halloween candy bounty. Our DIY Pumpkin Halloween Candy Buckets are designed to be both charming and practical, ensuring your kids can collect their sugar high in style. Plus, this project is budget-friendly and allows for plenty of creative expression.
For those of you eagerly looking to squeeze in one last exciting Halloween craft before the big night, this DIY Pumpkin Halloween Bucket tutorial is exactly what you need. It’s a rewarding project that yields a functional and festive result, perfect for complementing any Halloween costume.
And if you’re not planning on trick-or-treating with kids, these versatile pumpkin buckets aren’t just for candy collection! They can serve as charming decorative pieces for your porch or entryway, holding treats for visitors, or even as festive centerpieces for your Halloween party table. You could also fill them with small Halloween-themed goodies to give away to neighbors or friends. Alternatively, if your household primarily consists of “fur babies” who have no need for candy buckets, you might enjoy trying a different kind of festive project, like the Halloween macaron DIY we’ve shared before!
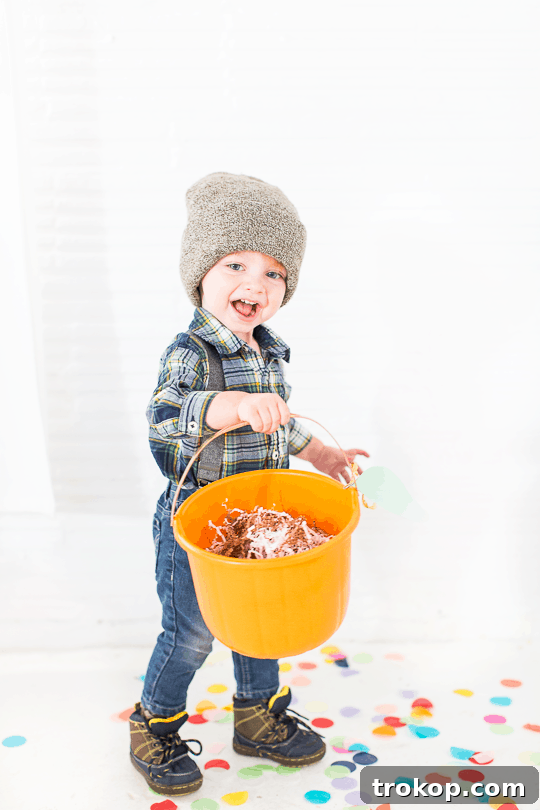
Table of Contents
Materials and Tools Needed to Make a DIY Pumpkin Halloween Candy Bucket
Gathering your supplies is the first exciting step in any DIY project. For this charming pumpkin candy bucket, you’ll need a few readily available items. We’ve chosen materials that are easy to work with and provide a vibrant, festive finish.
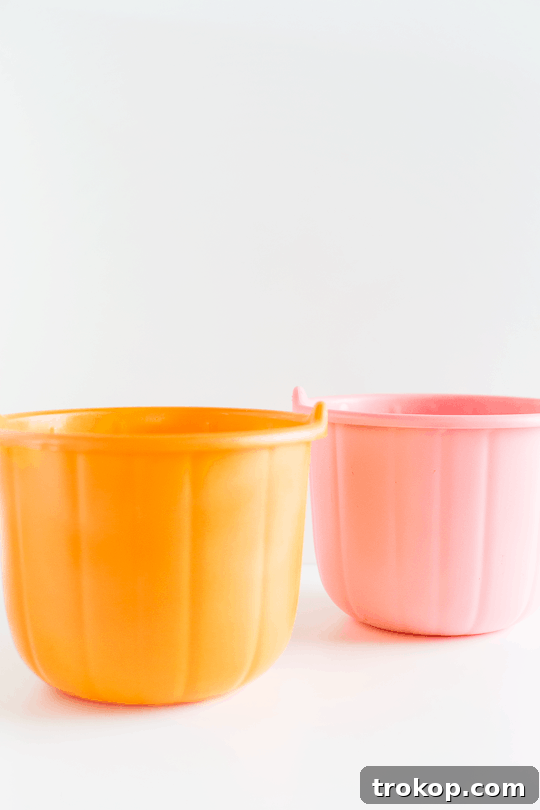
- Plastic bucket with handle: The base of our pumpkin! Opt for a sturdy plastic bucket that can hold a good amount of candy and withstand being carried around. Many craft stores or dollar stores have these.
- Plastic-friendly orange and metallic gold spray paint: This is crucial for durability! Ensure the spray paint explicitly states it bonds to plastic. This prevents chipping and peeling, which means your child won’t end up covered in paint flakes by the end of their trick-or-treating adventure. Orange will be for the main bucket, and metallic gold adds a touch of glam to the handle.
- Green construction paper for the leaf: A simple piece of green construction paper will be transformed into our pumpkin’s iconic leaf. You can experiment with different shades of green or even use cardstock for more rigidity.
- Gold crepe or construction paper for the stem: Gold paper gives the stem a lovely shimmer, mimicking the elegant look of a real pumpkin stem. Crepe paper offers a slightly textured, more natural look, while construction paper is easier to handle for younger crafters.
- Hot glue gun and glue sticks: A hot glue gun provides a quick and strong bond, essential for attaching the paper elements securely to the plastic bucket. Always supervise children when using a hot glue gun.
- Scissors: For cutting out your leaf and shaping the stem. Sharp scissors make for cleaner cuts.
Optional additions for personalization: Consider adding glitter, permanent markers for drawing faces, or even glow-in-the-dark paint for an extra spooky effect!
How to Make a DIY Pumpkin Halloween Candy Bucket
Now that you have all your materials ready, let’s dive into the fun part: crafting your very own pumpkin candy bucket! This step-by-step guide is designed to be straightforward, making it a perfect project for crafters of all ages (with adult supervision where needed).
- Prepare Your Workspace and Buckets: Before you begin painting, ensure you have a well-ventilated area, preferably outdoors or in a garage with open windows. Lay down a drop cloth or old newspapers to protect your surfaces. Carefully remove the plastic handles from your buckets. This makes it easier to achieve an even paint coat on both the bucket and the handle separately. Clean the plastic buckets thoroughly with soap and water, then let them dry completely to ensure optimal paint adhesion.
- Spray Paint the Buckets: With your plastic-friendly orange spray paint, apply thin, even coats to the main body of the plastic buckets. Hold the can about 6-8 inches away and use a continuous sweeping motion to avoid drips. It’s always better to apply multiple thin coats rather than one thick one. This ensures a smooth, professional-looking finish. Allow each coat to dry to the touch before applying the next, typically 15-30 minutes, depending on your paint and humidity.
- Spray Paint the Handles: While the orange buckets are drying, take your metallic gold spray paint and repeat the same process for the detached plastic handles. Again, thin, even coats are key for a flawless, shimmery finish. The metallic gold will provide a lovely contrast to the orange, giving your pumpkin bucket an elevated look.
- Allow Everything to Dry Completely: This step is crucial! Let both the painted buckets and handles set aside until they are completely dry and cured. This might take a few hours or even overnight, depending on the specific spray paint you’re using. Check the manufacturer’s instructions for recommended drying times. Rushing this step can lead to smudges or sticky surfaces.
- Cut and Shape the Leaf: With your green construction paper, carefully cut out a leaf shape. You can draw a classic pumpkin leaf silhouette or get creative with a more unique design. To give the leaf a realistic, three-dimensional effect, add a small dab of hot glue to the base of the leaf and pinch the paper together, making the end come to a subtle point or fold. This simple trick adds depth and character to your pumpkin.
- Attach the Leaf to the Bucket: Once the orange paint on your bucket is fully dry, use a hot glue gun to securely attach the crafted leaf to the side of the bucket, near where the handle will reattach. Press firmly for a few seconds to ensure it adheres well.
- Create the Twisted Stem: Next, take your gold crepe or construction paper. Fold it lengthwise into a long, skinny rectangle. Once folded, gently begin to twist the paper along its length. Continue twisting until it forms a firm, cylindrical shape that resembles a pumpkin stem. The twisting not only gives it texture but also makes it more rigid.
- Glue the Stem to the Bucket: Apply a generous amount of hot glue to one end of your twisted paper stem and attach it upright to the top of the bucket, right next to the leaf. Hold it in place until the glue sets. This assembly creates the complete pumpkin look, with a charming leaf and elegant stem.
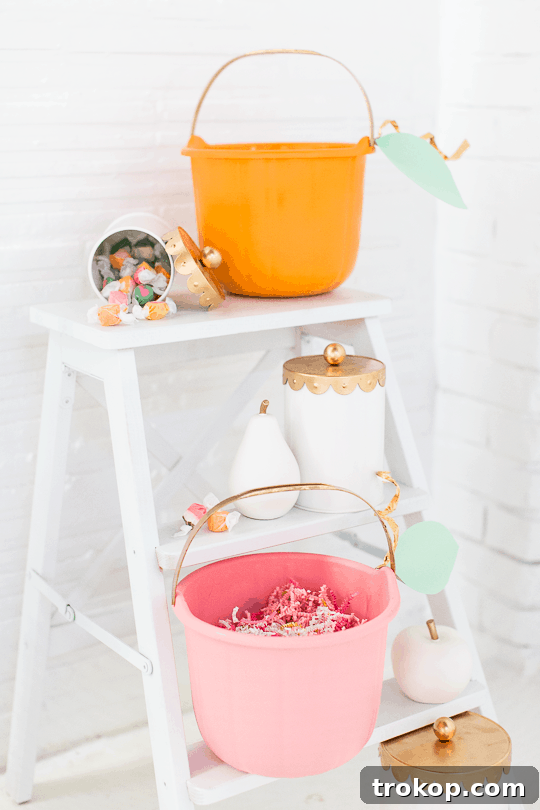
- Reattach the Handles and Get Ready for Fun! Once all the glue has dried and everything is securely in place, carefully reattach the metallic gold handles to your newly decorated pumpkin candy buckets. Double-check that all components are stable. Now your custom, handmade DIY Pumpkin Halloween Candy Buckets are ready for action! Let your kids proudly carry them on their trick-or-treat adventure, collecting all their sugary treasures in unique, handmade style.
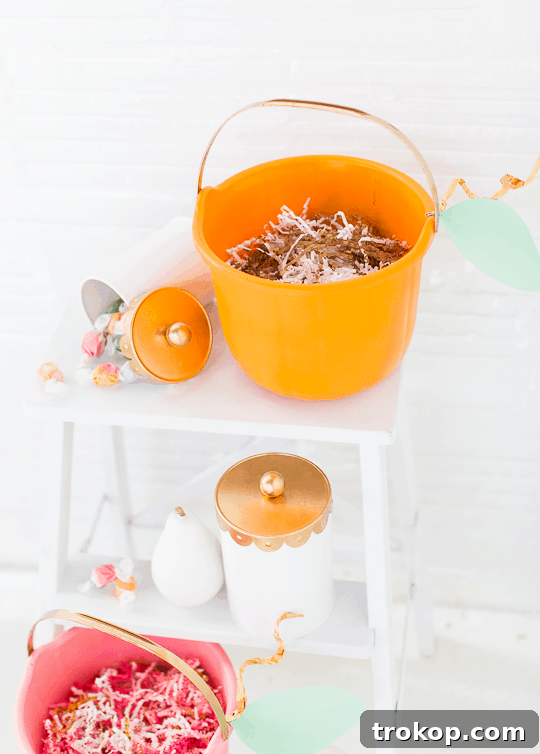
It’s truly amazing how a simple craft project can bring so much joy and personalization to a holiday like Halloween. Watching the kids’ faces light up when they see their finished, custom bucket is priceless. It’s not just a candy holder; it’s a testament to creativity and family fun.
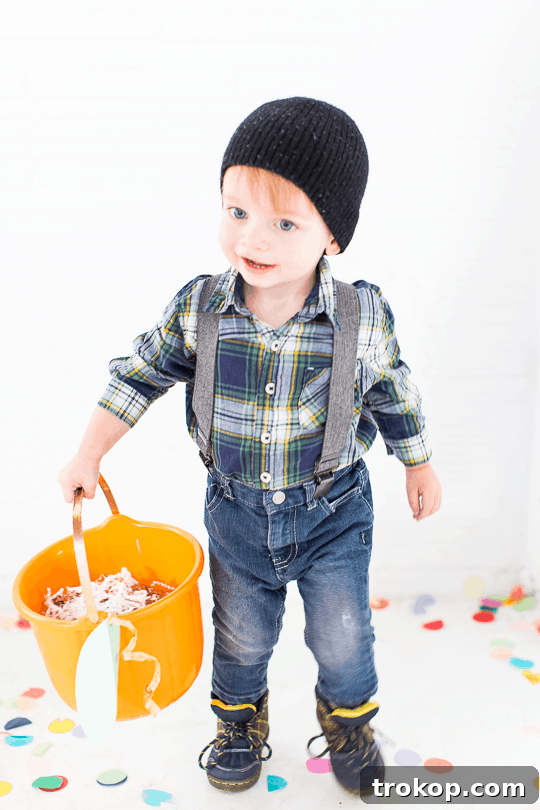
A special thanks goes out to my fantastic assistant, Tiffany, for letting us feature her truly adorable offspring in these photos. We might have had to “force” him to hold a candy bucket while dressed as a lumberjack in the middle of a Houston heatwave, but his cuteness certainly made the effort worthwhile!
I’ve also come to the delightful conclusion that with enough confetti scattered around, getting kids to model just about anything becomes surprisingly doable. Who knew a sprinkle of sparkle could be such a powerful motivator?
More Easy Halloween DIY Ideas
If you’ve enjoyed crafting your pumpkin candy bucket and are eager for more festive projects, you’re in luck! Halloween is the perfect time to unleash your creativity with fun and easy DIYs. Here are some of my favorite ideas to help you decorate your home, create delicious treats, or even put together unique costumes:
- DIY Sequin Polka Dot Pumpkins: Add some glitz and glam to your fall decor with these adorable sequin-covered pumpkins. They’re a no-carve, stylish alternative for Halloween decoration.
- 3 Halloween Door Decor Ideas: Make a welcoming (or wonderfully spooky) first impression with these creative and simple front door decoration ideas that go beyond traditional wreaths.
- Palm Springs Halloween Front Door Decor: Infuse a touch of desert chic into your Halloween with a unique Palm Springs-inspired entryway. Think pastel colors and quirky elements!
- Easy Pumpkin Decal Glassware: Quickly transform ordinary glassware into festive Halloween drinkware with simple pumpkin decals. Perfect for party entertaining!
More Halloween Decoration & Party Ideas
Easy Halloween Dessert: DIY Ghost Macarons
Creepy Cocktails: Spooky Stencil Cocktails
Easy Dirt Dessert Recipe: How to Make a Boozy Dirt Cup
Cute Halloween Ideas: DIY Halloween Wigs and Lashes Costumes
Palm Springs Inspired Halloween Entryway Decor & Product Round Up
Easy Pumpkin Decal: Five Minute Temporary DIY Halloween Glassware
DIY Sequin Polka Dot Pumpkin
Spooky DIY Floral Halloween Bar Cart
A Sophisticated Halloween Dinner Table Setting
A DIY Halloween floral centerpiece