
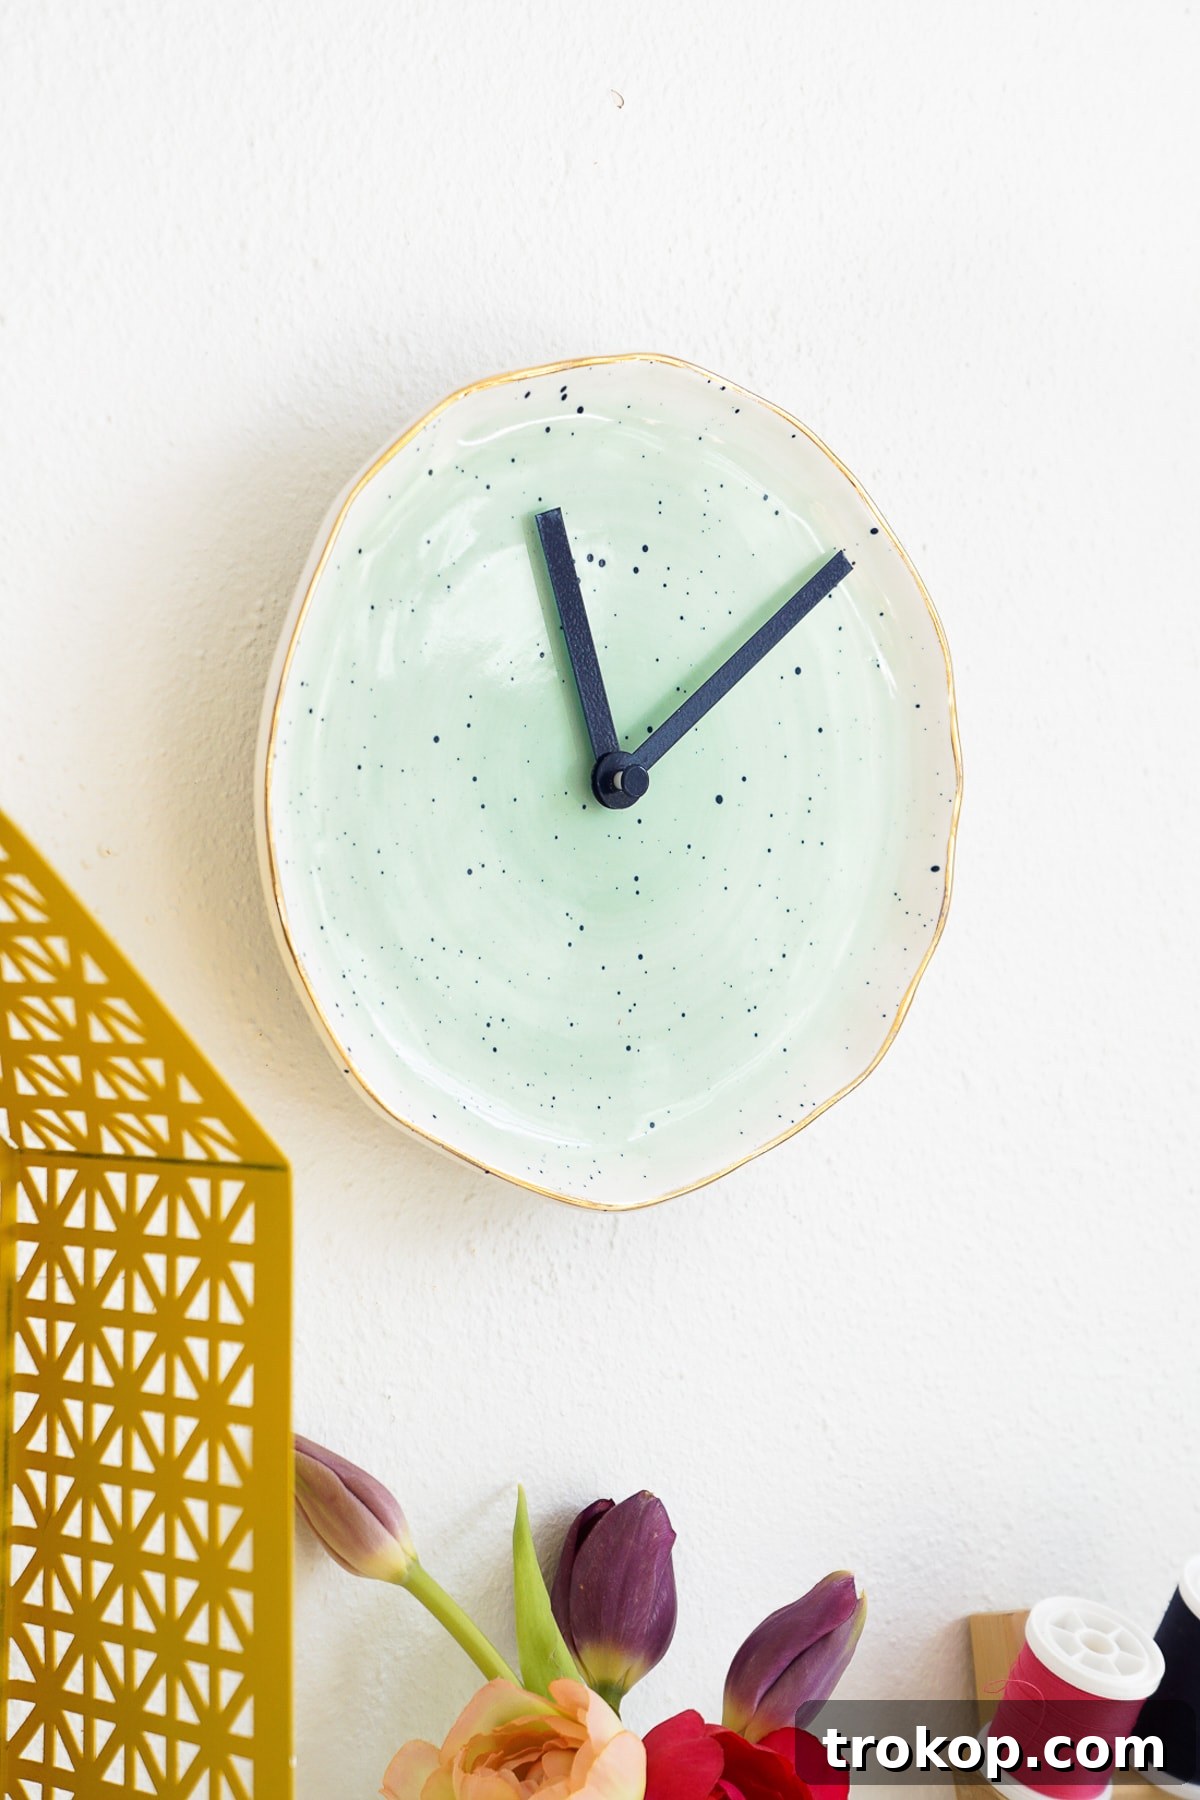
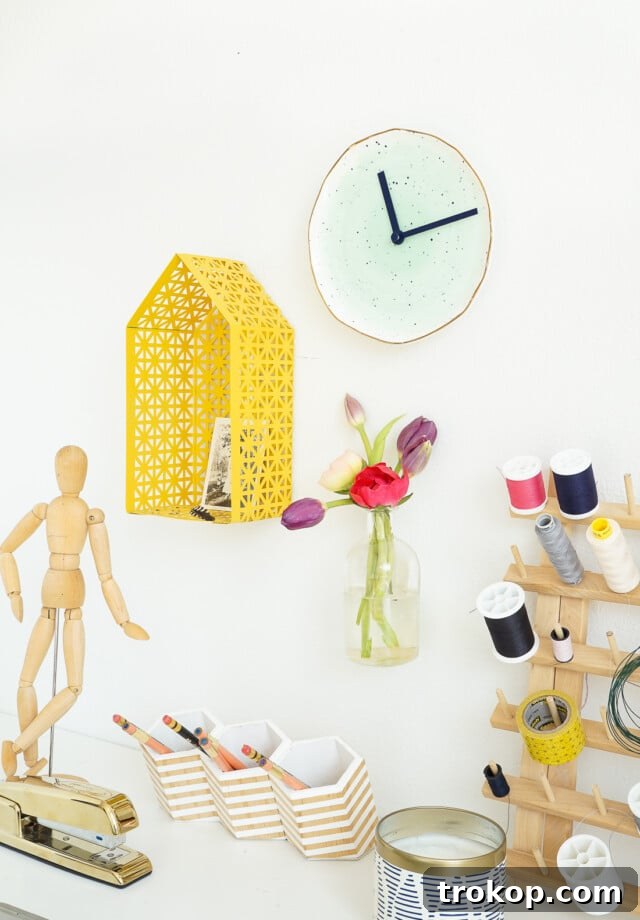
Transform a simple dinner plate into a captivating timepiece with our comprehensive DIY Plate Clock guide! Forget generic wall decor; unleash your creativity and craft a functional work of art that perfectly complements your unique style. This engaging project is brought to you by Erin, an avid home decor enthusiast, excited to share how you can add a chic, personalized touch to any space.
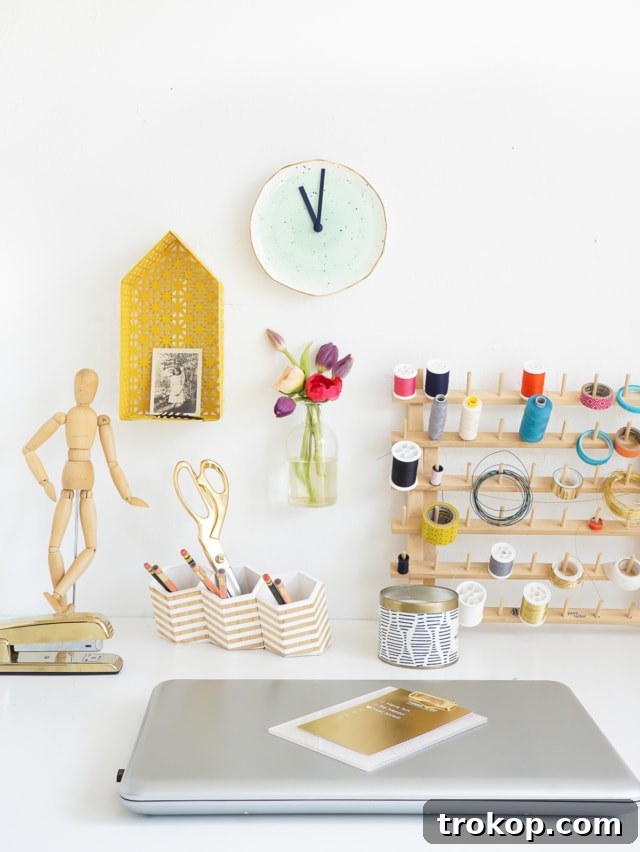
Whether you’re looking to refresh your living room, add a stylish element to your home office, or create a truly thoughtful, one-of-a-kind gift, this DIY Plate Clock project offers immense satisfaction and impressive results. You’ll need just a few readily available supplies: a beautiful decorative plate that catches your eye, a reliable battery-powered clock mechanism, and a dash of creative spirit. With these in hand, you’ll be well on your way to assembling a gorgeous, custom clock that speaks volumes about your personal taste. Ready to embark on this rewarding crafting journey? Let’s turn ordinary into extraordinary and make time a true work of art!
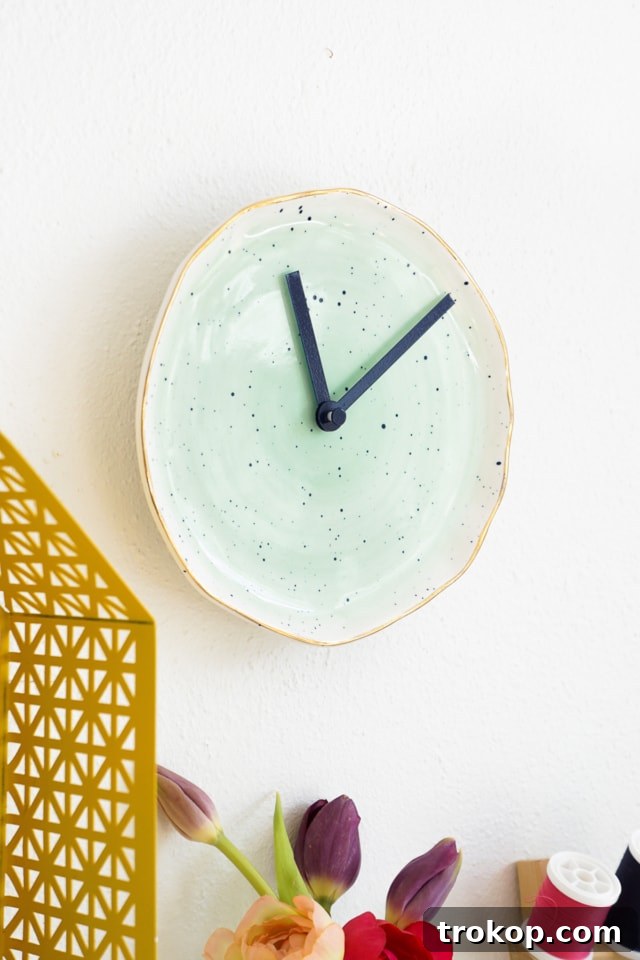
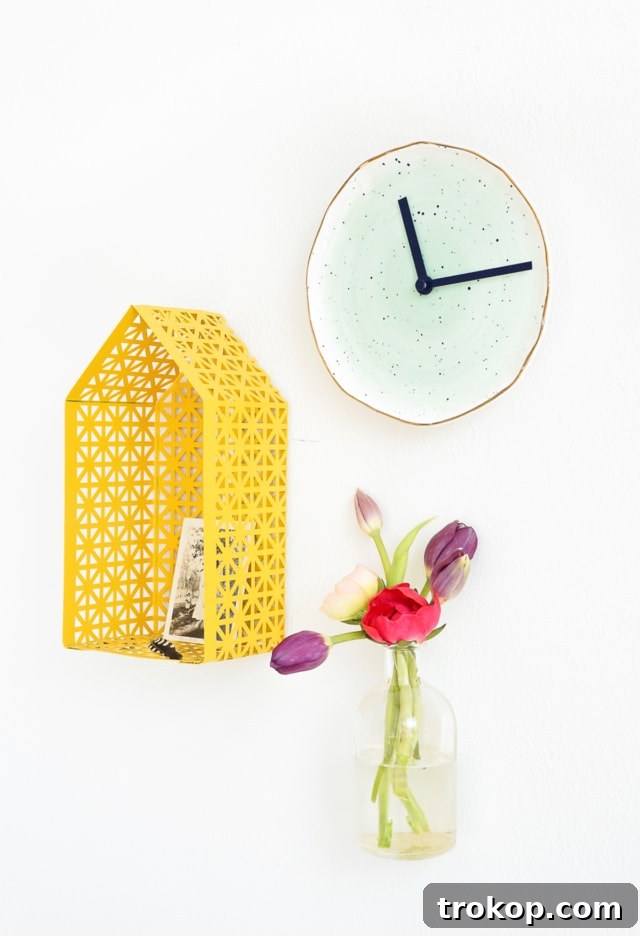
Table of Contents
Materials and Tools Needed
Gathering the right materials and tools is the first step to a successful DIY project. Here’s a detailed list of what you’ll need to create your stunning plate clock:
- Decorative Dinner Plate: The star of your clock! Choose a plate with a design, color, or pattern that truly inspires you and matches your decor aesthetic. Consider both ceramic and glass plates, keeping in mind that drilling through glass requires extra care. Our featured clock uses a beautiful plate from Anthropologie, known for its unique and artistic designs.
- Clock Movement Mechanism Kit: This essential kit includes the battery-powered mechanism itself and a set of clock hands (hour, minute, and sometimes a second hand). You can find these at most craft stores, hardware stores, or readily online. Ensure the shaft length of the mechanism is appropriate for the thickness of your chosen plate.
- Cordless Drill with 1/2″ Glass and Tile Drill Bit: A critical tool for creating a clean hole in your plate. Using a drill specifically designed for glass and tile is paramount to prevent cracking or chipping your plate. A cordless drill offers flexibility and ease of use, especially when working on a flat surface.
- Industrial Strength Adhesive: This will be used to secure the clock mechanism to the back of the plate, especially if the included nut cannot be used due to plate thickness. An industrial-strength adhesive ensures a durable and long-lasting bond.
- Picture Hanger: To effortlessly hang your finished plate clock on the wall. Choose one that is sturdy enough to support the weight of your plate and blends seamlessly with the back of your clock.
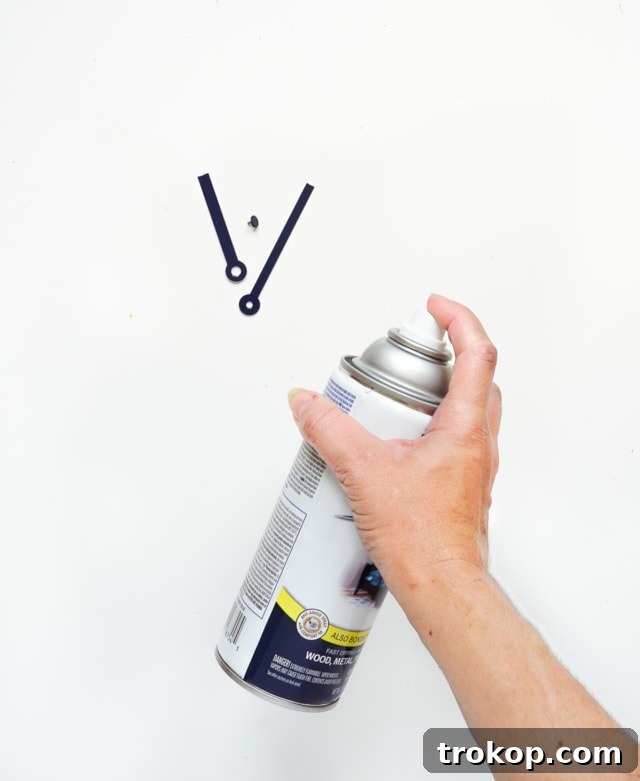
- Spray Paint (Optional): If you wish to customize the color of your clock hands or the visible part of the mechanism, spray paint offers an excellent solution. This allows you to perfectly match or contrast elements with your plate’s design.
- Masking Tape: A small piece of masking tape over the drilling spot can help prevent the drill bit from slipping, especially on smooth surfaces.
- Safety Glasses and Gloves: Essential personal protective equipment when drilling, particularly through glass or ceramic, to protect against dust and potential fragments.
- Water Bottle/Spray Bottle: To keep the drill bit and plate cool during the drilling process, preventing overheating and potential damage.
How to Make a DIY Plate Clock
Follow these step-by-step instructions to create your unique and beautiful plate clock. Remember to take your time with each step for the best results.
Optional Pre-step: Customize Clock Hands
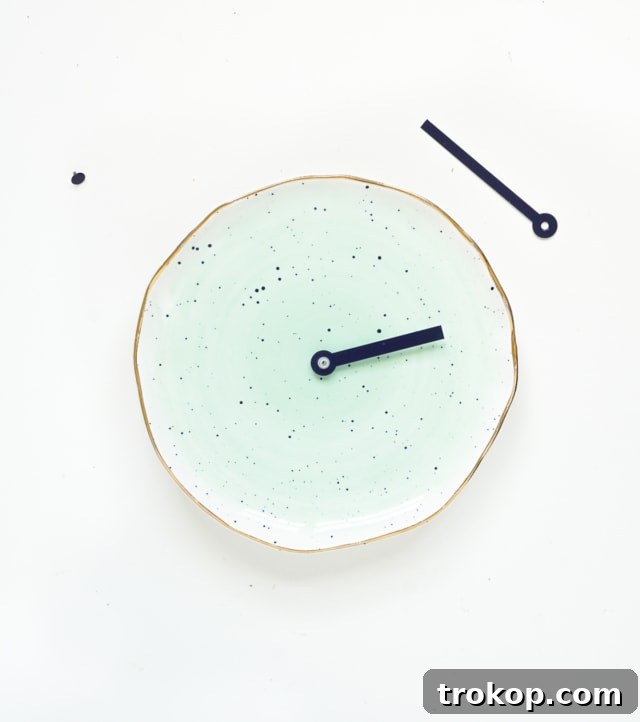
Before assembling, you might want to personalize your clock hands. Our clock mechanism came with standard white hands, which we decided to spray-paint navy. This added a lovely contrast and perfectly matched the subtle speckle in our chosen plate. If your clock hands are already the perfect color, feel free to skip this step. If painting, apply thin, even coats of spray paint in a well-ventilated area, allowing adequate drying time between coats to prevent drips and ensure a smooth finish. Once dry, briefly dry-fit the mechanism and hands to ensure they align correctly and the paint doesn’t interfere with their movement.
1 — Drill the Center Hole
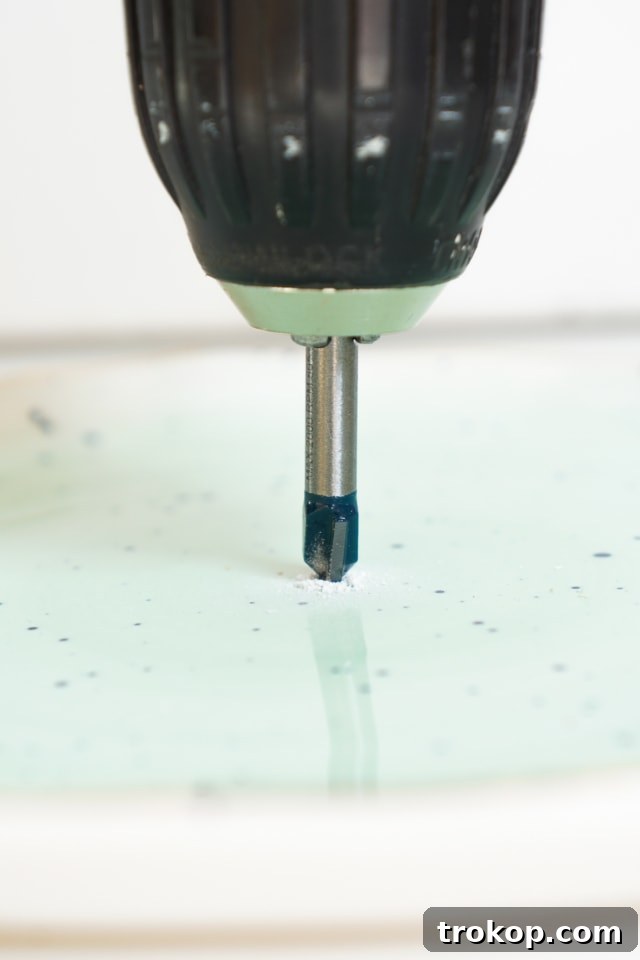
This is perhaps the most delicate step. Place a small piece of masking tape over the exact center of your plate to mark the spot and help prevent the drill bit from slipping. Using your cordless drill fitted with a 1/2″ glass and tile drill bit, carefully drill a hole directly in the center of the plate. Always drill from the front (decorative side) to the back (underside) of the plate. This technique minimizes the risk of chipping on the visible surface of your clock. Apply light, consistent pressure and allow the drill bit to do the work; never force it. Periodically lift the drill bit and mist the drilling area with water or dip the bit into a small container of water. This cools the bit and the plate, preventing overheating which can cause the plate to crack. Maintain a steady hand and a firm grip on the plate, ideally securing it on a non-slip surface.
2 — Attach the Clock Mechanism
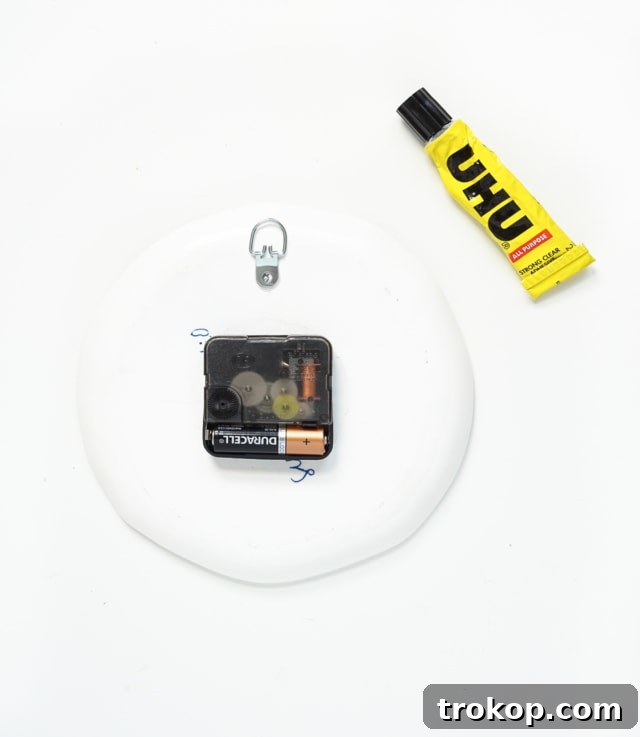
Once your hole is perfectly drilled, it’s time to attach the clock mechanism. Typically, clock kits come with a small nut that secures the mechanism to the plate. However, if your chosen plate is thicker than average (like ours, which was approximately 1/16″ thick), the shaft of the mechanism might not be long enough for the nut to properly engage. In such cases, use a high-quality, industrial-strength adhesive. Apply a generous amount of adhesive around the edge of the center post on the back of the plate, ensuring the center post fits snugly through the drilled hole. Press the mechanism firmly into place and hold it for a few moments. Before the adhesive fully cures, make sure the mechanism is perfectly centered and upright to ensure your clock keeps accurate time and looks aesthetically pleasing.
3 — Add the Picture Hanger
With the clock mechanism in place, carefully glue your picture hanger onto the back of the plate, positioned directly above the clock mechanism. Precise placement here is crucial to ensure your plate clock hangs perfectly straight on the wall. Take a moment to measure or eyeball its position to guarantee it’s centered. Allow the adhesive for both the clock mechanism and the picture hanger to dry completely, following the manufacturer’s instructions for curing times. This is vital to ensure both components are securely attached before you attempt to hang your clock. Before permanent adhesion, double-check that the battery compartment of the clock mechanism is still accessible for future battery changes.
4 — Attach the Clock Hands
Once all adhesives are fully dry and cured, flip your plate over to the front. Now you can gently attach the clock hands to the center post of the mechanism. This is usually a straightforward process where the hands simply pop or push onto the spindle. Start with the shortest hand (the hour hand) first, followed by the longer hand (the minute hand). If your kit includes a second hand or a decorative topper, attach those last. Be gentle while attaching to avoid bending the delicate hands. Insert a fresh battery into the mechanism, set the time, and then hang your beautifully crafted DIY plate clock. Step back and admire your stylish, functional, and deeply personalized new home decor piece!
Tutorial Tips and Tricks
To ensure your DIY Plate Clock project goes smoothly and yields the best possible results, keep these handy tips in mind:
- Choose the Right Hands: Clock kits often come with various hand sizes. If the hands provided are too long for your plate, extending beyond its edge, they can look awkward or even get caught. You can carefully trim them to a more appropriate length using strong scissors or wire cutters. Alternatively, many craft stores sell replacement clock hands in different styles and sizes, allowing you to find a set that perfectly complements your plate.
- Advanced Drilling Tips:
- Prevent Slipping: Beyond masking tape, you can also create a small “dam” of plumber’s putty around your drill spot and fill it with water. This keeps the drill bit constantly lubricated and cool.
- Constant Cooling: Drilling through ceramic or glass generates significant heat, which is the primary cause of cracking. Continuously misting the drilling area with water or having a shallow tray of water beneath the plate (if possible) will drastically reduce heat buildup and prolong the life of your drill bit.
- Start Slow: Begin drilling at a very slow speed and gradually increase it as the bit starts to penetrate the surface. Avoid high speeds initially.
- Stable Surface: Always place your plate on a stable, non-slip surface, like a rubber mat or a towel, to prevent it from moving during drilling.
- Practice First: If you’re new to drilling glass or ceramic, consider practicing on an old, inexpensive plate first to get a feel for the technique and pressure needed.
- Centering is Key: Before drilling, use a ruler and a marker (like a dry-erase marker for easy removal) to find the precise center of your plate. An off-center hole will make your clock look lopsided.
- Adhesive Drying Time: Patience is a virtue! Allow all adhesives to cure for the recommended time, often 24-72 hours, before handling or hanging your clock. Rushing this can lead to components detaching.
- Battery Check: Always use a fresh battery in your clock mechanism. It seems obvious, but a weak battery can lead to inaccurate timekeeping or a non-functional clock.
- Number Placement (Optional): If your plate doesn’t have existing numbers, consider adding them with adhesive vinyl, stencils, or even painted dots for a more traditional clock face.
Why Create Your Own Plate Clock?
In a world saturated with mass-produced items, the appeal of a DIY project like a plate clock lies in its unique blend of personalization, sustainability, and artistic expression. Opting to make your own clock offers a multitude of benefits:
- Unleash Your Creativity: This project is a canvas for your imagination. From choosing a vintage plate with intricate patterns to a sleek, modern design, every decision reflects your personal style. You can even upcycle old sentimental plates, giving them a new life and purpose.
- Perfectly Match Your Decor: Finding a clock that precisely matches your home’s color scheme and aesthetic can be challenging. By making your own, you have complete control over the design, ensuring it integrates seamlessly into any room, be it a vibrant kitchen, a minimalist living room, or a cozy bedroom.
- Affordable Personalization: High-end custom clocks can be expensive. This DIY approach provides an economical way to achieve a bespoke look without breaking the bank. Most materials are inexpensive and widely available.
- Sustainable Crafting: Repurposing a beautiful plate into a clock is an eco-friendly way to practice home decor. It reduces waste and encourages creative reuse, contributing to a more sustainable lifestyle.
- Meaningful Gift Idea: A handmade plate clock makes an incredibly thoughtful and personal gift for birthdays, housewarmings, weddings, or any special occasion. The time and effort put into creating it will be truly appreciated.
- Sense of Accomplishment: There’s immense satisfaction in creating something beautiful and functional with your own hands. Completing this project leaves you with a tangible reminder of your crafting skills and creativity.
- Easy and Rewarding: Despite its impressive appearance, this project is surprisingly straightforward, even for beginners. The steps are simple, and the transformation from plate to clock is incredibly rewarding.
More Organization and Home Decor Projects
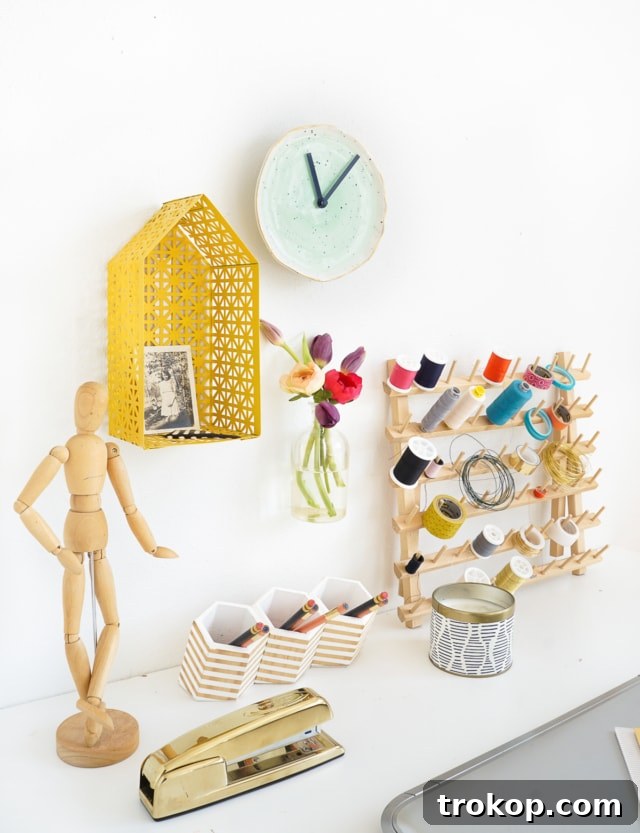
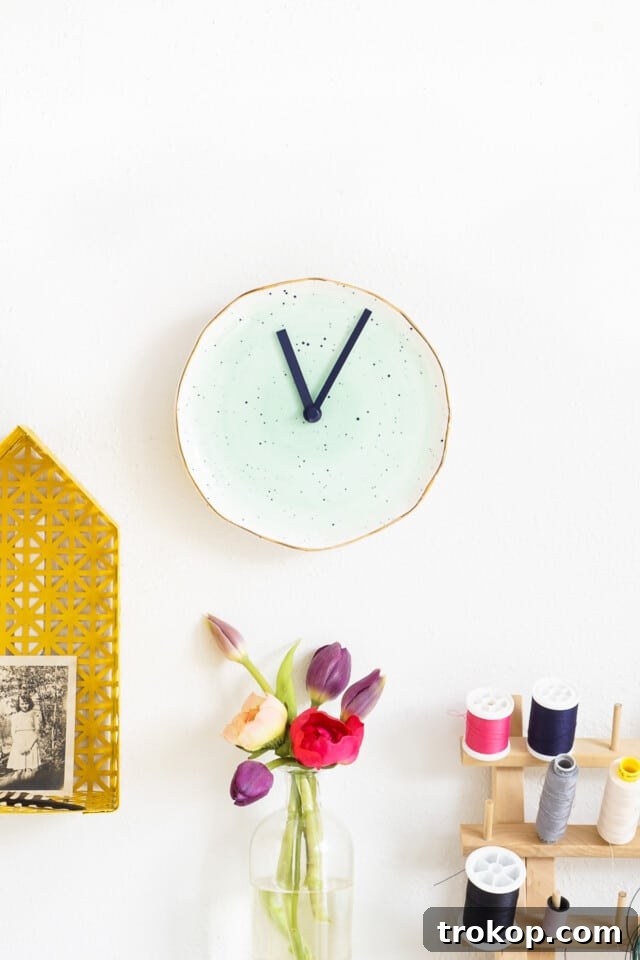
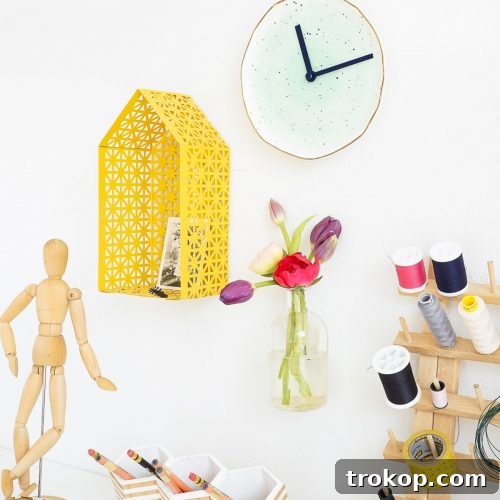
Your newly crafted DIY plate clock (which would look fantastic above our hexagon DIY pen holder) is now ready to take its place of honor! Pair it with your geometric DIY chalkboard desk for a truly organized and stylish workspace. For even more brilliant ideas and projects designed to help you organize your life and elevate your space, delve into our other inspiring tutorials below:
- Marble DIY Tabletop Clock: Learn to craft an elegant tabletop clock using marble and geometric shapes, perfect for desks or shelves.
- Mid Century DIY Wall Clock: Bring retro chic to your walls with a custom mid-century inspired wall clock.
- 46 Cute Desk Accessories to Brighten Your Workspace: Discover a curated list of charming accessories to make your desk both functional and aesthetically pleasing.
- 16 Genius Ikea Desk Hacks You Need In Your Life: Transform ordinary IKEA furniture into customized, high-end looking pieces for your office or study.
DIY Plate Clock (Full Instructions)
1 hr
1 hr
DIY
Home Decor
Equipment
-
Cordless Drill (with 1/2″ glass and tile drill bit)
-
Industrial strength adhesive
-
Safety glasses and gloves
-
Masking tape
-
Spray bottle with water
Materials
- 1 decorative plate
- 1 clock movement mechanism kit
- 1 picture hanger
- 1 battery (AA or AAA, depending on mechanism)
- Optional: Spray paint for clock hands
Instructions
-
Optional: Customize Clock Hands. If desired, spray-paint the clock hands for a custom look that matches your plate. Allow them to dry completely.
-
Drill the center hole: Place masking tape at the center of the plate. Using the glass and tile drill bit, carefully drill a hole in the center of the plate from the front to the back, applying light pressure and keeping the bit cool with water.
-
Attach the clock mechanism: If the included nut doesn’t fit due to plate thickness, apply industrial-strength adhesive to secure the clock mechanism to the back of the plate, ensuring the center post fits through the drilled hole. Make sure it’s centered and upright.
-
Add the picture hanger: Glue the picture hanger above the clock mechanism on the back of the plate. Position it evenly to ensure the clock hangs straight. Let all adhesive dry completely (typically 24-72 hours). Ensure battery compartment remains accessible.
-
Attach the clock hands: Once dry, flip the clock over and gently attach the hands to the center post: hour hand first, then minute hand, followed by any topper or second hand. Insert a battery and set the time.
-
Hang your new DIY Plate Clock and enjoy your stylish, functional decor piece!
$30 (Varies based on plate and mechanism choice)
diy plate clock, custom wall clock, home decor diy, unique clock, craft project, personalized gift

Don’t forget to share your amazing DIY Plate Clock creations with us on Instagram using the hashtag #sugarandclothloves. We absolutely adore seeing how you bring your unique visions to life! Looking for even more interior design inspiration and creative projects to enhance your living spaces? You can find all of our home decor tutorials, ideas, and stylistic guidance right here. Keep crafting, keep creating, and keep making your home truly your own!
43 Top Amazon Wall Decor Ideas for Every Room in Your Home
Find gorgeous Amazon wall decor that makes a big impact…
Continue Reading43 Top Amazon Wall Decor Ideas for Every Room in Your Home
28 Decorative Wall Mirrors You’ll Wish You Bought Sooner
Looking for the perfect wall mirror? Explore our roundup of…
Continue Reading28 Decorative Wall Mirrors You’ll Wish You Bought Sooner
60+ Affordable Amazon Bathroom Decor Finds
From shower curtains to bath mats, elevate your bathroom style…
Continue Reading60+ Affordable Amazon Bathroom Decor Finds
37 Best Beach Toys for Vacation Fun
Discover the best beach toys for kids, toddlers, and families…
Continue Reading37 Best Beach Toys for Vacation Fun