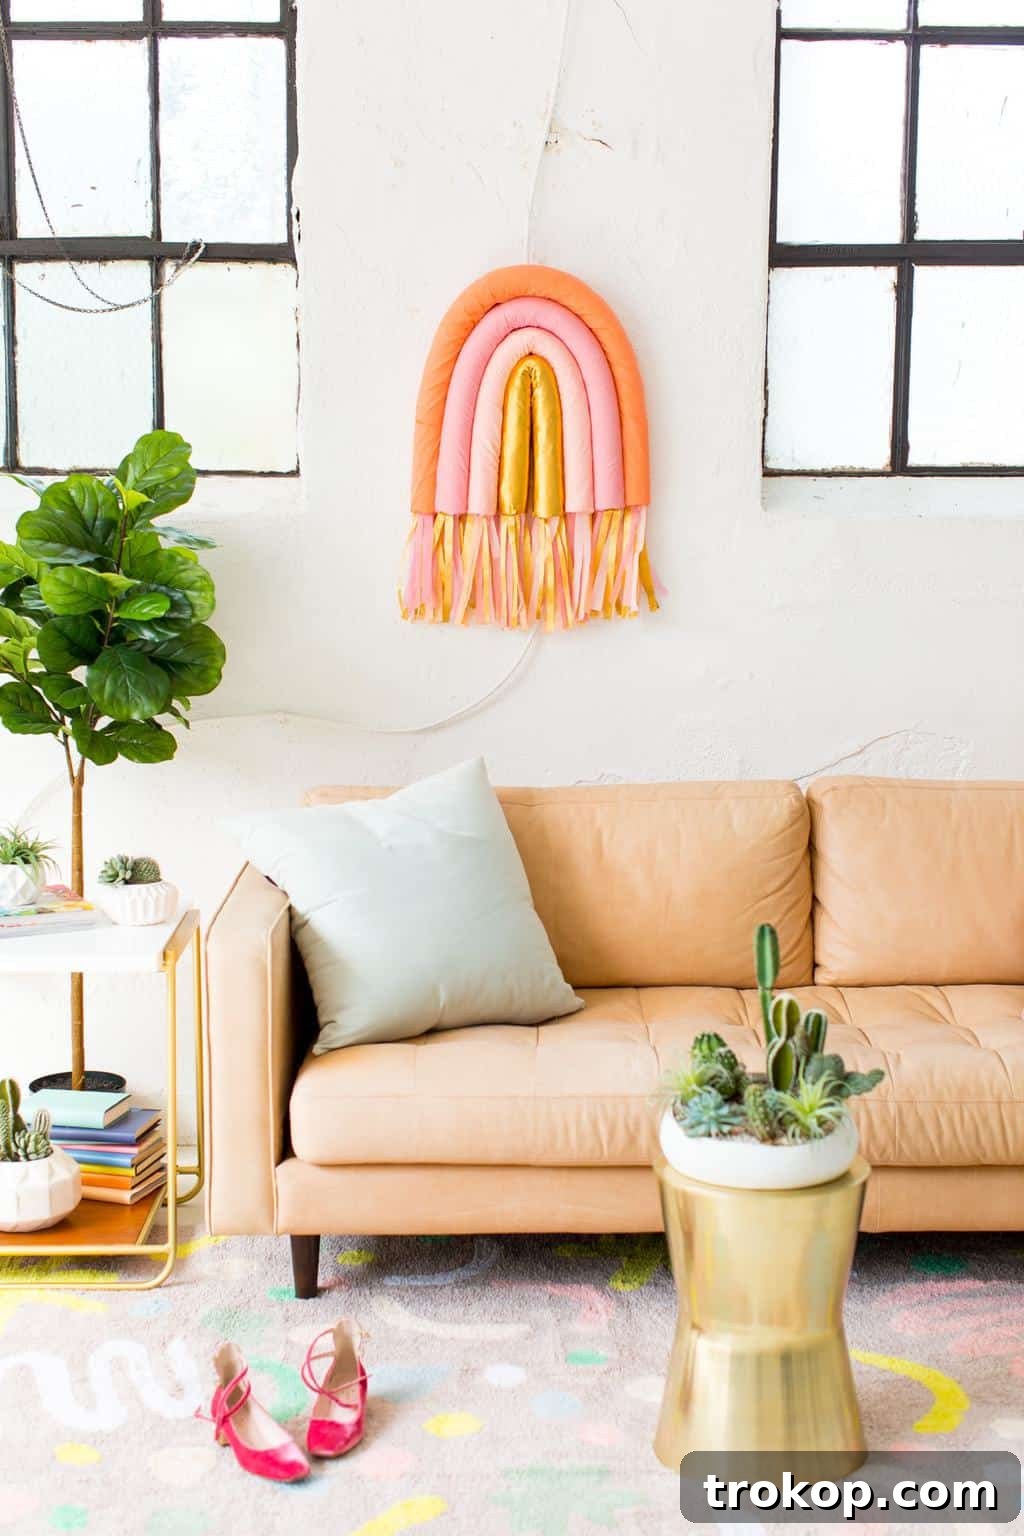
Transform Your Space with a Vibrant DIY Rainbow Art Wall Hanging
Is your living space longing for a splash of color? Or perhaps you’re searching for that perfect handmade touch to brighten a nursery or a child’s bedroom? Look no further! This comprehensive guide will walk you through creating an enchanting DIY Rainbow Art Wall Hanging that promises to infuse any room with joy and a whimsical charm. Forget expensive store-bought decor; we’re about to unveil a surprisingly simple, budget-friendly project that uses everyday materials to achieve stunning results.
At its heart, this project is a celebration of color and creativity. We have a particular fondness for vibrant hues, and rainbows, in their full spectrum glory, are our ultimate inspiration. You might have even seen our previous adventures in colorful crafting, like the popular Rainbow DIY Taper Candle Holder. This time, however, we’re taking our passion for all things rainbow to your walls, with an ingenious twist that will leave your guests both impressed and curious!
Ready for a delightful surprise? We’re about to combine some truly unexpected supplies to craft this striking piece of DIY Rainbow Art. We bet you wouldn’t guess the star material of this project. Any ideas? You might be picturing fancy craft store finds, but what if we told you that the secret ingredient to this chic wall art is something you’d typically find floating in a swimming pool?
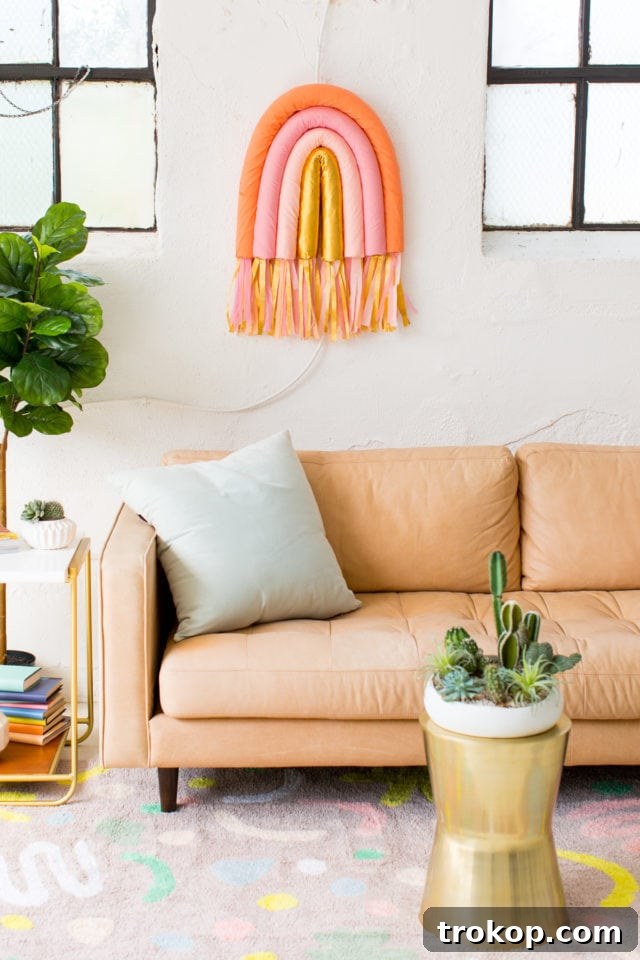
Yes, you read that right – pool noodles! Who knew these humble summer toys could be transformed into such stylish and modern home decor? We’re here to prove that with a dash of creativity, a good amount of colorful crepe paper, and plenty of hot glue, you can craft a piece of art that looks anything but ordinary. This project not only repurposes an inexpensive item but also results in a unique, textured rainbow display that will captivate attention.
This DIY isn’t just about creating a beautiful object; it’s about the joy of crafting, the satisfaction of making something with your own hands, and the sheer delight of bringing a personalized burst of color into your home. It might sound a little unconventional, but we pinky promise you’ll adore the finished product. Trust us, the compliments will pour in!
A little tip before we dive in: “Slow and steady wins the race” truly applies here. Taking your time to meticulously wrap, glue, and shape each segment of your rainbow will ensure a polished and professional look. The effort you put into each step will translate into a stunning piece of decor that will be the focal point of any room.
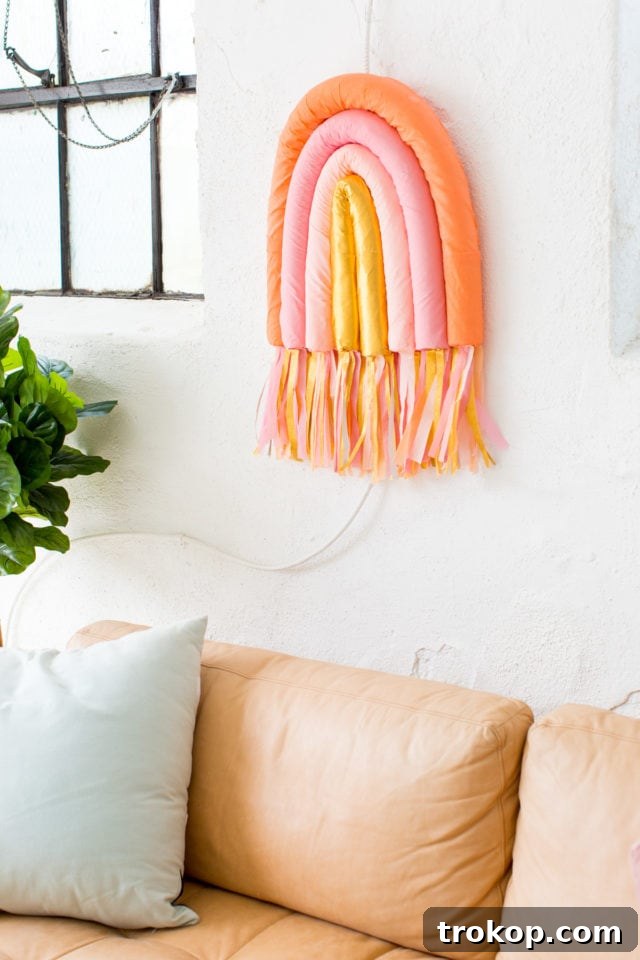
Table of Contents
Materials and Tools Needed to Make a DIY Rainbow Wall Art Hanging
Gathering your supplies is the first exciting step in any DIY adventure. For this project, you’ll be delighted by how accessible and affordable the materials are. Most can be found at your local craft store, dollar store, or even online, making this a truly budget-friendly craft.
- Colorful Crepe Paper: Choose a spectrum of colors that appeal to you. Traditional rainbow colors are always a hit, but don’t hesitate to experiment with pastel shades, monochromatic schemes, or even ombre effects for a unique look. The stretchiness of crepe paper is crucial for a smooth wrap around the noodles, so ensure you don’t substitute it with regular tissue paper.
- Sharp Scissors: A good pair of scissors will make cutting your crepe paper and pool noodles much easier and cleaner.
- Poster Board or Cardboard: This will serve as the sturdy backing for your rainbow. We recommend a heavy-duty poster board or even a thin sheet of craft wood for extra durability. A blush pink or white board can blend seamlessly, but you can also choose a color that complements your rainbow.
- Hot Glue Gun: An essential tool for quickly and securely attaching the crepe paper and assembling your rainbow.
- Hot Glue Sticks: Stock up! You’ll be using a fair amount to ensure everything is firmly in place.
- String or Fishing Wire: For hanging your completed masterpiece. Fishing wire offers a nearly invisible hang, but any decorative string or ribbon can add to the aesthetic.
- Pool Noodles: The surprising star of our show! You’ll need about 3-4 standard-sized pool noodles, depending on the desired thickness and number of rainbow arches. These are incredibly affordable, especially at dollar stores or during summer sales.
Steps on How to Make DIY Rainbow Wall Art Hanging
Now that you have all your materials, let’s dive into the fun part: creating your very own rainbow masterpiece. Follow these simple, step-by-step instructions to bring your colorful vision to life.
-
Step 1: Wrap Your First Pool Noodle
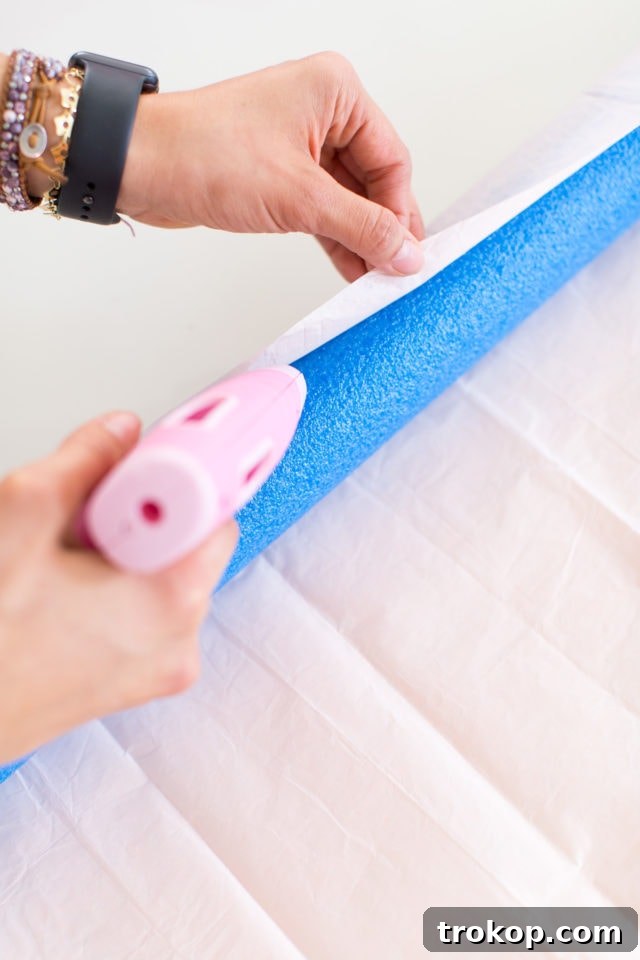
Begin with the largest pool noodle piece you intend to use for the outermost arch of your rainbow. Select the crepe paper color you want for this stripe. Carefully take your pool noodle and start wrapping it with the crepe paper. Apply small dots or lines of hot glue as you go, securing the paper in place bit by bit. This methodical approach ensures a smooth, tight wrap. Remember, crepe paper’s slight stretch is key here, allowing you to contour it around the noodle without tearing. Cover the entire length of the noodle, folding in the ends to create neat, finished edges. Ensure there are no gaps or exposed noodle sections.

-
Step 2: Shape the First Arch and Prepare the Backing
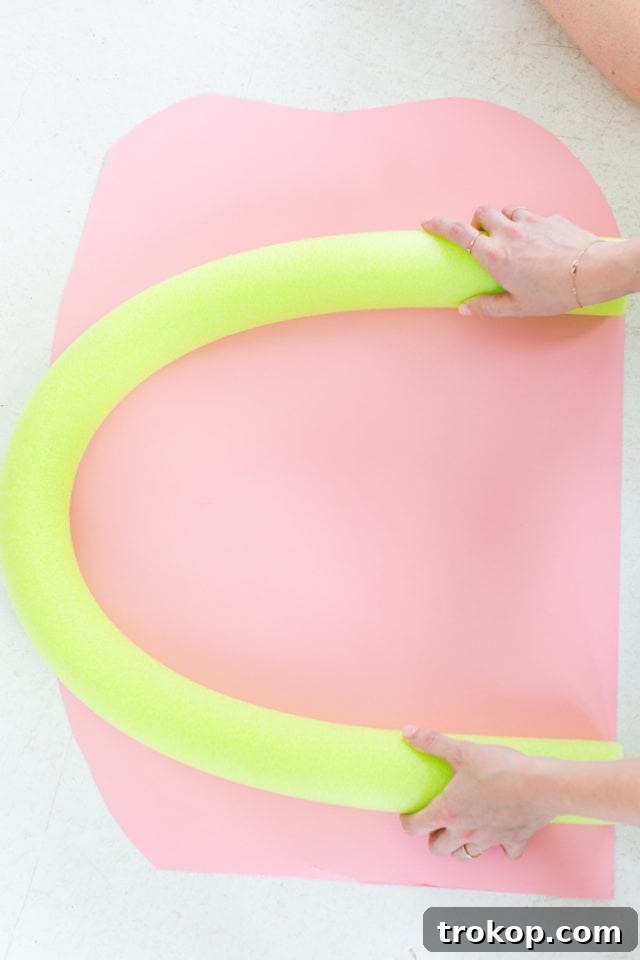
Once your first, largest pool noodle is fully wrapped, gently fold it in half to create your desired rainbow arch shape. Use this shape as a template to determine the size and curve of the poster board backing. Carefully trace the inner curve of your noodle onto the poster board. This will guide you when cutting the backing, ensuring it perfectly supports your rainbow. Once the poster board is cut, apply a generous line of hot glue along the traced curve and firmly press the wrapped pool noodle onto it, holding it in place until the glue sets. This establishes the foundational arch of your rainbow.
-
Step 3: Measure and Cut Subsequent Noodles
Before wrapping your remaining pool noodles, it’s crucial to cut them to the correct lengths. Take your next pool noodle and gently fold it, nesting it inside the first, already glued rainbow stripe. This will give you the precise length needed for the next, slightly smaller arch. Mark where the noodle needs to be cut to fit snugly within the previous arch. Use your sharp scissors to cut the noodle. Repeat this process for all subsequent noodles, ensuring each one creates a perfect, concentric arch within the last. This step is vital for achieving the classic rainbow shape.
-
Step 4: Wrap and Glue Remaining Arches
Now, take each pre-cut pool noodle, one by one, and wrap it in your chosen crepe paper color, just as you did in Step 1. Remember to secure the paper with hot glue and neatly fold the ends. Once wrapped, apply hot glue to the back of each finished noodle and carefully nest it inside the previous arch on your poster board backing. Work from the largest arch inward, gluing each stripe down firmly. Continue this process until all your wrapped pool noodles are securely glued in place, forming the beautiful, multi-colored arc of your rainbow, with the final noodle forming the innermost stripe.
-
Step 5: Add a Playful Fringe
To give your rainbow art an extra touch of life and whimsy, we’re going to add fringe along the bottom – because who doesn’t love a little fringe? This detail adds movement, texture, and a bohemian flair to your piece. Take the same colorful crepe papers you used for your rainbow arches and cut long, rectangular strips. The length and width of these strips are entirely up to your preference; longer, thinner strips will create a delicate, flowing fringe, while shorter, wider strips will result in a more playful, robust look. Aim for consistency in size for a tidy appearance.
-
Step 6: Attach the Fringe Layers
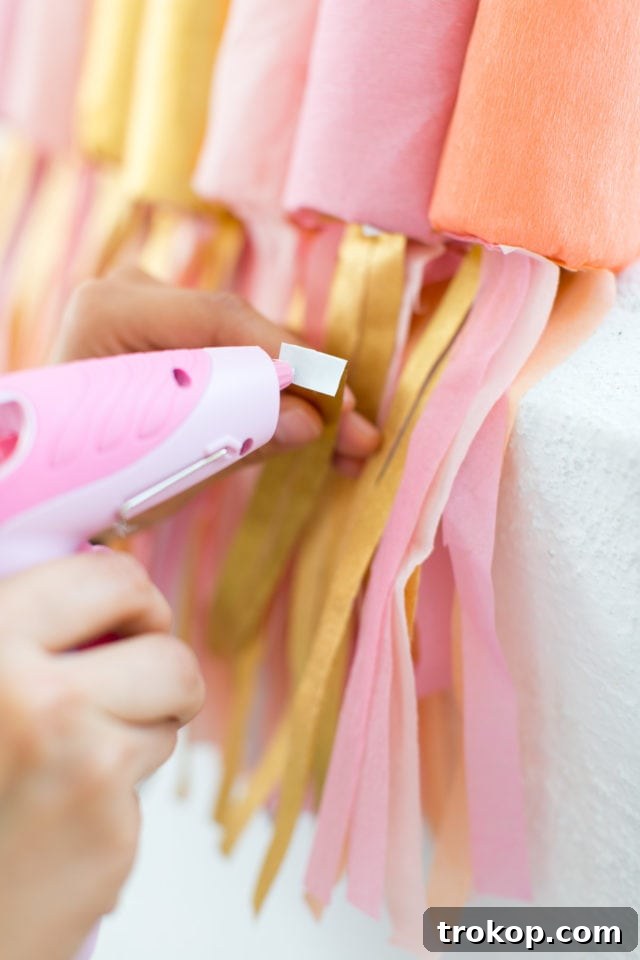
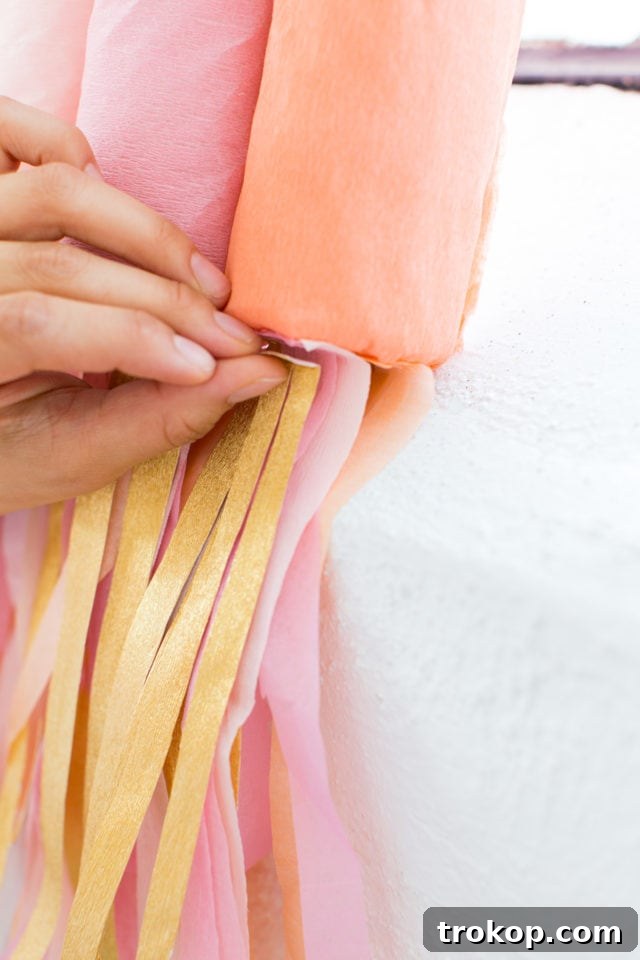
Once you have all your fringe strips cut, take each one and fold a small section at the top. This folded piece will be the anchor point for applying glue. Starting from one end of the bottom edge of your rainbow, apply a line of hot glue to the folded top of a fringe strip and press it firmly onto the backing board, just beneath the final pool noodle arch. Continue to layer and stack the fringe pieces, overlapping them slightly, until you’ve covered the entire bottom width of your rainbow. Experiment with the colors and layering to create a vibrant, full-fledged fringed effect. This step truly adds character and completeness to your art piece.
-
Step 7: Prepare for Hanging
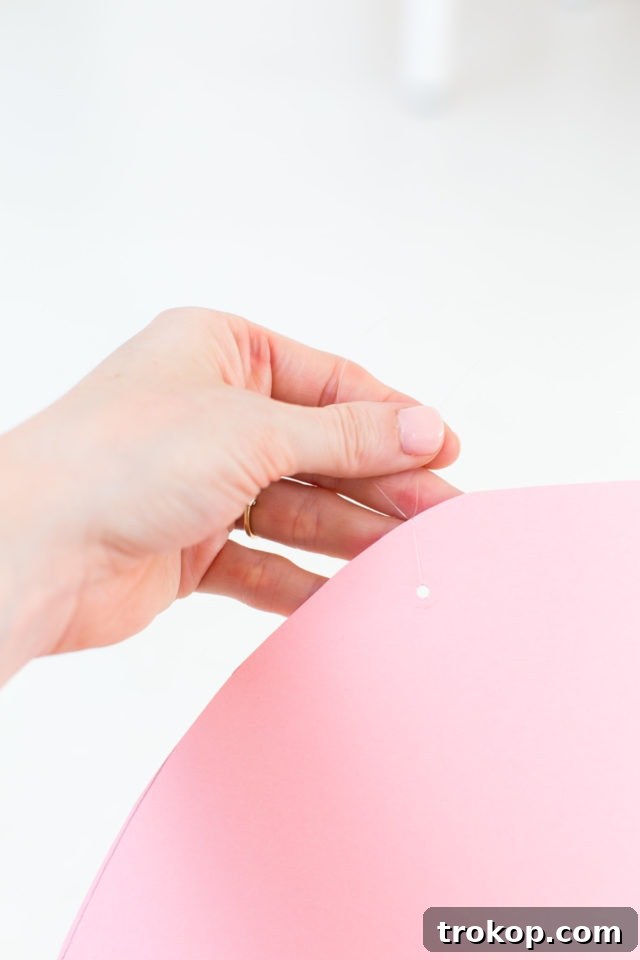
The final step is to add a hanging mechanism to the back of your newly created rainbow art. Turn the rainbow over to its back. Cut a length of string or fishing wire – the length will depend on how low or high you want your art to hang. For a seamless, almost invisible look, fishing wire is an excellent choice. Apply a generous dot of hot glue to two points on the top-back edge of your poster board backing, roughly equidistant from the center. Press the ends of your string firmly into these glue dots, ensuring they are secure. Hold them in place until the glue is completely dry and hardened. Give it a gentle tug to test its strength. And just like that, your magnificent DIY rainbow is ready to be proudly displayed!
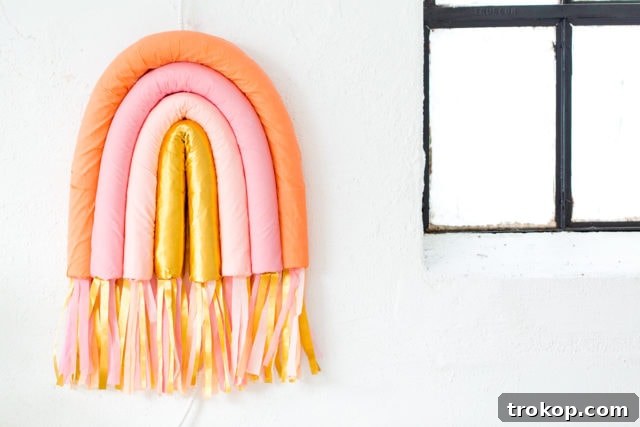
Expert Tips for a Perfect Rainbow Wall Art
- Crepe Paper Quality: Invest in good quality crepe paper. Cheaper varieties might tear easily or not have the necessary stretch, making the wrapping process more challenging.
- Hot Glue Control: Use your hot glue gun sparingly but strategically. Too much glue can seep through the crepe paper, creating visible lumps. Small, continuous lines or dots work best for secure adhesion without excess.
- Consistent Wrapping: Strive for an even tension when wrapping the pool noodles. This prevents wrinkles and ensures a smooth, uniform appearance for each rainbow stripe.
- Fringe Density: Don’t be shy with the fringe! Layering multiple strips closely together will create a fuller, more luxurious look. Experiment with different lengths and thicknesses for varied textures.
- Backing Strength: For larger or heavier rainbows, consider using a sturdier backing material than standard poster board, such as foam core or thin plywood, to prevent warping over time.
Creative Customization Ideas for Your Rainbow Art
While the classic rainbow is beautiful, don’t hesitate to personalize your wall hanging:
- Color Palettes: Instead of traditional rainbow colors, try an ombre effect with shades of one color, a serene pastel spectrum, or bold, contrasting hues to match your existing decor.
- Size and Scale: Adjust the number and size of pool noodles to create a mini rainbow for a desk or a grand statement piece for a large wall.
- Embellishments: Add extra sparkle with glitter glue, attach small pom-poms along the arches, or incorporate fabric flowers for a more intricate design.
- Mixed Textures: Experiment with different materials for wrapping, such as yarn, ribbon, or fabric strips, to introduce varied textures to your design.
- Interactive Elements: For a child’s room, consider adding small fabric letters or numbers to each arch, making it a playful learning tool.
Why DIY Rainbow Art is the Perfect Home Decor Project
This project offers more than just a pretty decoration; it’s a rewarding experience with numerous benefits:
- Budget-Friendly: Utilizing inexpensive materials like pool noodles and crepe paper keeps costs down, allowing you to create stunning decor without breaking the bank.
- Unique and Personalized: Unlike mass-produced items, your DIY rainbow will be one-of-a-kind, reflecting your personal style and creativity.
- Easy to Customize: The design is highly adaptable, allowing you to choose colors, sizes, and embellishments that perfectly fit your home’s aesthetic.
- Fun and Relaxing: Crafting can be a therapeutic and enjoyable way to unwind, offering a sense of accomplishment upon completion.
- Versatile Decor: A rainbow wall hanging can brighten any room, from a vibrant living room to a playful child’s bedroom or a whimsical nursery. It’s a guaranteed mood-lifter!
- Great for Gifting: Handcrafted gifts carry a special sentiment. This rainbow art makes a thoughtful present for birthdays, baby showers, or housewarmings.
With this simple yet brilliant project, a few pool noodles and some string are truly all you need to add a touch of whimsy and an explosion of color to your blank walls. Imagine it proudly displayed in a delightful rainbow-themed nursery, bringing smiles to little faces, or as a cheerful focal point in a little girl’s bedroom. This easy-to-make, budget-friendly DIY rainbow art wall hanging is more than just decor; it’s a statement piece that is sure to bring a smile to your face every single time you see it.
So, gather up those surprisingly versatile pool noodles, unleash your inner artist, and get ready to add some incredible rainbow cheer to your home décor! Share your creations with us on Instagram using the hashtag #sugarandclothloves – we absolutely love seeing all your unique renditions!
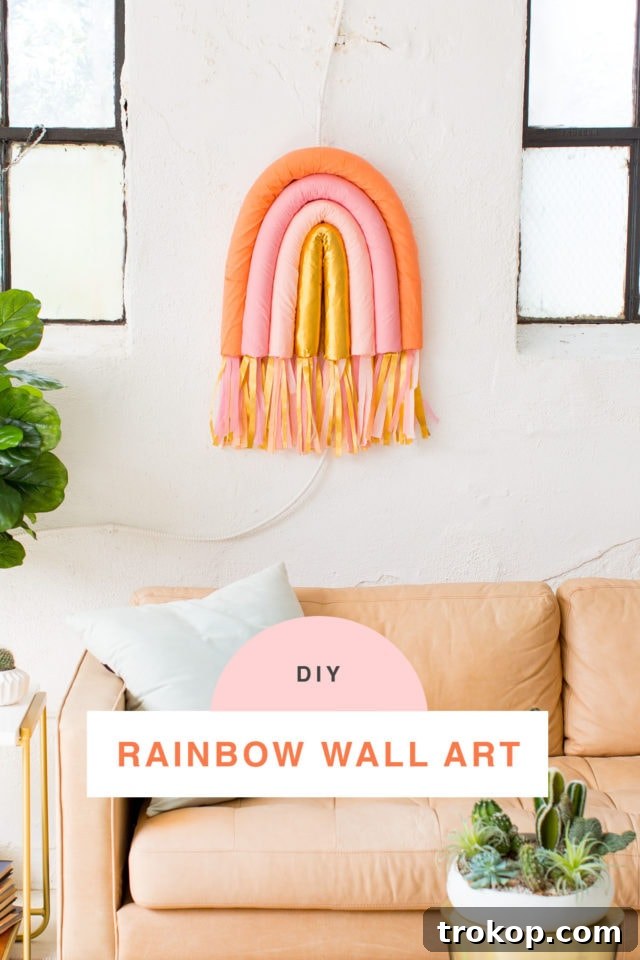
More DIY Projects You May Like
If you’ve enjoyed creating this vibrant rainbow wall art, you’ll be thrilled to discover more interior design inspiration and crafting tutorials. Explore our collection of home decor ideas and unleash your creativity with these other fantastic DIY projects:
- DIY Minimalist Flower Wall Hang
- Modern DIY Dreamcatcher
- How To Make A DIY Hanging Flower Installation
- How to Make a DIY Watercolor Wall Art – Watercolor Prints
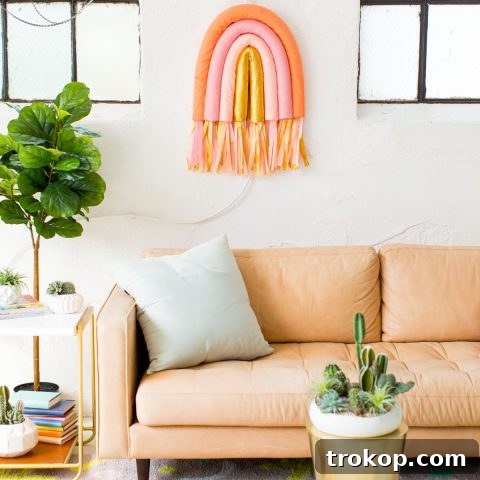
DIY Rainbow Art Wall Hanging
This easy tutorial will show you how to make your very own DIY rainbow art wall hanging, perfect for adding a pop of color and personality to any room!
Equipment
- Scissors
- Hot glue gun and glue sticks
Materials
- 4 pool noodles
- 1 poster board
- Colorful crepe paper
- String
Instructions
-
Start off with the biggest pool noodle piece and your desired color of crepe paper. Take your pool noodle and wrap it in the crepe paper and seal it in place with hot glue little by little. Make sure to use crepe paper and not regular tissue paper as crepe paper has a bit of a stretch to it that will be essential when forming your rainbow! Cover your pool noodle completely with your paper and glue closed. Be sure to fold in the sides to cover the bottoms of your noodles.
-
Gently fold your pool noodle in half and create your desired rainbow shape to know how big to cut the cardboard piece as a backing. Glue the pool noodle down on your poster board to begin shaping your rainbow.
-
Before you begin wrapping your other noodles: fold your next noodle and nest it inside your first rainbow stripe. Cut the noodle with scissors to fit into your first rainbow piece and repeat with all of your noodles in order to achieve the correct lengths to form your rainbow.
-
Once all of your pool noodles have been cut to their correct lengths, finish wrapping each in your desired color and hot glue them down one by one until you glue down your final noodle and essentially the middle of your rainbow.
-
To give the rainbow some life we added fringe at the bottom. So take the same colors you used to create your rainbow and cut long rectangles.
-
Once you have the long strips cut out, fold a small piece at the top to use to glue to the bottom of your rainbow. Stack the pieces of fringe as desired until you have a full-fledged fringed rainbow.
-
The final step is to add some string to the back of your rainbow to hang it up! We used fishing wire for a seamless look but you can use any string you’d like by simply hot gluing in place.