
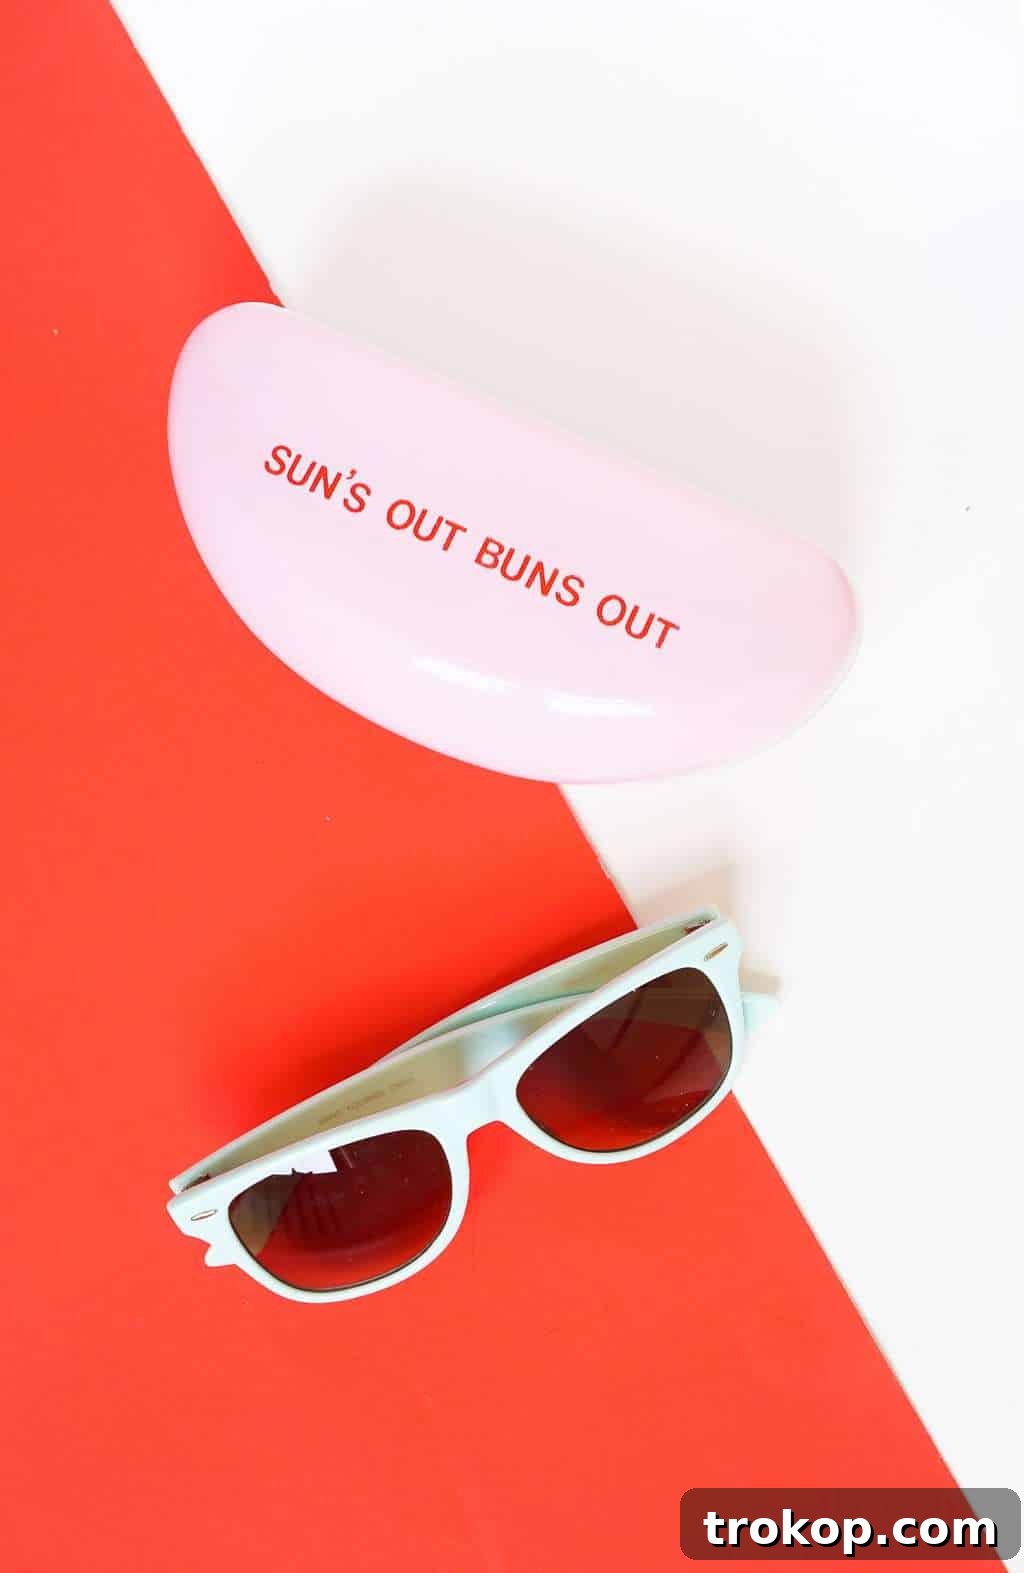
Craft Your Style: The Ultimate DIY Retro Sunglasses Case Tutorial
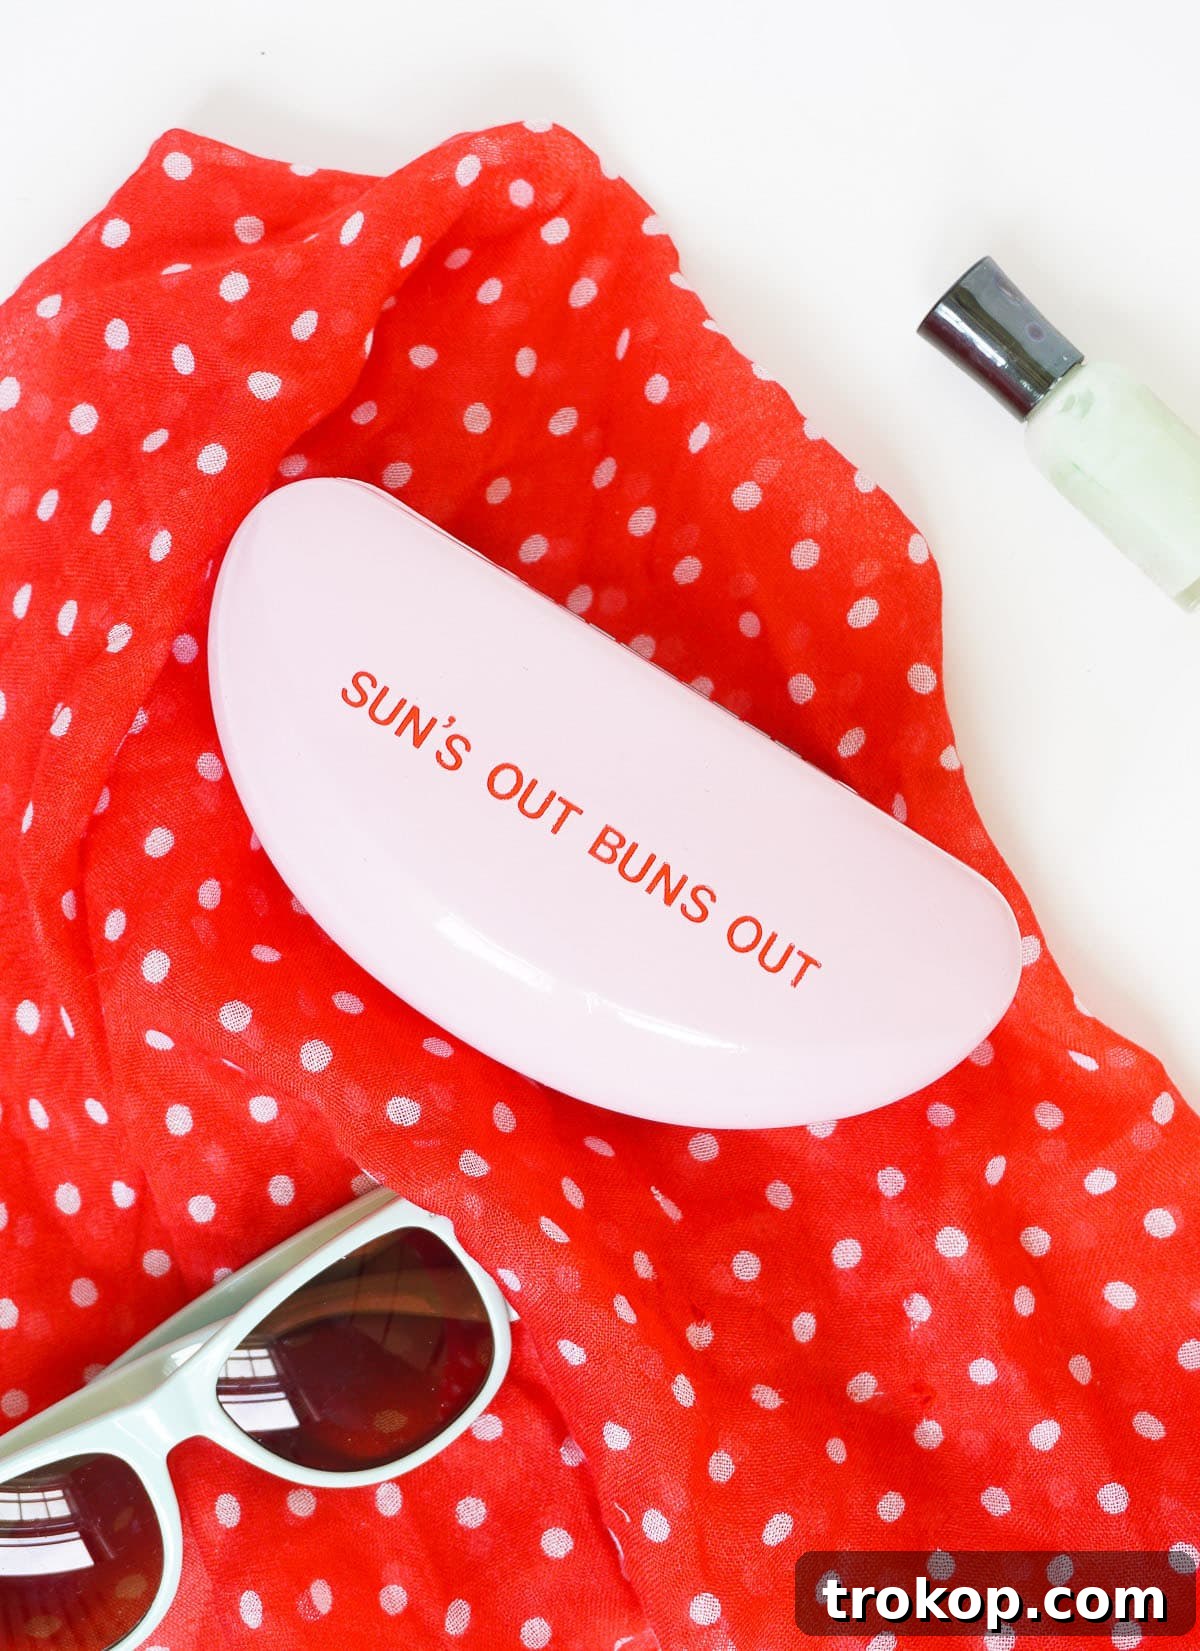
As the sun shines brighter and the days grow longer, our beloved sunglasses transition from a mere accessory to an absolute everyday essential. Whether you’re heading to the beach, exploring the city, or simply enjoying a leisurely walk, a good pair of shades is indispensable. They protect our eyes, complete our outfits, and often hold sentimental value. But with great importance comes great responsibility – the responsibility of keeping them safe from scratches, dust, and accidental damage while they’re tucked away in your bag.
This summer, why settle for a generic, uninspiring case when you can create a super customizable retro DIY sunglasses case that perfectly reflects your personality? Not only will this project provide a stylish and secure haven for your sunnies, but it also makes for an incredibly thoughtful and unique gift for friends and loved ones. Imagine gifting a personalized case adorned with a clever pun or a meaningful phrase – it’s a gesture that speaks volumes about your creativity and care.
In this comprehensive guide, we’ll transform an affordable, retro-style clamshell case, easily found online, into a bespoke accessory. Our focus will be on adding a touch of humor and individuality with a summer-inspired pun, making your sunglasses case a true conversation starter. Get ready to unleash your inner artisan and craft a protective, stylish, and utterly personal home for your eyewear.
Why a DIY Sunglasses Case is Your Next Must-Make Project
There are countless reasons to embark on a DIY journey, and creating a personalized sunglasses case hits all the right notes. Beyond mere protection, this project offers a unique blend of practicality, creativity, and personal expression. Here’s why it should be at the top of your crafting list:
Personalization Beyond Compare
In a world of mass-produced goods, a customized item stands out. Your DIY sunglasses case can be a true reflection of your unique style, sense of humor, or even a cherished memory. From choosing the case color to selecting the perfect witty phrase, every decision is yours. This level of personalization is simply not available in most store-bought cases, making your creation truly one-of-a-kind. It allows you to express your individuality and carry a piece of your personality wherever you go.
Affordable Style for Every Budget
Designer sunglasses cases can be surprisingly expensive, and even basic ones can add up. This DIY project offers an incredibly budget-friendly alternative without compromising on style or quality. With a case costing under $10 and a few craft supplies, you can achieve a high-end look and feel for a fraction of the price. It’s a smart way to protect your investment in eyewear without overspending on its container.
The Perfect Thoughtful Gift
Struggling to find a unique gift for a friend, family member, or colleague? A handmade, customized sunglasses case is an incredibly thoughtful present. It shows that you’ve put time, effort, and creativity into creating something special just for them. Tailor the pun or phrase to their personality, inside jokes, or favorite summer activities, and you’ll have a gift that’s sure to bring a smile to their face. It’s perfect for birthdays, graduations, bridal showers, or just a spontaneous ‘thinking of you’ gesture.
A Creative Outlet for Self-Expression
Engaging in DIY projects is a wonderful way to unwind, de-stress, and tap into your creative side. This project is simple enough for beginners but offers enough room for advanced crafters to experiment. The satisfaction of transforming a plain item into something beautiful and functional with your own hands is immensely rewarding. It’s a small project with a big impact, perfect for boosting your creative confidence.
Choosing Your Canvas: Selecting the Perfect Clamshell Case
The foundation of our DIY project is a classic clamshell sunglasses case. This particular style is not only highly protective but also boasts a fantastic retro vibe that lends itself perfectly to customization. When selecting your case, consider the following:
- Style and Shape: The rigid clamshell design offers superior protection against crushing and scratches, which is crucial for expensive lenses. Its curved, compact form factor makes it easy to slip into any bag without taking up too much space.
- Color Options: Many online retailers, like Amazon, offer these cases in a dazzling array of colors. You might find a shade that perfectly matches your desired aesthetic, eliminating the need for spray painting the entire case. However, if you have a specific color vision in mind that isn’t available, don’t shy away from choosing a neutral case (like white, black, or beige) that you can easily spray paint later to achieve your ideal hue.
- Durability: Look for a case that feels sturdy and well-constructed. The hinge mechanism should operate smoothly, and the outer shell should be robust enough to withstand daily wear and tear.
- Size: Ensure the case is appropriately sized for your sunglasses. Most standard clamshell cases accommodate a wide range of sunglass styles, but if you have oversized or unusually shaped frames, it’s wise to double-check dimensions.
Unleash Your Creativity: Crafting the Perfect Pun or Phrase
This is where the true magic of personalization happens! Choosing the right pun or phrase for your DIY sunglasses case is paramount to making it truly unique and fun. Here are some tips and ideas to get your creative juices flowing:
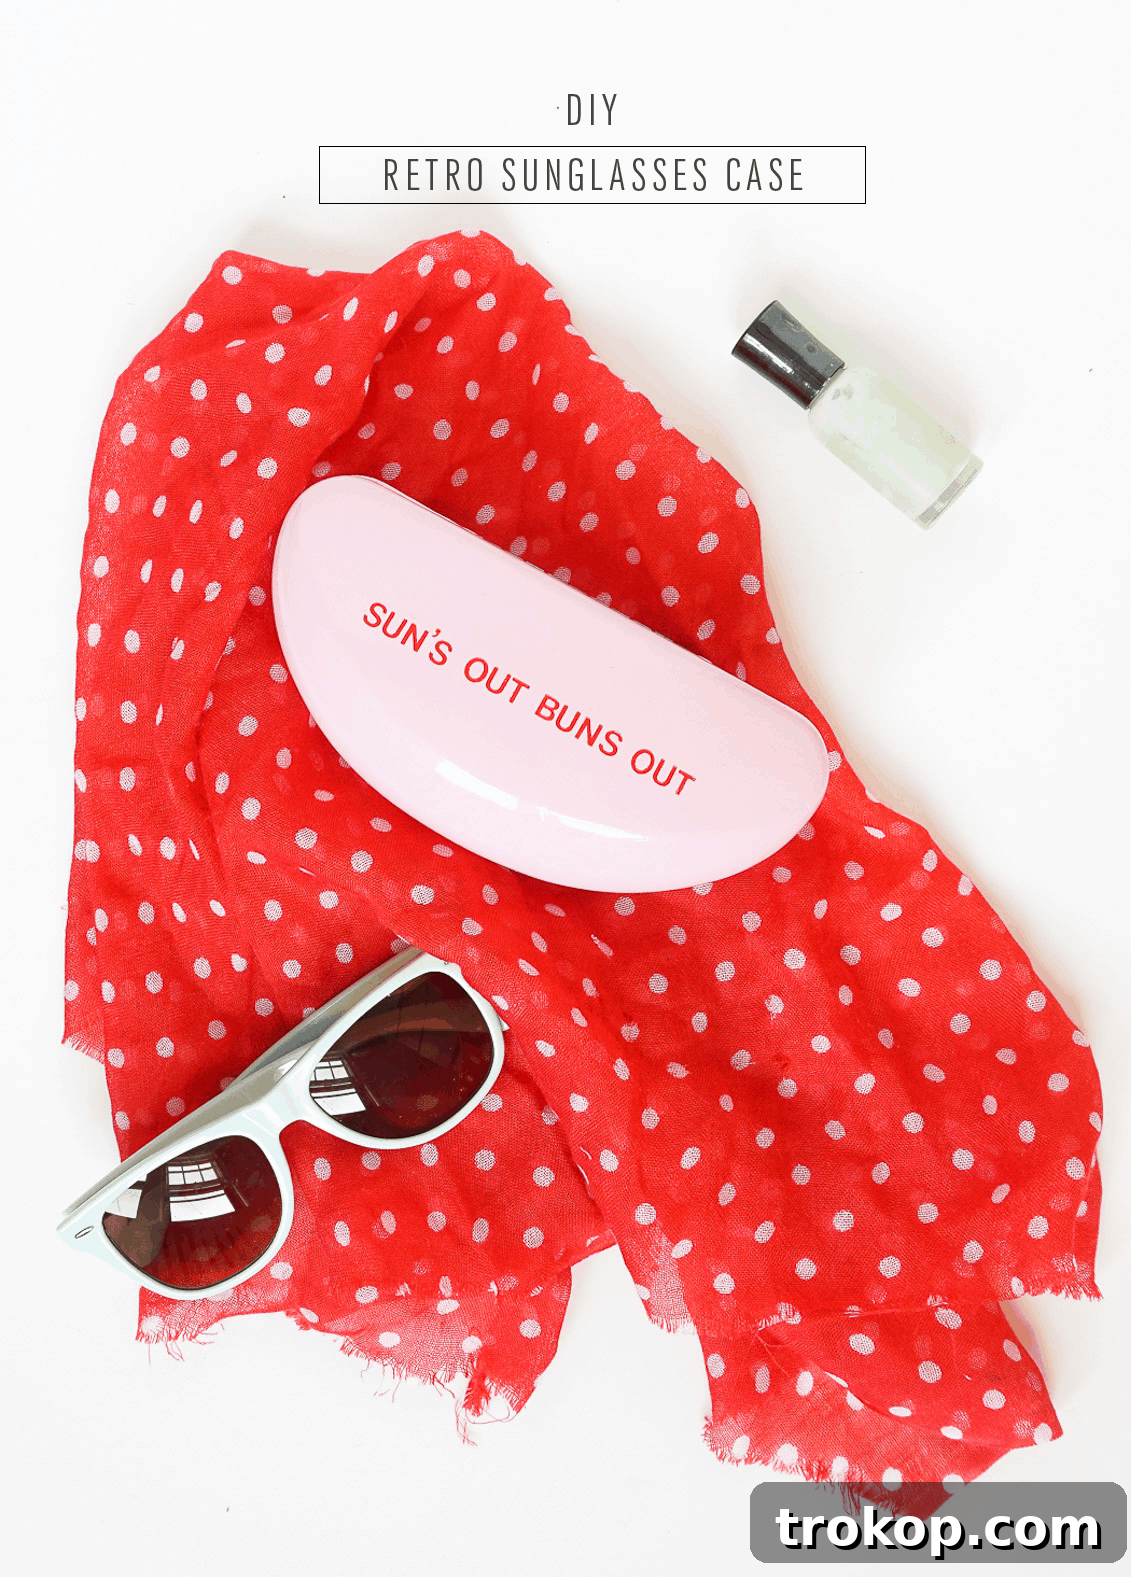
- Embrace Summer Vibes: Since sunglasses are synonymous with summer, consider phrases that evoke sunshine, relaxation, and good times. Examples include “Sun’s Out, Buns Out!” (our chosen phrase), “Shady Business,” “Beach Please,” “Hello, Sunshine,” “Vacay Mode,” or “Chasing the Sun.”
- Play on Words: Puns are a fantastic way to add humor. Think about common idioms or phrases related to vision, light, or glasses and give them a fun twist. “Opti-Mystic,” “Eye-Conic,” “Four Eyes Are Better Than Two” (if applicable!), or “Future’s So Bright…” are all great starts.
- Personal Inside Jokes: If you’re making this as a gift, think about any inside jokes, favorite sayings, or meaningful phrases shared with the recipient. This adds an extra layer of sentimentality and makes the gift even more special.
- Motivational or Inspirational Quotes: For a more subtle yet impactful touch, choose a short, uplifting quote. “See the Good,” “Bright Future,” or “Focus on the Positive” can be great options.
- Consider the Recipient: If it’s a gift, tailor the phrase to their personality, hobbies, or even profession. A nature lover might appreciate “Wild & Free” while a coffee enthusiast might like “But First, Coffee.”
- Keep it Concise: Given the limited space on a sunglasses case, aim for short, impactful phrases. A few words or a punchy pun work best to ensure readability and aesthetic appeal.
Don’t be afraid to brainstorm a list of ideas and try them out visually (even just on paper) to see what fits best before committing to your vinyl letters.
Materials Needed To Make A DIY Sunglasses Case
Gathering your materials is the first concrete step in any crafting adventure. For this retro DIY sunglasses case project, you’ll need just a few key items, most of which are readily available online or at your local craft store. Here’s a detailed look at what you’ll need:
- Clamshell sunglasses case: As discussed, choose one in a color you love or one that’s easy to paint. The rigid structure is key for protecting your sunglasses.
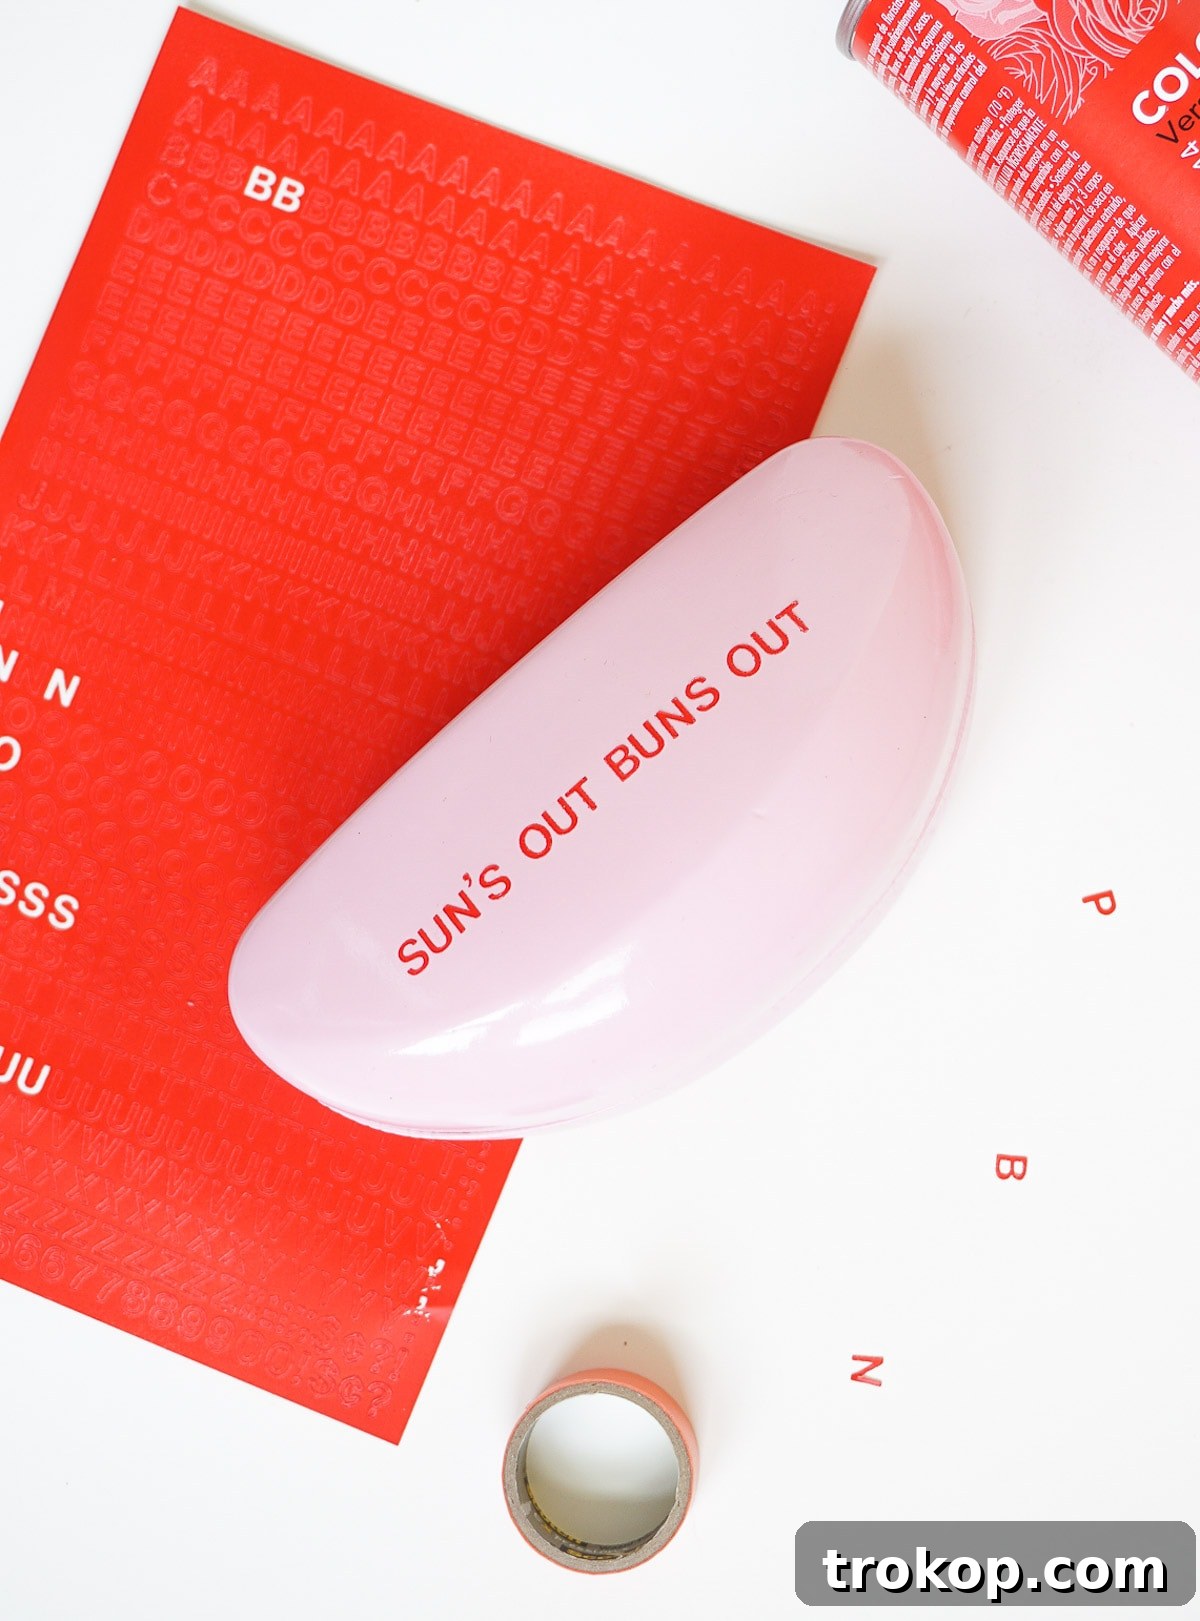
- 1/4″ White Vinyl Letter Stickers: These are essential for creating your custom phrase. Vinyl stickers are durable and adhere well to smooth surfaces. The 1/4″ size is generally ideal for fitting phrases neatly onto the case without overwhelming it, but you can experiment with slightly larger or smaller sizes depending on your chosen phrase length and case dimensions.
- Spray paint in the color of your choice (optional): If you want to customize the color of your vinyl letters or the entire case, spray paint is your go-to. Choose a paint that adheres well to plastic surfaces for the best results. Matte or glossy finishes can both look great, depending on your desired aesthetic.
- Washi tape or painter’s tape: This is a crucial tool for precise letter placement. Washi tape is often preferred for its lower tack, making it easy to remove without damaging surfaces. Painter’s tape also works wonderfully and is usually wider, which can be helpful for longer phrases.
Before you begin, ensure you have a clean, well-ventilated workspace, especially if you plan on using spray paint. Having all your materials organized and within reach will make the crafting process much smoother and more enjoyable.
How To Make A DIY Sunglasses Case: Step-by-Step Instructions
Now that you have all your materials, it’s time to bring your custom retro sunglasses case to life. Follow these steps carefully for the best results, paying attention to drying times and precision.
Preparing Your Vinyl Letters with Paint (if desired)
If you’re happy with the original color of your vinyl letter stickers, you can skip this step entirely! However, if you want to add an extra layer of customization by matching the letters to a specific color palette or making them pop, here’s how to do it:
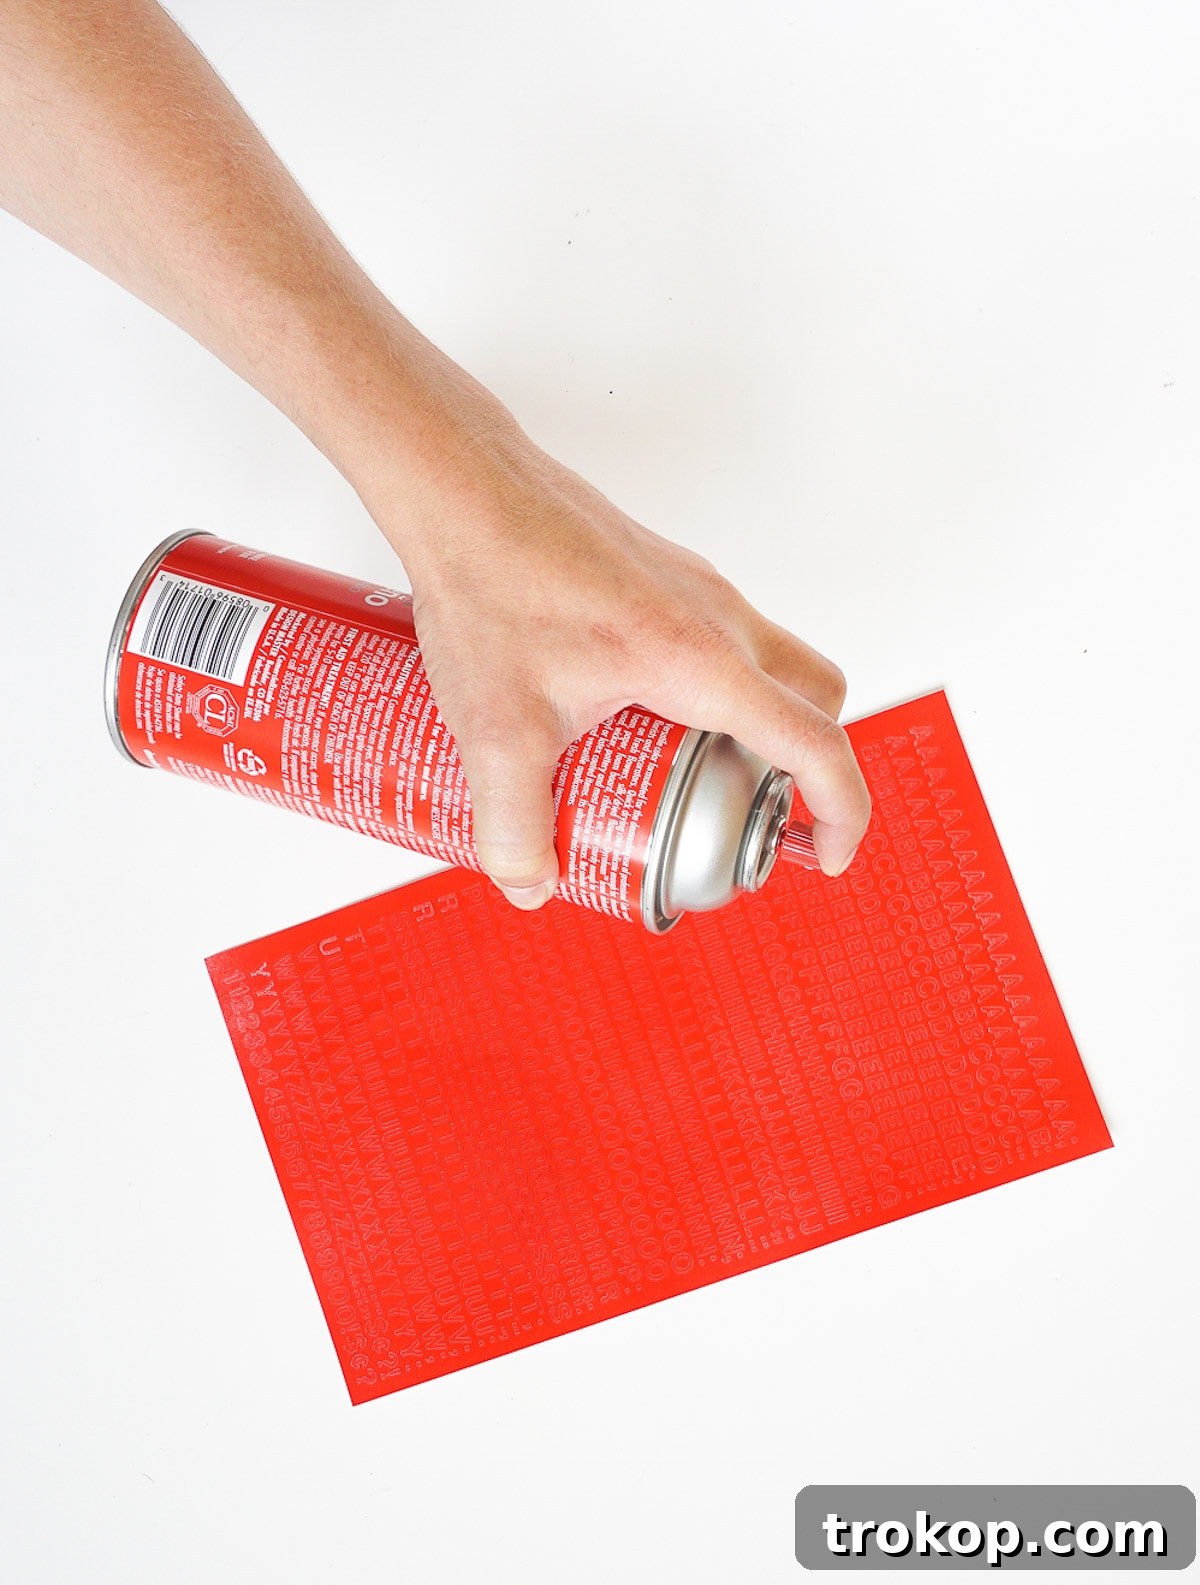
- Arrange Your Letters: Carefully peel your vinyl letters from their backing and arrange them onto a piece of scrap paper or cardboard. Spread them out so they are not touching each other, allowing for even paint coverage.
- Apply the First Coat: In a well-ventilated area (preferably outdoors or in a garage with open windows), hold the spray paint can about 6-8 inches away from the letters. Apply a light, even coat of spray paint. The key here is thin layers. Avoid heavy spraying, as this can cause the paint to pool and compromise the adhesive on the back of the stickers.
- Allow to Dry: Let the first coat dry completely. This might take anywhere from 15 minutes to an hour, depending on the paint type and environmental humidity. Rushing this step can lead to a sticky, uneven finish.
- Apply Additional Coats: Once dry, apply a second thin coat of spray paint. Repeat this process, allowing each coat to dry thoroughly, until the letters achieve your desired shade and opacity. Typically, two to three thin coats are sufficient.
- Final Drying: After the last coat, allow the letters to dry for an extended period – ideally a few hours or even overnight – to ensure the paint is fully cured and won’t smudge or stick when handled.
Tip: If you find the paint is too thick, the letters might lose some of their adhesive quality. Less is definitely more when spray painting small stickers!
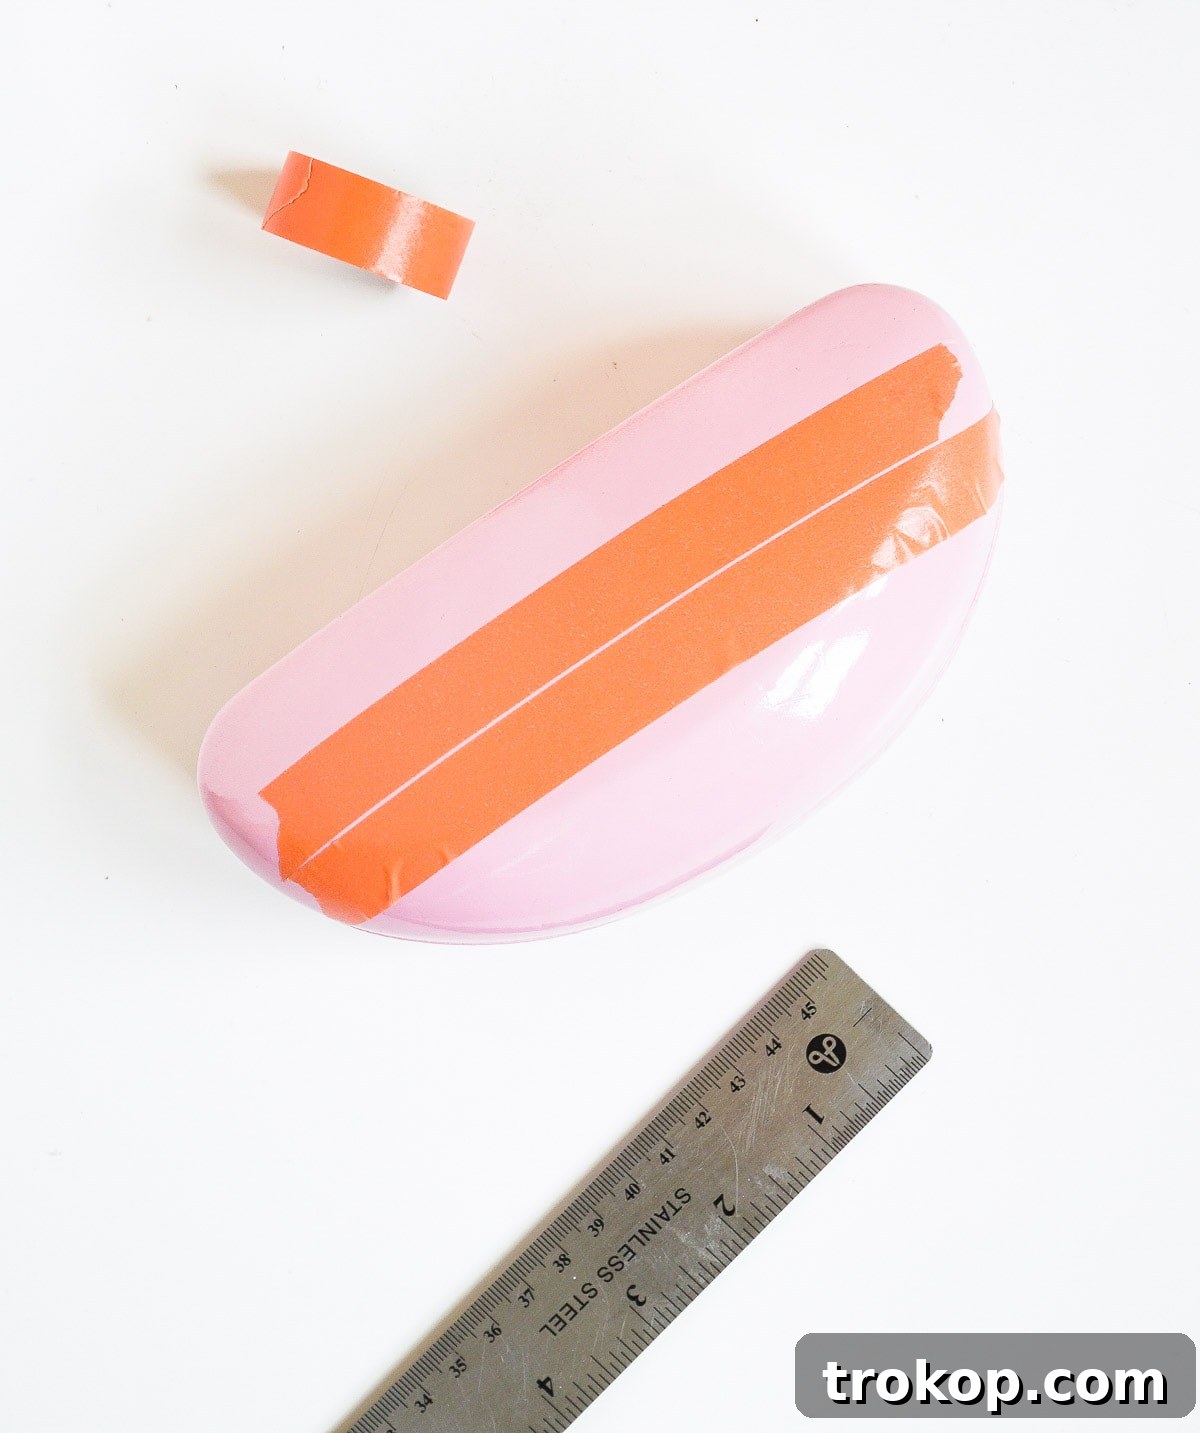
Guiding Your Placement: The Washi Tape Trick
Achieving perfectly straight and evenly spaced letters can be tricky, but this simple washi tape method makes it foolproof:
- Position the First Tape Strip: Take a strip of washi tape (or painter’s tape) and carefully apply it across the lid of your sunglasses case. This strip will act as the baseline for the bottom edge of your letters. Ensure it is perfectly straight and positioned exactly where you want your phrase to sit. You can use a ruler or simply eyeball it if you have a steady hand.
- Add the Second Tape Strip: Place a second strip of washi tape directly below (and parallel to) the first piece of tape. This second strip will mark the top edge of your letters. The space between these two tape strips will define the height and placement area for your phrase.
- Remove the First Tape Strip: Gently peel off the *first* piece of washi tape (the top one). This leaves you with a single, straight line of tape at the bottom of your desired letter placement area. This remaining tape strip will serve as your guide for aligning the bottom of your vinyl letters, ensuring they are all perfectly level.
This “guide” method is incredibly effective for achieving professional-looking letter alignment. The low tack of washi tape ensures it won’t leave any residue or damage the case surface when removed.
Applying Your Custom Phrase
With your letters prepared and your guide in place, it’s time for the final, exciting step:
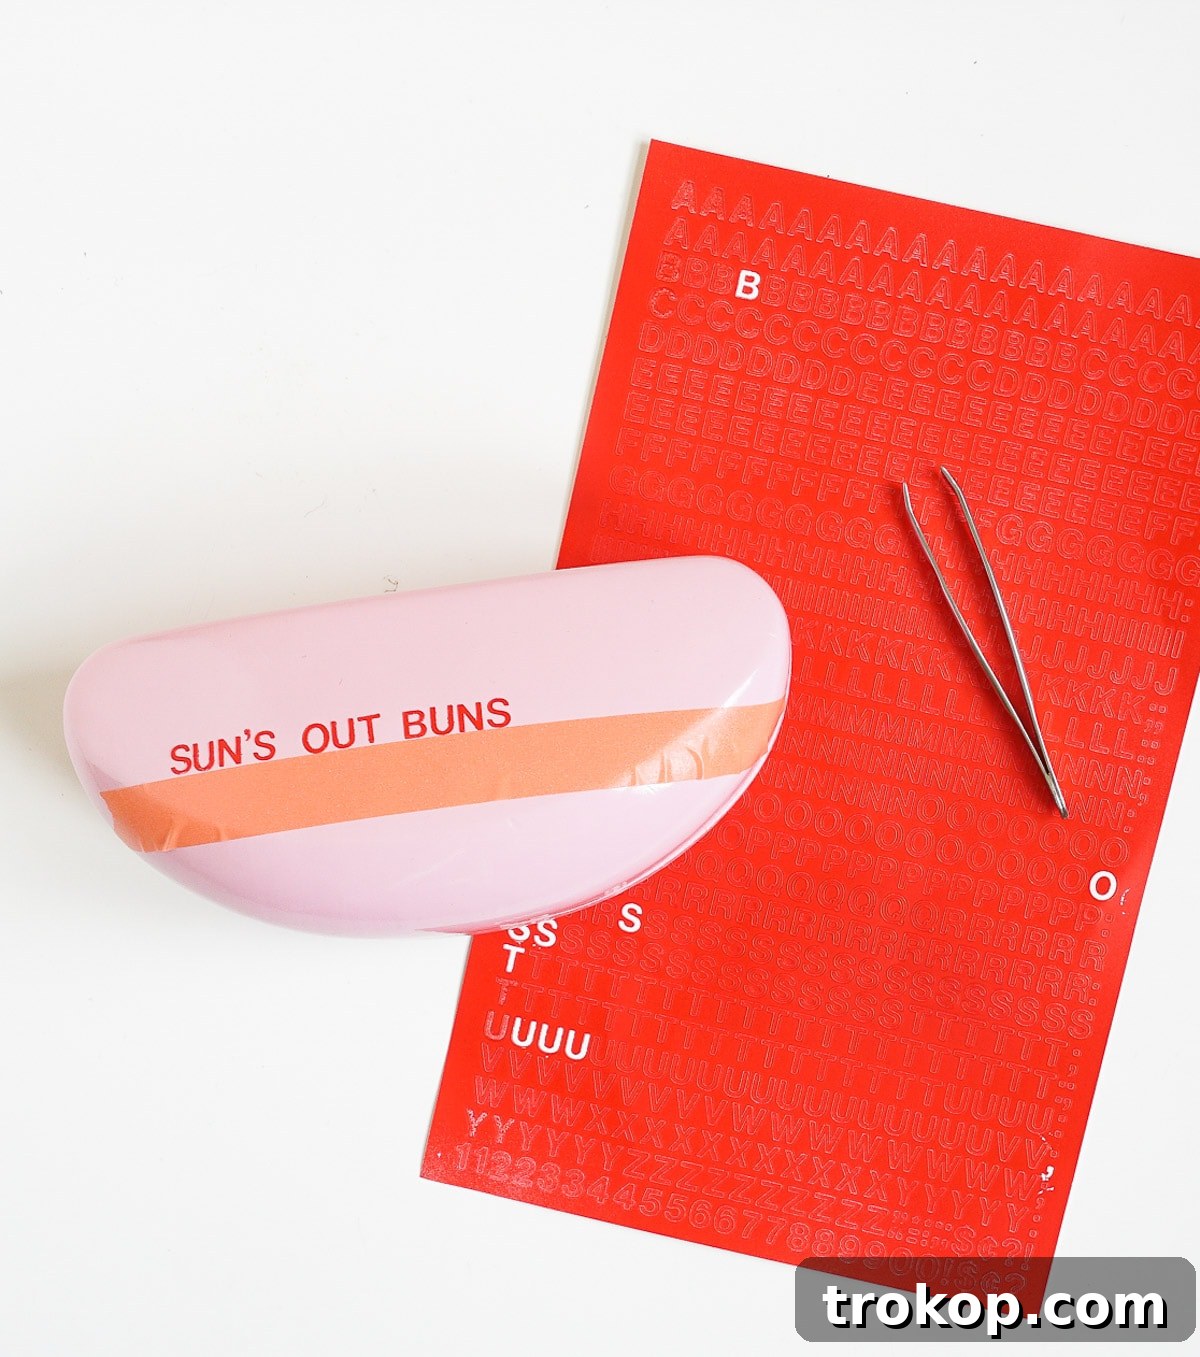
- Start Placing Letters: Begin applying your painted (or unpainted) vinyl letters to the sunglasses case. Start with the first letter of your chosen phrase. Carefully align the bottom edge of each letter with the remaining strip of washi tape.
- Ensure Even Spacing: As you place each subsequent letter, pay attention to the spacing between them. Consistent spacing is key for a polished look. Don’t press down firmly until you are satisfied with the letter’s position.
- Spell Out Your Phrase: Continue this process until your entire phrase is spelled out on the case. Take your time, being careful not to stretch or crinkle the letters.
- Secure the Letters: Once all letters are in their perfect positions, gently but firmly press each letter down with your finger or a soft cloth, ensuring they adhere securely to the case. Pay special attention to the edges of each letter to prevent lifting.
- Remove the Guide Tape: Carefully peel away the remaining washi tape guide. Do this slowly and at an angle to avoid disturbing the newly applied letters.
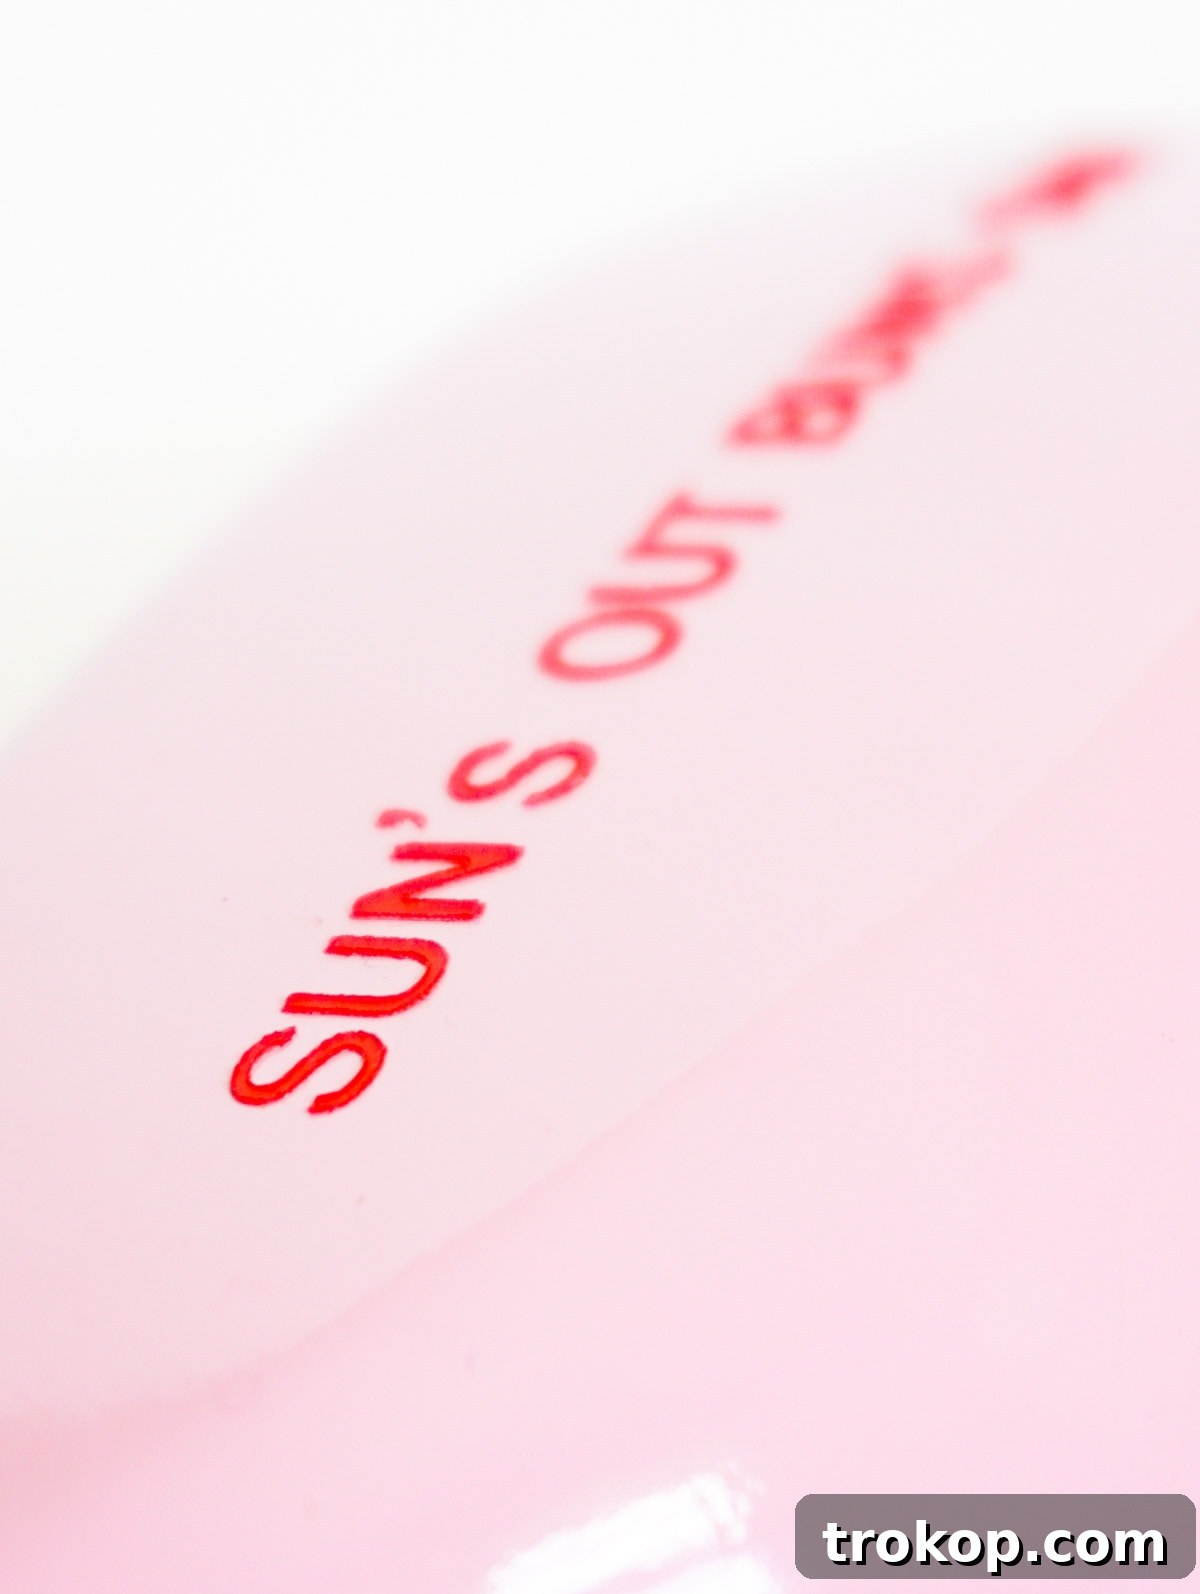
And there you have it! A perfectly personalized, retro DIY sunglasses case, ready to protect your shades in style.
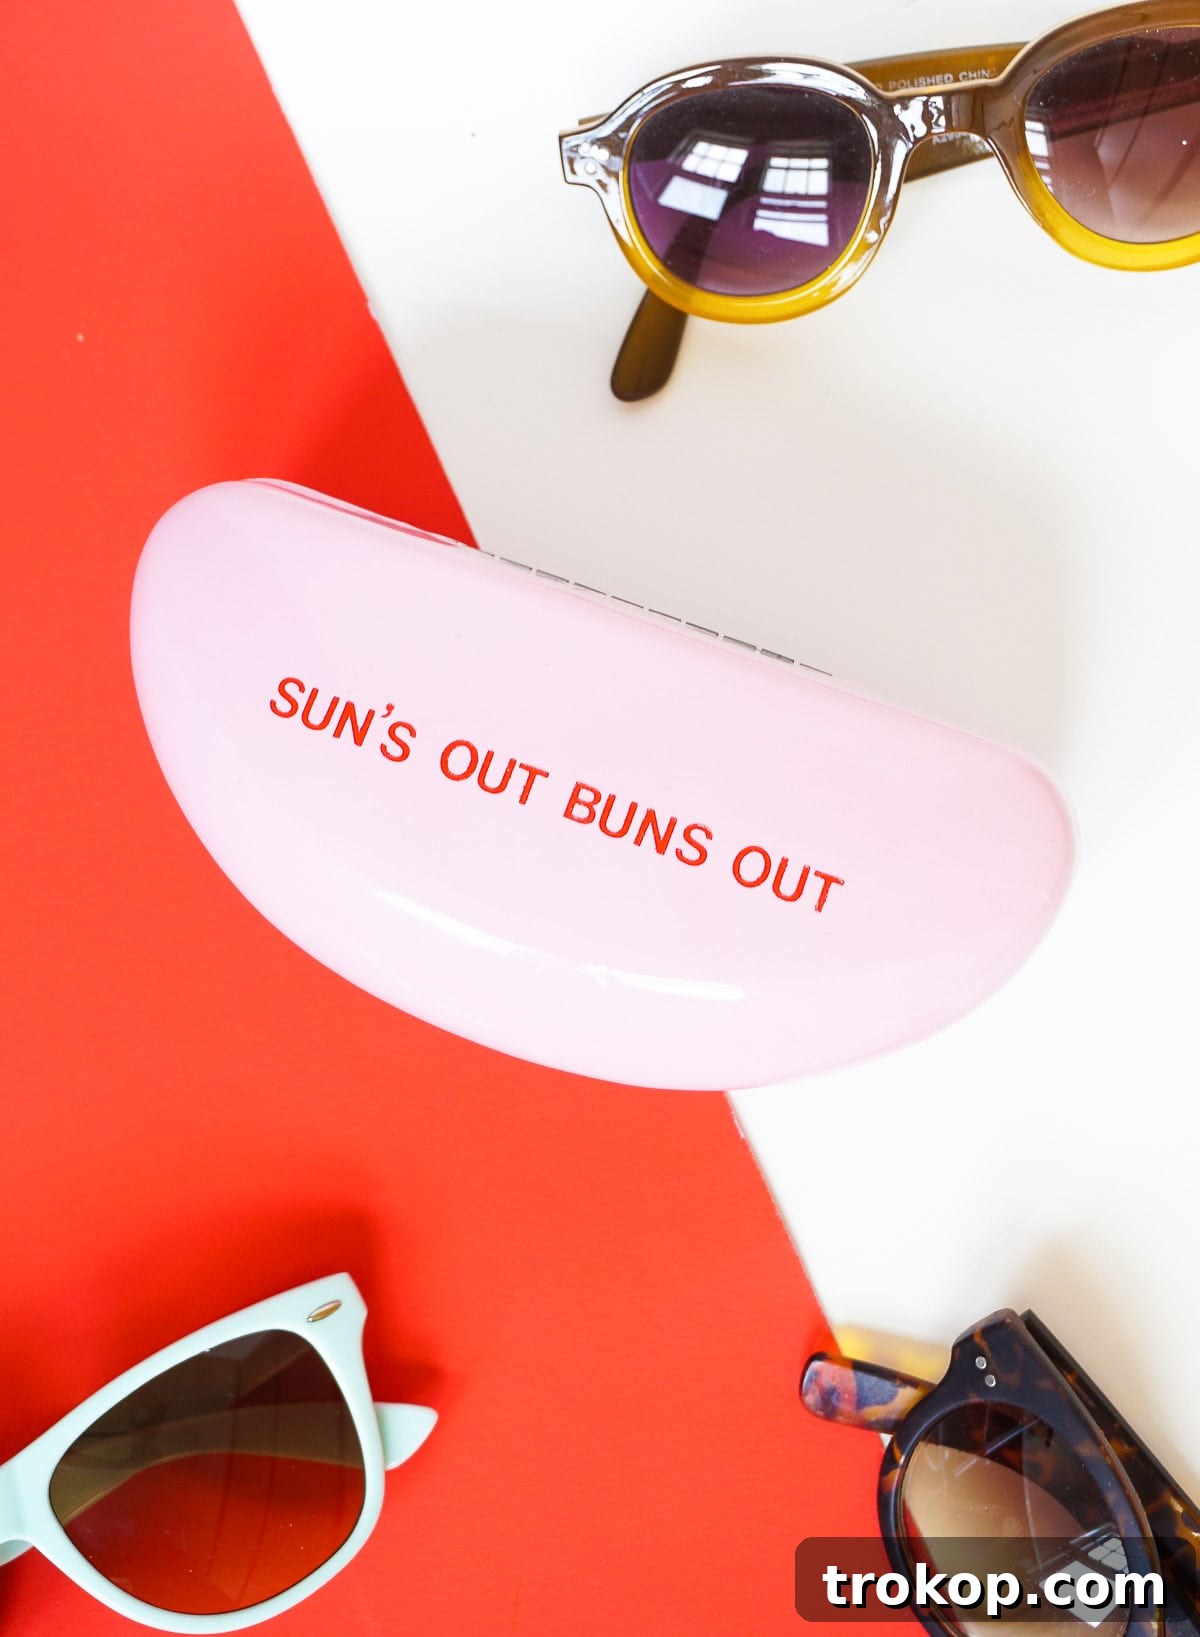
Taking It Further: Advanced Customization Ideas
While the vinyl letters create a fantastic personalized touch, your creativity doesn’t have to stop there! Here are some ideas to further elevate your DIY retro sunglasses case and make it even more unique:
- Add Decorative Elements:
- Rhinestones or Studs: Apply small self-adhesive rhinestones or metal studs around the letters or along the edges of the case for a touch of sparkle or edgy glam.
- Decoupage: Cut out small designs from decorative paper, fabric, or even old magazines and adhere them to the case using Mod Podge. Seal with a top coat for durability.
- Washi Tape Patterns: Instead of just using washi tape as a guide, create decorative stripes, chevron patterns, or geometric designs with different colored or patterned tapes.
- Experiment with Different Mediums:
- Paint Pens: If you have a steady hand, paint pens (especially acrylic paint pens designed for various surfaces) can be used to add hand-drawn designs, outlines, or additional small details around your phrase.
- Stencils: Beyond letters, use small stencils to add a sun, palm tree, waves, or other summer-themed motifs.
- Fabric or Leather Scraps: For a more tactile approach, cut out small shapes from fabric or faux leather and glue them onto the case.
- Two-Tone or Gradient Spray Paint: Instead of a single color, experiment with masking off sections of the case and using two different spray paint colors for a dynamic look. Or, try a subtle gradient effect for an artistic flair.
- Textured Finish: Some spray paints offer textured finishes like stone, crackle, or glitter. These can add an unexpected and interesting dimension to your case.
Remember to always test new materials or techniques on an inconspicuous area or a scrap piece before applying them to your finished case.
Caring for Your Custom Creation
Once your DIY retro sunglasses case is complete, you’ll want to ensure your personalized design lasts as long as possible. Proper care will help maintain its vibrant look and protect your sunglasses for seasons to come:
- Handle with Care: While vinyl letters are durable, avoid excessive rubbing or scratching directly over the design, especially if you’ve added additional embellishments.
- Cleaning: If the case gets dirty, gently wipe it with a soft, damp cloth. Avoid harsh chemical cleaners or abrasive sponges, as these can strip the paint or peel the vinyl letters. For a deeper clean, a mild soap solution on a soft cloth can be used sparingly, followed by a dry wipe.
- Avoid Extreme Temperatures: Prolonged exposure to extreme heat (like leaving it on a car dashboard in direct sun) can potentially weaken the adhesive on the vinyl letters or cause the paint to fade or crack over time. Similarly, extreme cold might make the materials more brittle.
- Storage: When not in use, store your case in a place where it won’t be heavily compressed or exposed to sharp objects that could damage the exterior or interior lining.
By following these simple care tips, your custom DIY sunglasses case will remain a stylish and functional accessory for many adventures ahead.
The Gift That Keeps on Giving: Presentation Ideas
If you’ve decided to craft this custom sunglasses case as a gift, consider these presentation ideas to make the unveiling even more special:
- Pair with New Shades: The ultimate gift pairing! Purchase a new pair of stylish sunglasses that you think the recipient would love and present them inside their new custom case.
- Themed Gift Basket: Create a small summer-themed gift basket. Include the sunglasses case, a tube of sunscreen, a fun beach towel, a good book, and perhaps a refreshing drink mix.
- Personalized Tag: Attach a small, handwritten tag to the case. You could write a message like “Shine Bright!” or “Enjoy Your Sunny Days!” or even a hint about the pun inside.
- Stylish Wrapping: Wrap the case in colorful tissue paper and place it in a small gift box or a decorative bag. Choose wrapping paper that complements the colors of the case or the recipient’s personal style.
- Experiences, Not Just Things: Present the case as part of an invitation to a fun summer activity, like a beach day, a picnic, or a trip to a local outdoor market.
The thought behind a handmade gift is truly invaluable, and a creative presentation enhances that sentiment.
Your journey to creating a customizable retro DIY sunglasses case is now complete! From selecting the perfect clamshell case to carefully applying your chosen pun, you’ve transformed a simple item into a personalized statement piece. Whether you’re making it for yourself or as a thoughtful gift, this project embodies creativity, style, and practicality.
Now, go forth and protect those precious sunnies with a case that’s as unique and vibrant as you are. We hope this guide has inspired you to explore the endless possibilities of DIY and add a touch of handmade charm to your everyday essentials. What clever pun or phrase will you choose for your next custom creation?