
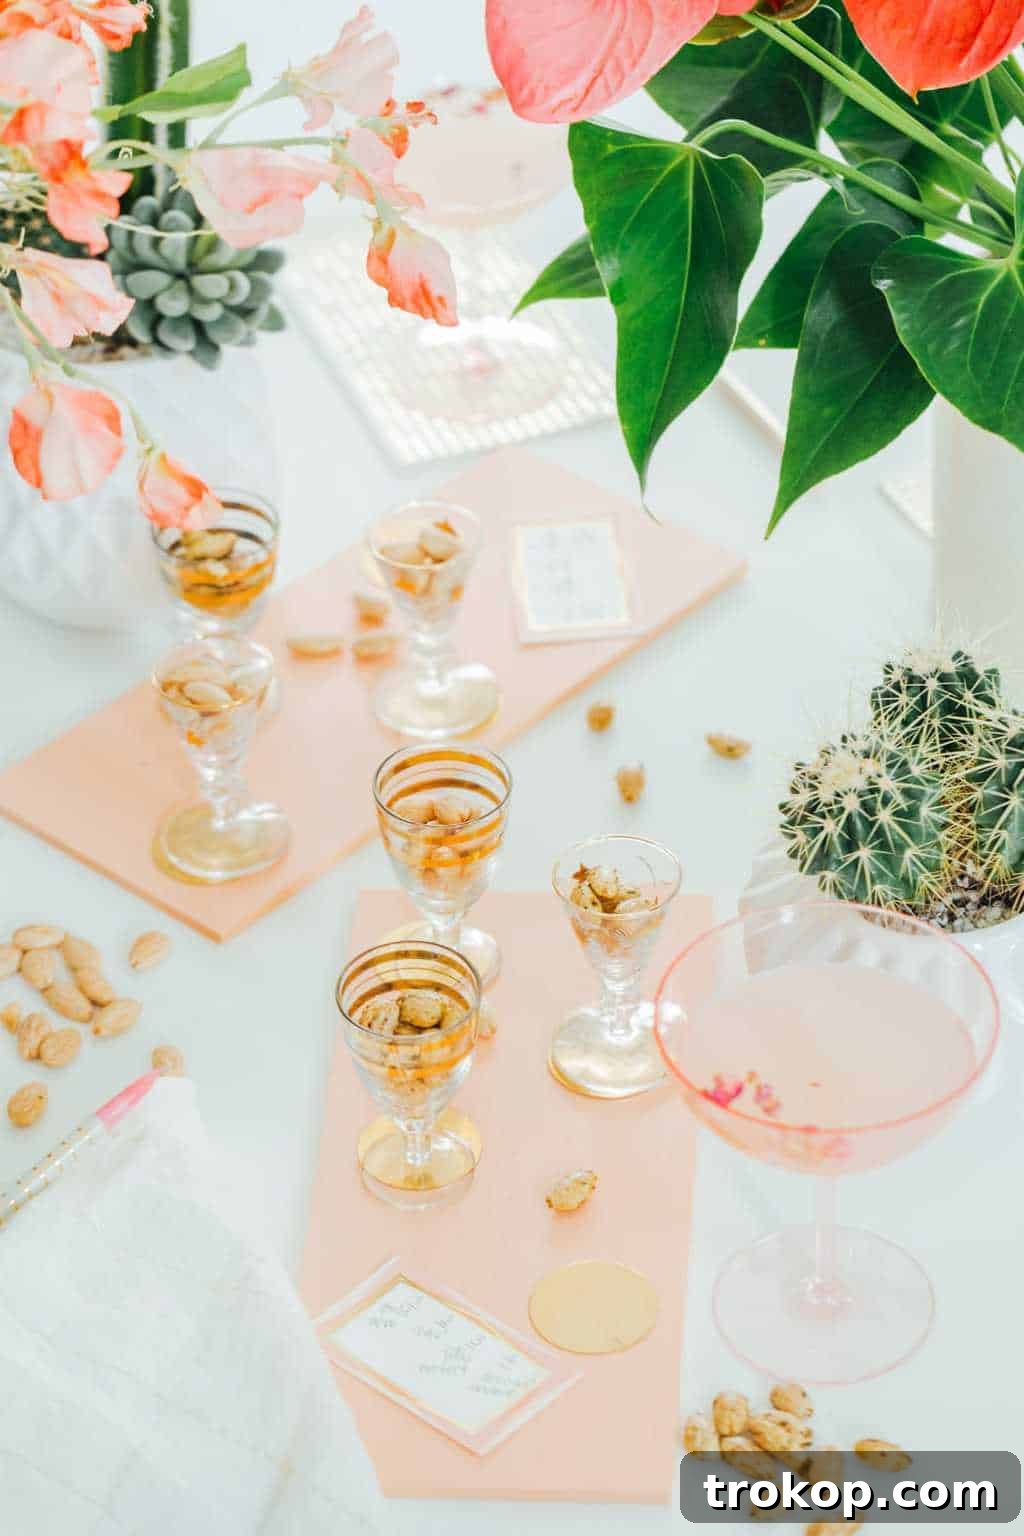
Elevate Your Entertaining: Crafting DIY Gourmet Tasting Flight Boards
Tasting flights have long been cherished for their ability to transform a simple sampling into an exquisite experience. While traditionally associated with beverages like wine, craft beer, or spirits, the concept of a tasting flight is far more versatile than many realize. Imagine applying this sophisticated approach to an array of delectable treats—from delicate macarons and rich chocolates to an assortment of artisanal cheeses or, in this case, the exceptional Blue Diamond Crafted Gourmet Almonds. We believe in going beyond the ordinary to create truly memorable moments, and these DIY tasting flight boards are designed to do just that.
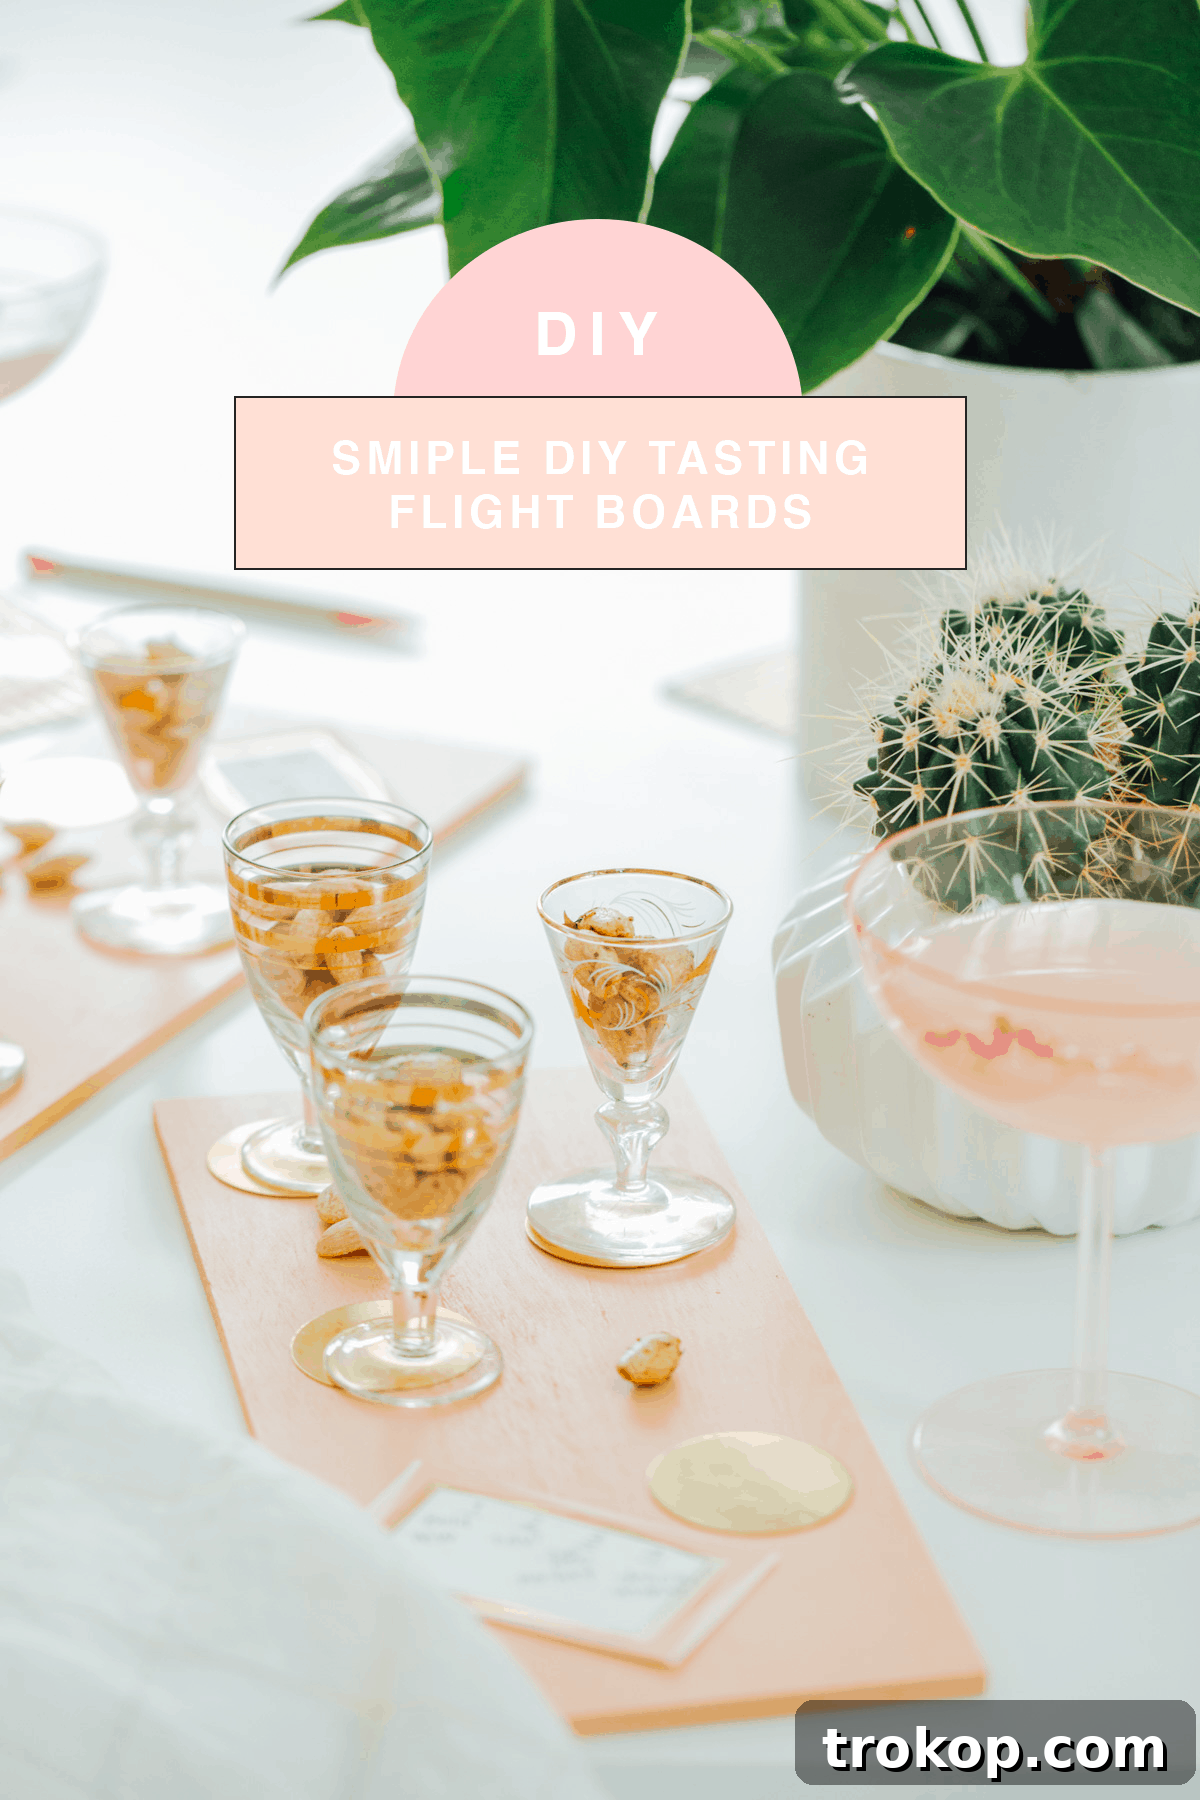
These homemade tasting flight boards, despite their elegant appearance, are remarkably simple to construct. Their beauty lies in their straightforward design and immense adaptability, making them one of the most practical and aesthetically pleasing DIY projects you’ll undertake. With just a few basic materials, you can create a stunning presentation piece that boasts a perfect pop of metallic gold, ideal for sophisticated flight tastings or simply enhancing your dinner party decor. The creative possibilities are genuinely limitless.
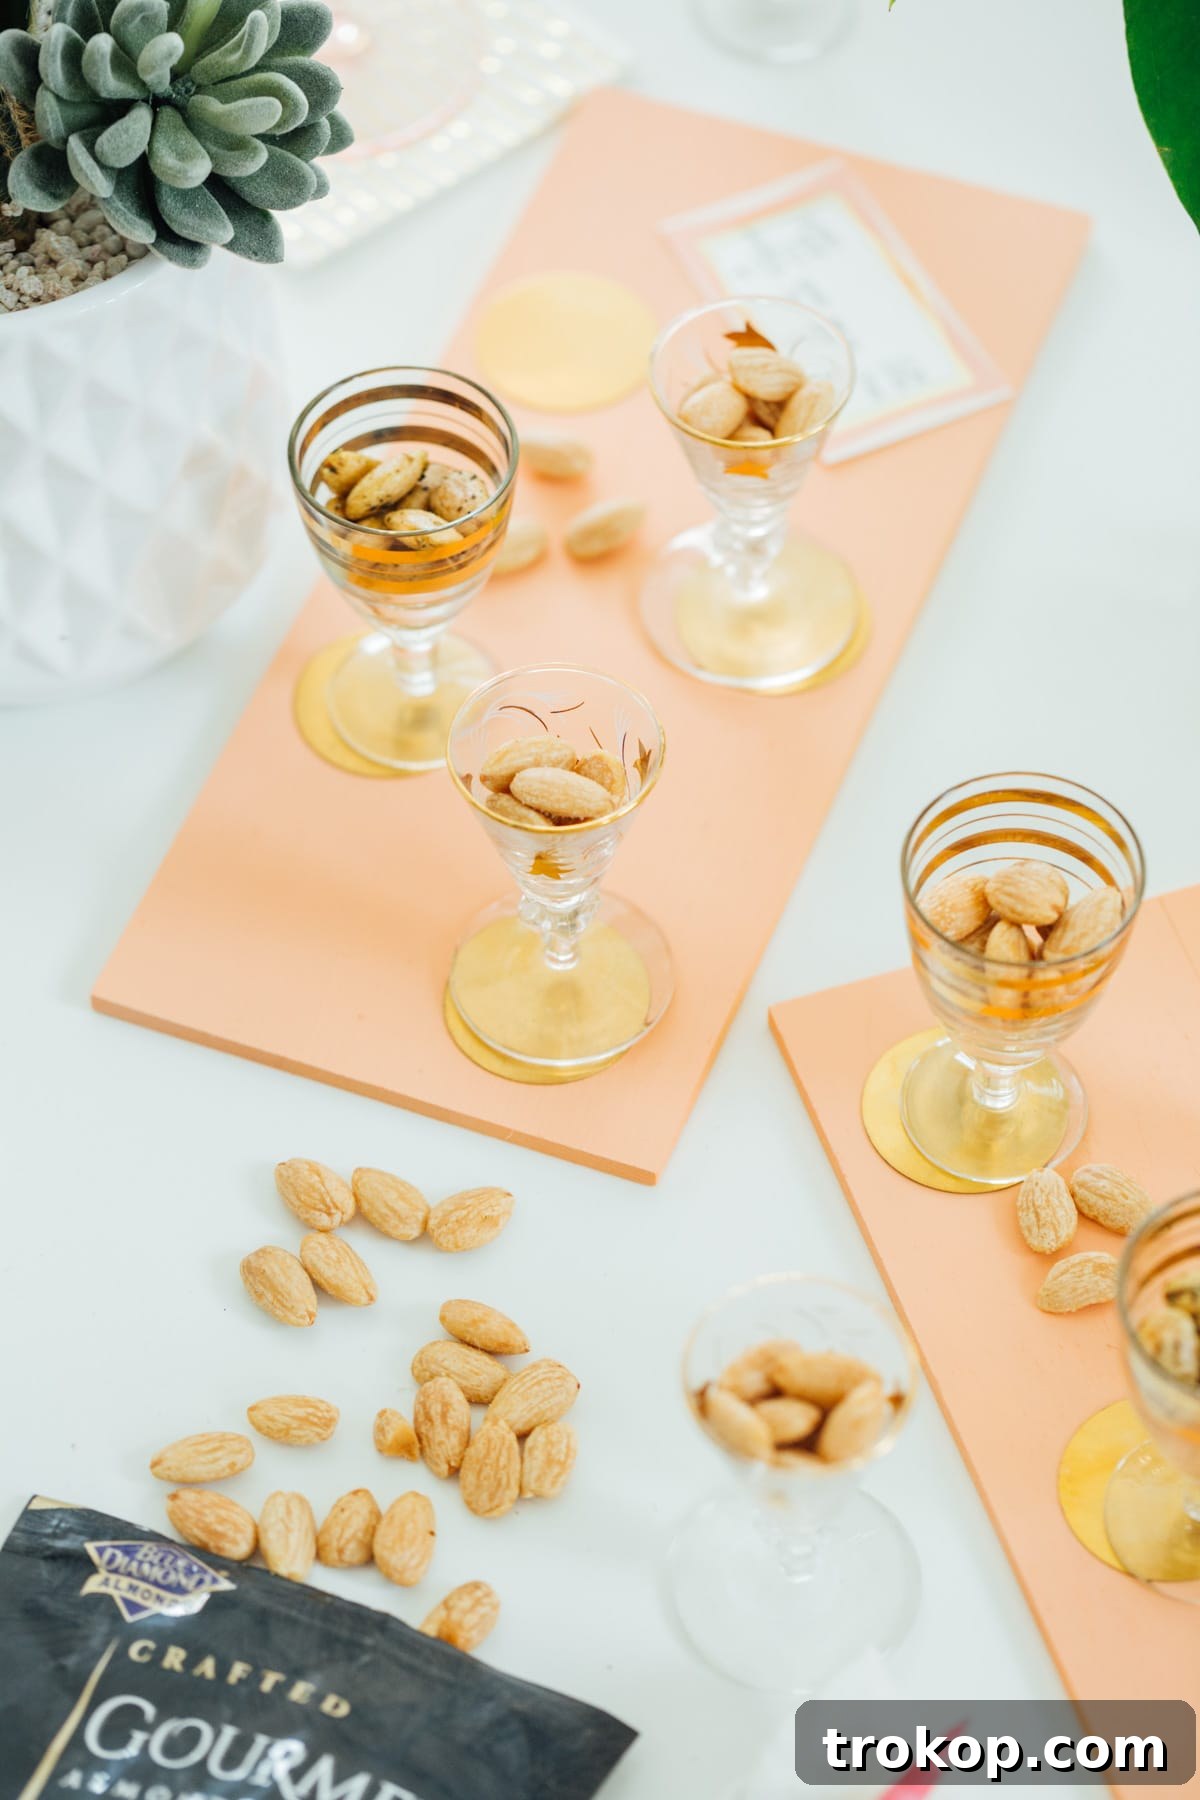
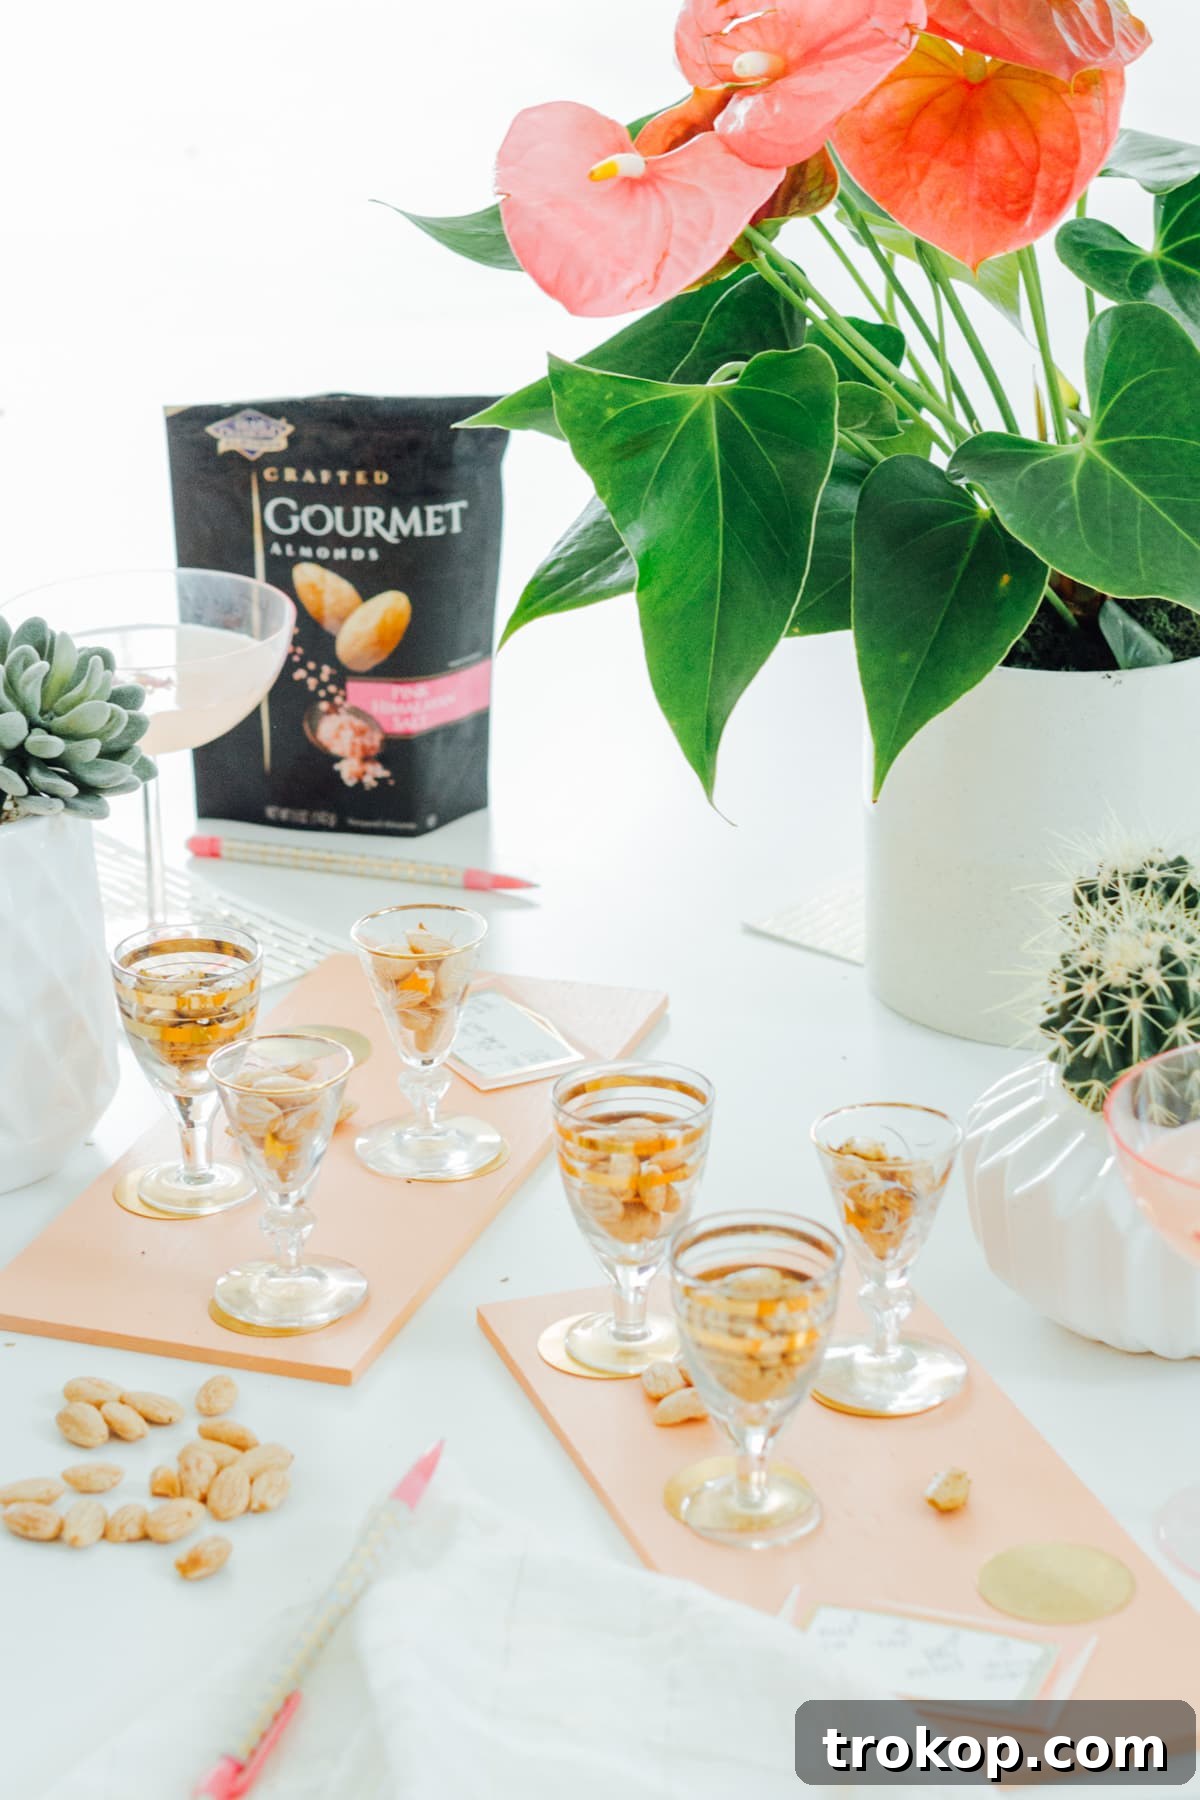
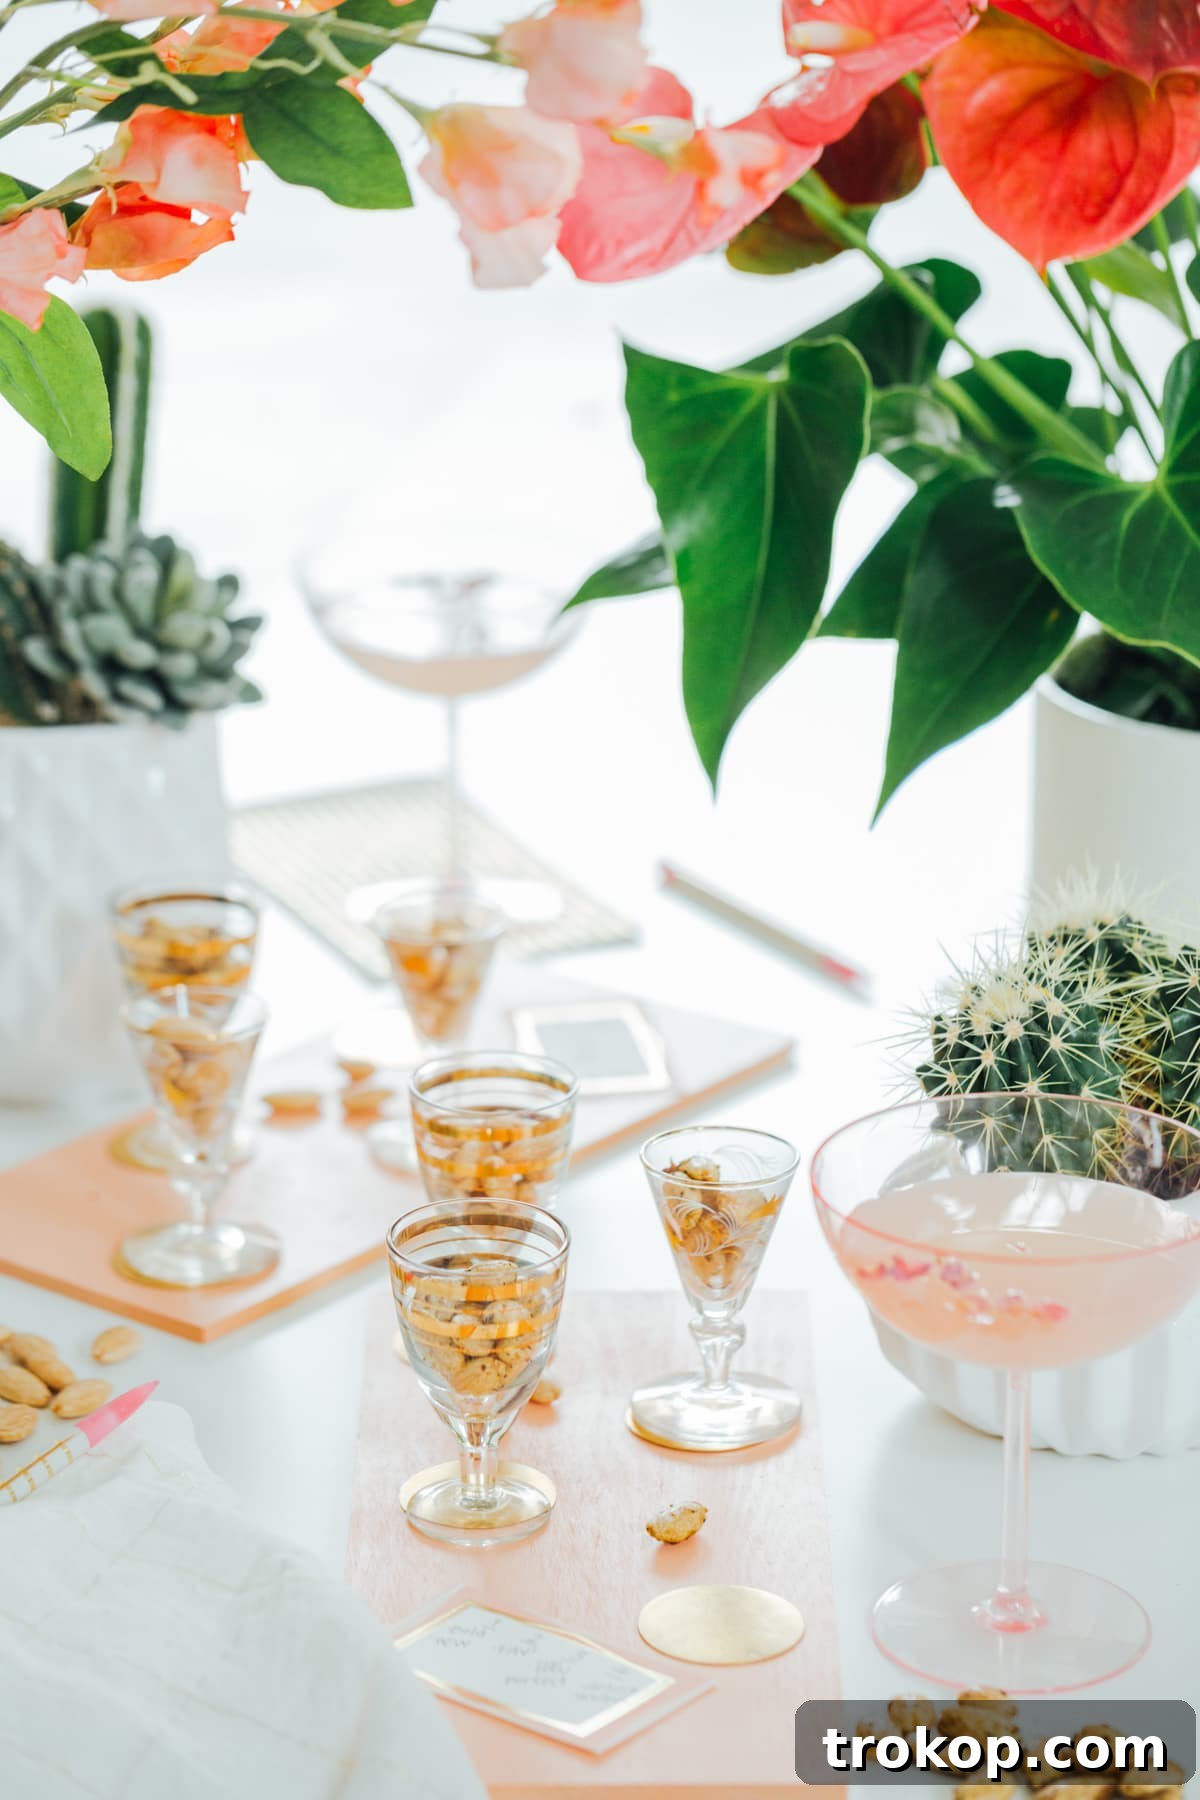
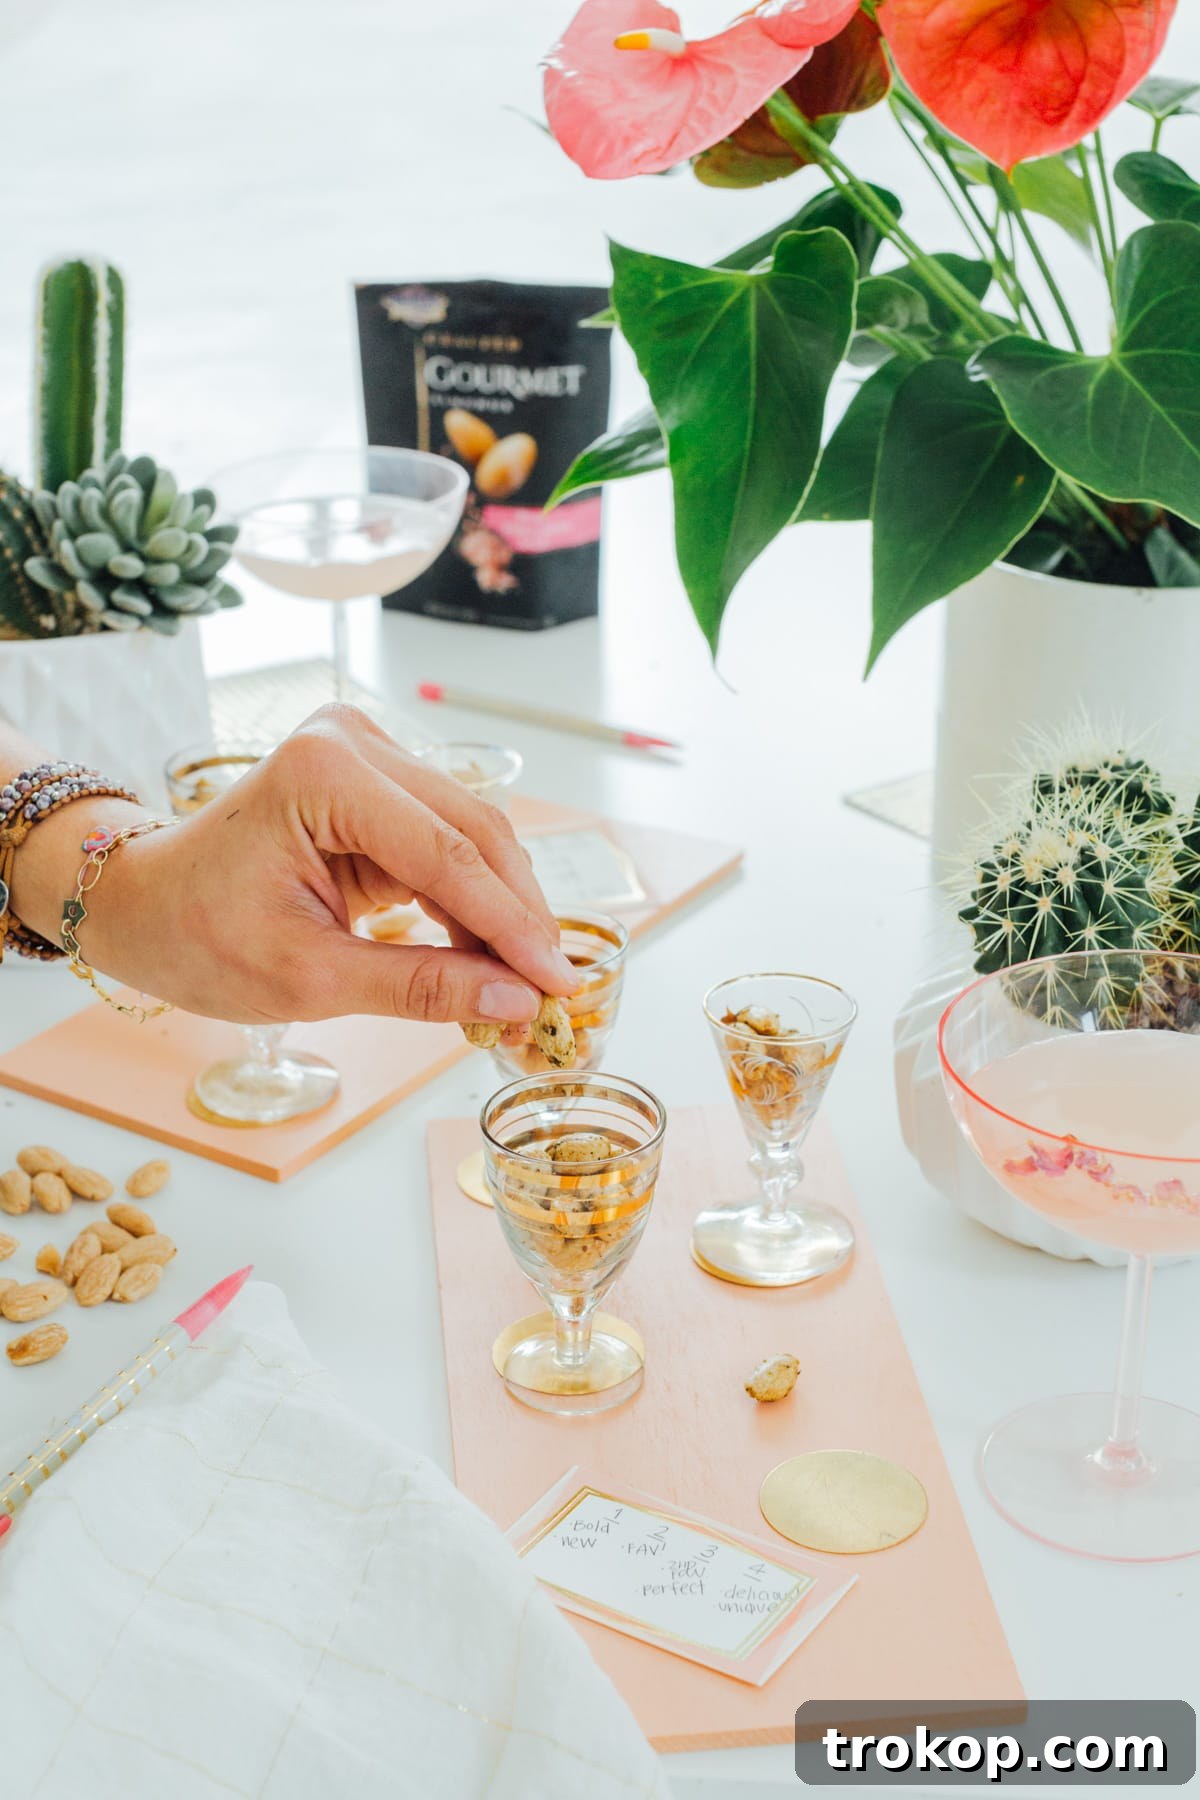
For our demonstration, we’ve utilized four gleaming gold discs on each board, strategically placed to elegantly mark and hold individual servings of our favorite Blue Diamond Crafted Gourmet Almond flavors. We’re talking about a curated selection designed to tantalize the palate: the subtle tang of Pink Himalayan Salt, the aromatic depth of Rosemary and Sea Salt, the earthy richness of Black Truffle, and the savory complexity of Garlic Herb & Olive Oil. Each flavor offers a distinct journey for your taste buds, making them perfect candidates for a gourmet tasting experience.

Why Craft Your Own Tasting Boards?
Unmatched Versatility for Any Occasion
The beauty of these DIY boards lies in their incredible adaptability. While we’re showcasing them with gourmet almonds, think beyond the nut. These boards can artfully present a flight of mini cupcakes, an assortment of artisanal cheeses with accompanying fruits, a selection of unique olive oils, or even a variety of savory dips. They are perfect for holiday gatherings, casual brunch parties, sophisticated dinner events, or even a cozy date night at home. Their simple elegance means they blend seamlessly with any decor or theme.
Personalized Style that Reflects You
Unlike mass-produced servingware, DIY allows for complete personalization. You choose the wood finish, the exact shade of metallic accent, and the overall aesthetic. This means your tasting boards can perfectly complement your home décor, match a specific party theme, or simply reflect your unique style. It’s an opportunity to inject a personal touch into your entertaining efforts, making every presentation feel thoughtfully curated and special.
A Rewarding and Cost-Effective Project
Crafting these boards yourself is not only a fun and engaging project, but it can also be significantly more cost-effective than purchasing similar high-end serving platters. With readily available materials, you can achieve a luxurious look without breaking the bank. The satisfaction of creating something beautiful and functional with your own hands is an added bonus, making your entertaining efforts even more rewarding.
The Allure of Blue Diamond Crafted Gourmet Almonds
Blue Diamond has truly elevated the humble almond into a gourmet experience with their Crafted Gourmet line. These almonds aren’t just snacks; they are an exploration of exquisite flavors, making them an ideal choice for a sophisticated tasting flight. Each almond is meticulously seasoned to perfection, offering a premium texture and taste that stands out.
- Pink Himalayan Salt: A classic refined with the delicate, mineral-rich notes of Himalayan salt, offering a clean, satisfying crunch and a perfect balance of savory goodness.
- Rosemary and Sea Salt: An aromatic delight, this flavor combines the earthy, piney notes of fresh rosemary with coarse sea salt, creating a Mediterranean-inspired indulgence that’s both invigorating and comforting.
- Black Truffle: For the adventurous palate, the Black Truffle almonds boast an intense, complex, and luxurious earthy aroma and flavor, transforming a simple nut into an opulent treat.
- Garlic Herb & Olive Oil: A savory masterpiece, this blend brings together the robust warmth of garlic with a medley of aromatic herbs and the smooth richness of olive oil, evoking the essence of Italian culinary traditions.
Presenting these distinct flavors in a flight allows guests to truly appreciate the craftsmanship and unique profiles of each, encouraging conversation and discovery.
Crafting Your Elegant Tasting Flight Boards: A Step-by-Step Guide
Materials You’ll Need:
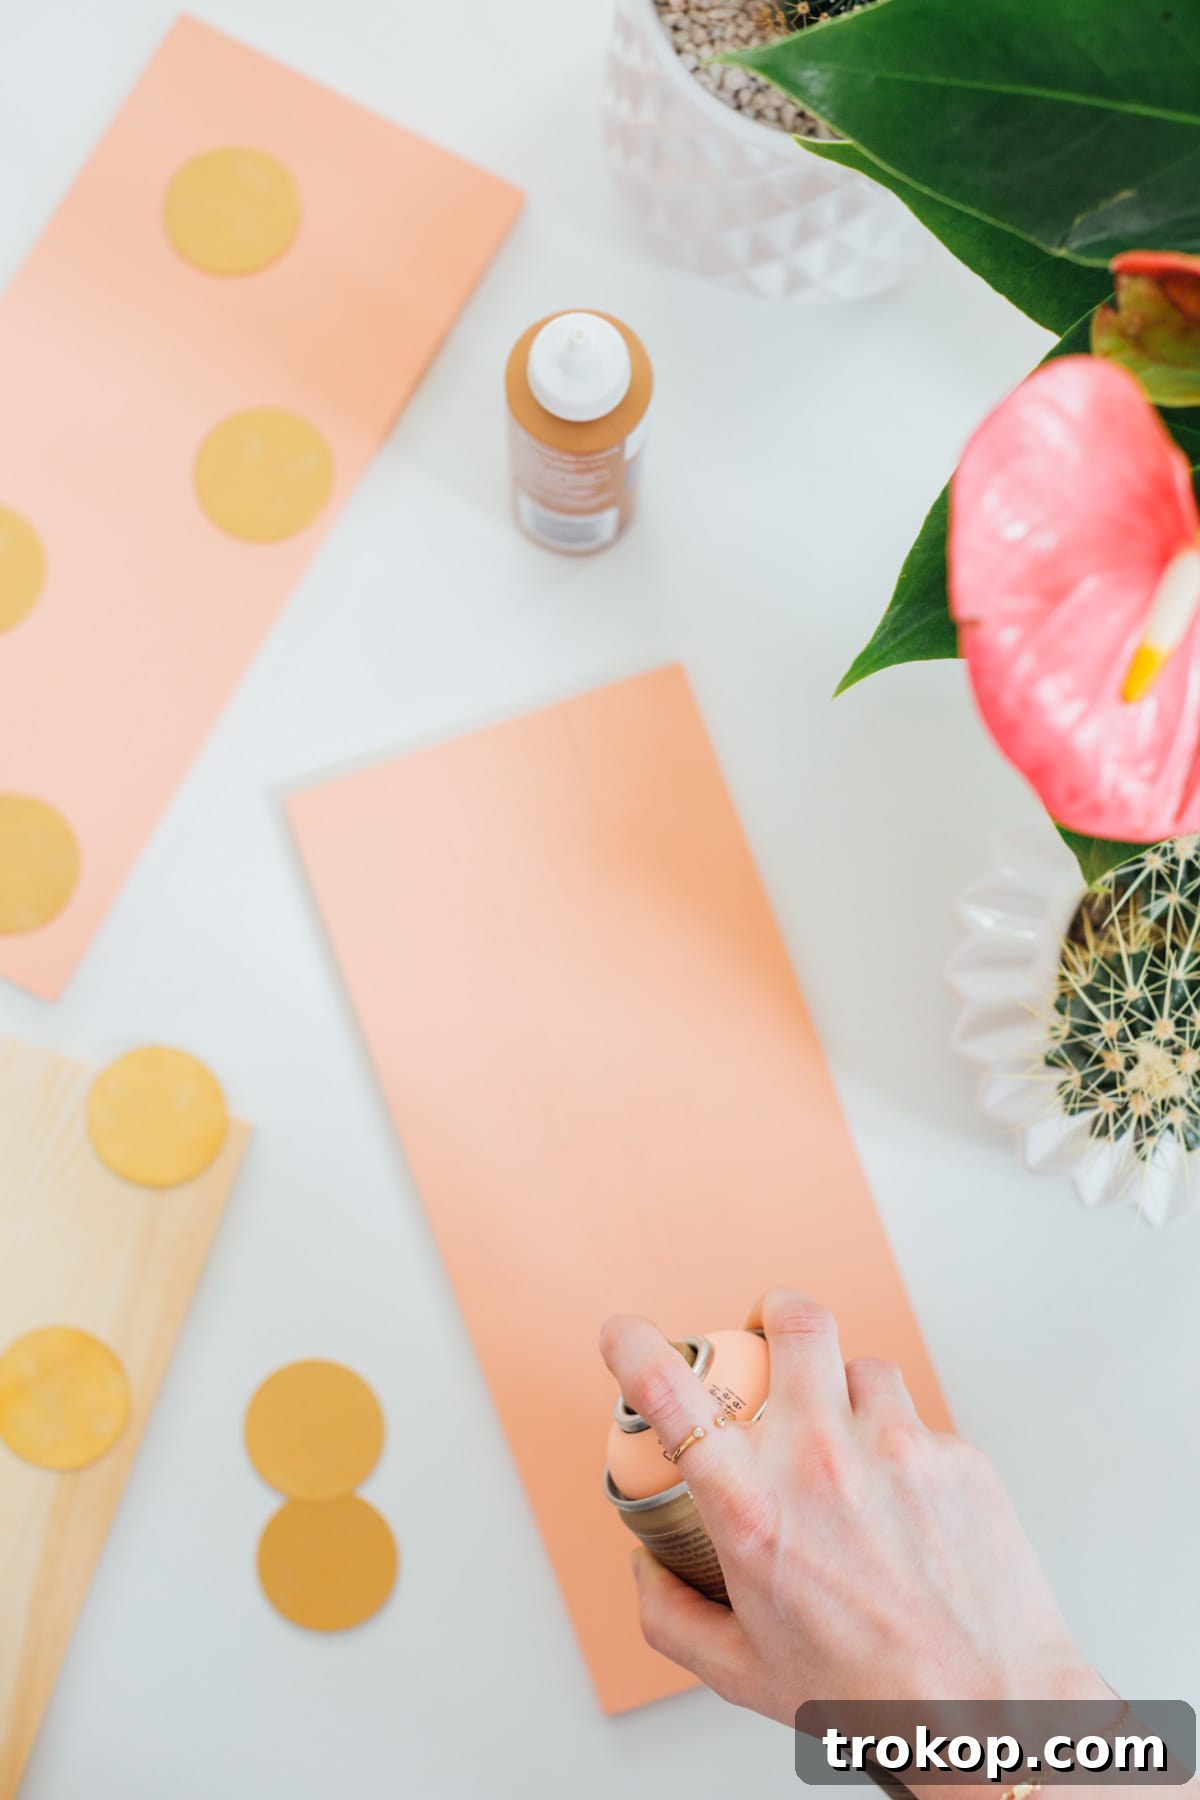
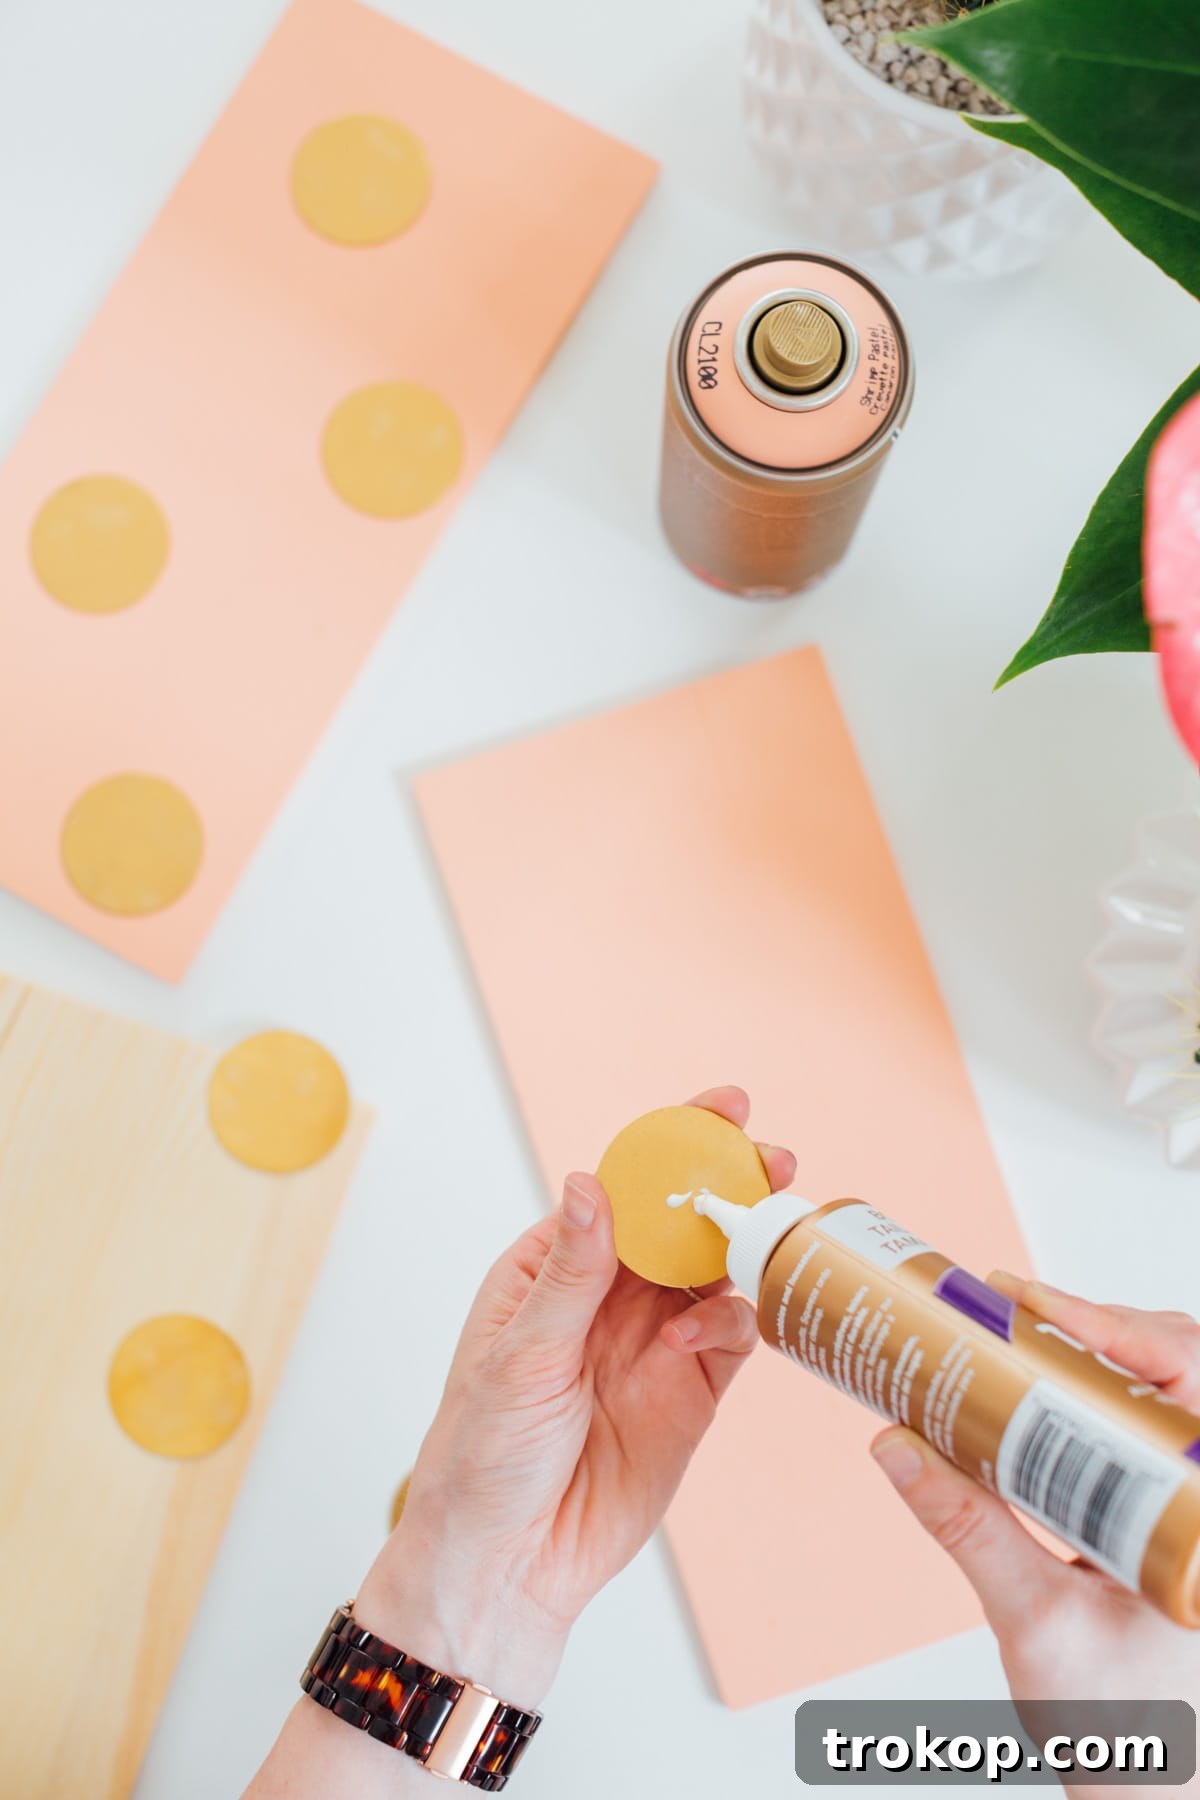
- Brass Disks (or similar metallic discs)
- Spray Paint (in your desired color for the boards, e.g., gold, black, natural wood stain)
- Craft Glue (strong adhesive suitable for wood and metal)
- Utility Boards (choose appropriate size and wood type)
- Clear Shellac Spray Paint (essential food-safe sealer)
- Optional: Fine-grit sandpaper, tack cloth, mini flutes, egg holders, shot glasses, or small ramekins for serving, tasting cards.
Detailed Instructions:
1 – Prepare and Paint/Stain the Wood Boards:
Begin by ensuring your utility boards are clean and smooth. If necessary, lightly sand them with fine-grit sandpaper (around 220-grit) to remove any imperfections and create a surface that will readily accept paint or stain. Wipe away any dust with a tack cloth. Next, apply your chosen spray paint or wood stain. If using spray paint, apply several thin, even coats, allowing each coat to dry completely according to the manufacturer’s instructions before applying the next. This prevents drips and ensures a smooth, professional finish. If staining, follow the product instructions for application and wiping off excess. Consider the overall aesthetic you’re aiming for – a rich dark stain for a rustic look, a vibrant color for a modern touch, or a metallic finish for added glam.
2 – Seal with Food-Safe Clear Shellac:
This step is crucial for both durability and food safety. Once your paint or stain has fully cured (allow ample time, perhaps 24-48 hours depending on the product), apply the clear shellac spray paint. Shellac is a natural resin that provides an excellent protective barrier and, when specifically labeled as food-safe, ensures your boards can come into direct contact with food without any concerns. Apply two to three light, even coats, allowing sufficient drying time between each. This will lock in your chosen color, protect the wood from moisture and wear, and provide a smooth, wipeable surface for easy cleaning.
3 – Adhere the Brass Disks:
Carefully plan the placement of your brass disks. For an almond tasting flight, four disks are ideal, spaced evenly to accommodate individual serving vessels. Use a ruler or measuring tape to ensure symmetry. Apply a generous amount of strong craft glue to the back of each brass disk and firmly press it into your desired position on the board. Hold each disk in place for a few seconds to ensure good initial adhesion. Allow the glue to cure completely, ideally overnight, to ensure the disks are securely attached and won’t shift when in use.
4 – Choose Your Presentation Vessels:
This is where you can truly let your creativity shine and give your flight boards character! While mini flutes are classic for drinks, consider other charming options for food. Small egg holders, shot glasses, tiny ramekins, or even miniature ceramic bowls work wonderfully for displaying almonds or other small bites. The key is to select vessels that fit neatly within or on the brass markers and complement the overall aesthetic of your board. Clear glass allows the food to be the star, while colored ceramics can add an extra pop of design.
5 – Incorporate Tasting Cards for an Enhanced Experience:
To elevate your tasting flight beyond a simple display, include small tasting cards. These can be handwritten or neatly printed, providing a space for guests to note the flavor of each almond (e.g., Pink Himalayan Salt) and even rate their favorites or jot down their tasting notes. This not only adds a professional touch but also encourages interaction and discussion among your guests, making the experience more engaging and memorable. You can also include brief descriptions of the flavor profiles or suggested pairings on these cards.
Beyond Almonds: Endless Possibilities for Your Flight Boards
Once you’ve mastered the art of creating these beautiful boards, you’ll find countless ways to use them beyond just almond tastings. Here are a few ideas to spark your imagination:
- Cheese & Charcuterie Bites: Arrange small cubes of different cheeses, mini salami slices, and complementary fruits like grapes or berries.
- Dessert Flights: Showcase mini cheesecakes, chocolate truffles, small fruit tarts, or different flavored mousses.
- Dip Samplers: Present a variety of hummus, guacamole, spinach dip, or salsa with accompanying dippers.
- Olive & Appetizer Medley: Curate a selection of marinated olives, pickled vegetables, or small savory pastry bites.
- Breakfast or Brunch Spreads: Offer small portions of different jams, honeys, or flavored yogurts with fresh fruit.
- Global Snack Exploration: Gather an assortment of snacks from different countries for a worldly tasting experience.
These boards are not just for formal tastings; they also serve as stylish serving trays for individual appetizers, side dishes, or even a chic way to organize condiments at a buffet.
Tips for Hosting a Memorable Tasting Event
To truly make your tasting flight experience exceptional, consider these additional tips:
- Set the Ambiance: Soft lighting, background music, and a clean, inviting space will enhance the overall mood.
- Provide Palate Cleansers: Offer plain crackers, water, or sparkling water between tastings to refresh the palate.
- Consider Drink Pairings: Suggest a complementary wine, craft beer, or non-alcoholic beverage that pairs well with the flavors you’re serving.
- Encourage Interaction: Prompt guests with questions like, “Which flavor surprised you the most?” or “What notes do you detect?”
- Label Everything Clearly: Even with tasting cards, clear labels on the vessels themselves can be helpful.
- Mind Portion Sizes: Offer small, manageable portions that allow for sampling without overfilling guests.
- Be Mindful of Allergies: Always be aware of potential allergens, especially with nuts, and inform your guests.
These DIY tasting flight boards are a perfect blend of classy sophistication and delightful creativity. Don’t you agree they add a unique touch to any gathering? We’d love to hear: what’s your favorite imaginative way to present tasting experiences?
A special thank you to Blue Diamond Almonds for partnering with us on this delightful post! As part of our commitment to making a positive impact, Sugar & Cloth has chosen to donate 5% of all sponsored campaigns to charity. You can read more about our initiative right here.