
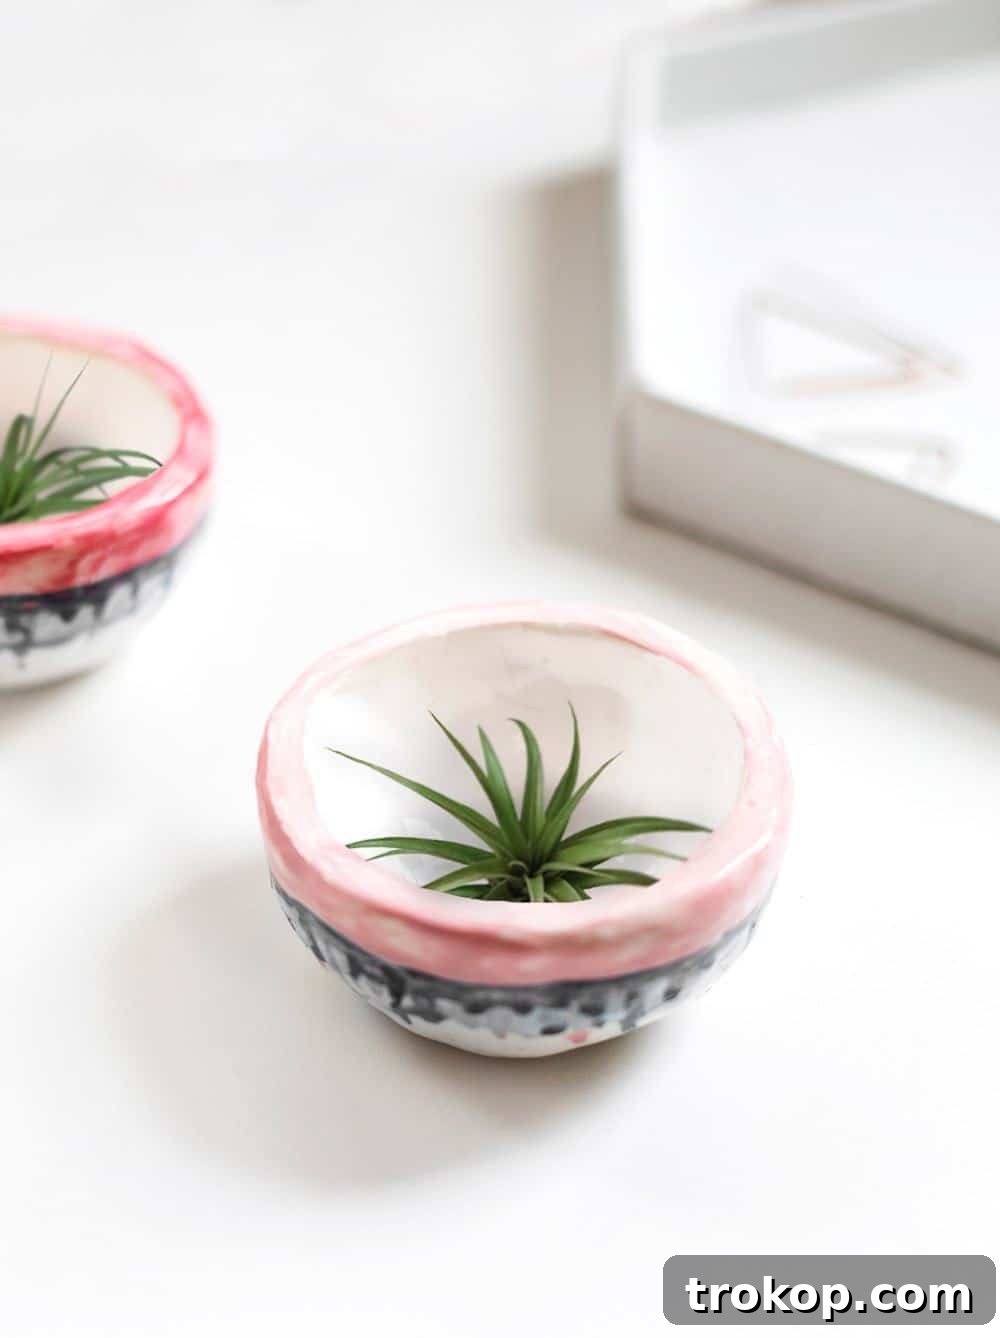
Transform your living space with a touch of handmade charm! Discover how to create these absolutely adorable Mini DIY Plant Pots, specifically designed to showcase your beloved air plants. They are incredibly simple to craft, yet boast a sophisticated, kiln-fired look that will impress everyone – no fancy equipment needed!
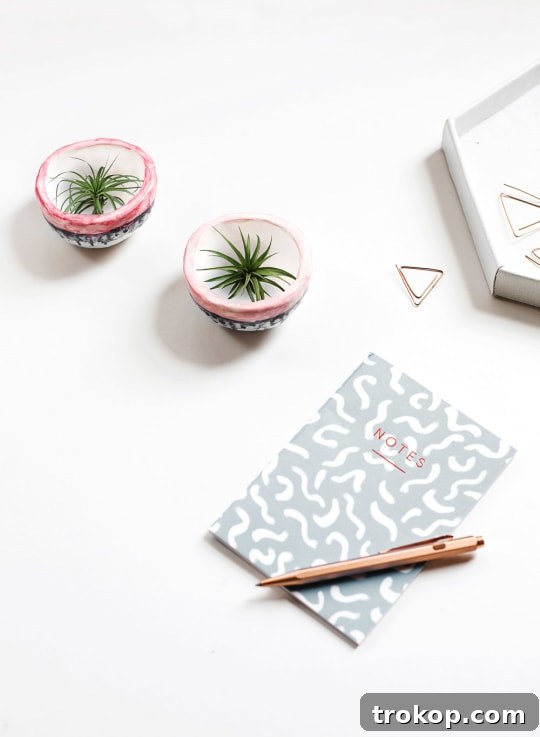
There’s nothing quite like introducing vibrant greenery to a home to instantly uplift and invigorate the atmosphere. These mini DIY plant pots are the perfect vessels for adding those refreshing pops of natural beauty. Plants possess an incredible ability to breathe life into any room, making it feel more alive and welcoming.
However, let’s be honest: not everyone is blessed with a green thumb. I, Teri, am a self-confessed plant killer, and despite my best efforts, I’ve sadly bid farewell to many a leafy friend. My struggles often stem from a combination of chronic forgetfulness and an enduring uncertainty about proper soil and watering techniques. It’s a common dilemma for many aspiring plant parents!
My luck took a delightful turn recently when I ventured into the world of air plants. To my joyous surprise, I’ve had significantly more success with these intriguing specimens than with my previous, often-disastrous attempts at plant care. The simplicity of a weekly water bath somehow feels much more manageable than navigating the complexities of soil moisture levels and drainage holes.
Beyond their low maintenance, I absolutely adore how effortlessly air plants can be displayed. As my collection steadily grows, I realized a pressing need: beautiful, bespoke homes for these charming pieces of greenery. And thus, the inspiration for these unique planters was born!
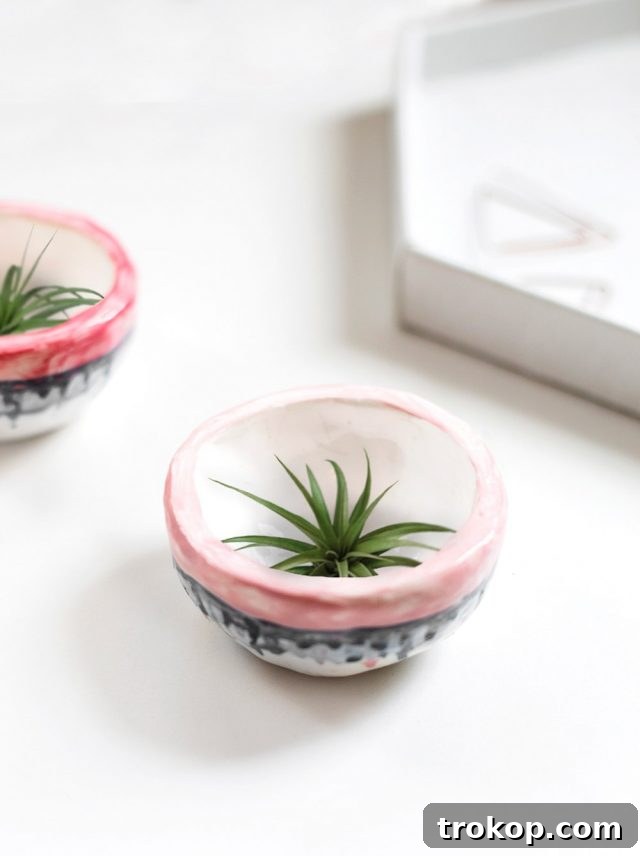
These clay pinch pot planters are not only remarkably easy to craft, but their painted drip effect and glossy glaze lend them an artisanal quality. They truly look as though they’ve just emerged from a high-temperature kiln, despite the fact that you won’t need one at all to achieve this stunning finish. This project is a fantastic way to create decorative pieces that elevate your home decor without requiring specialized tools or advanced crafting skills.
They are guaranteed to make your air plants look even more captivating and stylish. What’s even better? This project embraces artistic freedom! Forget the pressure of painting perfectly within the lines; this is your chance to get a little wonderfully messy with your paintwork and enjoy the creative process. Many of you are likely breathing a collective sigh of relief at that thought!
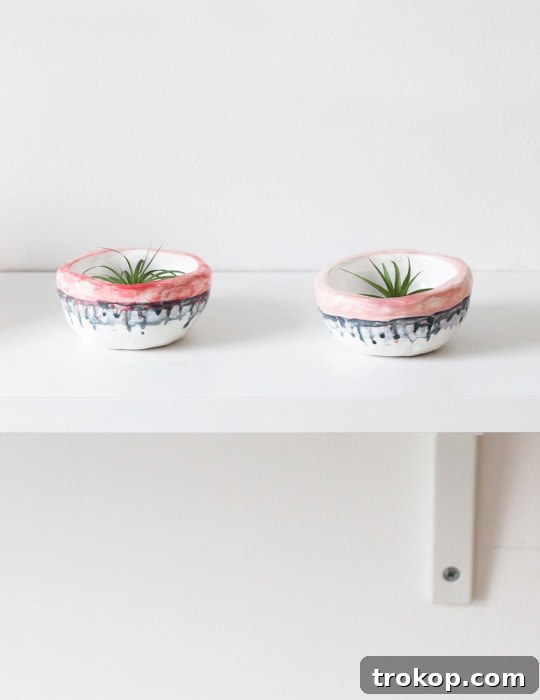
Table of Contents
Materials Needed to Make Mini DIY Plant Pots
Gathering your supplies is the first exciting step in any DIY project. For these charming mini plant pots, you’ll need just a few readily available items:
- 56g block and a half of soft polymer clay: Approximately 56 grams (or two ounces) of polymer clay is perfect for creating one mini pot. The beauty of polymer clay is its workability and the ability to harden in a conventional oven.
- Scalpel or craft knife: Essential for precisely cutting your clay sections.
- Porcelain paint colors of your choice: Select a palette that complements your home decor or expresses your personal style. These paints are designed to be durable and vibrant.
- Clear glaze: A crucial step for achieving that professional, shiny, and protective finish that makes your pots look like they’ve been professionally fired.
- Assorted paintbrushes: A variety of sizes will allow for both broad strokes and detailed drips.
- Pot of water: For thinning paints and cleaning brushes.
- Oven tray: To safely bake your polymer clay creations.
How to Make Mini DIY Plant Pots
Let’s dive into the creative process! These steps are designed to be straightforward and enjoyable, even for beginner crafters.
1. Prepare Your Oven
Begin by preheating your oven to the specific temperature indicated on the back of your polymer clay packaging. Adhering to these instructions is key for proper curing and durability.
2. Section the Clay
Carefully cut your polymer clay into manageable sections using your scalpel or knife. This makes the initial conditioning much easier.
3. Condition and Shape the Clay Ball
Combine the cut sections and roll them together into a smooth, compact ball. Continue rolling and working the clay between your palms until any visible joins disappear and you achieve a perfectly smooth, uniform sphere. Proper conditioning makes the clay pliable and prevents cracks during shaping.
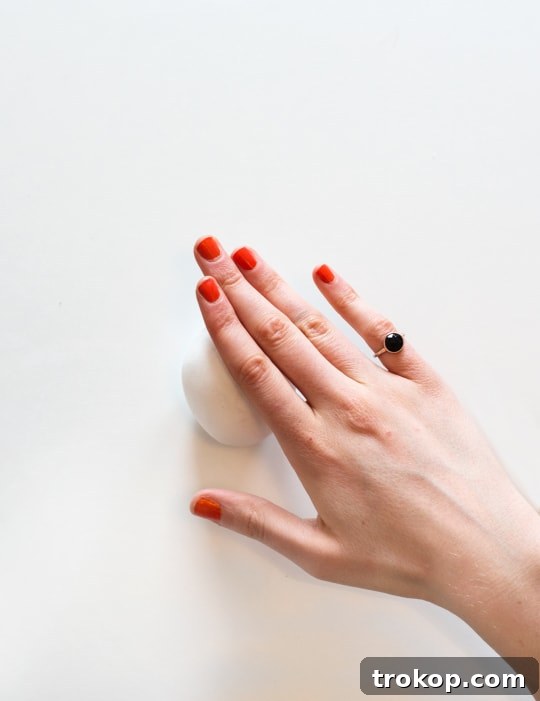
4. Form the Pinch Pot
Now comes the classic “pinch pot” technique! Use your thumb to gently push a depression into the center of the clay ball. Continue to work your thumb on the inside, steadily pushing outwards to raise the sides of the pot. Simultaneously, use your fingers on the outside to shape and refine the form. Aim to hollow out the middle smoothly, creating an even wall thickness throughout.
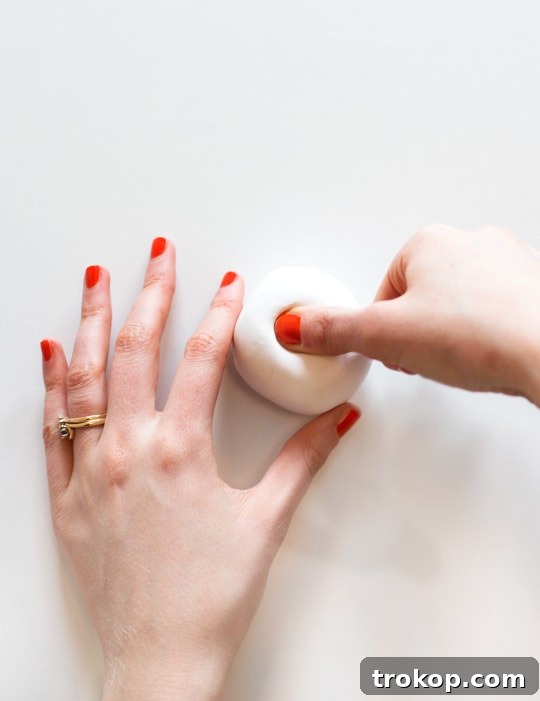
For a neat, flat lip at the top of your pot, gently turn the pot upside down and press it lightly onto a smooth, flat surface. This will create a crisp, even rim.
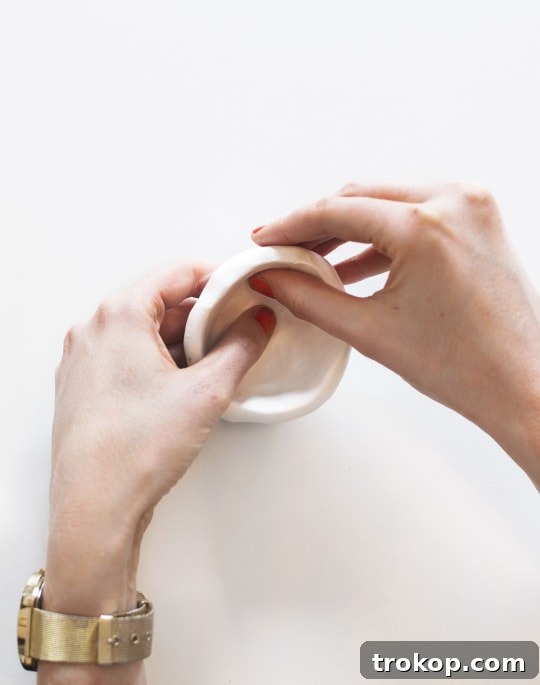
5. Bake and Cool
Place your newly shaped pot onto a baking tray lined with parchment paper. Bake it in your preheated oven for the duration recommended on your polymer clay package. Once baking is complete, remove the tray and allow the pot to cool down completely. It’s important to let it cool before handling extensively to avoid damage.
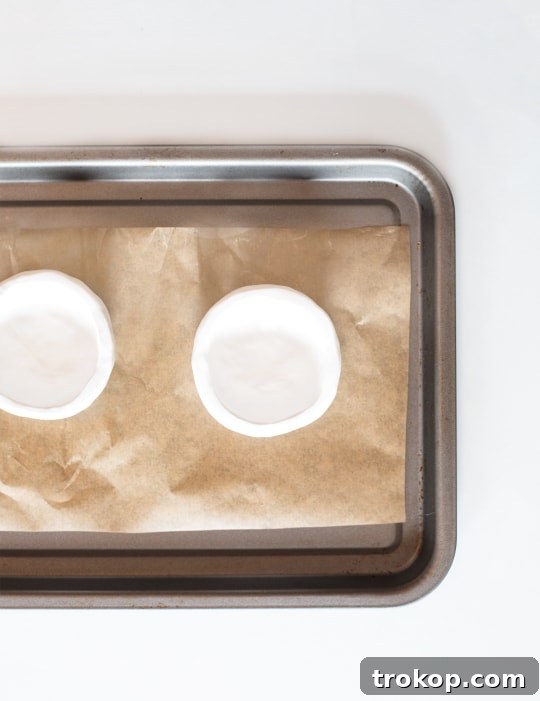
6. Apply the Clear Glaze
Using one of your paintbrushes, carefully apply an even coat of clear glaze over the entire pot. A good technique is to start with the pot upturned to cover the bottom and sides, allowing it to dry slightly, then flip it over to cover the lips and inside. This glaze will provide a protective layer and a beautiful, professional sheen. Ensure this layer dries fully before proceeding.
Painting Your Pinch Pot
Now for the fun part – bringing your pot to life with color and that signature drip effect!
7. Prepare Your First Paint Layer
Mix your chosen porcelain paint colors. Select your base layer color first. For a beautiful washed effect, as seen in the examples, you can dilute your paint with a small amount of water. This creates a translucent, artistic finish.
8. Create the Base Color Block
Using your paintbrush, apply the diluted base color around the entire circumference of the pot, extending it over the top lip. This creates a foundational band of color.
9. Achieve the Drip Effect
With a little more water on your paintbrush, gently touch various points along the bottom edge of your painted color block. This encourages the paint to naturally drip downwards, creating organic, flowing lines. If the color appears too subtle, simply add a bit more undiluted paint directly into the drips to intensify the hue. Let this layer dry completely.
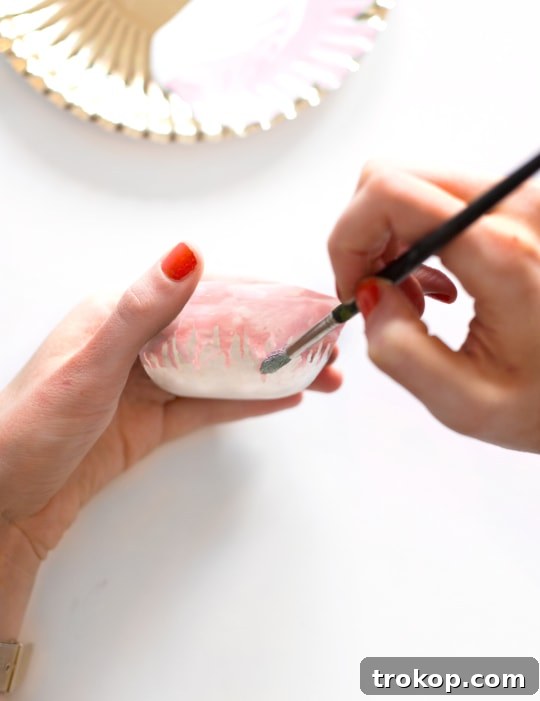
10. Add the Second Color Layer
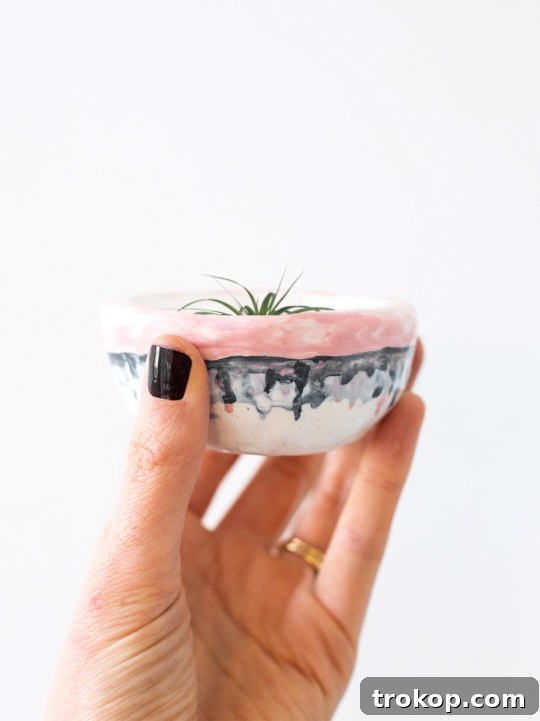
Choose a second color (for instance, a pale grey, as demonstrated). Repeat the drip technique slightly lower down on the pot, ensuring it just overlaps the first color. This creates a beautiful, layered band of dripped color. Crucially, do not allow this second layer to dry fully before moving to the next step.
11. Introduce a Darker Line
While the second layer is still slightly wet, use a darker color (like black) to paint a thin line precisely where the two underlying colors meet. This adds definition and visual interest.
12. Create the Final Tonal Wash Drips
Immediately, add some paint and water to your brush and repeat the drip effect, starting from this darker line. As this new color mixes with the still-wet second paint color, it will create a stunning tonal wash, subtly revealing hints of the first color beneath. This layering and mixing create a sophisticated, textured look.
13. Set the Paint
Finally, bake your painted pot in the oven to properly set the porcelain paint. Always refer to the specific time and temperature instructions provided on your porcelain paint packaging for optimal results.
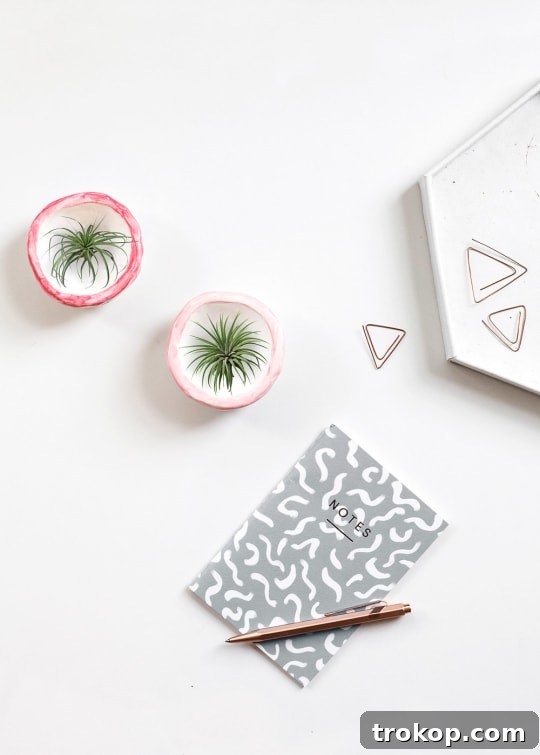
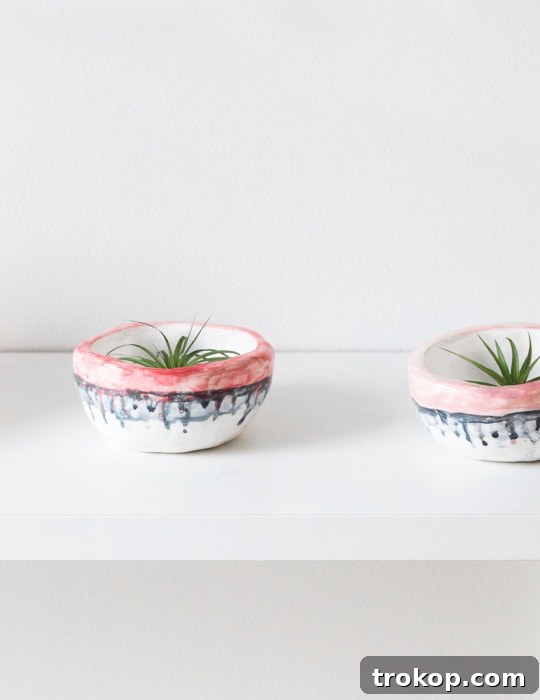
And just like that, you’ve created a beautiful, unique new home for your cherished air plants!
Creative Painting & Display Tips
Don’t be afraid to experiment with your designs! If you find yourself unhappy with your painting while it’s still wet, especially over the clear glaze, you can usually wipe the paint right off with a damp cloth before it dries. This offers a forgiving canvas for creativity.
Consider playing around with various color combinations, perhaps even attempting a stunning dripped ombre effect by gradually blending shades. The possibilities are truly endless!
Once your beautiful mini plant pots are complete, find them prominent spots throughout your home. They look fantastic arranged in clusters on a window sill, nestled among books on shelves, brightening up your desk, or adding a touch of elegance to a coffee table. Just remember to place them in a spot that receives plenty of natural light, as air plants, despite their resilience, still thrive in well-lit environments. Even I, a self-proclaimed plant killer, have mastered that crucial detail!
Essential Polymer Clay Working Tips
Polymer clay is an incredibly versatile medium, perfect for a vast array of DIY projects beyond just plant pots. You can craft anything from elegant easy sculptures for decor and chic marbled incense holders to personalized speckled DIY keychains, and so much more. To ensure your projects turn out beautifully, here are some invaluable tips for preparing and working with polymer clay:
- Cleanliness is Key: Always start any clay project with clean hands and a pristine work surface. Polymer clay tends to pick up unwanted specks like dust or lint, which can be surprisingly difficult to remove once embedded in the clay.
- Work Light to Dark: To prevent accidental staining of lighter clay colors with residue from darker ones on your hands, it’s a good practice to work with light or white clay colors first before moving on to darker hues.
- Condition Your Clay: The wonderful characteristic of polymer clay is that it remains soft and workable until baked. However, it’s always essential to “condition” the clay before use. Knead it thoroughly until it becomes soft, smooth, and pliable. Conditioned clay is much easier to manipulate, shape, and prevents cracking during the sculpting process.
- Follow Baking Instructions Strictly: Never use a microwave oven for curing polymer clay, as it’s not designed for this purpose and can be hazardous. Always adhere precisely to the recommended bake temperatures and times specified on your polymer clay package. Over-baking can cause burning or brittleness, while under-baking will result in a soft, uncured product.
Other DIY Projects To Do With Polymer Clay
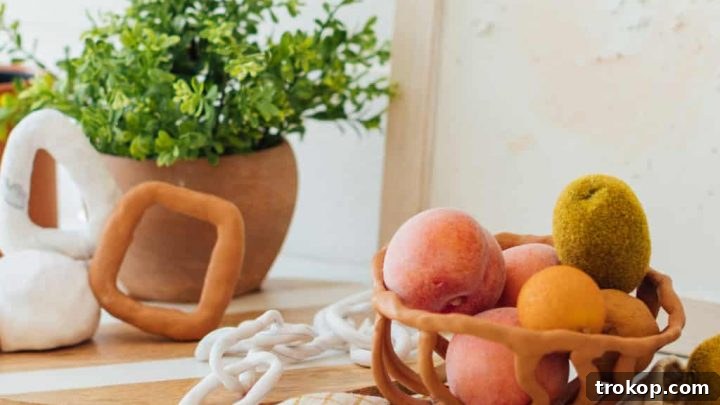
How To Make Easy Clay Sculptures For Decor
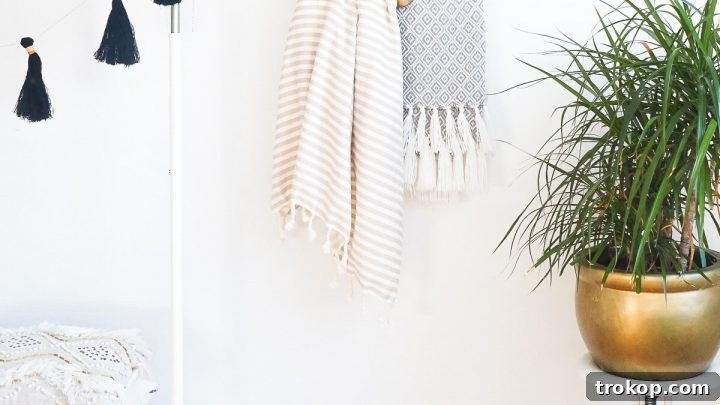
DIY Minimal Beaded Blanket Holder
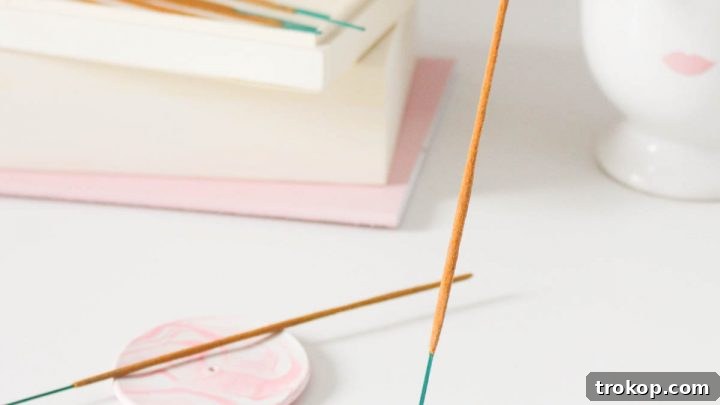
DIY Clay Rose Marbled Incense Holder
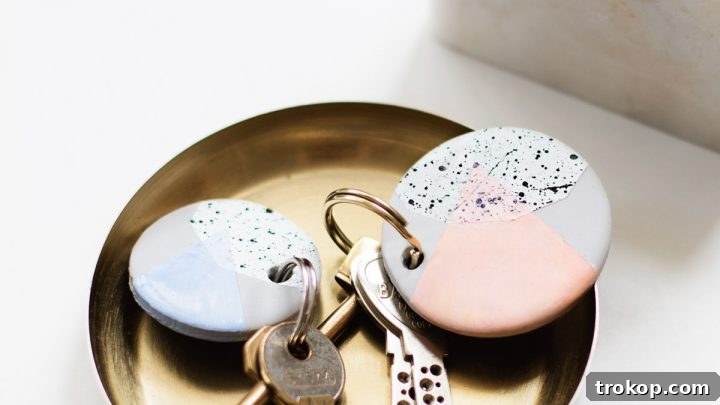
Speckled DIY Clay Keychain

Clay Photo Holder – How To Make Mini Mountain Photo Holders

DIY Clay Decanter
Creating these mini DIY plant pots is a rewarding and incredibly accessible craft project. Not only do they provide a stylish home for your easy-to-care-for air plants, but they also allow you to express your creativity with unique drip painting techniques. Embrace the joy of handmade decor and infuse your home with personalized charm and vibrant greenery. Happy crafting!