
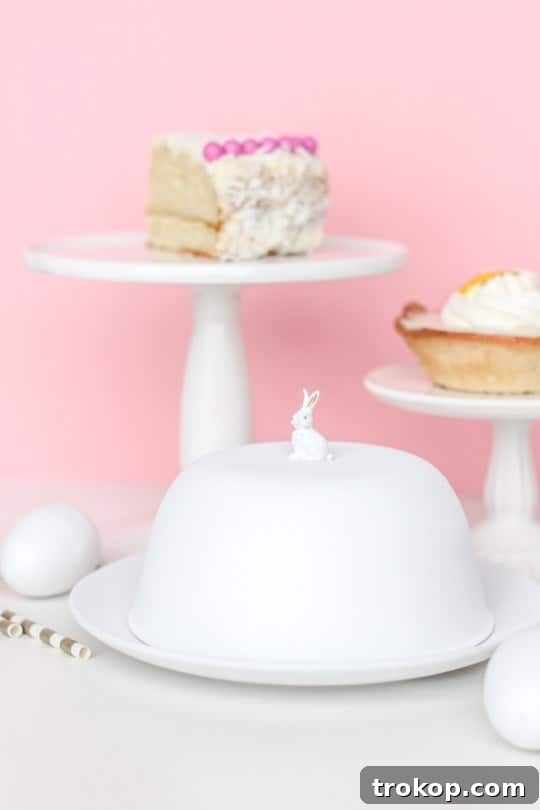
Are you searching for an elegant yet affordable way to display and preserve your freshly baked delights? Look no further! This DIY Figurine Cake Dome project offers a brilliant solution, transforming everyday household items into a charming and functional centerpiece. Imagine a beautifully adorned cake or an assortment of delicate pastries, perfectly preserved and presented under a custom-made dome that reflects your unique style.
This ingenious craft isn’t just about utility; it’s about adding a touch of personalized flair to your kitchen and dining experience. Whether you’re celebrating a special occasion, hosting a delightful brunch, or simply want to keep your cookies fresh, a homemade cake dome is an absolute game-changer. And the best part? You probably already have most of the materials lying around your home, making this project incredibly budget-friendly and accessible to everyone, regardless of their crafting expertise.
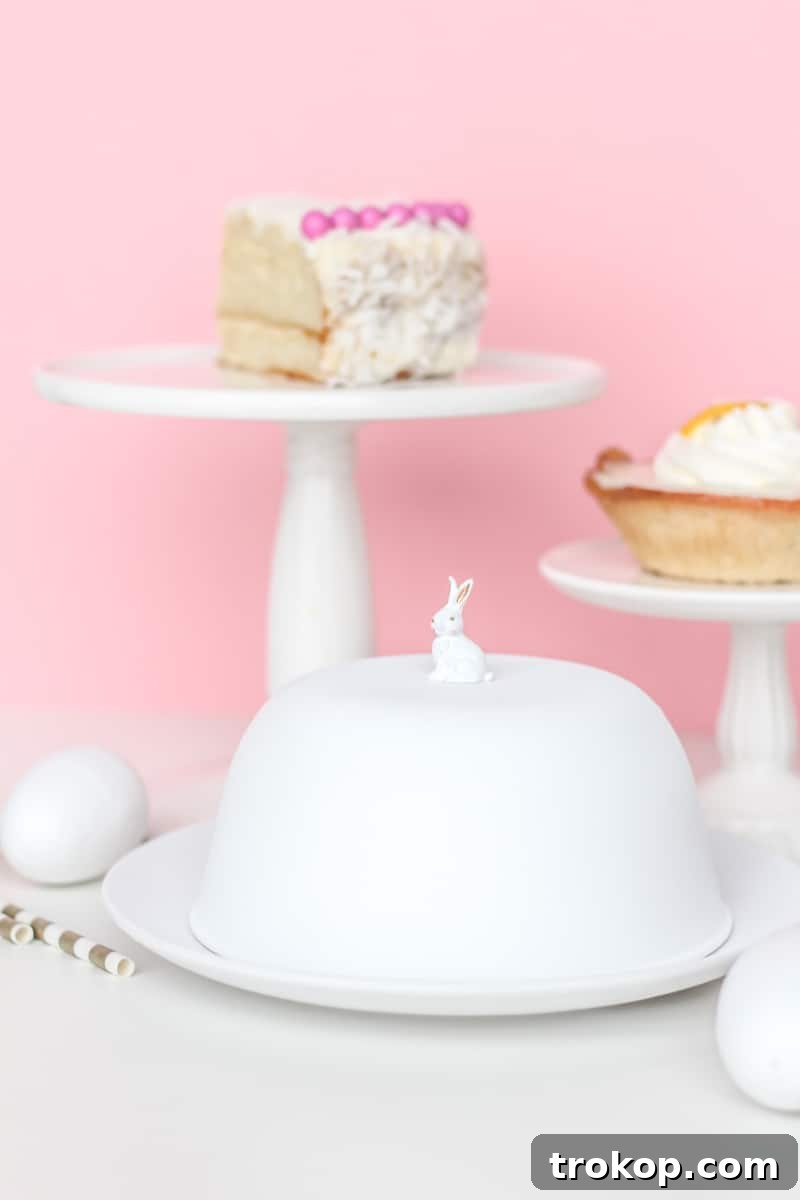
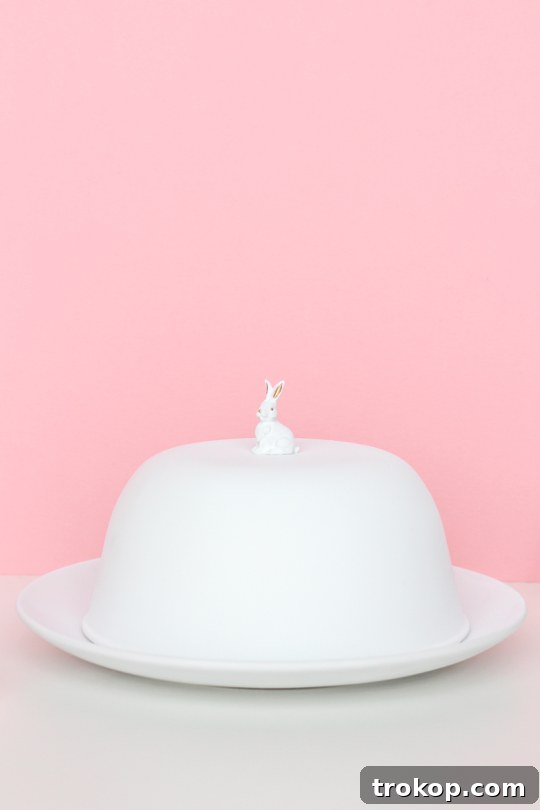
While this particular example showcases a sweet bunny theme, perfectly timed for Easter, the versatility of this DIY project knows no bounds. With a simple change of figurine and spray paint color, you can effortlessly adapt your cake dome to suit any season, holiday, or personal preference. Think festive reindeer for winter, vibrant flowers for spring, whimsical animals for a child’s birthday, or even a sleek geometric shape for a modern, minimalist aesthetic. It’s truly a year-round decor piece that adds sophistication to any dessert spread.
This project is more than just a DIY; it’s a clever hack that utilizes fundamental kitchen items – typically a regular house bowl, a sturdy dinner plate, and a small plastic figurine. A dash of spray paint brings it all together, creating a custom cake dome that looks far more expensive than its actual cost. It’s an easy, rewarding craft that elevates your dessert presentation and storage game.
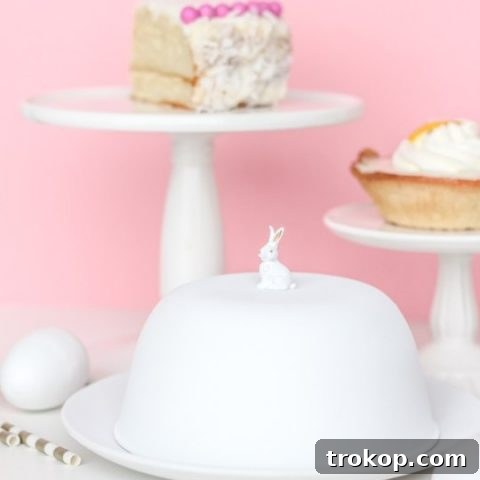
Imagine your freshly baked pie, a stack of gourmet cookies, or a meticulously decorated cake beautifully showcased under this unique dome. It’s not just for cakes! This charming display can also house artisanal cheeses, a selection of vibrant fruits, or even act as a decorative display for small trinkets. Furthermore, this DIY Figurine Cake Dome can be wonderfully paired with other DIY cake stand ideas for a super chic, cohesive, and highly functional serving ensemble. The possibilities for customization are endless, allowing you to create a piece that perfectly complements your home decor and personal style.
We absolutely love seeing your creative endeavors! So, once you’ve crafted your own unique cake dome, be sure to share your masterpieces with us. Get ready to impress your guests and keep your treats wonderfully fresh with this simple yet impactful DIY project. Here’s how to make your own stylish cake dome:
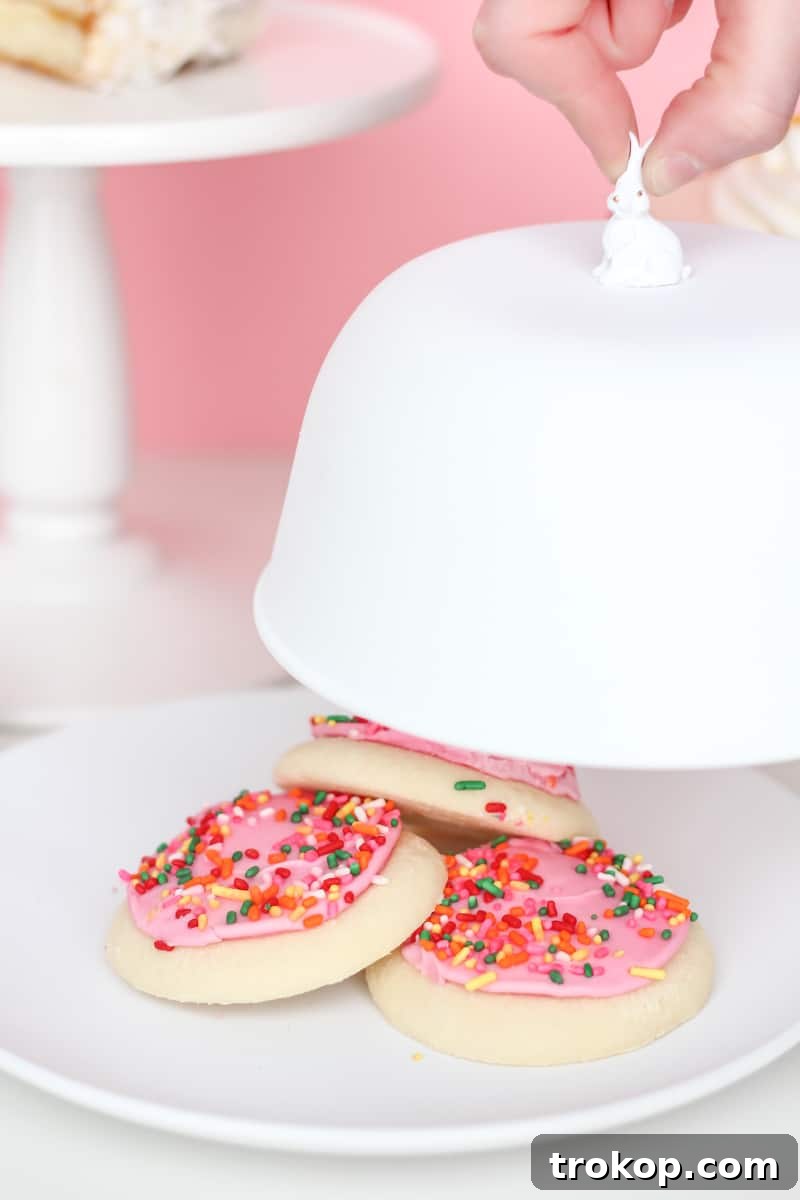
Table of Contents
Materials and Tools Needed to Make a DIY Figurine Cake Dome
Gathering your materials is the first exciting step in bringing your personalized cake dome to life. The beauty of this project lies in its simplicity and the use of readily available items. Here’s a detailed list of what you’ll need:
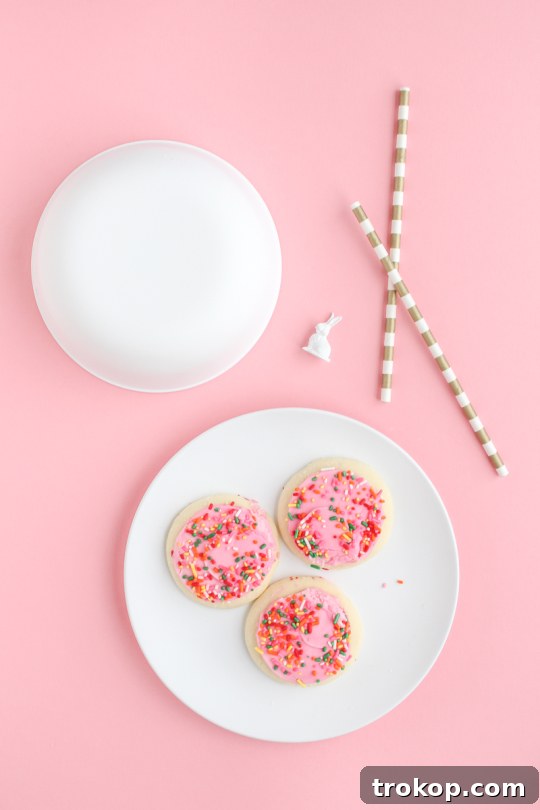
- Dinner Plate: Choose a sturdy dinner plate that will serve as the base for your cake dome. The size of the plate should accommodate the desserts you plan to display. We recommend using a plate that already matches your desired color scheme, ideally white or a neutral tone. This way, you can avoid painting it, ensuring it remains food-safe and dishwasher-safe for years to come. Glass, ceramic, or even durable plastic plates work well.
- House Bowl: This will form the actual dome. Look for a bowl with a relatively flat bottom, as this will be the top of your dome where the figurine attaches. Clear glass bowls are excellent as they allow visibility of the delicious treats inside, but ceramic or metal bowls can also be transformed with paint. Consider the dimensions – it should be wide enough to cover your cake or pastries, and deep enough to provide ample clearance.
- E-6000 or Super Glue: A strong adhesive is crucial for securely attaching the figurine to the bowl. E-6000 is renowned for its industrial strength and flexibility, making it ideal for bonding various materials. Super glue also works effectively for a quick bond, but always ensure the glue is fully cured and placed in a way that it won’t come into direct contact with food.
- Spray Paint: This is where you infuse your personality into the project! Select a spray paint color that complements your home decor or desired theme. Matte, gloss, metallic, or even textured finishes can add different dimensions to your dome. Ensure you choose an all-purpose spray paint suitable for the material of your bowl (glass, ceramic, plastic). Remember to work in a well-ventilated area and wear appropriate protective gear when painting.
- Plastic Figurine (Optional but Highly Recommended): This is the “figurine” in “Figurine Cake Dome” and acts as the handle. From charming animals like bunnies or birds to minimalist geometric shapes, or even miniature architectural elements, the choice of figurine allows for endless personalization. You can find these at craft stores, toy shops, or even upcycle old toys. Ensure the figurine has a flat or relatively flat base for secure attachment.
- Delicious Treats (e.g., Cookies): Not technically a material, but absolutely essential for testing out your new cake dome!
By carefully selecting these few key items, you’re well on your way to creating a bespoke cake dome that is both practical and a beautiful reflection of your personal style. Remember, the goal is to make it your own, so don’t be afraid to experiment with colors and figurines!
How to Make a DIY Figurine Cake Dome
Crafting your own figurine cake dome is a straightforward and enjoyable process. Follow these steps to create a charming and functional piece for your home:
-
Step 1: Prepare and Paint the Dome (Bowl)
Begin by thoroughly cleaning your house bowl to ensure it’s free of any dust, grease, or debris. A clean surface is essential for proper paint adhesion. Once dry, take your bowl to a well-ventilated area, preferably outdoors or in a garage with open windows. Lay down a drop cloth or old newspaper to protect your work surface.
For the dome component, spray paint the exterior of the regular house bowl with the color of your choice. Apply the paint in light, even coats, holding the can about 6-8 inches away from the surface. Multiple thin coats are better than one thick coat, as this prevents drips and ensures a smooth, professional-looking finish. If you are using the bowl directly over food, it’s generally best to leave the interior unpainted to maintain food safety and avoid potential paint transfer. If the bowl will simply rest over a cake already on a plate, painting the entire exterior is fine.
Let each coat dry to the touch before applying the next. Once you’ve achieved your desired opacity and finish, allow the bowl to dry completely according to the spray paint manufacturer’s instructions. This might take several hours, or even up to 24 hours, to ensure the paint is fully cured and hardened.

-
Step 2: Attach the Figurine Handle
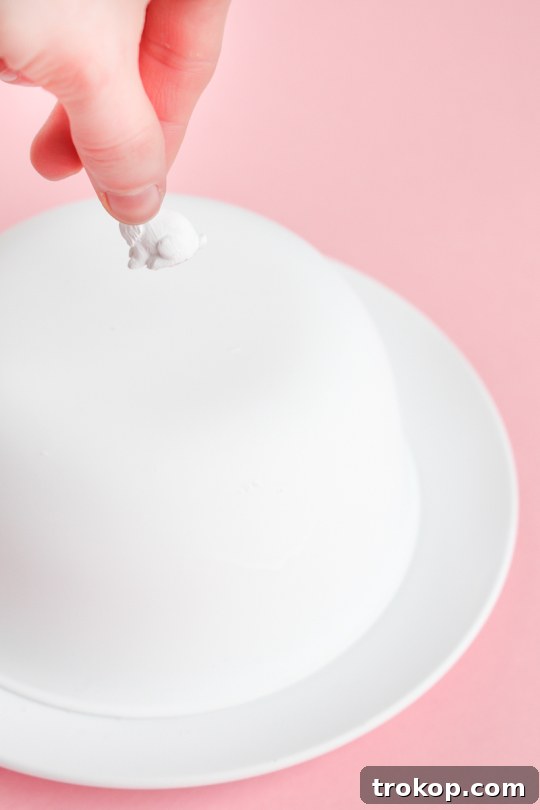
Once the painted bowl is completely dry and cured, it’s time to add your figurine handle. Apply a small amount of E-6000 or super glue to the base of your plastic figurine. Carefully center the figurine on the flat bottom (which will be the top of your dome) of the painted bowl.
Press down firmly for a few moments to ensure good contact. If using super glue, it will bond quickly. For E-6000, which has a longer working time, you might need to hold it in place or use masking tape to secure it while it begins to set. Allow the glue to cure fully, following the adhesive manufacturer’s recommendations. This is critical for a strong and lasting bond. A full cure can often take 24-72 hours, so be patient!
-
Step 3: Assemble and Enjoy!
Once both the paint and glue are fully dry and cured, your DIY Figurine Cake Dome is ready for action! Place your chosen dessert—be it a cake, a selection of cookies, delectable tarts, or even homemade DIY Easter macarons—on the dinner plate. Carefully place the newly crafted dome over the dessert. The figurine acts as a convenient and decorative handle for lifting the dome.
It’s important to note that the painted top dome will now require gentle cleaning. It should only be wiped clean with a damp, sanitizing rag to avoid damaging the paint or glue. However, the dinner plate base, especially if left unpainted, can typically still be run through the dishwasher like normal, ensuring easy cleanup.
You’re all set to showcase your culinary creations with a unique, handmade serving item that’s perfect for holidays, gatherings, or simply adding a touch of charm to your everyday kitchen!
Benefits of a DIY Cake Dome
Investing a little time into creating your own DIY figurine cake dome offers a multitude of advantages beyond just aesthetic appeal:
- Optimal Freshness Preservation: The primary function of a cake dome is to create a sealed environment around your baked goods. This significantly slows down the drying process, keeping cakes moist, cookies crisp, and pastries fresh for much longer than if they were left exposed to the air. It’s like a personal humidity controller for your desserts.
- Protection from Elements: A dome acts as a protective barrier against dust, curious pets, and even flying insects, ensuring your treats remain hygienic and untouched until they’re ready to be served. This is especially useful when entertaining outdoors or in bustling kitchen environments.
- Elegant Presentation: A beautifully crafted cake dome instantly elevates the presentation of any dessert. It transforms a simple cake into a magnificent centerpiece, drawing admiration and enhancing the overall dining experience. The figurine handle adds a unique, personalized touch that store-bought domes often lack.
- Cost-Effective Solution: High-quality cake domes can be surprisingly expensive. By repurposing common household items like a bowl and a plate, you can create a stunning equivalent for a fraction of the cost. This makes elegant dessert presentation accessible on any budget.
- Personalization and Creativity: This DIY project offers endless opportunities for customization. You can choose spray paint colors that perfectly match your kitchen decor, seasonal themes, or event palettes. The selection of a figurine allows you to express your personality, hobbies, or humor, making each dome truly one-of-a-kind.
- Eco-Friendly Repurposing: By giving new life to old bowls and plates, you’re engaging in a form of upcycling, reducing waste, and promoting sustainable practices. It’s a great way to transform items that might otherwise be discarded into something beautiful and functional.
- Versatility in Use: While named a “cake” dome, its utility extends far beyond just cakes. Use it to cover muffins, cupcakes, tarts, artisanal bread, cheese boards, or even a selection of fresh fruits. It can also serve as a decorative cloche for small plants or cherished collectibles when not in use for food.
Customization and Versatility
The true charm of the DIY Figurine Cake Dome lies in its boundless potential for personalization and adaptability. This isn’t just a craft project; it’s a canvas for your creativity, allowing you to tailor a functional decor piece to any occasion, season, or personal aesthetic.
- Thematic Figurines for Every Occasion:
- Seasonal Flair: Beyond the initial bunny for Easter, imagine a tiny pumpkin or a fall leaf for Thanksgiving, a sparkling snowflake or miniature reindeer for Christmas, or a vibrant flower for spring garden parties.
- Personal Interests: Choose a figurine that reflects a hobby or passion – a small camera for a photographer, a miniature book for a reader, a tiny golf club for a sports enthusiast.
- Children’s Parties: Animal figures, superheroes, or fairytale characters can make a cake dome the highlight of a child’s birthday dessert table.
- Elegant & Minimalist: Opt for abstract geometric shapes, polished natural stones, or a simple brass knob for a sophisticated, understated look.
- Color Palettes and Finishes:
- Match Your Decor: Spray paint the dome to seamlessly blend with your kitchen or dining room color scheme.
- Pop of Color: Use a bold, contrasting color to make your cake dome a focal point.
- Metallic Glamour: Gold, silver, or copper spray paints add an instant touch of luxury and festivity.
- Textural Finishes: Explore paints with a stone, hammered, or chalkboard finish for added dimension and uniqueness.
- Beyond Cake: Creative Uses:
While perfect for cakes, this dome is incredibly versatile:
- Pastry Presentation: Ideal for croissants, muffins, scones, or a tower of macarons.
- Cheese Boards: Keep cheeses fresh and protected while adding an elegant touch to your charcuterie spread.
- Fruit Display: Showcase a pyramid of fresh berries or a cluster of grapes.
- Decorative Cloche: When not housing edibles, use it as a dust cover for small treasured items, a delicate plant, or a collection of decorative stones. It instantly creates a curated vignette.
- Adding Embellishments (Post-Cure):
Once your paint and glue are fully cured, you can further adorn your dome:
- Ribbons & Bows: Tie a decorative ribbon around the base of the figurine or the rim of the dome for a festive touch.
- Stencils: Use stencils and a different color paint (or paint pens) to add patterns or monograms.
- Glitter or Decals: For extra sparkle, carefully apply glitter with a clear adhesive, or use vinyl decals for intricate designs.
By thinking outside the box, your DIY Figurine Cake Dome can become a truly dynamic and beloved item in your home, reflecting your personality and adapting to a myriad of needs and celebrations.
How To Store a Cake Without a Cake Dome?
While a dedicated cake dome is undoubtedly the superior method for preserving freshness and presenting your baked goods beautifully, there are times when you might find yourself without one. If you’re looking for alternative ways to store your cake without using a cake dome, you still have a few practical options to consider to keep your cake from drying out and staying fresh for as long as possible.
One popular and readily available option is to use an upside-down bowl. Simply place the cake on a flat plate or serving platter, and then invert a large, clean mixing bowl over it, ensuring the edges of the bowl completely cover the cake and rest flush against the platter. This creates a makeshift dome, trapping moisture and protecting the cake from air exposure. Make sure the bowl is large enough not to touch the frosting or decorations.
Another effective method is to meticulously cover the cake with plastic wrap. For best results, use multiple layers of plastic wrap and press it gently against the sides and top of the cake, minimizing any air pockets. You can also use aluminum foil, especially if the cake needs to be protected from light or stored in the refrigerator, as it provides a good seal. The key with both plastic wrap and foil is to ensure that the cake is completely enveloped, leaving no exposed surfaces where air can penetrate and cause dryness.
Whatever method you choose, the overarching goal is to create an airtight or nearly airtight seal around the cake. This is critical for preventing moisture loss, which is the primary culprit behind stale, dry cake. While these alternatives can certainly work in a pinch, they often fall short of the elegance and convenience that a proper cake dome provides. Plastic wrap can sometimes stick to frosting, and an upside-down bowl isn’t always the most aesthetically pleasing option for presentation.
This is precisely why we highly recommend opting for a cake dome, especially a charming DIY one. It not only provides superior protection against drying out but also offers a beautiful and effortless way to display your culinary creations. A cake dome ensures your cake is stored nicely, remains visually appealing, and is always ready to be served fresh and delicious.
More DIY Projects and Ideas
If you enjoyed crafting your figurine cake dome, you’ll love exploring these other creative and delicious DIY projects:
- DIY Easter Macarons & Paintable Royal Icing Recipe: Perfect for filling your new cake dome!
- How To Make A DIY Dual Copper Candle Holder: Add more custom decor to your home.
- DIY Edible Chocolate Messages: Personalize your desserts even further.
- How To Make A DIY Valentine Arrow Cookie Picks: Another great idea for cookie presentation.
DIY Figurine Cake Dome: Project Summary
Print Project
This cake dome is perfect for figurine cakes or any cake that needs a little extra protection. It’s easy to make and will make your cake look great!
Active Time: 5 mins
Dry Time: 30 mins
Total Time: 35 mins
Course: DIY
Category: Kitchen
Equipment
- Spray paint
- E-6000 or super glue
Materials
- 1 dinner plate
- 1 house bowl (preferably flat bottomed)
- 1 plastic figurine (optional)
Instructions
-
For the top dome, spray paint a regular house bowl the color of your choice.
Let it dry completely.
-
Next, glue your figurine to the top and let it set.
The top will now only be able to be wiped clean with a damp sanitizing rag. But the bottom can still be run through the dishwasher like normal.
Cost: $10
Keywords: diy figurine cake dome

Don’t forget to share your beautifully crafted DIY figurine cake dome with us on Instagram using the hashtag #sugarandclothloves. We always cherish seeing all of your unique creations and how you bring these projects to life! And if you’re looking for more quick and delicious recipes to fill your new dome or simply to enjoy, you can find them all right here, with a few delightful desserts and beverages to perfectly complement them!
Ideas On How to Decorate Your Cake
21 DIY Cake Stand Ideas You Can Make
Continue Reading
Italian Meringue Buttercream Frosting Recipe
Continue Reading
DIY Balloon Cake Topper Plus Painting Frosting Tips
Continue Reading
DIY Abstract Floral Pattern Cake
Continue Reading
DIY Animal Ear Cake Toppers
Continue Reading
3 Winter Cheesecake Toppers Decoration Ideas
Continue Reading